How to upgrade RAM in Lenovo's Legion 5i 15
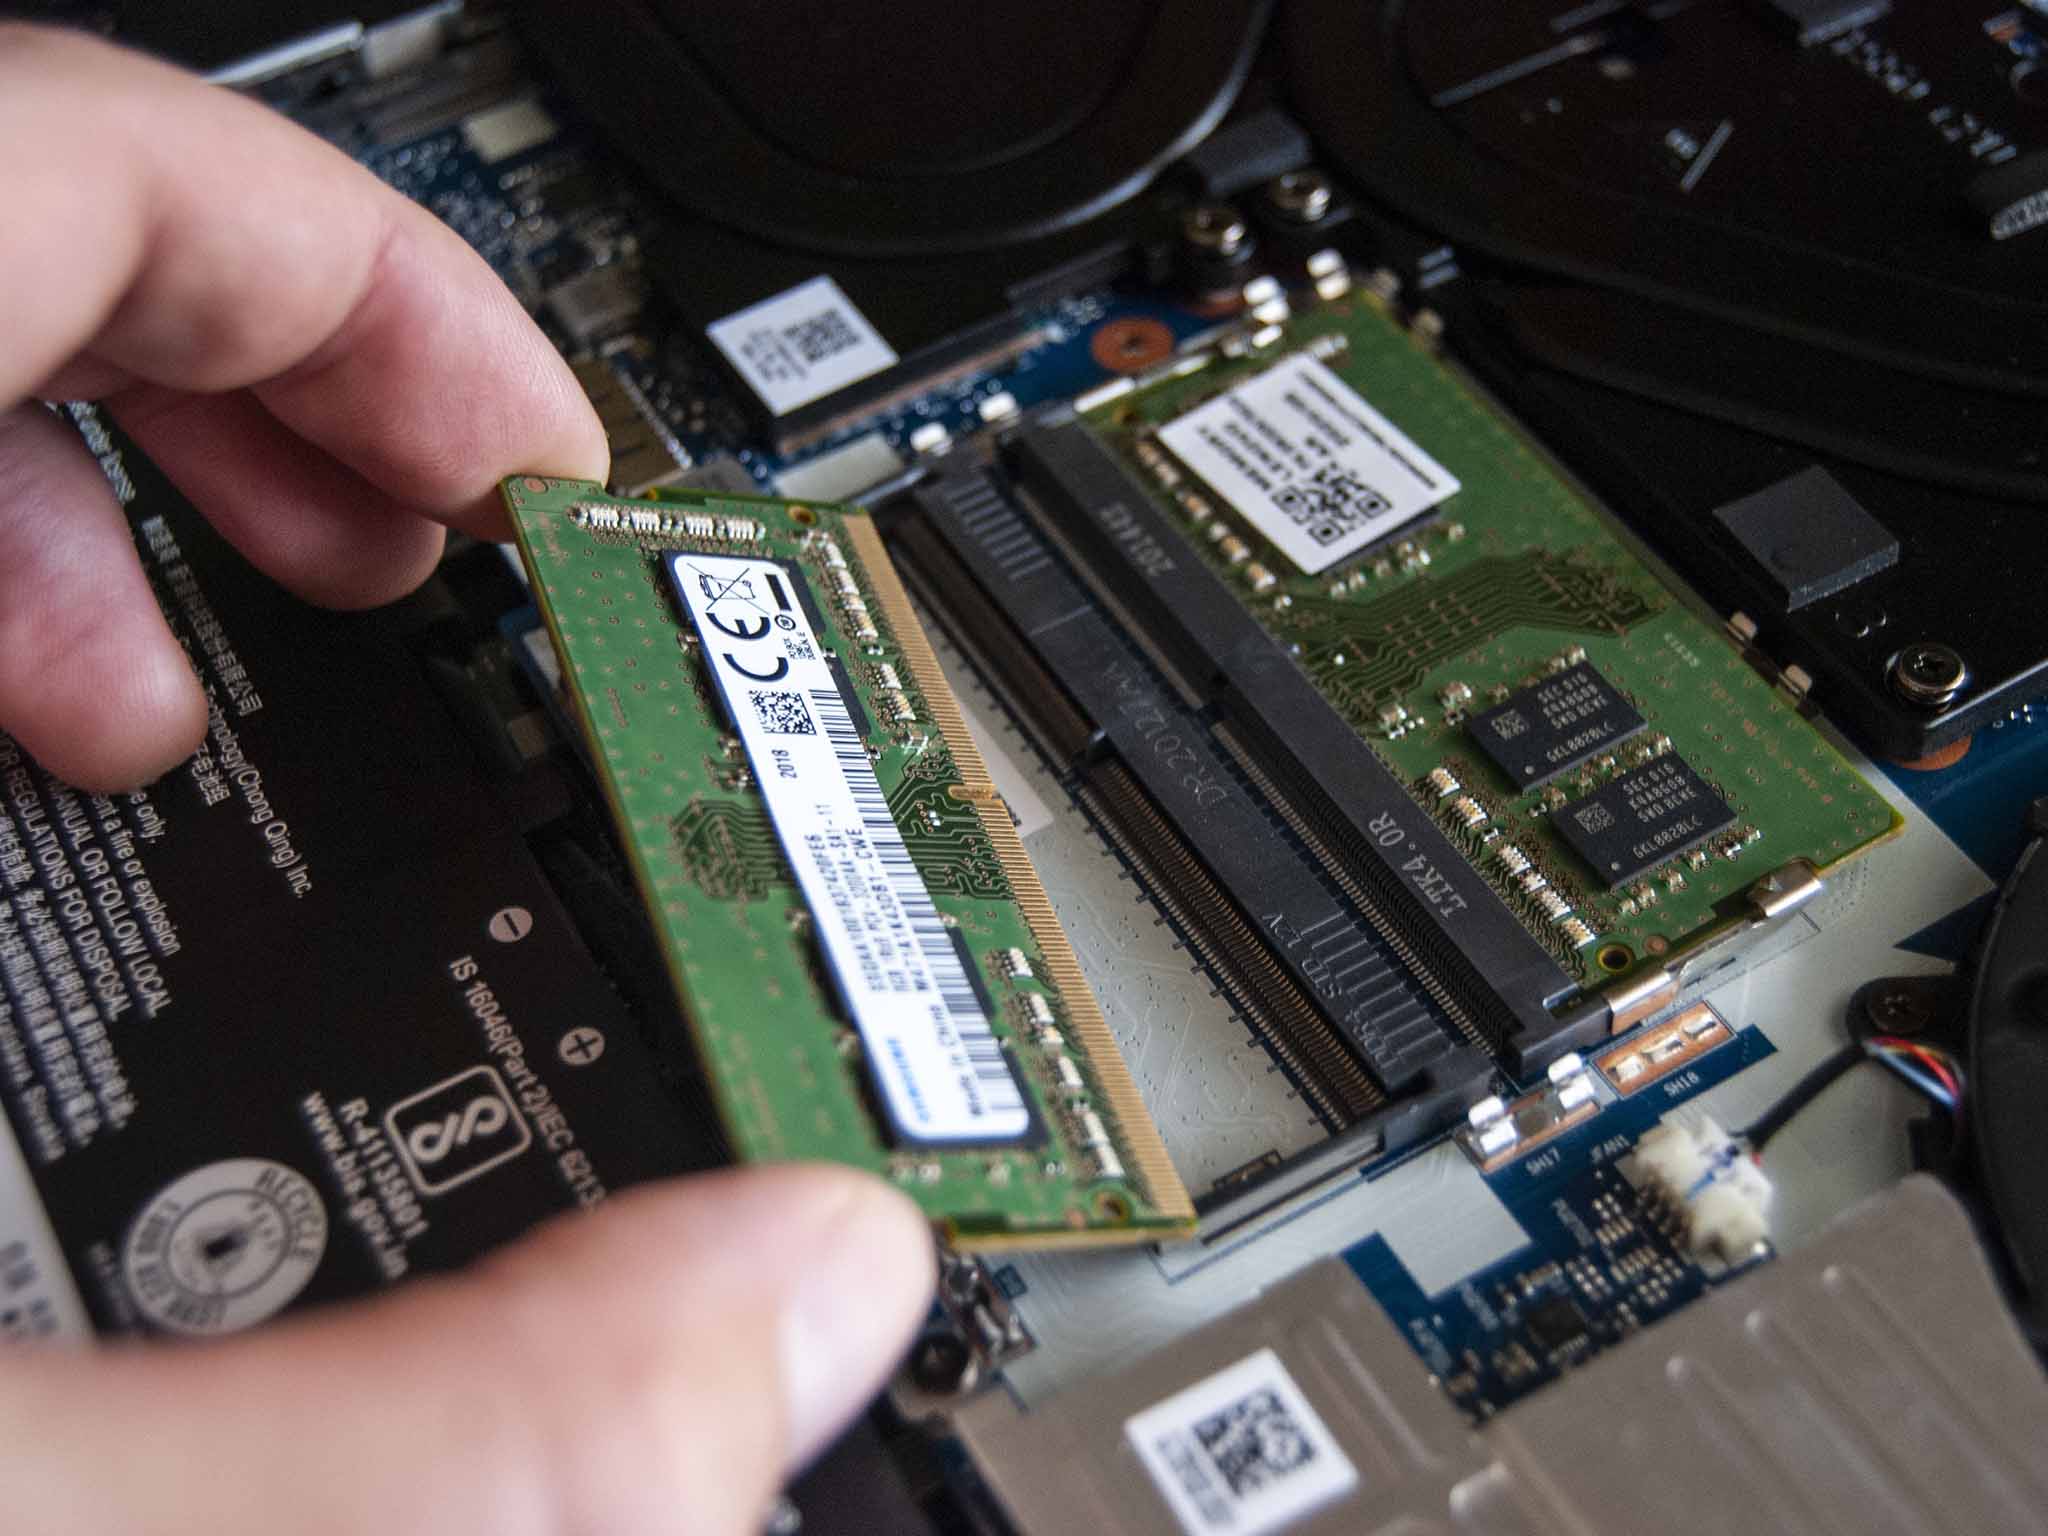
While many Ultrabooks are going the way of soldered RAM, chunky gaming laptops are still offering users the ability to add and remove hardware after purchase. If you've recently picked up a Lenovo Legion 5i 15 and want to upgrade the RAM, we've laid out the steps and required hardware right here to make the job as easy as possible. We're performing the operation on the Intel-based Legion 5i 15, but the process should remain the same for the AMD-based Legion 5 15.
Hardware to get the job done
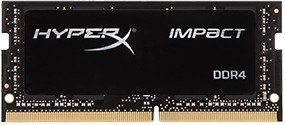
- DDR4 SODIMM RAM: Kingston HyperX Impact 32GB (2x 16GB) ($181 at Amazon)
- Prevent damage: Rosewill anti-static wristband ($7 at Amazon)
- All required tools: ORIA PC toolkit ($35 at Amazon)
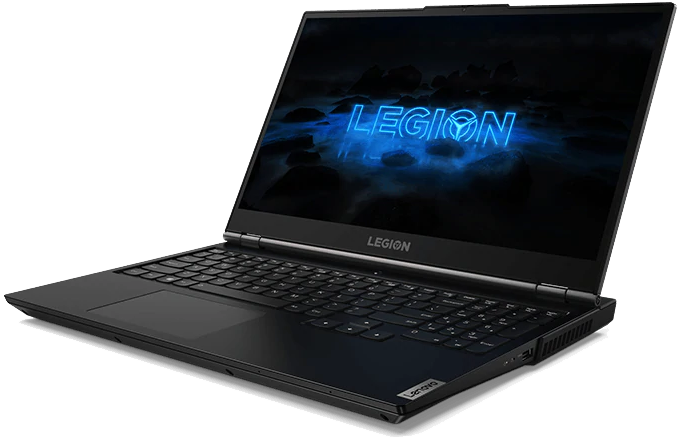
- Mid-range gaming laptop: Lenovo Legion 5i 15 (From $1,100 at Lenovo)
How to upgrade RAM in your Lenovo Legion 5i 15
Note: Before beginning any upgrades on a PC, it's a good idea to back up your data in the unlikely event something should go wrong. You'll also want to ensure you're not working in a static-filled environment since it can cause damage to a PC's internal hardware. Consider investing in an anti-static wristband to avoid unnecessary damage.
Lenovo's Legion 5i 15 is a solid mid-range gaming laptop with Intel and NVIDIA hardware inside. It's relatively affordable, at least to start, and it can be configured with up to a 10th Gen Intel Core i7-10750H processor (CPU) and an NVIDIA RTX 2060 dedicated graphics card (GPU). There are multiple storage options, as well as two easy-to-reach SODIMM RAM slots. If you decide to save some money at checkout by going with the least amount of RAM, an upgrade is possible and relatively easy.
We recommend something like Kingston's HyperX Impact dual-channel SODIMM RAM, thanks to a competitive price, reliability, and availability. You can grab a 32GB kit with two sticks of 16GB DDR4-3200MHz SODIMM RAM for about $181, while a 16GB kit with dual 8GB DDR4-3200MHz SODIMM RAM sticks costs closer to about $97.
Once you have some new RAM in hand and are ready to upgrade, clear out a well-lit workspace and power down your Legion 5i 15 before proceeding with the following steps.
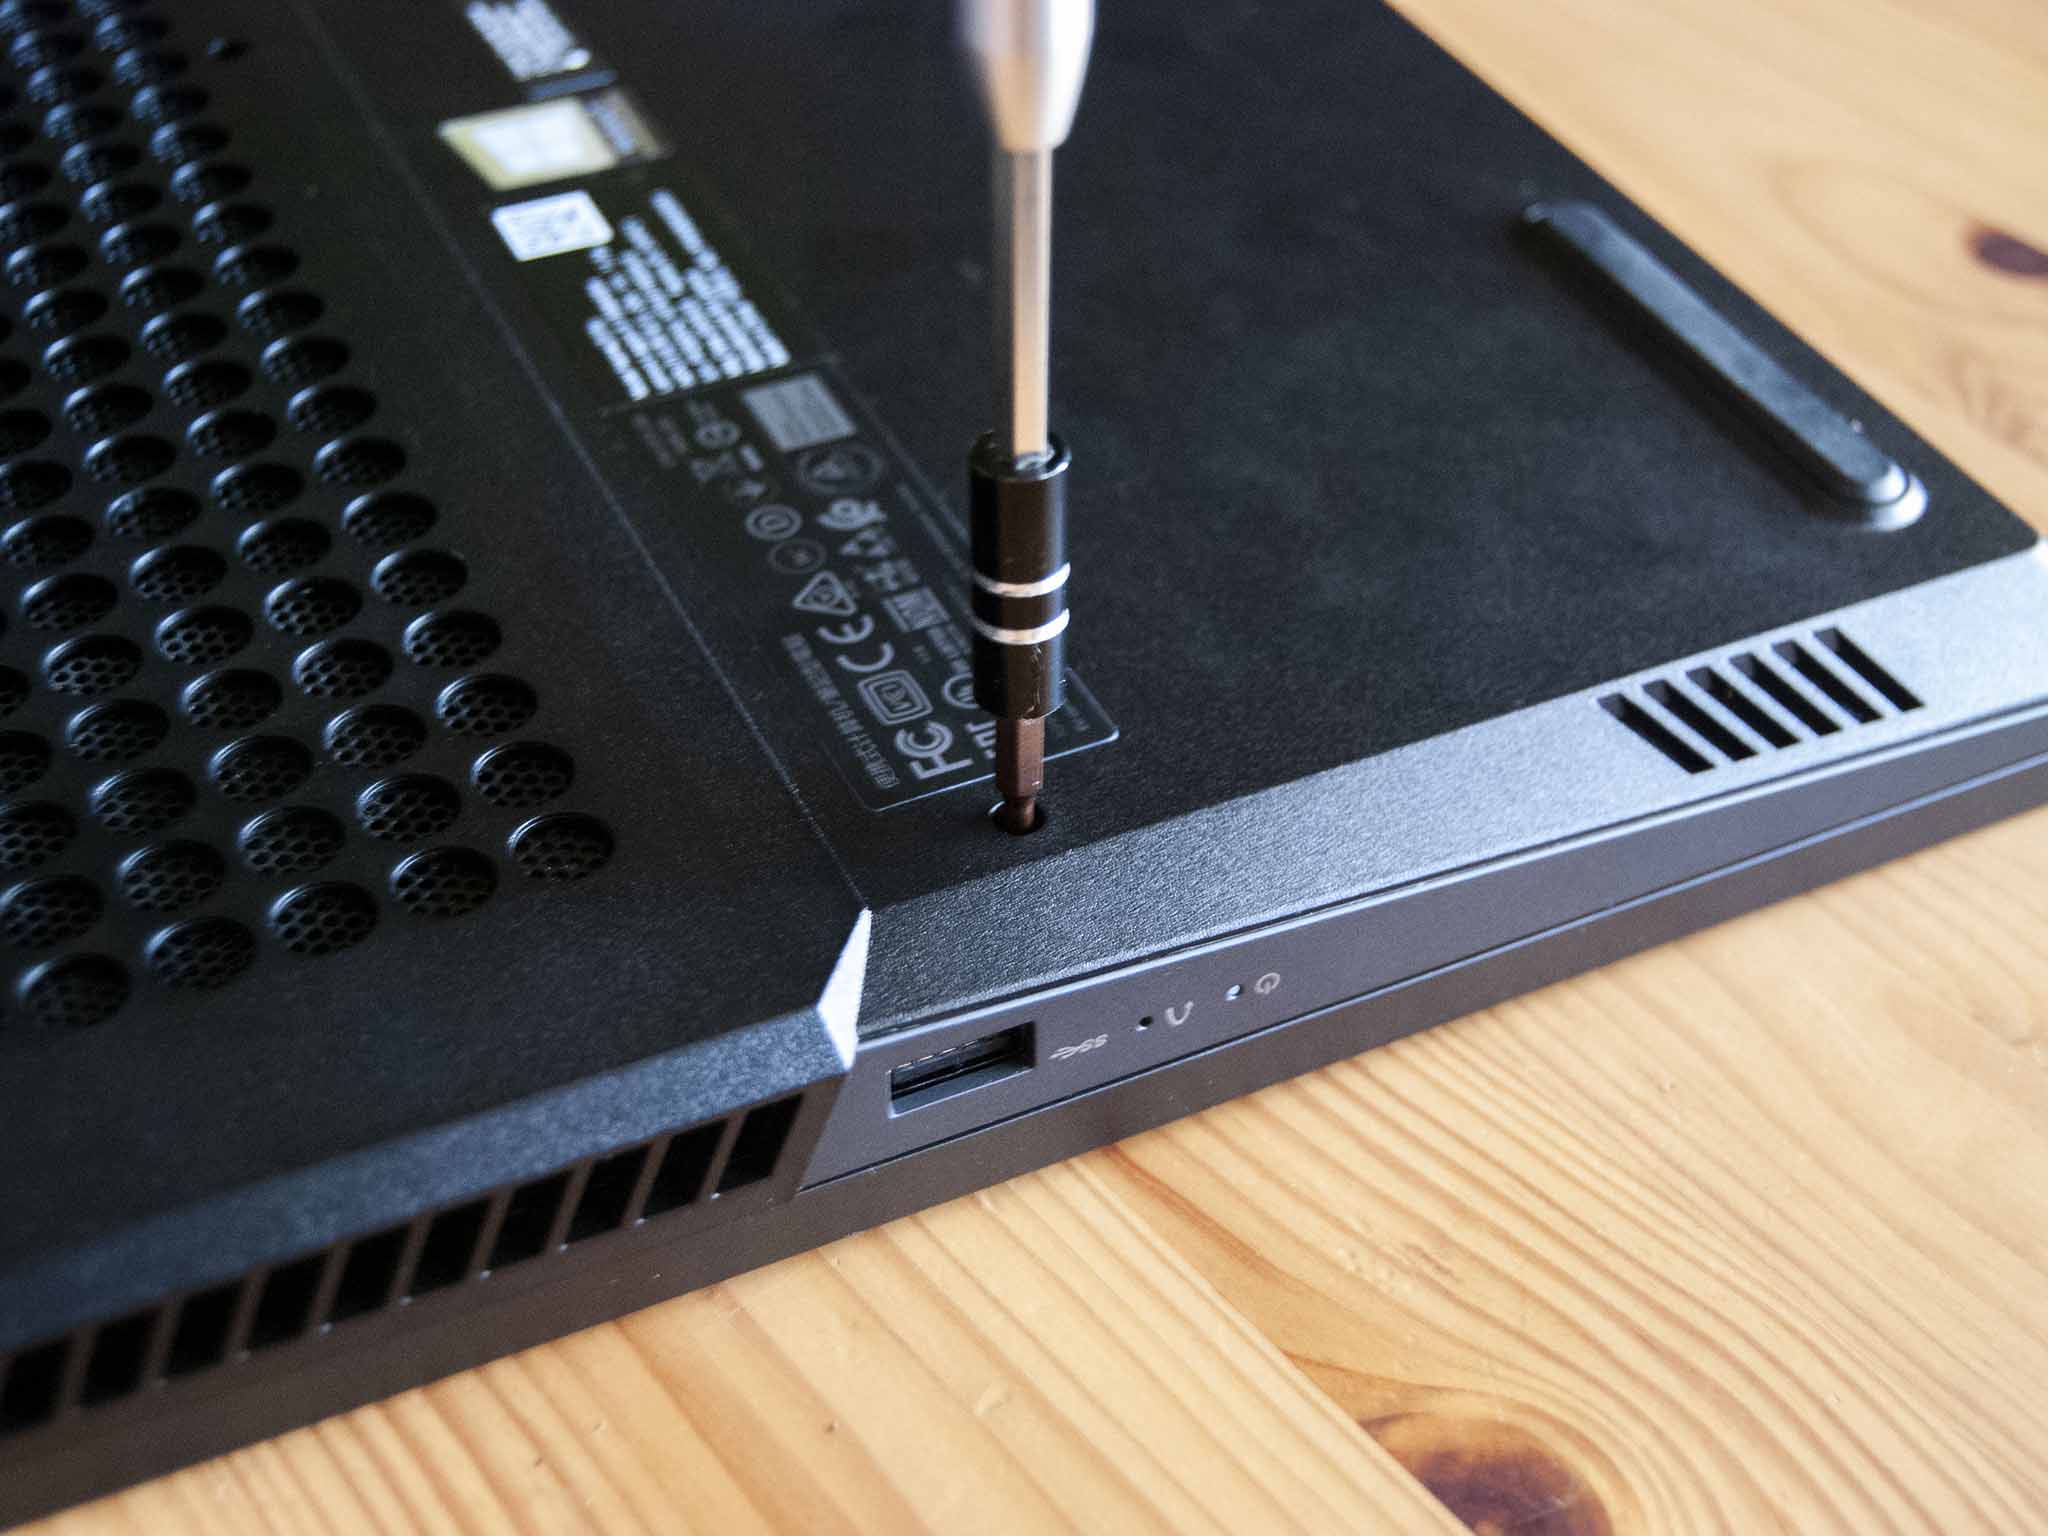
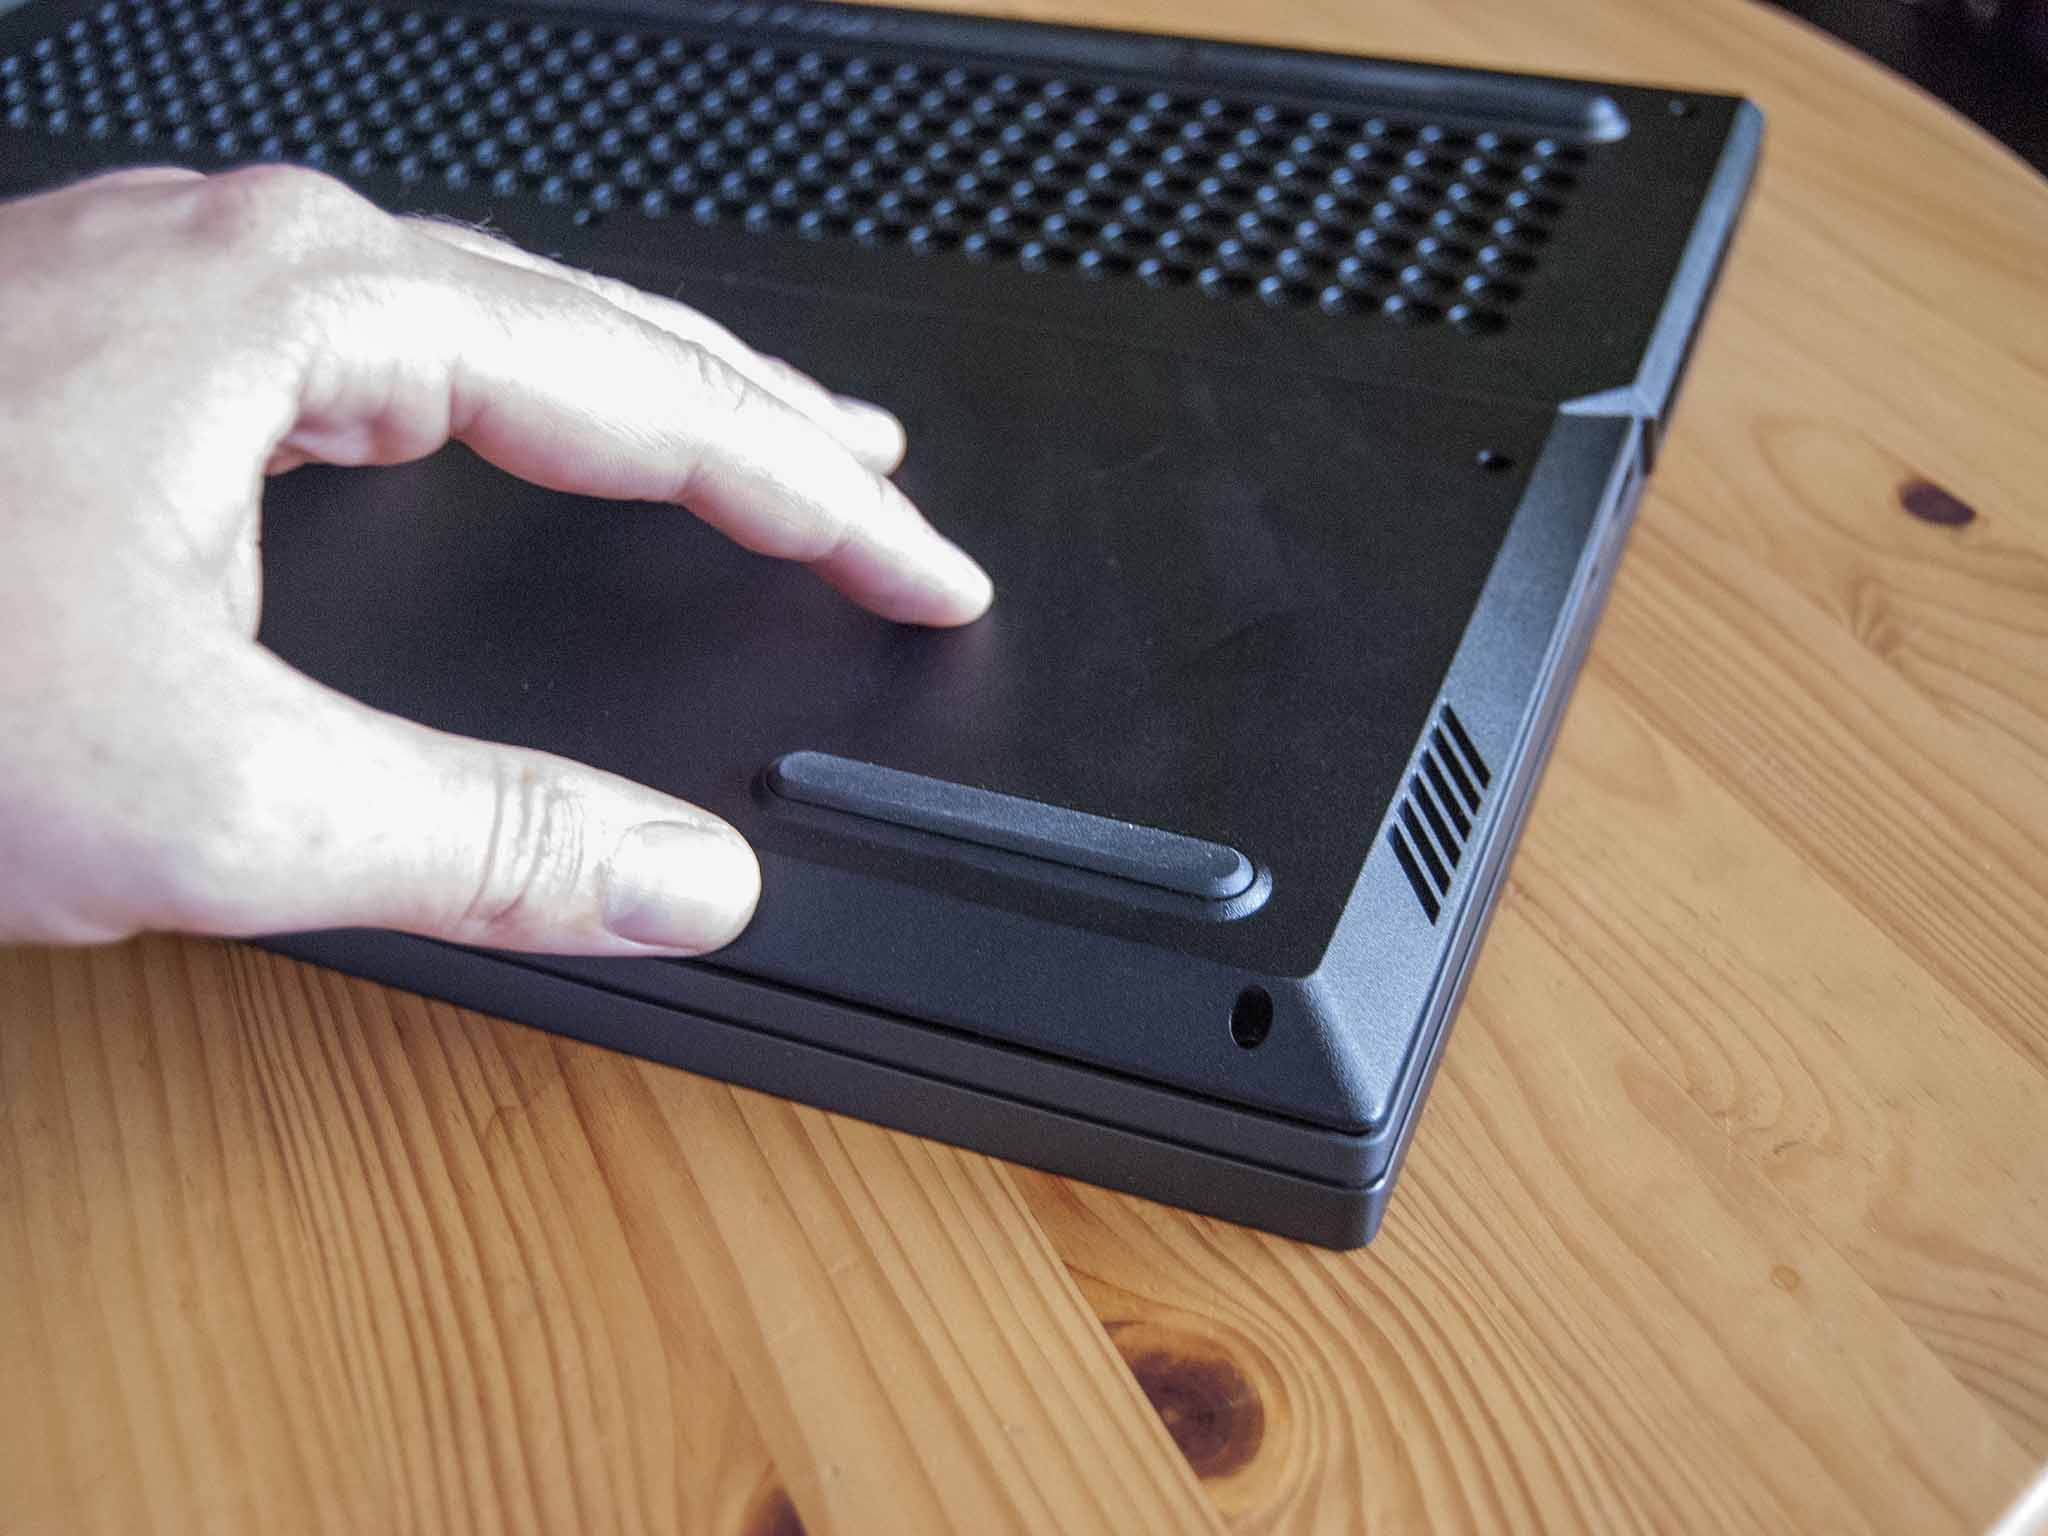
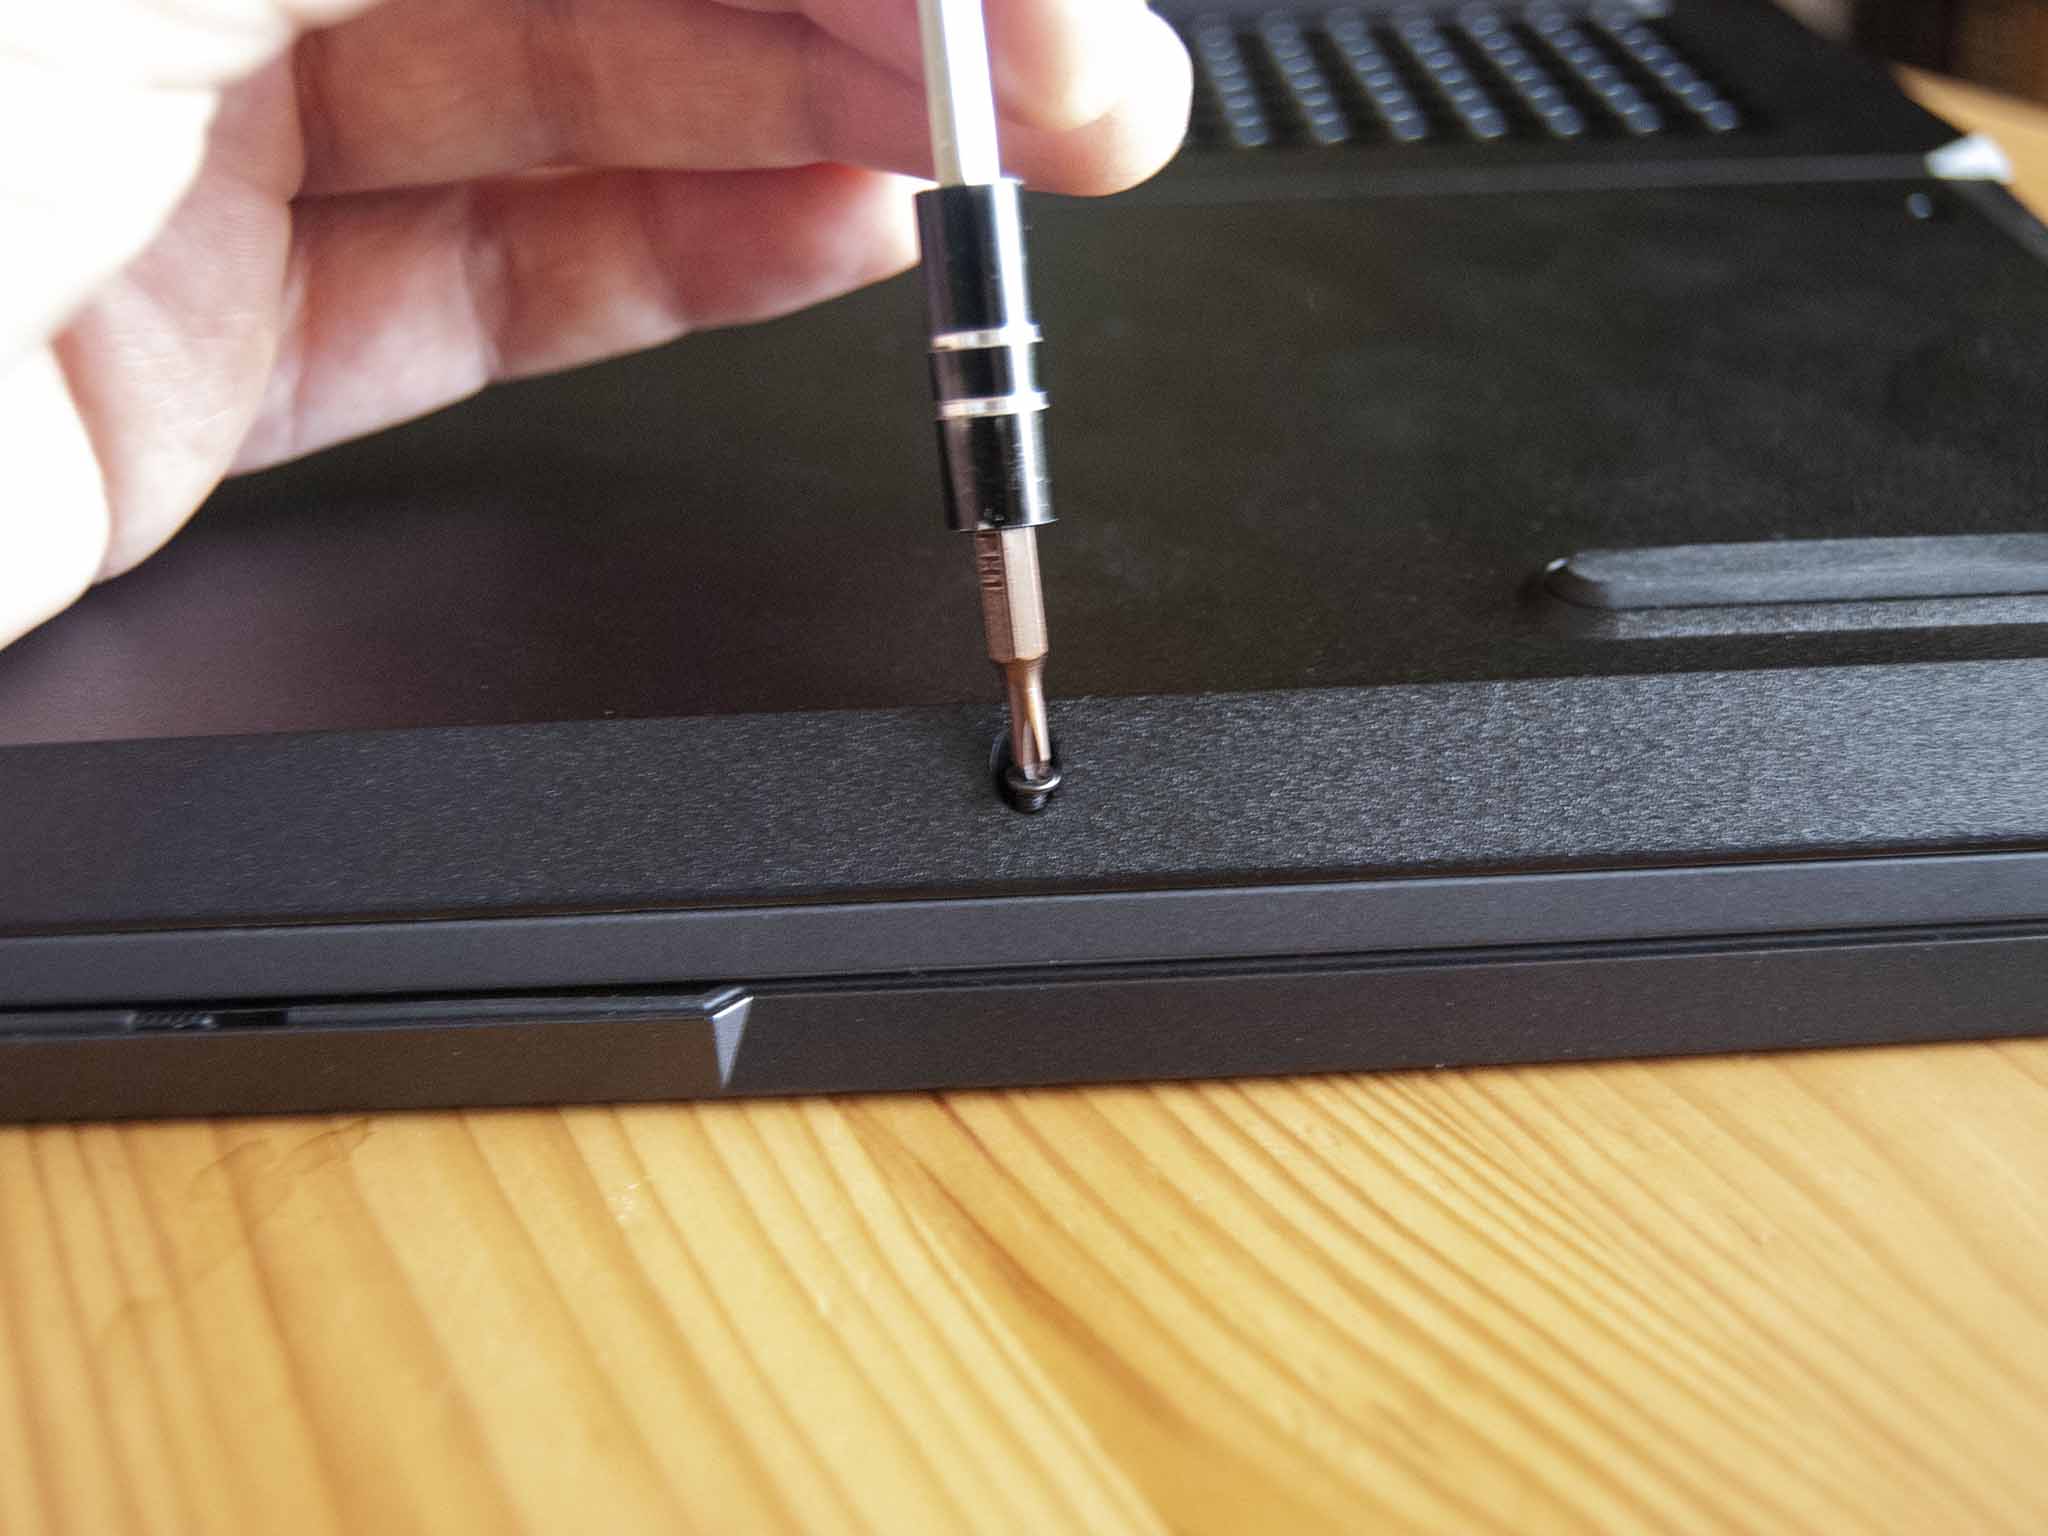
- Unscrew the 11 fasteners on the bottom of the laptop using a Phillips screwdriver. They back out entirely, so be sure you have a safe space to collect them. The four short screws go along the front of the chassis.
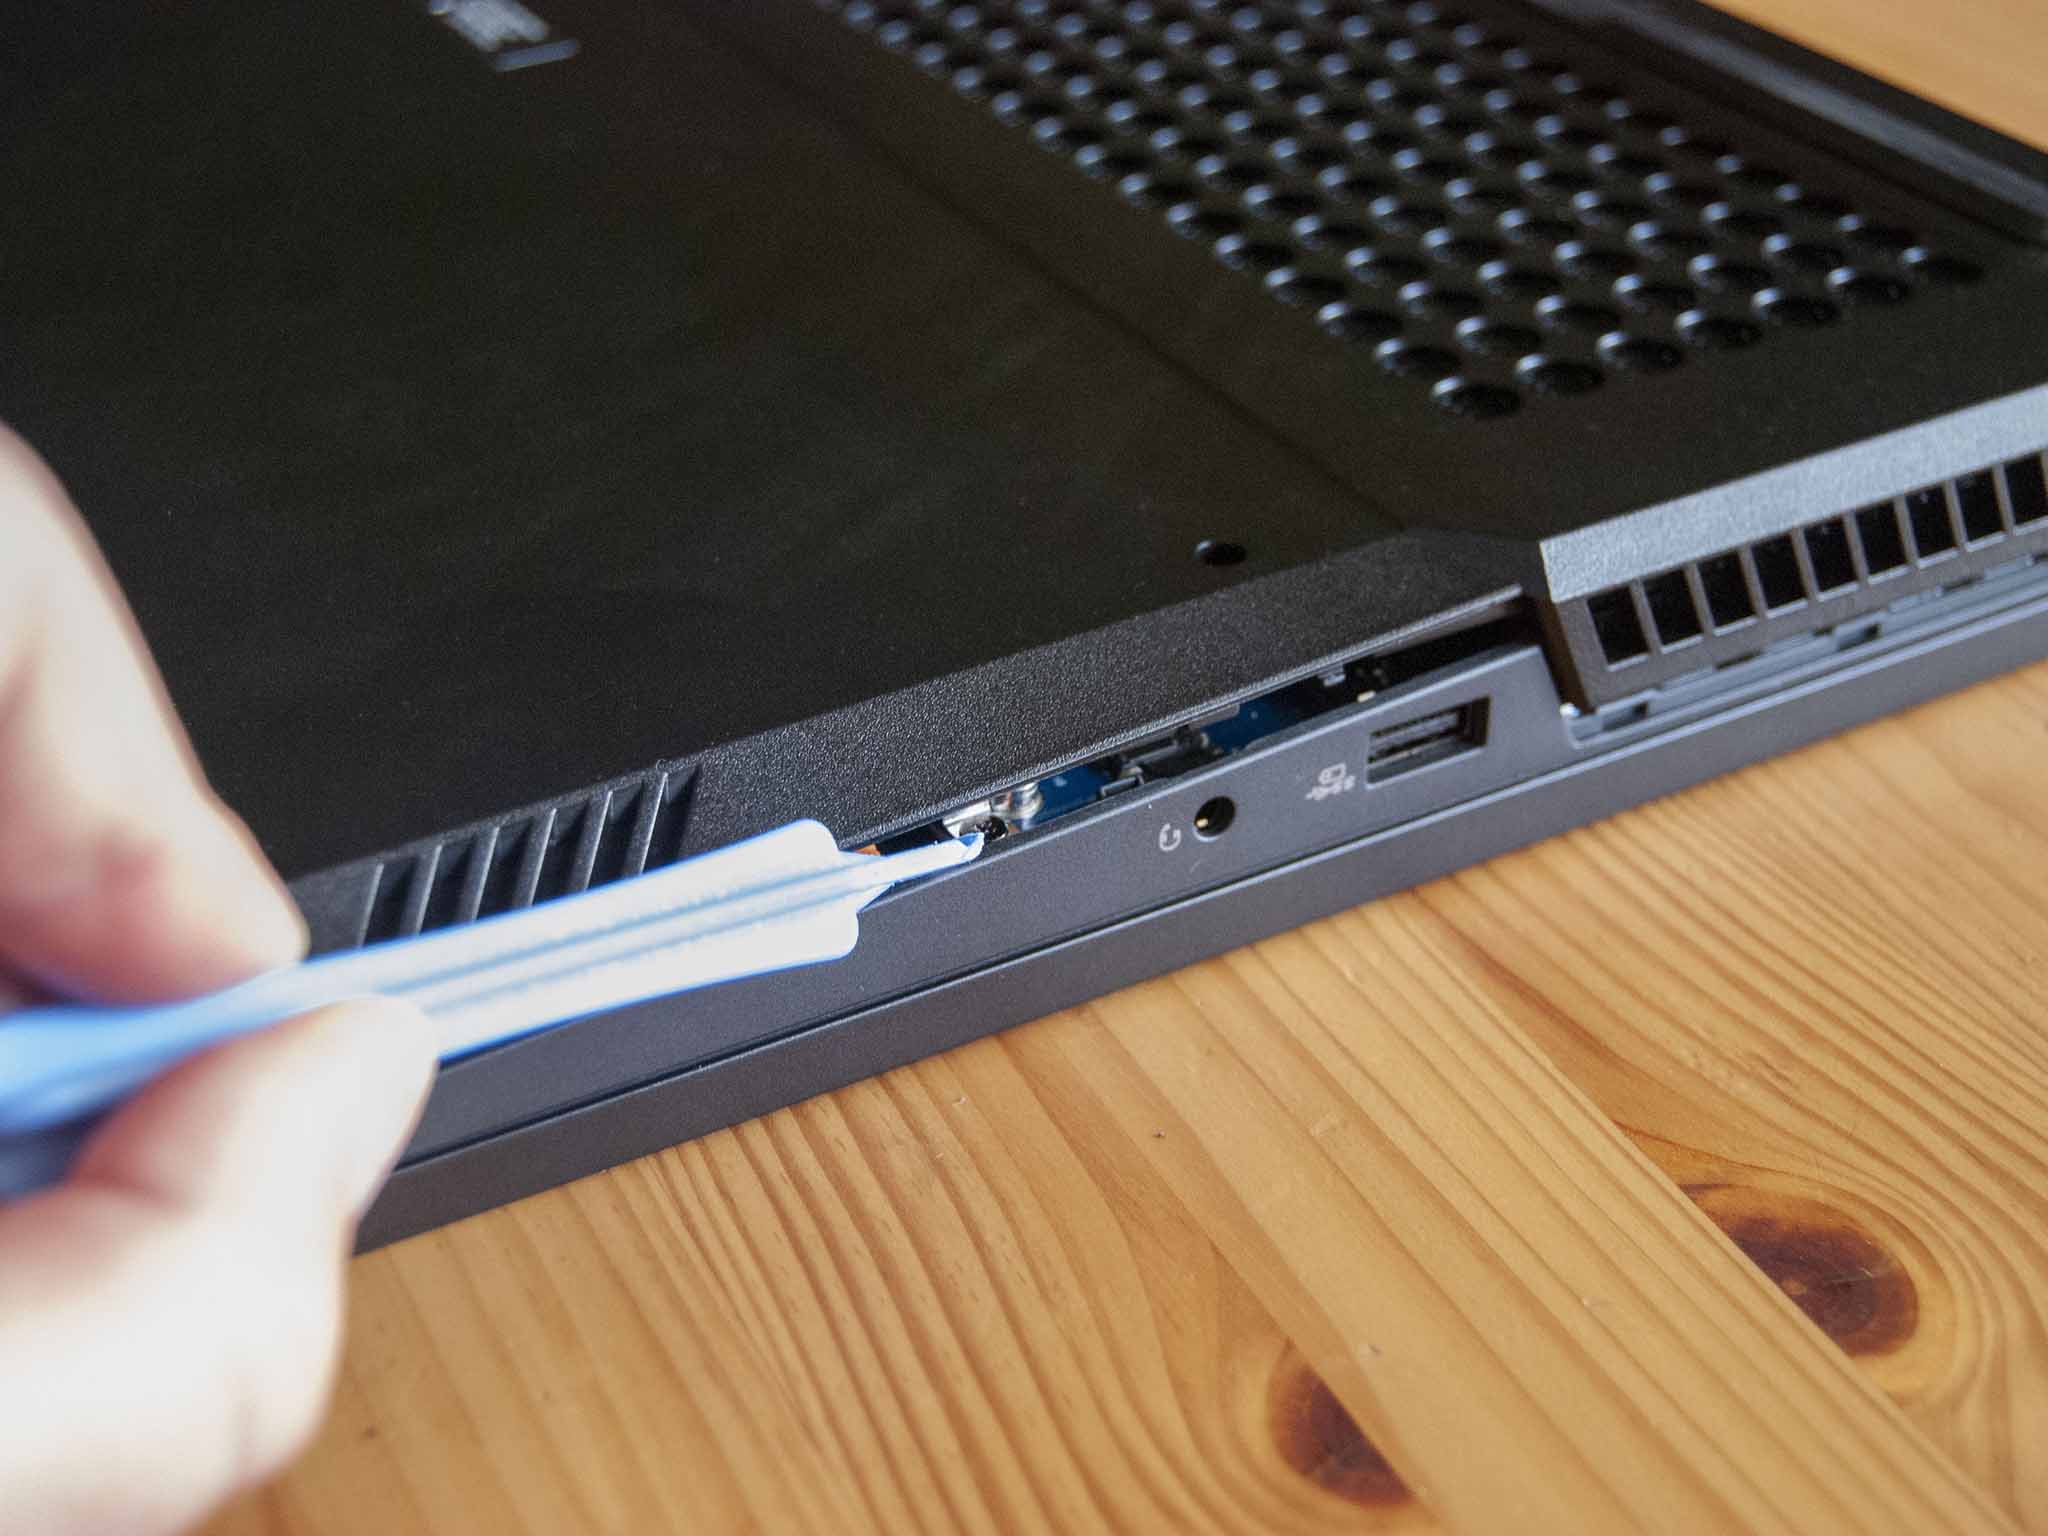
- Pry up the bottom panel with a pry tool. Start along the front edge and work your way around to the back plastic vent portion. These can be tougher to get apart; work slowly to prevent damage.
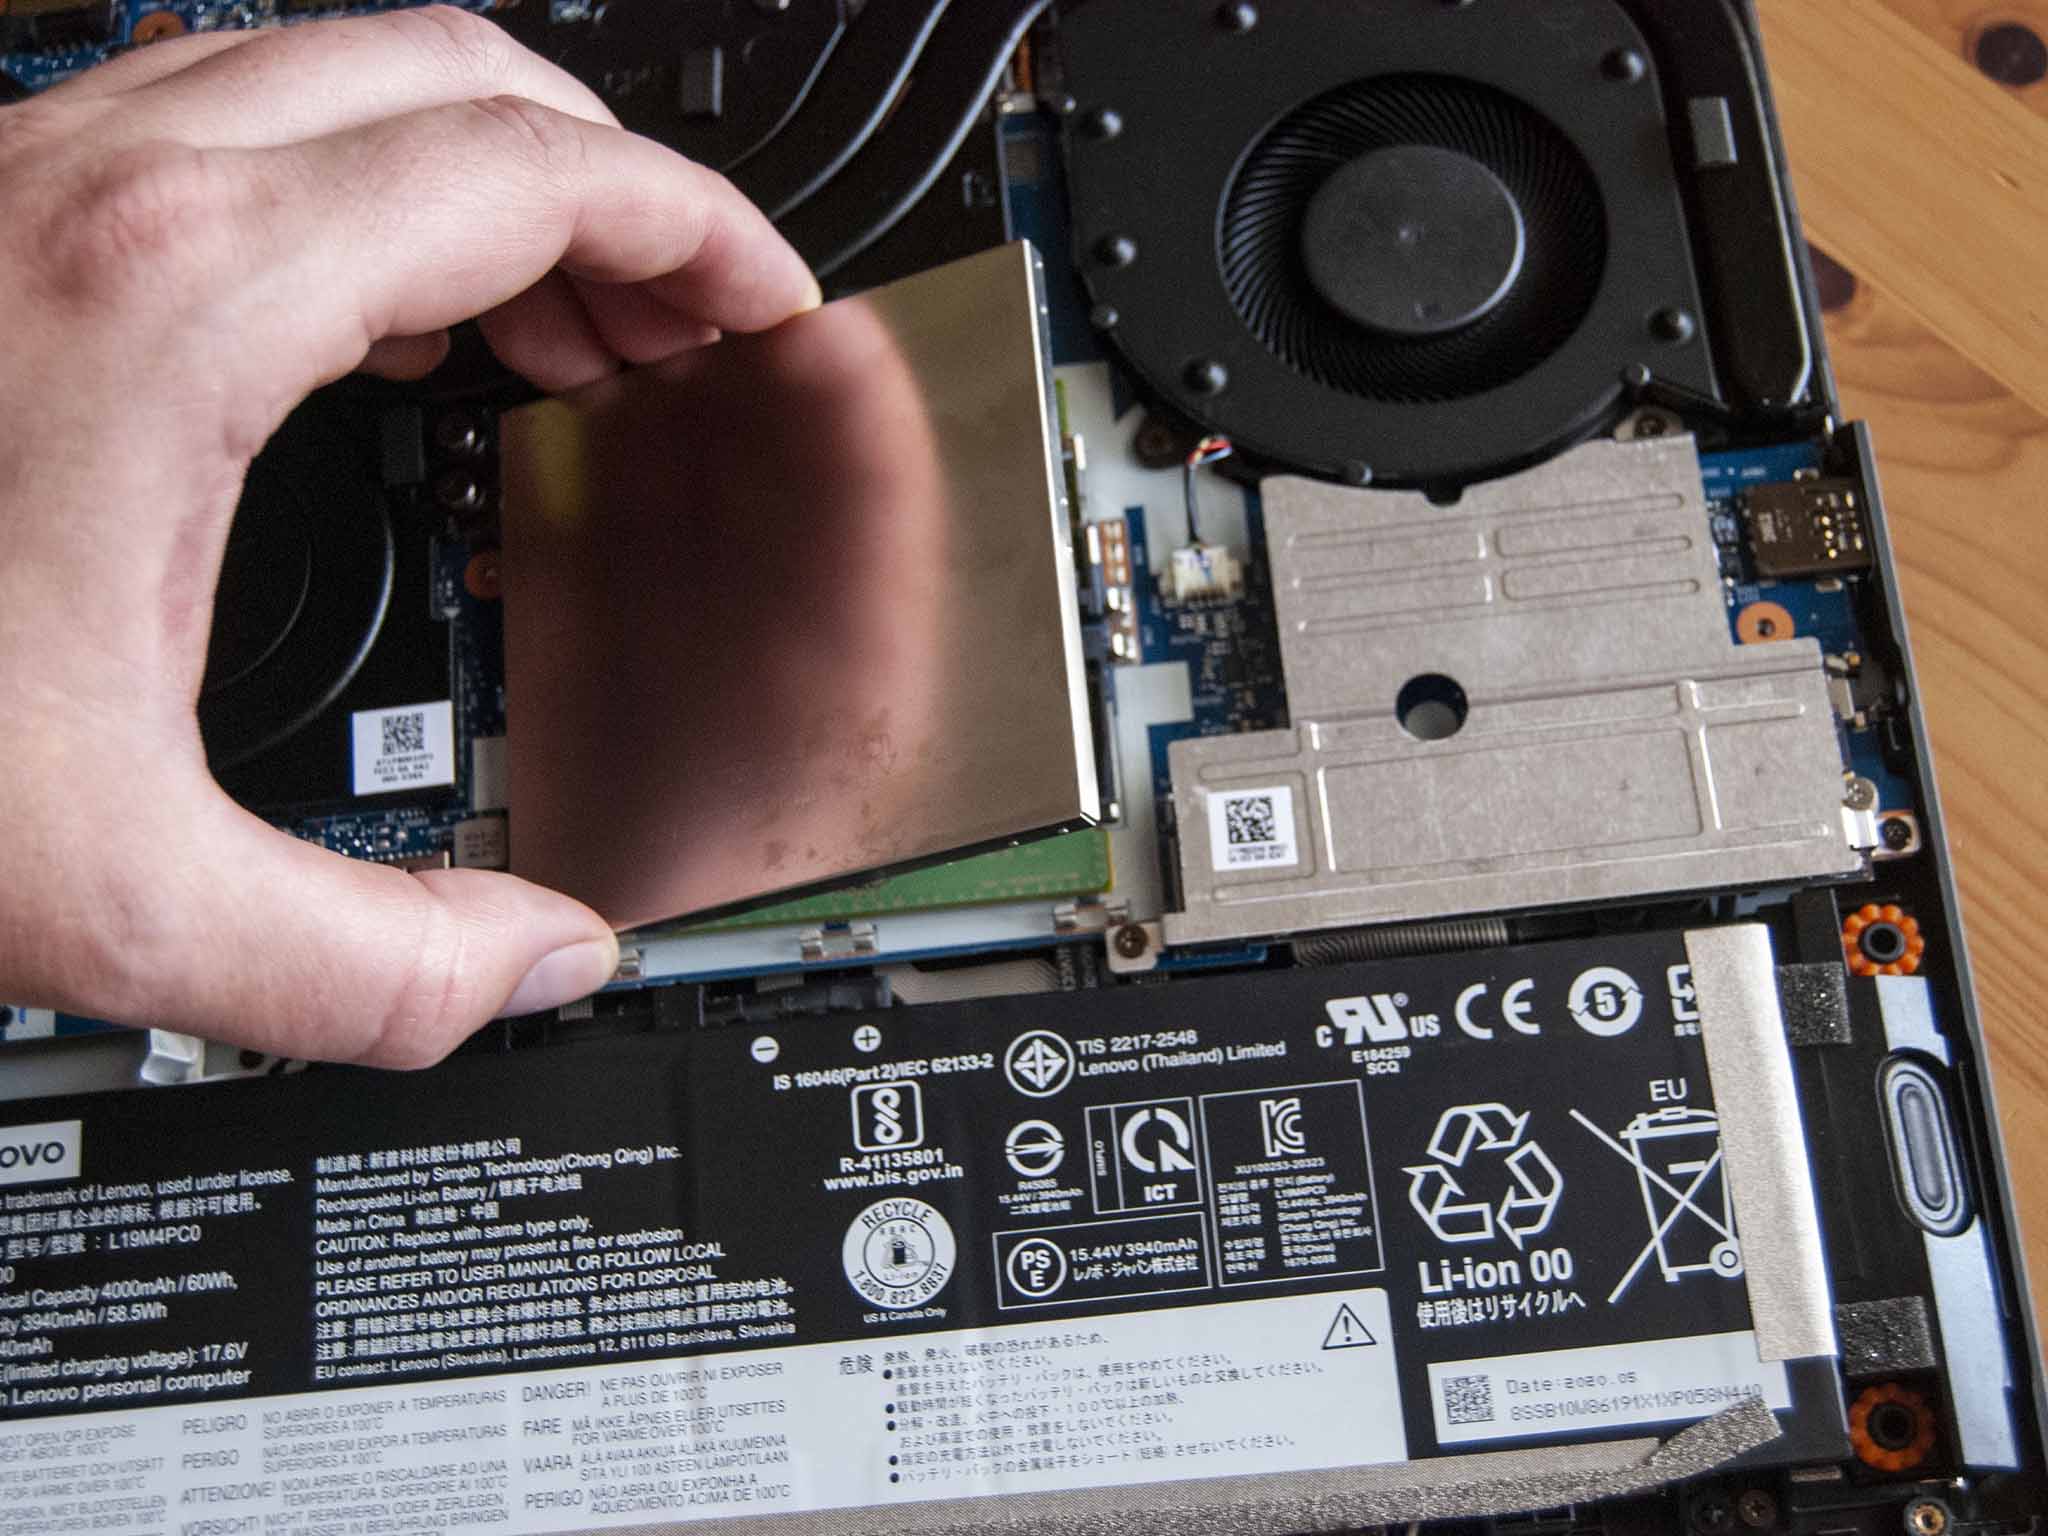
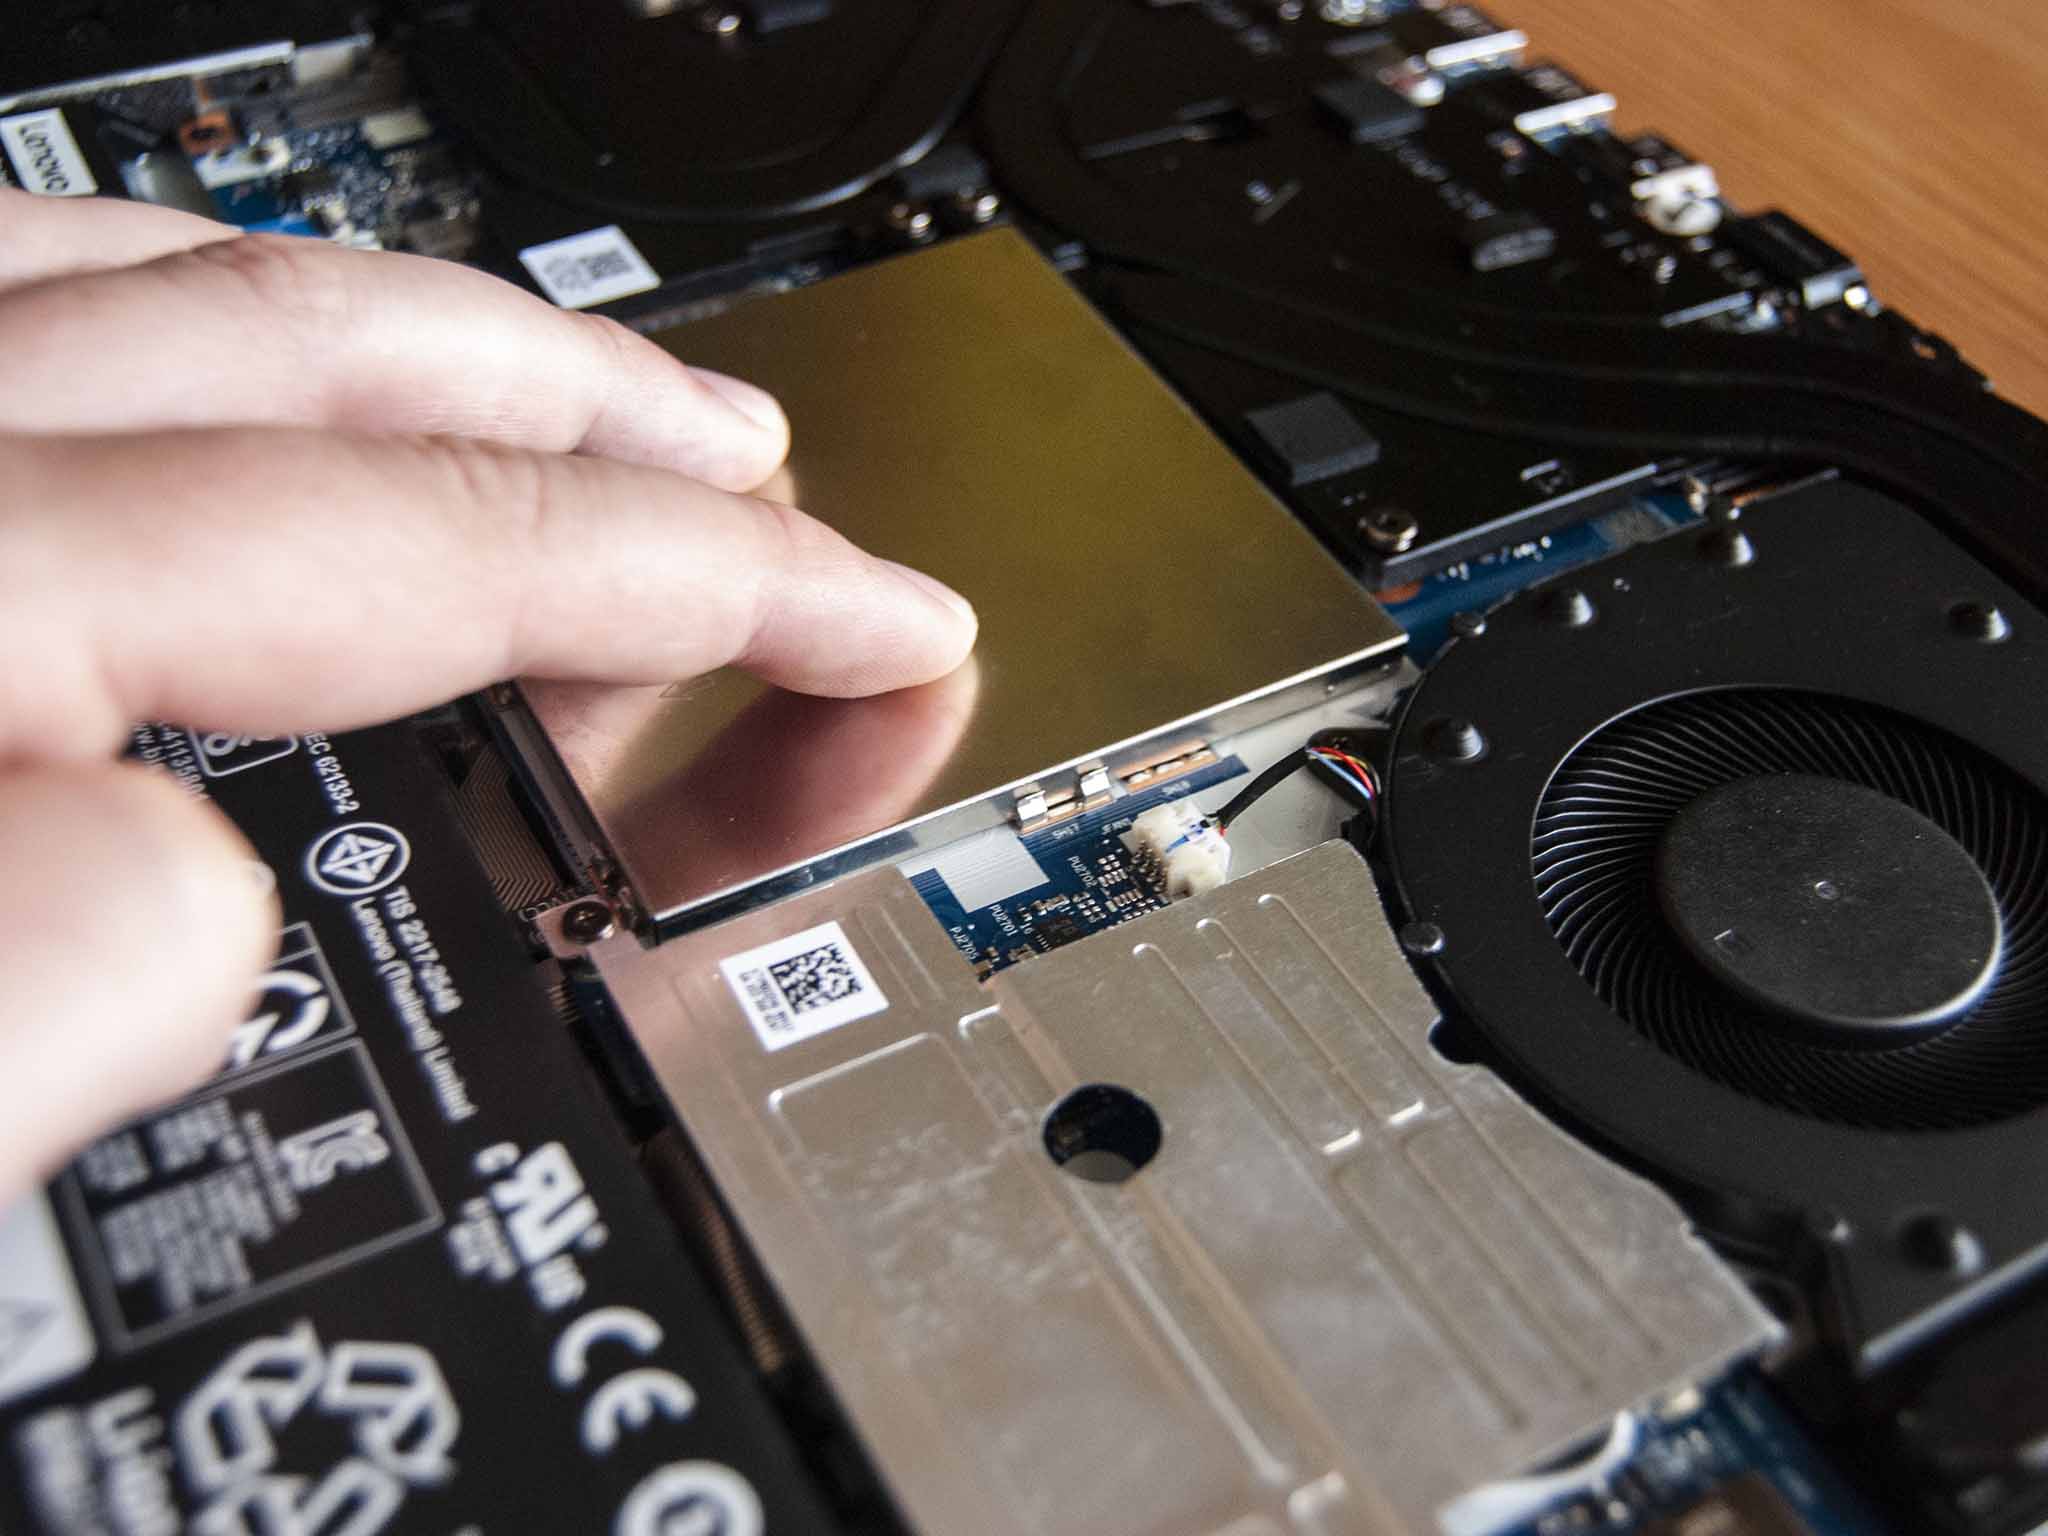
- Remove the aluminum shield covering the two RAM modules. Small clips keep it in place but it will come loose with a bit of pressure.
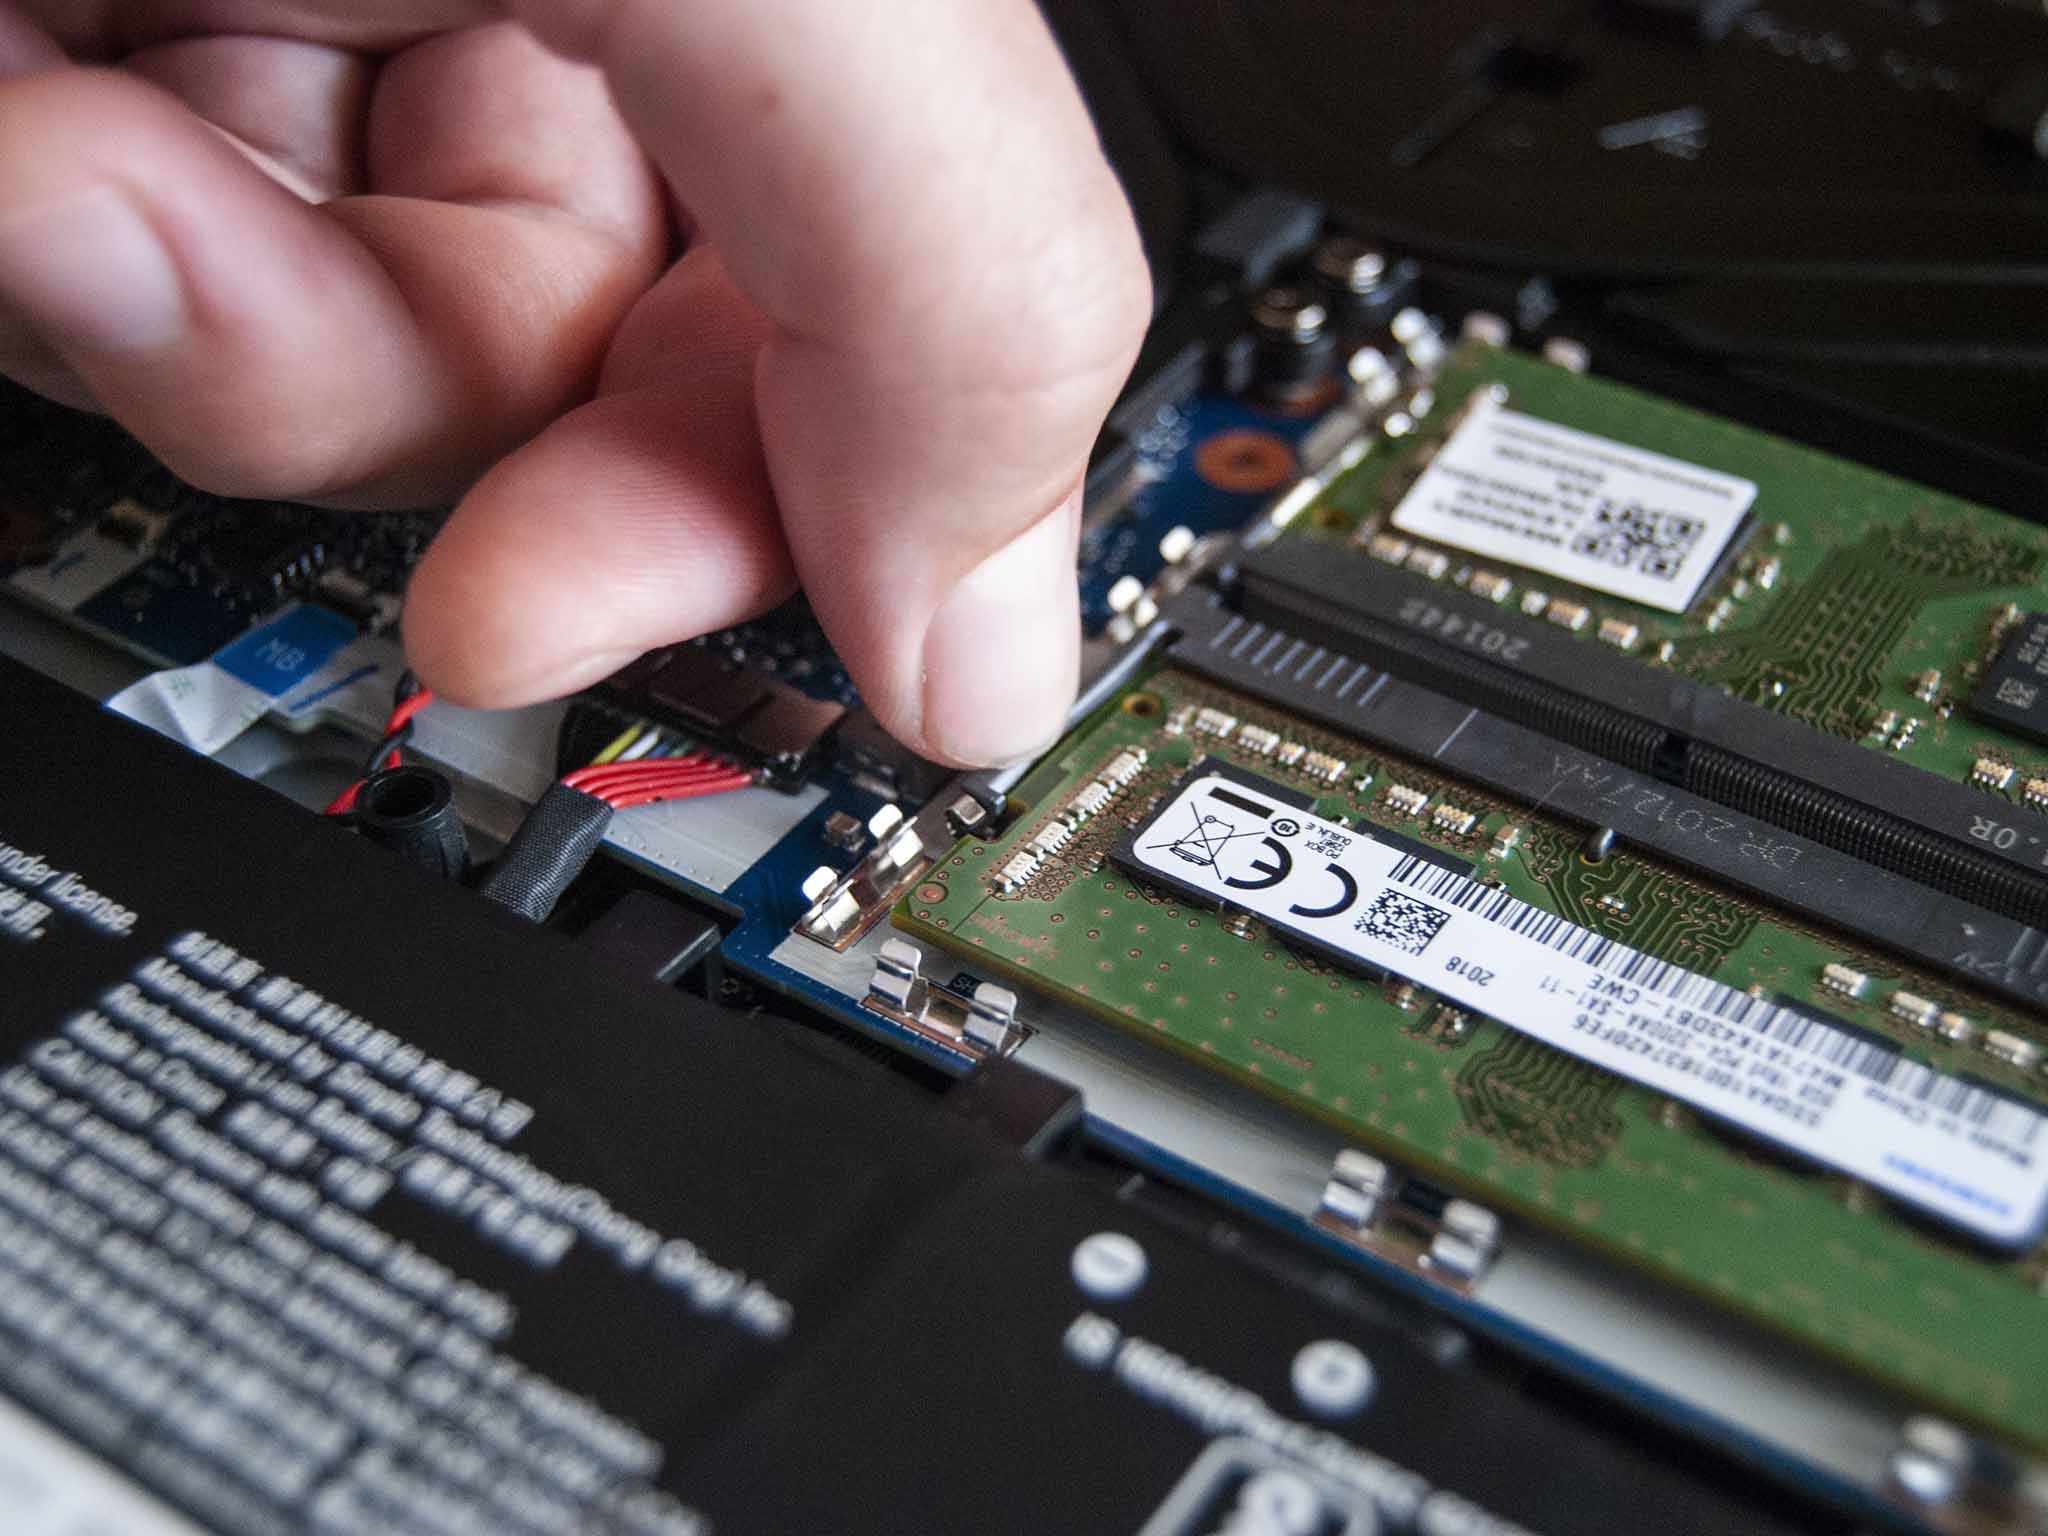
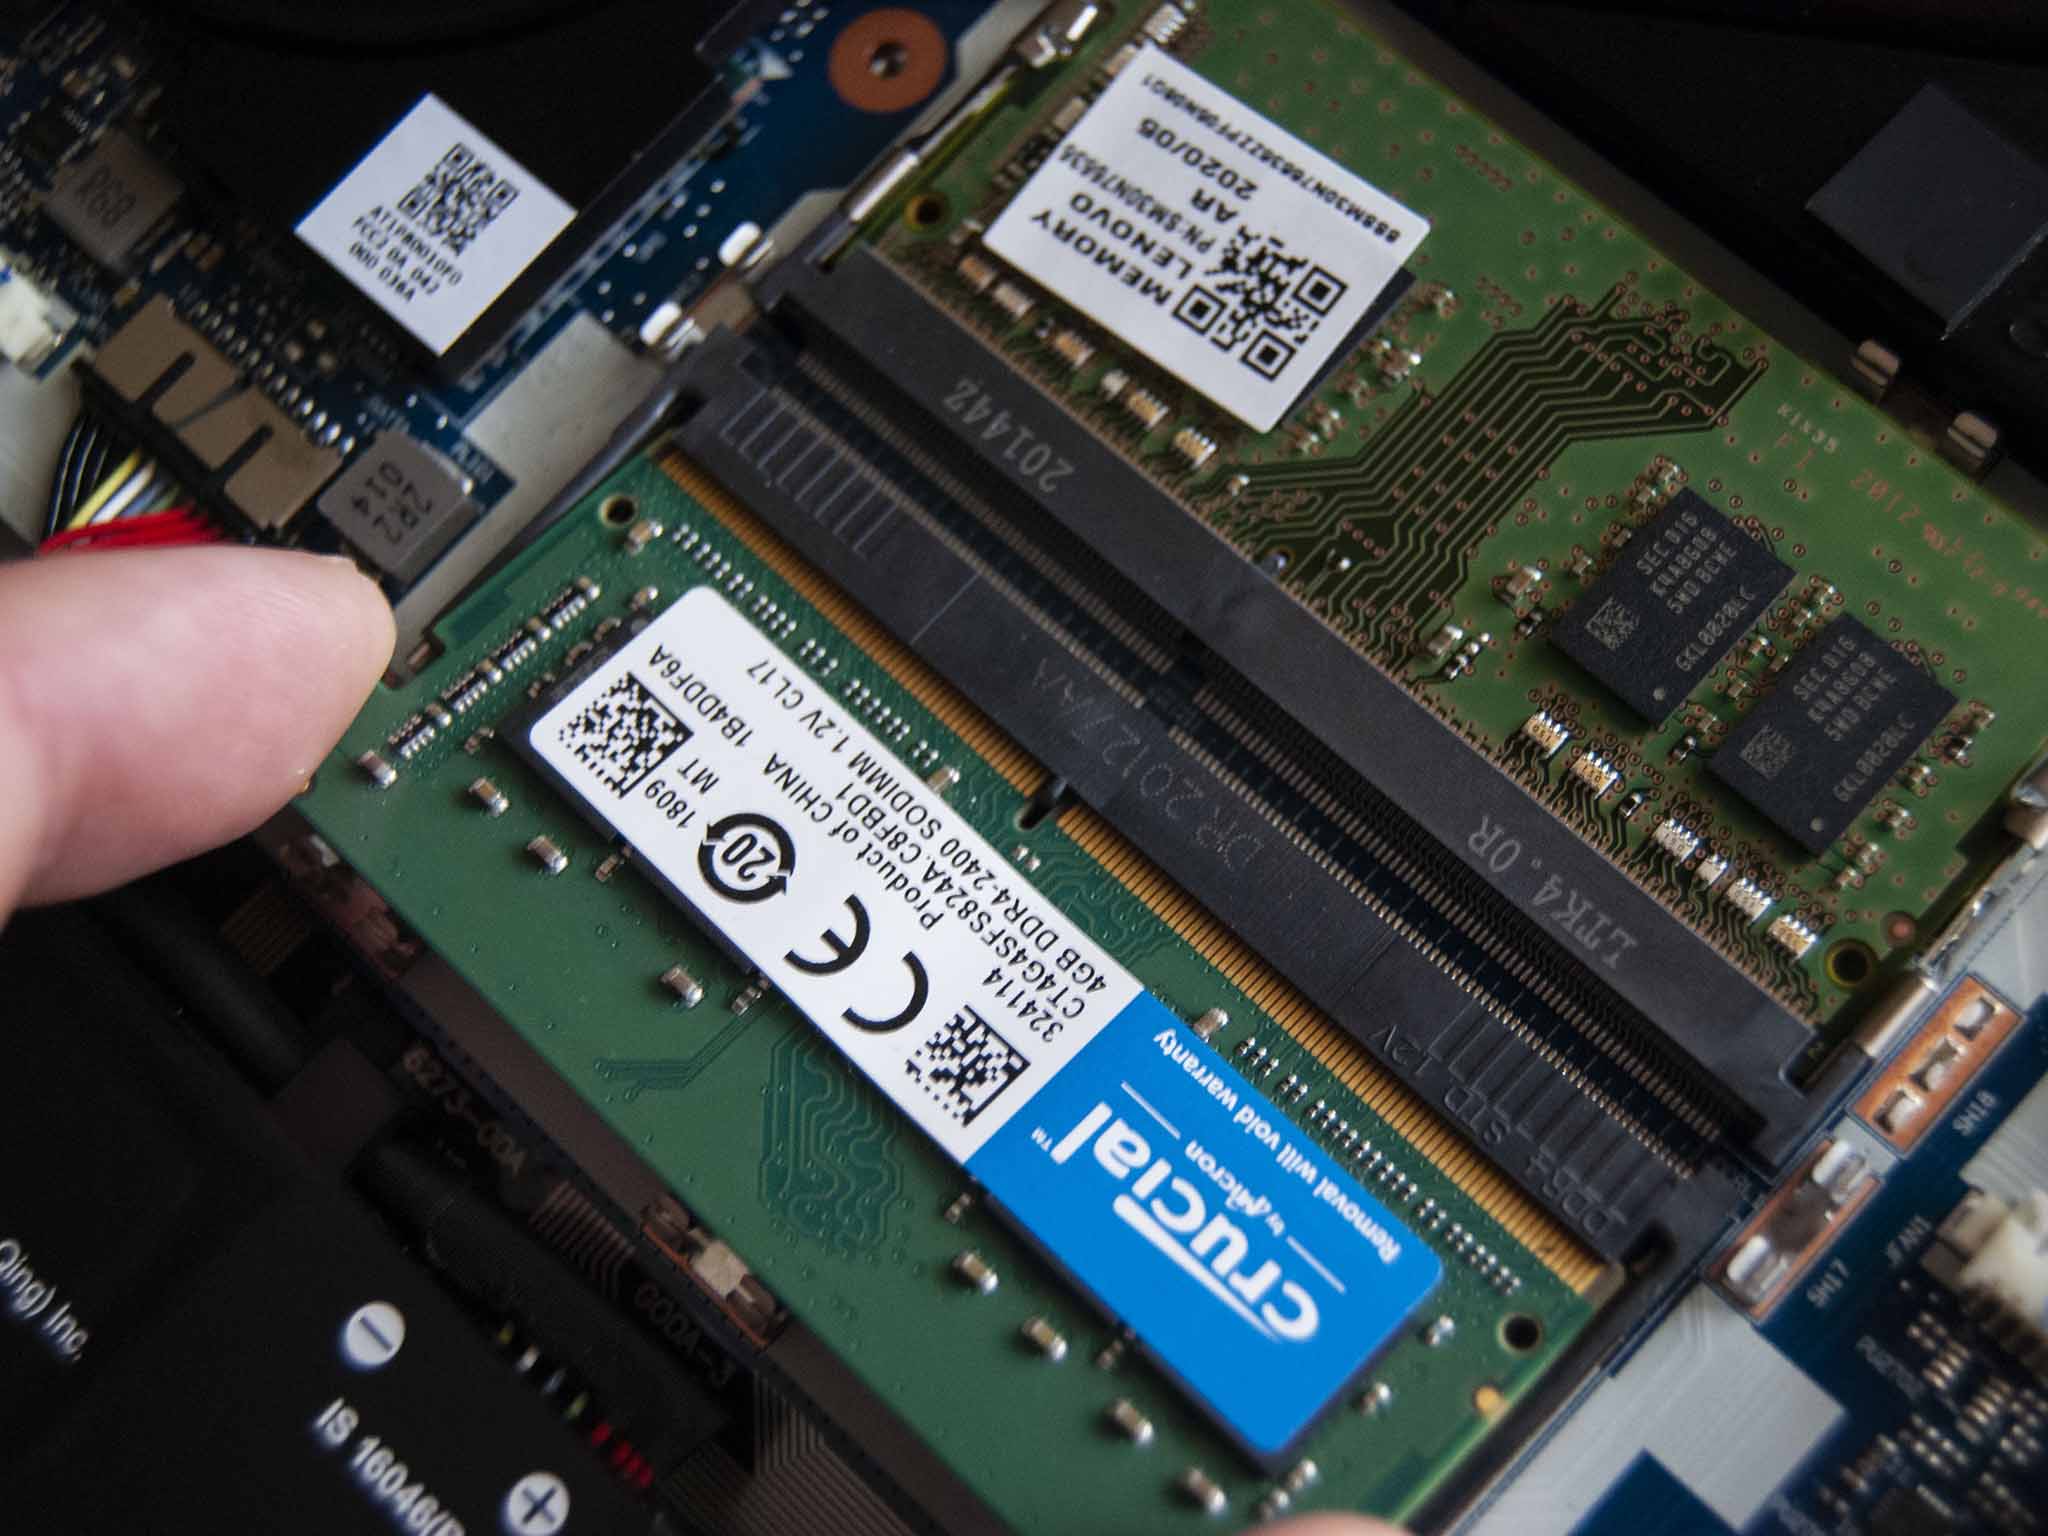
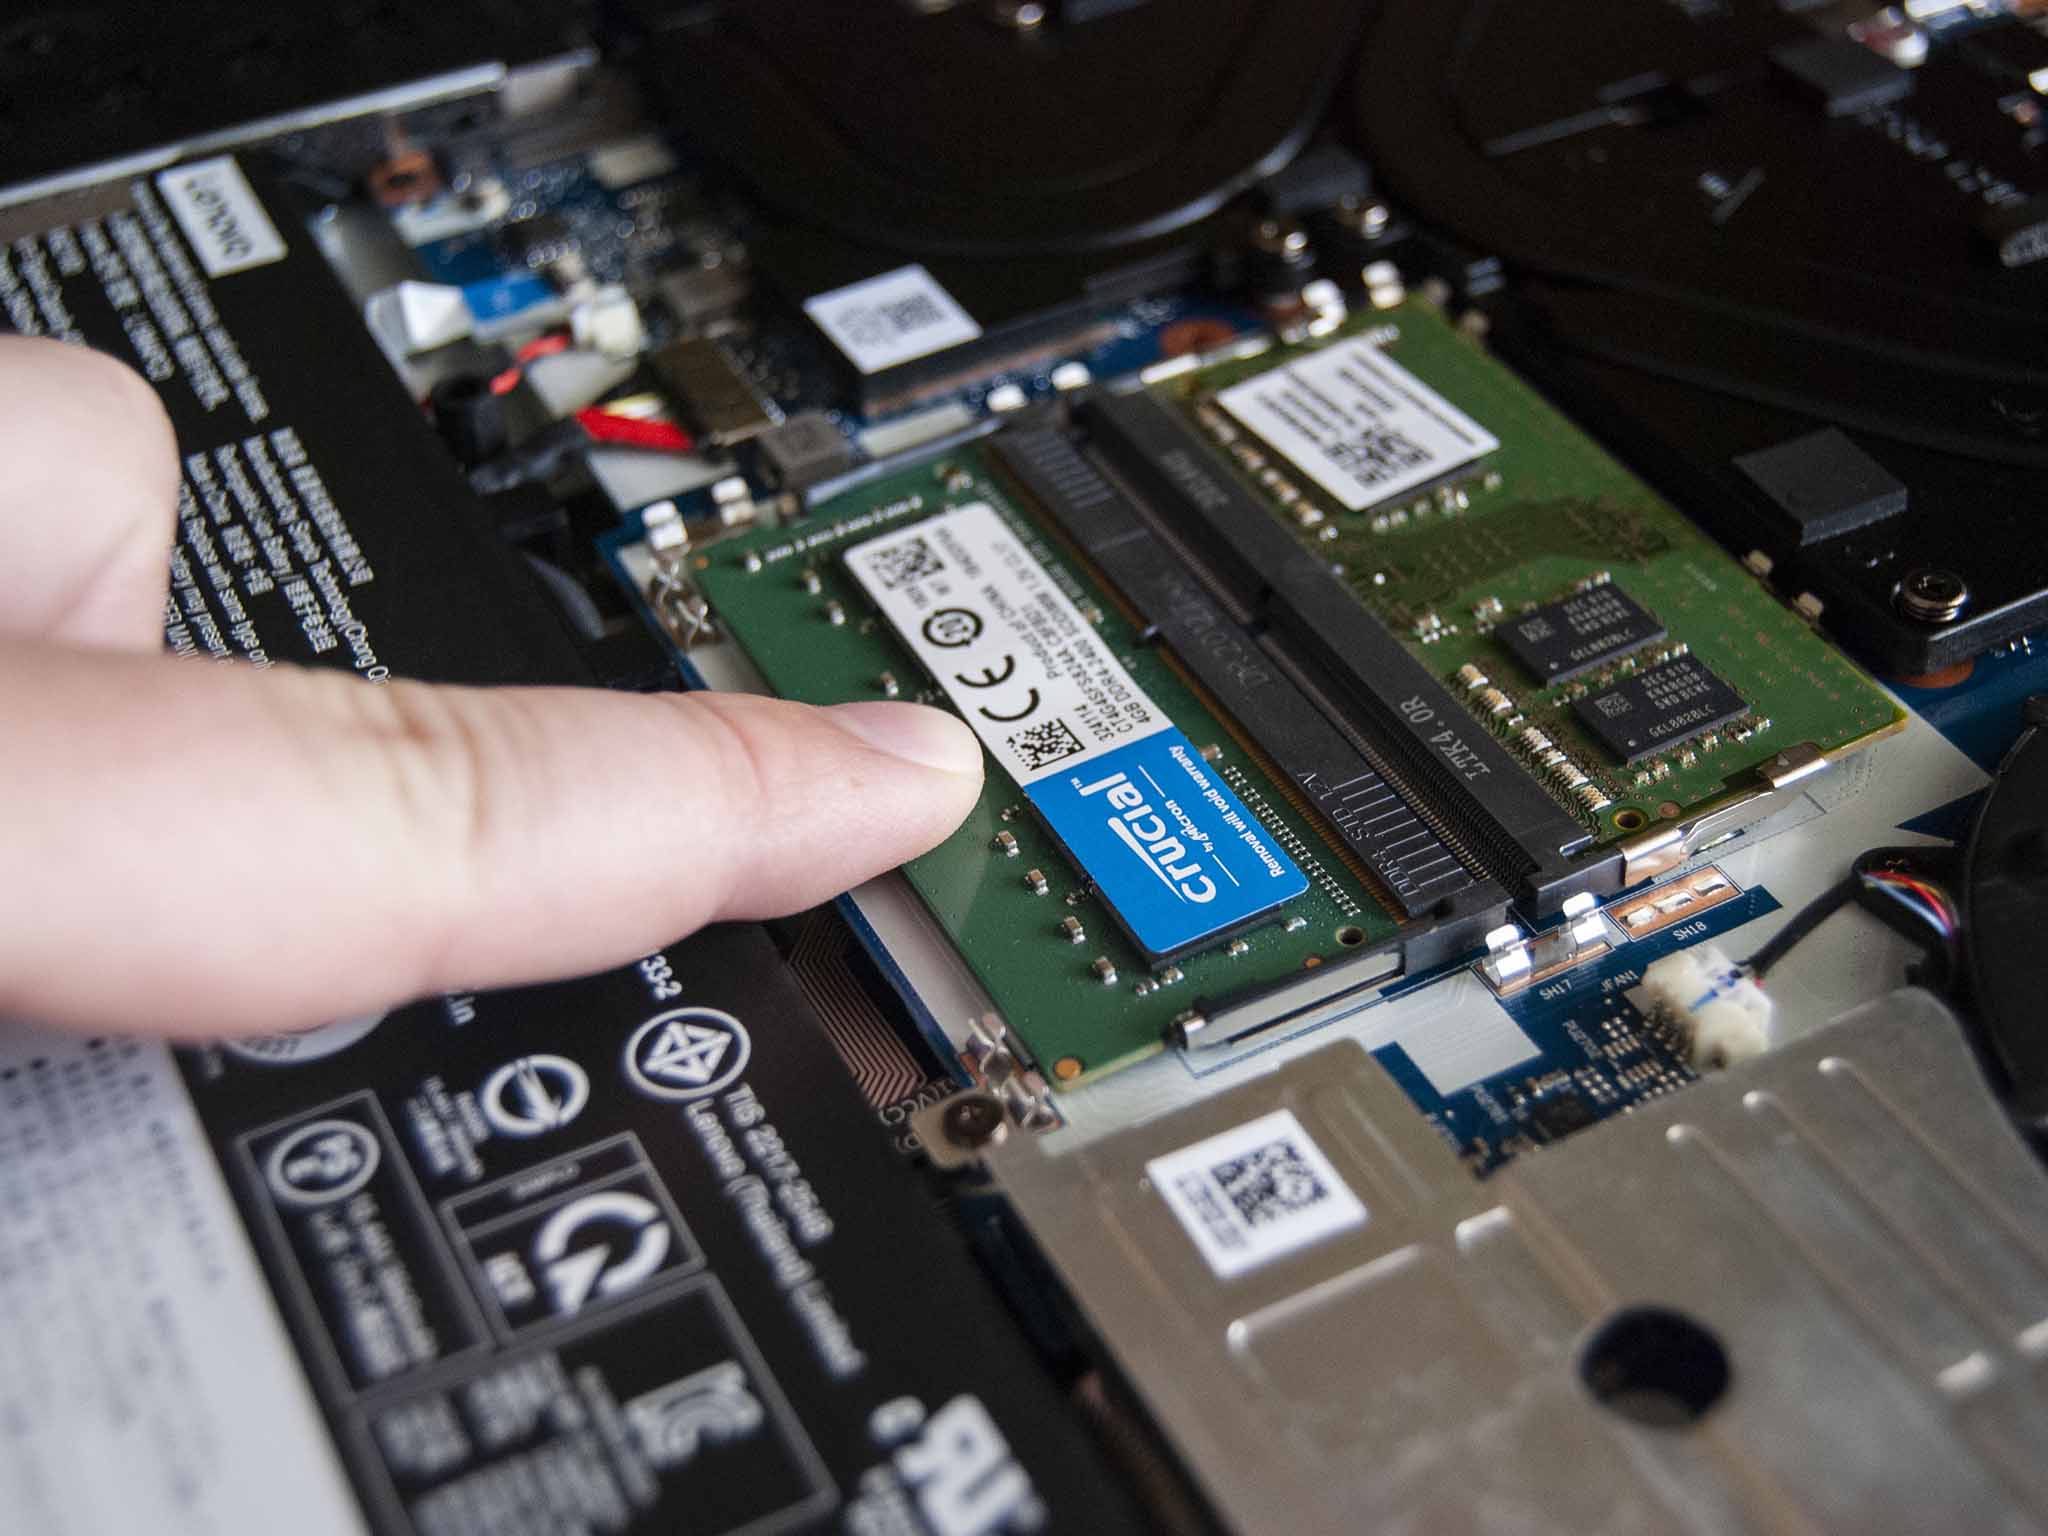
- Remove the metal clips on either side of the first RAM module. Just slide them away from the RAM and the module should pop up.
- Pull the RAM module out of the slot.
- Insert the new RAM module into the slot at about a 30-degree angle. Notice it is keyed and will only fit one way.
- Press down on the RAM until the metal clips on either side click into place. Repeat steps 4 to 7 if you're replacing both RAM modules.
- Replace the aluminum shielding. Be sure to line up the small clips.
- Replace the bottom panel on the laptop. Apply pressure in one corner and work your way around until it is secured.
- Screw in the 11 fasteners on the bottom of the laptop.
You can now turn on your Legion 5i 15 and check to see if the RAM upgrade went according to plan. To quickly check if the new hardware is recognized by the system, run through the proceeding steps.
- Right-click the Start button.
- Click System.
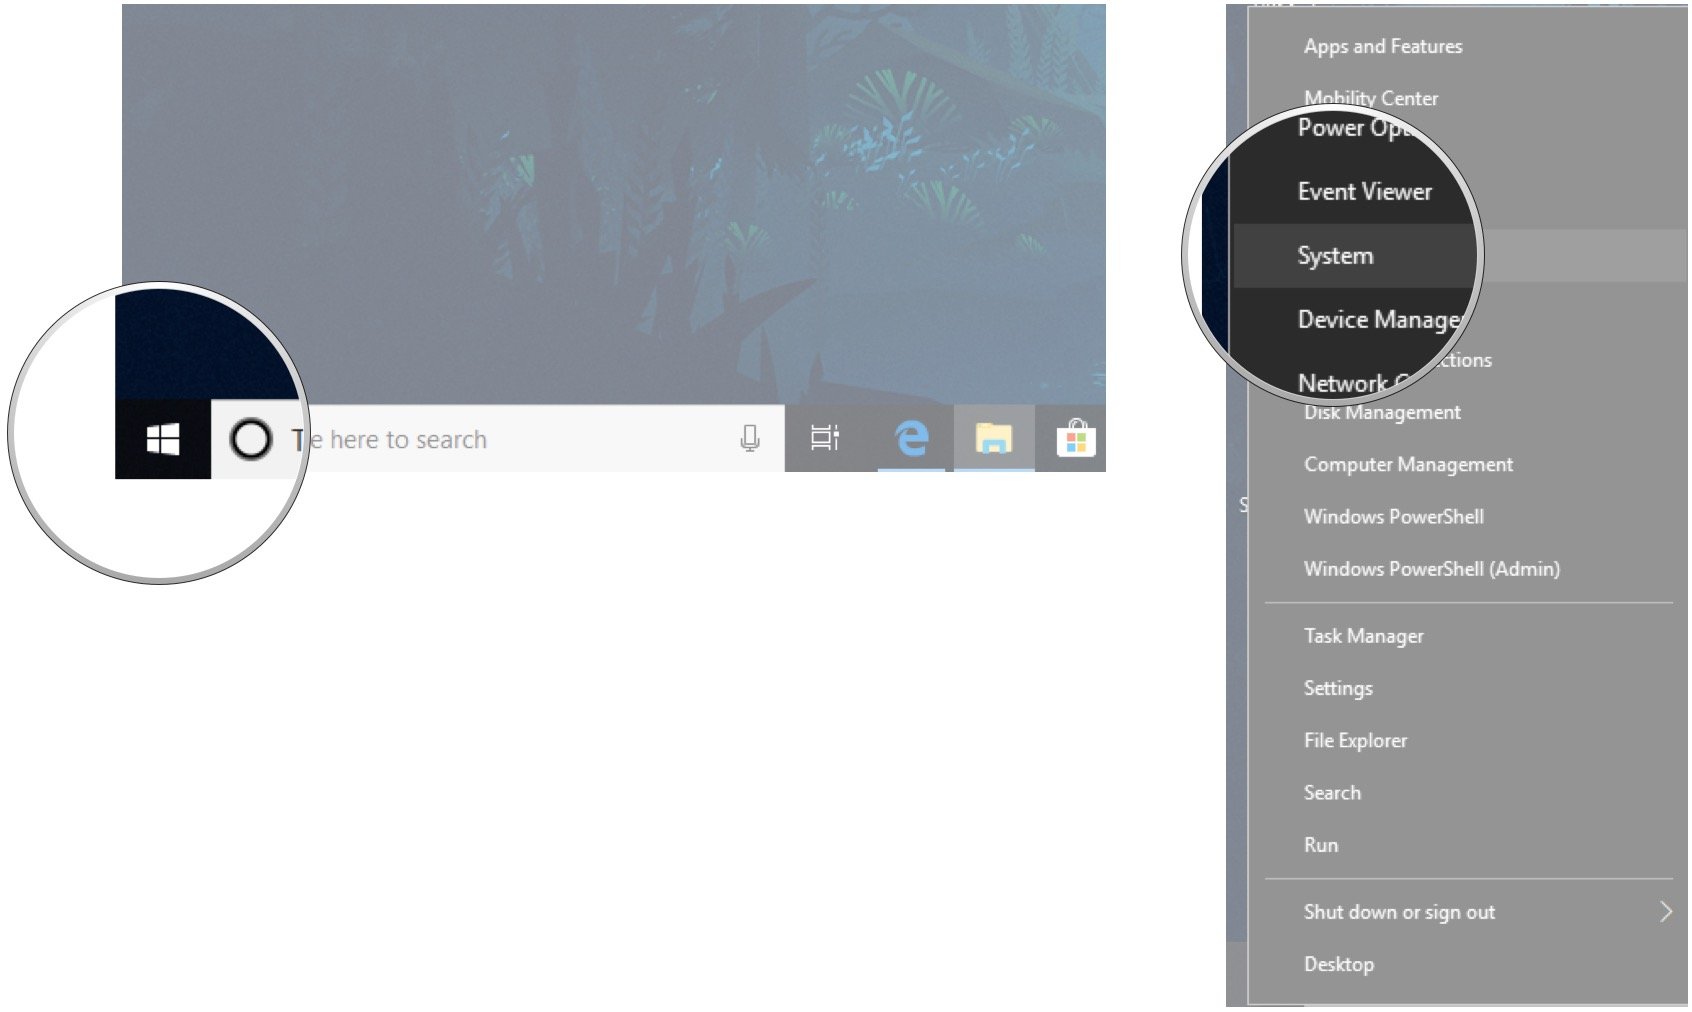
You should now be able to see the total amount of installed RAM in the Device specifications section. As long as it matches the total amount you have installed, your upgrade was a success.
All the latest news, reviews, and guides for Windows and Xbox diehards.
Our top hardware picks
Kingston's HyperX Impact DDR4-3200MHz SODIMM RAM comes in several different configurations to suit your needs. It's competitively priced and is quite reliable.
Lenovo's rebranded Legion 5i 15 is available in a bunch of different configurations, ranging from low-end to mid-range performance. It runs cool, and it has several features that will appeal to gamers. Check out more best Windows laptops to see how it measures up.
Additional Equipment
To make the upgrade process easier and less risky, consider investing in some of these affordable PC tools, and don't forget about Macrium Reflect and an external enclosure for those who want to clone drives.
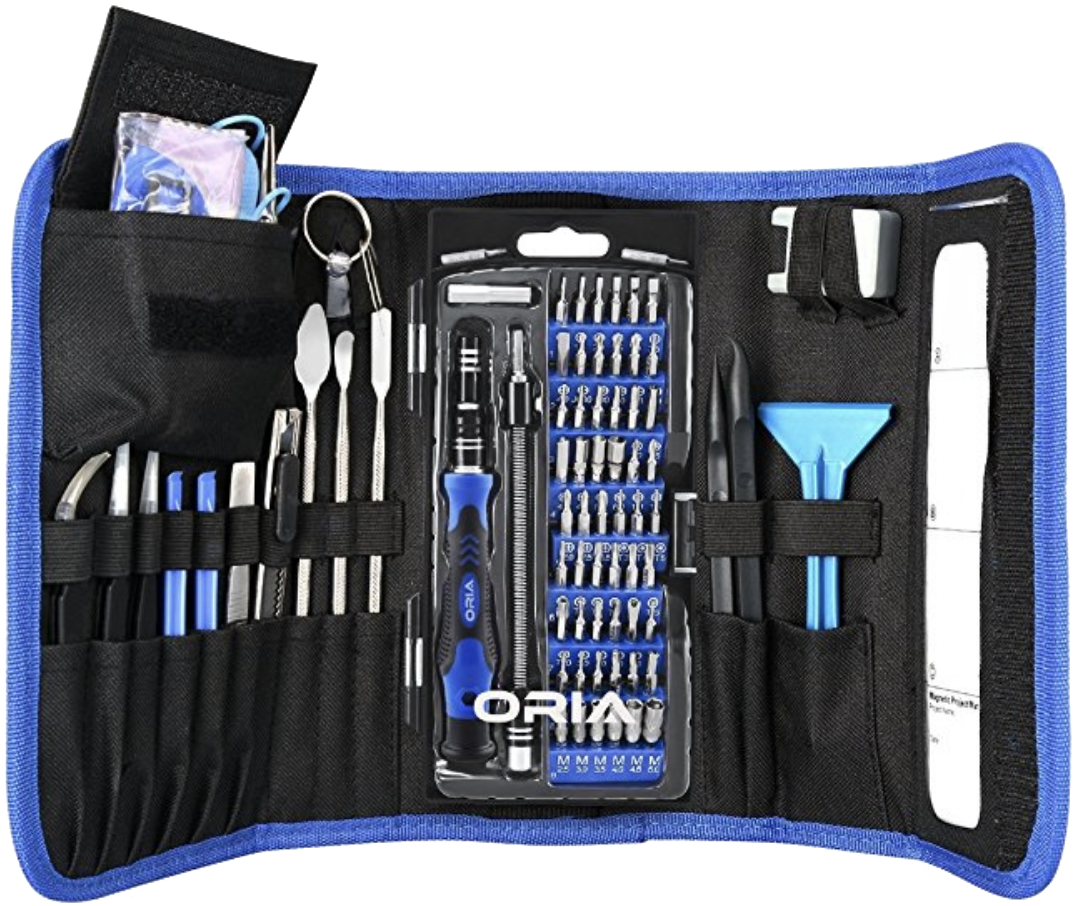
ORIA PC toolkit ($35 at Amazon)
Having the proper gear to work on your PC will always make the job much easier. Here you get a plethora of tools contained in a portable case.
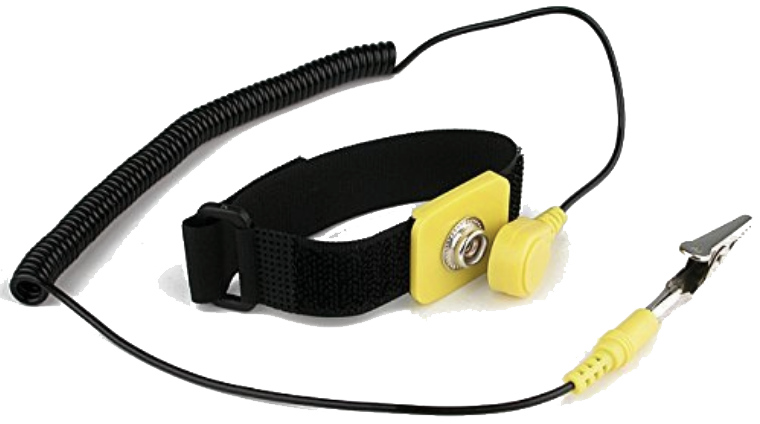
Rosewill anti-static wristband ($7 at Amazon)
Static electricity can damage sensitive PC parts, so remove the risk with an anti-static wristband. Fasten it around your wrist and clip it onto your PC for peace of mind.

Cale Hunt brings to Windows Central more than nine years of experience writing about laptops, PCs, accessories, games, and beyond. If it runs Windows or in some way complements the hardware, there’s a good chance he knows about it, has written about it, or is already busy testing it.
