Turn a photo into live tiles [How To]
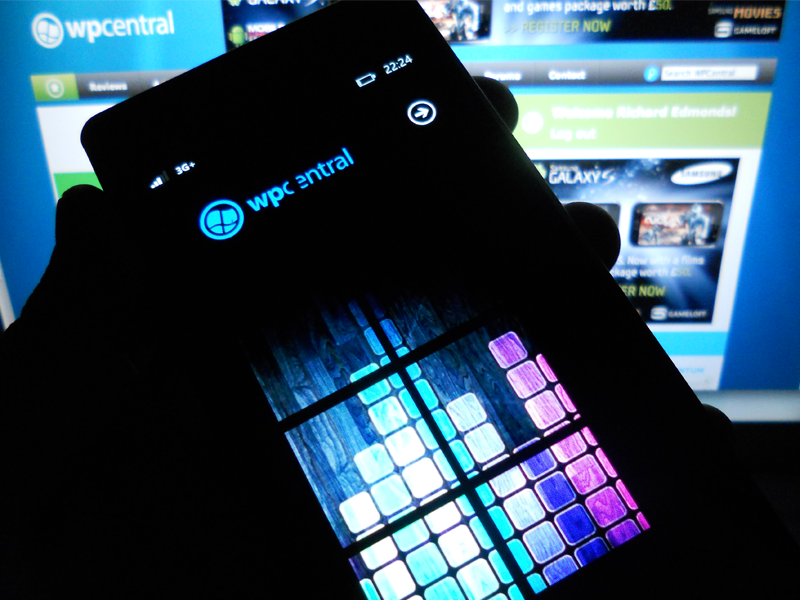
There has been an awesome tutorial posted that allows one to add a photo as a set of live tiles, so if you are someone who would like to have the top eight (or in any order) tiles of your home screen show a sliced image then this is perfect for you to achieve that effect.
Get the complete how-to after the jump.
First, we must locate the image we wish to use (it should be at least the size of the phone screen dimensions - 480x800). For example purposes, I shall be using a simple wpcentral logo on a pre-made WP7 wallpaper design. You should make sure that the image is light in colours, a darker choice (like our example) makes getting the slices perfect slightly more difficult.
Now we have our image, we will need to open it up in an image editor of choice. Create a canvas with the dimensions of 358x728 (pixels). We will now need to split this canvas into eight equal 173px squares with a 12px separator.
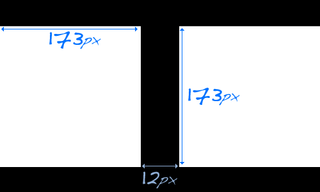
You can achieve this a number of ways, by either cutting up the image into equal squares, or creating a template which should result with whats shown below.

You can use the image above as a template for your design should you wish to skip this part. Now we have our template at the ready, it's time to add in our image. You will need to place the image you've chosen on a layer that's behind the template we just created.
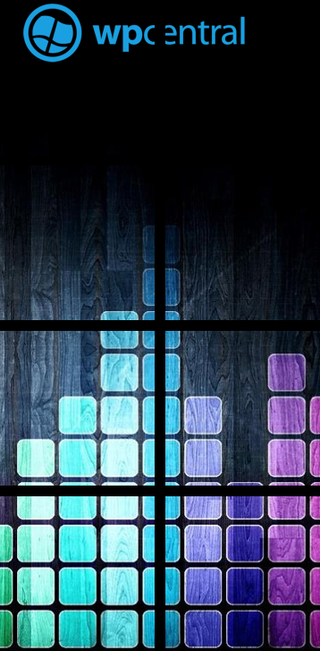
Now we will need to save the image as .png or .jpg preferred format and upload to our favourite image sharing site. Visit the location on your device where the image has been uploaded to and zoom in to fit one square perfectly on the screen. Be sure to have the top of the square touching the address bar each and every time with the sides of the square hitting the edges of the screen. You will see the top half of the square below, this is fine as it wont show on the live tile.
Get the Windows Central Newsletter
All the latest news, reviews, and guides for Windows and Xbox diehards.
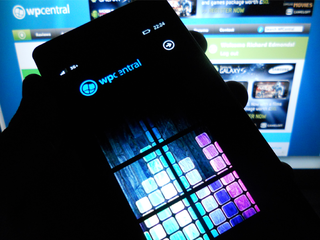
Press "…" and then select "pin to start". The image will now appear on your start screen, move it to the top left and carry this process out with the rest of the squares. You should now have something that looks like the result I gained.
Should you not have image editng software, or if you wish to not dive into creating your own images with the steps above, "there's an app for that!" Simply browse the Marketplace for "Pin To Start" (by FlickyFlocky) and install what ones you require - there are eight available, one per tile. Comment below if you found this useful and show us what images you used for your device.
Thanks for the tip Tezawaly!

Rich Edmonds was formerly a Senior Editor of PC hardware at Windows Central, covering everything related to PC components and NAS. He's been involved in technology for more than a decade and knows a thing or two about the magic inside a PC chassis. You can follow him on Twitter at @RichEdmonds.