Unbreakable 2: Thoughts on swapping out my Nokia Lumia 920 Chassis and going grey

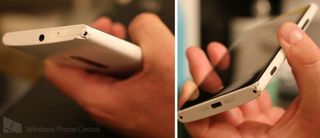
You may recall reading about my account of what happened when I took my Nokia Lumia 920 out for a spin on my bike with a sub-standard bike mount back in June and how it took a beating that only an action hero could withstand.
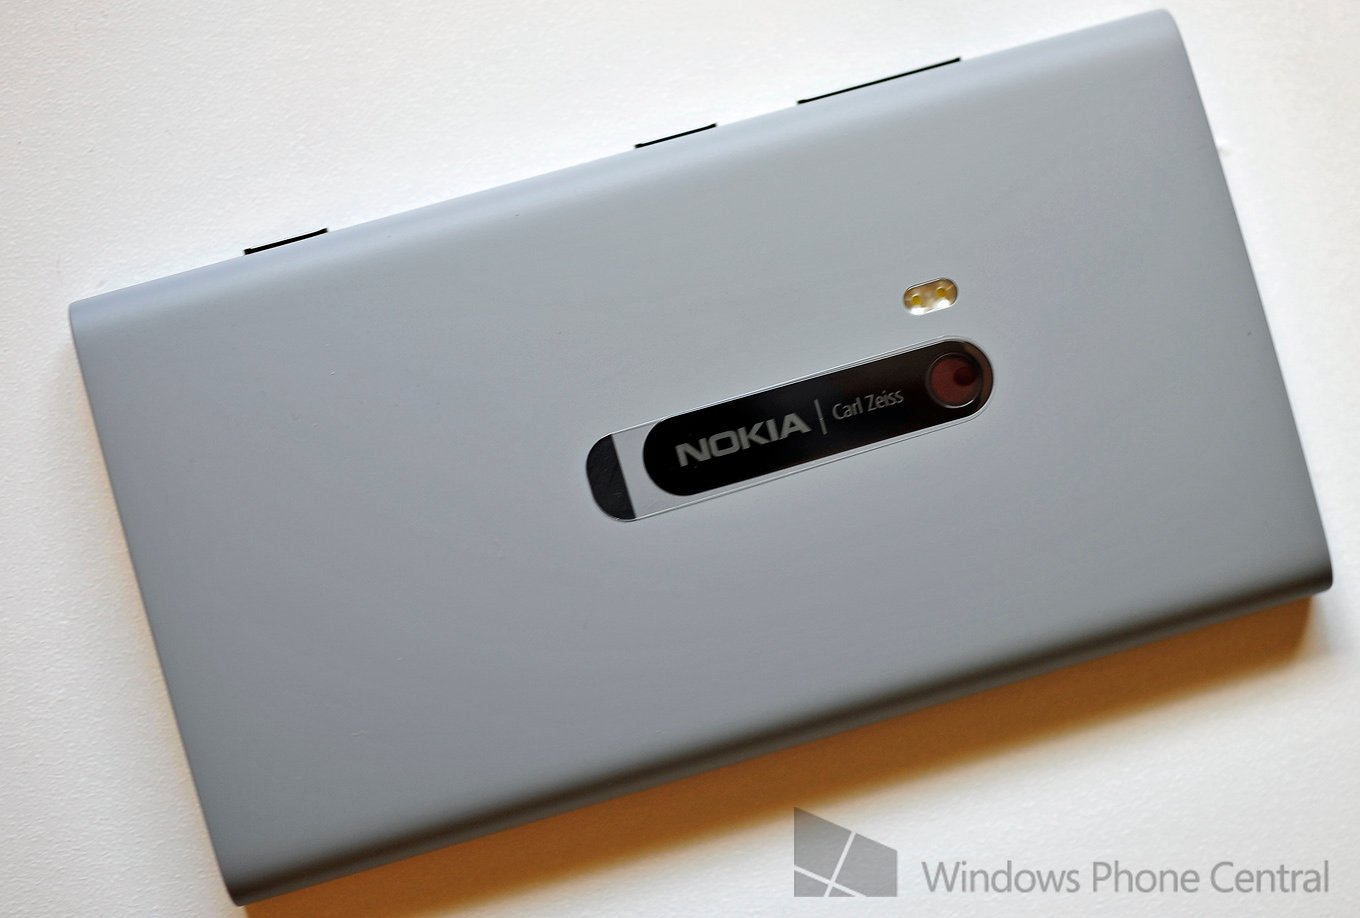
I figured I would post a follow up on how my Lumia 920's story, like those of the silver screen, had a fairly happy ending, complete with a new grey chassis.

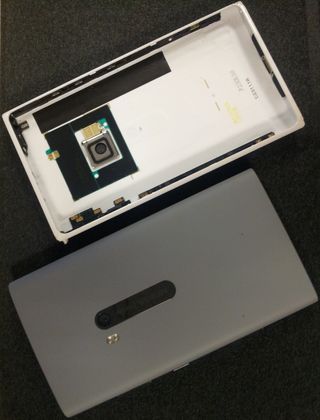
After receiving a refund for the bike mount that wasn't strong enough to carry the phone it was designed for, I decided that I would swap out the battle-scarred body of my white Lumia 920 with a brand new grey one that I procured from eBay. Once it arrived, I set up my Surface tablet tuned the video that Windows Phone Central user Lemmiwinkles made that we used in a post we did about changing the body of your Lumia 920.
Armed with a mini multi-head screwdriver set, razor blade, and a hairdryer (Thankfully my wife has a full head of hair because I am balder than an old tire), I got to work, following Lemmiwinkles' video pretty much to a T. I was pretty nervous, considering this is my daily driver of a phone and I am only about 4 months into ownership, so I am not even close to being eligible for an upgrade.
To my surprise, the process was easy and everything went incredibly smoothly. Even the steps that the video said would likely be challenging did not present any difficulty. The screen assembly popped out of the chassis with a little light prying with a tiny flathead screwdriver, as did the USB jack. The headphone port came out after briefly heating it with the hairdryer.
Using the hairdryer to loosen up the adhesive on the headphone jack and wireless charging pad worked like a charm. However, the charging pad was the toughest part. I found it tricky to heat the adhesive enough for it to become workable and then carefully scrape the wireless charging pad up with the razor blade before it cooled down too much. I probably shouldn't have risked using a razor, and opted to go buy a plastic scraper or something, but I will admit I was too excited and impatient to do that.
When the charging pad first pulled up from the body, it did so without the adhesive and a tiny square of material from the center of the pad. This not how it happened in the video (my own fault), so freaked out a little, thinking that I killed the ability to charge wirelessly. My fears soon proved to be false once the phone was back in one piece and I heard that familiar "doop-a-doo" jingle when my Lumia hit the charger.
Get the Windows Central Newsletter
All the latest news, reviews, and guides for Windows and Xbox diehards.
It was worth it

All in all, the whole swap took me about 20 minutes, including the time it took me to rewind and watch parts of the instruction video. It could have taken longer if I had run into trouble getting the phone apart or back together, but I was fortunate that I did not. It was a positive and rewarding experience to not only fix my busted Lumia 920, but also add a little panache with the matte grey.
I likely never would have given this a try had my phone not fallen off my bike onto the asphalt and been run over by four cars, so I suppose you can find some kind of silver lining here.
Thanks to Lemmiwinkles for his excellent video. And just remember, if you decide you give this a go with your Lumia 920, you do so at your own risk. Good luck!
