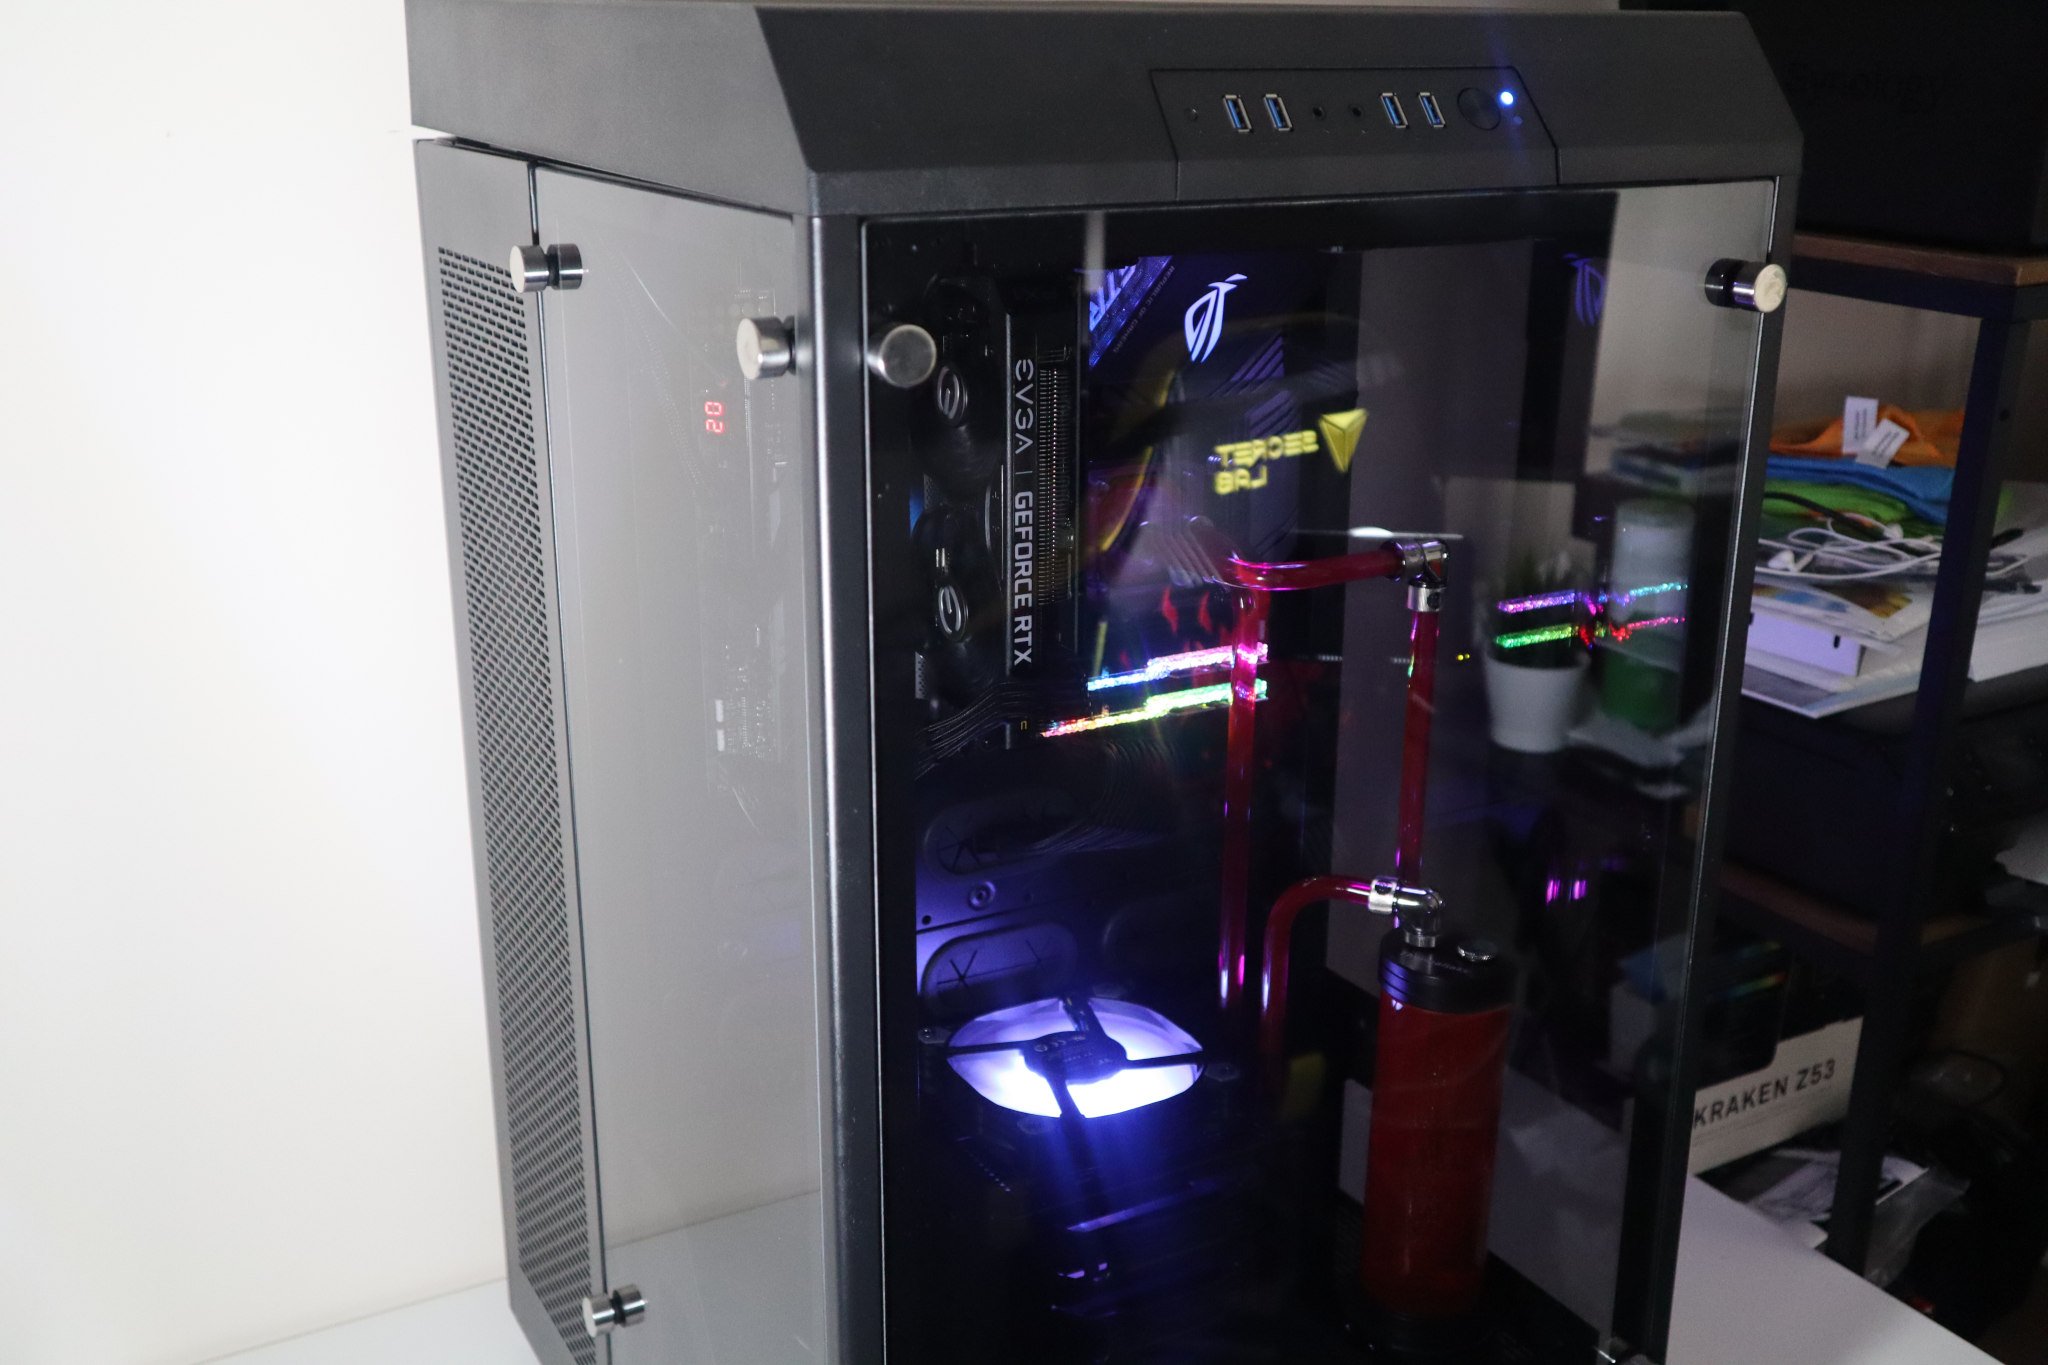
Thermaltake makes plenty of PC cases and some of them are worthy of being added to our best PC cases collection, but many fall into the category of style over functionality. The Tower 900 aims to not only look the part, but provide ample thermal performance, especially with a custom water-cooling loop solution.
I put together a fairly powerful PC inside the Tower 900 with a single water-cooling loop for the processor. This chassis supports two loops and I'll be sure to add another with an NVIDIA GeForce RTX 30 series graphics card, but that'll be for a time when water blocks (and GPUs) are easier to pick up.
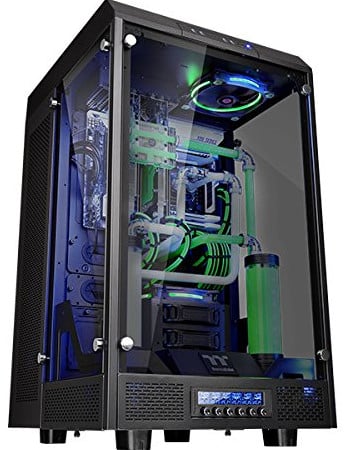
Bottom line: There's a lot to love about the Thermaltake Tower 900. It's expensive, huge, heavy, and cumbersome, but this also provides ample space inside for even the most ridiculous enthusiast PC builds. Want to go all-out with a multi-GPU and CPU water-cooled PC? That's entirely possible with this behemoth.
For
- Massive amounts of internal space
- Great for showcasing internal parts
- Supports up to 480mm and 560mm radiators
- Panoramic view with three tempered glass panels
- Great thermal performance
Against
- Seriously heavy and bulky
- Top panel isn't magnetic
- Cable management can be tricky
Thermaltake Tower 900 at a glance
The Thermaltake Tower 900 is a full-tower case that's absolutely massive, even when compared against other full-tower chassis. This monster of a case will easily hold a Mini-ITX, Micro-ATX, ATX, and E-ATX motherboards, and there's more space than most PC builders will know what to use for.
The best graphics card will fit without issue and you could install up to two water-cooling loops inside. Available in black or white, there's enough thermal capacity with plenty of fan mounts and the possibility of installing two large radiators behind the main motherboard tray.
| Category | Spec |
|---|---|
| Motherboard | E-ATX, ATX, microATX, Mini-ITX |
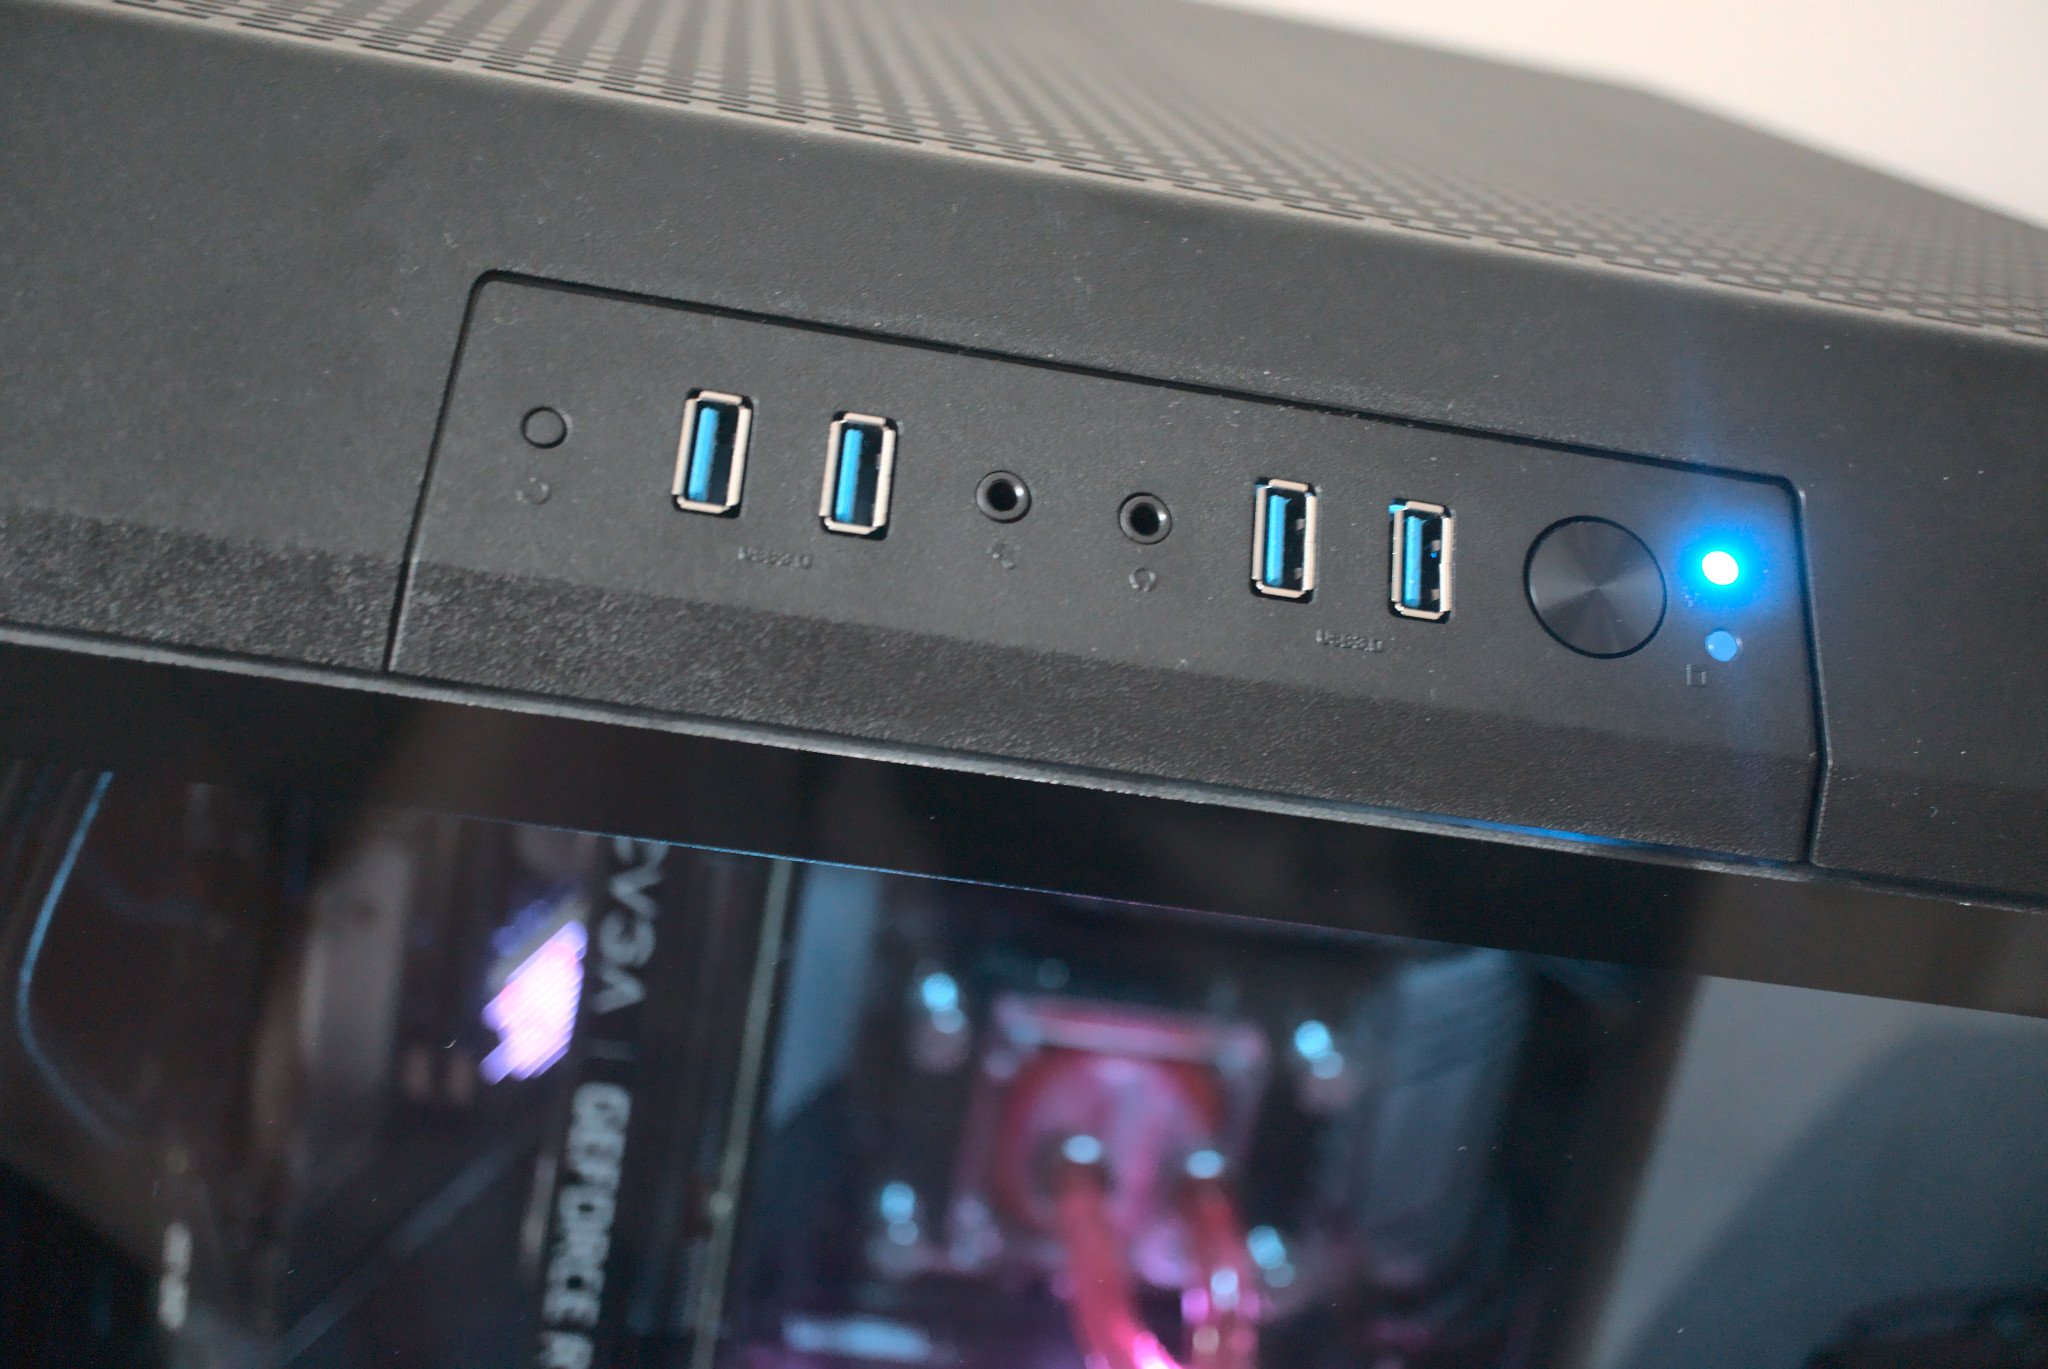
| I/O | 4x USB 3.0HD Audio |
| Expansion | 8x PCIe8 x 2.5-inch (or 6 x 3.5-inch and 2 x 2.5-inch) |
| Included fans | 2x 140mm (top) |
| Top fans | 2x 120mm/140mm |
| Bottom fans | 1x 120mm/140mm |
| Rear fans | 2x 120mm/140mm |
| Side fans | Up to 8x 120mm/140mm |
| Left radiator | Up to 480mm |
| Right radiator | Up to 560mm |
| Filters | Front, sides, bottom, rear |
| Clearance | GPU: 400 mmCPU: 260mmPSU length: 220mm |
| Dimensions | 752 x 423 x 483mm(16.7 (H) x 19 (W) x 29.6 (D) inches) |
| Weight | 12.59 kg(lbs) |
| Materials | SteelTempered glassPlastic |
| Warranty | Two years |
What the Thermaltake Tower 900 has to offer
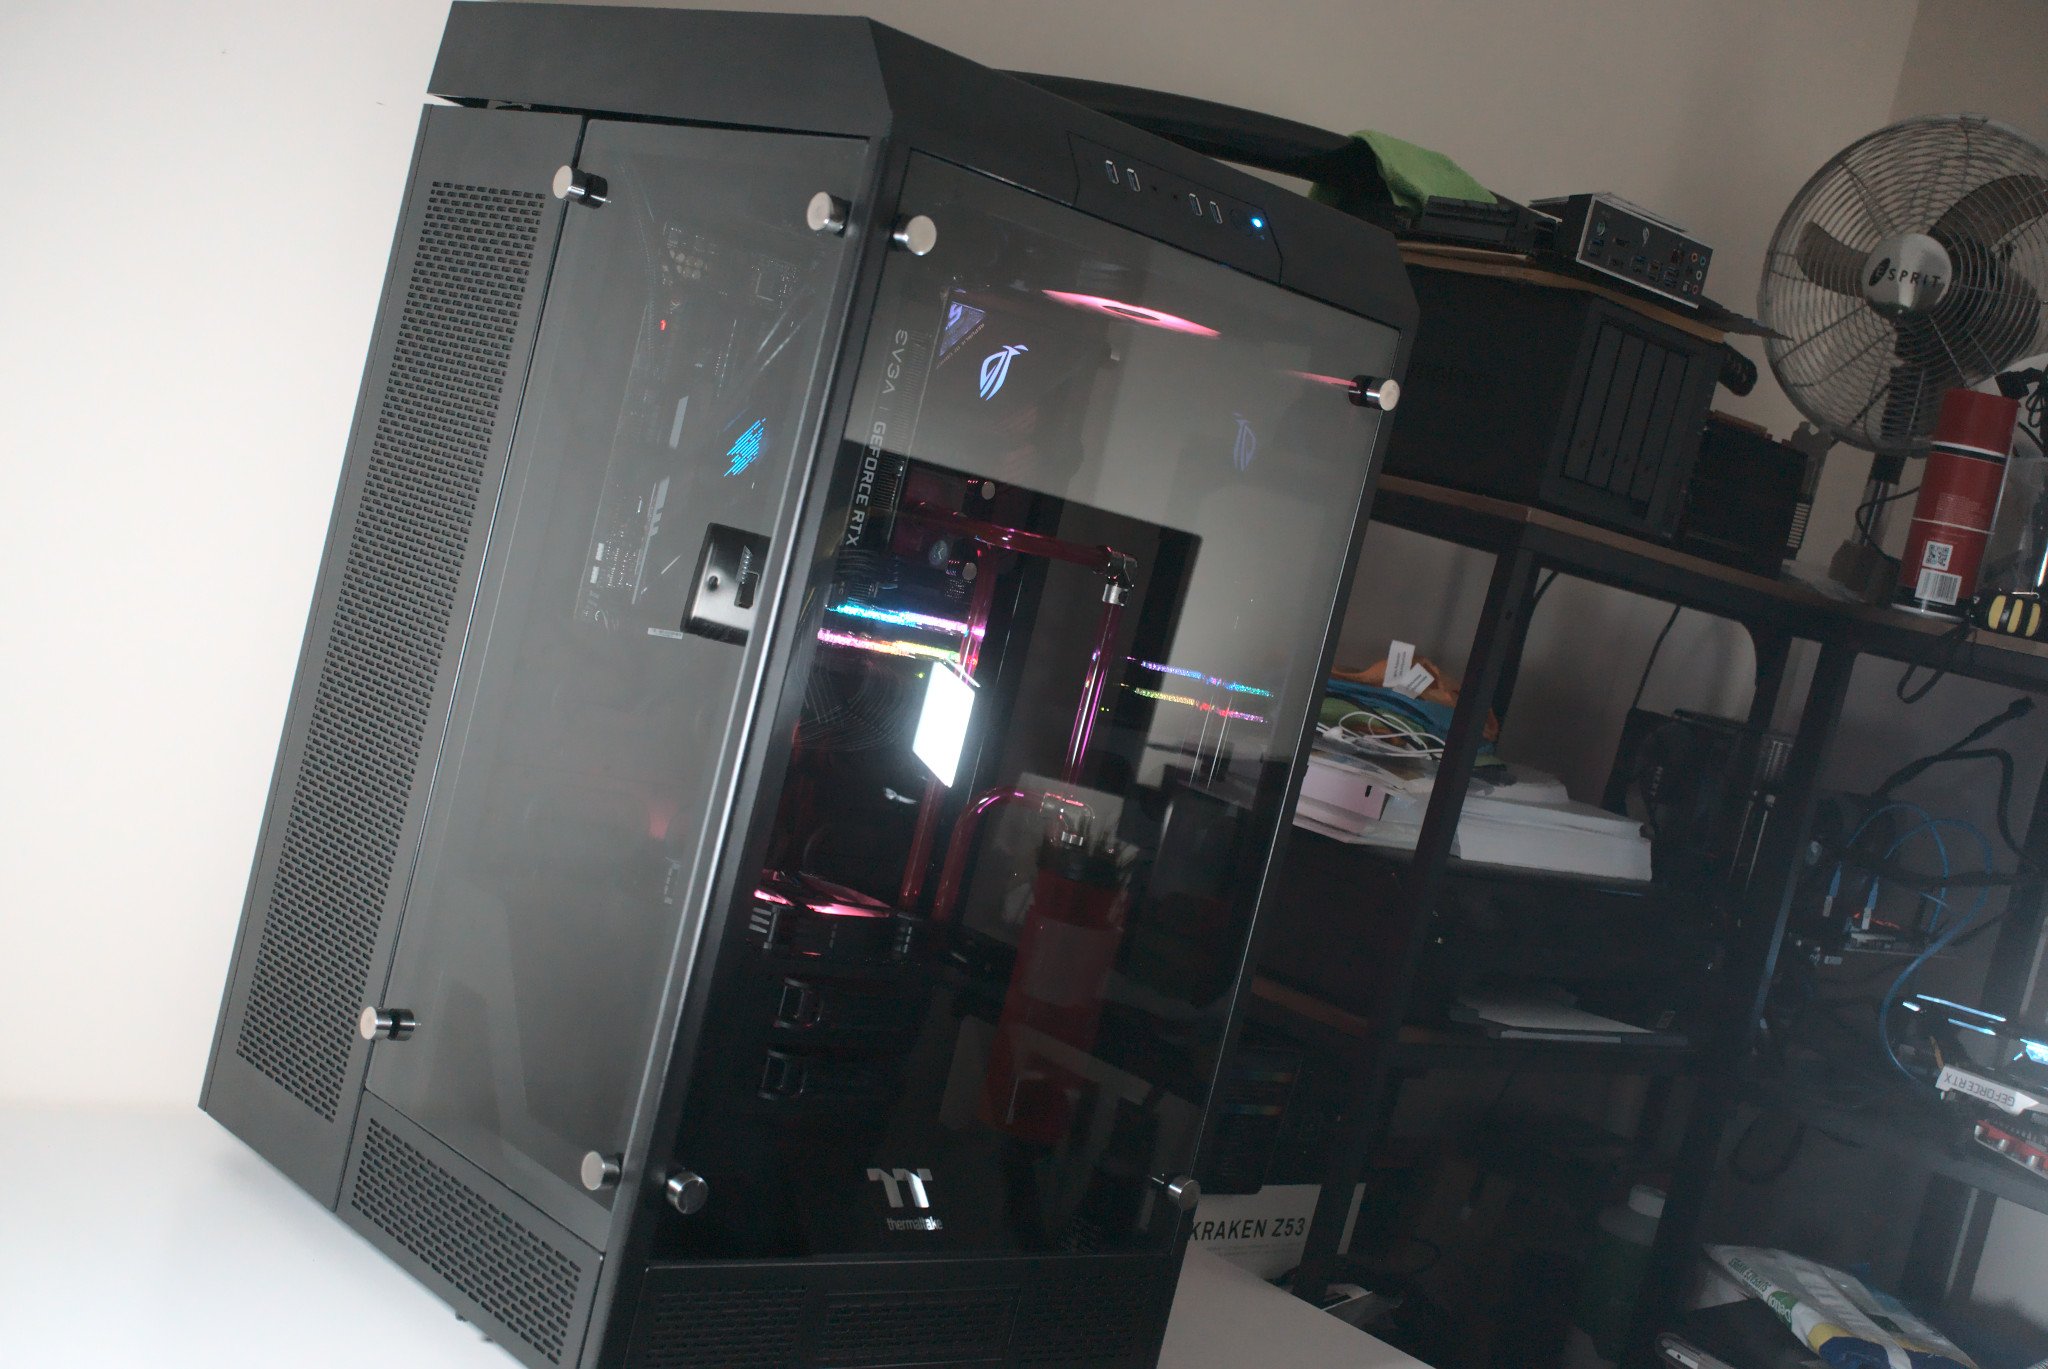
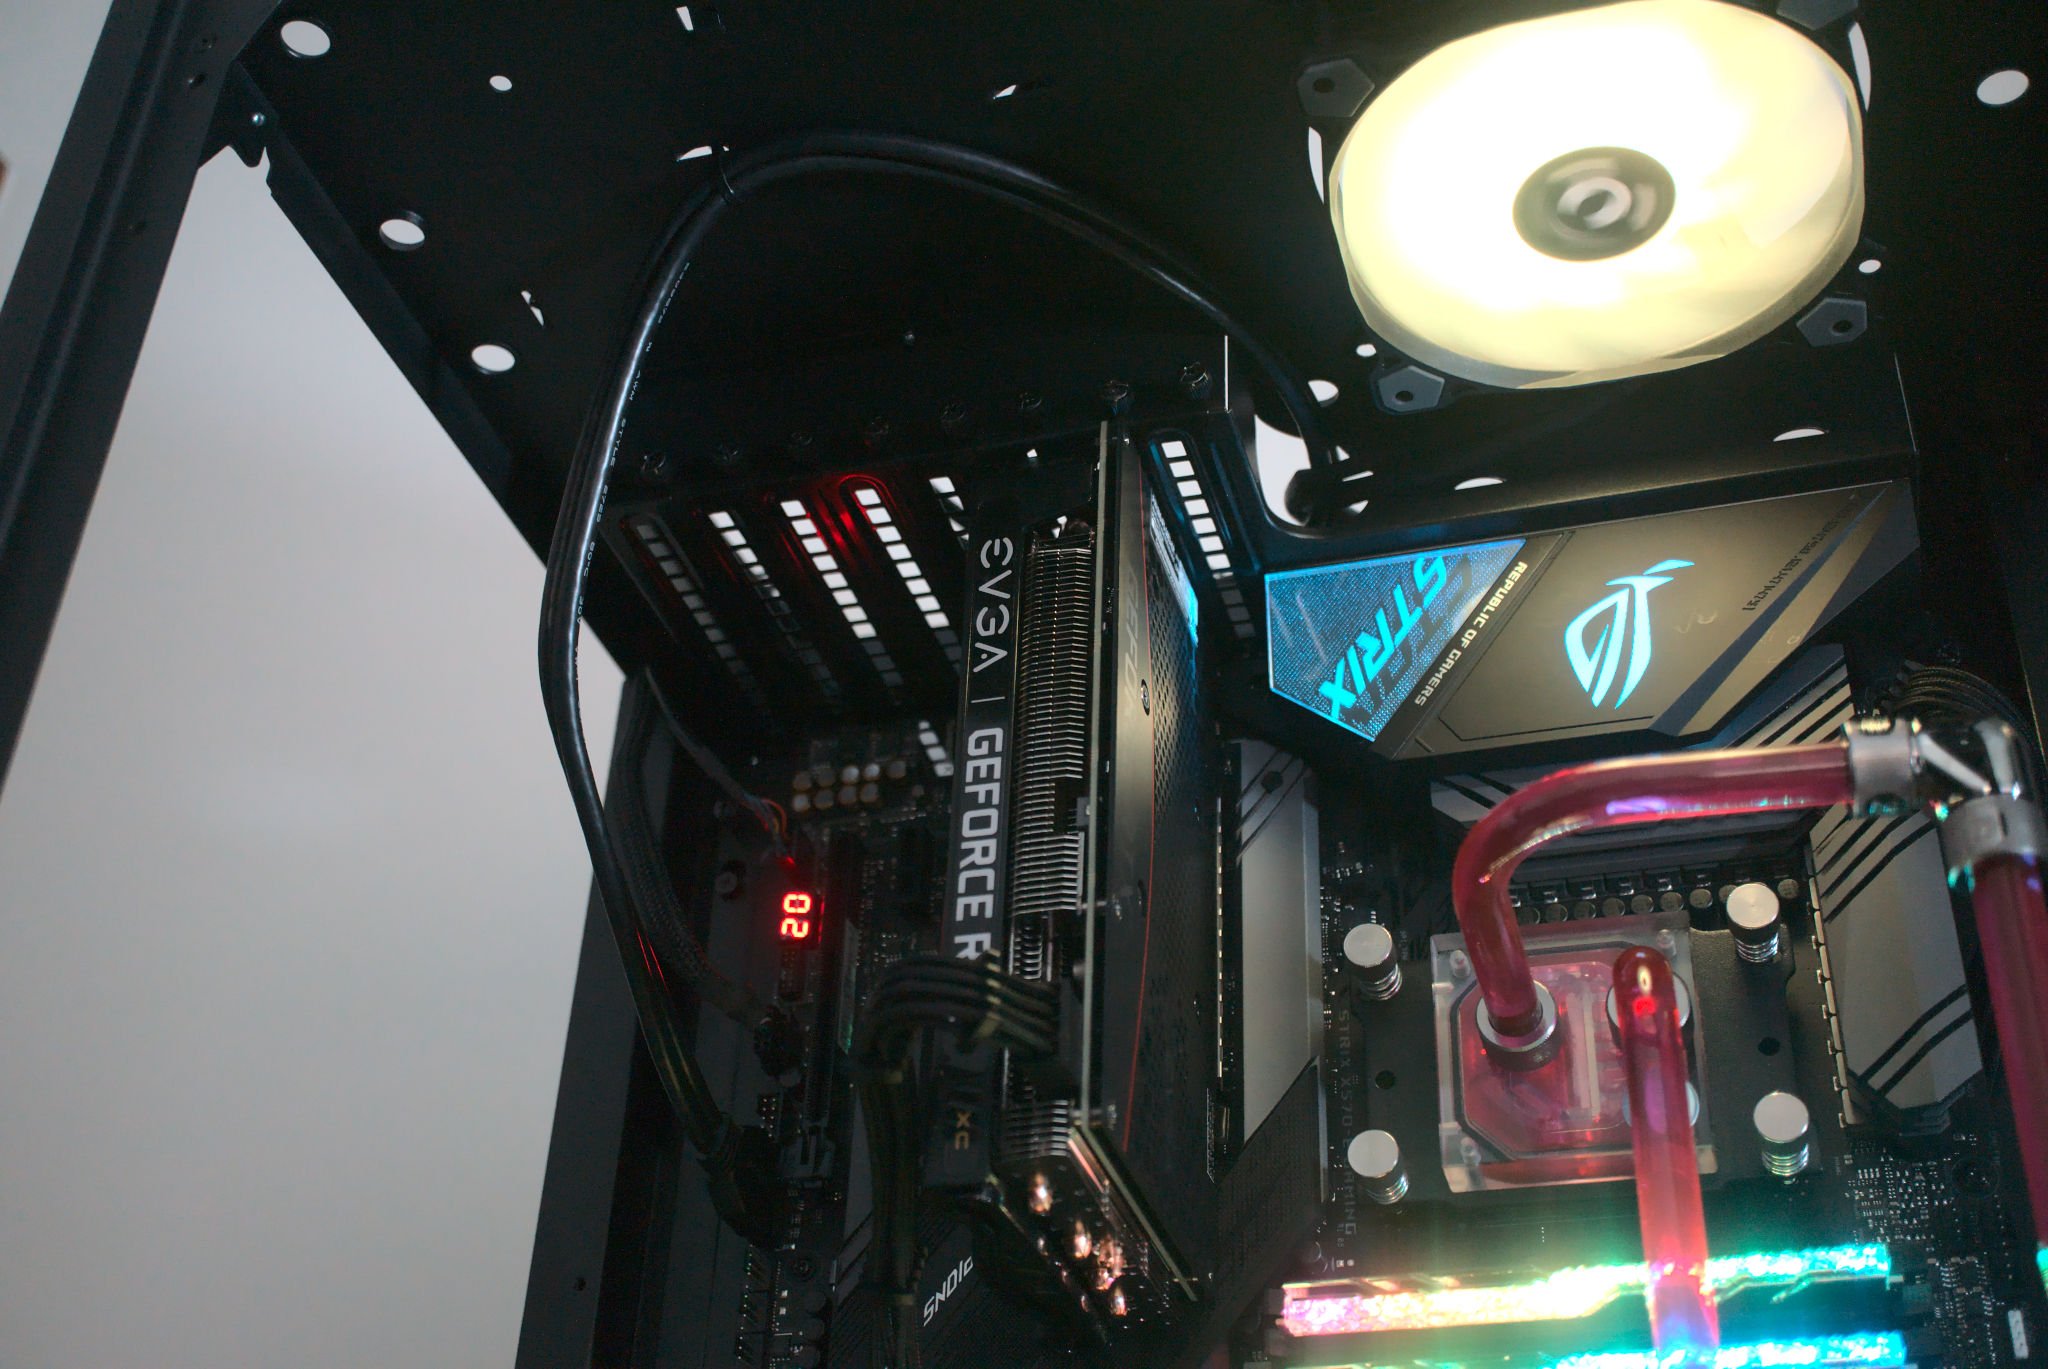
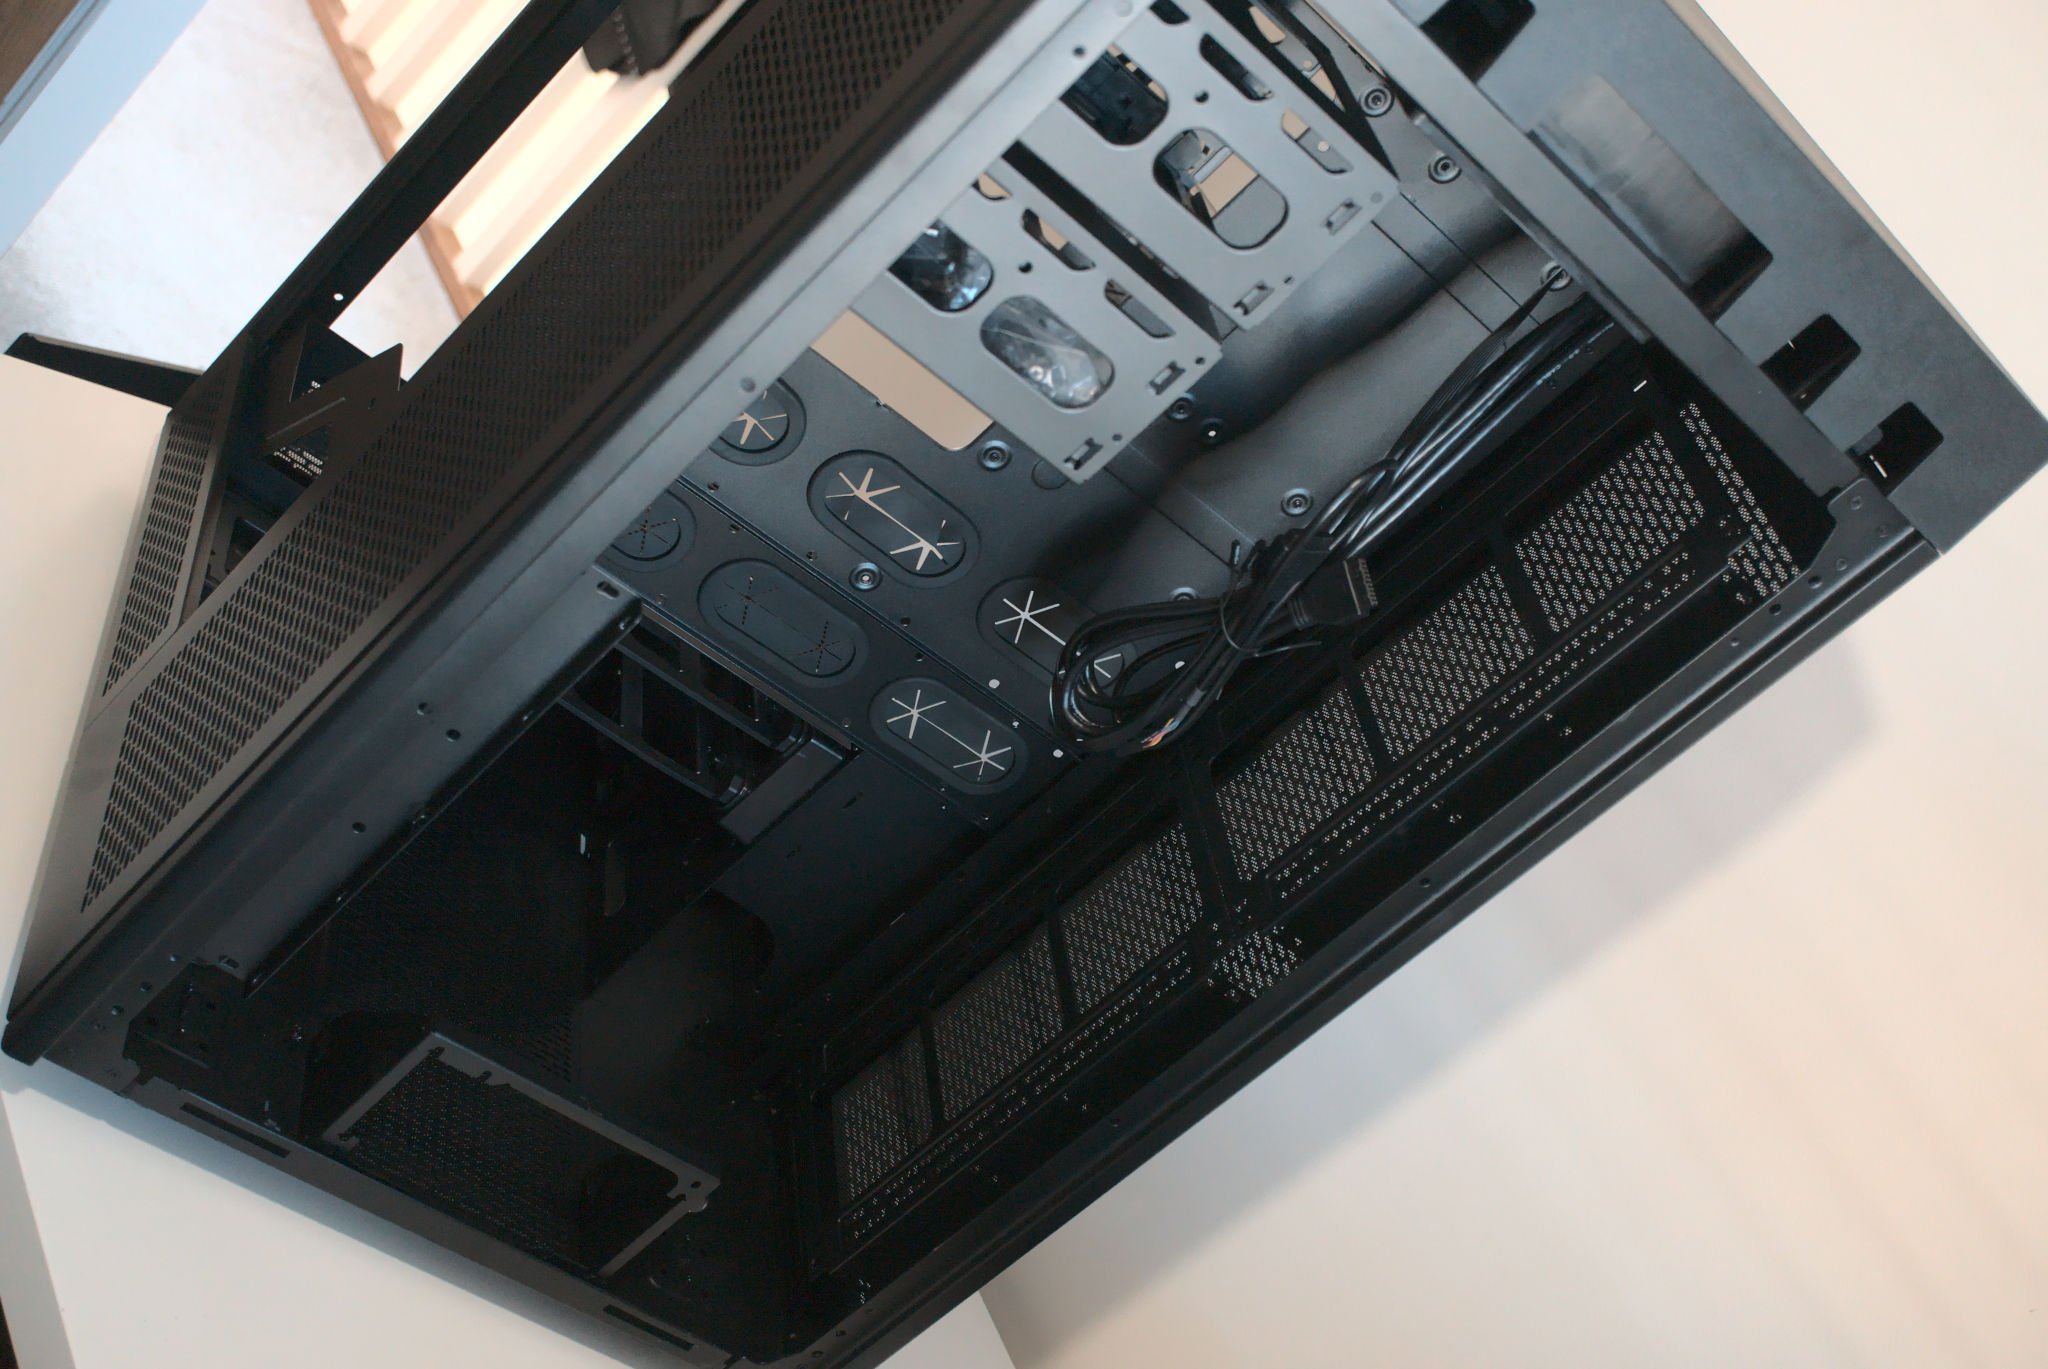
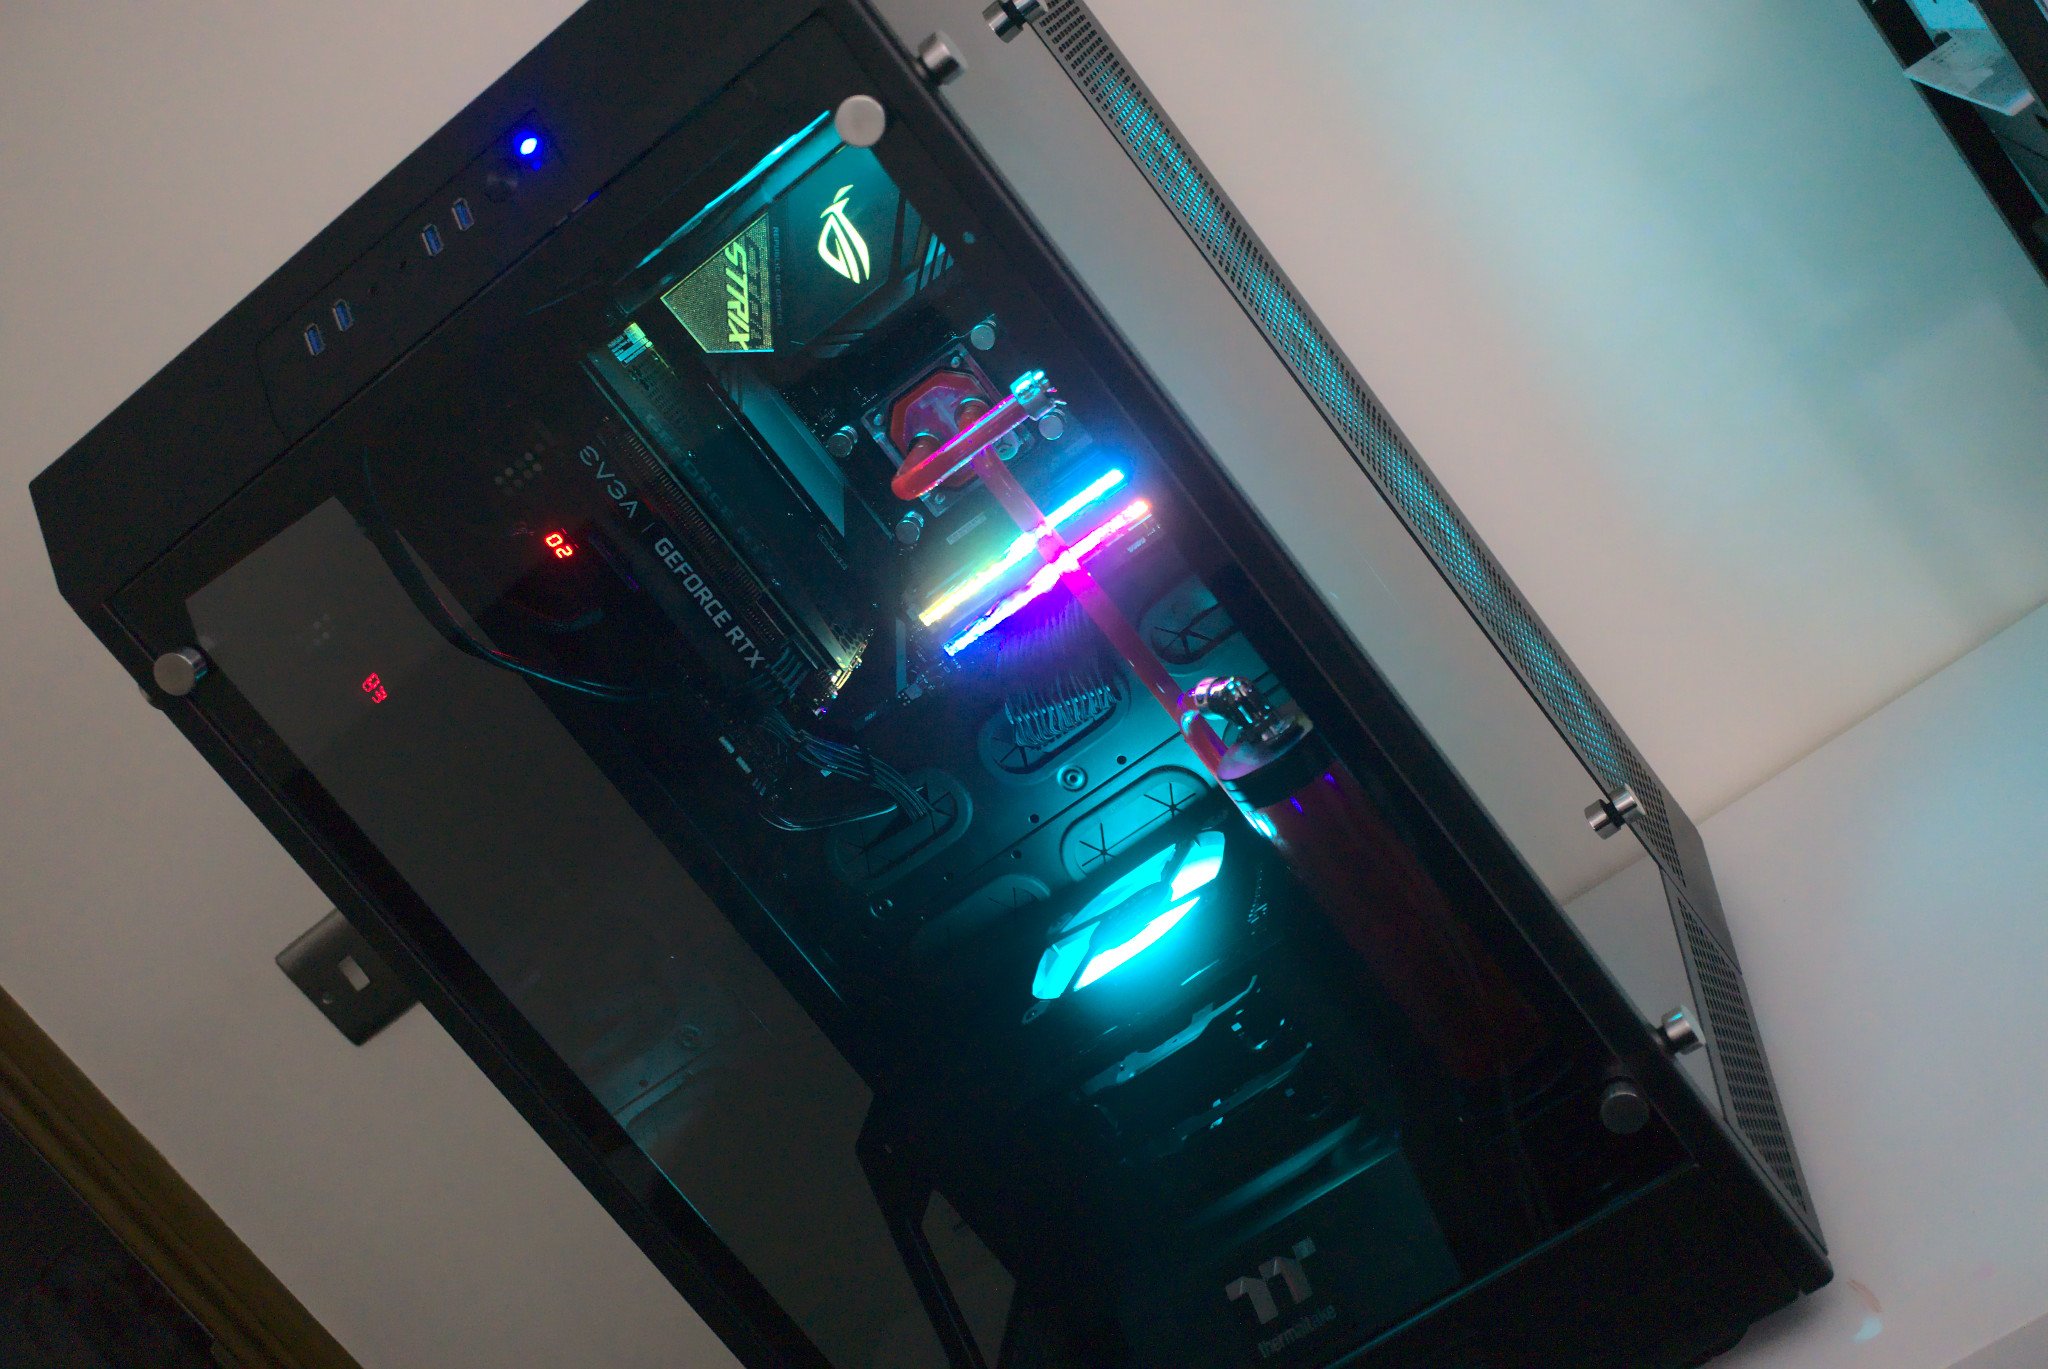
Looking at the PC case, it looks like a miniature claw machine you'd typically find at an arcade. It's huge. The front and half of either side is tempered glass, while the rest is metal aside from the plastic top cover. In black or white, it will look really good.
As is the case with Thermaltake's see-through panels, the tempered glass is held onto the case with large screws. The two side panels that cover the radiators can be removed by using a lever just beneath the top panel (accessed without removing it), which is a really nice touch.
The rear panel is held on with some thumbscrews, but it's the top panel I have an issue with. Much like front panels in more affordable cases (though some case vendors still like to use them in more expensive chassis), it's held to the main body using those plastic pop-out push posts that have always been a royal pain.
Luckily, the top just pops off using the rear as leverage, but it's still an issue since this is actually what covers the motherboard I/O. That's right, the rear panel of the Tower 900 is dedicated to two 140mm fan mounts and a dust filter. Beneath the top panel is where you'll find the rear of your GPU and motherboard ports.
Frequently plugging things in can be a pain, which is why I feel like it's strange Thermaltake didn't use magnets.
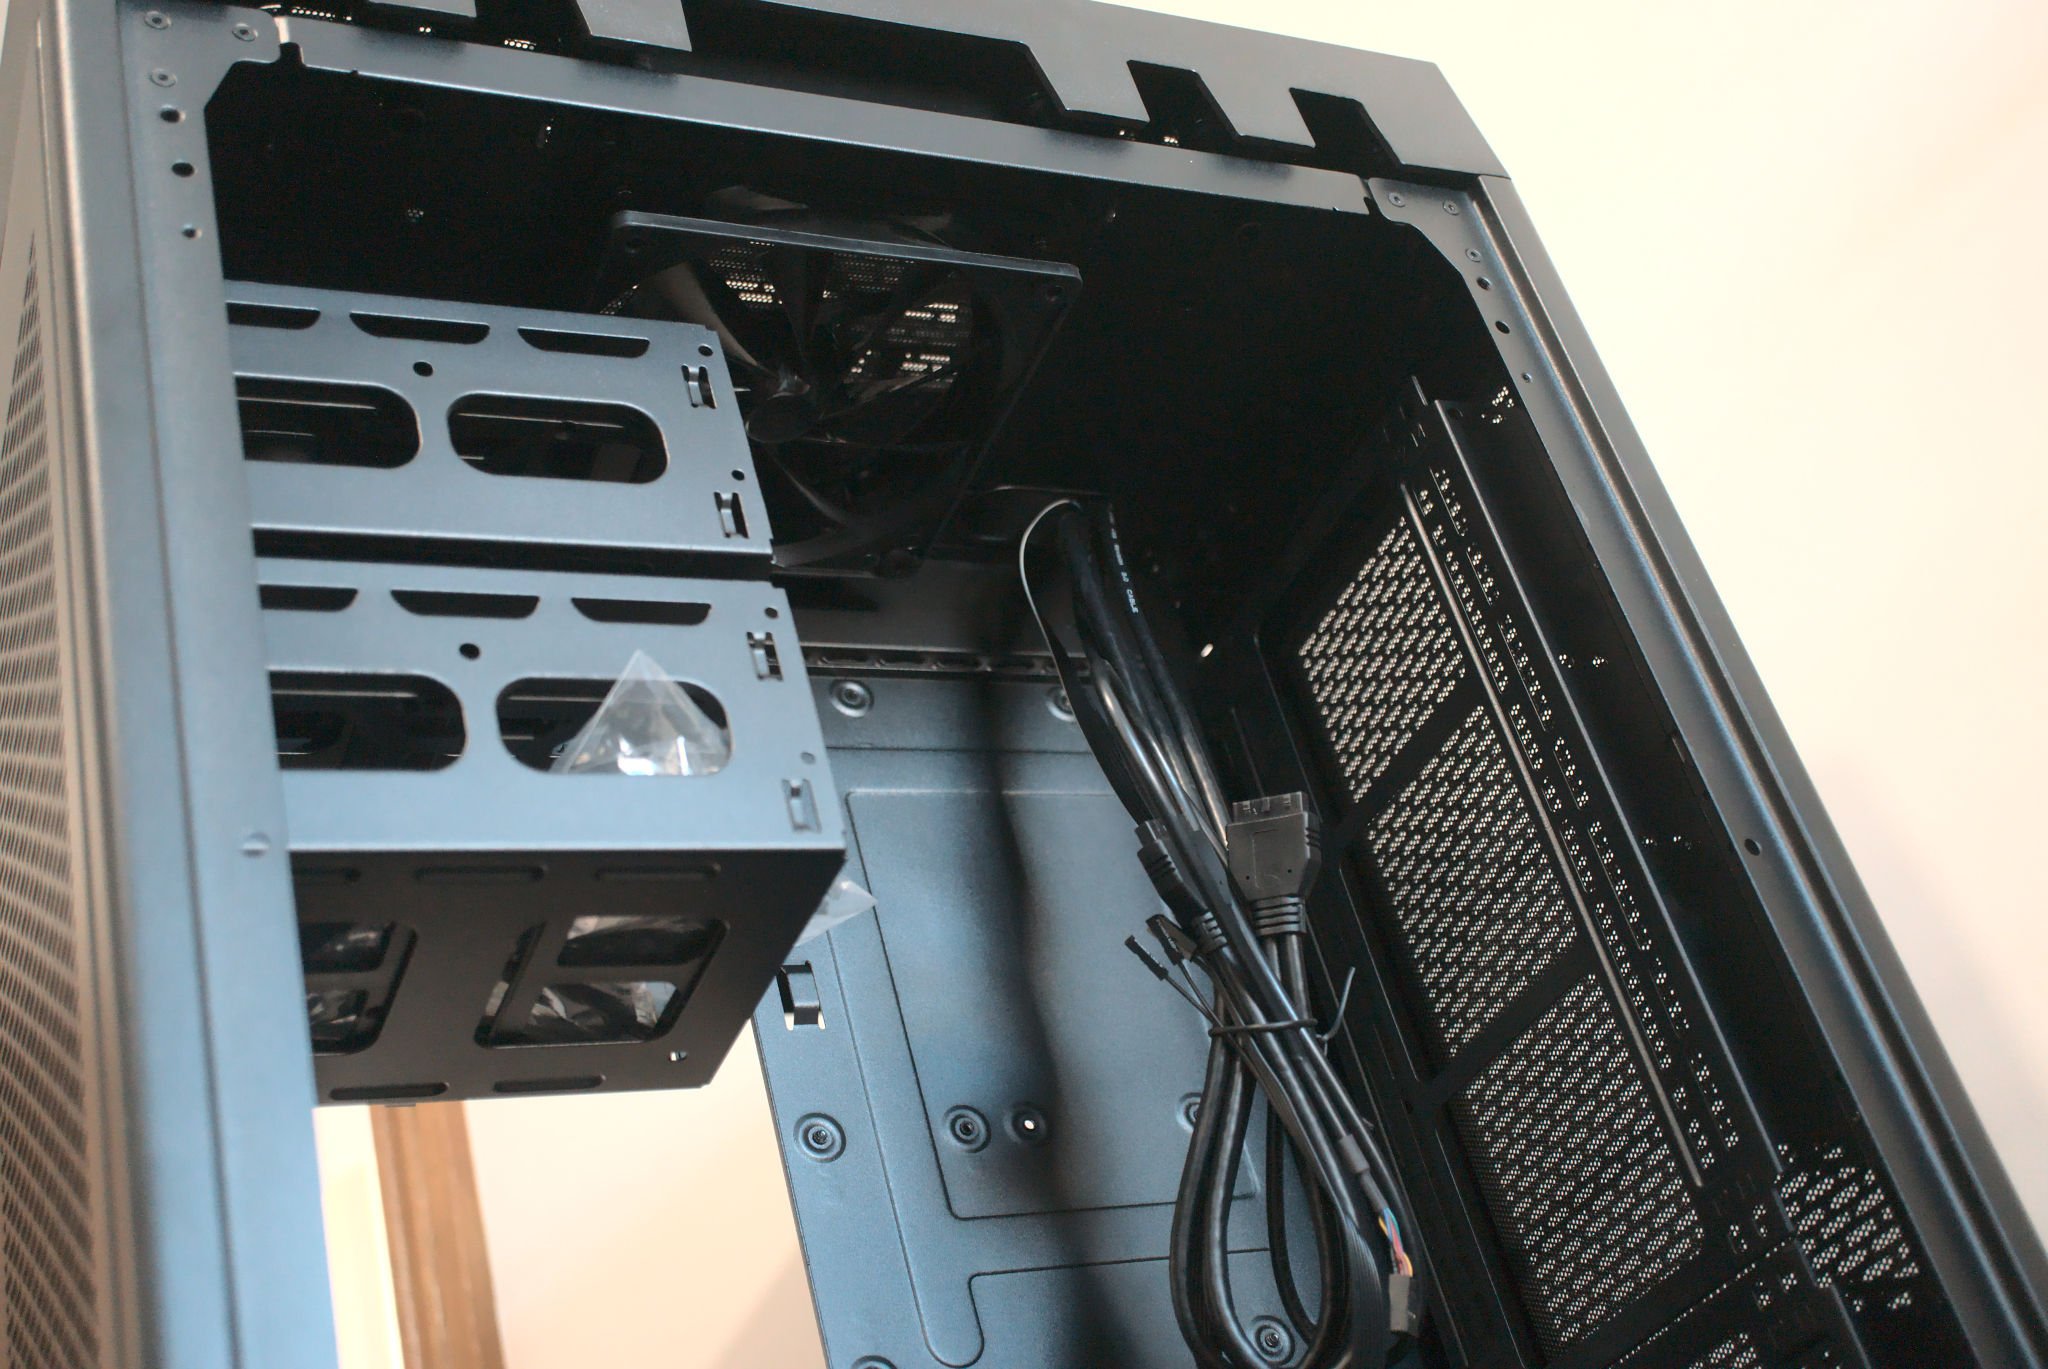
Luckily, that's about as bad as it gets for the design. The rest of it is pretty much spot on. The glass panels are tinted and gorgeous to look through. The metal panels are solid, so too is the main body with all the panels removed. This is one heavy, but sturdy and well-built case from Thermaltake.
Thermaltake's Tower 900 is one sturdy and well-built case.
Cooling was the main factor in Tower 900's design, which was carried out in collaboration with Watermod France. The inside of the case is separated into two sections, which is where the tempered glass and metal panels meet on the sides. The front is reserved for all your components, while the rear section is for all the cabling and radiators.
Inside the front portion, you can install up to two 140mm blowers. In the rear section of the Tower 900, it's possible to add a further 11. Yes, 11 fans, bringing the total up to 13. For radiators, the Tower 900 can handle up to 560mm (four 140mm fans) or 480mm (four 120mm fans). One can be attached to both the left and right sides, though you will need to remove the pre-installed HDD cage.
Included with the case are two 140mm fans, though these lack RGB LED lighting and you'll likely want to use some to showcase all your components. The bottom fan should be used as an intake; likewise with the two radiator side panels. The top and rear fans should be used as exhausts.
This configuration will create plenty of positive pressure which will prevent any air (and dust) from being sucked in holes and other areas where a dust filter isn't present. All filters on the Tower 900 are easily accessed.
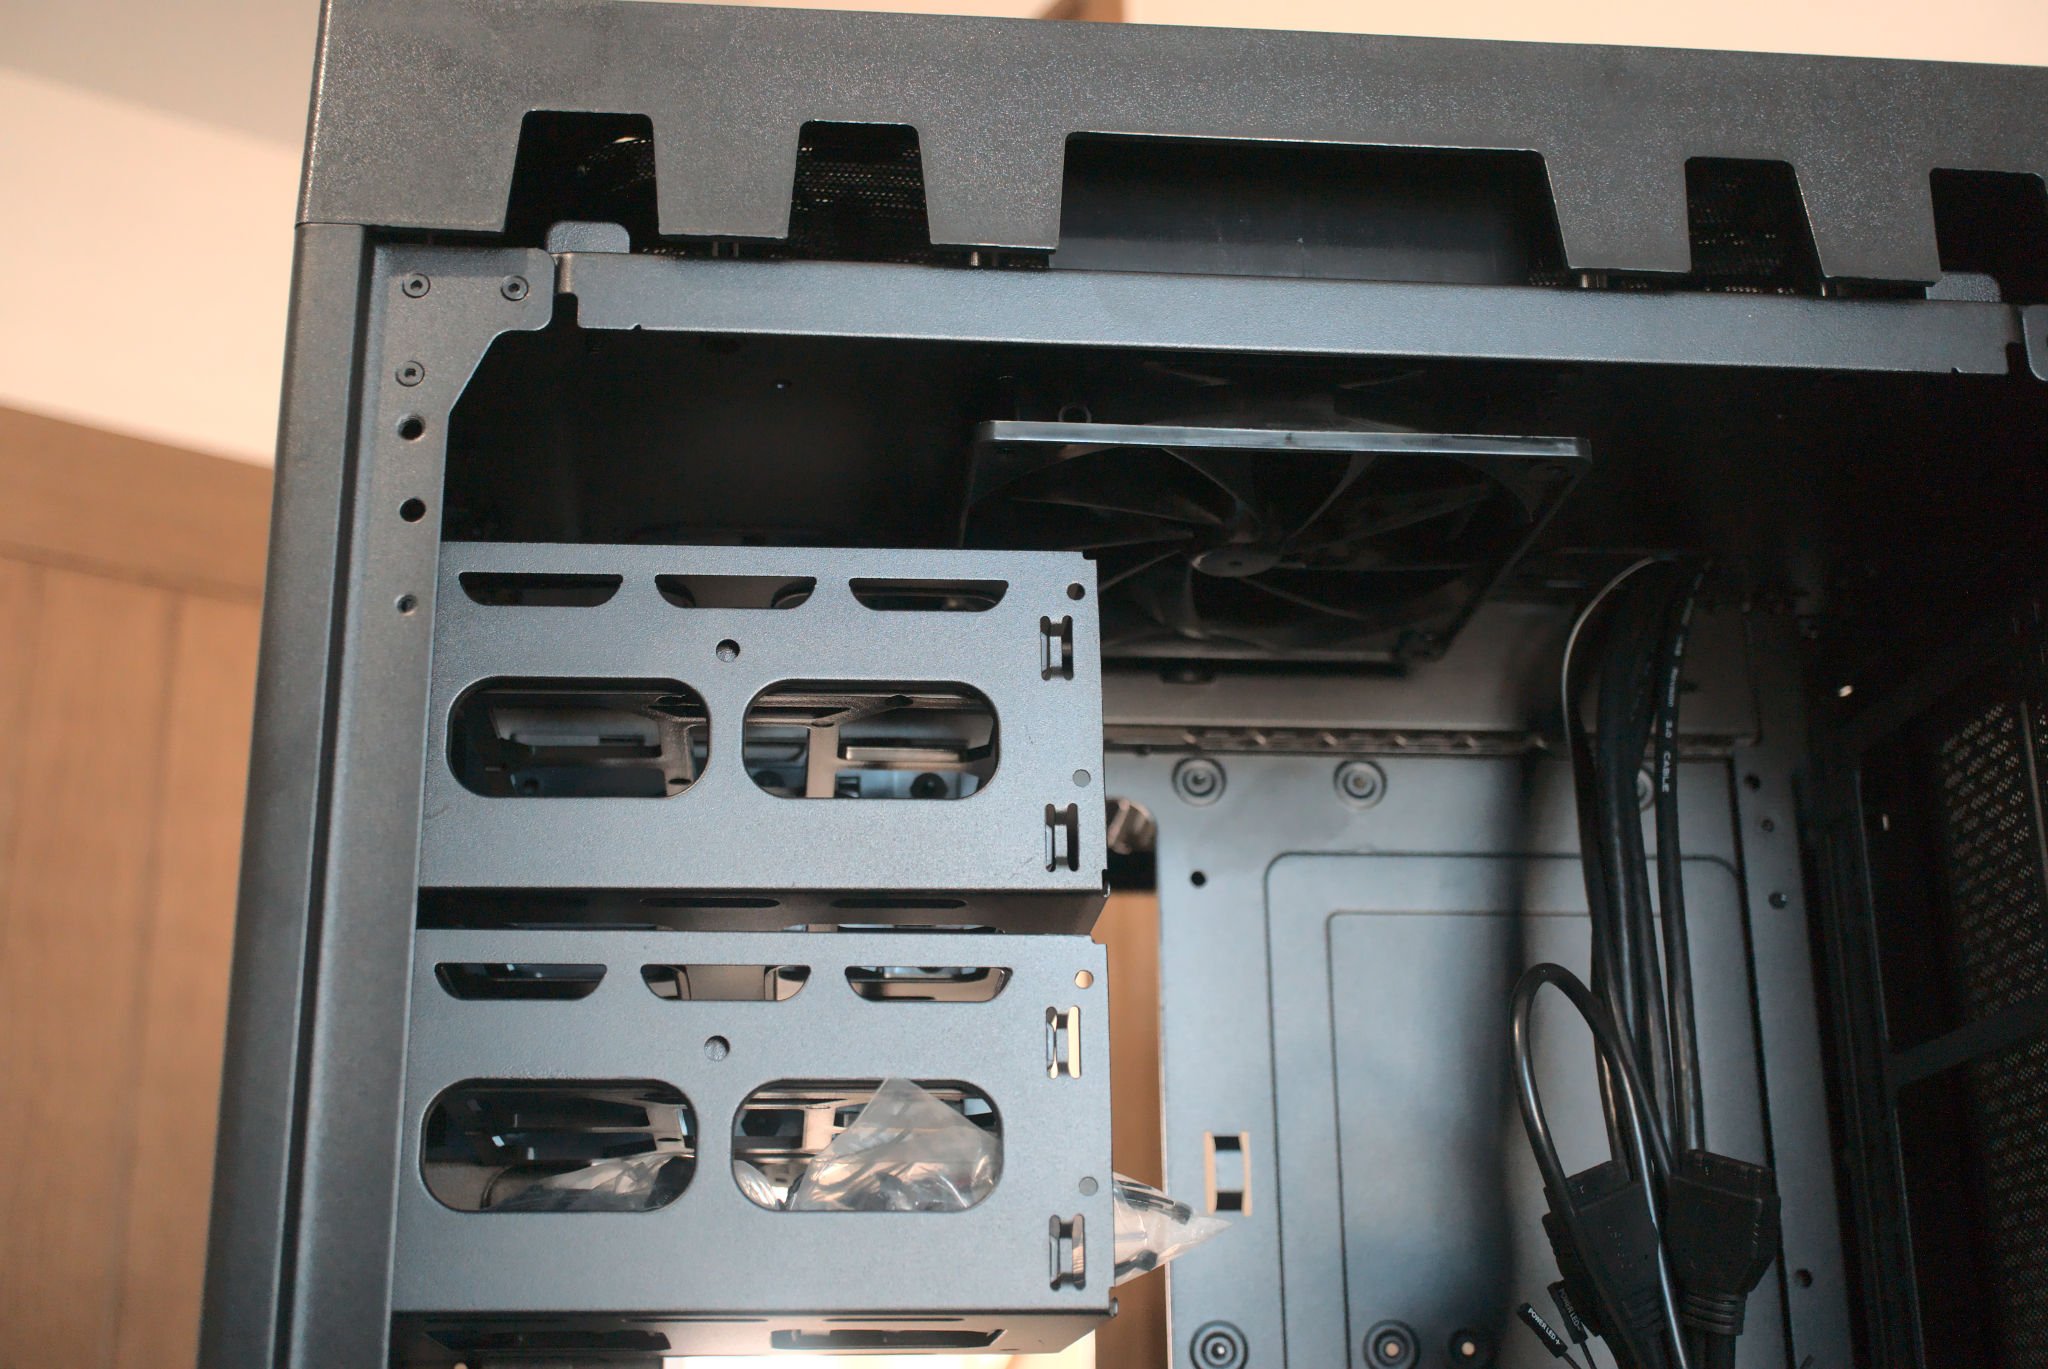
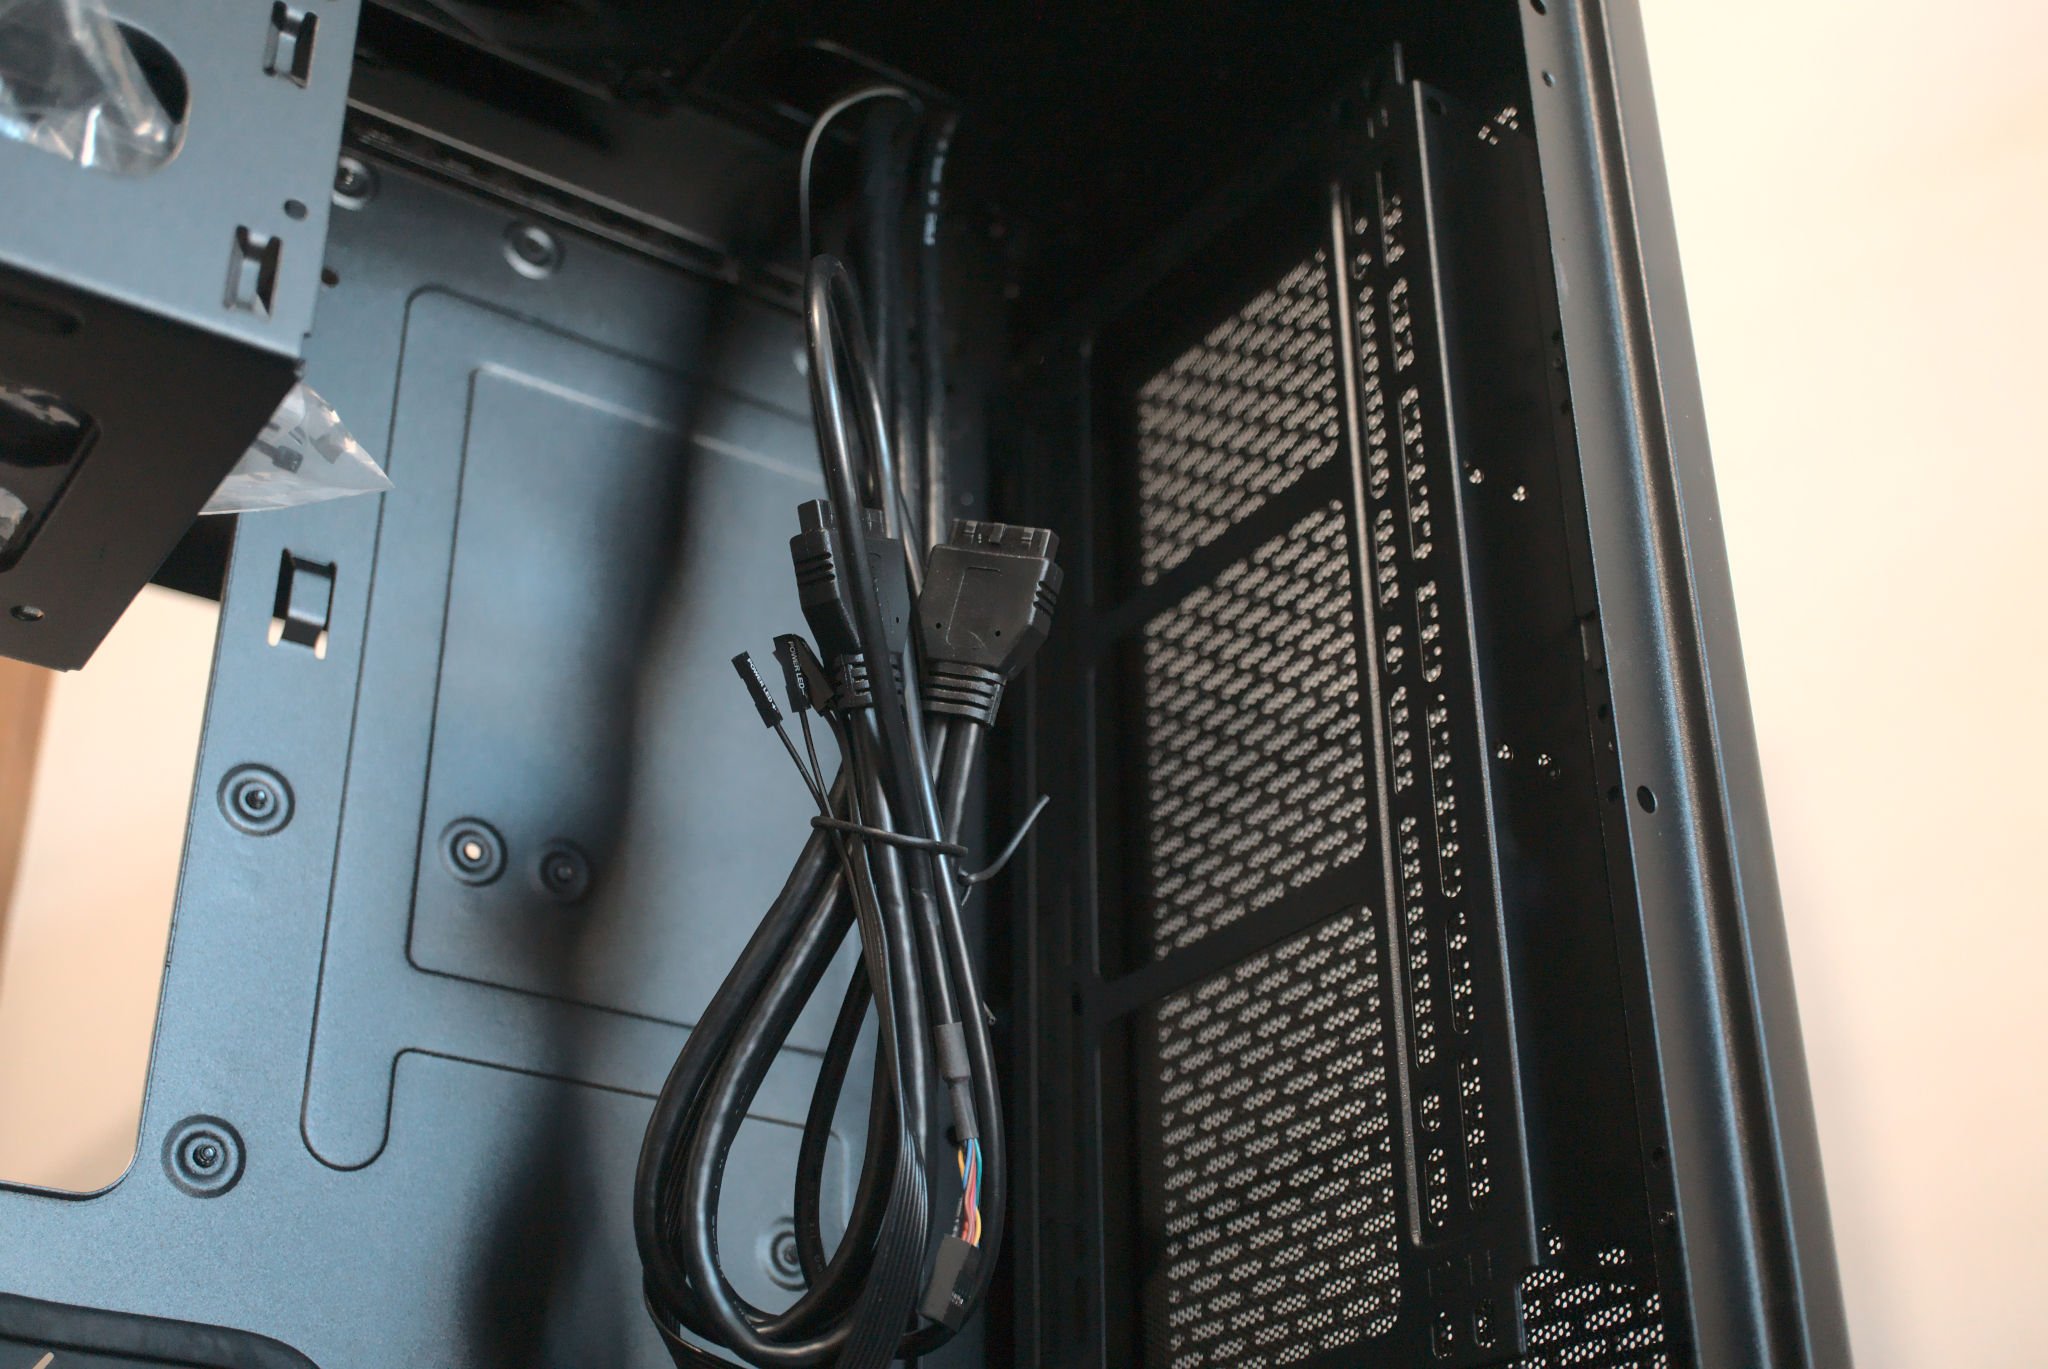
The inside of the case is fairly modular, allowing you to remove the motherboard tray and install everything outside the case, and you can remove some of the other panels that hold cable grommets, as well as the two pump and reservoir brackets up front.
The rear portion of the case has plenty of space for some cable management, though if you use RGB fans from companies like Thermaltake, it can get a little messy with all the additional cabling. The radiator brackets can be removed with a few screws, allowing you to attach radiators and fans outside the case for easy installation.
Building a PC with the Thermaltake Tower 900
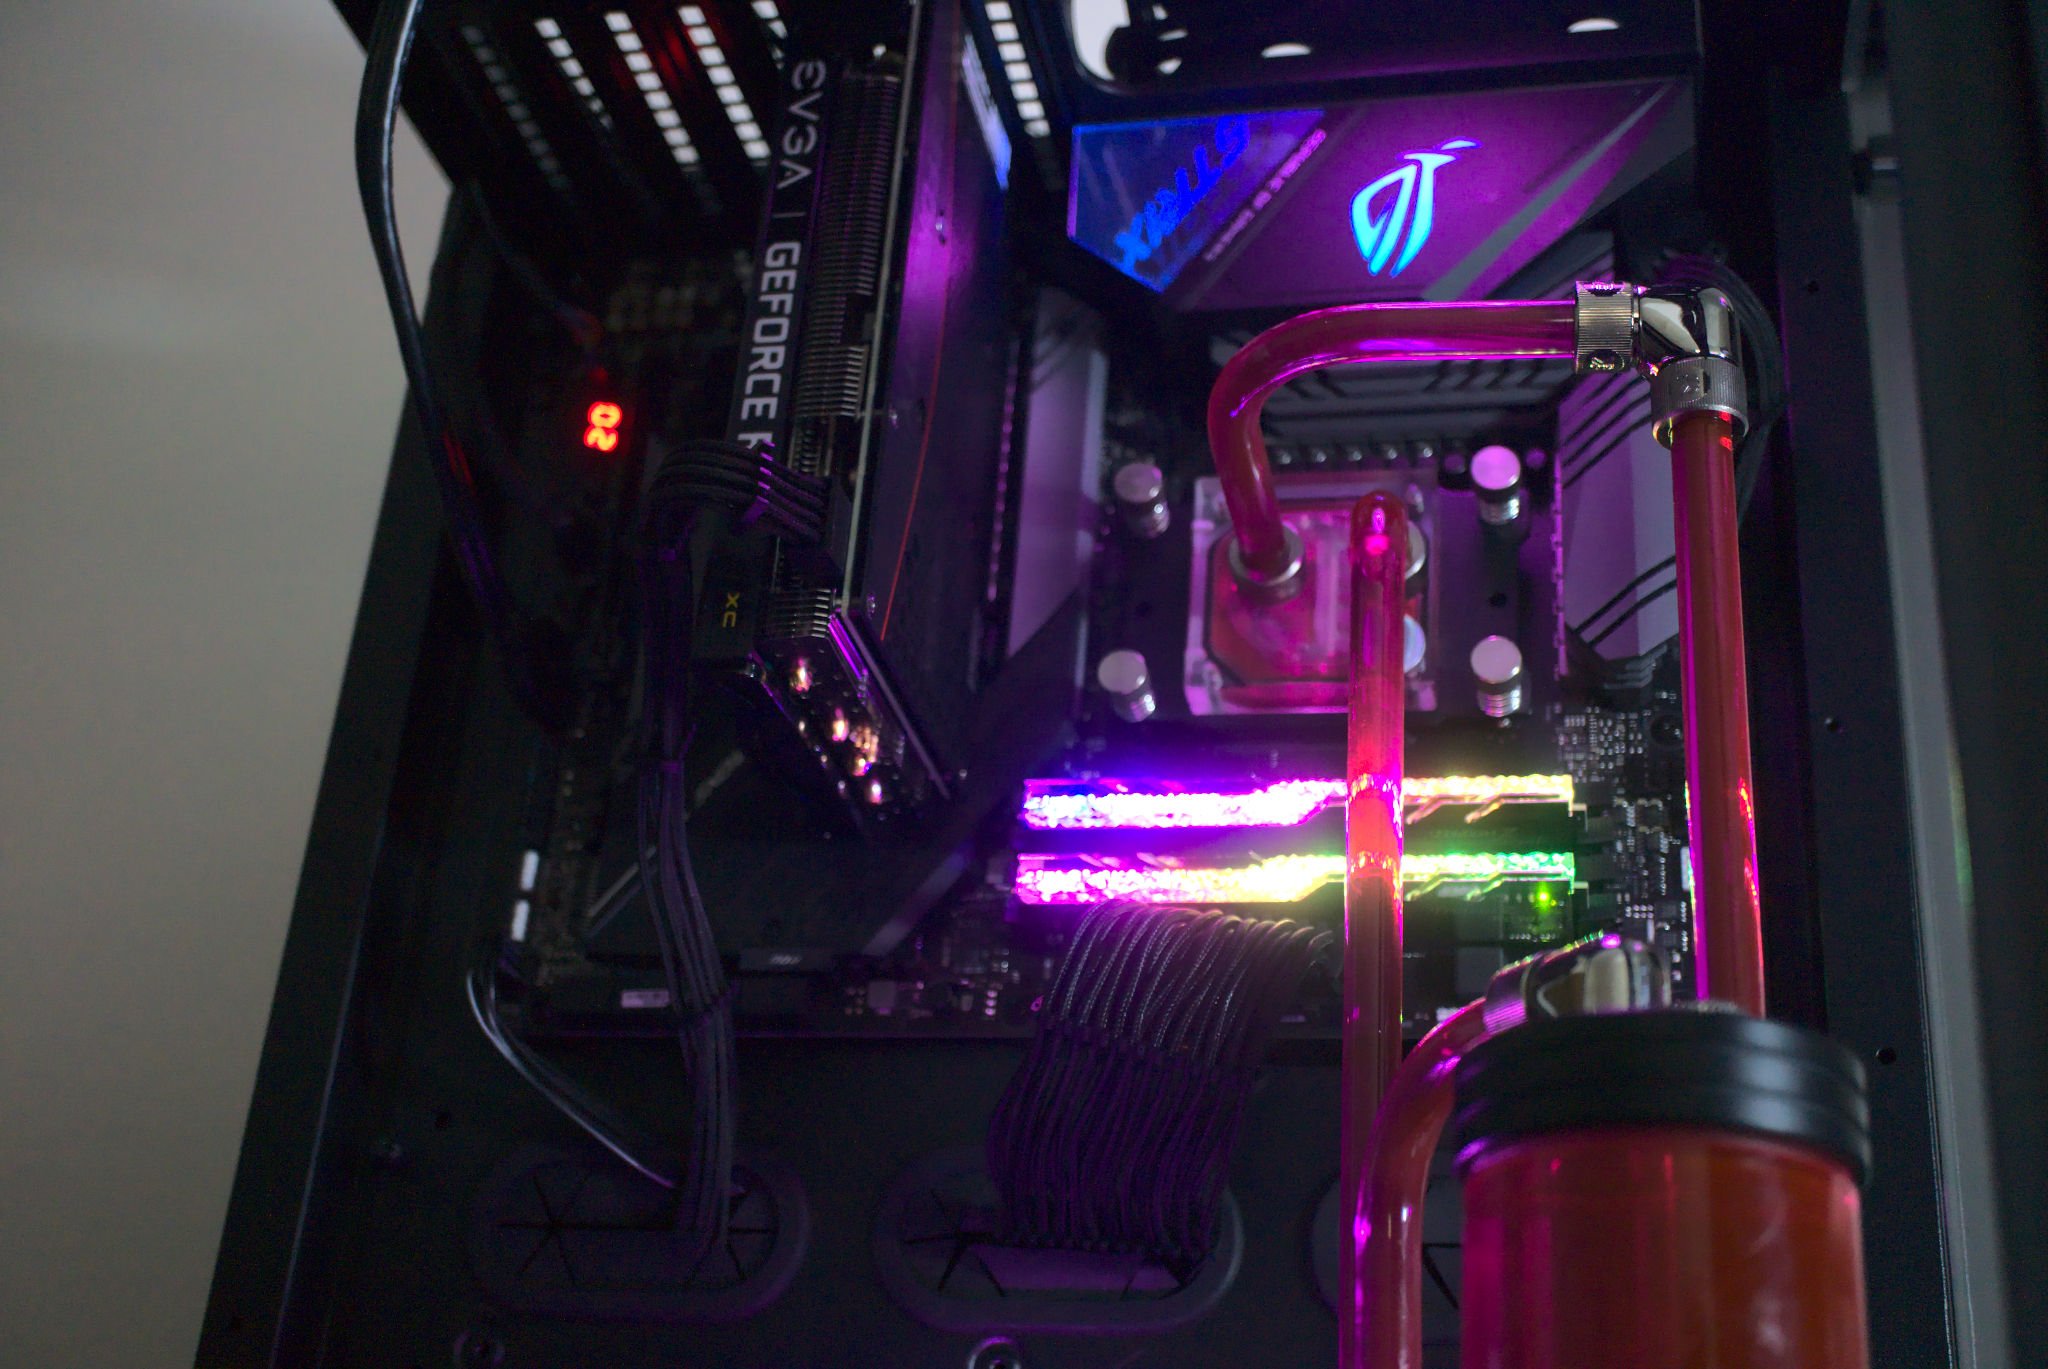
The Tower 900 boasts some excellent thermal performance for enthusiast systems.
Thermaltake's Tower 900 is a daunting PC case and you may find yourself wondering "Where do I start?" Once you've started the process, it becomes relatively straightforward. First, it's important to remove the motherboard tray and install as much as you can outside the case.
Most PC builds with the Tower 900 will utilize some form of water-cooling, likely a custom loop, which is what this review will focus on. Regardless of how you plan to cool your PC, we've got a guide on how to build your own PC the right way, and this also applies to this Thermaltake case.
Once the motherboard, CPU, and RAM are installed on the motherboard, it's time to re-attach it to the main chassis and start planning how the water-cooling loop will run. This is also a perfect opportunity to install the PSU in the rear section of the case, as well as radiators on the necessary brackets.
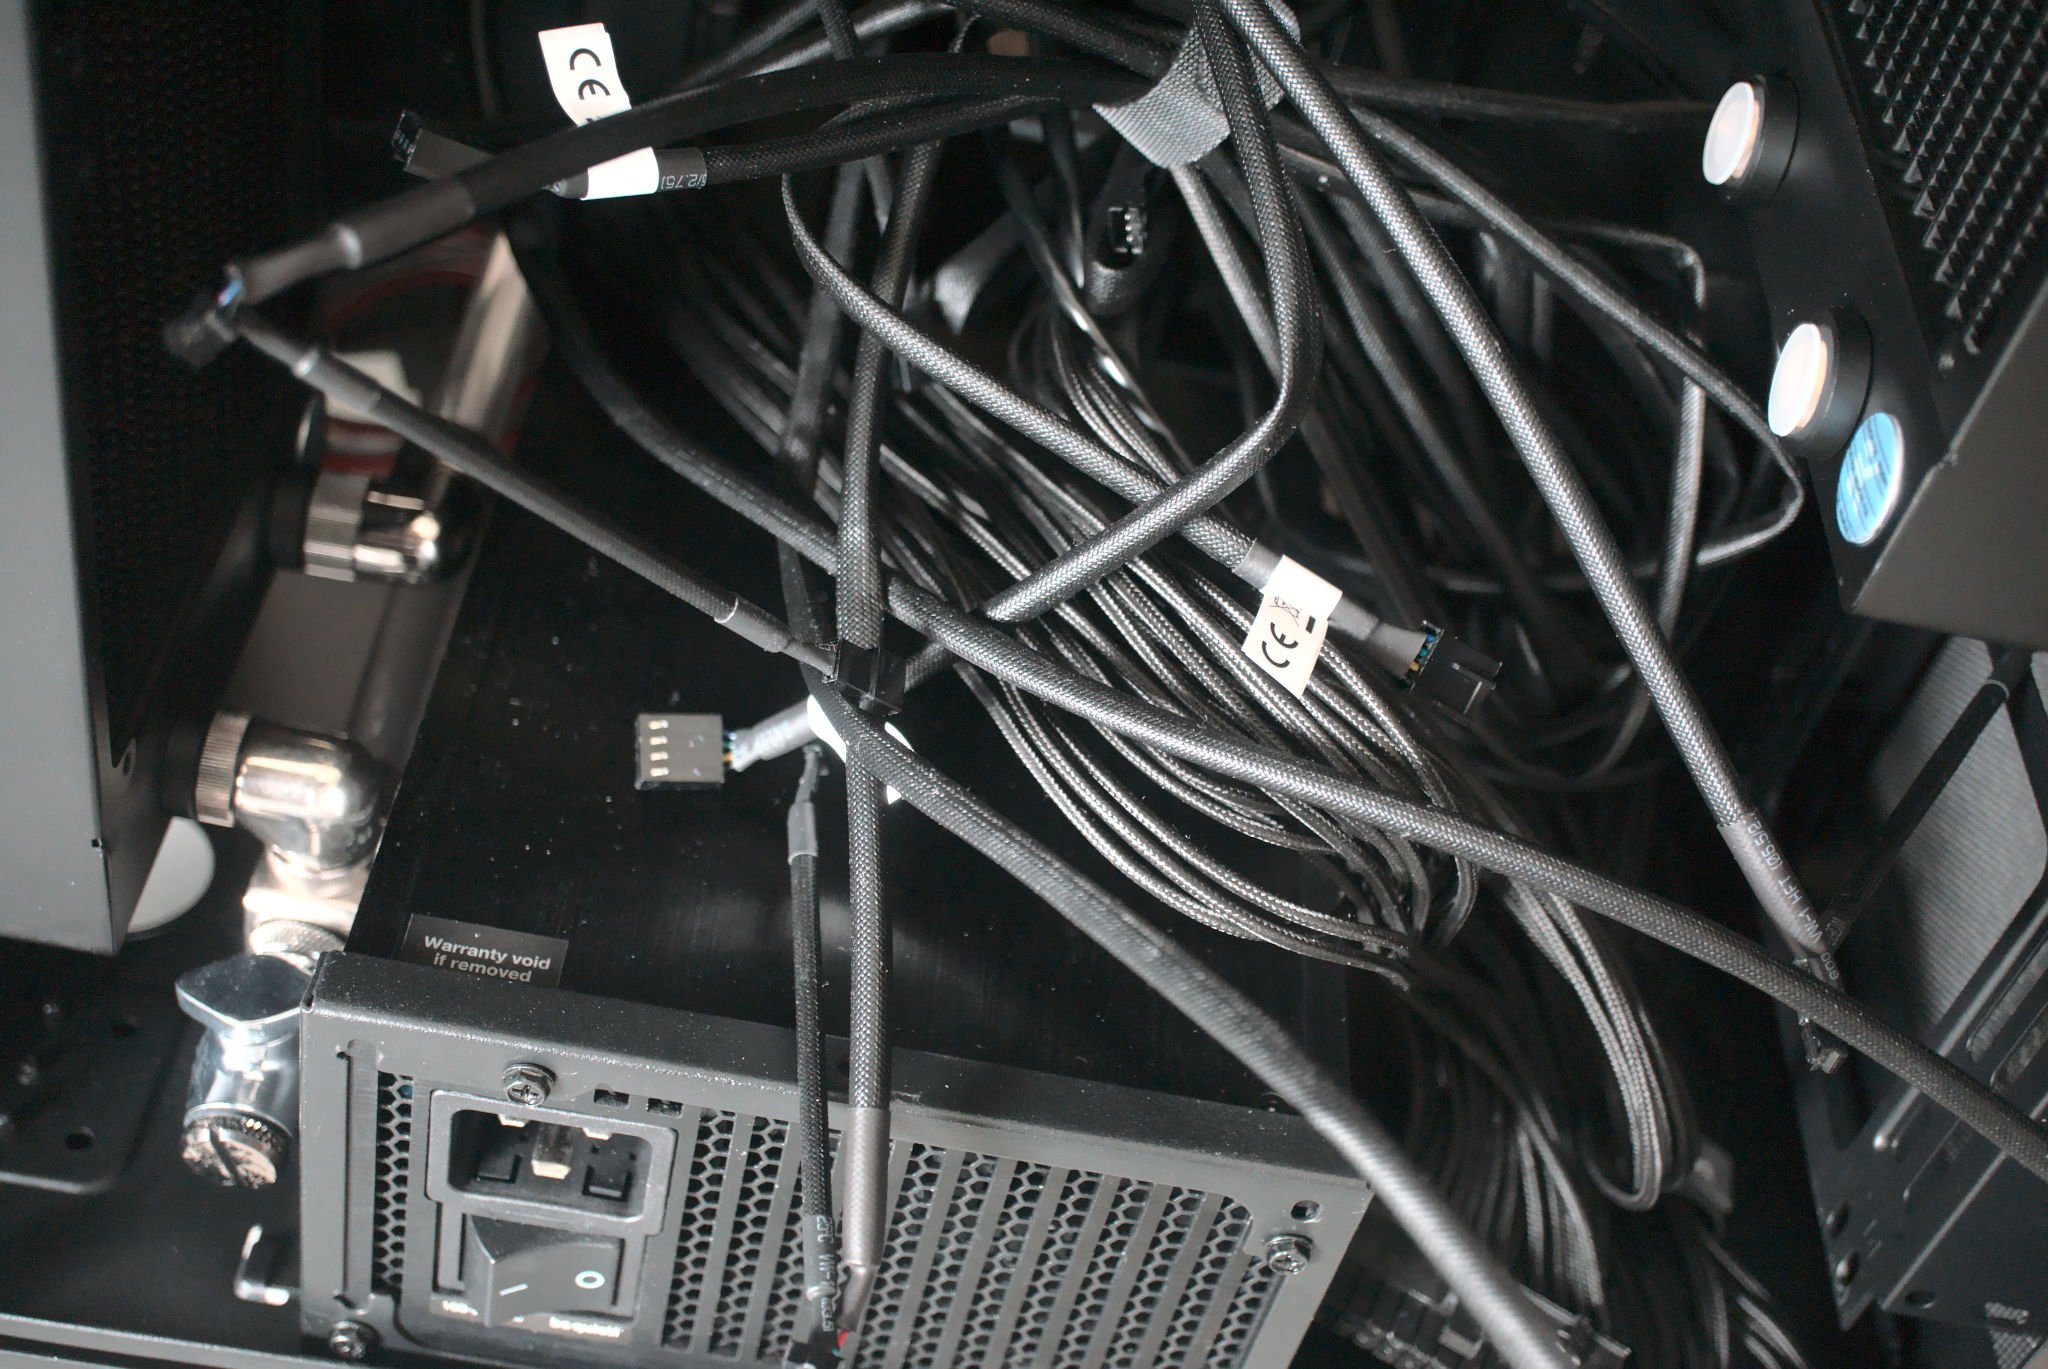
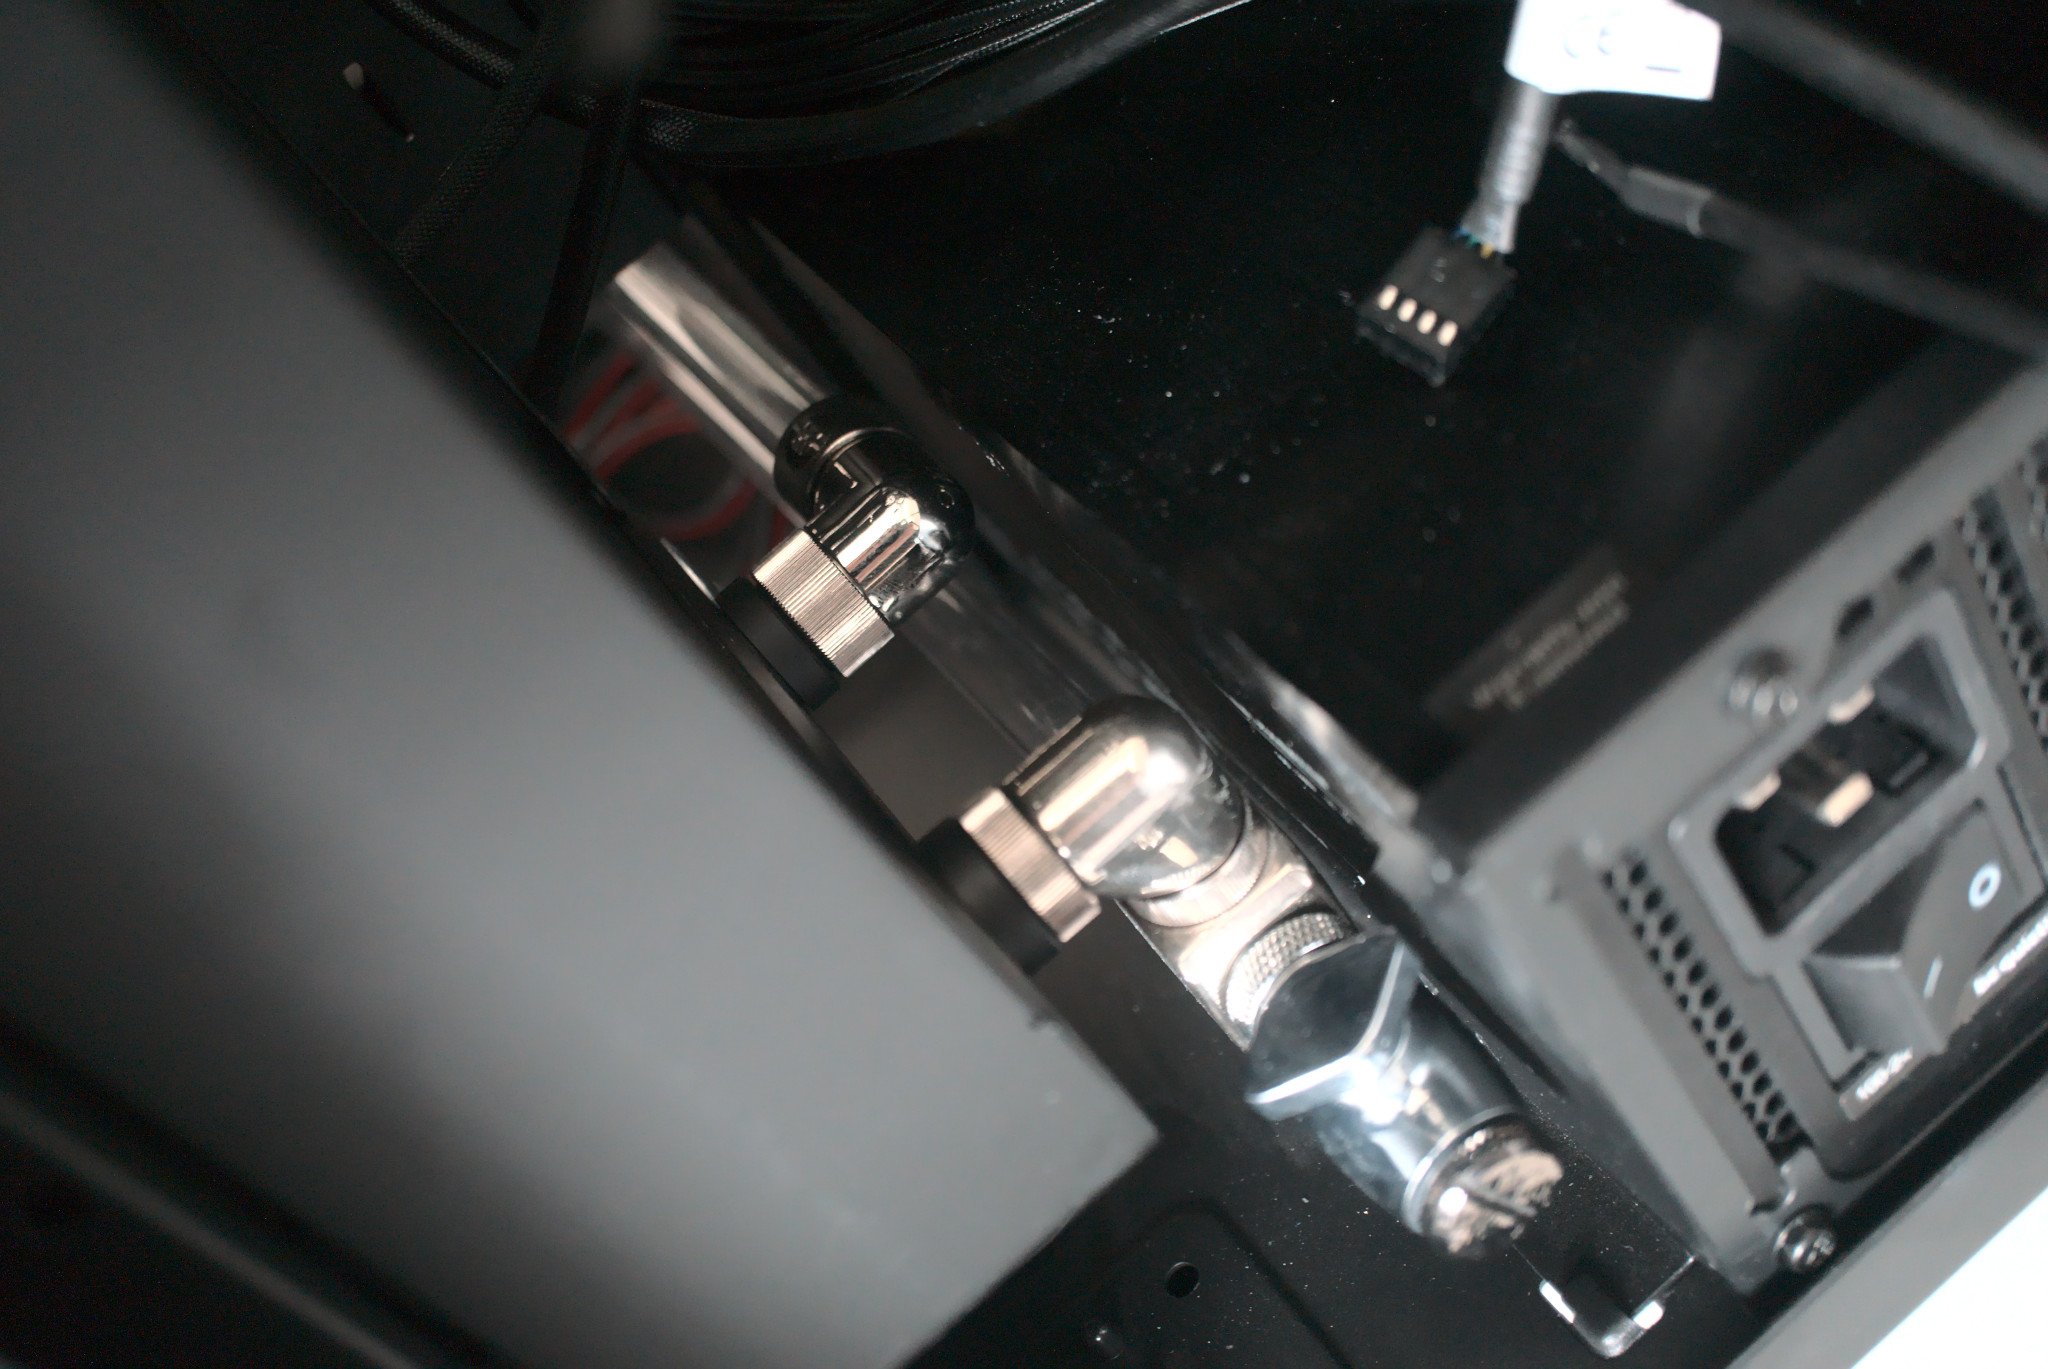
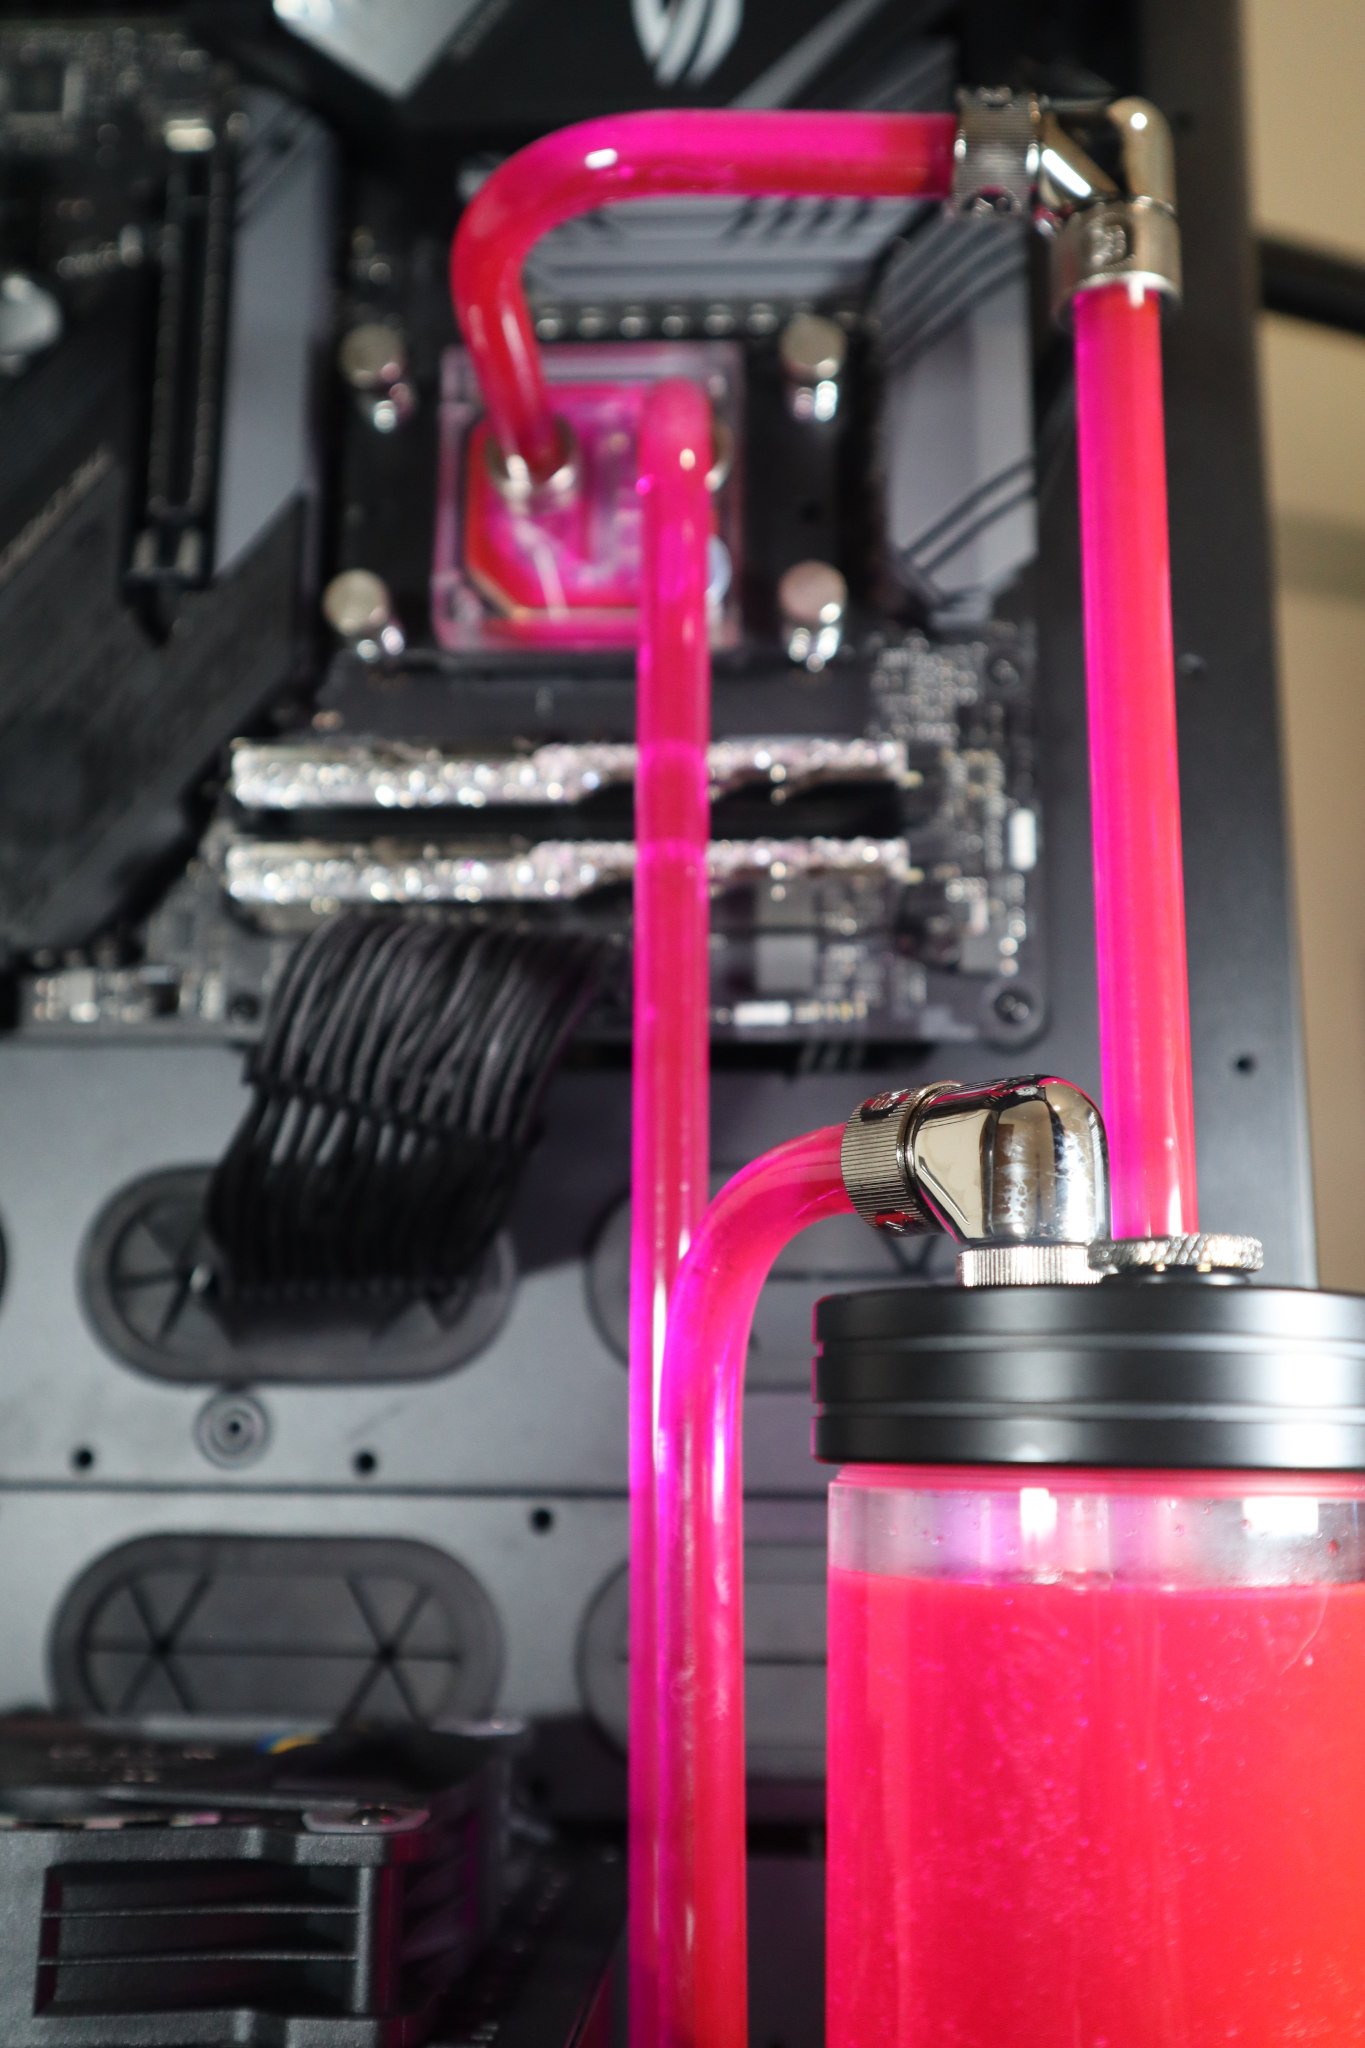
Thermaltake provides plenty of room in the rear for all your cabling, tubing, and other accessories, though you may find it a little tight around the lower section with the PSU. I planned tubes to run from the radiator on the right side through the bottom to the front of the case and up to the CPU and reservoir/pump combo unit.
Speaking of reservoirs and pumps, Thermaltake provides two brackets in the front to showcase your water-cooling loop, but these really only support the company's own products. This isn't an issue if you don't have anything to install yet, but it's worth bearing in mind if you have products from other brands (some drilling may be required).
Interestingly, the motherboard actually installs 90-degrees clockwise compared to most cases, which is how the I/O ends up at the top of the Tower 900. This can cause some of the PSU cabling to be stretched a little, so plan ahead to make sure everything can reach the necessary ports.
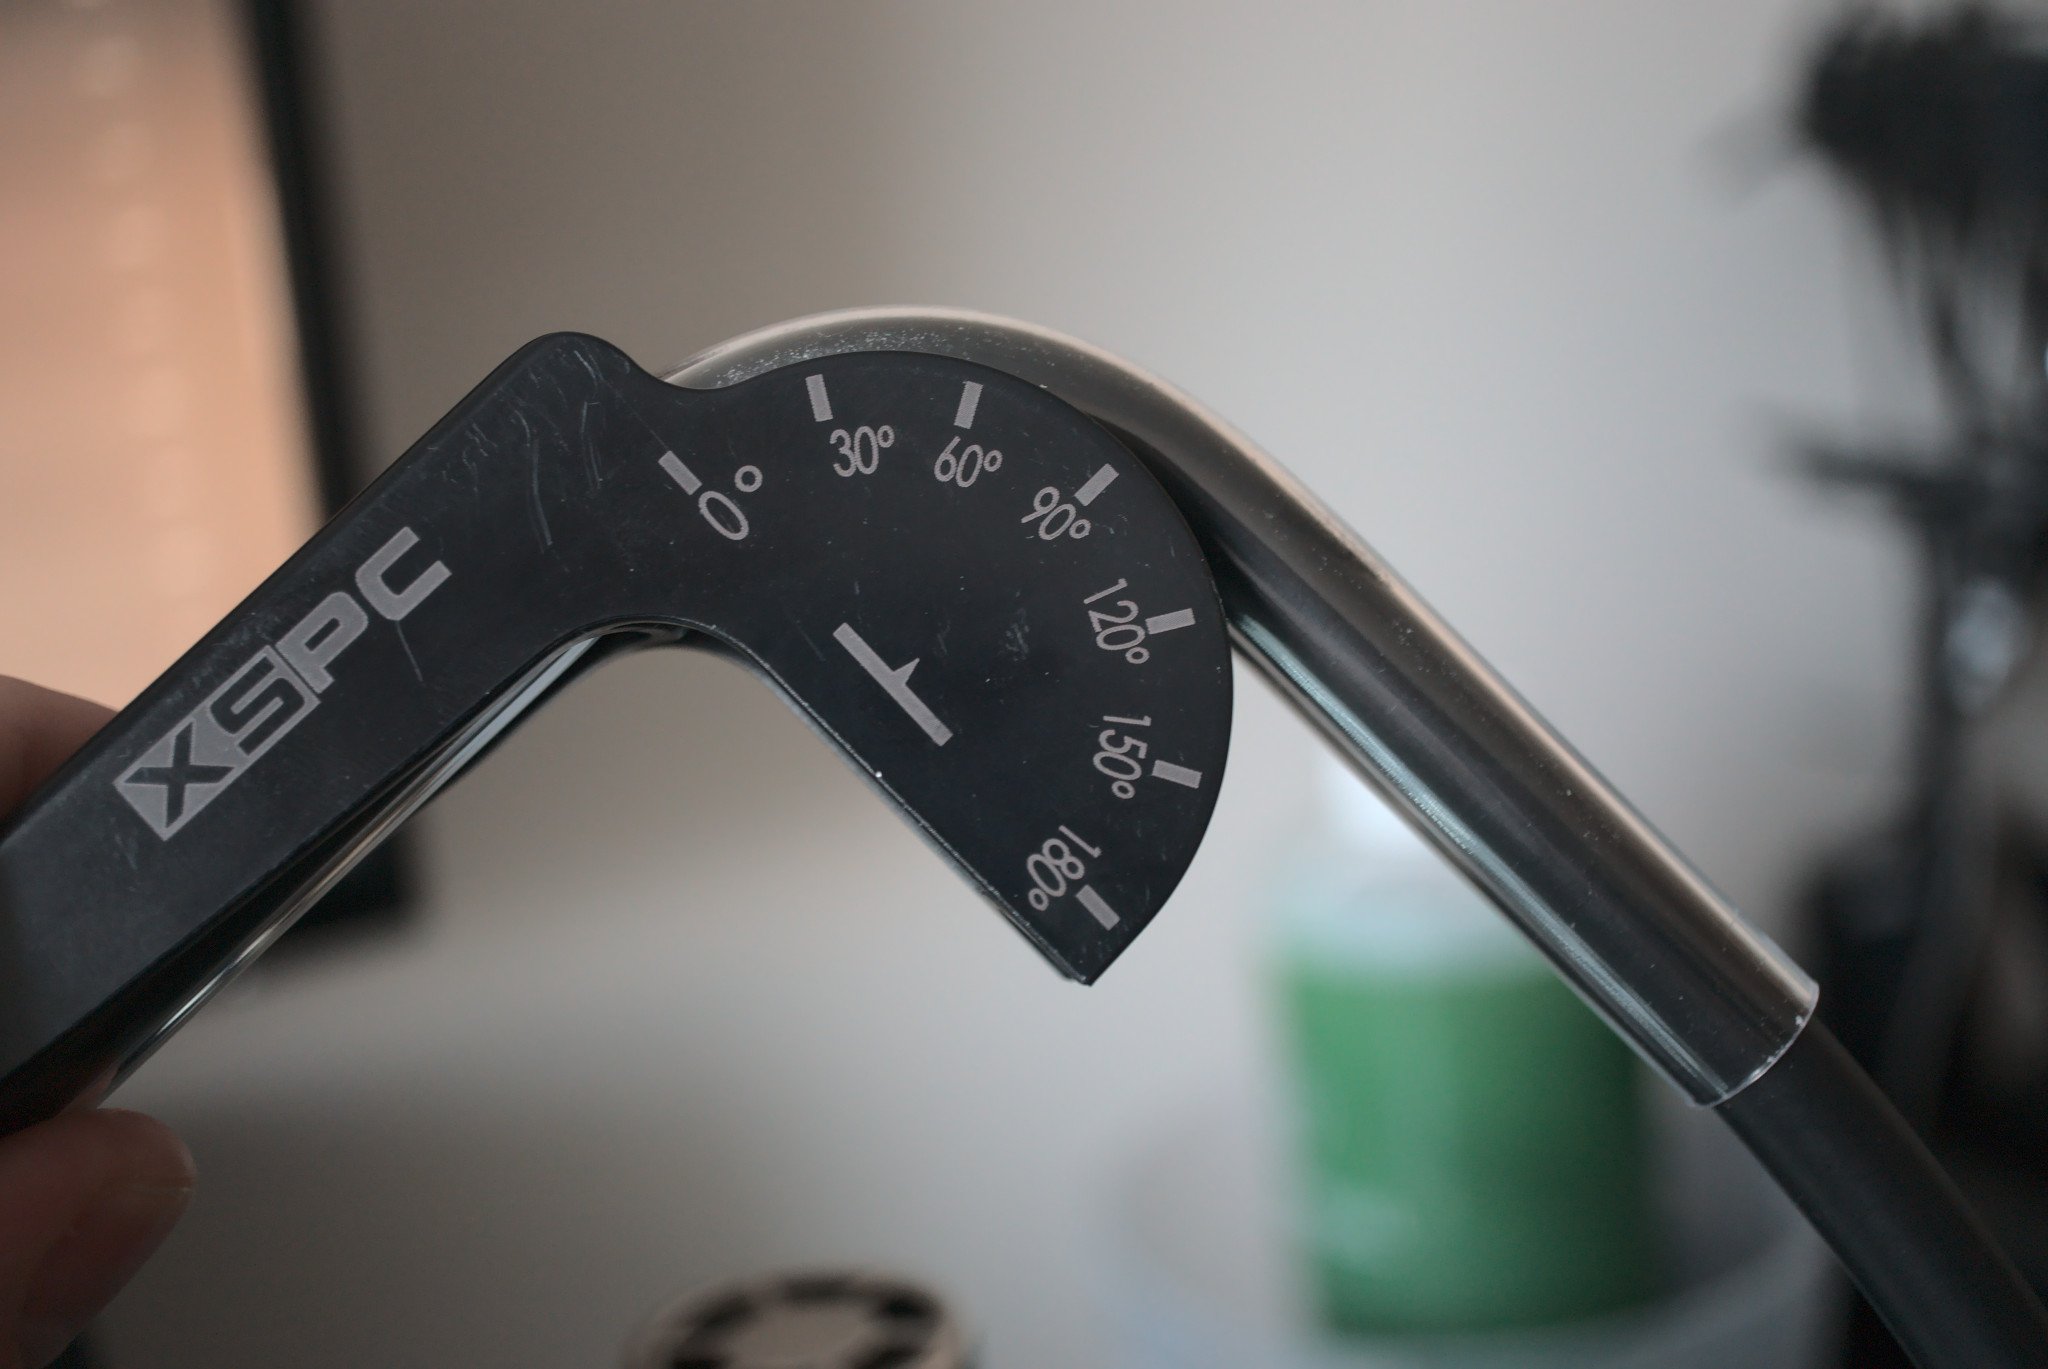
Installing all the water-cooling components went without issue and I was able to create an easy-to-use outlet valve at the rear of the case to make draining the loop a little easier for cleaning. It'll be easy to install a second loop (with radiator and reservoir/pump combo unit) for a GPU with a water block.
And that's really where the Tower 900 shines. I'm rocking a 480mm radiator from EKWB, which is 60mm thick, and is using four 120mm radiator optimized fans to cool an AMD Ryzen 9 5950X. This is a 16-core, 32-thread processor that can comfortably sit at 5.0Ghz without going above 70C under full system load.
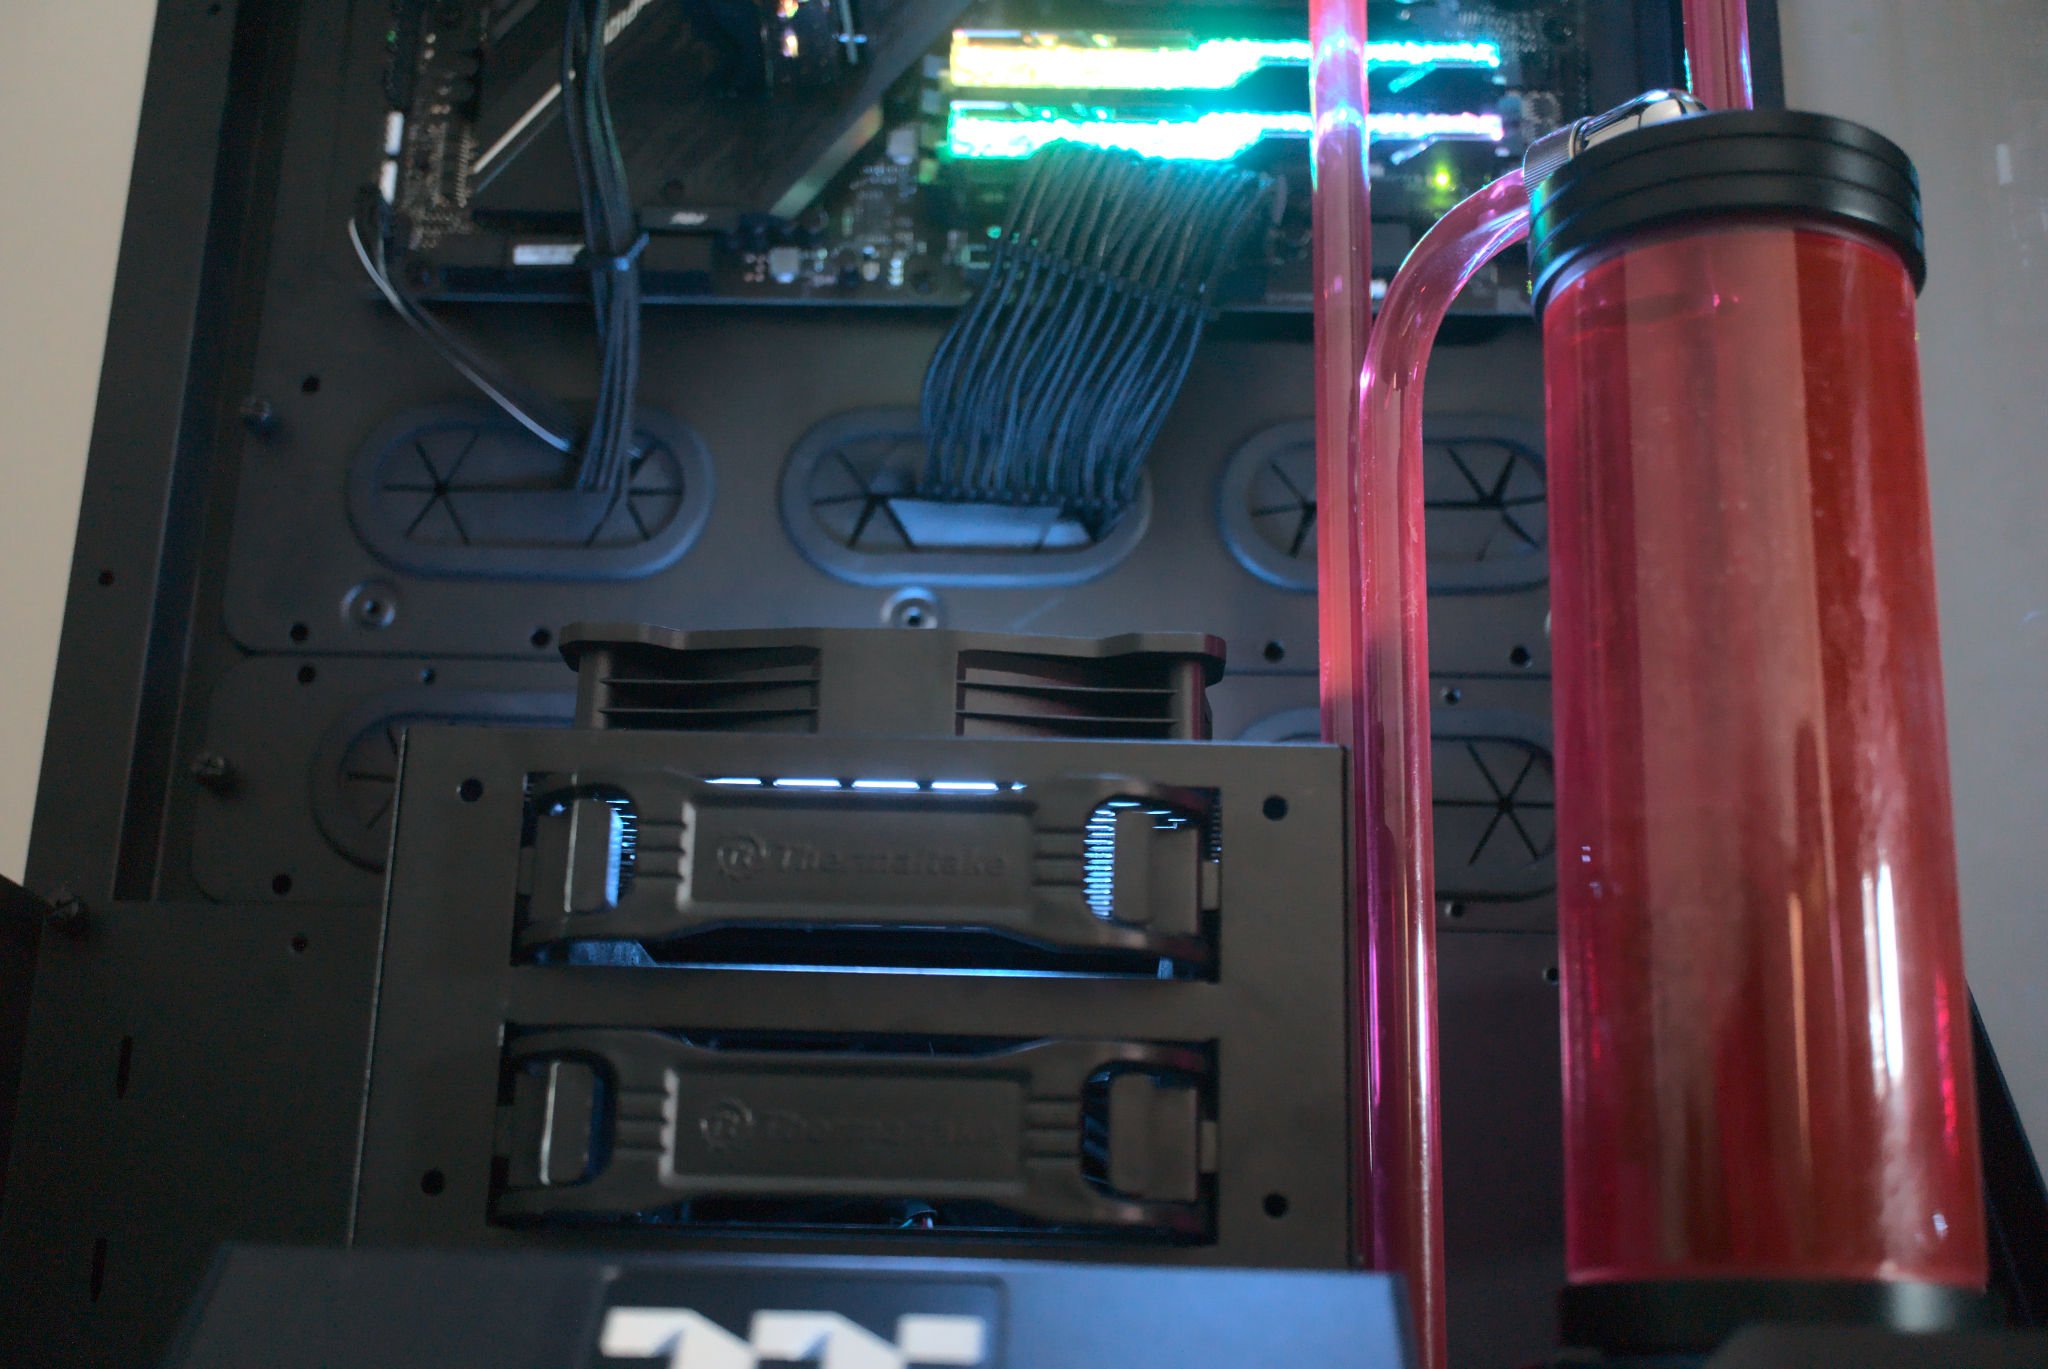
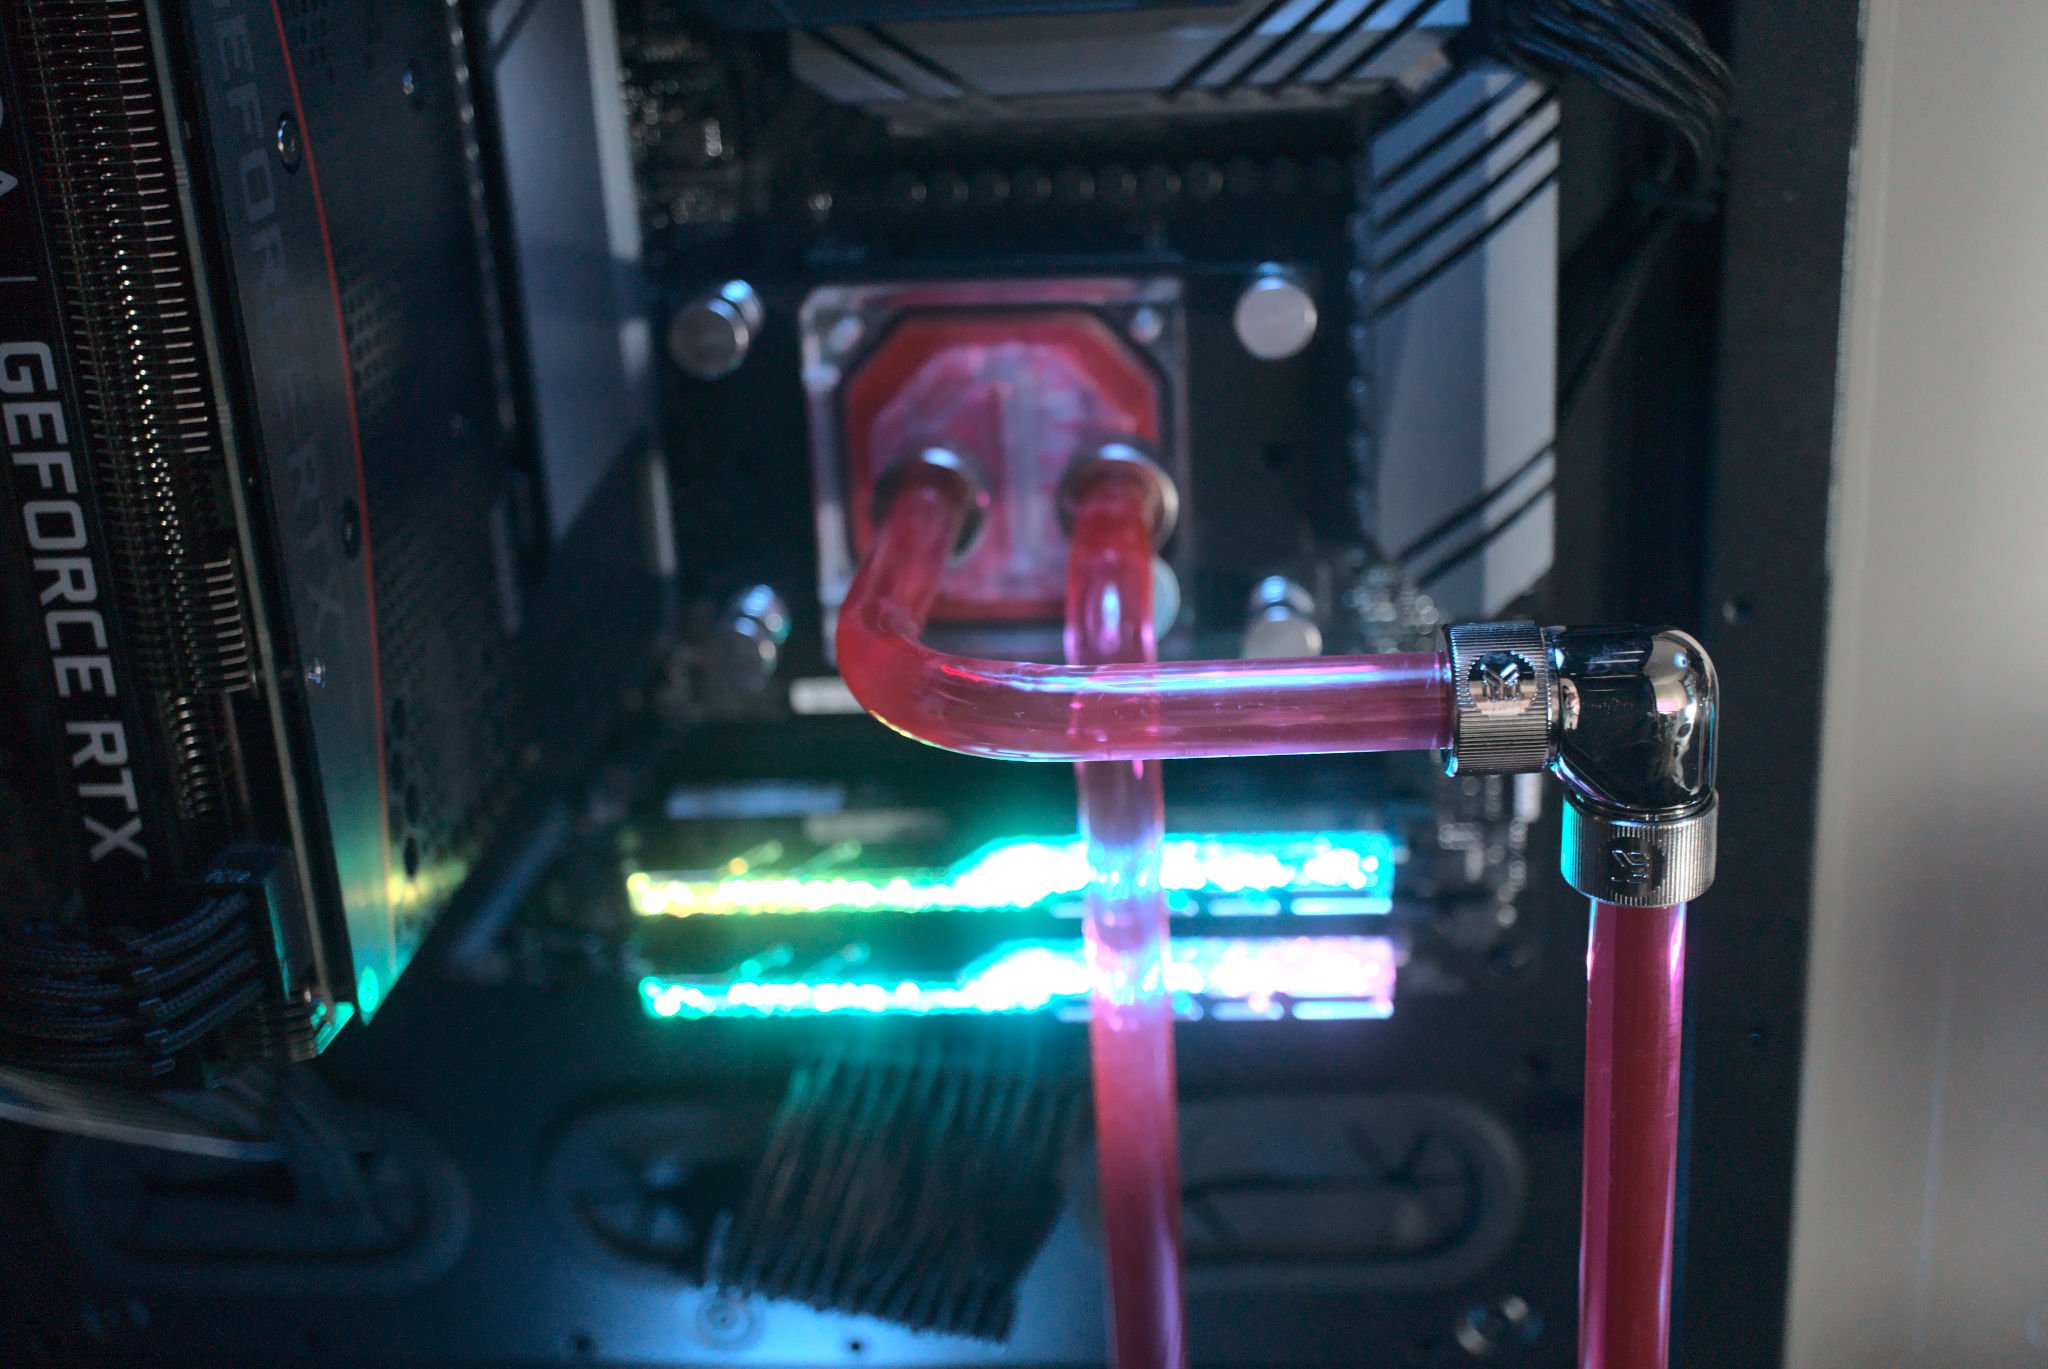
With everything installed and up and running, the Tower 900 is simply gorgeous to gaze at. So long as you have bright enough LED lighting inside (maybe add a few strips down the sides), your internal components will be on display for all to see. Running some intense games for a while (Shadow of the Tomb Raider, GTA V, and Mount & Blade II: Bannerlord) saw temperatures well within safe limits.
An NVIDIA GeForce RTX 3060 Ti managed to top out at 64C, while the CPU sat at 68C on average. The inside of the case measured at 47C. Water-cooled PCs usually have hotter components due to specific areas being connected to the loop; in this case, the CPU. Thermaltake got the Tower 900 just right with some impressive performance.
Should you buy the Thermaltake Tower 900?
Who it's for
- PC enthusiasts who want plenty of space for custom builds
- Those who want impressive thermal performance
- Those who love the look of tempered glass
- Those who want to spend more than $200 on a PC case
- Those who want to create a custom water-cooling loop
Who it isn't for
- Those who prefer a simple build
- Those who prefer a compact build
- Those who want to stick to a tight budget
- Those who want a small PC case
The most important factor of any case is thermal performance. It's going to need to ensure enough airflow hits your components and heatsinks or radiators. Thermaltake has been known to come a little short with regards to this, but the Tower 900 shows just how capable the company is. It's a brilliantly designed chassis.
If you want to go all-out with a custom water-cooling loop for your PC, there's really no better case around, especially when more than one loop is utilized. Being able to have both the CPU and GPU on separate loops with dedicated radiators is brilliant for more efficient cooling.
There are a few drawbacks to the Tower 900, however. It's expensive, but you're getting plenty of materials for your money. This case is huge and terribly heavy, making it difficult to move without requesting backup. So long as you don't need to move it (or open the top panel) often, it'll look amazing.
This truly is one of the best PC cases around and easily a top pick for builds with custom water-cooling loops. So long as you can fit it into your budget, I would recommend checking out the Thermaltake Tower 900 in person to witness its greatness.

Rich Edmonds was formerly a Senior Editor of PC hardware at Windows Central, covering everything related to PC components and NAS. He's been involved in technology for more than a decade and knows a thing or two about the magic inside a PC chassis. You can follow him on Twitter at @RichEdmonds.
