What's Dev Home on Windows 11, and how to get started using it?
Windows 11 now has a new Dev Home app, and here's how to get started.
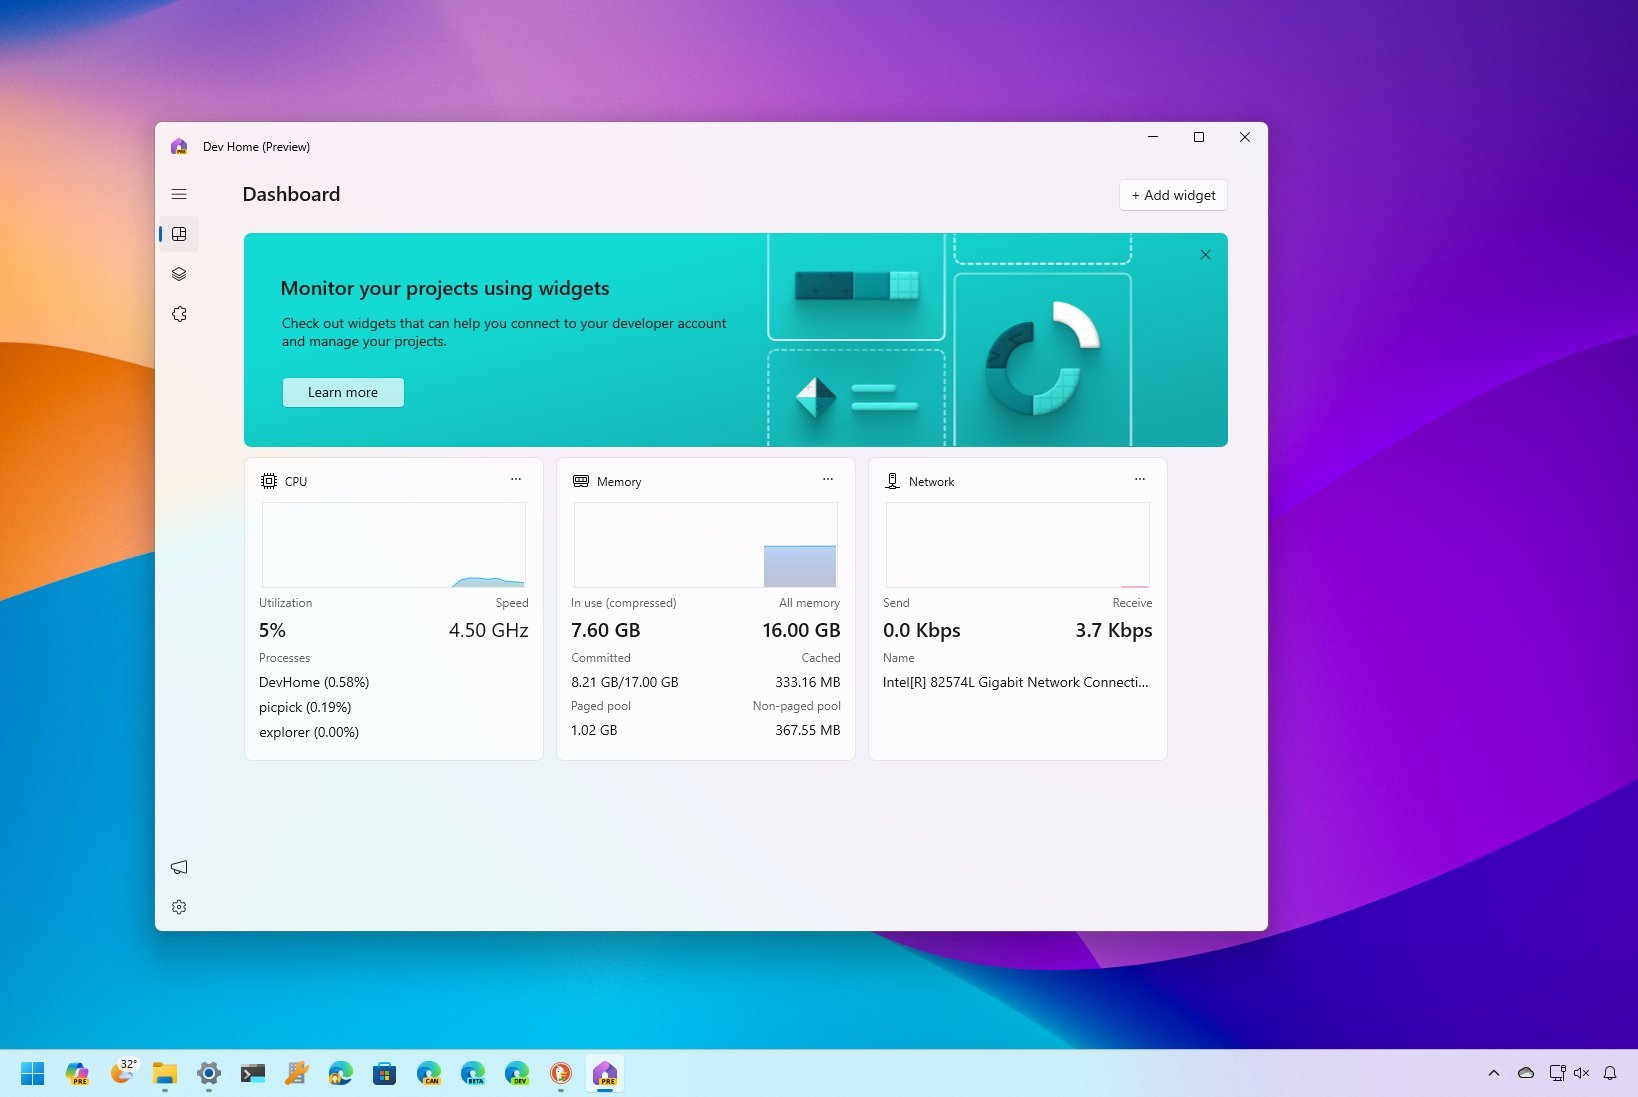
One of the additions to the Windows 11 2023 Update is the "Dev Home" app, which is a tool that includes everything you need to configure a computer quickly for a new development project.
Usually, for developers, setting up the environment for creating a new application is a tedious process that involves a number of tasks and consumes a lot of time. The new tool provides the features to set up a device quickly, from finding and installing different applications, cloning repositories, checking project requirements, managing multiple tool logins, and reducing context switching.
This guide will walk you through the details you need to get started with the Dev Home app on Windows 11.
Dev Home app overview on Windows 11
The Dev Home app is divided into three sections, including "Dashboard," "Machine configuration," and "Settings."
Dashboard
The "Dashboard," similar to the "Widgets" feature, allows you to add different widgets to monitor hardware and networking components and track things like issues and pull requests from GitHub.
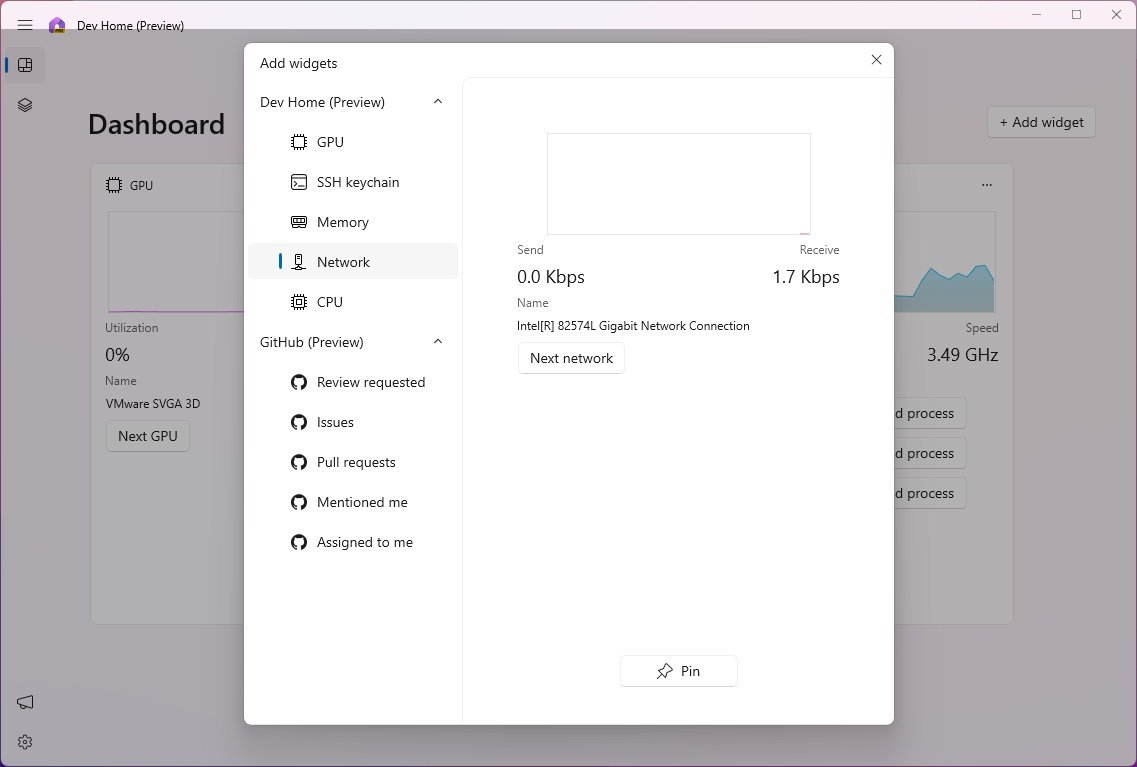
On this page, you can add or remove widgets by clicking the "Add widget" button from the top-right corner of the screen, choosing the widget, and clicking the "Pin" button.
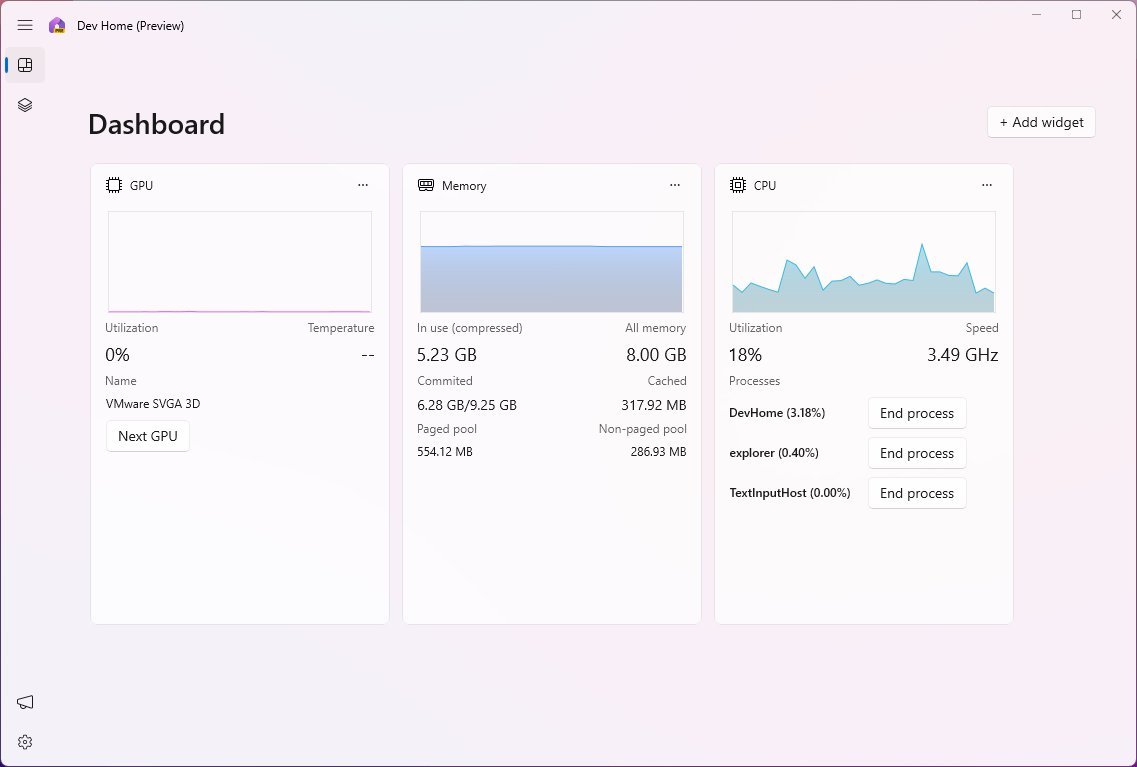
The Dev Home app includes five system widgets: GPU, SSH keychain, Memory, Network, and CPU. In addition to five GitHub-related widgets, such as Review requested, Issues, Pull requests, Mentioned me, and Assigned to me.
Get the Windows Central Newsletter
All the latest news, reviews, and guides for Windows and Xbox diehards.
Machine configuration
In the "Machine configuration" section, you will spend most of the time setting up the device to code a new project.
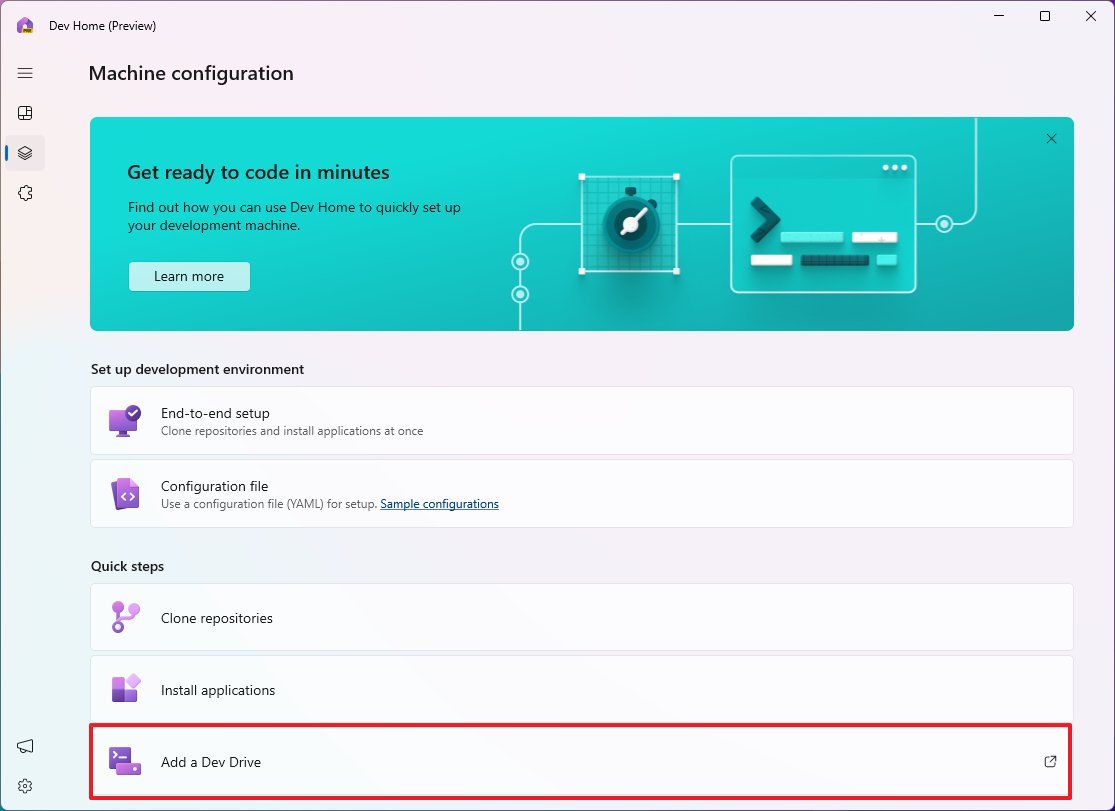
The page includes up to five setup options, including "End-to-end setup," "Configuration file," "Clone repositories," "Install applications," and "Add a Dev Drive."
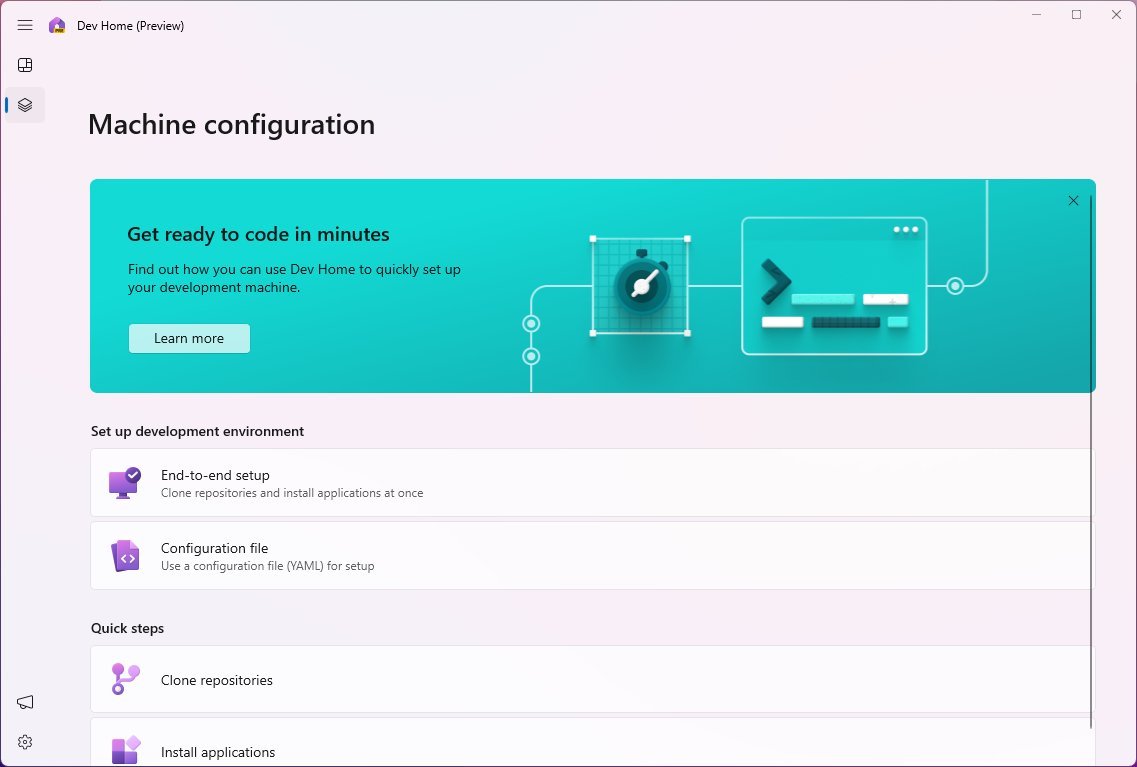
The "End-to-end setup" option provides a wizard to set up an unattended configuration of your device to start coding a project. The wizard is really simple and gives you the option to clone repositories with the "Add repository" button.
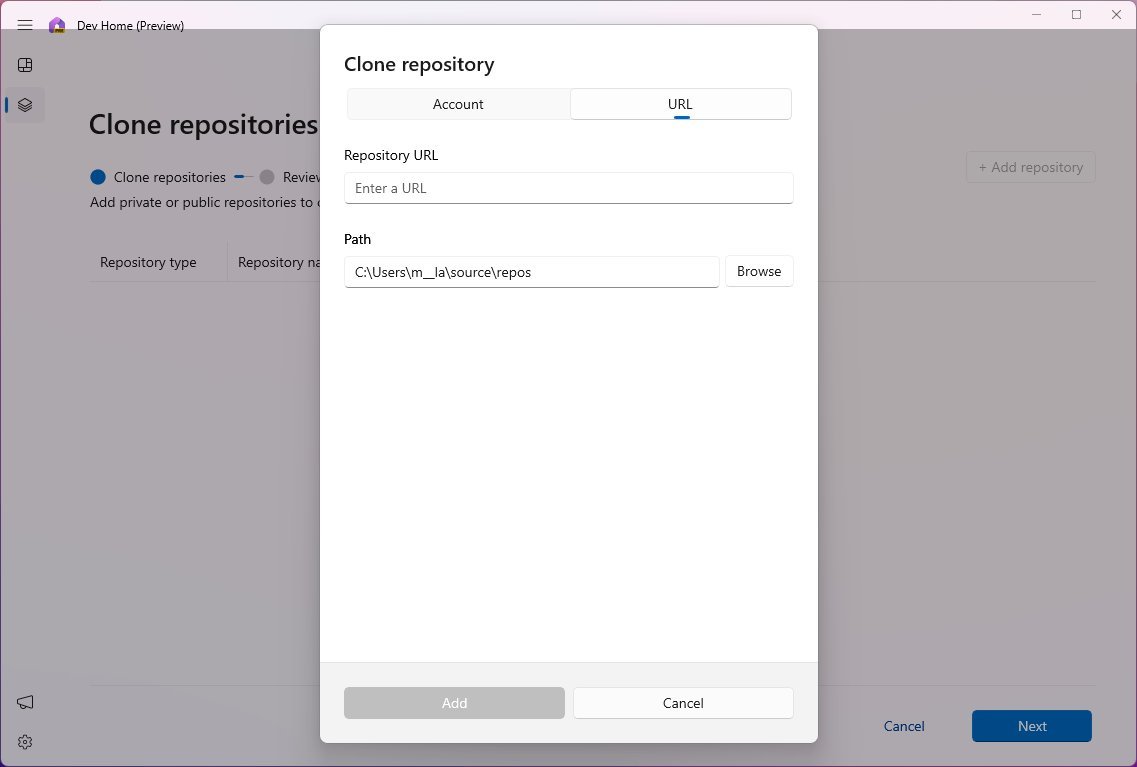
In the wizard, you can specify a URL for the repository or select one from your GitHub account.
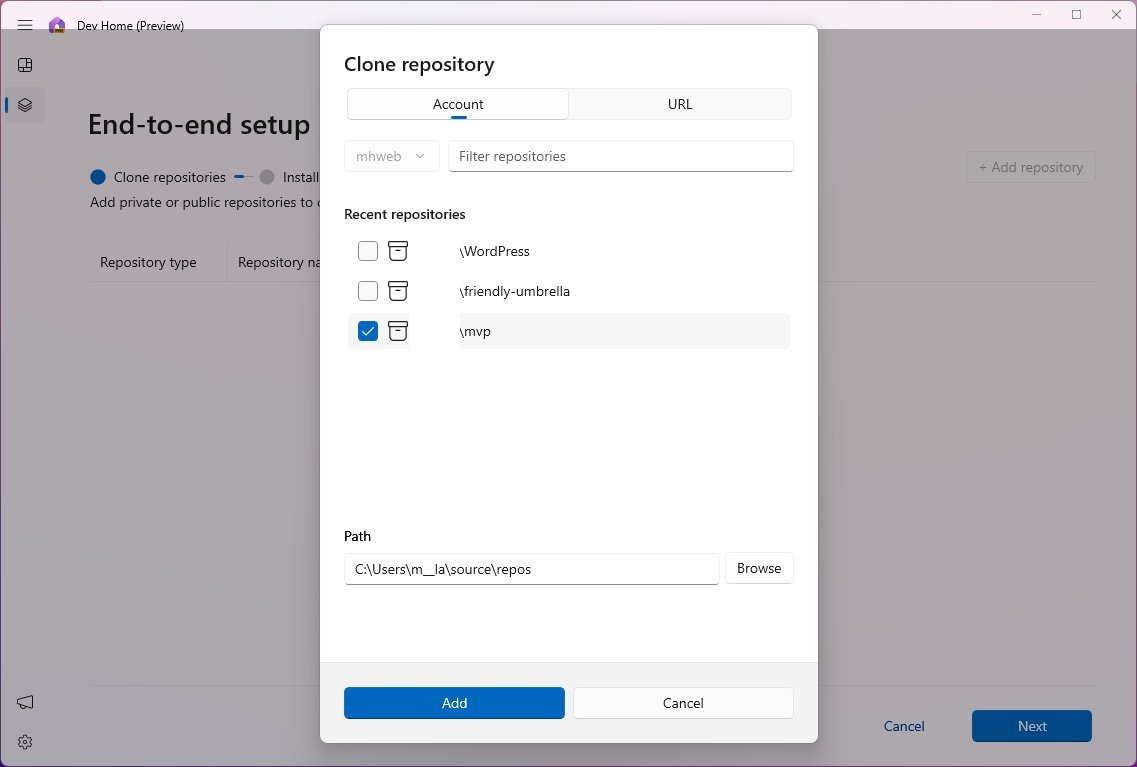
Once you're with the repositories, click the "Next" button.
On the following page, you will be able to choose the software and tools to install on your computer, such as Visual Studio Community, Git, Android Studio, Notepad++, Microsoft SQL Server Management Studio, and more.
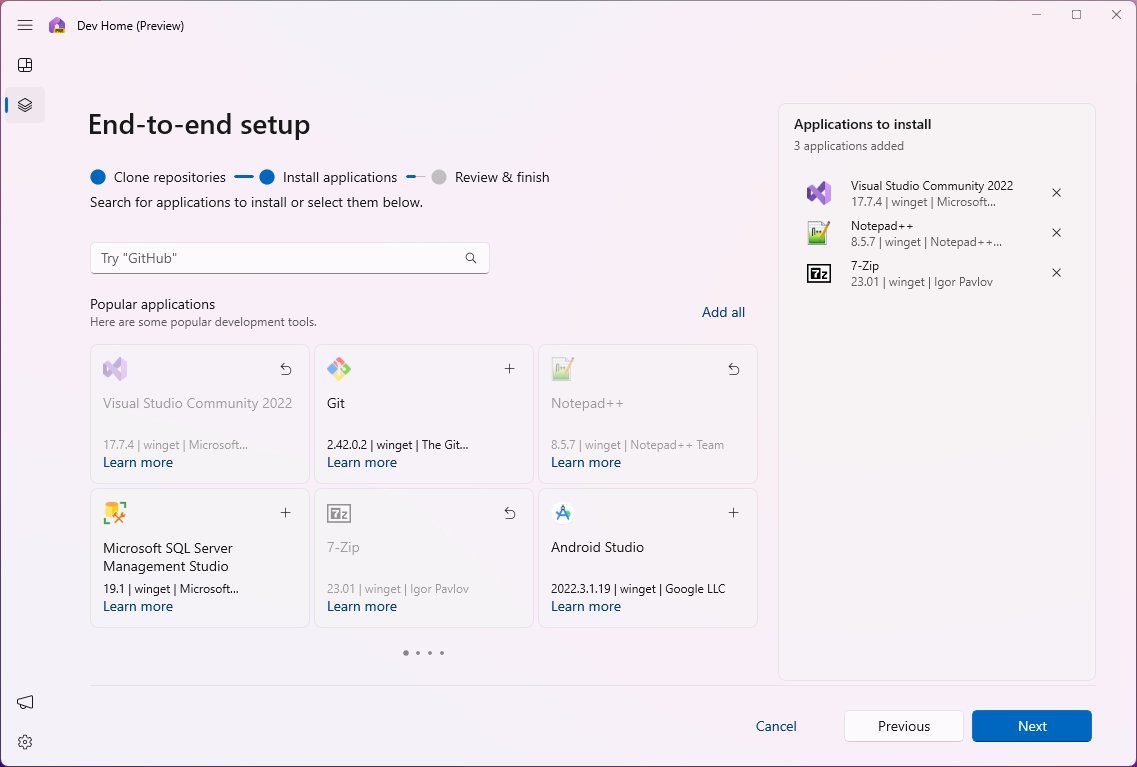
You can also use the "Add all" option to install every app on the list, or you can also use the search box to find a specific app on the list.
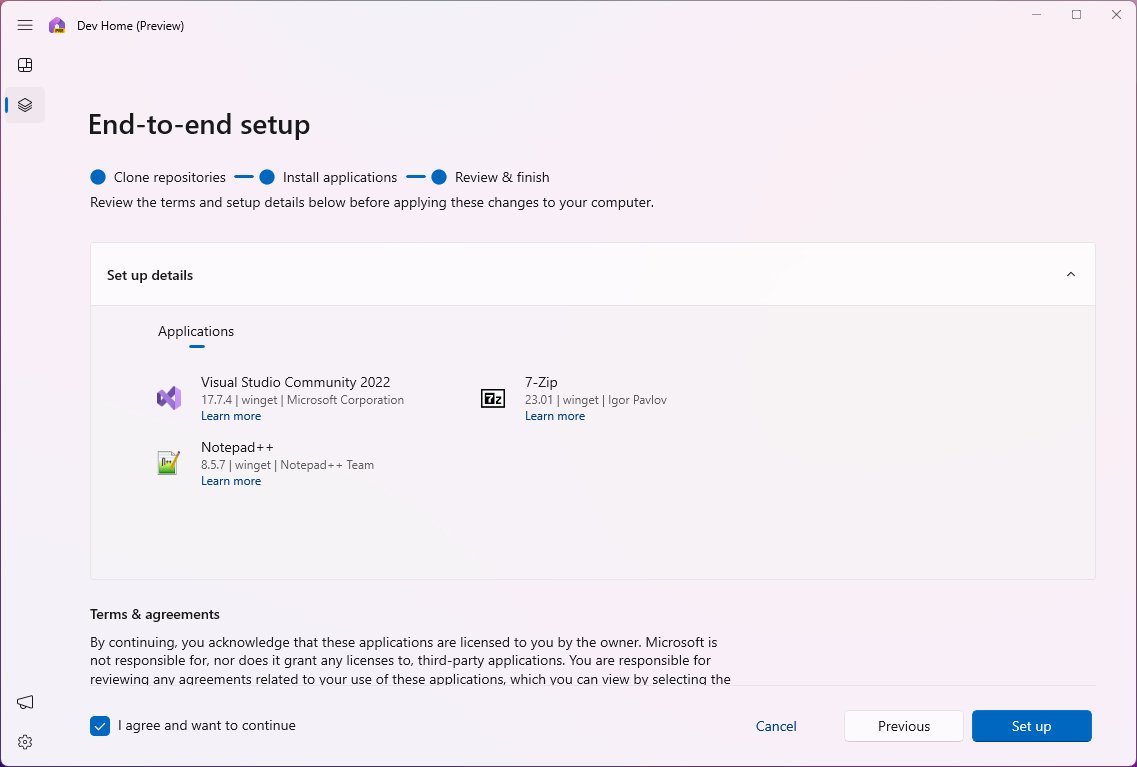
After selecting the "Next" button, you will be directed to the review page to complete the setup checkout. (On the page, you have to agree to the terms, or you won't be able to proceed.)
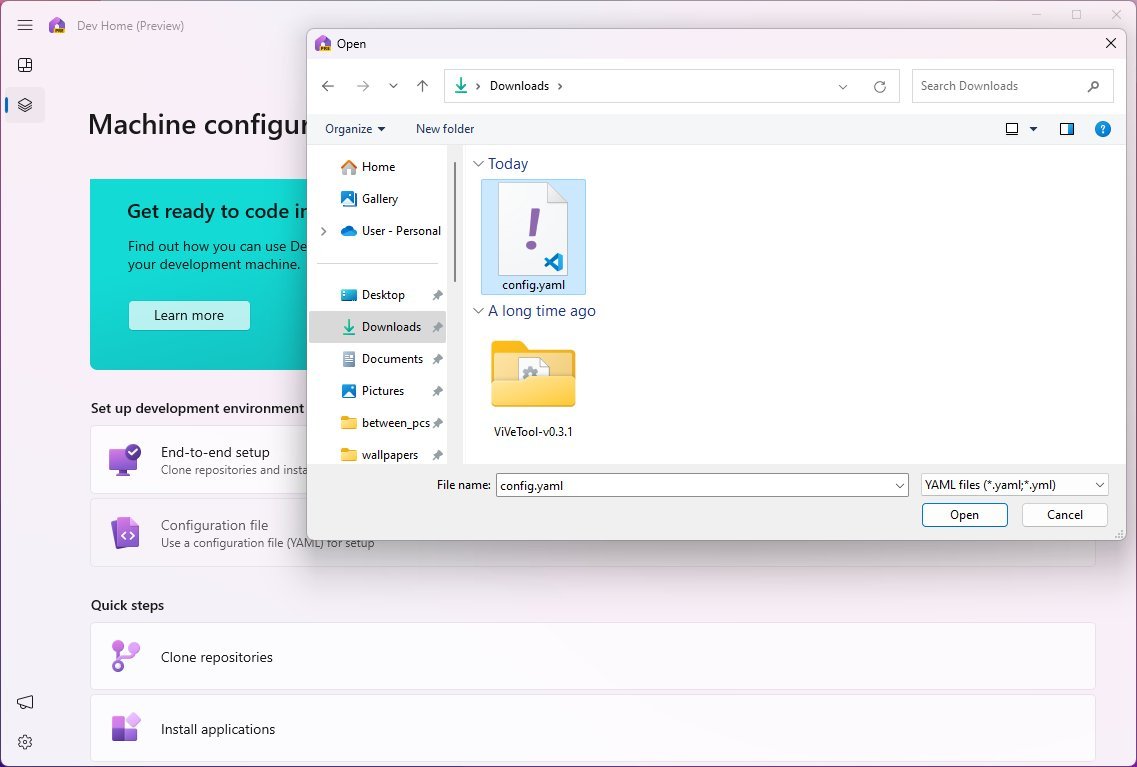
The "Configuration file" option allows you to specify a Windows Package Manager configuration file with all the tools and tasks you need to process to set up the development environment. You can create a custom configuration file, or you can use one from some other source.
You can get started by clicking the "Configuration file" option, selecting the YAML file, and following the on-screen directions to complete the setup.
The "Clone repositories" option gives you a wizard to clone repositories to your computer through a URL or by connecting your GitHub account and choosing from one of the available repositories.
The "Install applications" option allows you to choose and quickly install the software and tools to set up the environment to code your next project.
You can click the add (+) button to select your applications or the "Add all" option in the top-right, and you can use the search box to find the tools you need for your development.
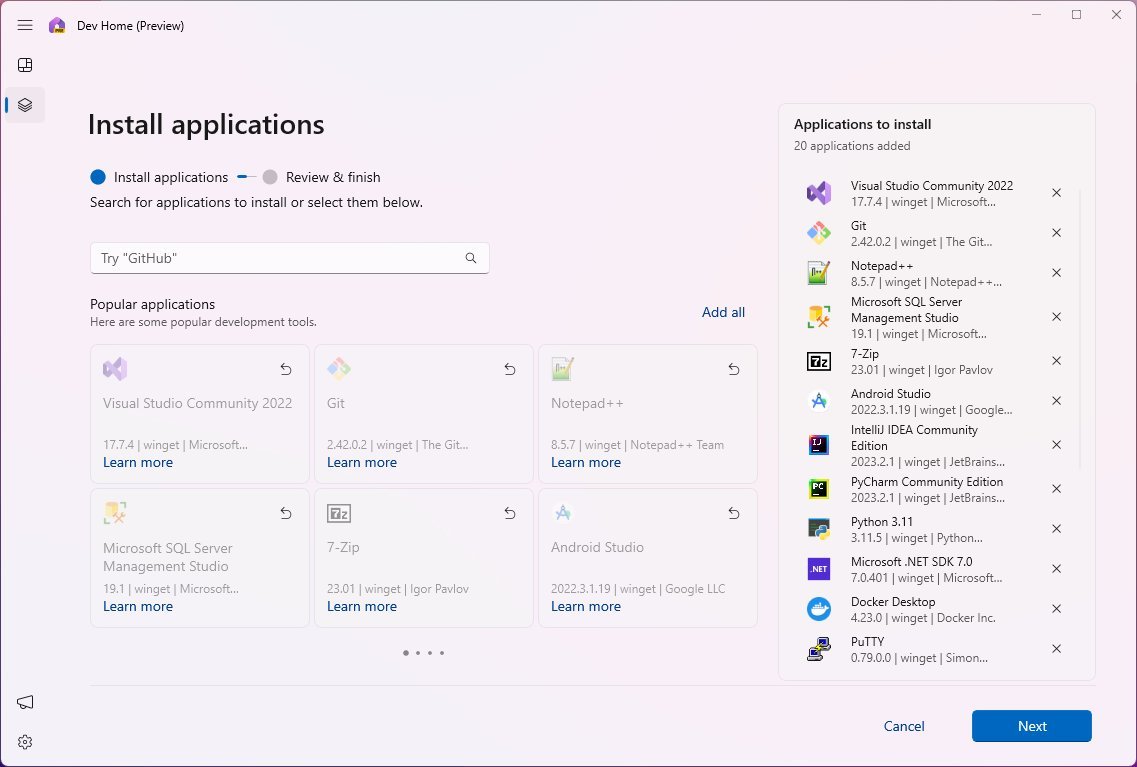
Then, you only need to click the "Next" button, agree to the terms, and click the "Set up" button to proceed with installations.
The "Add a Dev Drive" option is only a link to the "Disks & volumes" page in the Settings. (If you don't see the option, you can access the feature from Settings > System > Storage > Advanced storage settings > Disks & volumes.)
On the "Disks & volumes" page, the "Dev Drive" is a feature that allows you to configure virtual and physical drives with specific configurations and features, including using the ReFS with custom file system optimizations, custom Microsoft Defender Antivirus performance settings, and other features for management and security specifically designed for developers.
This type of storage is meant to host project code, package cache, and working folders, offering up to 30 percent improvements for I/O scenarios.
Getting started is simple since the graphical interface guides you through the entire process. First, you have to click the "Create Dev Drive" button.
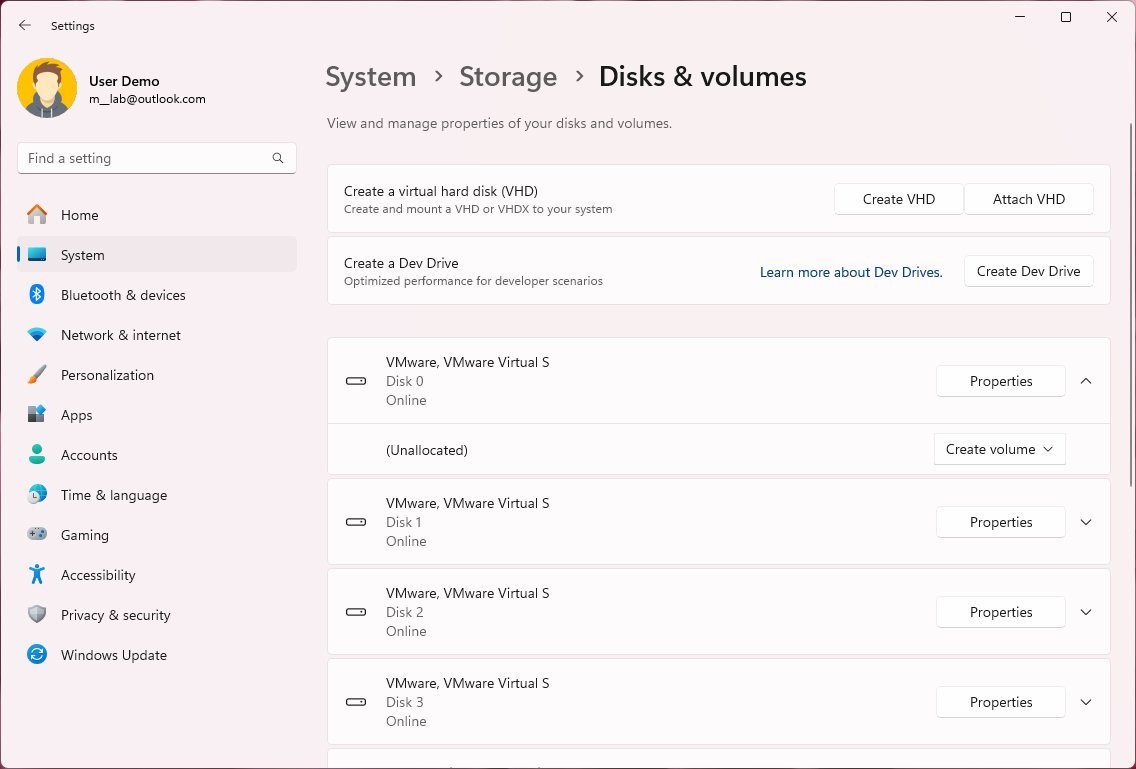
Choose the "Create new VHD" option, click the "Next" button.
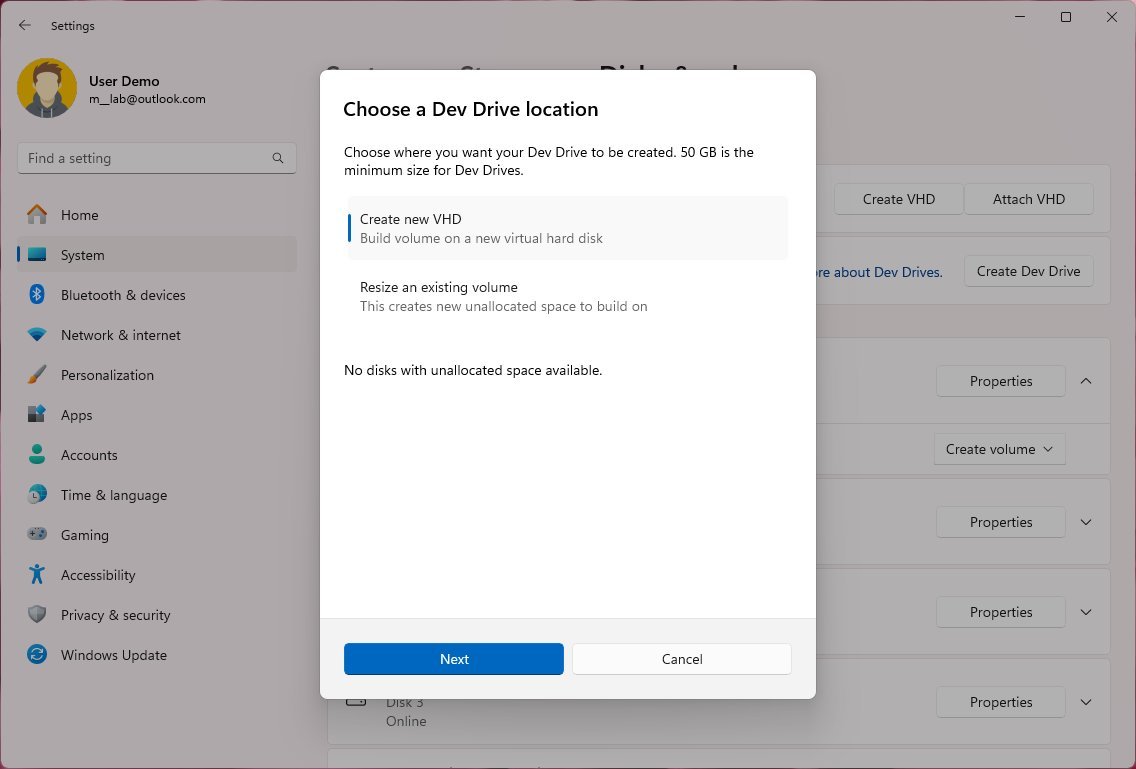
And then configure the virtual hard disk settings, including name, location, size, format (VHD or VHDX), and type (Fixed or Dynamically assigned), and click the "Create" button.
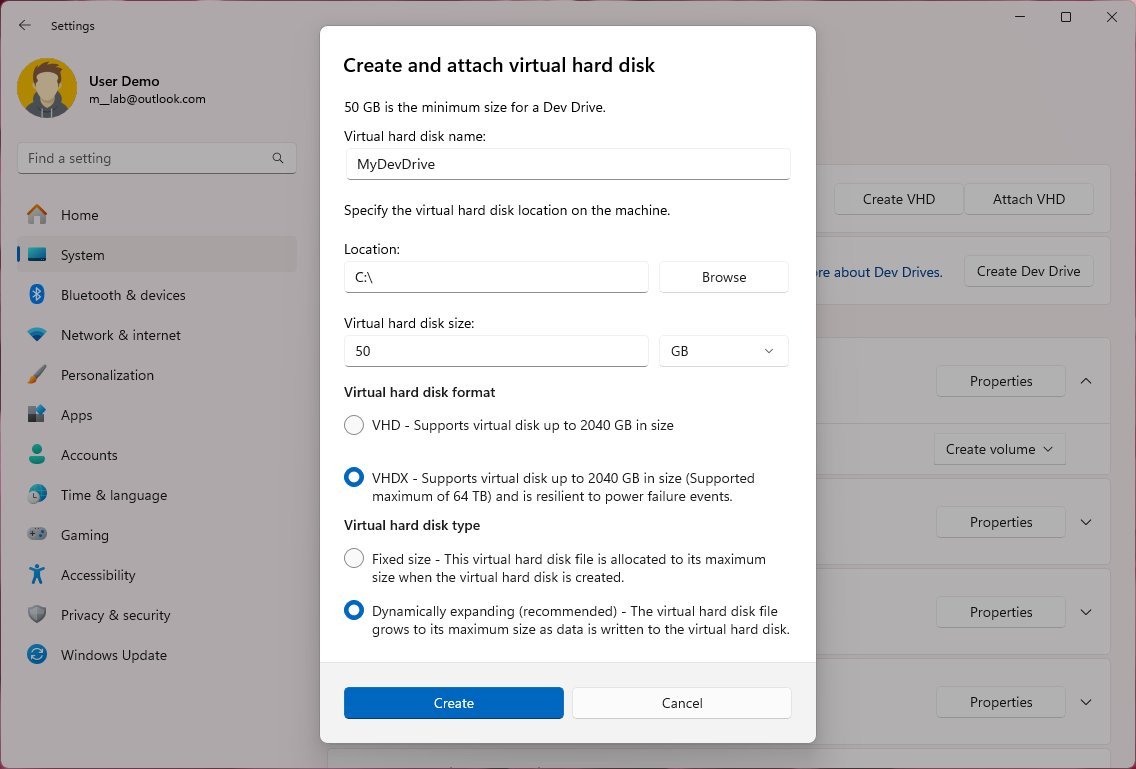
It's important to note that to create a Dev Drive, you must ensure that the assigned space is equal to or larger than 50GB.
You can also resize existing volumes, but how it works is tricky, since you can only resize physical or standard virtual drives with more than 50GB of space to create new Dev Drives. You can't make it larger or smaller if you have an existing Dev Drive.
After the storage creation, you will have to initialize and format the drive to make it available through File Explorer.
Settings
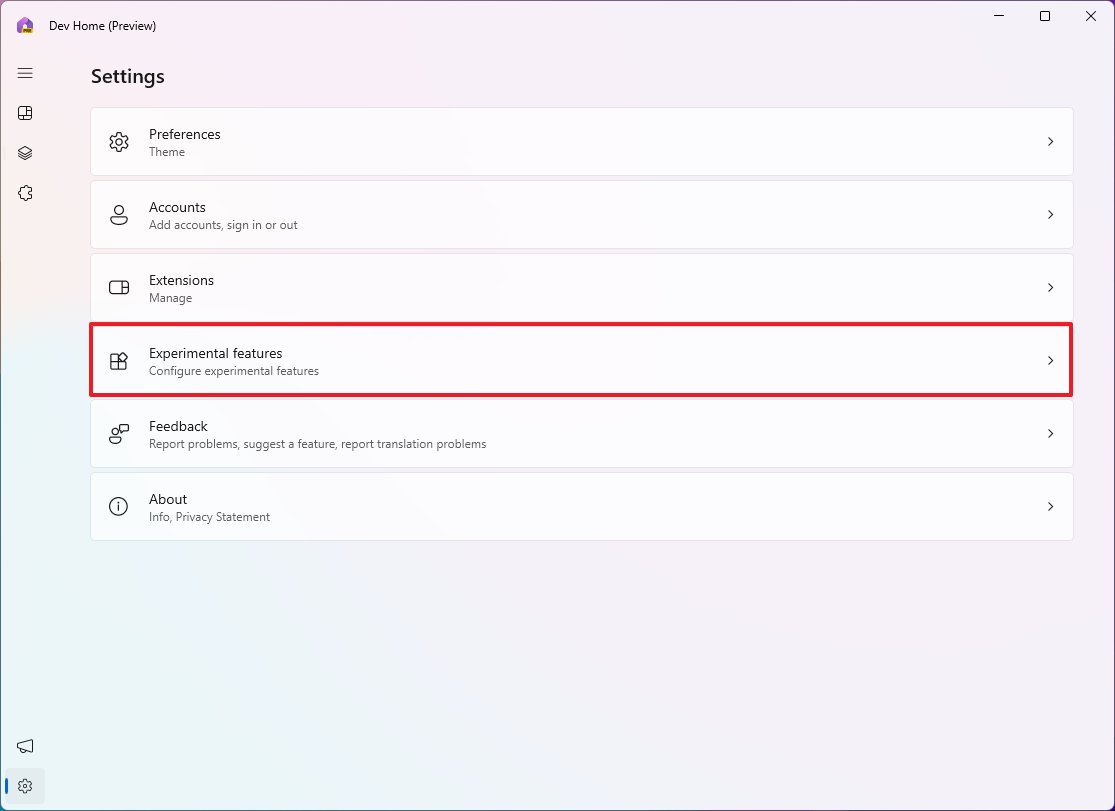
The Dev Home app also includes a Settings page to control your preferences, accounts, and extensions.
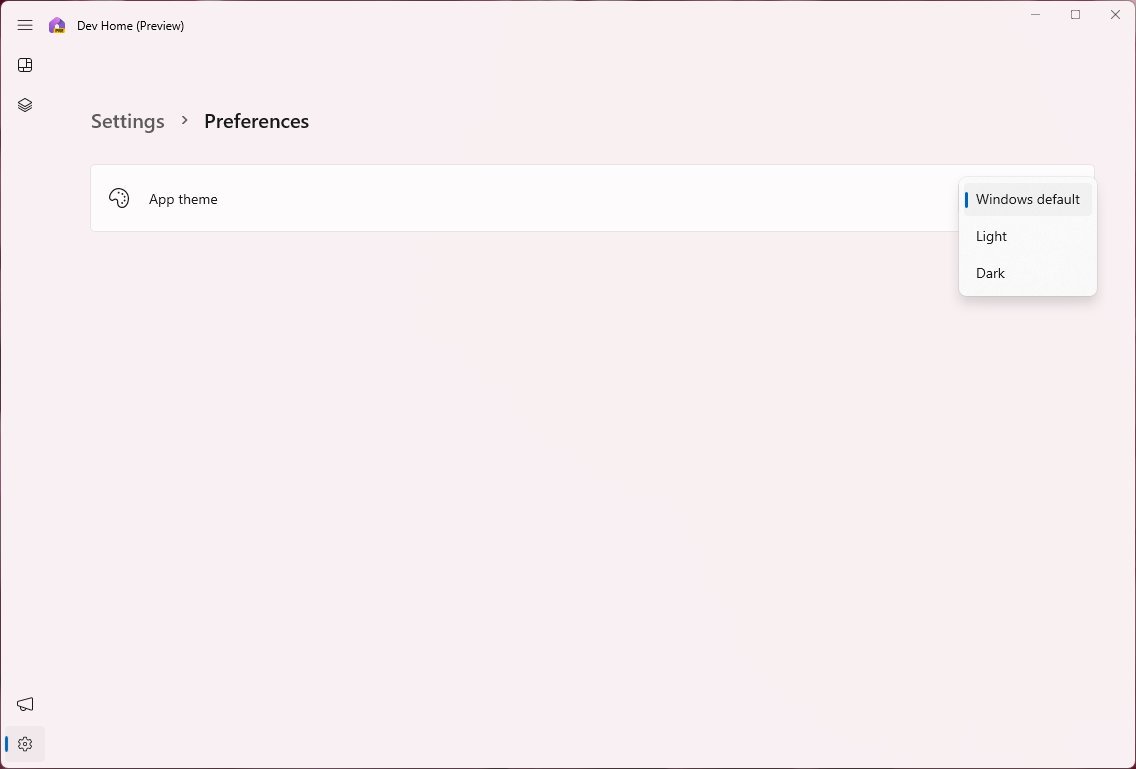
The "Preferences" page only includes the option to change the color mode of the app.
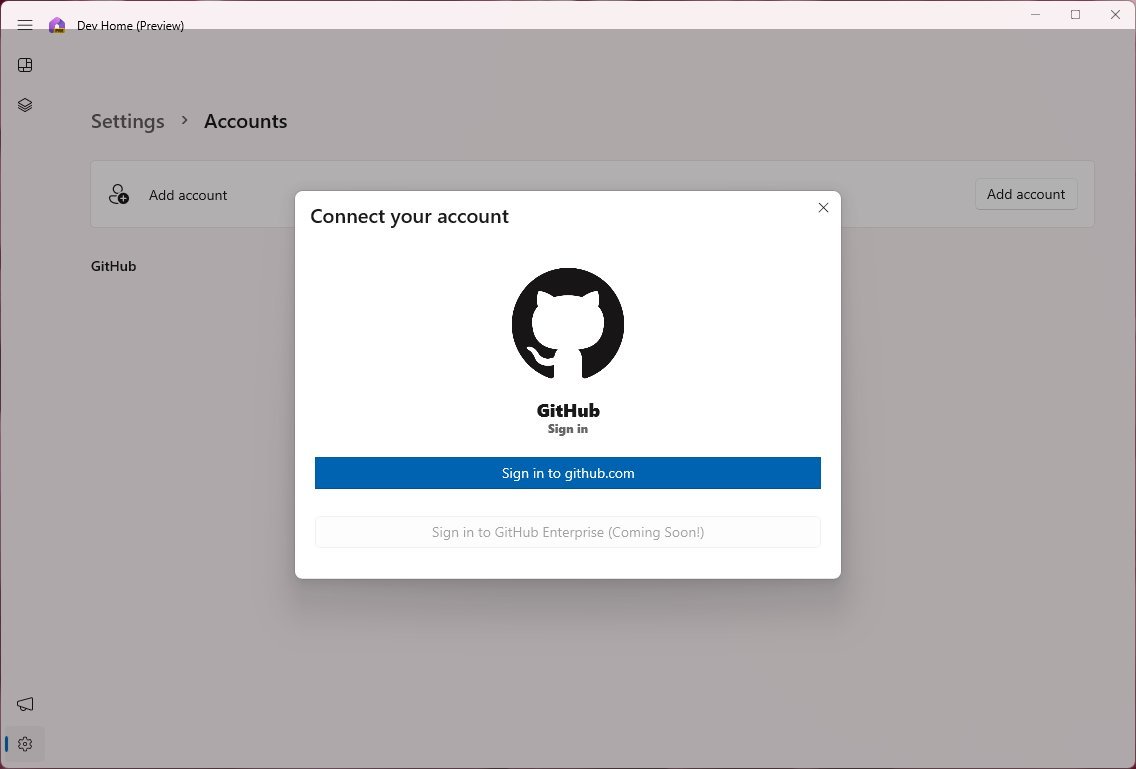
The "Accounts" page is the place that allows you to add one or multiple GitHub accounts. If you add an account through the "Machine configuration," it'll appear on this page. The page also offers the option to sign out, removing the account from the app.
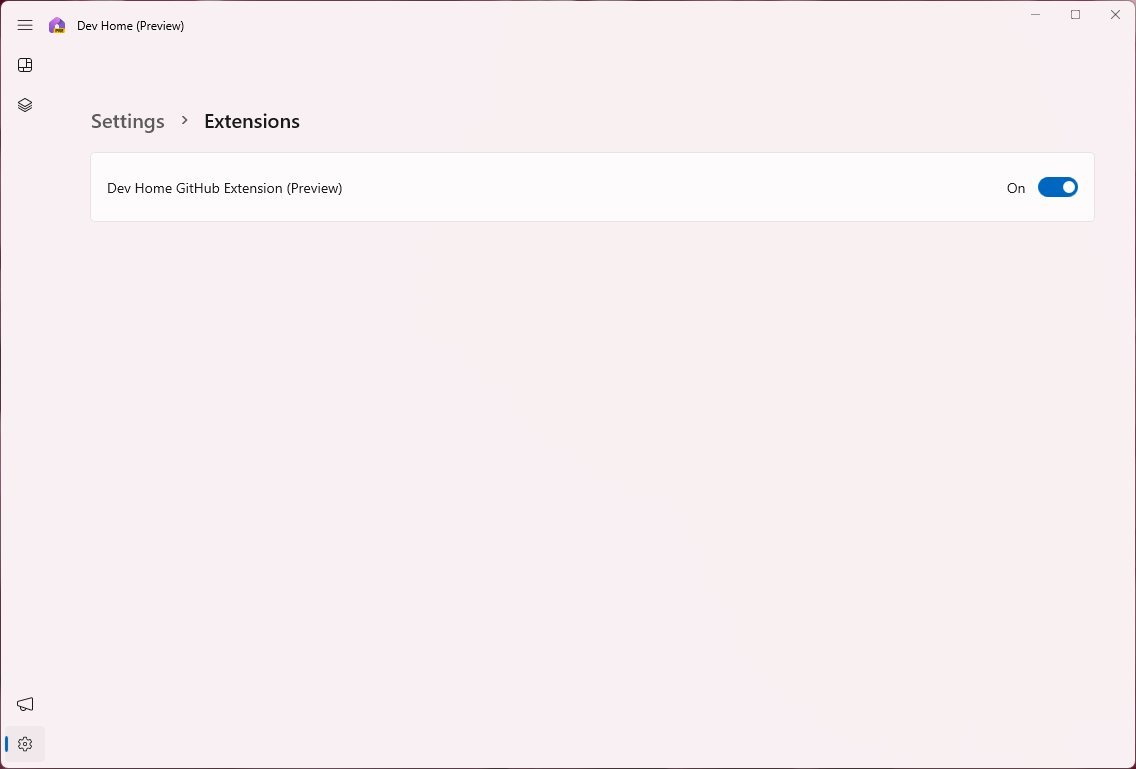
Finally, the "Extensions" page includes the extensions for Dev Home, which only includes the extension to connect with GitHub at the time of this writing.
Finally, in the "Experimental features" page, you will find upcoming features that Microsoft may be testing a particular time. If the page is empty, it's because the company doesn't have any new feature coming up.
More resources
For more helpful articles, coverage, and answers to common questions about Windows 10 and Windows 11, visit the following resources:
Mauro Huculak has been a Windows How-To Expert contributor for WindowsCentral.com for nearly a decade and has over 15 years of experience writing comprehensive guides. He also has an IT background and has achieved different professional certifications from Microsoft, Cisco, VMware, and CompTIA. He has been recognized as a Microsoft MVP for many years.

