How to free up space automatically with Storage Sense on Windows 11
Storage Sense can keep storage space under control, and here's how to use the feature on Windows 11.

On Windows 11, when the computer runs low on drive space, you can manually use different tools to delete temporary files, empty the Recycle Bin, and much more. However, instead of jumping between tools and performing different steps, you can enable Storage Sense to monitor and delete unnecessary files automatically.
Storage Sense isn't new. It's a feature that has been around for a long time and has been designed to automatically delete temporary system and app files, junk files already in Recycle Bin, and files you may no longer need from the Downloads folder. It also allows converting files already stored in OneDrive to online-only files to clear additional space on your computer.
This guide will walk you through the steps to enable and manage the Storage Sense settings to allow the system to run a set of rules automatically to free up space on Windows 11.
How to enable Storage Sense on Windows 11
To enable Storage Sense on Windows 11, use these steps:
- Open Settings.
- Click on Storage.
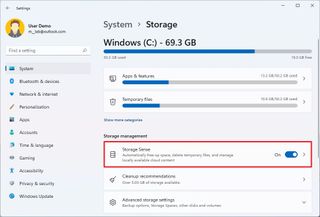
- Under the "Storage management" section, click the Storage Sense toggle switch.

Once you complete the steps, the feature will run automatically but use the default settings.
How to manage Storage Sense on Windows 11
To configure the Storage Sense settings to free up space automatically on your computer, use these steps:
- Open Settings.
- Click on Storage.
- Under the "Storage management" section, click the Storage Sense setting.
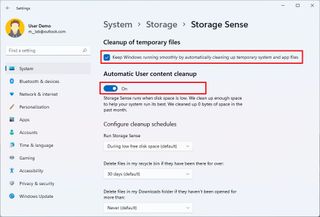
- Check the "cleaning up temporary system files and app files" (first) option.
- Turn on the "Automatic User content cleanup" toggle switch.

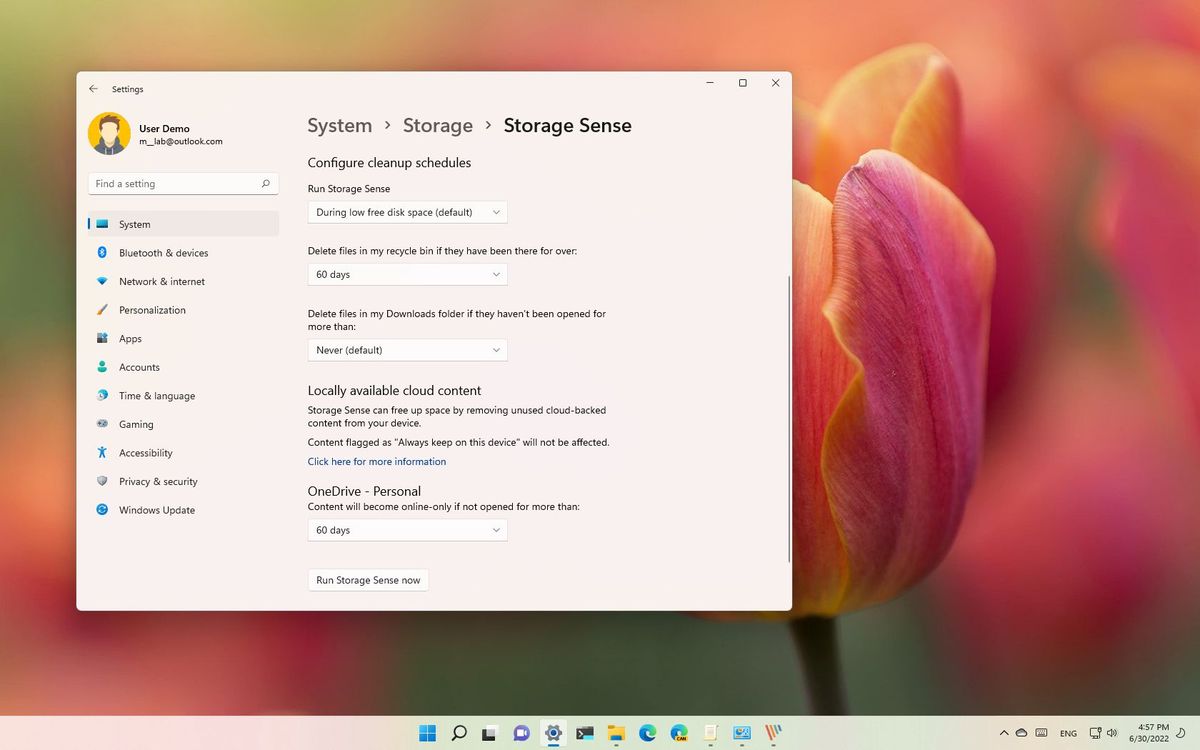
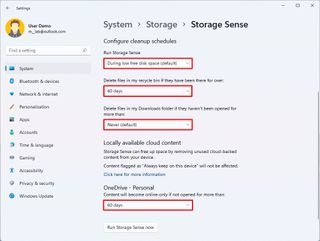
- Under the "Configure cleanup schedules" section, use the "Run Storage Sense" setting and select the "During low free disk space" option.
- (Optional) Use the "Delete files in my recycle bin" setting to select the age of files to delete:
- Never.
- 1 day.
- 14 days.
- 30 days.
- 60 days.

- (Optional) Use the "Delete files in my Downloads folder" setting to select the number of days the file has to be without modifications to be marked for deletion.
- Quick note: The "Downloads" folder may contain important files you previously downloaded from the internet. As a result, checking the folder and copying any file you want to keep before using this setting is recommended.
- (Optional) Use the "OneDrive" setting to select when files already synced to the cloud should be converted to online-only files to free up space on your computer.
- Quick note: When using this feature, the files will continue to be listed in the OneDrive folder, but you will need an internet connection to open them again.
Once you complete the steps, Storage Sense will run automatically whenever the drive is running low on available storage to free up space depending on your configuration.
Get the Windows Central Newsletter
All the latest news, reviews, and guides for Windows and Xbox diehards.
Alternatively, you can always click the Run Storage Sense now button to free up space immediately on your computer.
In previous versions of Windows, Storage Sense included the option to delete the files from the previous setup after the upgrade. However, the option is now only available through the Temporary files page.
More resources
For more helpful articles, coverage, and answers to common questions about Windows 10 and Windows 11, visit the following resources:
Mauro Huculak has been a Windows How-To Expert contributor for WindowsCentral.com for nearly a decade and has over 15 years of experience writing comprehensive guides. He also has an IT background and has achieved different professional certifications from Microsoft, Cisco, VMware, and CompTIA. He has been recognized as a Microsoft MVP for many years.
