How to fix problems installing updates on Windows 11
Is Windows Update not working? Here are a few things you can try to fix the problem on Windows 11.
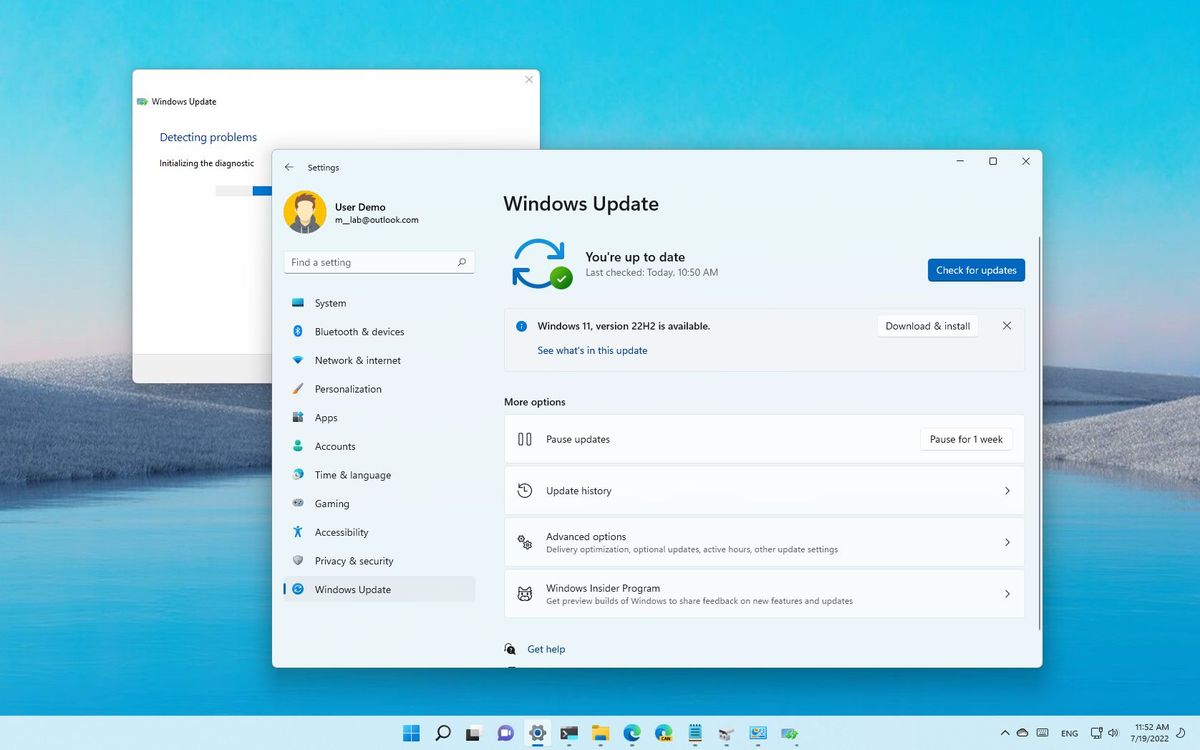
On Windows 11, Microsoft proactively releases updates to patch security vulnerabilities, improve performance, and introduce new features. Although they usually apply without issues, the system may sometimes encounter problems with Windows Update.
For instance, you may notice that Windows Update may take a very long time to scan and download updates, errors during the installation, and many other problems.
Whatever the problem, you can use several troubleshooting steps to resolve any issue on Windows Update, including basic and advanced methods.
This guide will walk you through the steps to the different methods you can use to resolve Windows Update problems as you try to install updates on Windows 11.
How to fix common problems updating Windows 11
If Windows Update doesn't seem to work, you can try a few troubleshooting steps before using more advanced methods. For example, you can restart the computer, check the internet connection, pause and restart updates, and free up space.
Restart computer
To restart the computer to fix update issues, use these steps:
Get the Windows Central Newsletter
All the latest news, reviews, and guides for Windows and Xbox diehards.
- Open Start.
- Check the Power button.
- Select the Restart option.
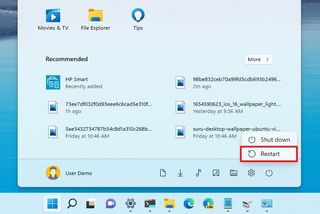
Once you complete the steps, open the Windows Update settings again and try to update one more time.
Check network
To confirm the device has an active internet connection, use these steps:
- Open Start.
- Search for Command Prompt and click the top result to open the app.
- Type the following command to confirm the computer has internet connectivity and press Enter: ping google.com
- Confirm packet loss.
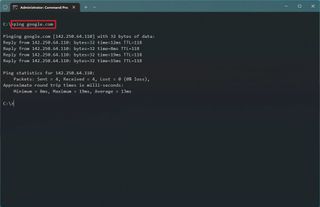
Once you complete the steps, you probably have an internet connection problem if the command output has more than two timeouts.
If the device has a problem with the internet connection, many factors could be the cause. For instance, it could be a problem with the internet service provider (ISP), wireless connection, network misconfiguration, adapter driver, network cable, network port, switch, access point, router, etc. However, resetting the network adapter settings will usually resolve the most common problems.
You can reset the network adapters on Windows 11 by going to Settings > Network & internet > Advanced network settings > Network reset, clicking the Reset now button, and clicking the Yes button.
After the computer is restarted, you can try updating it one more time.
Pause updates
Sometimes, if the issue is downloading an update, pausing and resuming Windows Update can help to fix the problem.
To pause and resume updates on Windows 11, use these steps:
- Open Settings.
- Click on Windows Update.
- Under the "More options" section, click the "Pause for 1 week" button.
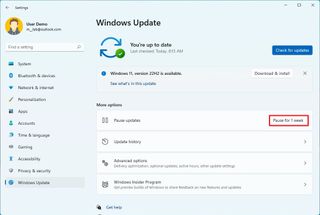
- Restart your computer.
- Open Settings one more time.
- Click on Windows Update.
- Click the Resume updates button.
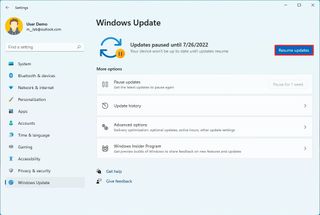
Once you complete the steps, Windows Update should start working again.
Free up space
If the main installation drive doesn't have enough space, you may encounter different errors trying to update the system. In this case, you can use features like "Temporary files" to reclaim space to allow the system to process updates without problems.
To free up space to install updates on Windows 11, use these steps:
- Open Settings.
- Click on System.
- Click the Storage page from the right side.
- Click the Temporary files setting.
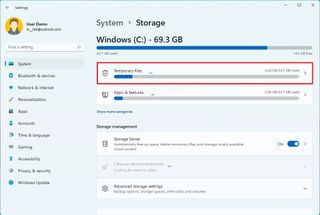
- Check the items to delete to free up space.
- Quick note: If you select the Downloads item, you will erase any content in the folder. As a result, you should back up any important files in this location before proceeding.
- Click the Remove files button.
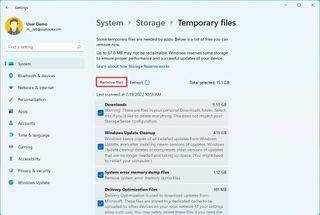
Once you complete the steps, the system should have more space to install updates successfully.
If the device still doesn't have enough space, you can use this guide that includes 11 ways to free up space on Windows 11.
How to fix update problems with troubleshooter
On Windows 11, you can also use the Windows Update troubleshooter to diagnose and fix common problems during updates.
To use the troubleshooter feature to resolve Windows Update issues, use these steps:
- Open Settings.
- Click on System.
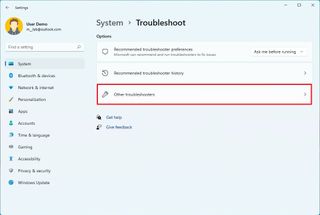
- Click the Troubleshoot page from the left side.
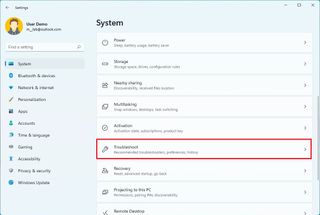
- Under the "Options" section, click the Other troubleshooters setting.
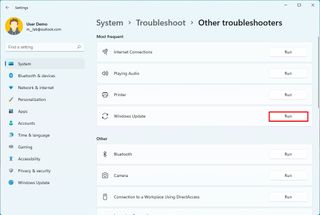
- Under the "Most frequent" section, click the Run button for the "Windows Update" setting.
- Click the Close button.
After you complete the steps, the troubleshooter will diagnose and resolve the problem that prevents the system from applying the latest update of Windows 11.
How to fix update problems with manual installation
Sometimes, if an automatic update fails, manually downloading and installing the most recent update can fix the problem.
To download quality updates on Windows 11 manually, use these steps:
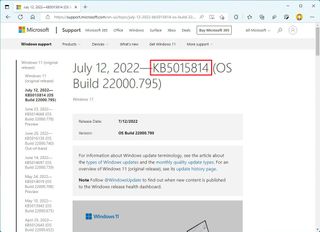
- Open Windows Update page.
- Click on the latest version of Windows 11.
- Select the update release and confirm the update number — for example, KB5015814.
- Open Microsoft Update Catalog page.
- Search for the update — for example, KB5015814.
- Click the Download button.
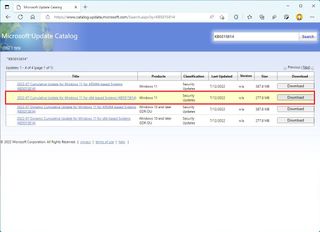
- Click the .msu download link.
- Double-click the .msu file to install the Windows 11 update.
- Restart the computer (if applicable).
Once you complete the steps, the latest update will install on Windows 11, hopefully fixing the problem with Windows Update.
How to fix update problems with setup repair
The problem with the Windows Update service can also happen due to a corrupted file system. If this is the case, you may be able to use the Deployment Image Servicing and Management (DISM) and System File Checker (SFC) command-line tools to restore the update system to a working state.
To repair the Windows 11 installation to fix issues with the update service, use these steps:
- Open Start.
- Search for Command Prompt, right-click the top result, and select the Run as administrator option.
- Type the following command to repair the system image and press Enter: dism /Online /Cleanup-image /Restorehealth
- Type the following command to repair the installation files and press Enter: sfc /scannow
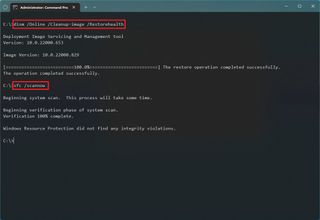
After completing the steps, use the Windows Update settings one more time.
How to fix update problems with hiding tool
Sometimes, the problem could be an unknown issue with a specific patch. If you suspect the issue is the update and not the current setup, you should skip the update until the next release using the "Show or hide updates" tool.
To hide a specific update on Windows 11, use these steps:
- Click to download the "Show or hide updates" troubleshooter from Microsoft.
- Save the file on your computer.
- Double-click the wsuhowhide.diagcab file.
- Click the Next button.
- Click the Hide updates option.
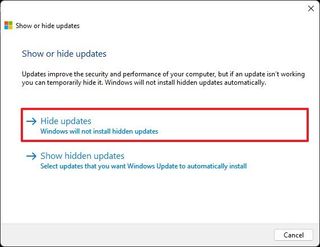
- Select the update causing the problem.
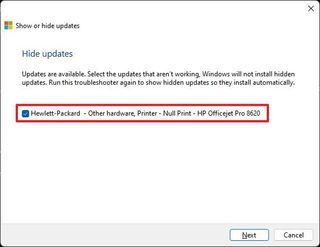
- Click the Next button.
- Click the Close button.
Once you complete the steps, the specified update will no longer be offered for download, resolving errors trying to install a particular release. However, when the next maintenance update becomes available, it will download and install automatically.
How to fix update problems with clean installation
If you have tried all the above instructions and the device still has problems with Windows Update, you may be able to get updates working by performing a clean installation of Windows 11 as a last resort.
To perform a clean install of Windows 11, use these steps:
- Open Microsoft Support website.
- Under the "Download Windows 11 Disk Image (ISO)" section, select the Windows 11 option.
- Click the Download button.
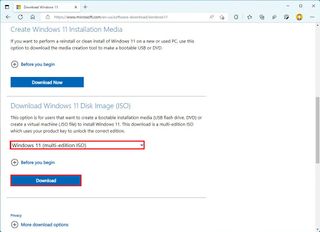
- Select the language of the installation.
- Click the Confirm button.
- Click the Download button to save the ISO file on the computer.
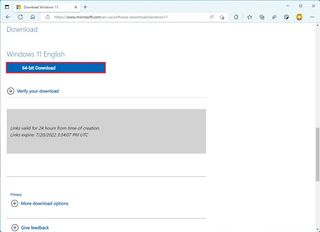
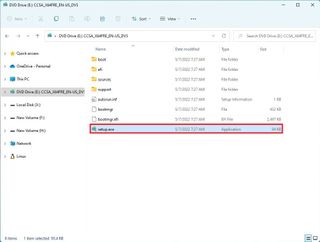
- Right-click the ISO file and select the Mount option. (You can also double-click the file to mount it.)
- Select the newly mounted drive from the left navigation pane.
- Double-click the setup.exe file to begin the installation.
- Click the Next button.
- Click the Accept button to agree to the terms.
- Click the Change what to keep option.
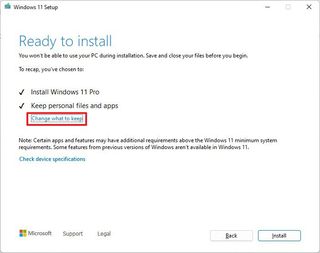
- Select the Nothing option.
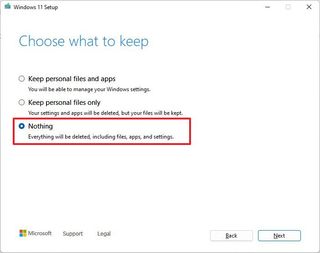
- Click the Next button.
- Click the Install button.
After completing the steps, you will have to continue with the out-of-box experience (OOBE) to finish setting up the installation. Once on the desktop, you can try installing updates one more time.
You can also refer to this guide with all the steps to perform a clean install of Windows 11.
More resources
For more helpful articles, coverage, and answers to common questions about Windows 10 and Windows 11, visit the following resources:
Mauro Huculak has been a Windows How-To Expert contributor for WindowsCentral.com for nearly a decade and has over 15 years of experience writing comprehensive guides. He also has an IT background and has achieved different professional certifications from Microsoft, Cisco, VMware, and CompTIA. He has been recognized as a Microsoft MVP for many years.
