How to enable and disable Live Captions in Windows 11
Live Captions bring you on-screen transcriptions in Windows 11.

Microsoft recently shipped a new accessibility feature for Windows 11 users: Live Captions. It’s designed to provide users with automatic transcription to enhance better understanding of audio.
Users with a hearing impairment also benefit from this feature, as they can now follow what is being said in the audio by reading real-time captions. It also works for PC games without built-in subtitles, perfect for gamers with hearing impairments.
It should also be noted that this feature is available in Windows 11 version 22H2 and later. Therefore, accessing it if your Windows PC runs on older versions is out of the question. In this Windows 11 guide, I will walk you through enabling and disabling Live Captions.
Enable or disable Live Captions with Settings app
- Left-click the Start button on your Taskbar to launch the Settings app.
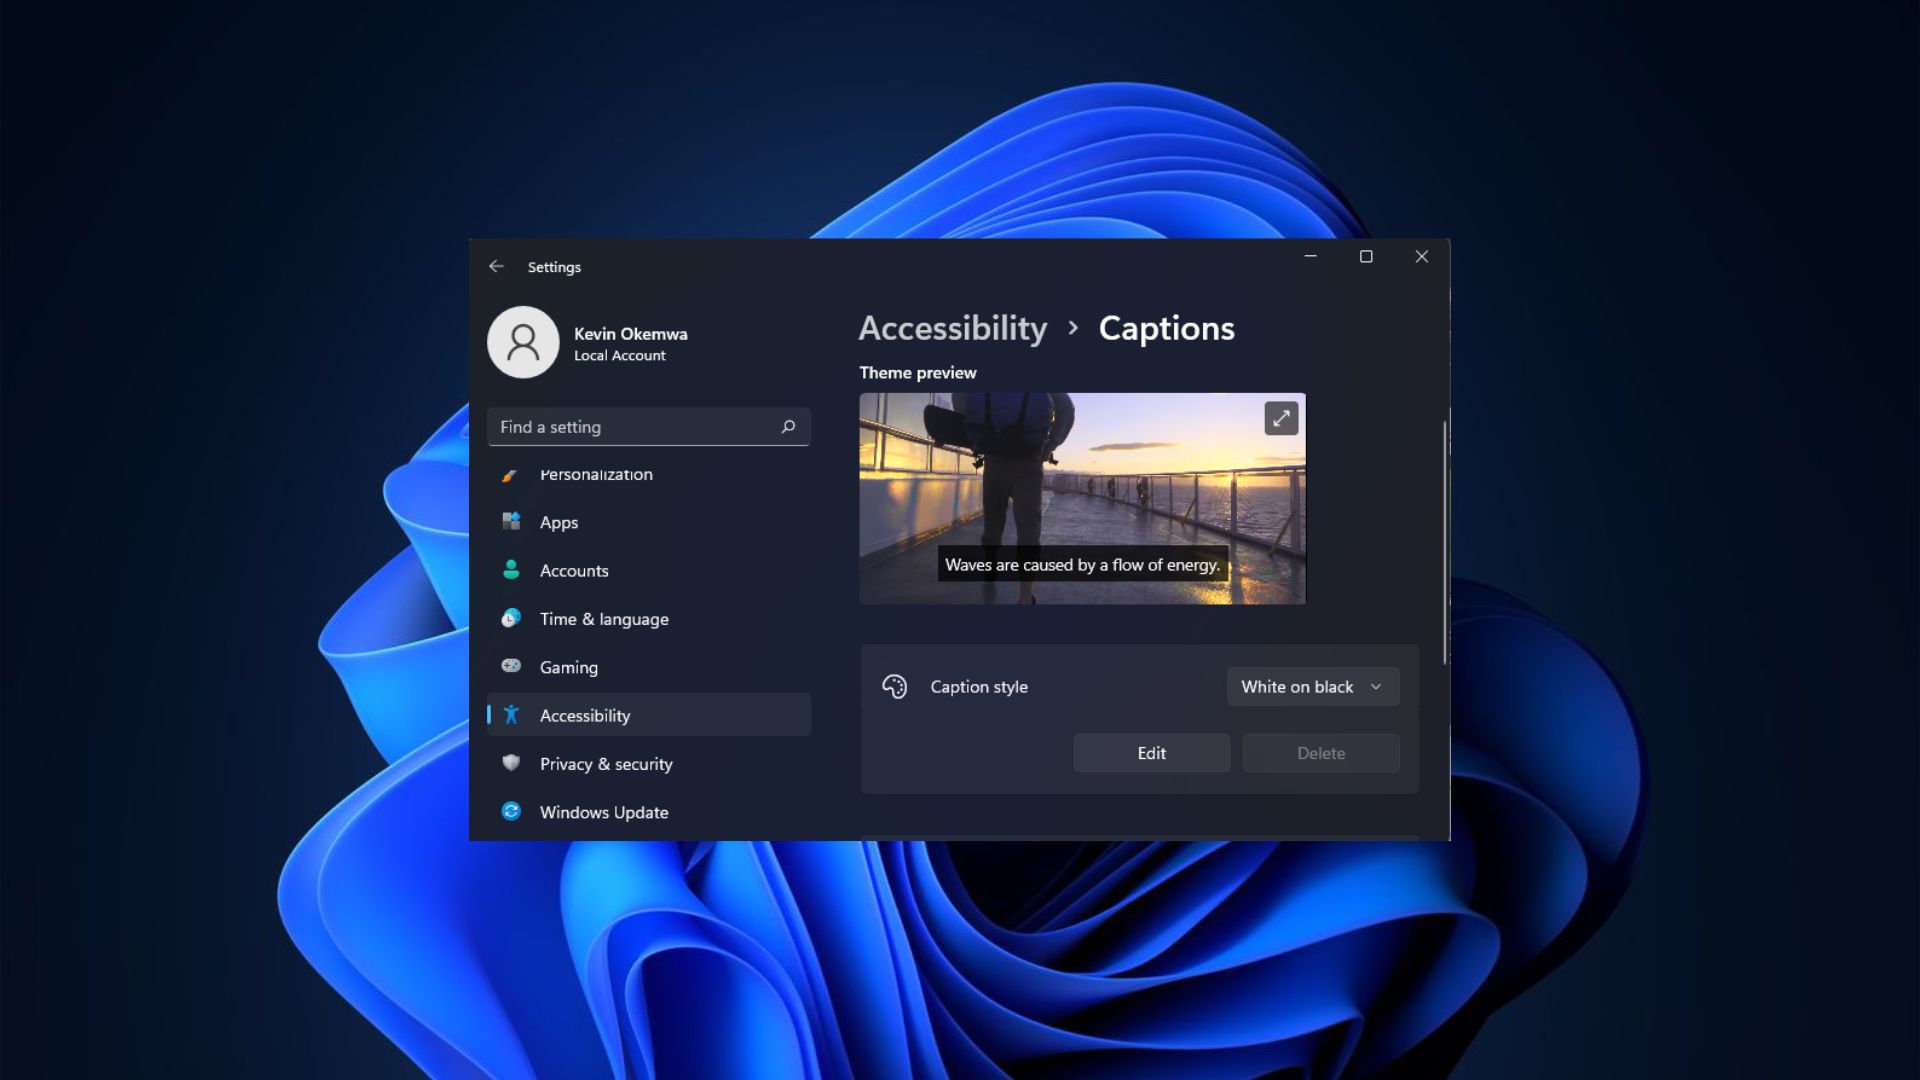
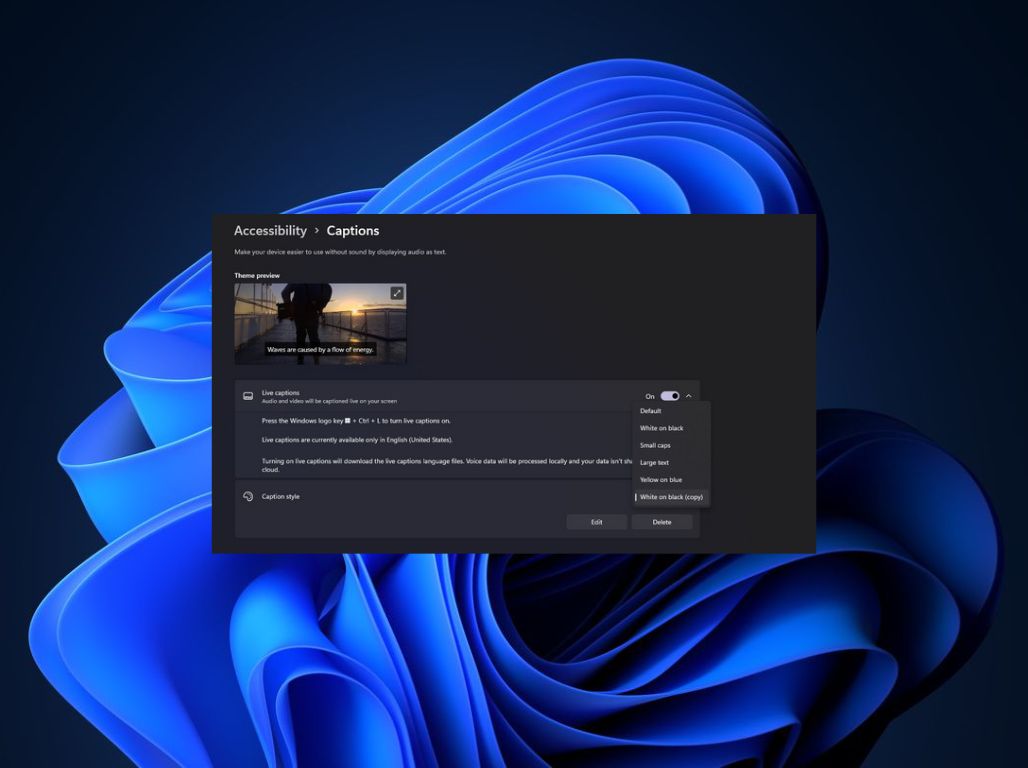
- Click Accessibility on the left pane and select Captions under the Hearing section.
- Enable or disable the Live Captions feature by clicking on the toggle button.

From this point, you can close the Settings app and play a video to check whether the feature is active.
Enable or disable Live Captions with Quick Settings
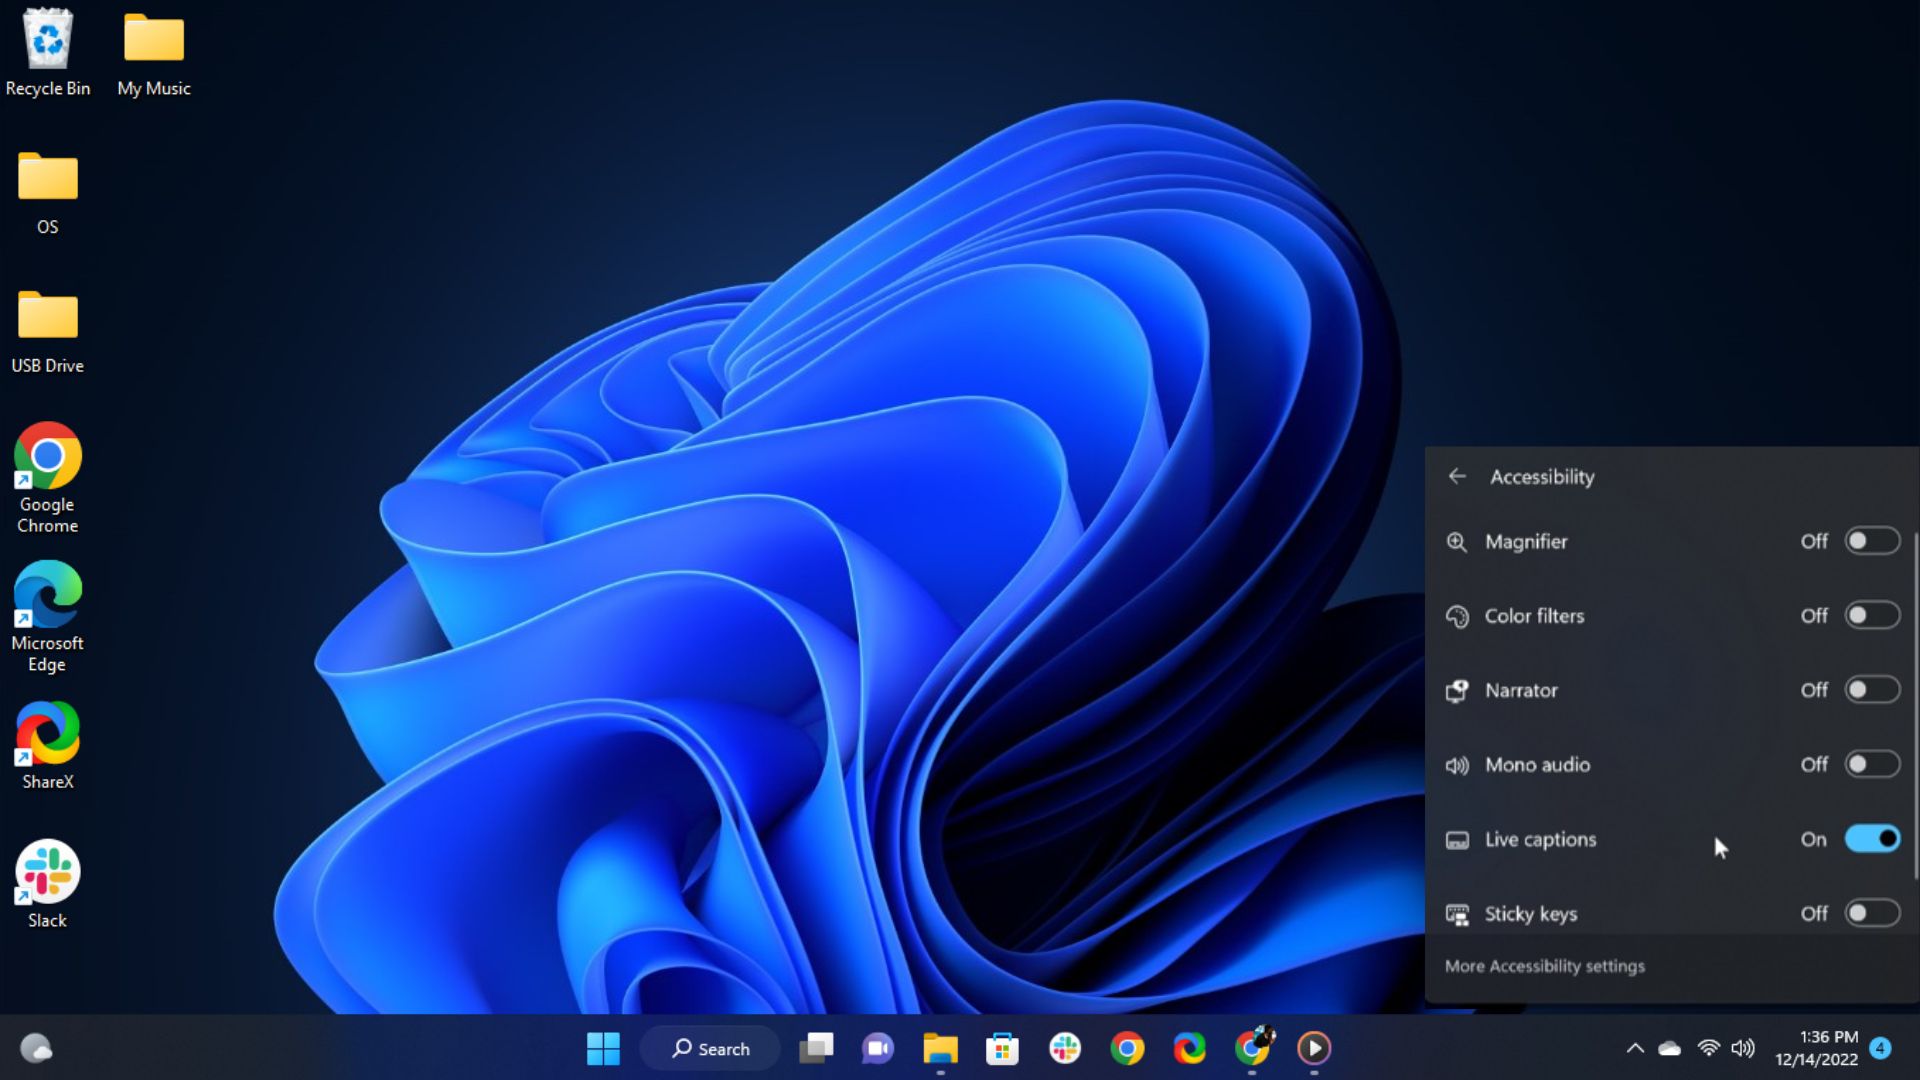
- Press the Windows + A keys to launch the Quick Settings menu.
- Next, click on the Accessibility option.
- Finally, click the Live Captions toggle to enable or disable the feature.

You can now close the Quick Settings menu to play a video on your Windows 11 PC and check whether the feature has been enabled.
Disable Live Captions with Task Manager
- Left-click the Start button and type Task Manager in the search box.
- Click on Open and select the Processes or Details tab.
- Next, choose Live Captions or Livecaptions.exe and click on End task at the top of the Window.
It should be noted that you can only use this method when you want to disable the Live Captions feature in Windows 11.
And finally, Microsoft has a dedicated Windows + Ctrl + L keyboard shortcut that you can use to enable the feature.
Get the Windows Central Newsletter
All the latest news, reviews, and guides for Windows and Xbox diehards.
Hopefully, the methods above were able to help you enable or disable the Live Captions feature in Windows 11. It’s also worth noting that Microsoft recently expanded the feature’s support to more languages, which you can check on the official website. It was previously limited to the English (US) language.
More Windows resources
For more helpful articles, coverage, and answers to common questions about Windows 10 and Windows 11, visit the following resources:

Kevin Okemwa is a seasoned tech journalist based in Nairobi, Kenya with lots of experience covering the latest trends and developments in the industry at Windows Central. With a passion for innovation and a keen eye for detail, he has written for leading publications such as OnMSFT, MakeUseOf, and Windows Report, providing insightful analysis and breaking news on everything revolving around the Microsoft ecosystem. While AFK and not busy following the ever-emerging trends in tech, you can find him exploring the world or listening to music.
