How to create a passkey for your Google account from Windows 11
You can now create a passkey to access your Google account without a password on Windows 11, and here's how.
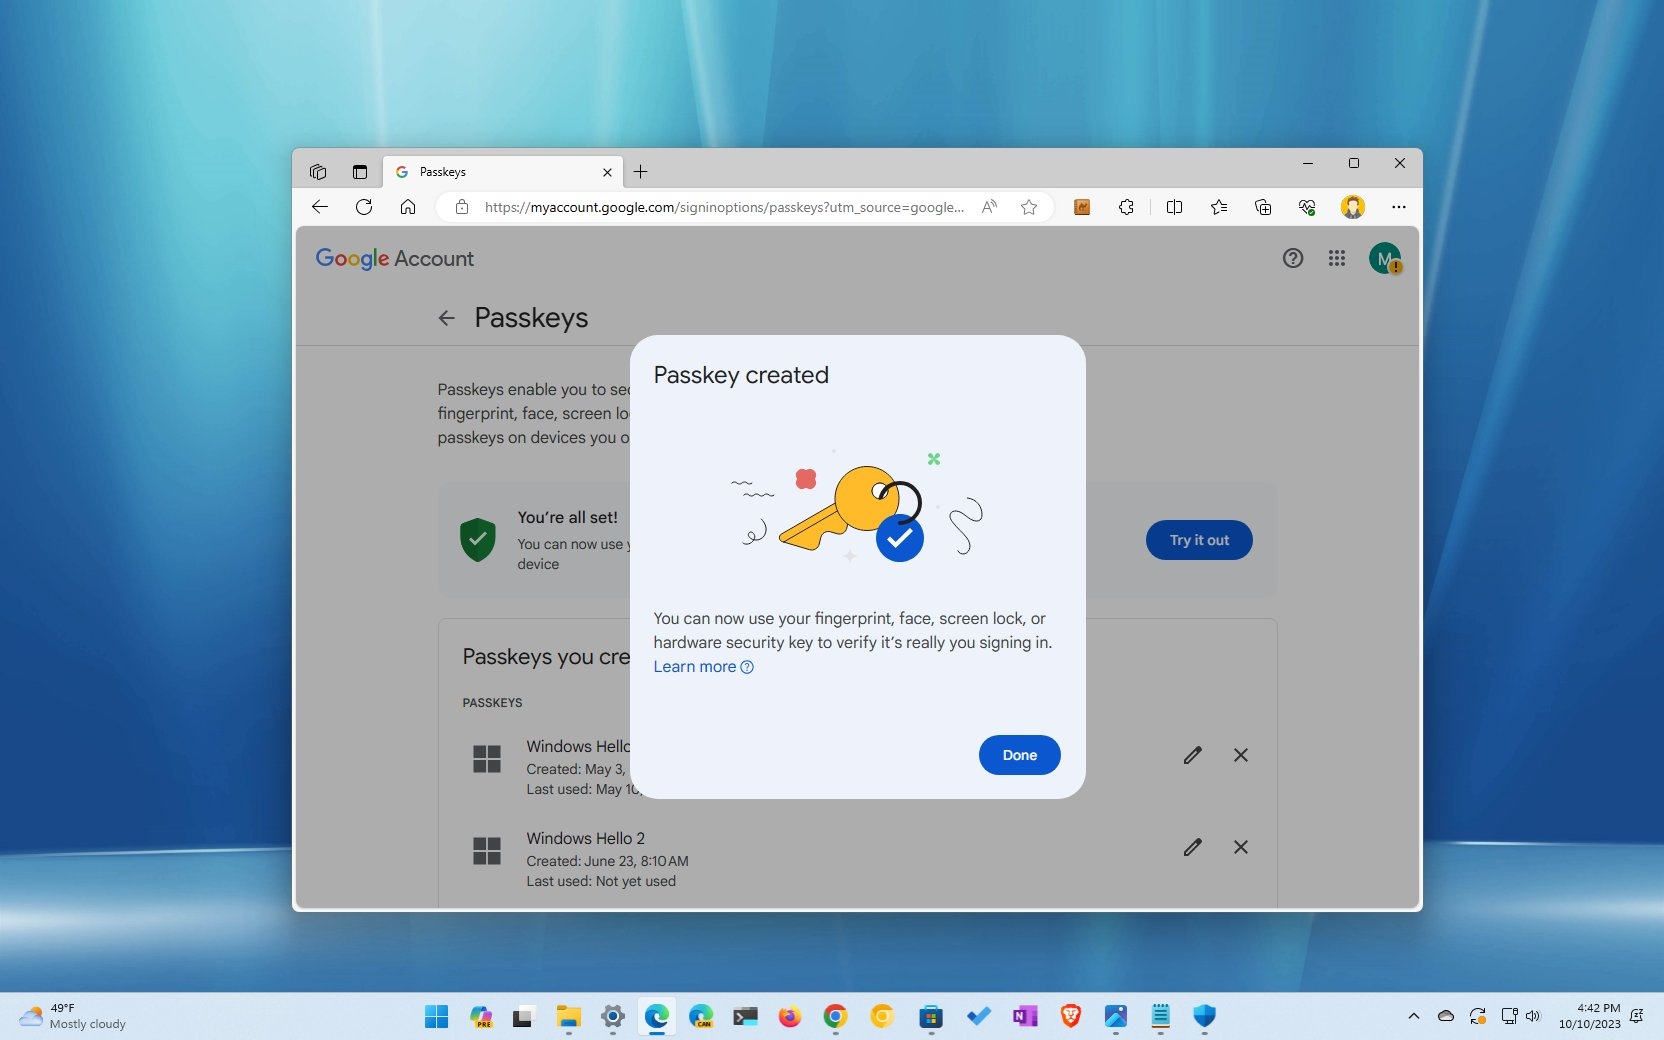
On Windows 11, you can now create passkeys to sign in to apps and services, such as your Google account, without a password, and in this guide, you will learn the steps to complete this task.
Starting with the October 2023 and 2023 Updates (version 23H2), Windows 11 ships a new passkeys integration that allows you to create and save a unique token for a specific service or application using Windows Hello. After the process, when you have to sign in again, you can authenticate (in this to your Google services) using Windows Hello instead of typing a password.
This sign-in approach makes it easier to access apps and services without a password and makes it more difficult for malicious individuals to steal your credentials.
This how-to guide will walk you through the steps to create and delete a passkey for your Google account on Windows 11.
Create a passkey through Windows Hello for a Google account
To generate a passkey for your Google account on Windows 11, use these steps:
- Open Chrome or Edge browser.
- Open the Google account page.
- Sign in with your credentials (if applicable).
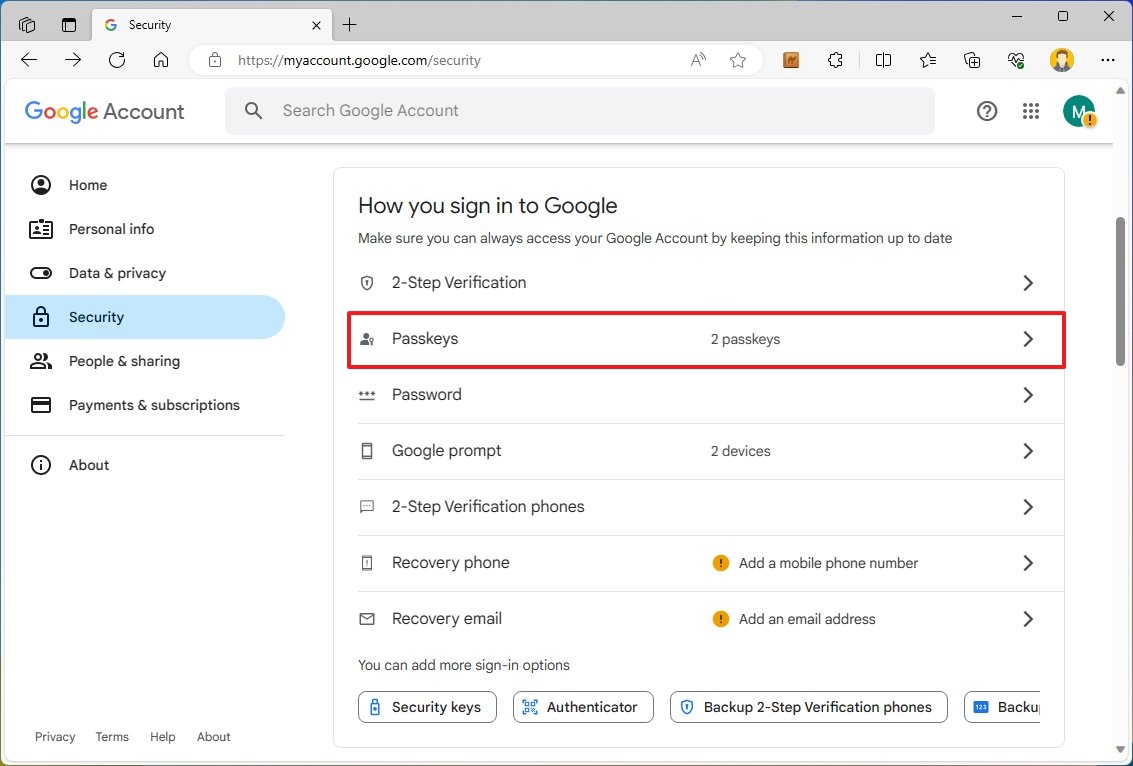
- Click on Security from the left navigation page.
- Click the Passkeys option under the "How you sign in to Google" section.
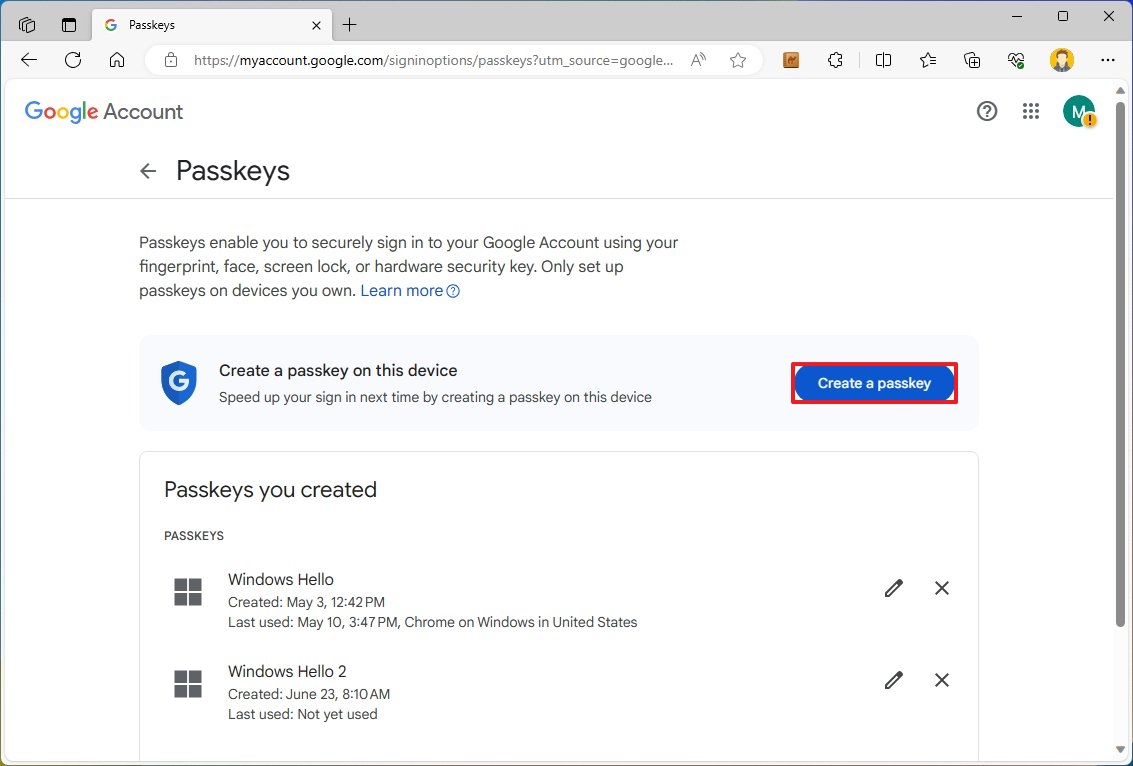
- Click the "Create a passkey" button.
- Confirm your Windows Hello credentials.
- Quick note: You may need to confirm the credentials more than once.
- Click the OK button.
- Click the Done button.
Once you complete the steps, the system will save the passkey on the computer, and the next time you have to sign in to your Google account or related services, you can use the Windows Hello authentication methods to access the account.
Delete your Google account passkey from Windows 11
To delete your Google account passkey on Windows 11, use these steps:
All the latest news, reviews, and guides for Windows and Xbox diehards.
- Open Settings.
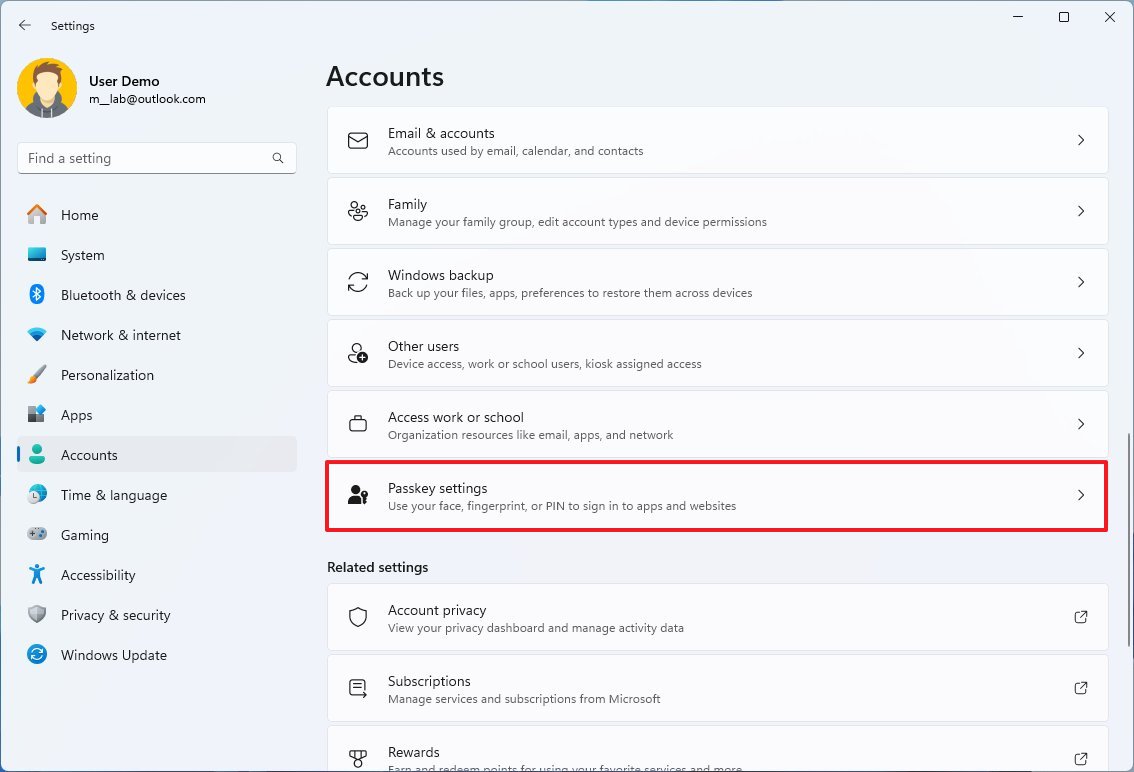
- Click on Accounts.
- Click the Passkeys settings page on the right side.
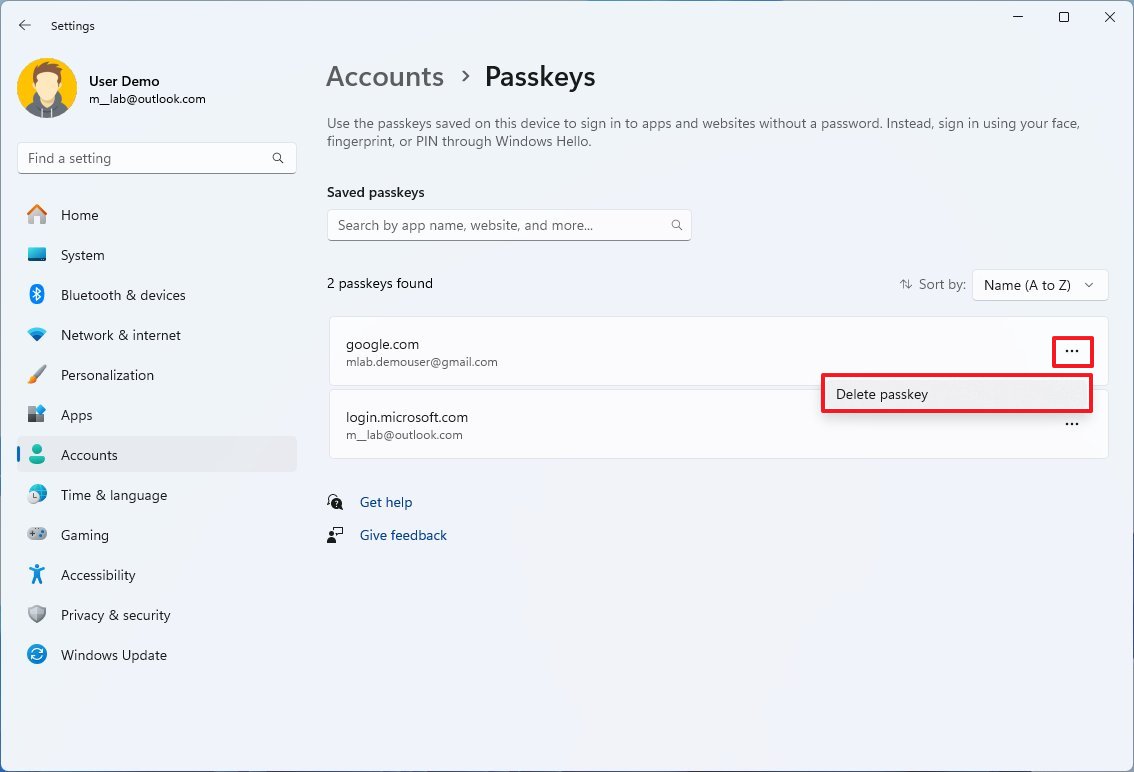
- Click the menu for the passkey to remove and choose the "Delete passkey" option.
- Click the Delete button.
After you complete the steps, the passkey for your Google account will no longer be available on your computer, and you will need to use the original password of your account to access your Google account.
More resources
For more helpful articles, coverage, and answers to common questions about Windows 10 and Windows 11, visit the following resources:
- Windows 11 on Windows Central — All you need to know
- Windows 10 on Windows Central — All you need to know

Mauro Huculak has been a Windows How-To Expert contributor for WindowsCentral.com for nearly a decade and has over 22 years of combined experience in IT and technical writing. He holds various professional certifications from Microsoft, Cisco, VMware, and CompTIA and has been recognized as a Microsoft MVP for many years.
