How to control Microsoft Defender Antivirus from PowerShell on Windows 11
Yes, you can manage the Windows 11 default antivirus with PowerShell commands, and in this guide, you will learn how.
On Windows 11, the Microsoft Defender Antivirus is the default anti-malware system that offers real-time protection against viruses, ransomware, and other types of threats, including those from hackers.
The antivirus comes configured with the optimal settings to protect your files and installation, and you can even manage various aspects of the application through the Windows Security app. However, you can also manage the Microsoft Defender Antivirus with commands through PowerShell (in addition to Command Prompt).
Using commands, you can review settings, download updates, perform different kinds of scans, change settings, enable features not available through the user interface, and much more.
This how-to guide will walk you through the essential commands to control the Windows 11 antivirus with PowerShell.
How to check state of the Defender Antivirus
To confirm whether the Microsoft Defender Antivirus is running on your computer, use these steps:
- Open Start.
- Search for PowerShell, right-click the top result, and select the Run as administrator option.
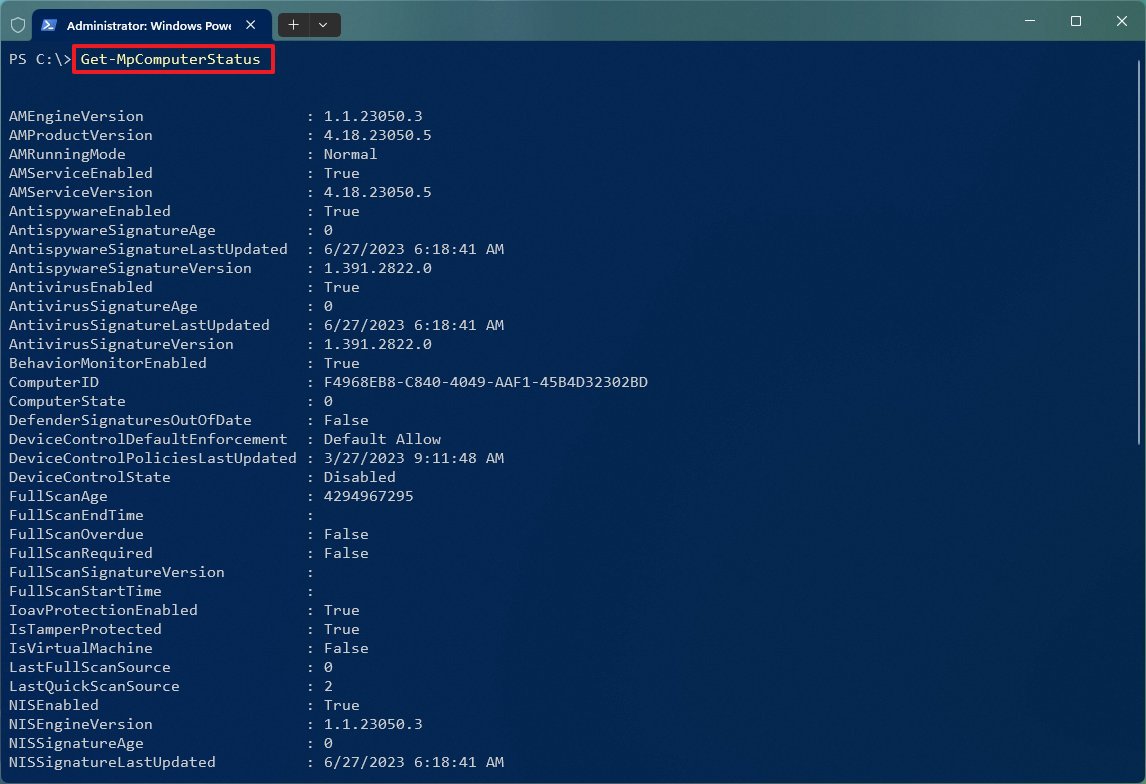
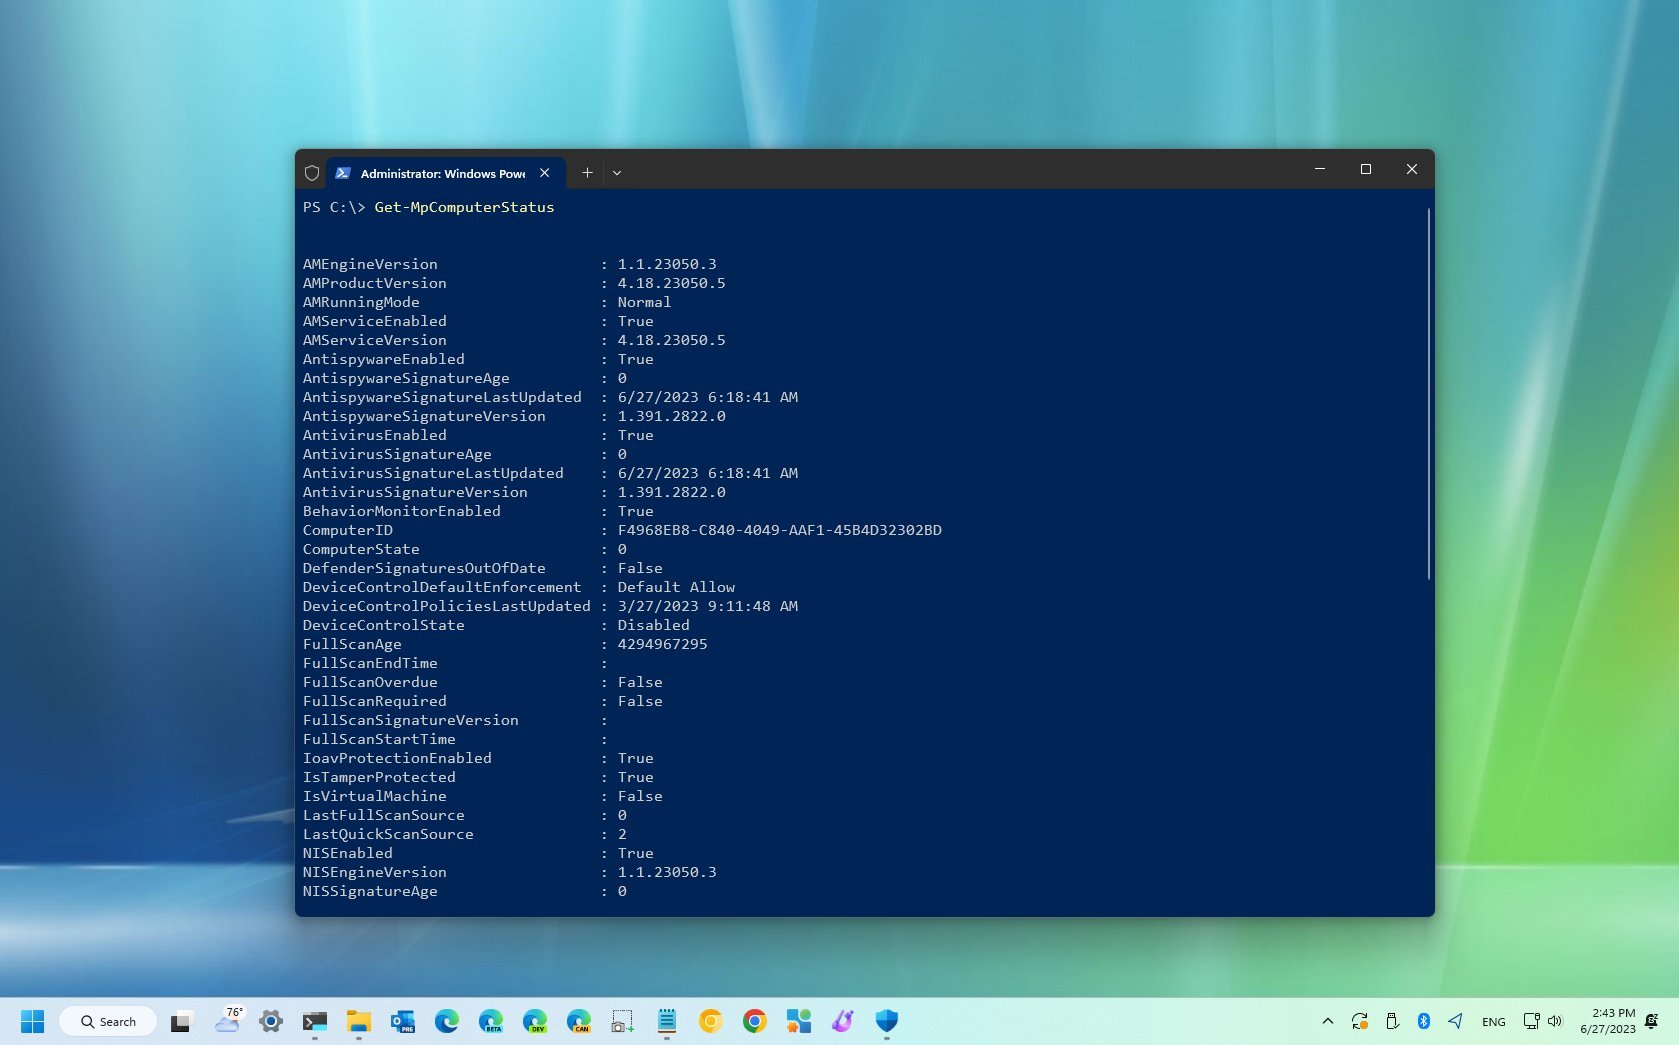
- Type the following command to check the Microsoft Defender Antivirus status and press Enter: Get-MpComputerStatus
- Confirm the AntivirusEnabled option is set to True, which indicates that the antivirus is running.
Once you complete the steps, the PowerShell command will output the antivirus status, including other information, such as product and engine version, update details, and more.
How to check for updates on Defender Antivirus
To check, download, and install definition updates for the Defender Antivirus on Windows 11, use these steps:
All the latest news, reviews, and guides for Windows and Xbox diehards.
- Open Start.
- Search for PowerShell, right-click the top result, and select the Run as administrator option.
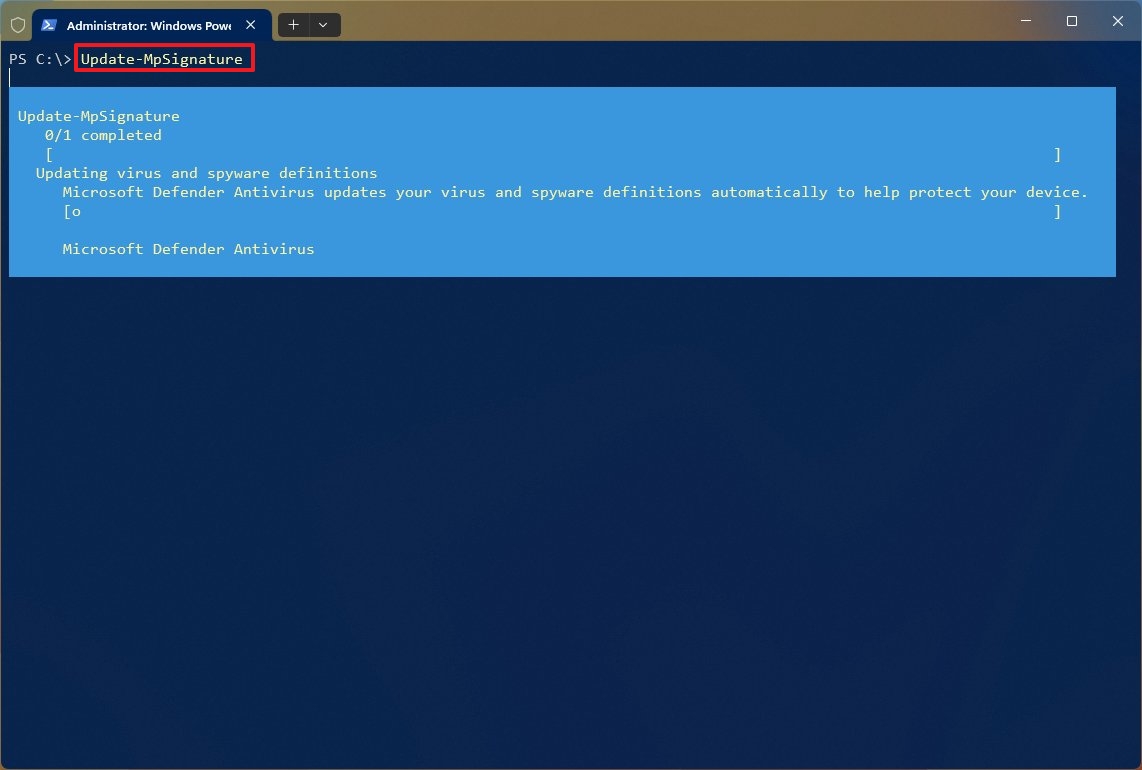
- Type the following command to check to update the Defender Antivirus on Windows 11 and press Enter: Update-MpSignature
After you complete the steps, the PowerShell command will download and install any available updates. (This command may take a few moments to run.)
How to run quick malware scan on Defender Antivirus
To run a quick virus scan on Windows 11, use these steps:
- Open Start.
- Search for PowerShell, right-click the top result, and select the Run as administrator option.
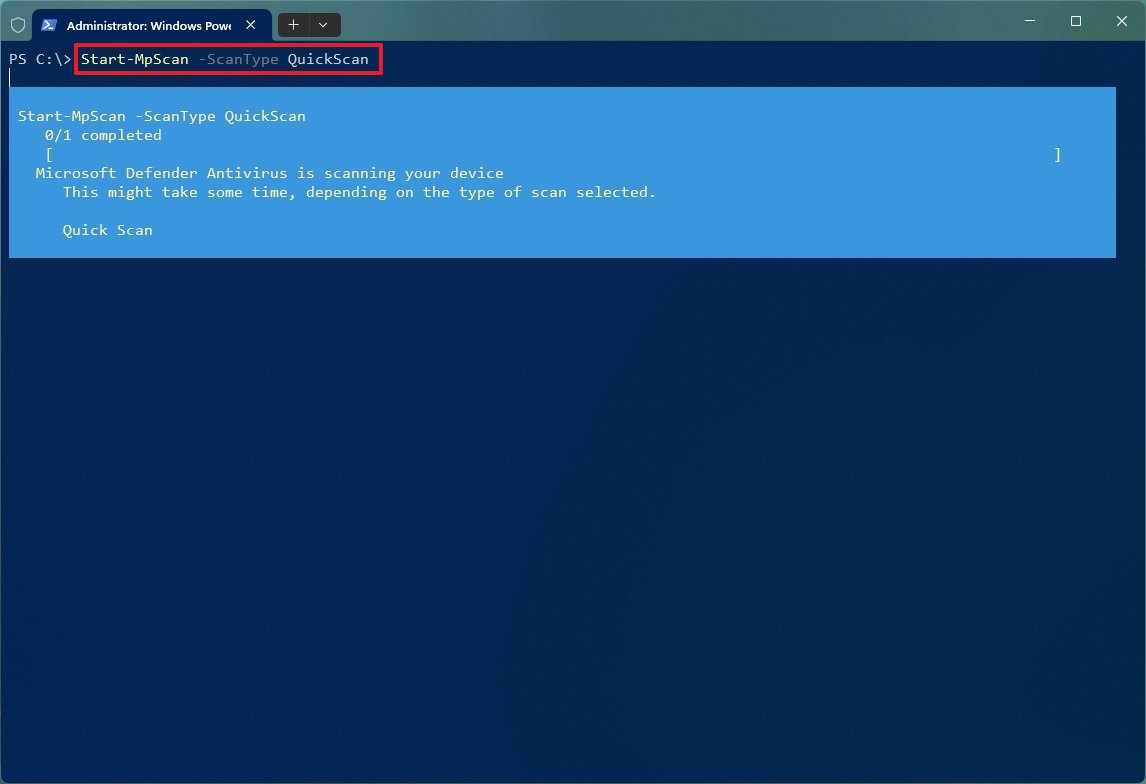
- Type the following command to run a quick malware scan and press Enter: Start-MpScan -ScanType QuickScan
Once you complete the steps, the antivirus will run a quick scan on your computer.
How to run full malware scan on Defender Antivirus
To run a full malware scan with the Microsoft Defender Antivirus, use these steps:
- Open Start.
- Search for PowerShell, right-click the top result, and select the Run as administrator option.
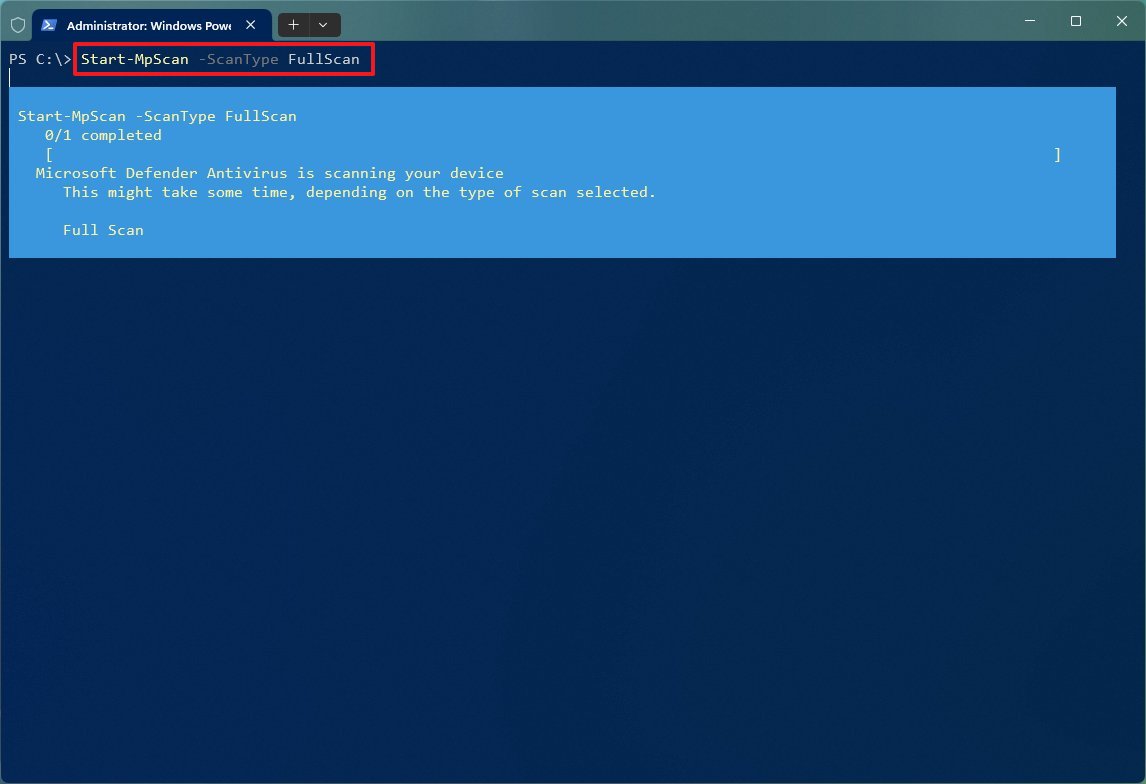
- Type the following command to run a full malware scan on Windows 11 and press Enter: Start-MpScan -ScanType FullScan
Quick tip: If you want to terminate an ongoing scan, you can run this "C:\Program Files\Windows Defender\MpCmdRun.exe" -Scan -Cancel command from Command Prompt (admin).
After you complete the steps, the antivirus will perform a full scan on Windows 11.
How to run custom malware scan on Defender Antivirus
To run a custom malware scan with the Defender Antivirus, use these steps:
- Open Start.
- Search for PowerShell, right-click the top result, and select the Run as administrator option.
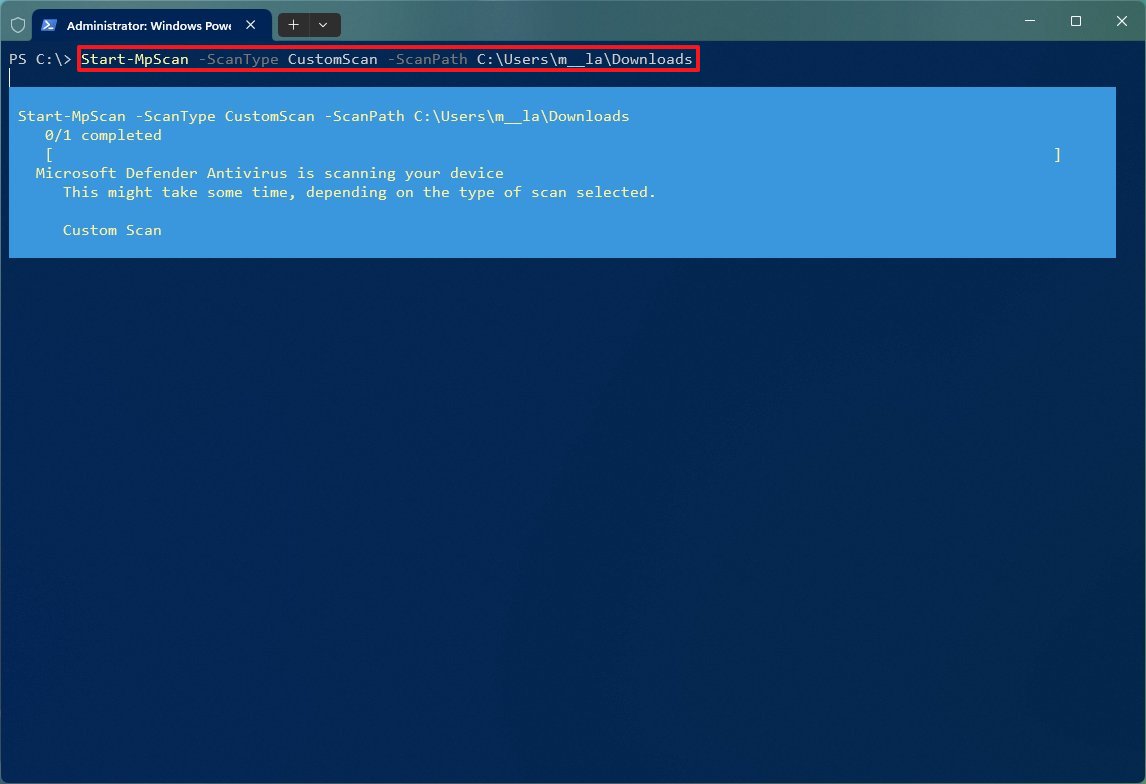
- Type the following command to run a custom Defender Antivirus scan and press Enter: Start-MpScan -ScanType CustomScan -ScanPath PATH\TO\SCAN\LOCATION
In the command, change the path with the folder location to scan. For instance, this command scans the "Downloads" folder: Start-MpScan -ScanType CustomScan -ScanPath "C:\Users\USER\Downloads"
Once you complete the steps, the Windows 11 anti-malware will scan the locations you specified in the command.
How to run offline malware scan on Defender Antivirus
An offline scan is a feature that allows you to scan, detect, and remove viruses that can't be deleted when the system is running. This scan will restart the computer. As a result, it's recommended to save your files and close your applications before proceeding.
- Open Start.
- Search for PowerShell, right-click the top result, and select the Run as administrator option.
- Type the following command to run an offline Defender Antivirus scan and press Enter: Start-MpWDOScan
After you complete the steps, the system will restart automatically in the Windows Recovery Environment (WinRE), and the Microsoft Defender Antivirus will scan the system to detect and remove any threat affecting your installation.
After the scan, the system will restart automatically again, and you will be able to view the scan report on Windows Security > Virus & thread protection > Protection history.
How to remove active malware scan on Defender Antivirus
To delete active threats on Windows 11, use these steps:
- Open Start.
- Search for PowerShell, right-click the top result, and select the Run as administrator option.
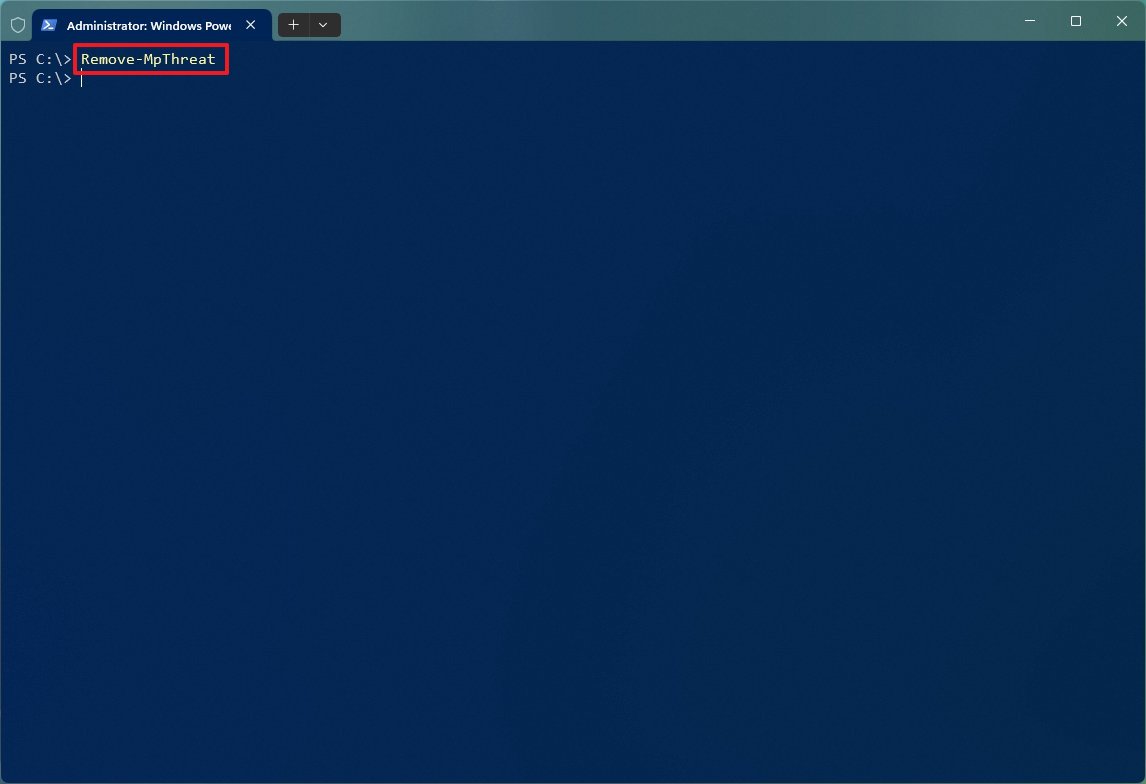
- Type the following command to remove active threats using Defender Antivirus and press Enter: Remove-MpThreat
Once you complete the steps, the default antivirus of Windows 11 will scan and remove any active threats from the device. (This option only works for threats the Microsoft Defender Antivirus hasn't already mitigated.)
How to change settings on Defender Antivirus
On Windows 11, you can also use PowerShell to change various settings of the antivirus, such as exclusions and quarantine retention, and you can schedule scans and change other preferences.
View settings
To view every setting available on the Windows 11 antivirus, use these steps:
- Open Start.
- Search for PowerShell, right-click the top result, and select the Run as administrator option.
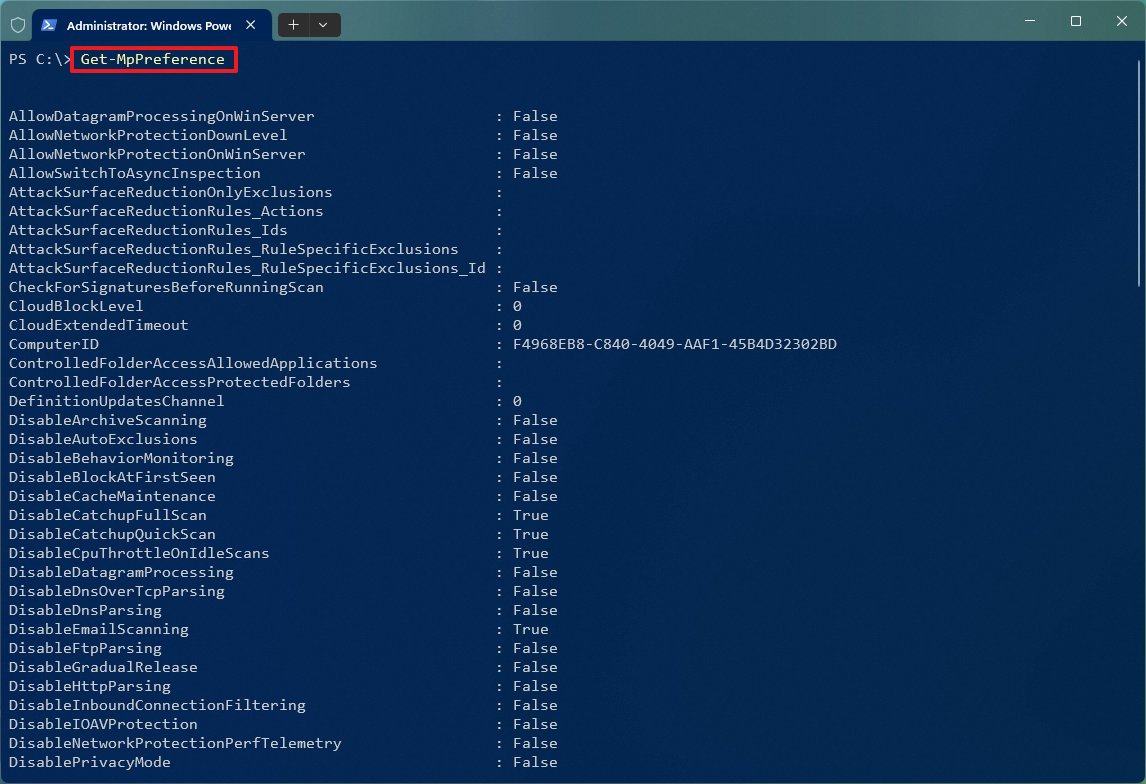
- Type the following command to view the current configuration of Defender Antivirus and press Enter: Get-MpPreference
After you complete the steps, the PowerShell command will generate a list with all the preferences that you are able to configure on the Microsoft Defender Antivirus.
Exclude folder
The Defender Antivirus ships with an option that allows you to exclude a drive or folder location from the real-time protection and scan schedules.
To exclude a scan location on Microsoft Defender Antivirus, use these steps:
- Open Start.
- Search for PowerShell, right-click the top result, and select the Run as administrator option.
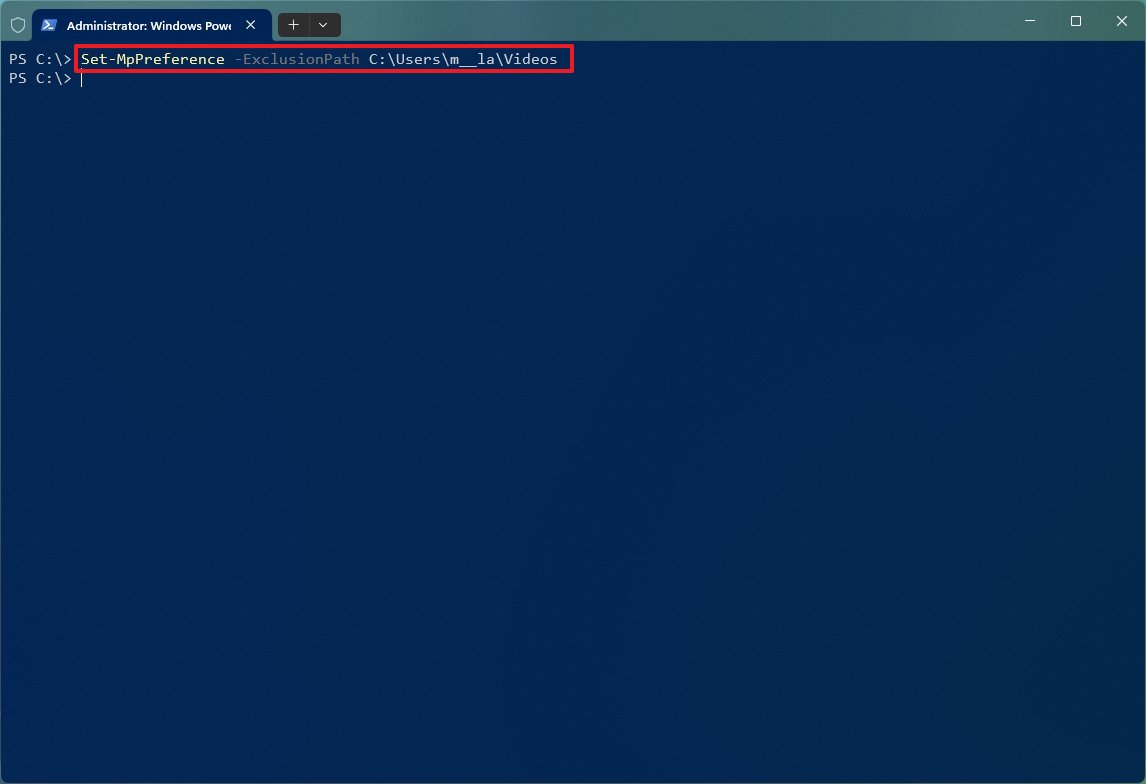
- Type the following command to exclude a folder from the antivirus and press Enter: Set-MpPreference -ExclusionPath PATH\LOCATION
In the command, replace "PATH\LOCATION" with the path to exclude. For example, this command excludes the "Videos" folder from being scanned: Set-MpPreference -ExclusionPath C:\Users\USER\Videos.
Once you complete the steps, the antivirus will continue to protect your computer and files, but it will exclude the locations you specified with PowerShell.
You can always remove the exclusion using the Remove-MpPreference -ExclusionPath "PATH\TO\FOLDER" command. In the command, remember to set the exclude path you want to remove.
Exclude file type
The Defender Antivirus also includes an option to exclude specific file types.
To prevent the Windows 11 antivirus from scanning a specific file type, use these steps:
- Open Start.
- Search for PowerShell, right-click the top result, and select the Run as administrator option.
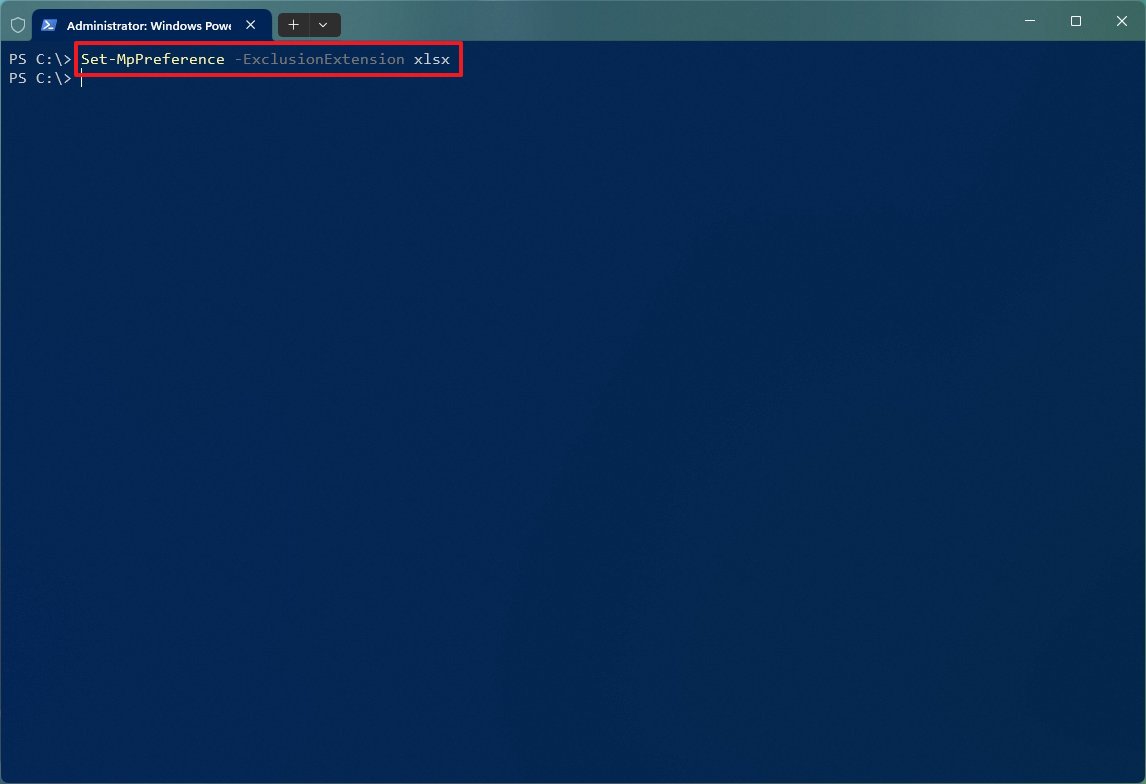
- Type the following command to exclude a file type from the antivirus and press Enter: Set-MpPreference -ExclusionExtension EXTENSION
In the command, replace "EXTENSION" with the extension you want to exclude. For instance, this command excludes the Microsoft Excel files from being scanned: Set-MpPreference -ExclusionExtension xlsx.
After you complete the steps, the anti-malware will continue to protect the system and files, but it'll ignore the file types you specified with the PowerShell command.
You can always remove the exclusion using the Remove-MpPreference -ExclusionExtension EXTENSION command. In the command, remember to set the exclude extension you want to remove.
Quarantine deletion schedule
To specify how many days the antivirus should retain a quarantined item before deleting it, use these steps:
- Open Start.
- Search for PowerShell, right-click the top result, and select the Run as administrator option.
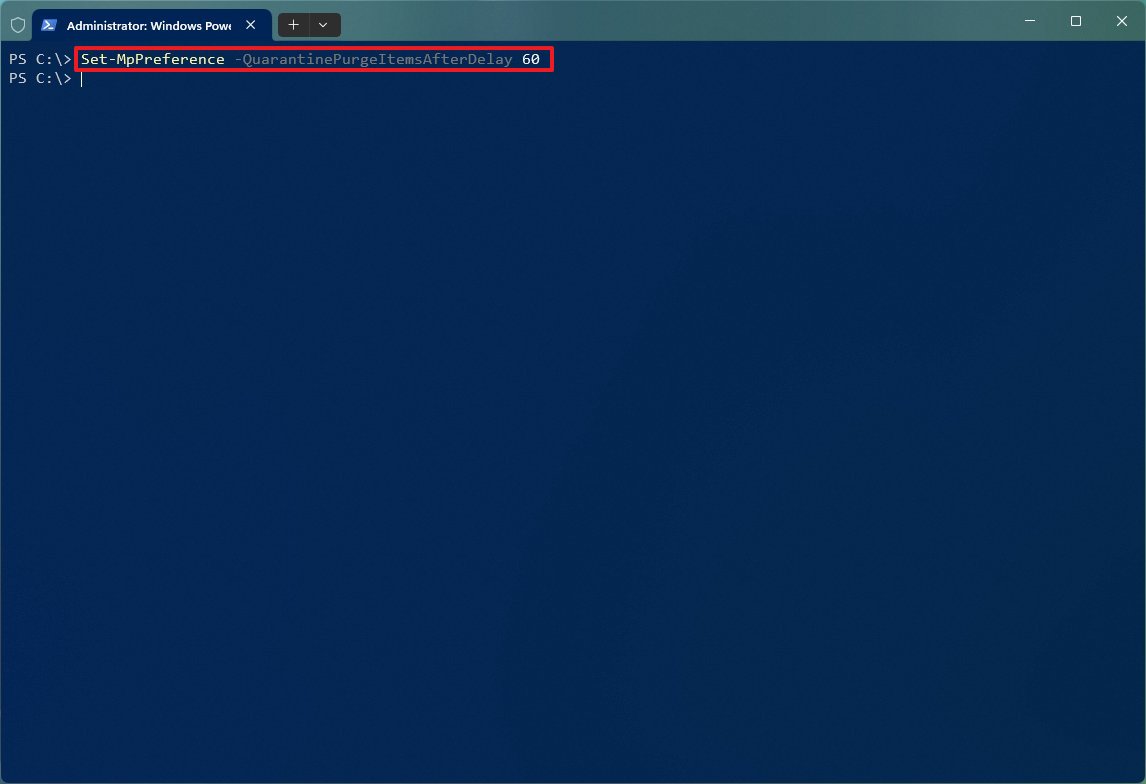
- Type the following command to schedule the number of days to keep items in quarantine and press Enter: Set-MpPreference -QuarantinePurgeItemsAfterDelay DAYS
In the command, replace "DAYS" with the number of days to keep items. For instance, this command will set the antivirus to retain the items for 60 days before deletion: Set-MpPreference -QuarantinePurgeItemsAfterDelay 60
- Quick tip: To keep the items indefinitely, you can use the value of "0" (zero) or no value.
Once you complete the steps, the Microsoft Defender Antivirus will delete the items in quarantine after the number of days specified in the command.
Schedule quick virus scan
To schedule a quick virus scan on Windows 11 from PowerShell, use these steps:
- Open Start.
- Search for PowerShell, right-click the top result, and select the Run as administrator option.
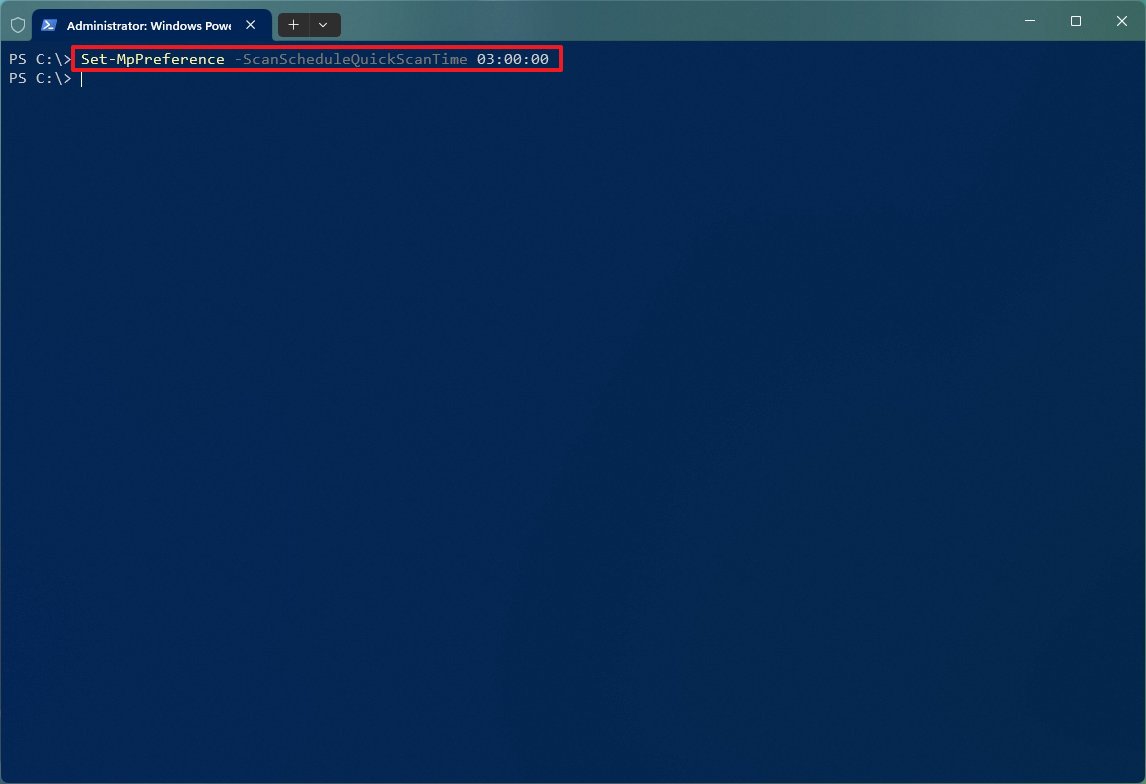
- Type the following command to schedule a daily quick scan and press Enter: Set-MpPreference -ScanScheduleQuickScanTime SCHEDULE
In the command, replace "SCHEDULE" with the time in 24-hour format to run the scan. For instance, this command prepares a quick scan every day at 3:00 am, local time: Set-MpPreference -ScanScheduleQuickScanTime 03:00:00
After completing the steps, the Windows 11 antivirus will run a quick scan on the date and time specified in the command.
Schedule full virus scan
To schedule a full virus scan from PowerShell, use these steps:
- Open Start.
- Search for PowerShell, right-click the top result, and select the Run as administrator option.
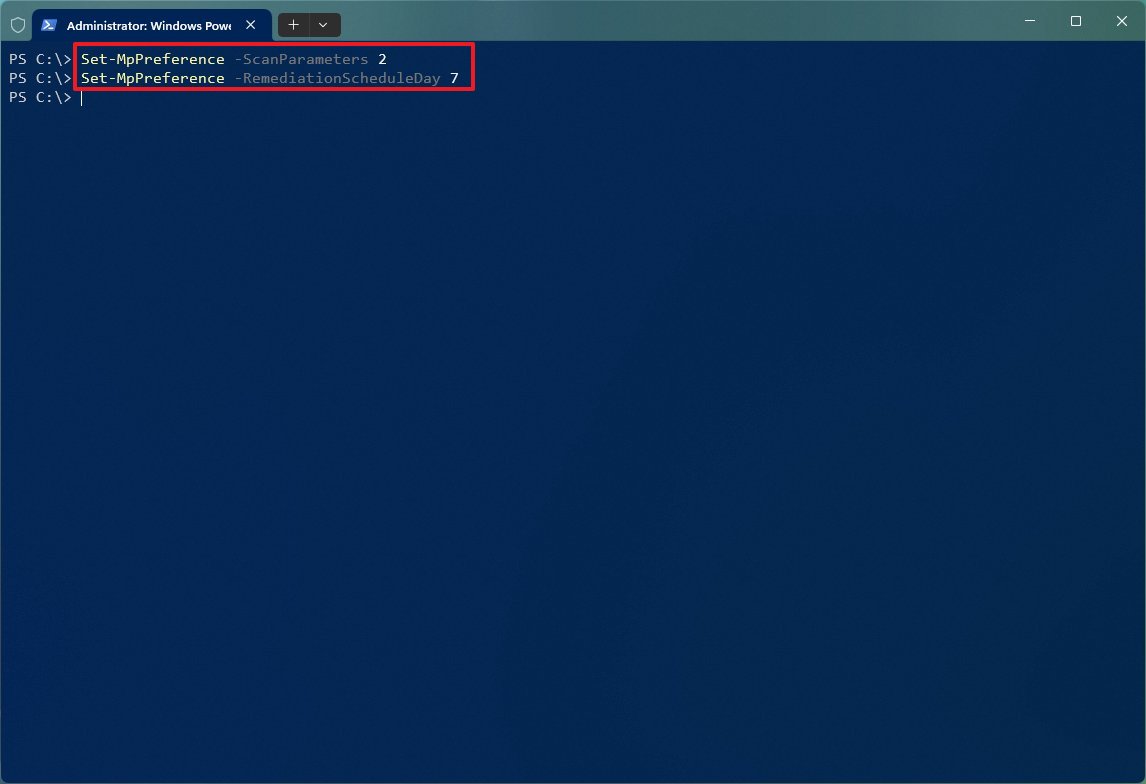
- Type the following command to schedule a full scan and press Enter: Set-MpPreference -ScanParameters 2
- Type the following command to schedule a day and press Enter: Set-MpPreference -RemediationScheduleDay DAY
In the command, change the "DAY" for the day (number) you want to run the malware scan. Available options include 0 (everyday), 1 through 7 (Monday through Sunday), and 8 (never). For instance, this command schedules the full scan for Saturdays: Set-MpPreference -RemediationScheduleDay 7
- Quick tip: You can re-apply the default scanning schedule with the option "8."
- Type the following command to specify a time for the scan and press Enter: Set-MpPreference -RemediationScheduleTime TIME
In the command, change "TIME" with the time in the 24-hour format to run the scan. For instance, this command schedules a full scan at 3:00 am, local time: Set-MpPreference -RemediationScheduleTime 03:00:00.
Once you complete the steps, the antivirus will run a complete system scan to detect and delete malware at the date and time you specified in the command.
Disable virus protection
The Microsoft Defender Antivirus allows you to turn off real-time protection using a specific command in case you have to perform an action conflicting with the anti-malware. The only caveat is that you can only use this option after disabling "Tamper Protection" from Windows Security > Virus & threat protection > Virus & threat protection (Manage settings).
To disable the real-time protection on the Microsoft Defender Antivirus, use these steps:
- Open Start.
- Search for PowerShell, right-click the top result, and select the Run as administrator option.
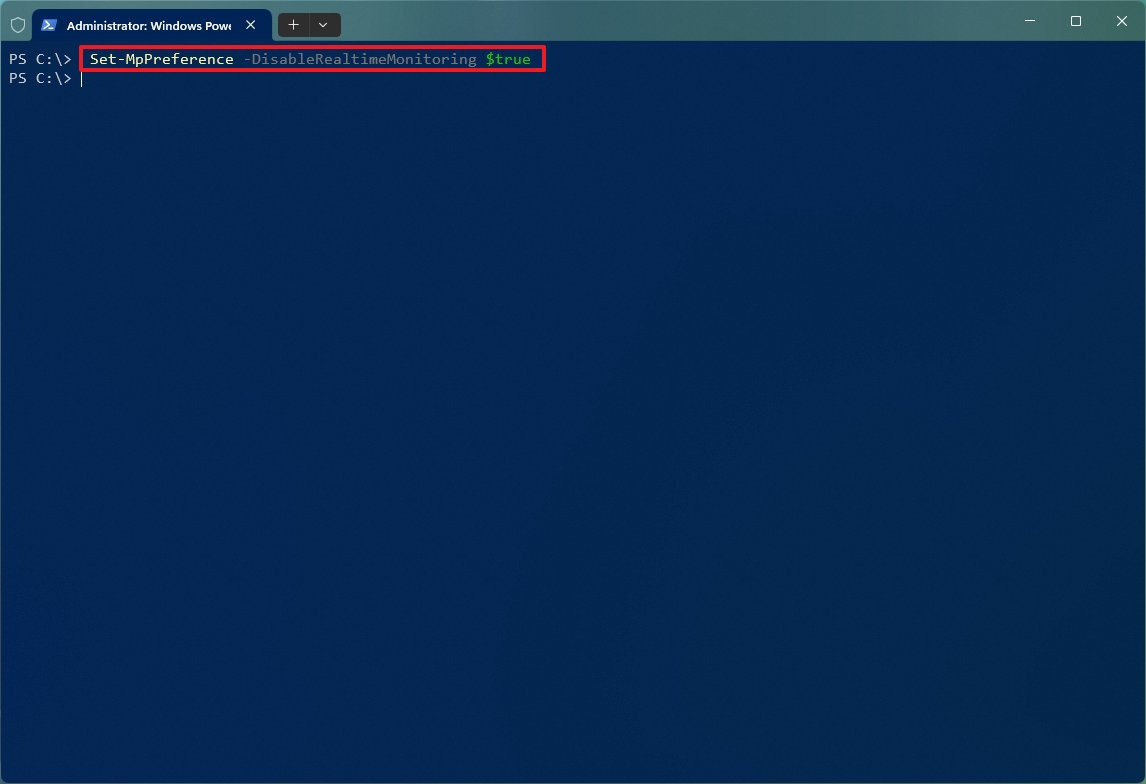
- Type the following command to temporarily turn off the Defender Antivirus on Windows 11 and press Enter: Set-MpPreference -DisableRealtimeMonitoring $true
After you complete the steps, the Windows 11 antivirus will stop protecting your computer until the next reboot.
If you can't restart the system, you can re-enable the feature using the Set-MpPreference -DisableRealtimeMonitoring $false command.
External storage scan
The Microsoft Defender Antivirus does not monitor for threats on removable drives, but it's something possible to do through the command options.
To enable the scanning of external drives, use these steps:
- Open Start.
- Search for PowerShell, right-click the top result, and select the Run as administrator option.
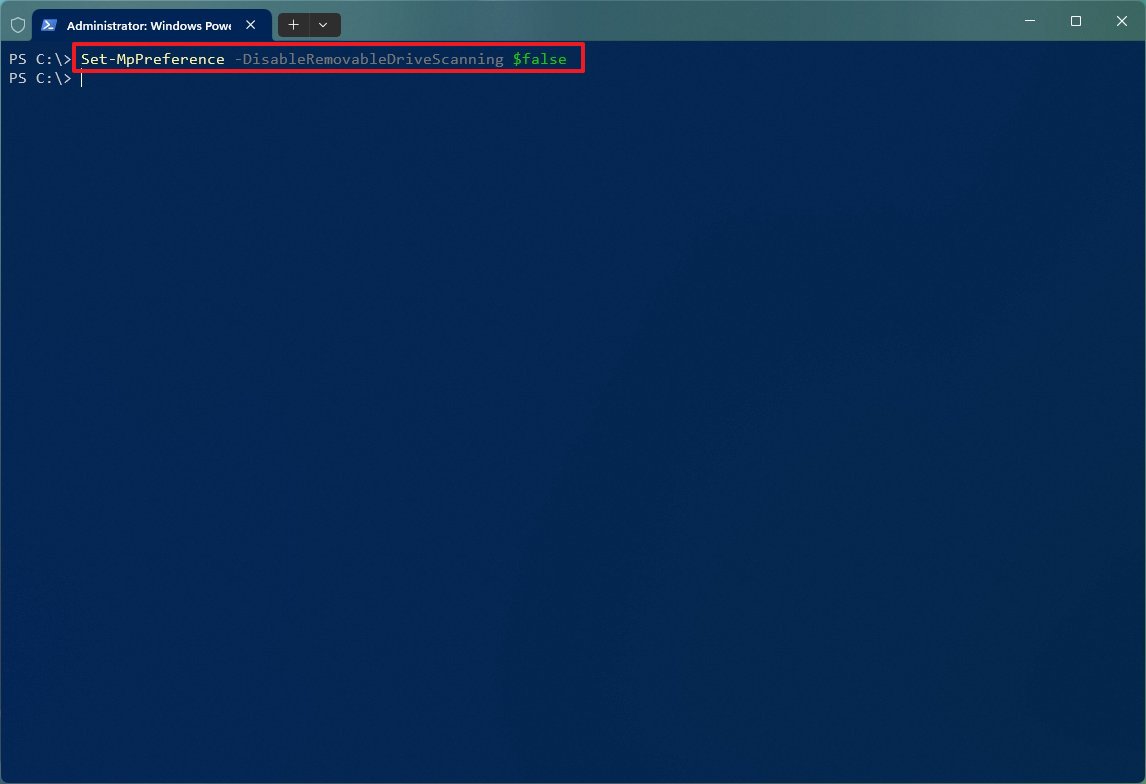
- Type the following command to allow external drive scanning on Windows 11 and press Enter: Set-MpPreference -DisableRemovableDriveScanning $false
Once you complete the steps, the Defender Antivirus will scan removable drives during a full malware scan on Windows 11.
Disable archive scan
In addition to scanning folders and files, the Microsoft Defender Antivirus can also scan and remove viruses from archival containers (such as Zip, Cab, and others). However, if you have a good reason, it's possible to disable this feature.
To turn off virus scanning inside archival containers, use these steps:
- Open Start.
- Search for PowerShell, right-click the top result, and select the Run as administrator option.
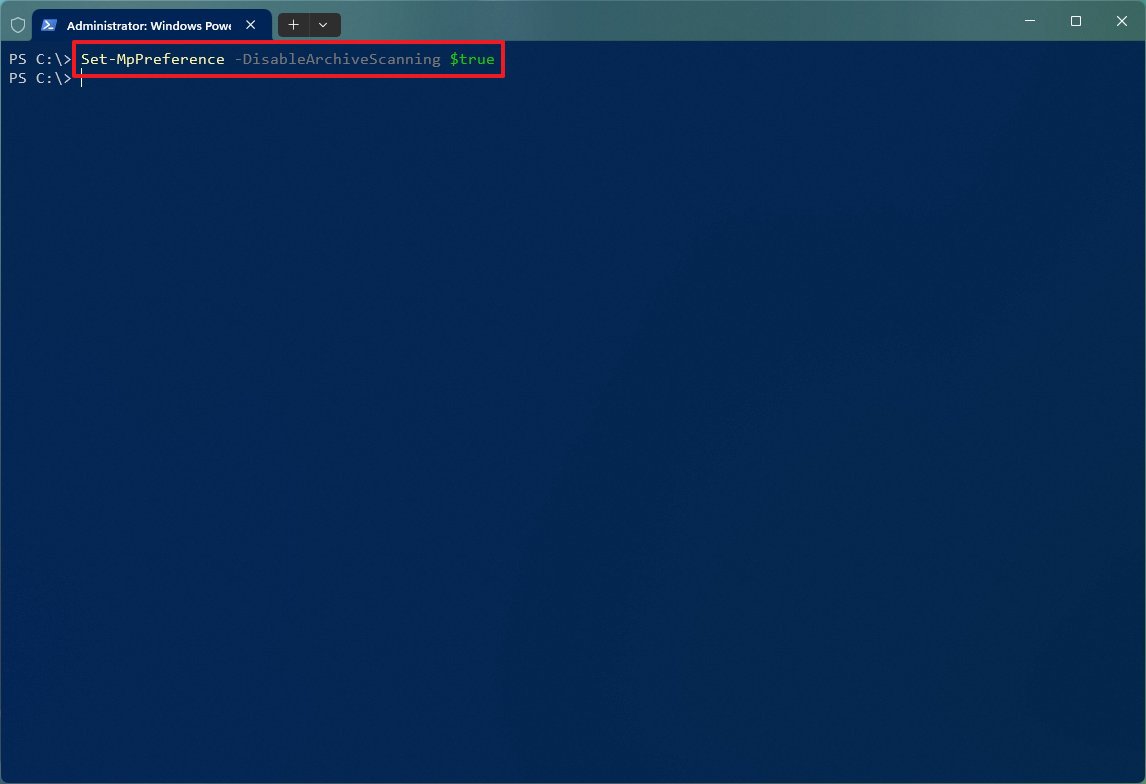
- Type the following command to disable archival container scanning and press Enter: Set-MpPreference -DisableArchiveScanning $true
After you complete the steps, the antivirus will skip scanning Zip, Cab, and other types of archival containers.
You can always revert the behavior with the Set-MpPreference -DisableArchiveScanning $false command.
Enable network storage scan
To allow the Defender Antivirus to scan network drives, use these steps:
- Open Start.
- Search for PowerShell, right-click the top result, and select the Run as administrator option.
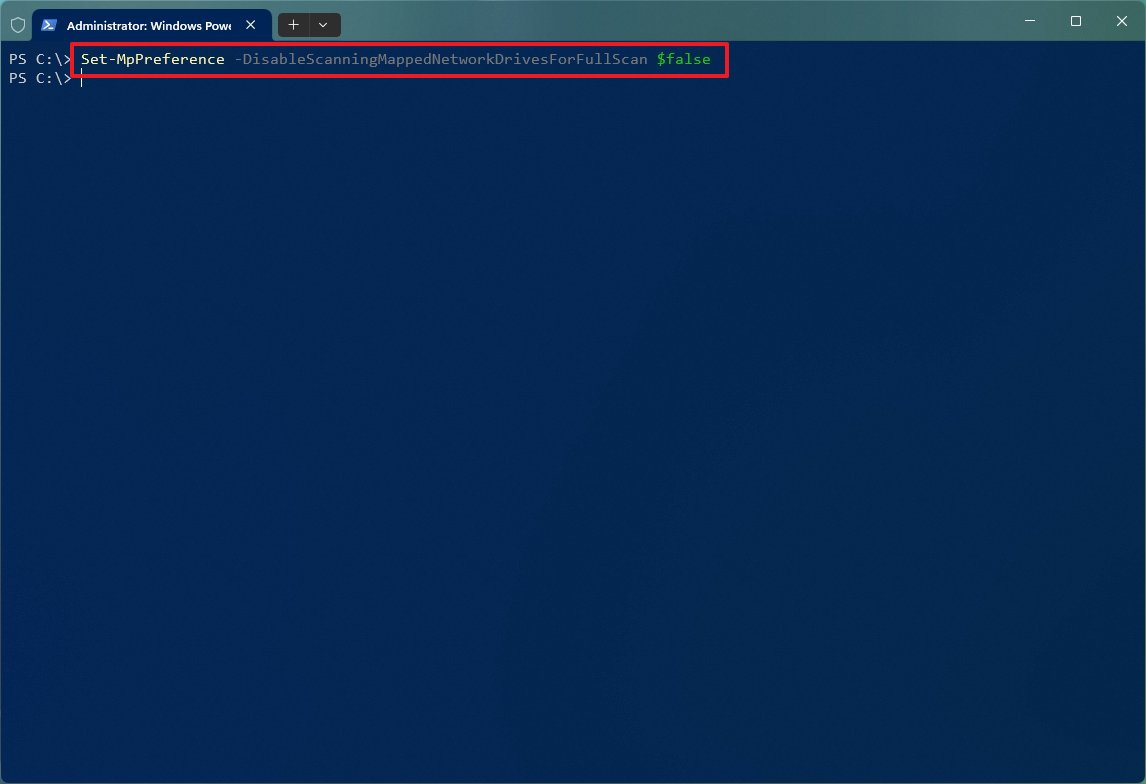
- Type the following command to enable the Defender Antivirus to scan network drives and press Enter: Set-MpPreference -DisableScanningMappedNetworkDrivesForFullScan $false
Once you complete the steps, when running a full malware scan, the antivirus will also scan mapped network drives.
You can always revert the behavior with the Set-MpPreference -DisableScanningMappedNetworkDrivesForFullScan $true command.
These are the most interesting preferences that you can configure in the Microsoft Defender Antivirus, but you can configure a slew of other options.
More resources
For more helpful articles, coverage, and answers to common questions about Windows 10 and Windows 11, visit the following resources:
- Windows 10 on Windows Central — All you need to know
- Windows 11 on Windows Central — All you need to know

Mauro Huculak has been a Windows How-To Expert contributor for WindowsCentral.com for nearly a decade and has over 22 years of combined experience in IT and technical writing. He holds various professional certifications from Microsoft, Cisco, VMware, and CompTIA and has been recognized as a Microsoft MVP for many years.
