How to apply Group Policy settings to specific users on Windows 11
Do you have to change policy settings but only for some users? Here's how on Windows 11.
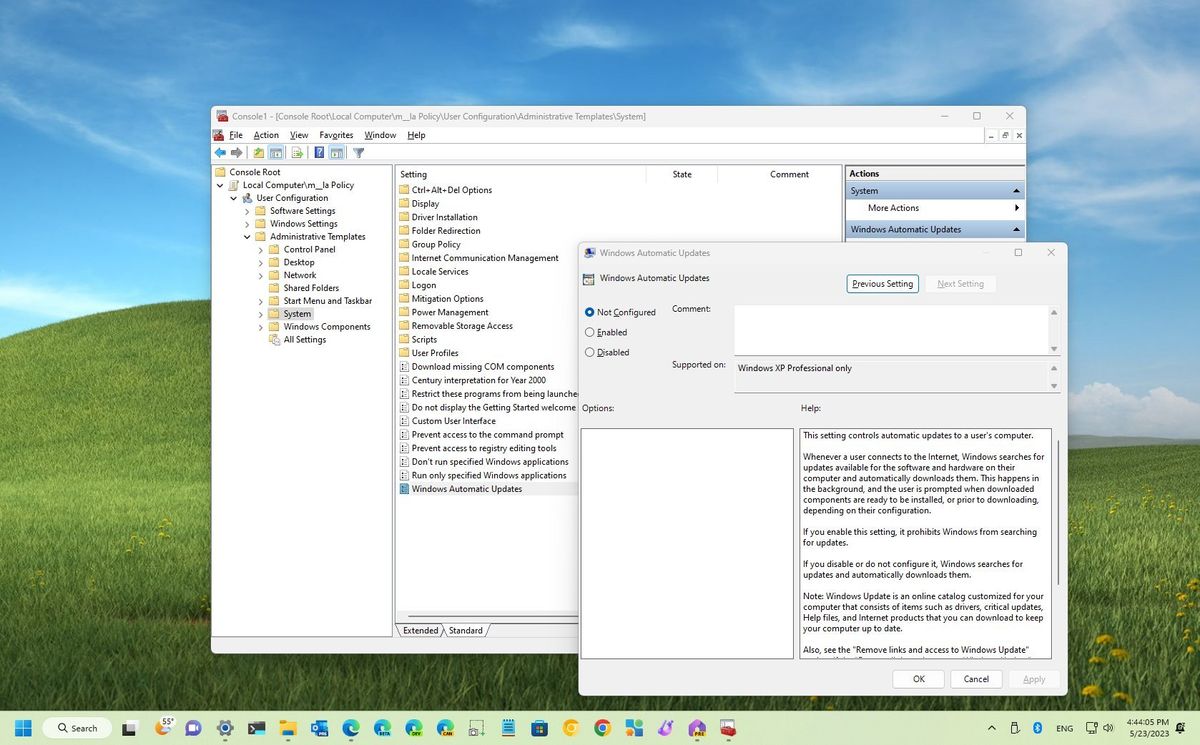
On Windows 11 (similar to previous versions), the Local Group Policy Editor is a Microsoft Management Console (MMC) snap-in that provides an interface to allow administrators (and power users) to manage every Group Policy Object (GPO) on the local computer. It enables you to configure and customize system settings and control user accounts, security, and other administrative tasks that are typically not possible to configure through the Settings app (or Control Panel).
The only drawback about this management console is that the settings configured through the method will apply to every user as it doesn't offer an option to configure settings for a specific user or group. However, it's possible to roll out system changes to only some users by creating a User-Specific Local Group Policy (LGPO) snap-in.
This how-to guide will walk you through the steps to use the Local Group Policy Editor to apply settings only to specific users on Windows 11.
How to apply settings to specific user with Group Policy
To configure system settings that will only apply to specific users on Windows 11, use these steps:
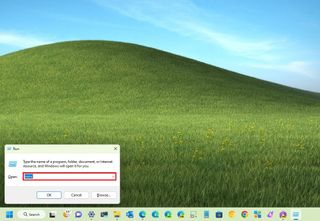
- Use the "Windows key + R" keyboard shortcut to open the Run command.
- Type MMC and click the OK button.
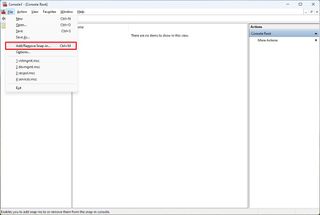
- Open the File menu and select the "Add/Remove Snap-in" option.
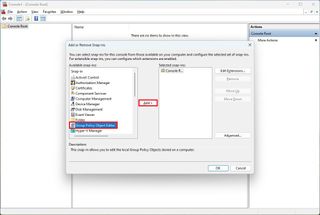
- Under the "Available snap-ins" section, select the "Group Policy Object Editor" snap-in.
- Click the Under the "Available snap-ins" section, and select the "Group Policy Object Editor" snap-in.
- Click the Add button.
- Click the Browse button.
- Click the User tab.
- Select the user or group to apply the new configurations.
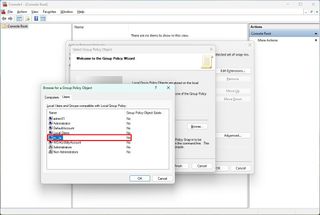
- Quick tip: To change settings for users with a "Standard user" account, select Non-Administrators from the list.
- Click the OK button.
- Click the Finish button.
- Click the OK button.
- Open the File menu and select the Save As option.
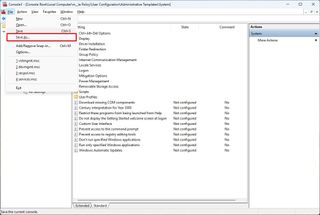
- Confirm a name for the snap-in.
- Select a location to store the custom console with the configurations.
- Click the Save button.
After you complete the steps, you can open the newly created Microsoft Management Console to configure the settings you want to apply to a specific user.
For example, you can use these instructions to configure custom settings or restrict access to certain features, such as Registry, Command Prompt, Settings app, and others, allowing users to make unwanted system changes.
More resources
For more helpful articles, coverage, and answers to common questions about Windows 10 and Windows 11, visit the following resources:
Get the Windows Central Newsletter
All the latest news, reviews, and guides for Windows and Xbox diehards.
Mauro Huculak has been a Windows How-To Expert contributor for WindowsCentral.com for nearly a decade and has over 15 years of experience writing comprehensive guides. He also has an IT background and has achieved different professional certifications from Microsoft, Cisco, VMware, and CompTIA. He has been recognized as a Microsoft MVP for many years.
