Three easy ways to crop images on Windows 11 — no extra tools needed
Need to crop a picture? Windows 11 has you covered with these three built-in options.
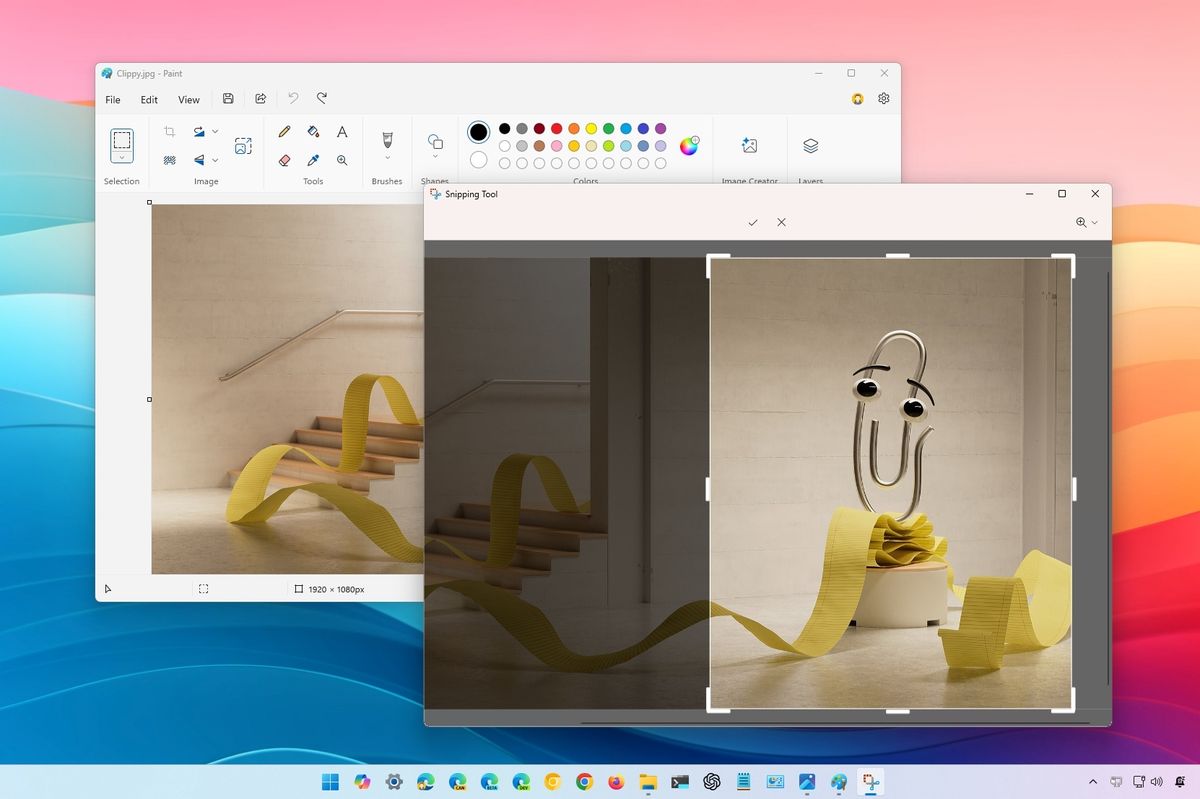
Although you can now remove part of an image using AI, sometimes, the best approach is to crop the unwanted area or element. If you have a computer running Windows 11, you have multiple ways to crop an image to trim the excess, remove unwanted parts, or resize the image.
Regardless of the reason, Windows 11 doesn't include a native cropping tool, but you can use built-in applications, such as the Snipping Tool, Photos, and even the Paint app, to complete this task.
In this how-to guide, I will outline the different ways to crop a picture file using the default tools available on Windows 11 without using third-party applications.
How to crop a picture from Snipping Tool
To crop an image file with the Snipping Tool on Windows 11, use these steps:
- Open File Explorer.
- Open the folder with the image to crop.
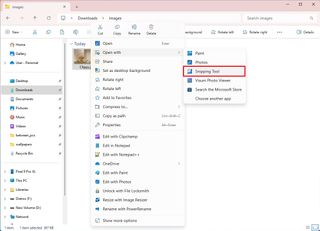
- Right-click the image, select the "Open with" menu, and choose the Snipping Tool option.
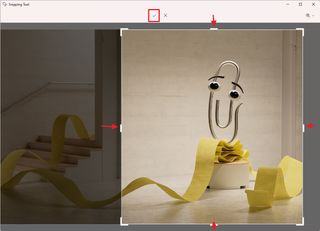
- Click the Image Crop button in the toolbar.

- Drag the borders inwards using the mouse to crop the image.
- Click the Apply button.
- Click the "Save as" button from the top-right.
- Select the folder location.
- Click the Save button.
Once you complete the steps, a copy of the image will be created with the new modifications.
How to crop a picture from Photos
To crop a picture with the Photos app, use these steps:
- Open the Photos app.
- Open the picture you want to crop.
- Click the Edit button from the top-left corner.

- Click the Crop tool from the toolbar.
- (Option 1) Drag the borders inwards using the mouse to crop the image.
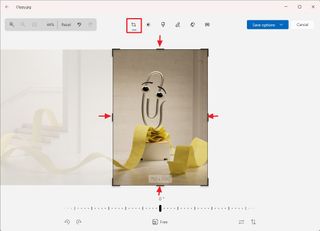
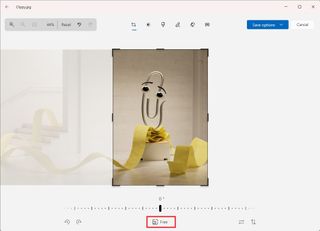
- (Option 2) Click the Free button.
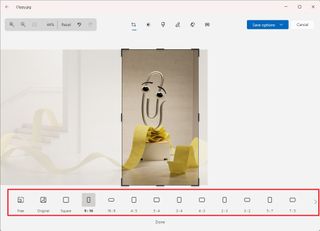
- Select one of the crop formats available, including square, 16:9, 3:3, etc.
- Click the Done button.
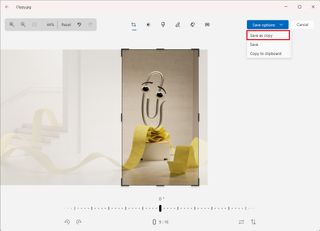
- Click the Save options button.
- Choose the "Save as copy" option.
- Select the location to save the cropped image.
- Confirm a new file name.
- Click the Save button.
After you complete the steps, the Photos app will save a cropped version of the picture.
Get the Windows Central Newsletter
All the latest news, reviews, and guides for Windows and Xbox diehards.
How to crop a picture from Paint
To crop an image with the Microsoft Paint app, use these steps:
- Open the Paint app.
- Click on the File menu and choose the Open option.
- Select the image to crop and click the Open button.
- (Option 1) Drag the borders inwards using the mouse to crop the image.
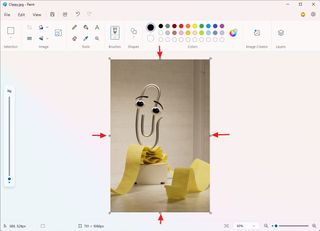
- (Option 2) Open the Select tool menu and choose the Rectangle or Free-form option.
- Select the area of the image to crop.
- Click the Crop button from the toolbar.
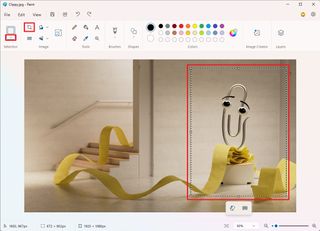
- Click on the File menu, select the Save as menu, and choose the format to save the file.
- Select the location to save the cropped image.
- Confirm a new file name.
- Click the Save button.
Once you complete the steps, the Paint app will save a copy of the cropped image on your computer.
Any of the apps mentioned in this guide will crop an image just fine. However, if you're working with a picture, I would recommend using the Photos app since you can access other editing tools that are tailored for photography. You can use the Snipping Tool or Paint for screenshots and other types of images.
More resources
For more in-depth insights, troubleshooting tips, and the latest updates on Windows 11 and 10, be sure to explore these resources:
Mauro Huculak has been a Windows How-To Expert contributor for WindowsCentral.com for nearly a decade and has over 15 years of experience writing comprehensive guides. He also has an IT background and has achieved different professional certifications from Microsoft, Cisco, VMware, and CompTIA. He has been recognized as a Microsoft MVP for many years.
