How to use OneDrive for Business and SharePoint to externally share files
If you think the best way to share files with your colleagues or customers is through email attachments, think again. By using Microsoft's OneDrive for Business or SharePoint services, you get a more professional, more controllable sharing experience.

The way modern businesspeople share information with clients and partners is forever changing. However, one thing that continues to be challenging is sending large files through email. Quite often, revisions to files must be made. By emailing attachments back and forth, you could end up with numerous versions that cause confusion. A more effective means of sharing files is through a common place, one that allows for secure collaboration.
If your company uses Microsoft Office 365, you and your intended file recipients will benefit from using either OneDrive for Business or SharePoint for sharing. They both provide the convenience of easy access to files and folders while giving your contacts as much or as little accessibility as you want. Here's how to use each service to share files.
How to use SharePoint Online to share files
SharePoint Online is a cloud-based solution that allows colleagues to share files and documents through websites. The service is available when a business subscribes to either the SharePoint Online standalone service or to an Office 365 plan. Sharing files with external recipients using SharePoint online is much less cumbersome than it is through a corporate-managed SharePoint environment. Additionally, SharePoint Online can be accessed from virtually anywhere usingOffice 365, so you aren't hindered by limited access to a single network or device. Two methods for sharing are through a SharePoint site for collaborative access, or you can send a document through an anonymous guest link.
Sharing a SharePoint site

In order to share a SharePoint site with an intended recipient, you have to either be granted full permission over control of the site or you need to be the "site owner." What you're doing is sending an invite that allows people to log in and access the site. In order to do this, they must log in using their SharePoint account at work, or with a Microsoft account. You can choose to share the entire site with the individual or share a specific document. Either way, only one person can use the invitation to access the shared item.
How to share a site or document with an authorized user
- Log into Office 365.
- Select the app launcher icon at the top left corner of the page.
- Select the SharePoint icon.
- Access the site to be shared.
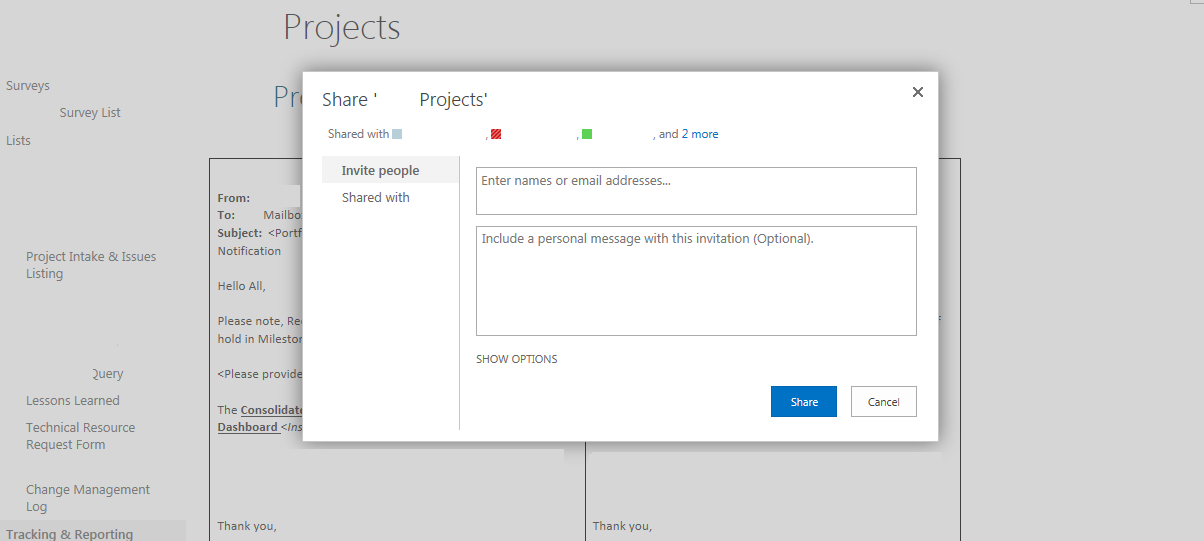
- Select Share located near the top right corner.
- In the Share entry field, input the email addresses for the people you want to invite.
- Select Share.
- Enter in a message to accompany the invite. (This could be special instructions or requests.)
- The invitation is then automatically sent.
You'll have additional options, such as preventing external sharing, to help keep your files as secure as possible. People you've invited can be given various types of access, such as the options to edit files and upload content, making for a collaborative environment.
Sending an anonymous link

In some instances, if you require feedback from an unspecified group, for example, you may want to consider granting access through an anonymous guest link. People you invite may not have an Office 365 subscription or may be on a team for which participation is not mandatory. These invite links only give visitors access to documents in the appropriate Office Online product, so cannot view them in a desktop version.
How to create and share a link
- Ensure that you are logged into Office 365.
- Click on the app launcher icon at the top right.
- Click on the SharePoint icon.
- Locate the document or file in question and click on its More options icon.
- Select Share.
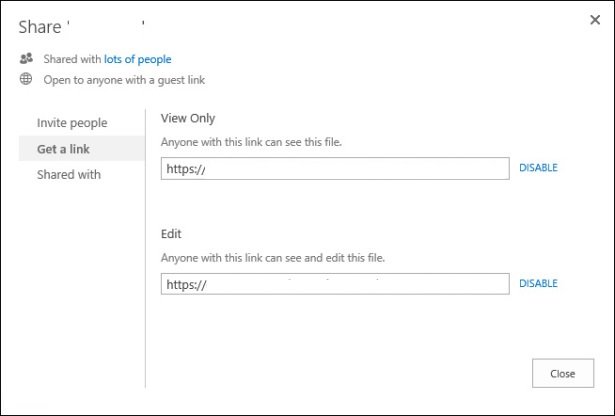
- Select Get a link.
- Choose the level of permissions: Restricted, View or Edit.
- Copy the generated invite link to be shared.
At any time, the anonymous guest link can be disabled. And you should be wary of the type of access you grant because the link can potentially be shared beyond your perceived scope. Also keep in mind that this link could also be seen by other site members who can, in turn, use the link, as well.
Get the Windows Central Newsletter
All the latest news, reviews, and guides for Windows and Xbox diehards.
How to use OneDrive for Business to share files
With OneDrive for Business, you can share files, as well as folders, instead of an entire site, with external recipients. As with SharePoint, you can modify permissions to specify who can view and edit files. Keep in mind that your company or organization must have external sharing enabled in the OneDrive for Business settings.

How to create a share link
- Log into OneDrive.com with your work account.
- Access the file that you would like to share.
- Select Get link from the ribbon near the top of the page.
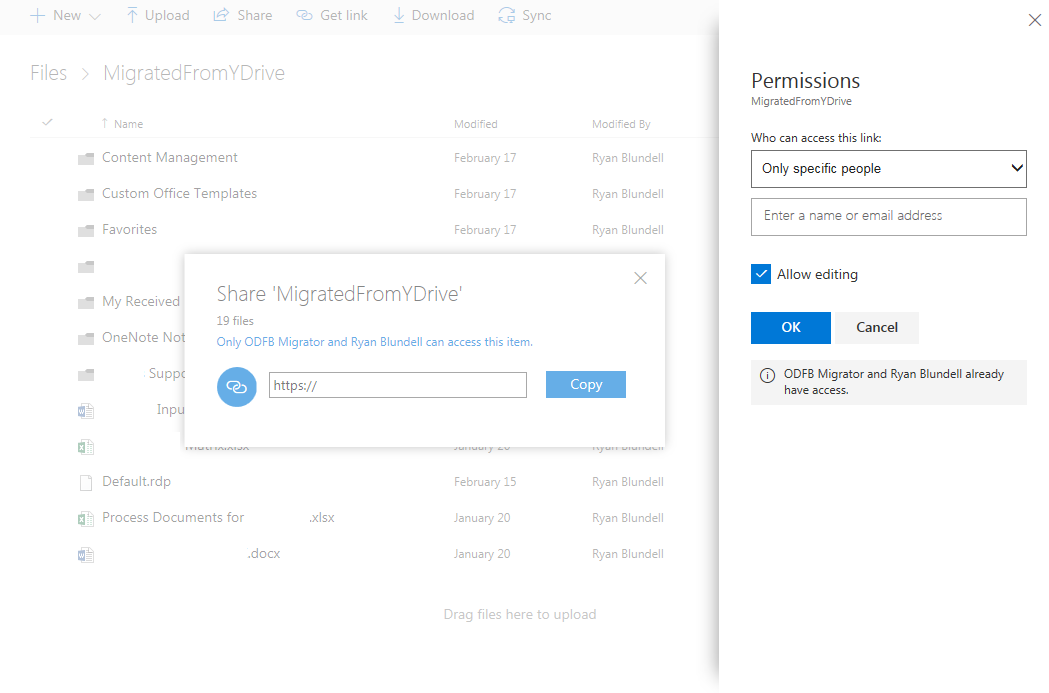
- By default, OneDrive will indicate the permissions to be given: "Anyone with this link can edit this item." Click on this to change permissions to one of the following options:
- Anyone with this link
- Only people in your organization
- Only specific people
- Check or uncheck Allow editing to choose to protect your document from being modified, copied or downloaded by invitees.
- Select Get link to populate a link.
- Select Copy to add the link to your clipboard.
This link can easily be disabled by selecting the same file in OneDrive for Business, then clicking the information icon and selecting Stop sharing.

How to create an invite to share a file or folder
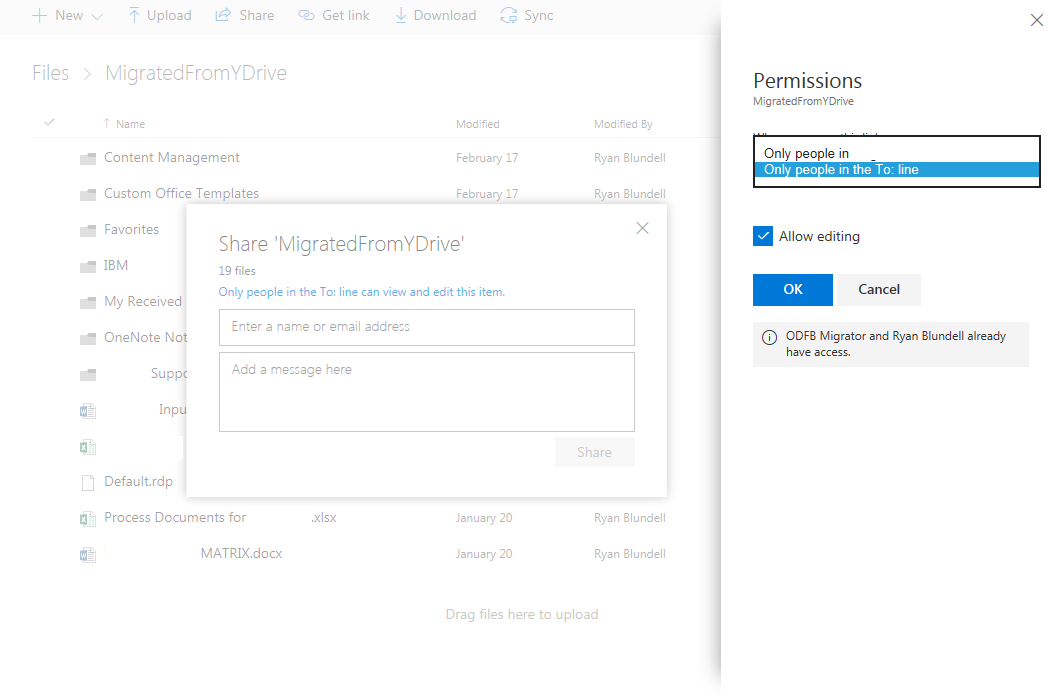
- Select the file or folder and choose Share.
- Enter the email address of the external user. (OneDrive for Business will warn you that the email address is outside of your organization.)
- Include optional text in the message field.
- Select or deselect Allow editing, based on your preferences.
- Click OK to send.
The recipient will get access to the document in the online version of the appropriate Office product (Word Online, for example).
The user would also have to have a Microsoft account, or a free Microsoft account tied to their email account. The top right of the page will indicate to the invitee that they have been designated as a "guest contributor." In OneDrive, you can select the information icon to view activity about the shared folder or file, meaning it could allow you to see that the guest contributor has edited the file. Under information, you can choose additional options, such as adding more people to share with or stop sharing altogether.
If you find that you are sharing multiple files with the same individual, it would be easier to choose to share a folder instead. You can, for example, create a folder with the name of the recipient. You can then share the folder and simply drop new or updated files into the folder when you need to. This saves you from having to choose the share option constantly.
Of course, all of these methods depend on the fact that your company or organization must allow external sharing within these Microsoft services.
Which methods do you use to share files? Let us know in the comments.
You can also visit our Office 101 help hub for more related articles.
- Microsoft Office 101: Help, how-tos and tutorials

