How to set up and use a headset on Windows 10
Set up a wired or wireless headset with proper configuration in Windows.
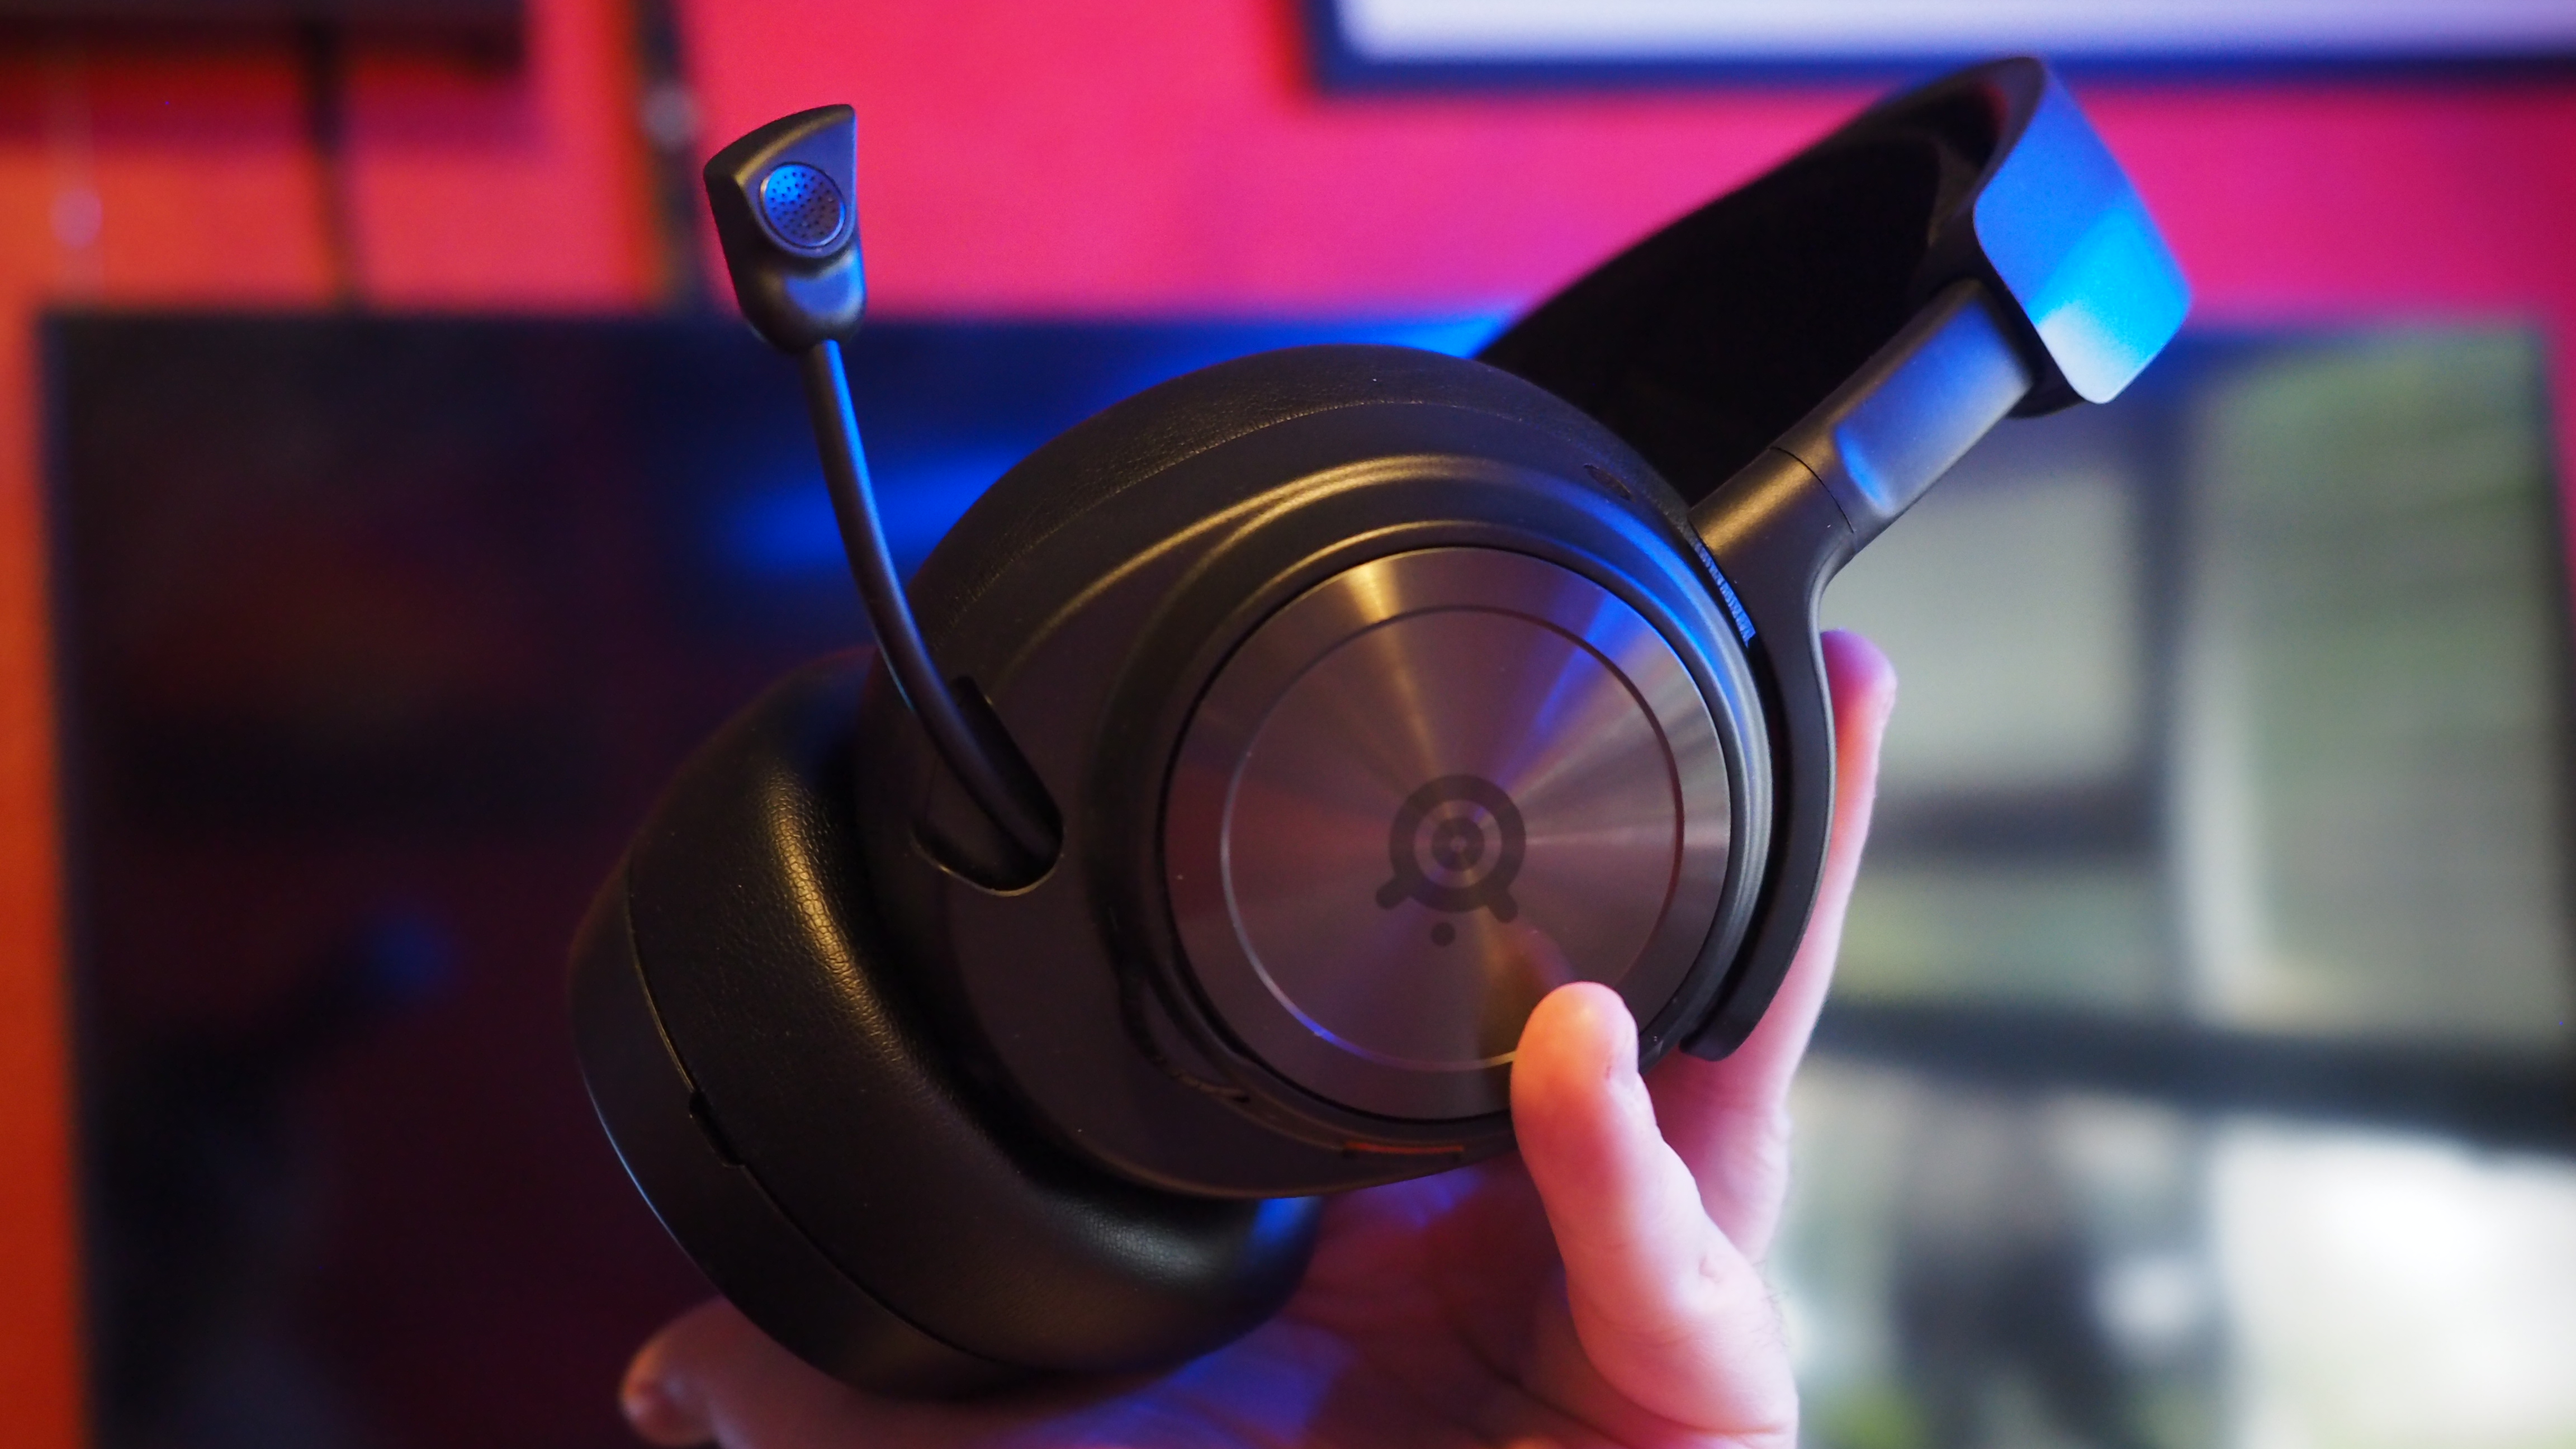
Knowing how to set up and use a headset on Windows is essential for the modern age of communication, especially with the rise of working from home. Sets with noise cancellation are perfect for blocking out distracting sounds around the house and serve multiple uses outside productivity.
Gamers generally have a particular affinity for wired and wireless headsets, whether to keep in contact with friends during online multiplayer games or to be immersed in atmospheric soundscapes.
Unfortunately, not every headset is as simple as plug-and-play and might seem a little unusual if you connect them without adjusting settings. Our tips will walk you through selecting your new headset in Windows and some adjustments to get the best quality sound.
How to set up your headset on Windows 10
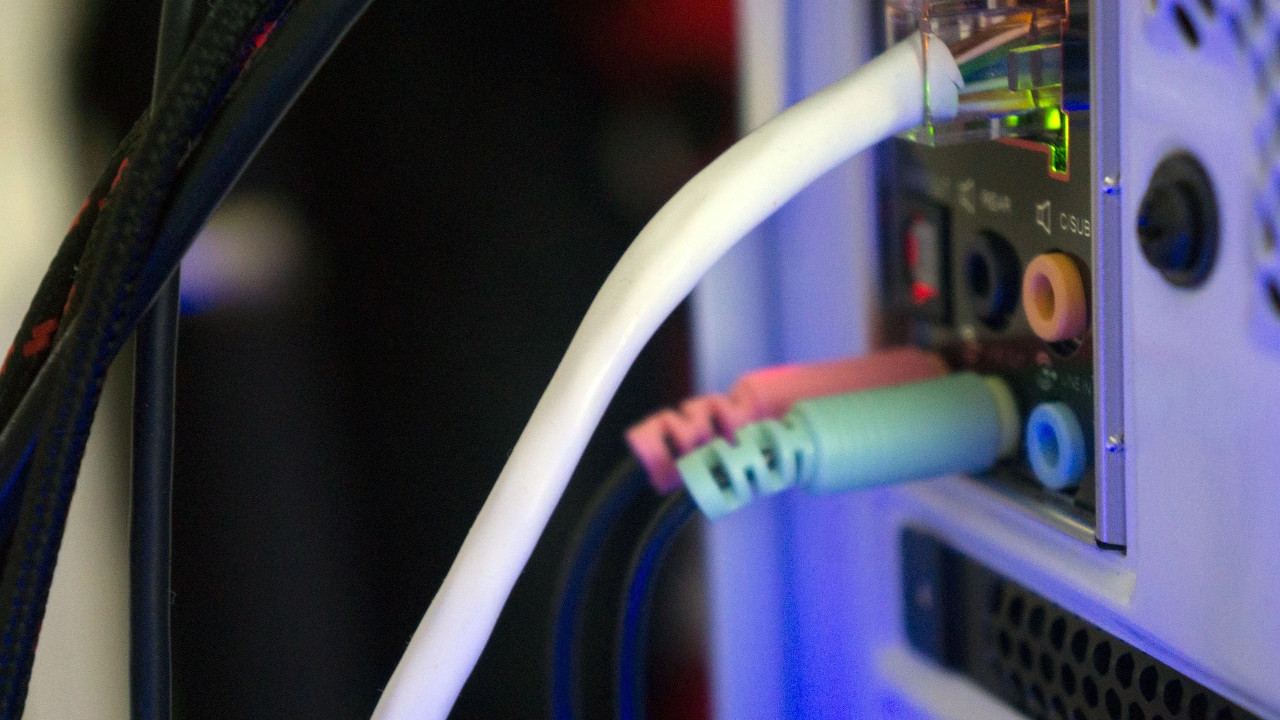
To use a headset, you're going to have to plug it in. Simple, we know, but it's easy to get this step wrong if you're unfamiliar with available ports for audio on a PC. It's a relatively simple process; hook up the cable on the headset to a spare port on your PC or connect it wirelessly. Here are the options for headset owners:
- 3.5mm jack: Older and more affordable headsets usually have the cable split at the end with two 3.5mm jacks, one for audio out and the other for the microphone. (Pink for the microphone, green for the headset.)
- USB: USB-powered headsets offer enhanced experiences thanks to inline amps, controls, and other features, though, in terms of quality, there isn't a massive gap between USB and 3.5mm jacks.
- Wireless: Whether it be Bluetooth or requires a dedicated USB wireless receiver, these headsets remove all cables between your computer, allowing you to sit more comfortably without fear of creating a tangled mess.
Depending on the case and motherboard installed on a desktop PC, there may be available ports on or near the front of the chassis, perfect if you have a short cable or have no free ports on the rear. The most significant factor in sound quality will be the soundcard on your motherboard, comparing it against a dedicated digital-to-analog converter (DAC).
Checking sound output in Windows 10
Once you have the headset connected to the PC, it's time to make sure Windows has sound levels and the like set up and configured correctly. Firstly, we need to check Windows has the headset selected as the default output device.
- Left-click the sound icon in the taskbar.
- Select the sound device in the drop-down menu.
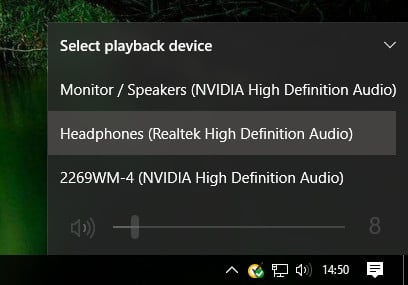
- Choose the connected headset.
This could have in brackets either USB or the brand and model of the onboard motherboard audio — it depends on which connection type the headset utilizes. It's possible to rename each entry on this list to make it easier for you to decipher which is which. (See below how to rename a connected sound output.)
Get the Windows Central Newsletter
All the latest news, reviews, and guides for Windows and Xbox diehards.
Now we'll need to test the output to make sure we've selected the correct device, and everything is working perfectly. You can do this by firing up some media on the PC or utilize the test function in Windows.
- Right-click the sound icon in the taskbar.
- Select Open sound settings.
- Choose Sound control panel on the right.
- Select the headphones (should have a green tick).
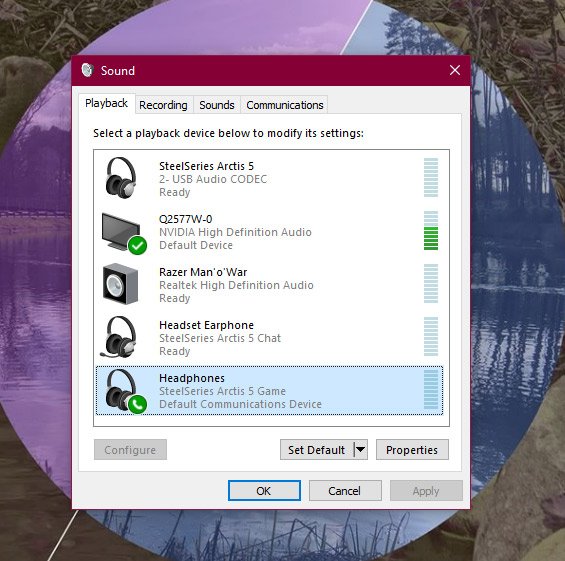
- Hit Properties. (You can rename this sound output right here to make it easier at switching.)
- Select the Advanced tab.
- Hit the test button.
If you hear sound through the headphones, you're good to go. If not, check if you have the correct device selected for sound output and that the headset itself is plugged in (we've all be in the position where something doesn't work because it isn't physically connected).
Recording your own voice
After that, we need to select the microphone as the default input device and make sure the volume is turned up. To do this, we run through similar steps carried out for the headphones.
- Right-click the sound icon in the taskbar.
- Select Open sound settings.
- Choose Sound control panel on the right.
- Select the Recording tab.
- Choose the microphone.
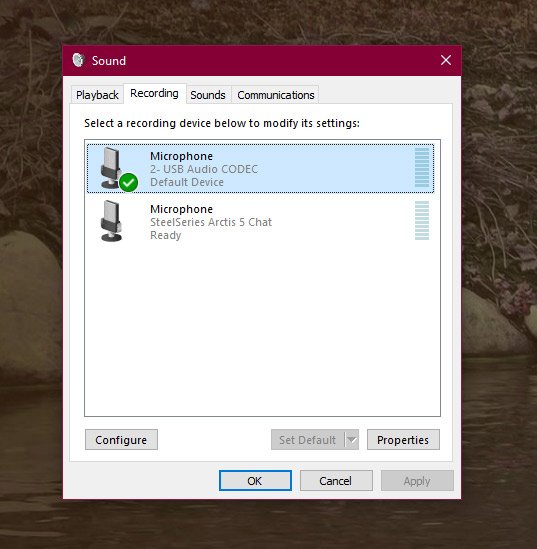
- Hit Set as default.
- Open the Properties window.
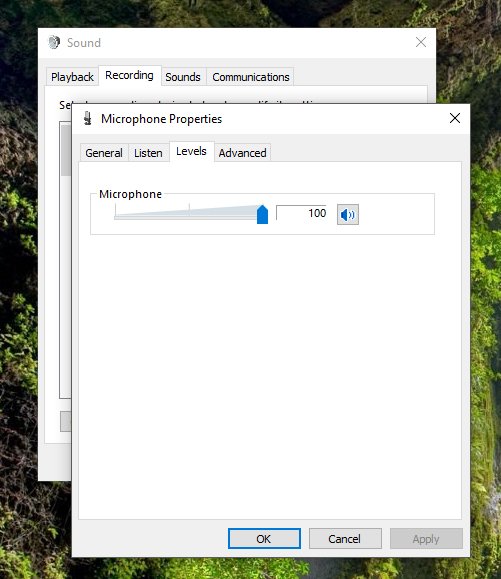
- Select the Levels tab.
- Adjust the volume accordingly.
Be sure to fire up your favorite VoIP app (Discord is a great option) or recording software to test the microphone out. Some applications can take full control of the microphone and adjust levels accordingly. In contrast, others allow you to manipulate the software suite's volume to save you from opening this recording window each and every time.
Troubleshooting Windows headset issues
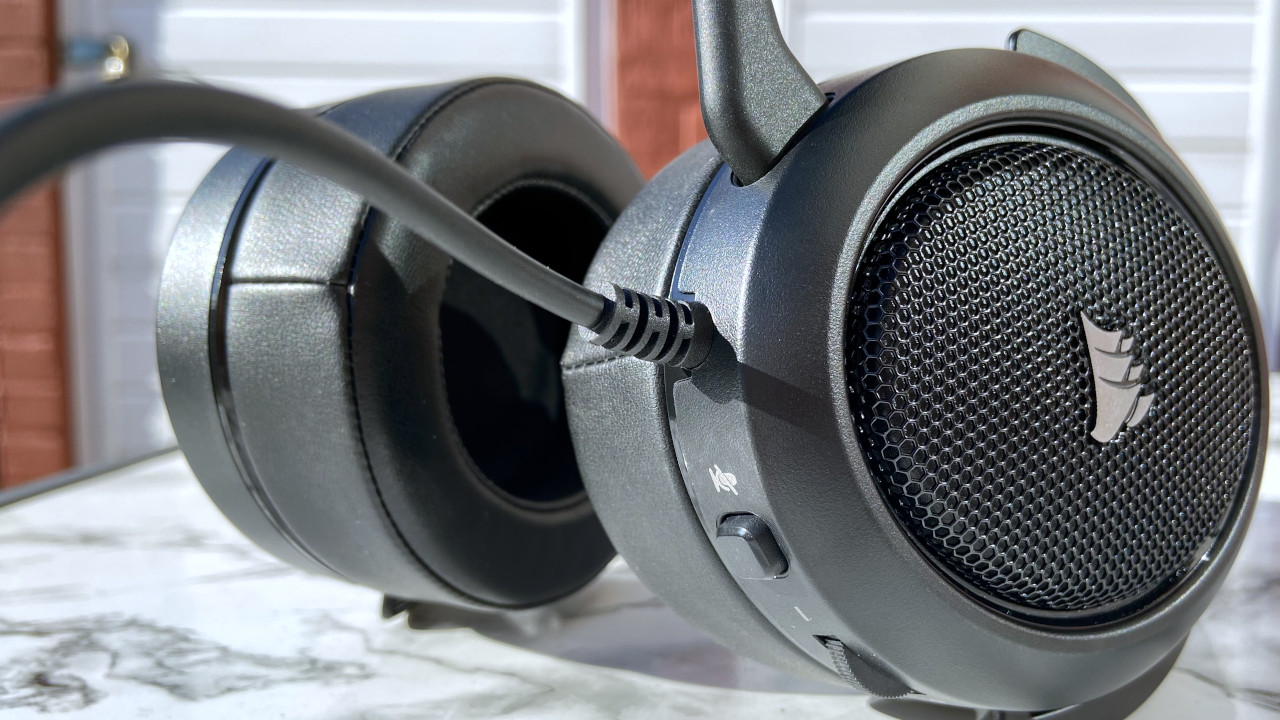
Make sure you use the right ports
Is it plugged in? Have you utilized the correct port? For 3.5mm jacks, it's generally green for output and pink for input, depending on the available sound card. Mix those two up, and nothing at all will happen. Newer motherboards come with numerous ports for surround sound, so you might need to hit up the manual for more details.
Auto-detection could be playing up
OEM software could be interfering here. Should you have software like Realtek's HD Audio Manager, try disabling jack detection and see if that helps.
Re-installing drivers
If your headset isn't working, the problem might be in the drivers. Head to Device Manager and uninstall the drivers for the connected headset. Reboot the PC and connect the headset once again to let Windows reinstall them. Yes, it's the tried and true "turn it off and on again" process, but it works.
Select different formats
If you're still unable to get anything, try selecting a different input/output format in the property window (use the headset steps above).
Don't be muted
Depending on the brand and model of the headset, it may support controls located on the cable. Volume sliders and mute buttons are easily accessible here, but be sure they're set for use.
Try a different headset/device
To check whether the issue is with the headset (and not your PC), try using it on another PC or device. You could also try plugging in another headset if you have one at hand.
Properly setting up your headset means you'll enjoy all the intended features and avoid the most common issues in the future. There are varying connection methods, but Windows handles them almost the same way. Any of our picks for the best PC gaming headsets will abide by the steps in our guide and will suit all-day work and all-night play, but here are a couple of choices to get you started.
Windows Central recommends
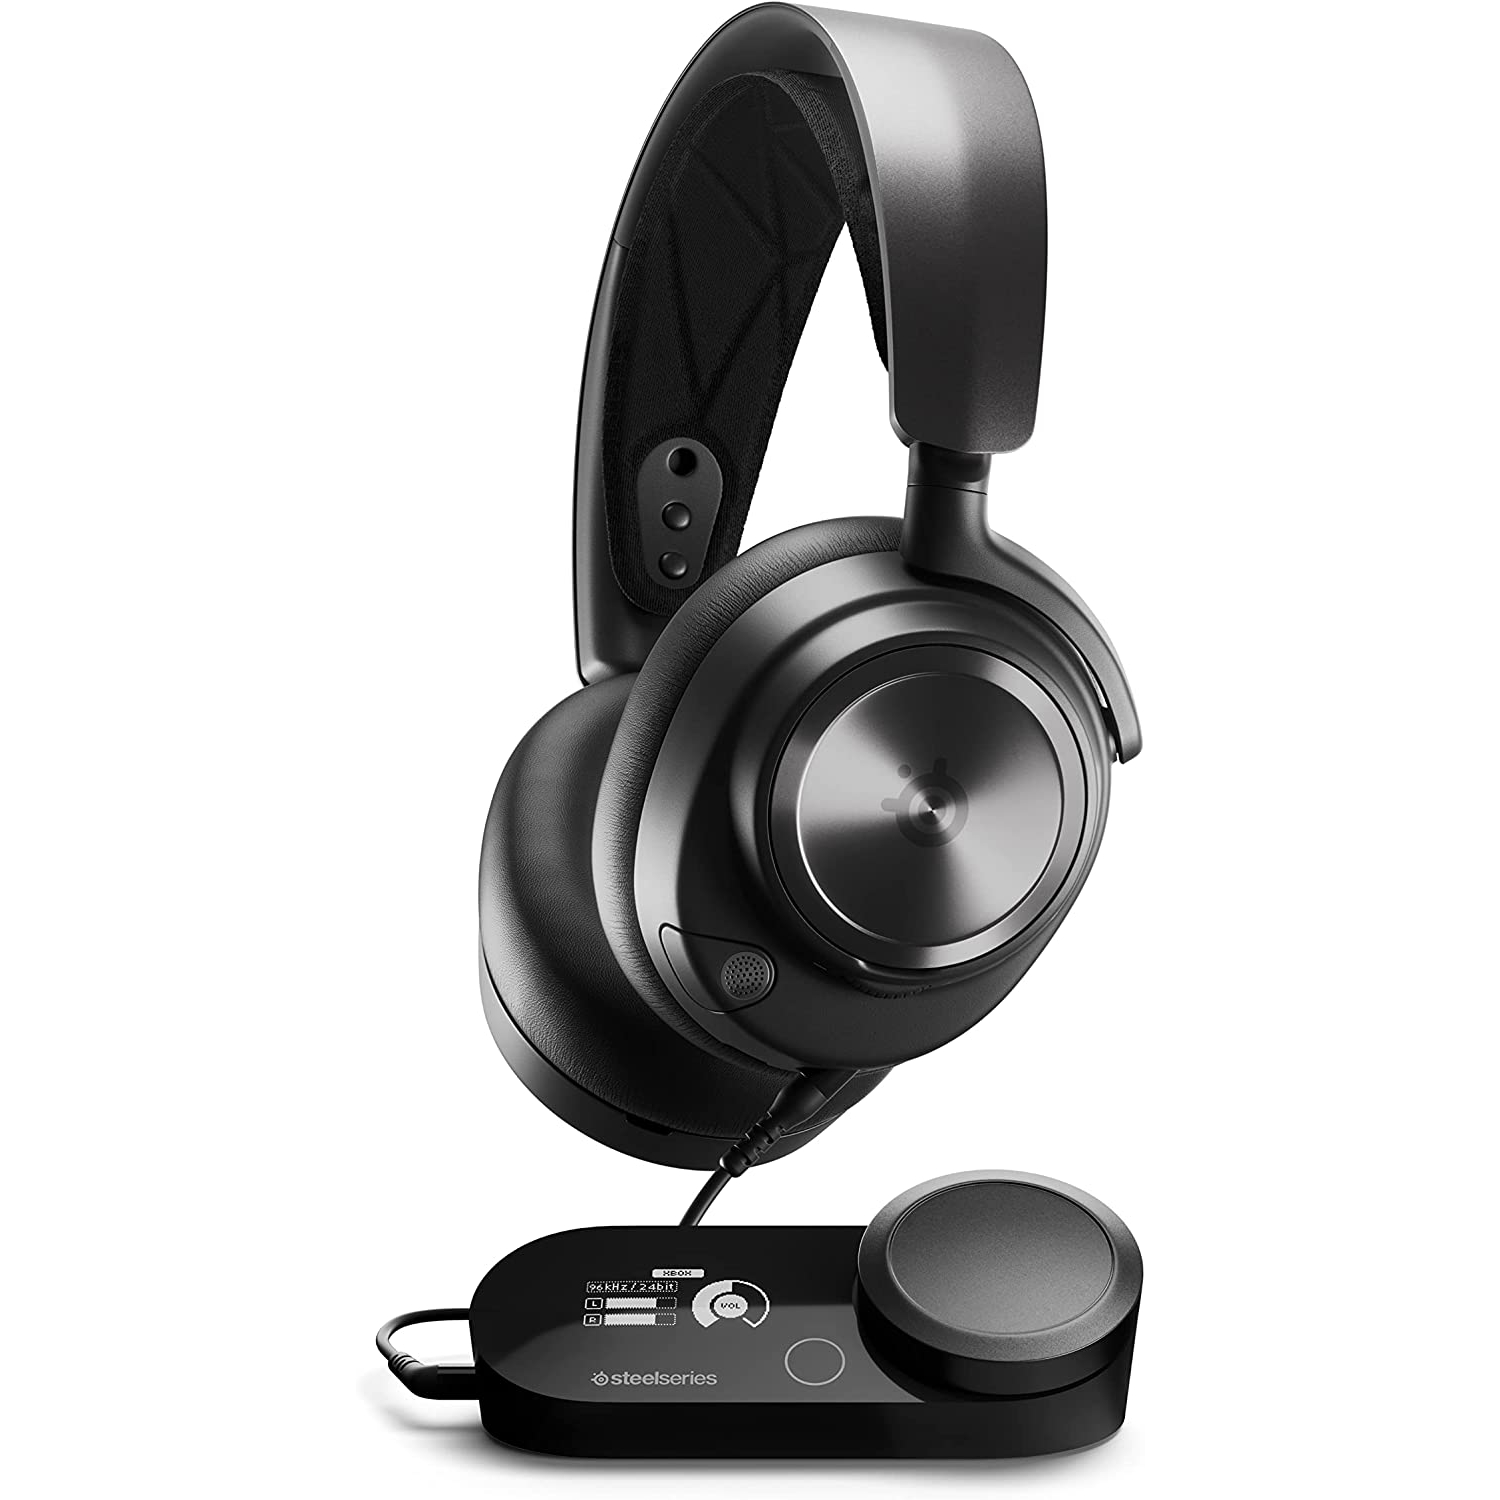
Best overall
Unparalleled comfort paired with an included DAC for crystal clear sounds makes the Arctis Nova Pro our favorite PC gaming headset. It's not the cheapest, but it packs every feature you need for all-day audio.
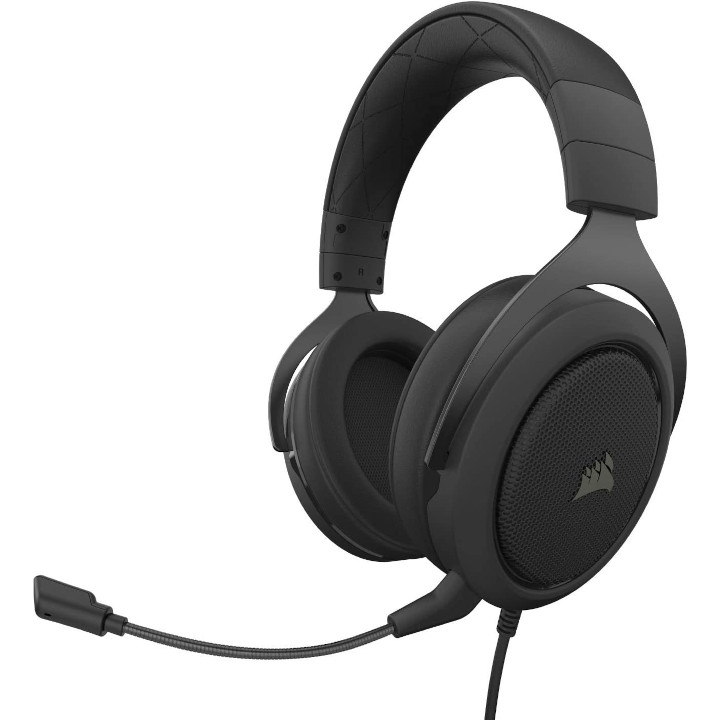
Budget option
Corsair delivers comfort and convenience with a detachable microphone and memory foam cups. The wired HS50 Pro Stereo beats out most alternatives that can't compete with the cushioned faux leather.

Rich Edmonds was formerly a Senior Editor of PC hardware at Windows Central, covering everything related to PC components and NAS. He's been involved in technology for more than a decade and knows a thing or two about the magic inside a PC chassis. You can follow him on Twitter at @RichEdmonds.
- Ben WilsonSenior Editor
