Resident Evil 7 Guide: How to find every Repair Kit and repair both Broken Weapons
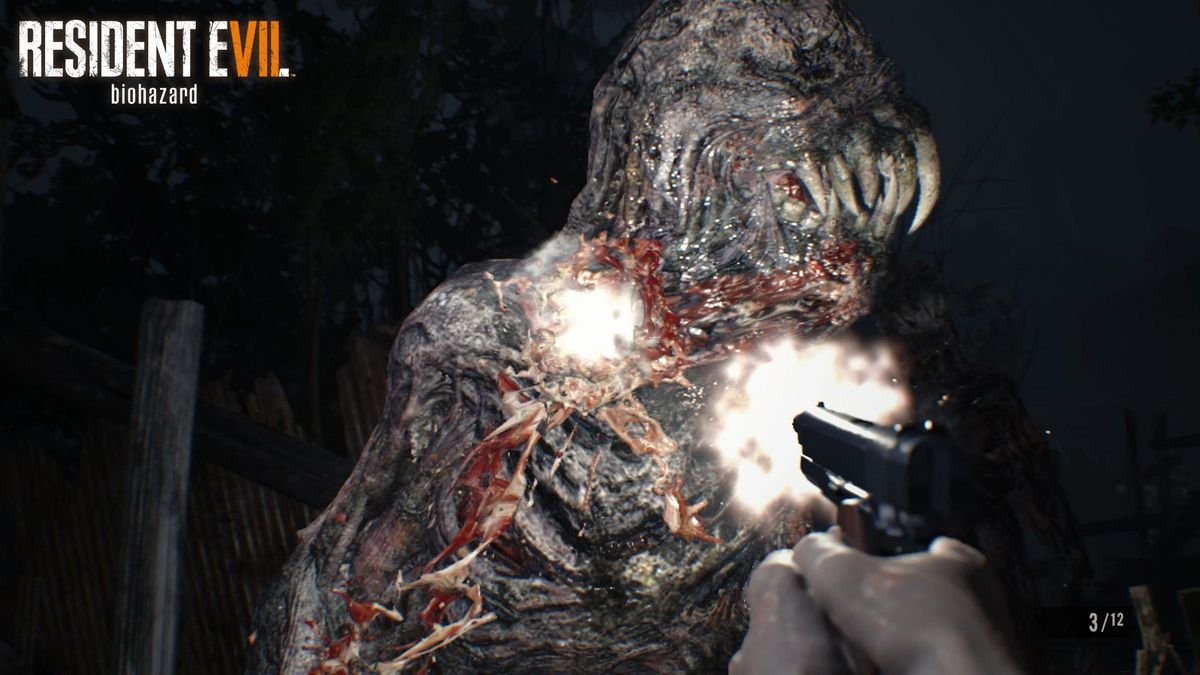
Resident Evil 7: Biohazard contains many elusive weapons and items. These include two broken weapons that can only be fixed with hard-to-find Repair Kits. Read on for complete instructions for finding every Repair Kit and repairing the broken guns!
As a special bonus for Xbox gamers, Resident Evil 7 also happens to be an Xbox Play Anywhere title. If you buy the game digitally from the Windows Store, you get access to both the Xbox One and Windows 10 versions, with full cross-save support.
Broken Weapons and Repair Kits
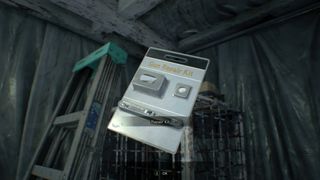
Several Resident Evil 7 weapons require a little construction or going through multi-part puzzles, including the Shotgun, the Burner, and the Grenade Launcher. A couple of weapons are even easier to miss, though: the M19 Handgun and the M21 Shotgun. The reason for their scarcity is they both start out broken, requiring Repair Kits to fix. There are only two Repair Kits in the game, so you don't want to miss them!
The M19 Handgun is a replacement for your standard Handgun. It packs a greater punch than the regular pistol, so it won't take as many shots to kill enemies. But the M19 only carries 7 bullets at a time, compared to the Handgun's 10 bullets. Still, the increased damage makes it worth the tradeoff – at least until you've beaten the game once to unlock the Albert-01R handgun for subsequent playthroughs.
As for the M21 Shotgun, it's a double-barreled shotgun. The regular M37 Shotgun is only single-barreled, so of course the M21 deals a lot more damage. But it comes with a similar carrying capacity tradeoff to the M19. The M21 can only fire two shots before reloading, as opposed to the M37 Shotgun's four shots. You'll have to make every shot count when wielding this powerful shotgun.
Repair Kit 1 and the Broken Handgun
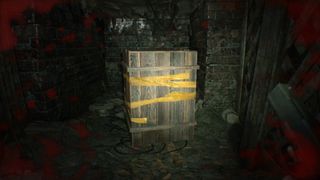
The first Repair Kit is found in the Yard of the Main House. To access the Yard, you'll need to open the Main House back door with the three Dog Heads. You can only get the last Dog Head after the Morgue boss fight, approximately a third of the way through the game. It's better to go after the Repair Kit as soon as you can access the Yard, as enemies will start spawning there after you finish up the Old House.
Get the Windows Central Newsletter
All the latest news, reviews, and guides for Windows and Xbox diehards.
To find the first Repair Kit:
- Enter the Yard from the Main House.
- Step off the porch.
- Examine the side of the porch between the two sets of steps.
- Directly in the center of the side, you should find a metal grate that can be removed. Do it!
- Crawl under the house until you find a crate down there.
- Break the crate and take the Repair Kit.
To find and repair the Broken Handgun:
- From the Yard, head to the Trailer safe room in the northwest corner of the map.
- Inside, you'll find the Broken Handgun on the bed.
- Combine the Broken Handgun with the Repair Kit to get the M19 Handgun.
Repairing the Broken Shotgun
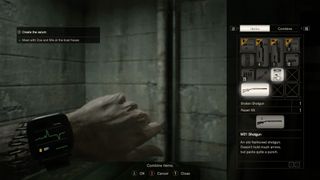
You'll pick up the Broken Shotgun in the Main House. Although it only takes a Scorpion Key to find it for the first time, you need the Snake Key before you can actually keep it.
To get and repair the Broken Shotgun:
- Follow the steps in our Shotgun Guide to find the Broken Shotgun for the first time, using it to pick up the M37 Shotgun.
- Once you have the Snake Key, return to the second floor of the Main House and use it to enter the Kids Room.
- Inside, check one of the trophies that resembles a lamp and push the button on it to reveal the ladder to the Attic. The Attic is also where you get the Happy Birthday videotape.
- In the Attic, check the southeast corner for the Model Shotgun and Toy Axe. The Toy Axe is used to solve a shadow plinth puzzle in the Yard.
- Head downstairs to the Main Hall and enter the southern room where you got the M37 Shotgun.
- Remove the Broken Shotgun from the soldier statue and replace it with the Model Shotgun.
- You can now use the first Repair Kit to turn the Broken Shotgun into the M21 Shotgun. However, my preference is to save the Broken Shotgun for the second Repair Kit.
Repair Kit 2
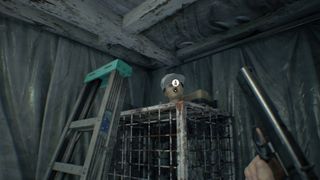
The second Repair Kit is found in the Testing Area, but you need a Treasure Photo from the Main House to get it. You can't get the photo until you pick up the Snake Key from the Dissection Room, shortly after completing the Old House. You won't be able to return to the Main House after entering the Testing Area, so don't let this photo slip by.
To locate the Treasure Photo:
- Head to the east side of the second floor of the Main House.
- Use the Snake Key to open the Master Bedroom door.
- From the Master Bedroom, go south into the Storage room.
- The Treasure Photo rests on top of a stool there.
To find the second Repair Kit:
- Very early in the Testing Area, you'll come across a room with several tripwire bombs called the Supply Room. It's the northeastern-most room on the second floor.
- In the Northeastern corner of the Supply Room, there's a steel cage with a ladder leaning on it and a mannequin head on top.
- If you've found the Treasure Photo, examining the mannequin head will reveal the Repair Kit. You don't have to carry the photo during this process; leave it in an item box.
Surviving the horror
Now you're well-armed and ready to take on the Baker family and their army of Molded. If you need more help, check out these articles for additional tips and strategies!
- Achievement Guide
- Collectibles Guide: Files
- Collectibles Guide: Mr. Everywhere Statues
- Resident Evil 7: Biohazard Review
Resident Evil 7: Biohazard is a game that fans of horror games won't want to miss. And because it's an Xbox Play Anywhere title, Windows 10 gamers won't have to miss out either.
Paul Acevedo is the Games Editor at Windows Central. A lifelong gamer, he has written about videogames for over 15 years and reviewed over 350 games for our site. Follow him on Twitter @PaulRAcevedo. Don’t hate. Appreciate!
