Resident Evil 7 collectibles guide: All Files and their locations
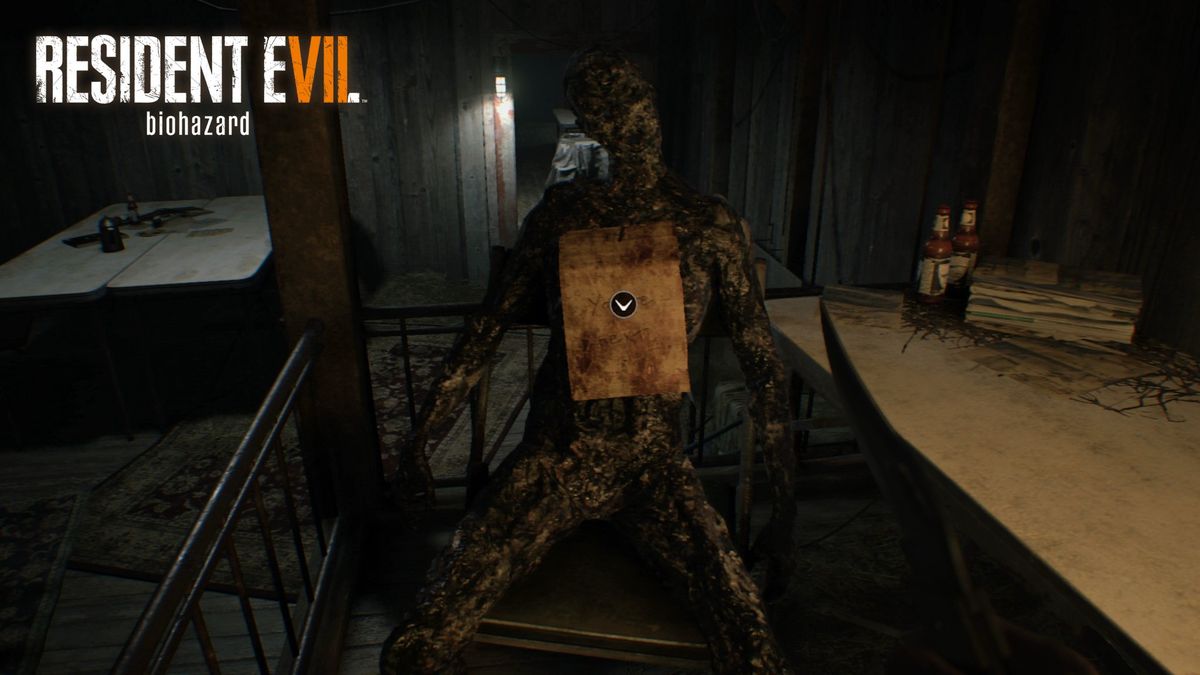
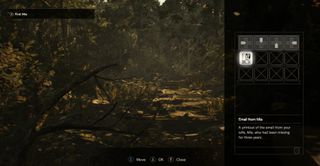
Resident Evil 7: Biohazard from Capcom is a genuine return to form for the Resident Evil series, mixing horror, a first-person perspective, and an intriguing story in one amazing package. It also features numerous types of collectibles to discover. This comprehensive guide features screenshots and descriptions of every collectible file.
As a special bonus for Xbox gamers, Resident Evil 7 also happens to be an Xbox Play Anywhere title. If you buy the game digitally from the Windows Store, you get access to both the Xbox One and Windows 10 versions, with full cross-save support.
The Devil is in the Details
Resident Evil 7 contains 32 Files to read. Picking up an item that counts as a File is not enough, you must also read the item for it to count. If you read a File but die before saving the game or reaching a checkpoint, you'll need to read it again for it to count towards the Achievement for finding them all: "The Devil is in the Details."
You can check your Files found by pressing the Map button and then switching to the Files tab. Any missed Files will appear as question marks between the other File names.
We've divided the collectibles by the location in which they're found, so you'll always be able to tell if you've gone too far or need to backtrack.
Naturally, some of the File names and locations could be considered spoilers.
Get the Windows Central Newsletter
All the latest news, reviews, and guides for Windows and Xbox diehards.
Guest House
This is the first area of the game, and one that we'll revisit at the end as well. As you play through, be sure to check out our comprehensive Achievement Guide and Mr. Everywhere Statues Guide so you don't miss any Achievements or collectibles along the way.
File No. 1 (Email from Mia)

At the start of the game, press the inventory button (Y on Xbox One). Select the Email and choose to Examine. Make sure you actually read the email after examining it.
Files No. 2 and No. 3 (List of Names Front and List of Names Back)
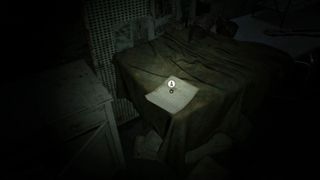
Before you release Mia from her cell in the Guest House basement, look for the paper on the table just to the east. Inspect the paper and read both sides for these two entries.
Main House
Survive the boss battle in the Guest House Attic, and Ethan will end up in the Main House, a major area that he'll be revisiting throughout the game.
File No. 4 (Home-Improvement Store Receipt)
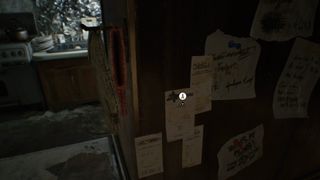
As soon as you can walk around in the Main House, check the receipt pinned on the side of a cabinet on the way to the refrigerator.
File No. 5 (Newspaper Article - Missing People)
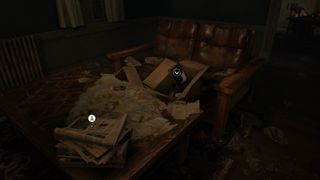
Having gotten the receipt, head into the Living Room and you'll find the newspaper on the coffee table.
File No. 6 (Newspaper Article - Over 20 Missing)
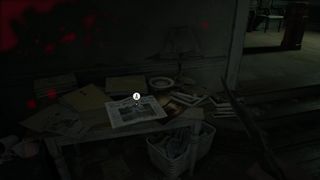
From the entrance of the Main Hall, head straight across the room. The newspaper lies on a table to the right of a grandfather clock.
File No. 7 (Jack's Journal)
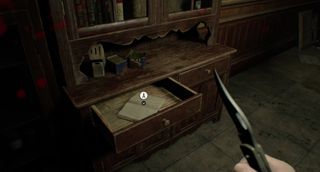
On the second floor, enter the Recreation Room from the southern entrance. Look for the journal inside the drawer of the hutch along the western wall.
File No. 8 (Jack's Memo)
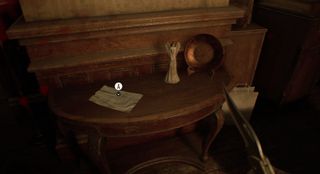
Inside the Recreation Room where you found Jack's Journal, the memo sits on a small table with an angel against the wall, just to the left of an Antique Coin and Mr. Everywhere statuette.
Files No. 9 and No. 10 (Travis's Memo Front and Travis's Memo Back)
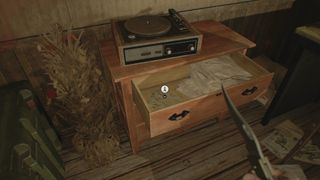
After you escape the Monitoring Room through the eastern door, head north to the safe room at the end of the hallway. There you'll find a two-sided memo in a drawer. Be sure to read both sides.
File No. 11 (Incinerator Room Memo)
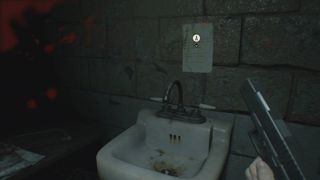
In the Basement Processing Area, enter the Incinerator Room and kill the Molded inside. The memo hangs on the wall above the sink.
File No. 12 (Memo About Relief)
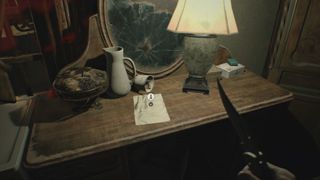
Once you have the Scorpion Key, head to the Recreation Room and use it to open the eastern door to Grandma's Room. This memo is sitting on the desk.
File No. 13 (Doctor's Letter)
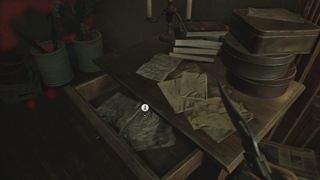
Inside Grandma's Room, you'll find this letter in a drawer by the door.
The yard
After defeating the Morgue boss, you can use the three Dog's Heads to open the back door of the Main House and enter the Yard.
File No. 14 (Zoe's Investigation Notes)
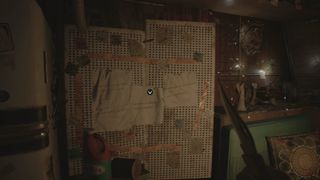
Inside the Trailer safe room, this note is pinned to the bulletin board on the right of the refrigerator.
Old House
After accepting the phone call in the Trailer, head northeast through the Yard to the Old House. You can build the Burner Flamethrower in this area, as well as take the first step towards acquiring the Grenade Launcher.
File No. 15 (Marguerite's Warning)
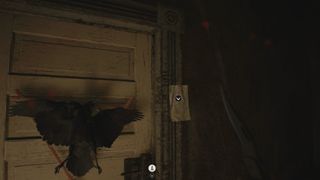
After solving the shadow plinth puzzle and taking the crawl space to the western side of the house, you'll find a Crow Key door along the wall that leads to the second floor. Although you won't have the Crow Key yet, you can still read the note pinned to the doorframe before heading to the crawlspace for the Crank.
File No. 16 (Serum Documentation)
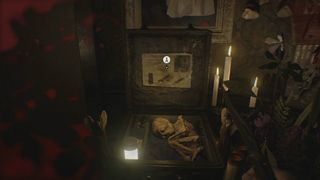
After Marguerite throws you into the pit and you fight her off, enter the Crow Key door leading to the second floor. Straight ahead at the Altar, the document is inside of the case.
File No. 17 (Marguerite's Notebook)
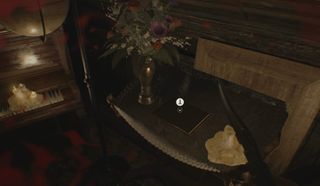
From the Altar, enter the room to the north. Read the notebook on the table by the piano.
The Yard
On your way back to the Main House after recovering the D-Series Arm from the Old House, stop by the Trailer in the Yard.
File No. 18 (Memo on Deputy's Head)
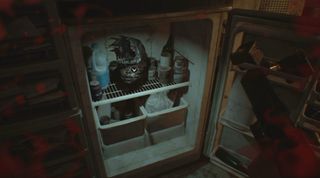
Once you have the D-Series Arm, you'll receive a phone call upon returning to the Trailer. After the call, open the refrigerator and read the note on the back of the head inside. In the Japanese version of the game, Ethan finds a photo of the deputy's head here rather than the real thing.
Main House
After recovering the D-Series Arm from the Old House and stopping by the Trailer in the Yard, it's time to return to the Main House to deal with Lucas.
File No. 19 (Lucas's Journal)
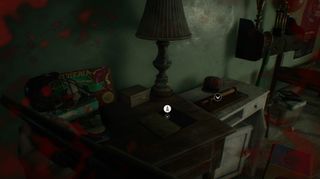
After picking up the Snake Key in the Dissection Room, head to the Kids Room on the second floor. There you'll find the journal on the table to the left.
File No. 20 (Torn Page from Journal)
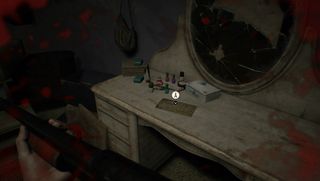
On the west side of the Kids Room, the journal page is on top of the vanity table.
File No. 21 (Clock Memo)
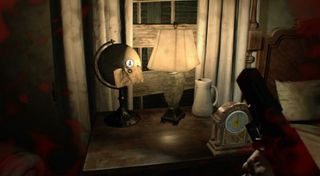
Enter the Master Bedroom on the second floor. The memo is taped to a globe on the nightstand. The hint given applies to the nearby clock puzzle. Pick up the clock and set it to 10:15.
Testing Area
Once you get the Blue and Yellow Key Cards from the Main House, go back to the Yard and use the keys on the western door to enter the Testing Area. Note that you can't return to the Main House or Old House once you're inside.
File No. 22 (Memo on Burnt Corpse)
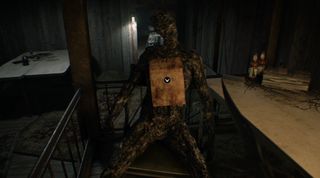
After defeating the Fat Molded boss, take the elevator to the second floor. In the next room (the Rest Area), you'll find this note with the Stephen King-esque numbers 1408 pinned to an unlucky corpse. Use that code on the door in the Party Room.
Wrecked Ship
After leaving the Testing Area, you'll face a boss at the Boat House. Having defeated the Boat House boss, you'll make a decision that affects which ending you'll receive and then end up at the Wrecked Ship.
File No. 23 (Giovanni's Will)
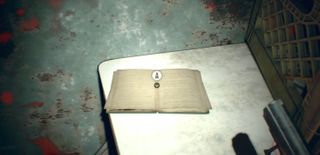
In the lower-right room on the first floor, you'll find the will on a table beside a crate.
File No. 24 (Jim's Letter)
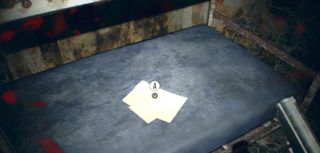
In the Bunk Room on the east side of the first floor (which connects to the room with Giovanni's Will), look for the letter on the lower bunk of a bed in the corner.
File No. 25 (Orders)
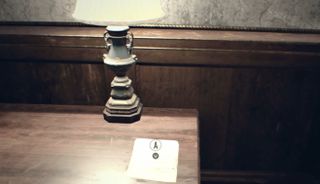
After starting the videotape, you'll find yourself in the Guest Room on the second floor of the ship. The orders are in front of a lamp on a desk.
File No. 26 (Tattered Secret Document)
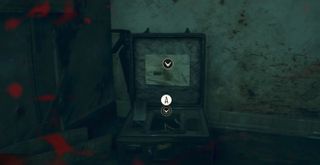
Just after the old videotape ends, enter the corridor to the east that leads to the broken elevator. Check the case in the corner for the document.
File No. 27 (Mechanic's Memo)
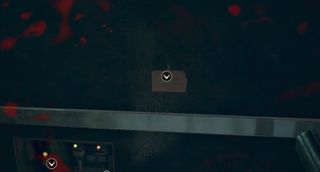
Note that this memo comes before the Tattered Secret Document in the in-game File list. But you should get the Tattered Secret Document before this one.
After picking up the Lug Wrench from the Captain's Room on the fourth floor, head back to the elevator shaft and climb down or jump onto the elevator. Use the wrench to open the hatch, and then jump down it. The memo is pinned on the wall below.
Salt Mine
After leaving the Wrecked Ship, Ethan will reach the Swamp. From the hut in the Swamp, step outside and take the elevator down to the Salt Mine.
File No. 28 (Email Log)
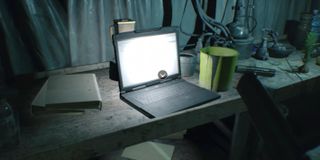
Head to the central area with a rounded northeastern side, a staircase and walkway that lead east, and two points on the south side. Take the walkway to the next room. Read the file on the laptop near the door.
File No. 29 (Infection Report)
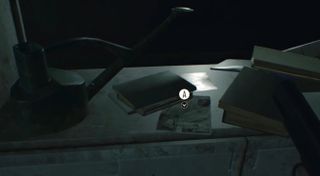
From the room with the laptop, head south into the room where the E-Necrotoxin is manufactured. The report sits on a shelf by some books.
File No. 30 (R&D Report 1 of 2)
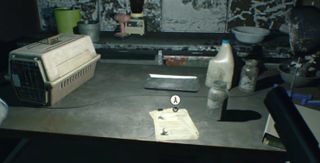
In the room where the E-Necrotoxin is manufactured, check the desk with the cat carrier for this file.
File No. 31 (R&D Report 2 of 2)
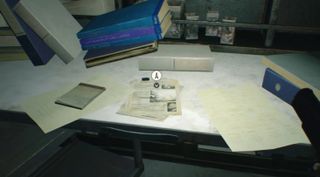
In the room where the E-Necrotoxin is manufactured, this report lies on a desk with lots of binders on it.
File No. 32 (E-Necrotoxin Document)
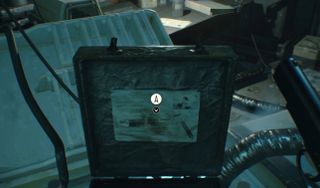
Open the case near the center of the room to find this important document.
That's the last file! If you're hunting down all the collectibles, you only have one Mr. Everywhere statue left to go before the end of the game.
Resident Evil 7: Biohazard is a game that fans of horror games won't want to miss. And because it's an Xbox Play Anywhere title, Windows 10 gamers won't have to miss out either.
For more help, check out our Achievement Guide and Mr. Everywhere Statues Guide You also don't want to miss our full review!
Paul Acevedo is the Games Editor at Windows Central. A lifelong gamer, he has written about videogames for over 15 years and reviewed over 350 games for our site. Follow him on Twitter @PaulRAcevedo. Don’t hate. Appreciate!
