PC water-cooling project part three: Completing 'the Leviathan'
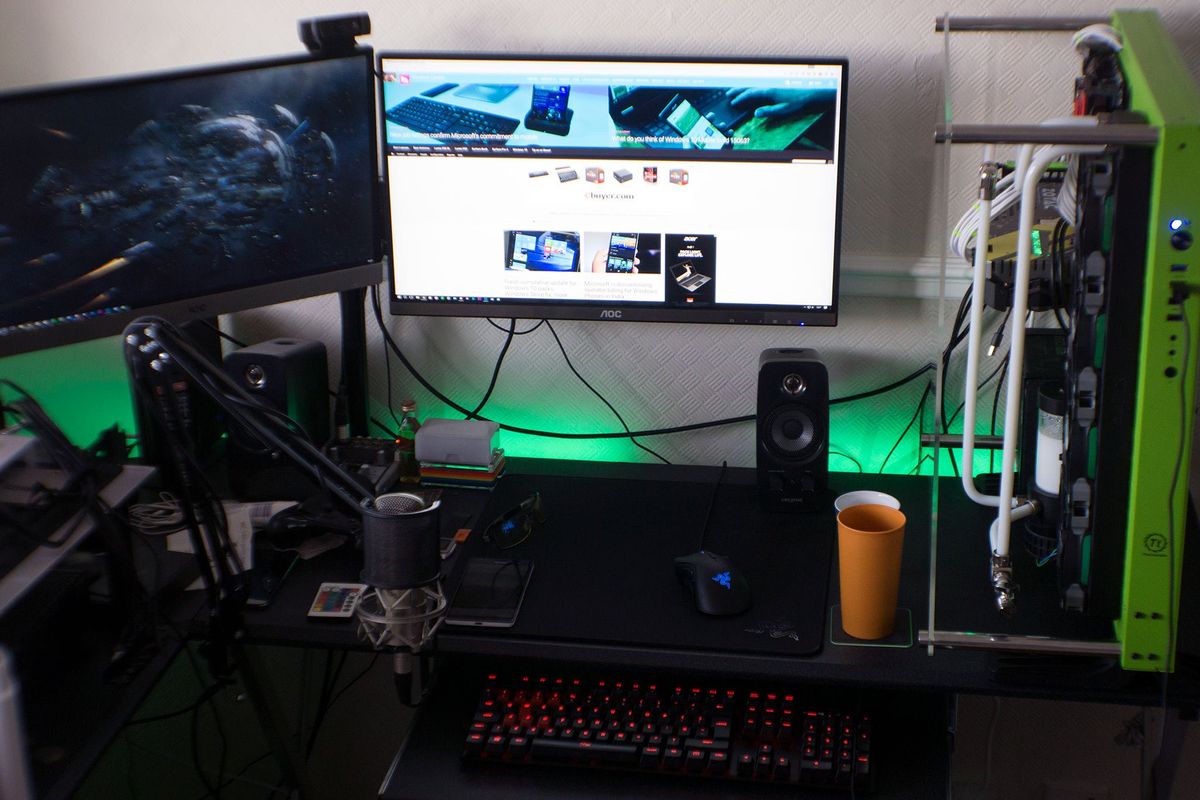
Our green beast is finally complete! No longer does the Core P5 case look barren. We finished our water-cooling setup, and we're pleased to present you with what we enthusiastically named "the Leviathan."
In case you missed out on parts one and two:
Putting everything together
This part of our water-cooling project was a relatively easy one, simply because everything clicked into place according to plan. All that we were required to do was install fittings onto the ends of all the tubing and hook everything up.
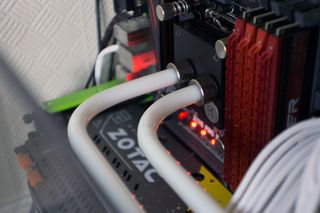
In the end, we opted to go from the pump straight up to the CPU block, then along to the 420-mm radiator, which finally returned cooled liquid to the reservoir. That sounds easy enough — and it was — but there was one issue with our grand plan. And it was something we failed to take into account.
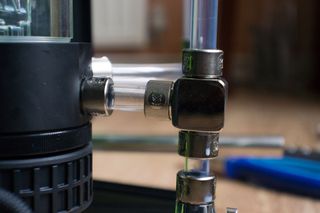
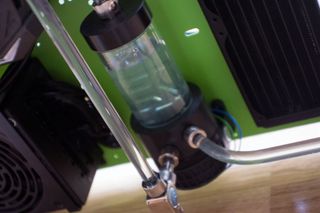
It turns out that the T-junction and stop valve weighed a fair amount when used in conjunction, which is exactly what we had in mind. As you can see in the photo above, both components were to be installed straight after the pump, using a small piece of PETG to connect them.
Unfortunately, that put unnecessary strain on the piece of plastic, which we didn't like one bit. It was a coincidence that we used a 90-degree fitting on the run to the CPU block, so there was no supporting structure in place.
An idea, which was selected as the best course of action, was to move the T-junction and valve between the reservoir and radiator, using both the tubing above from the radiator and to the left from the reservoir, as support. Mission accomplished.
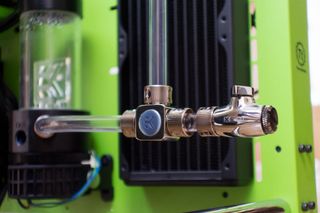
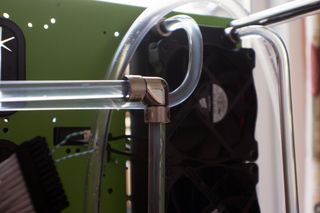
To our surprise, we found that all the tubing fit snuggly together with not a single piece (or angle) requiring small adjustments. Excluding the time it took to cut a new piece to fix the aforementioned issue, the entire process took about an hour.
Get the Windows Central Newsletter
All the latest news, reviews, and guides for Windows and Xbox diehards.
Sending through test subjects
Before plugging everything in and enjoying some Grand Theft Auto with a beastly overclocked Core i5, we needed to ensure that everything was sealed and all was well with the block, radiator and pump when under pressure.
We utilized a paper clip in pins four to five of the main ATX plug (live green and grounded black) to turn on the PSU without plugging in the motherboard, and we carefully filled up the reservoir with distilled water until it was full, cycled the pump until the level dropped, turned off the PSU and repeated until the system was full. We then left the loop for seven to eight hours.
After we were sure the system was tight enough for a live test, we drained it using the newly-placed bleed valve. The clear distilled water had a color tint to it — and that's after each component was flushed numerous times — so remember to flush your system prior to use!
Injecting some color
For cooling performance, we opted to grab Mayhem's white pastel solution. This offers solid features with regards to anti-corrosion and protection from unwanted stuff from growing inside the loop while also looking awesome against the green-and-black color scheme.
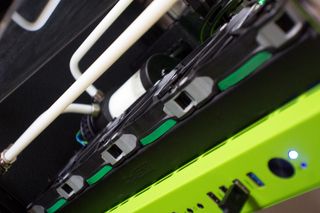
Because we had four Corsair fans ready to go, we opted to pick up some green spray paint and recolor the rings from red (blue and white are also included) to match the case. The result was good.
For those of you who are interested in the finished result, here's the Leviathan in action:


Progress in our PC water-cooling project

Rich Edmonds was formerly a Senior Editor of PC hardware at Windows Central, covering everything related to PC components and NAS. He's been involved in technology for more than a decade and knows a thing or two about the magic inside a PC chassis. You can follow him on Twitter at @RichEdmonds.