Monster Hunter World Guide: How to kill Fatalis, best armor, weapons, counters, and combat tactics
Welcome to our ultimate guide for slaying the big bad of Monster Hunter: World, Fatalis.
Update Dec 6, 2020: Removed the PSA regarding the limited availability for the Fatalis Event Quest. Capcom has changed it and it is now available indefinitely until further notice, so long as you have an internet connection.
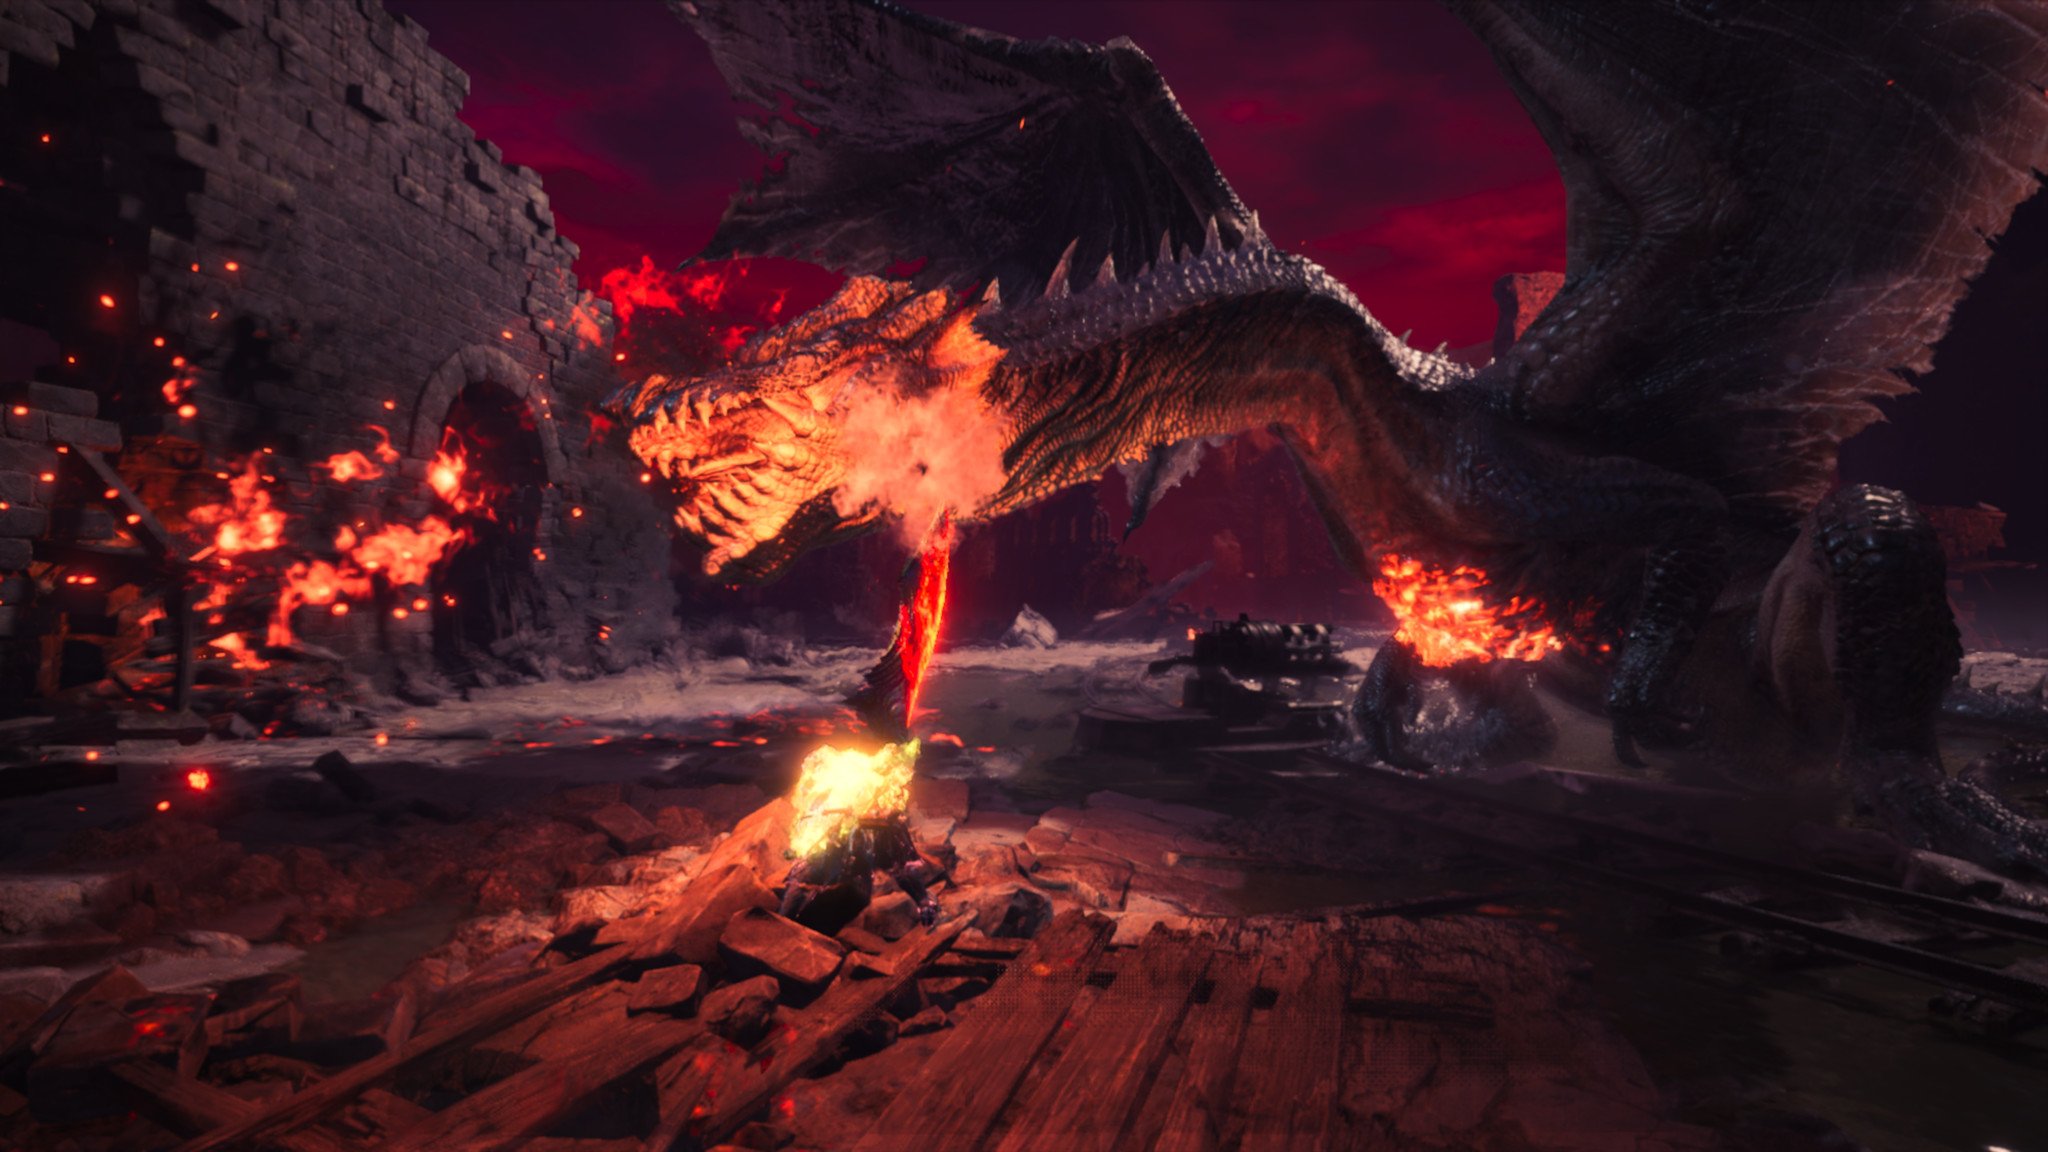
On October 1 2020, Capcom brought back one of the toughest beasts in Monster Hunter's storied bestiary for Monster Hunter World: Iceborne's final title update, Fatalis. This black dragon has been apart of the series since the original Monster Hunter, back on the PS2, and now it's going to be in full 4K 60 frames per second glory on the Xbox Series X. It has shown up in various titles since then as a post-game boss. Now it has returned, ready to terrorize a new generation of monster hunters.
It is without a doubt the hardest boss fight in all of Monster Hunter: World. It puts previous boss fights like Alatreon, Extreme Behemoth, and even the Ancient Leshen to shame.
Nearly all of its attacks have a massive range and can kill you in one hit, it's extremely fast and aggressive, with soft DPS checks, and you have a 30-minute time limit.
It even goes as far as forcing the player to fight the 1st phase solo. A literal trial by fire to determine the player's skill level. To top it off, you have to fight a weakened version of Alatreon first in the Fatalis quest chain before fighting Fatalis proper.
This is a fight that demands gear optimization, a full understanding of dodge roll Invincibility-frames, learning when to attack and not being greedy, and taking full advantage of your mantles and the environment.
As someone who spent 1800 hours on this game, even I had trouble dealing with Fatalis. Hopefully, this guide will provide insight on how to slay this Smaug-wannabe yourself. This is mostly from a solo player's perspective but these tips will apply in multiplayer too.
Get the Windows Central Newsletter
All the latest news, reviews, and guides for Windows and Xbox diehards.

One of the best action RPGs of the gen
Monster Hunter World: Iceborne adds piles of new content to Monster Hunter: World, expanding it with new creatures, entire areas, and new story beats.
Preparation
Let's take a look at Fatalis' stats and vitals so we know what we're up against.
Fatalis stats:
- Completely immune to the KO status and being blinded with flashpods.
- Heavily resistant against all other status effects, meaning you would only be able to proc them once during the hunt. Twice if you're really lucky.
- When it comes to elemental resistances, Fatalis is strong against Water and Thunder, somewhat weak to Ice and Fire, and is very weak to Dragon.
- His major weak spots are the head and chest, his legs and wings are mediocre weak spots. You should avoid the tail. It is extremely tough and it can't be cut.
- His attacks consist of bites, charges, body slams, and setting the world ablaze. We'll add more detail below.
- Using Dragon Pod slinger ammo can flinch Fatalis every two hits. Guaranteed. This can be a lifesaver in multiplayer.
- You have a 30-minute time limit and have 5 extra lives by default in the Special Assignment (which increases to seven if you eat for Felyne Safeguard and Insurance).
Now that we know what his skills are, it's time to make our builds. Here are some armor skills to keep in mind when making your build.
Recommended offensive armor skills
- Attack up to boost your attack.
- Critical Eye to increase your affinity which gives you a higher chance to get a Critical Hit.
- Critical Boost to increase the damage Critical Hits do.
- Maximum Might to increase your affinity when your stamina gauge is full. (Which can be strengthened via Maximum Might Secret set bonus)
- Crit Draw to increase your affinity when you do a unsheathe attack with your weapon.
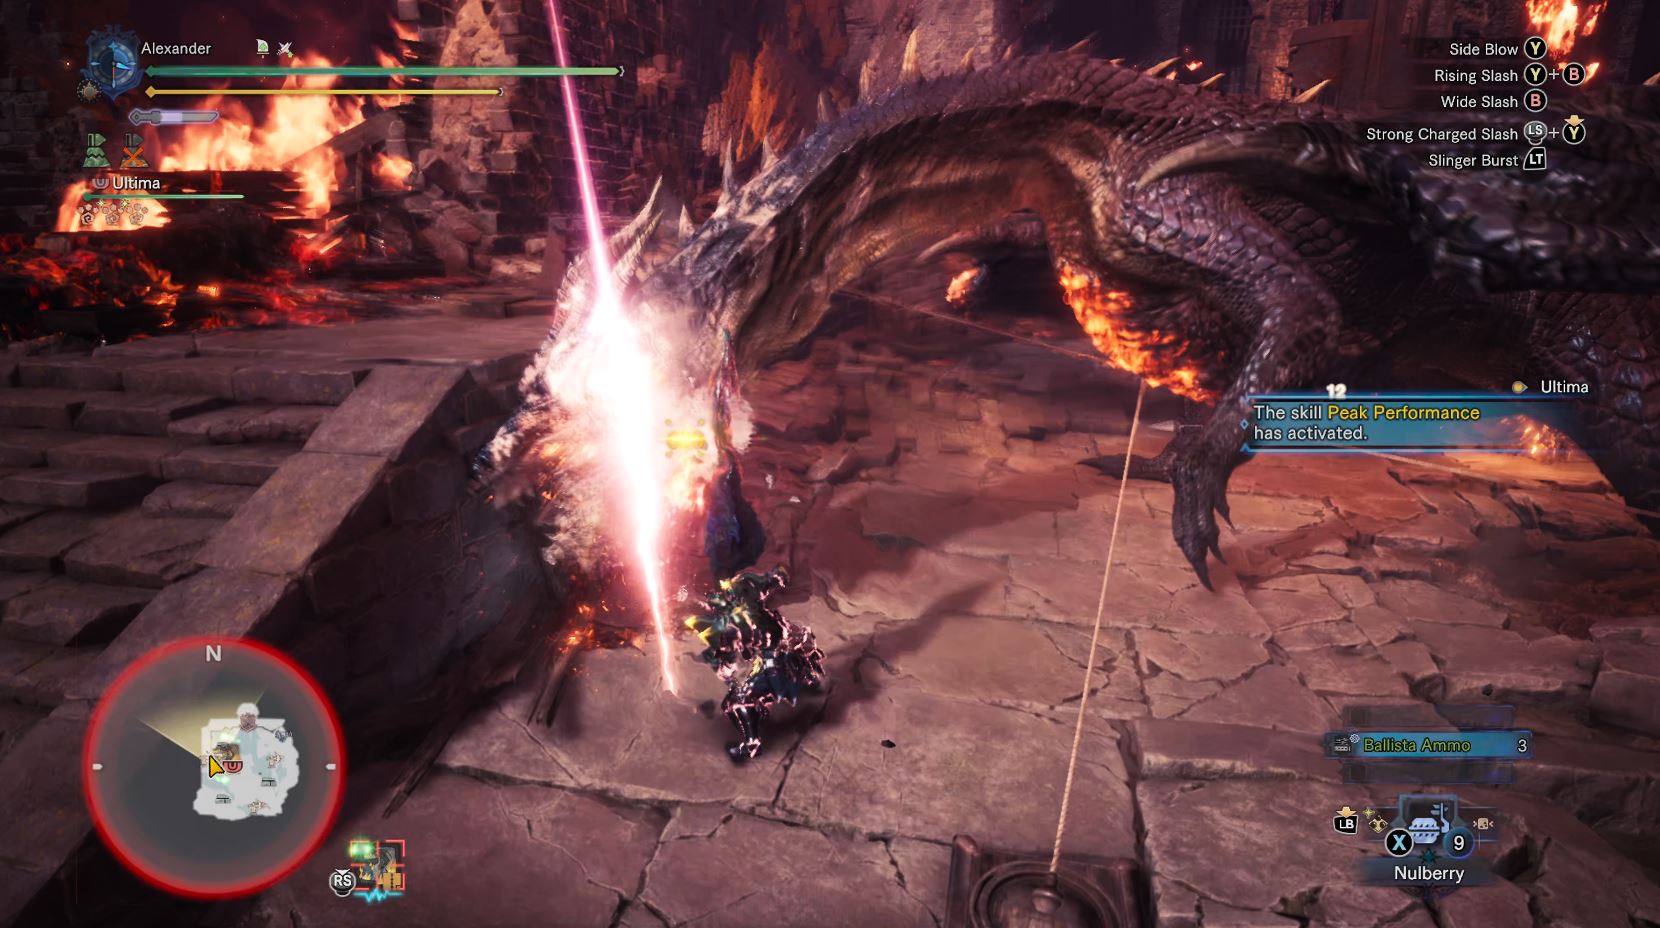
- Peak Performance which increases damage when at max HP.
- Agitator increases damage and critical hit chance when a monster gets Enraged. (Which can be strengthened via Agitator Secret set bonus).
- Artillery to increase the fixed damage of Gunlance shells and Sticky Ammo for Bowguns. (Which can be strengthened via Artillery Secret set bonus).
- Clutch Claw Boost so you can tenderize weak spots in one Clutch Attack with light weapons.
- Heavy Artillery to increase the damage of all the siege equipment (it also works for the Roaming Ballistae and Dragonator even though it doesn't say it).
- Partbreaker to break body parts faster, the importance of which I will get later.
- Slinger Capacity to increase the amount of slinger ammo for flinch shots and for weapons that incorporate slinger ammo into their movesets. (Which can be strengthened via Slinger Capacity Secret bonuses).
- Dragon Attack to increase the damage of Dragon Elemental weapons since Fatalis is weak to Dragon Element.
- Crit Element or True Crit Element to increase the elemental damage of weapons whenever they do a Critical Hit.
- Spare Shot/True Spare Shot which has a random chance to preserve a bullet when firing Bowgun ammo.
- Frostcraft is a unique skill on Velkhana's armor. A meter is shown beneath your health bar. The larger it is, the more damage your attacks do. The meter goes down with every strike. Best paired with Crit Draw. Be warned, this armor set can lower your fire resistance, which is critical in this fight.
- Special Ammo Boost to increase the damage of Bowgun special ammo and increase the damage of Bow's Thousand Dragons and Dragon Piercer attack.
- Power Prolonger to increase the duration of powered up states for Dual Blades, Switch Axes, Insect Glaive, Charge Blade and Longsword.
- Focus to decrease the charge time for charge up attacks and decrease the cooldown of Bowgun special ammo.
- Spread, Pierce, and Normal Shot to increase the damage of each respective ammo type.
- Free Element/Ammo Up to unlock a melee weapon's hidden element or increase ammo clip size for bowguns.
Recommended defensive armor skills
- Health Boost to increase your max HP.
- Divine Blessing which has a random chance of reducing damage when you get hit. (Which can be strengthened via Divine Blessing Secret bonuses).
- Fire Resistance is essential in this fight to decrease fire damage for Fatalis' various flame breath attacks.
- Earplugs so you don't get stunned when Fatalis roars,
- Evade Window to increase the number of invincibility frames when dodge rolling. For those who don't know, invincibility frames are split-second frames of a dodge animation where you are invincible. So, with proper timing, you can potentially dodge into enemy attacks instead of away, without getting hurt to close the distance. Though they are only active at the beginning of the roll. Also, some enemy attacks can't be dodged because their attack hitbox animation lingers longer than your invincibility frames. Other attacks that can't be dodged include damage over time floor texture attacks like lava pools, and some are MMO-style check attacks that can one shot the team no matter what, unless line of sighted for example. For most of Fatalis' swipes and short-duration attacks, using invincibility frames is an option.
- Evade Extender to increase the distance of your dodge roll.
- Fortify which increases your attack and def stats by a percentage when you faint up to two times (which is a viable option since you have many lives to work with, and even the best players will probably die in this fight).
- Tool Specialist to decrease the cooldown on your mantles.
- Guard to increase the strength of your shield when blocking and Guard Up to block unblockable attacks. Be warned, though, Fatalis does so much chip damage when blocking. This can potentially blockstun you to death. So, I feel these two skills are most viable for Lance. Since they have counter moves which can bypass a lot blockstun.
- Guardian Attack which increases your attack power if block an attack at the last second. Again, most viable for Lance.
Don't forget to fully augment your weapons and armor at the blacksmith.
Fatalis can be taken down with both melee and ranged weapons. Which weapon build you choose is up to you.
Build advice
They could be Crit Draw-Frostcraft Greatsword builds for hit and run-style tactics. Slinger Capacity-Long Shelling Gunlance builds, which increase Wyvern Stake Blast duration. Even Tool Specialist Switch Axe builds, which reduce the cooldown on your mantles so you can abuse the Switch Axe's Sword Mode attack, where you stab into a monster to do an explosion whilst wearing the Rocksteady or Temporal mantles to prevent you from being knocked off. You can look up online or on YouTube for more information on how some of these meta builds run.
The build I ran when I first fought Fatalis was a Sticky Ammo focused, Light Bowgun build. It was a mixed armor set of Nargacuga and Zorah Magdaros. It incorporated True Spare Shot, Artillery, Health Boost, Evade Window, Evade Extender, Peak Performance, Fire Resistance, Divine Blessing, Partbreaker and Fortify. I also custom modded my gun with Evade Reload to reload while dodging, and Recoil reduction so I could move and shoot.
This allowed me to shoot Fatalis without tenderizing him. This is because Sticky Ammo does a fixed amount of damage, no matter what body part it's stuck onto. This build also gave me a ton of incinvibility frames (I-frames) to my Evade Reload rolls.
Granted this build is possible thanks to the Safi'Jiva 'Aquashot' Light Bowgun (LBG). Safi'Jiva weapons can upgraded with a point towards an armor set bonus, so you don't need all armor pieces to activate it. However, not everyone has access to these weapons due to the RNG nature of acquiring Safi'Jiva weapons and Safi'Jiva himself only shows up every two weeks before switching to Kulve Taroth.
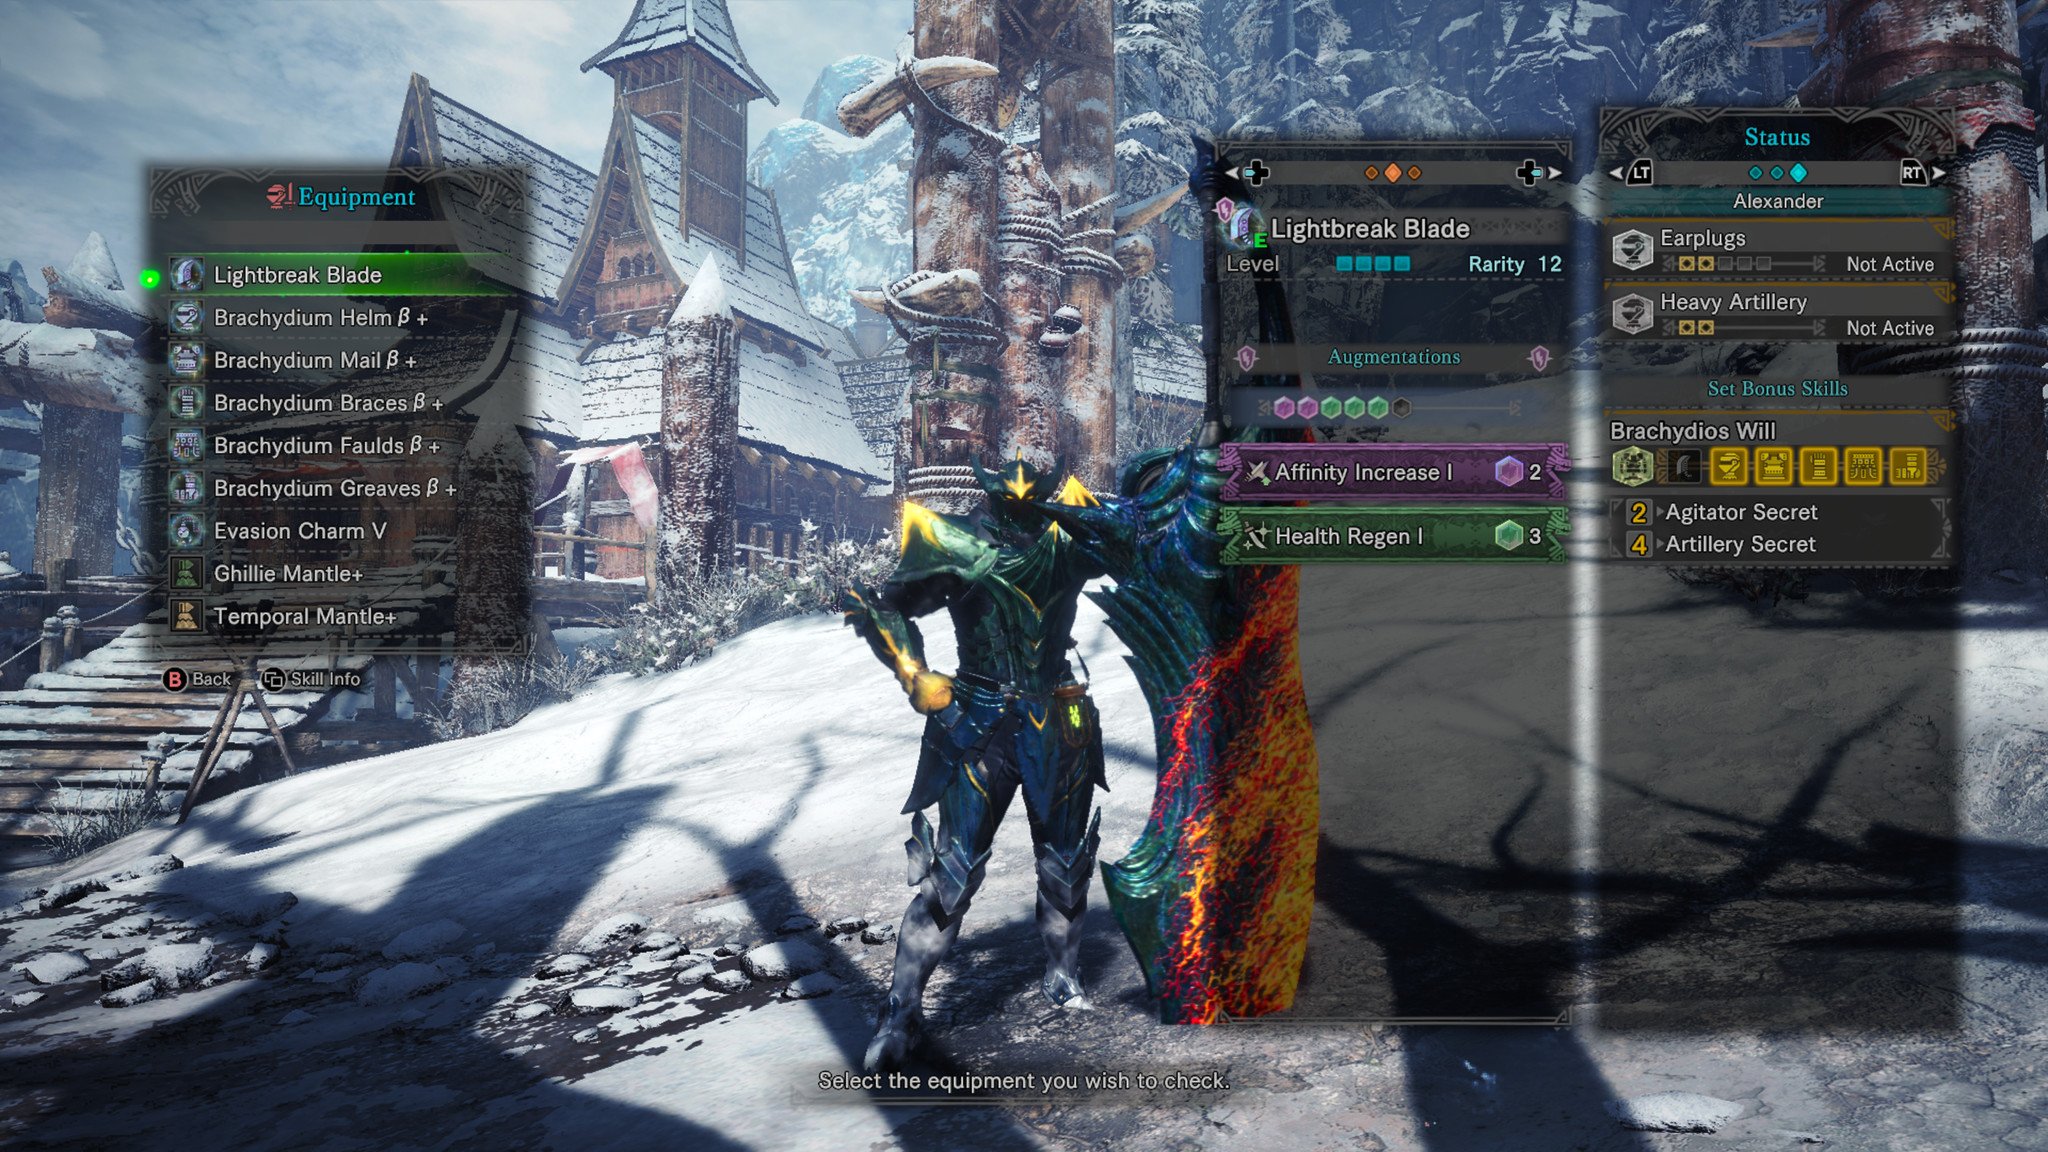
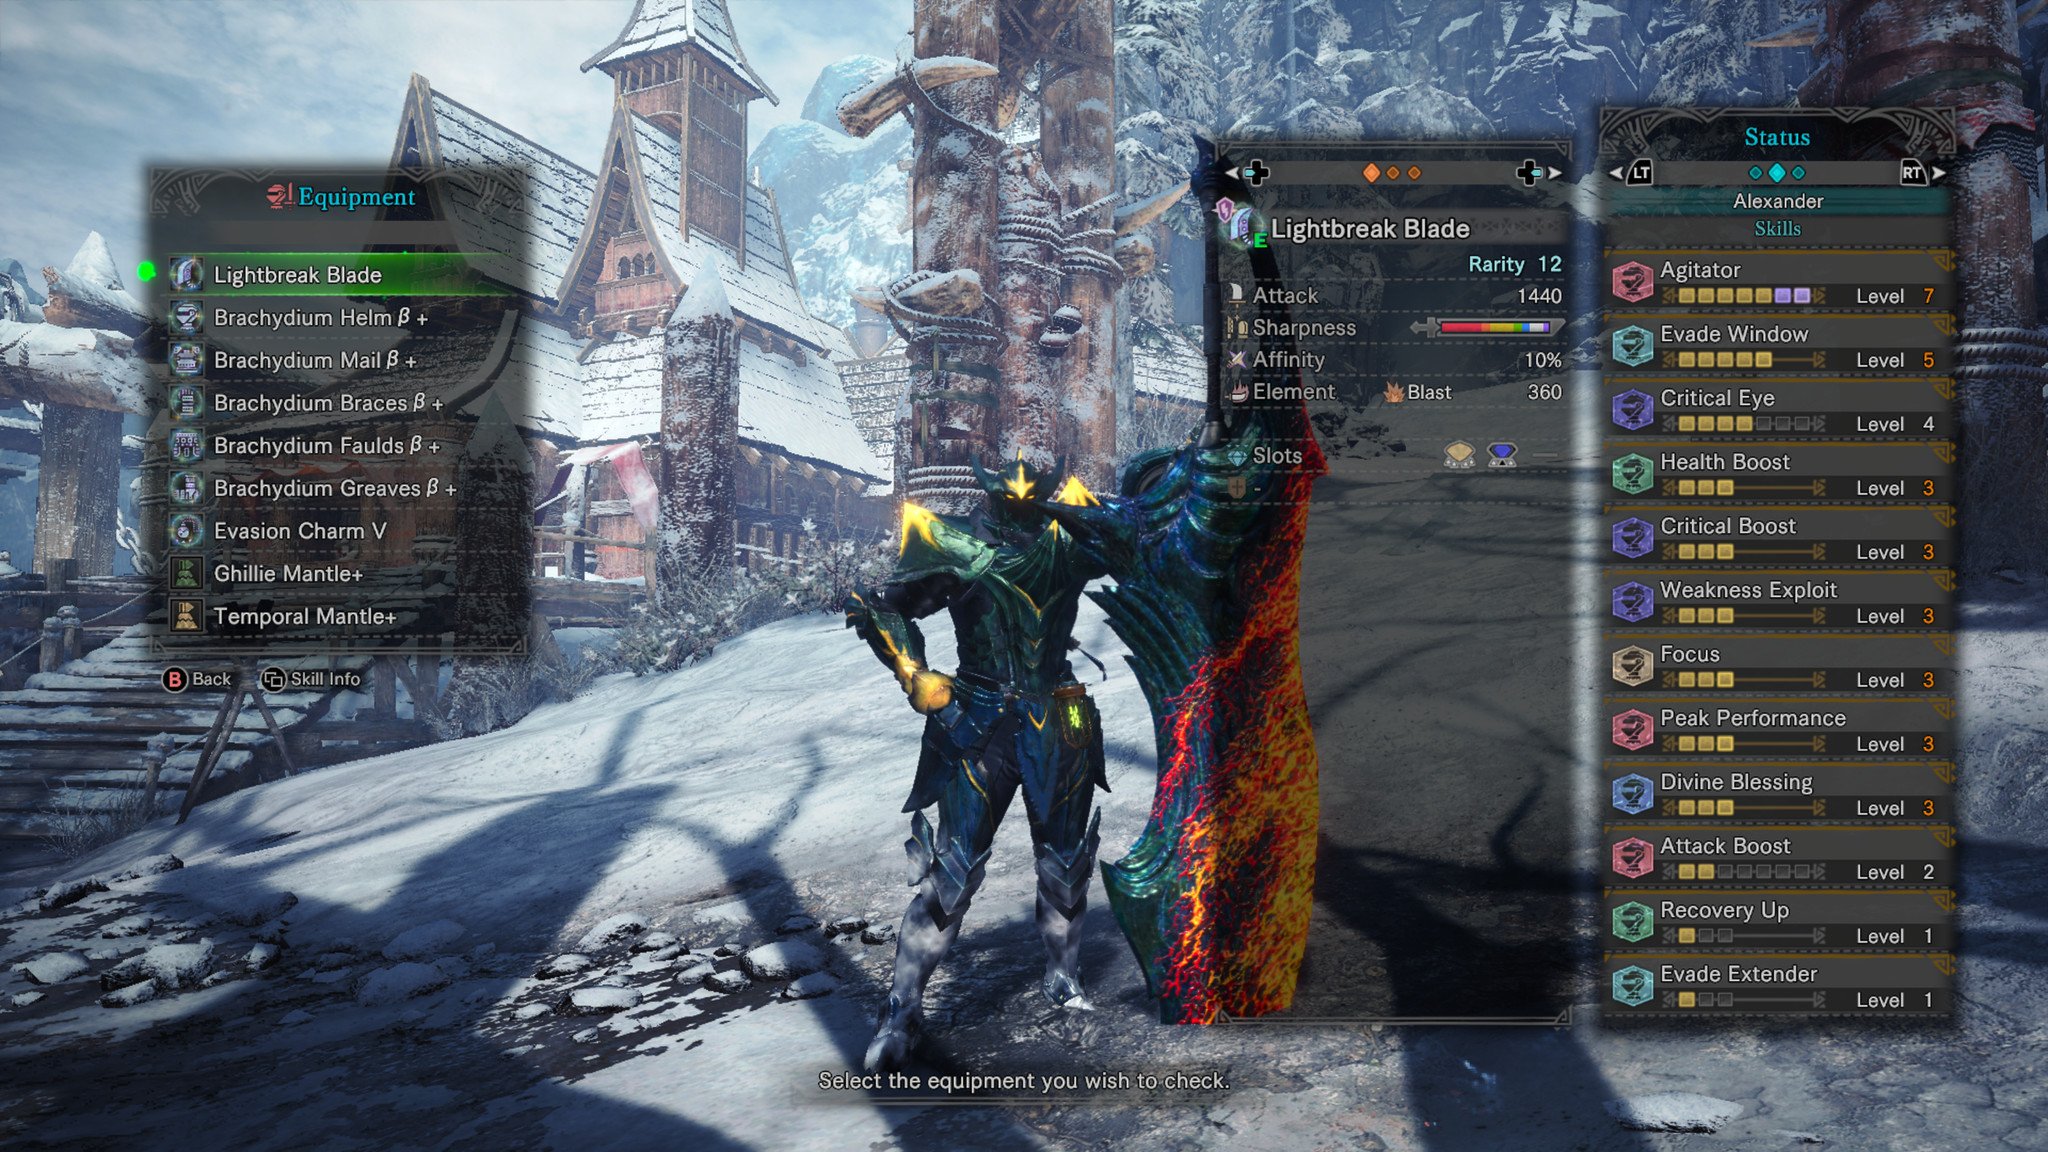
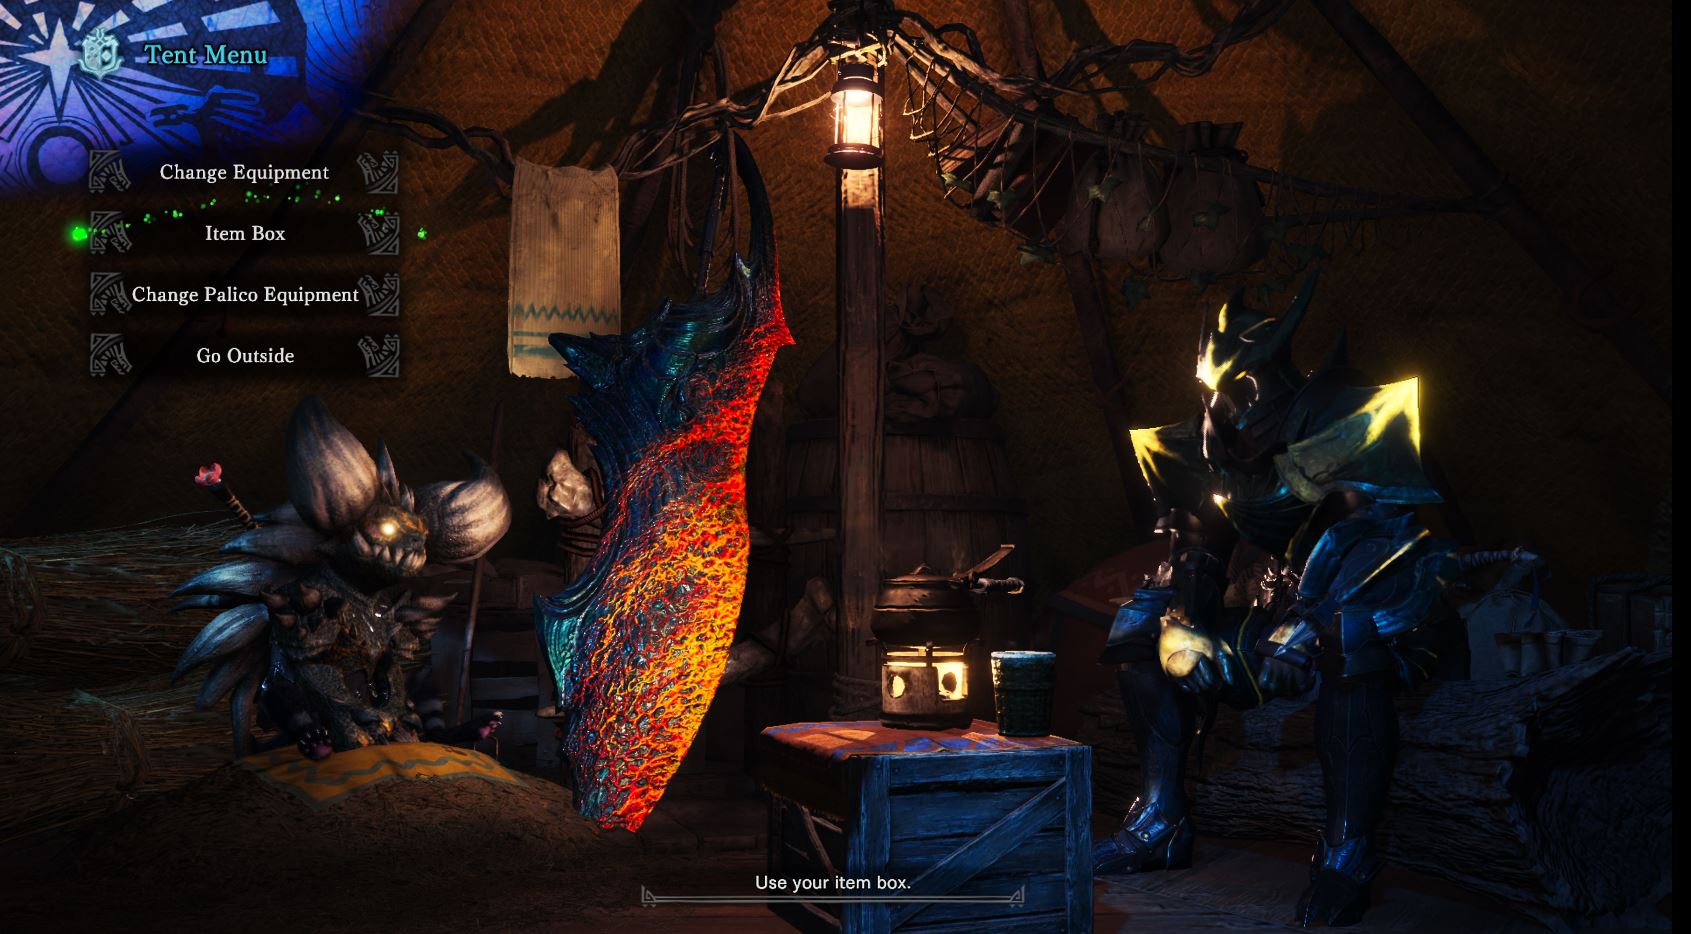
Source: Windows CentralThe budget build we used for this guide.
So, if I didn't have access to that. I would have made a mixed set of Zorah Magdaros and Golden Rathian armor. I had access to the Artillery Secret and Divine Blessing Secret set bonuses. Also, I would have used the 'Rajang Barrage' Light Bowgun as an alternative for Sticky Ammo LBGs.
If you don't have access to any online exclusive gear or don't know where to start. I would recommend Raging Brachydios gear. His armor set is pretty well rounded with armor skills, decoration slots, natural fire resistance and his weapons are pretty strong in Raw damage with Blastblight as a bonus. Silver Rathalos armor paired with dragon weapons is also a decent budget choice due to Silver's True Critical Element set bonus.
Now if you don't have the armor skill decorations to make the builds you want, you're going have to grind for them in Event Quests or Tempered Monster investigations. Sometimes you need to grind for victory.
Tools and consumables
- Rocksteady Mantle to reduce damage and gain immunity to hitstun except hard knockdowns, and immunity to roars.
- Temporal Mantle to automatically dodge attacks, except minor flinches and damage over time attacks (duration decreases every time you get hit).
- Ghillie Mantle to temporally escape the monster's sight to catch a break to heal and arm the siege weapons.
- Fireproof Mantle to reduce fire damage.
- Evasion Mantle which grants extra invincibility frames when dodging rolling and provides an attack boost when you successfully dodge an attack.
- Glider Mantle to fit in extra armor skills. You also gain the ability to glide and a higher chance to mount the monster with aerial attacks.
I recommend cycling between when you are at camp if they are on cooldown. Provided you have the time to do so.
As for items to bring with you into battle, I would recommend the following, if you can fit them in:
- Mega Potions, Max Potions, and Ancient Potions for healing.
- Dash Juice to reduce Stamina usage.
- Nulberries to cure Fireblight.
- Mega Barrel bombs for extra damage.
- Farcasters to fast travel back to camp to resupply or to get out of a tight spot (except during the Scorched Earth attacks).
- Smokebombs to hide out of sight in times when the Ghillie Mantle is on cooldown.
- Crafting materials make more Bowgun ammo/Bow Coatings in battle. You can also bring crafting materials to make healing items.
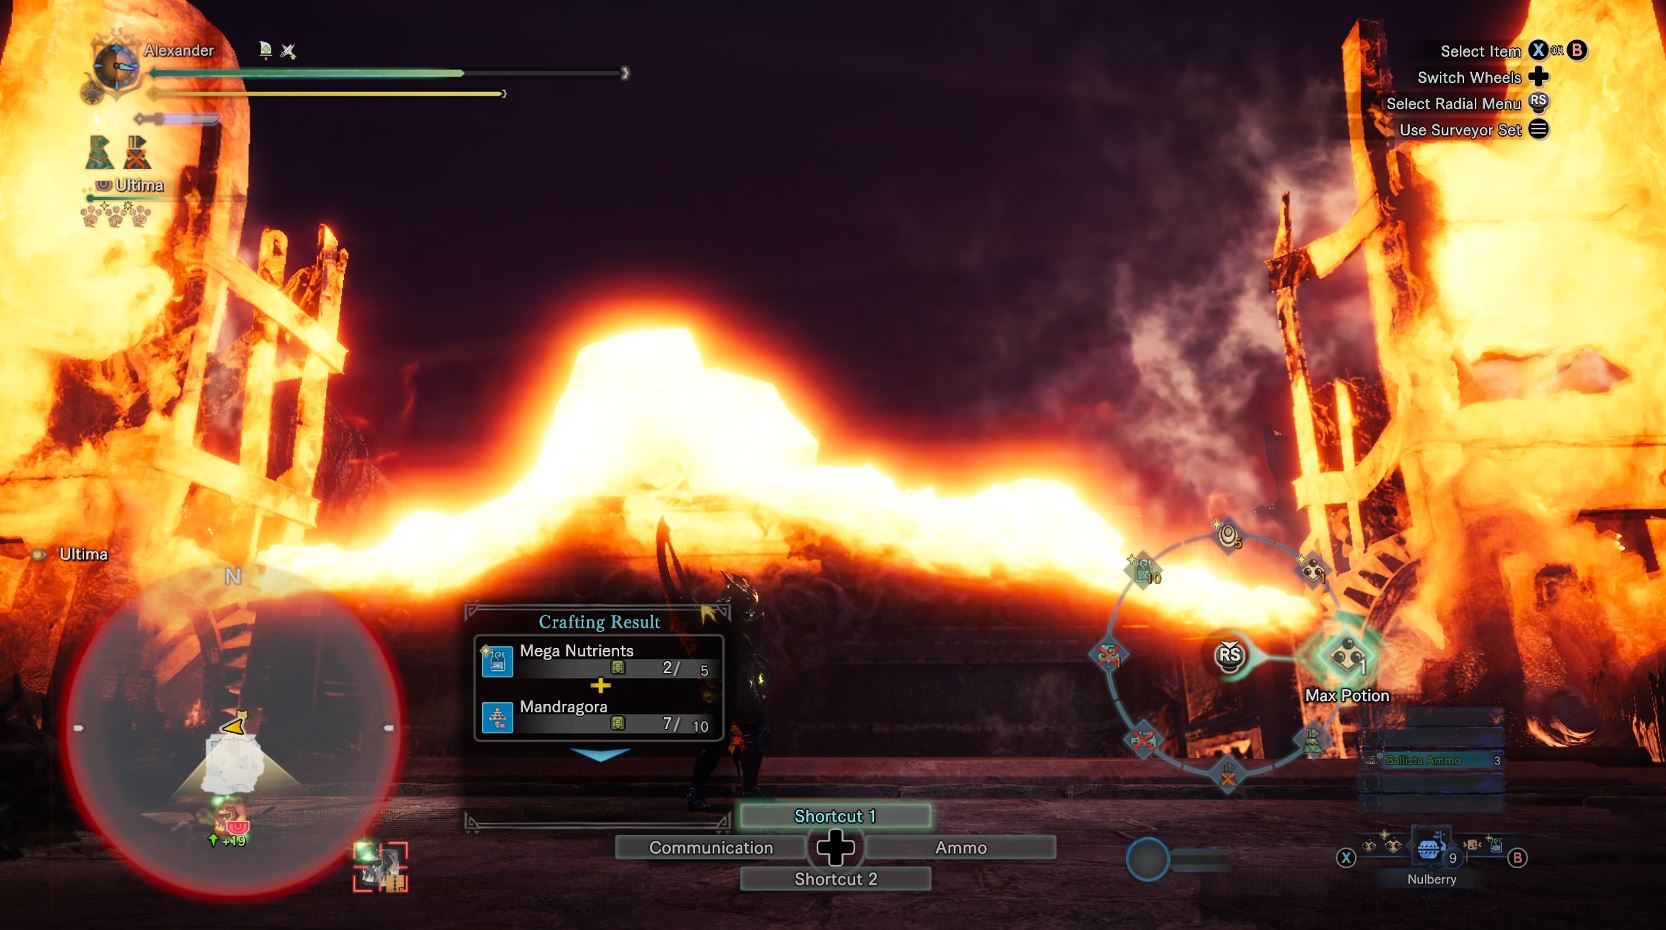
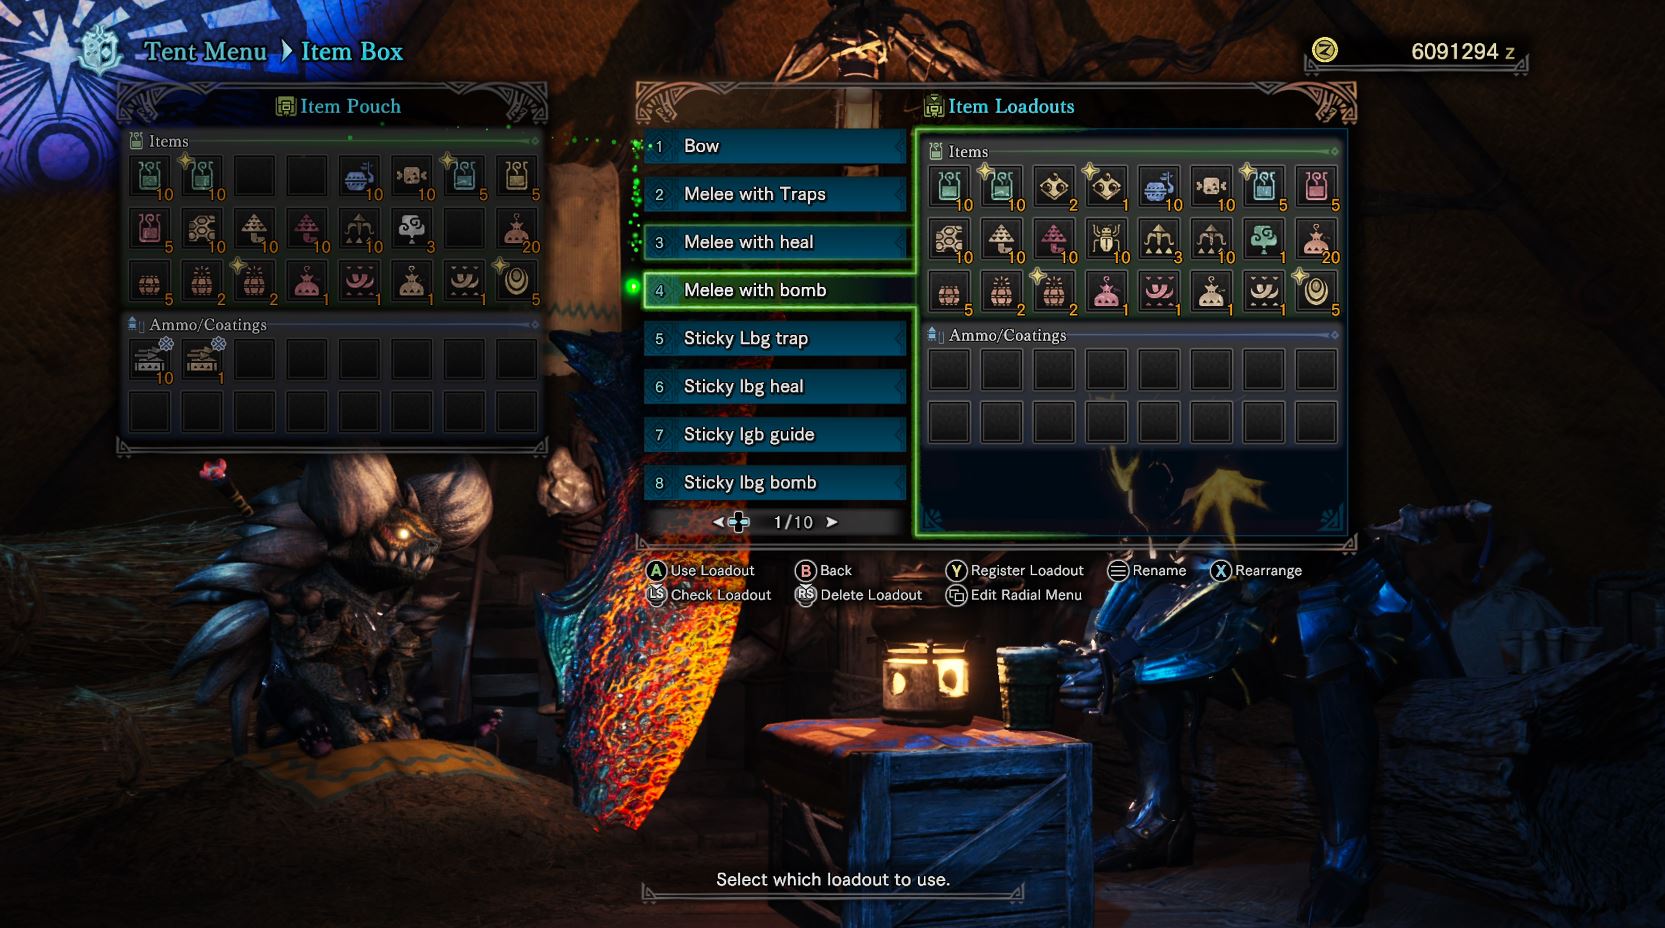
Be sure to assign your radial menus with item craft macros and item loadouts at camp. They will make item management so much easier. If you are hard-pressed for items, you can farm them at the Botanical Garden and Steamworks.
Now for your Palico if you're playing solo or duos. Equip your Palico with the strongest armor so he can take a couple of hits before fainting. For weapons, I would equip him with a status effect weapon so they could proc later on in the fight.
Some of the Palico Gadgets can be a major help in the fight, depending on which one you use:
- Meawlatov Cocktail allows the Palico do damage via bombs, catapults and giant firecrackers.
- Vigorwasp Spray lets the Palico heal the player in a jam and even revive them once per hunt.
- Coral Orchestra lets the Palico buff the player with various status protections and stat boosts.
- Shieldspire by far is the most useful in the Palico's utility belt. It allows the Palico to draw the monster's attention away from the player. The gadget can also summon the Shieldspire Stooge, a training dummy which can also attention away. This pairs really well with Sticky Ammo Bowgun and Long Shelling Gunlance builds.
- Plunderblade can stealing materials from the monster to help you farm for his gear.
Finally, before going into battle. Make sure you eat at Canteen for:
- Elemental Resistances.
- Felyne Moxie which preserves you with 1HP from an attack that would've killed you in one hit.
- Felyne Insurance to provide you with an extra life.
- Felyne Safeguard to provide you with an extra life (it stacks with Felyne Insurance).
- Felyne Bombardier to increase shelling and Sticky ammo damage.
You can use Gourmet Vouchers to guarantee activating the food buffs. Grab these from the steamworks in Seliana.
Now that preparations are complete, let's get to work.
The Hunt
Fatalis Phase 1
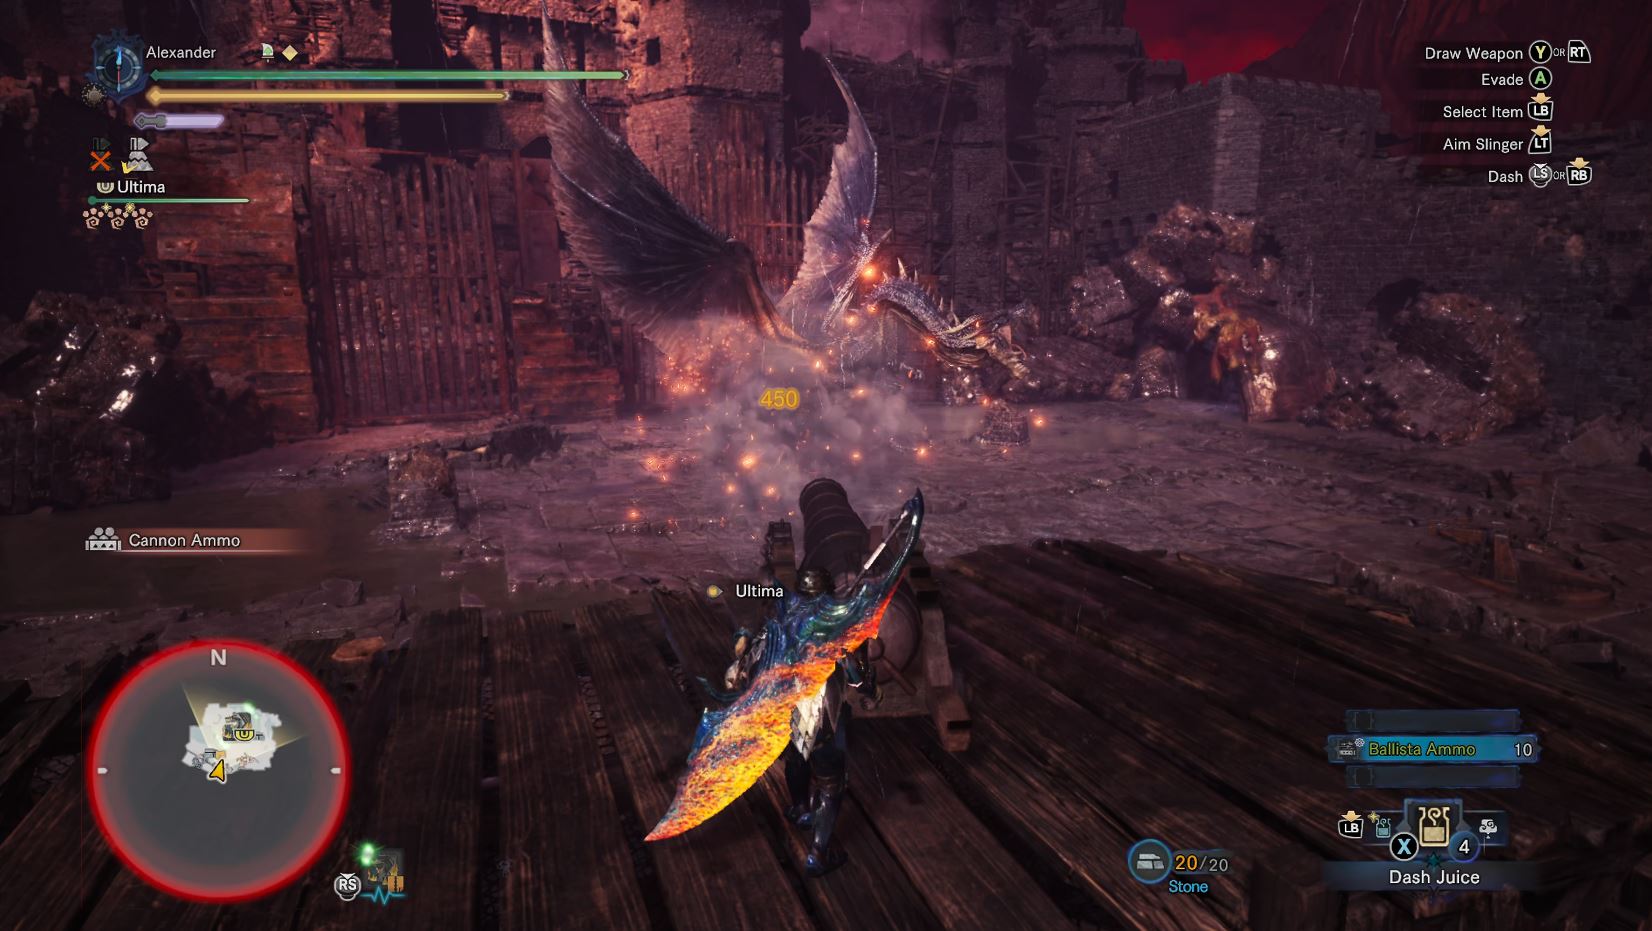
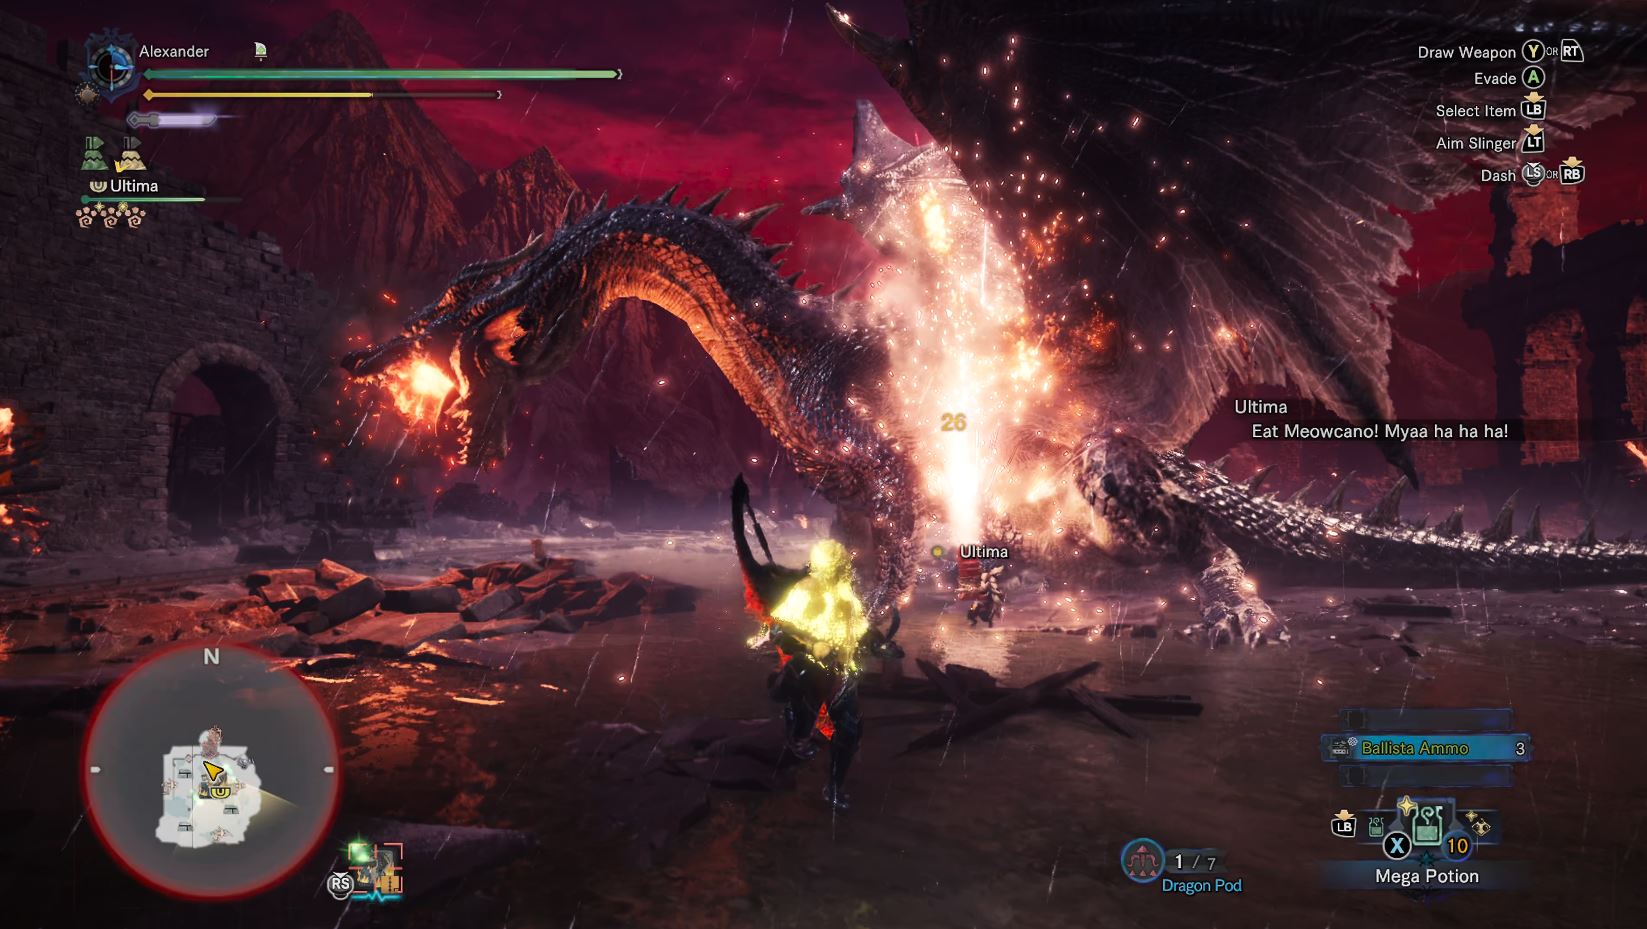
As stated in the cutscenes, Castle Schrade has a ton of siege equipment to fight Fatalis. Siege weapons can cause Fatalis to fall over and provide HUGE openings for damage. Provided you hit him in the chest with them.
In the first phase, we have access to a platform with two cannons on it and a ballista next to it. So, we need to take advantage of these to get a head start.
To start things off, I would recommend putting on the Ghillie Mantle. With the Ghillie Mantle, Fatalis won't be able to see you. During this stealth state, load the cannons at the back of the arena. If you're doing the solo part of this quest, don't worry about the A-Lister NPC. His presence won't cause Fatalis to notice you with the Ghillie Mantle on. Though his presence will make aiming the cannons trickier due to him drawing Fatalis' ire.
Once you have finished loading and aiming the cannons, you may fire when ready. If he doesn't go down from the cannon fire, use the ballista on his chest to finish the job. Use this opening to get in a good number of hits on his head. Once Fatalis gets back up, the actual fight begins.
Fatalis has wide variety of moves and different ways of using his flame breath:
- Shooting regular fireballs from a distance.
- A charge up fireball attack, which explodes so hard, it sends Fatalis flying into the sky. Which he follows up by divebombing back to the ground.
- A flame breath that makes Fatalis' head recoil and sweep the area in flame arc, like an out of control firehose. The further you are away, the harder it is to avoid.
- Fatalis gets down on his legs and wings to unleash a huge cone-shaped fire breath. The camera zooms back to let you know when it's about to happen, and it lasts too long to be avoided with regular dodging, so run close to him to avoid it, or Superman Dive if you're too far away. The broken pillars can protect you from this attack. This attack channels for a while, so if you can get alongside him, you can damage his head. Don't stay for too long though, Fatalis will leave an explosive lava pool once he finishes.
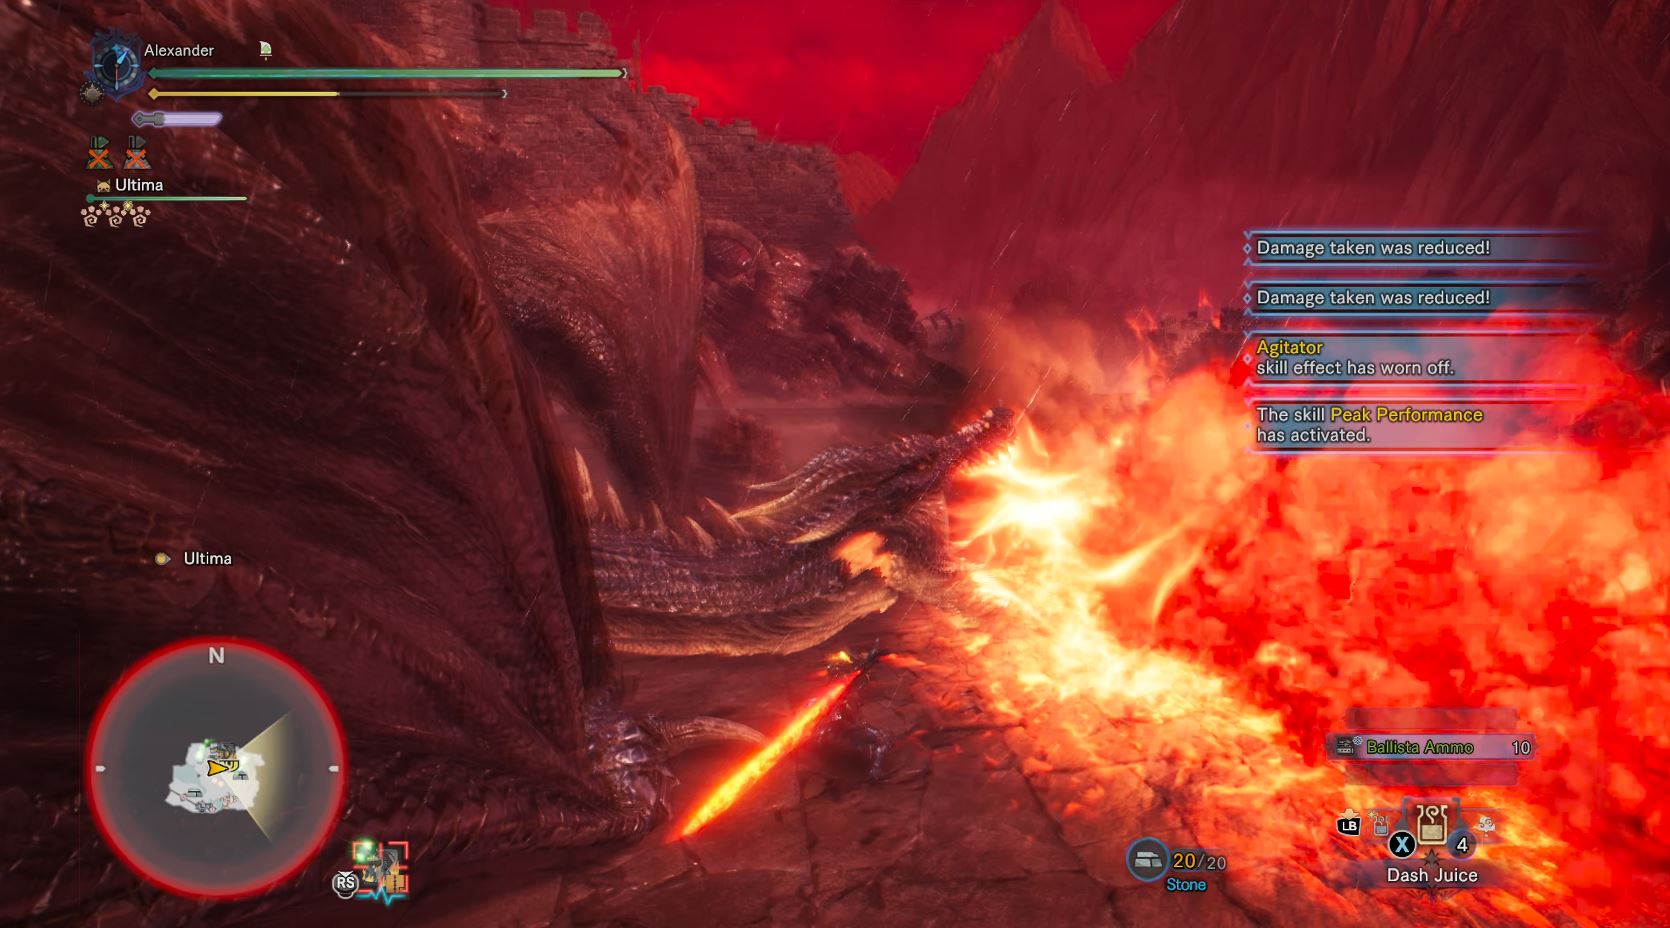
- Fatalis can point his head directly to the floor for a damage-over-time floor-based fire attack. Similar to Kulve Taroth, this cannot be avoided with regular i-frames, but you can use the Superman Dive (details below).
- He can plant lava pools which explode after a few seconds.
- Bite attacks that sometimes he combos into.
- Devastating, area sweeping tail attacks if you stay behind Fatalis for too long.
- He can slap you or body slam you if you stay too long to his chest.
- A charging bite attack where he uses his wings to crawl around. Similar to Tigrex.
A lot of his shorter attacks can be I-framed with enough points in Evade Window and proper timing. The Superman Dive is also an option in case you get cornered. For those who don't know — when you sprint directly away with your back turned to the monster with your weapon sheathed, press the dodge button to do a massive dive. You are completely invincible for the duration. However, you are open to attack while getting back up. So, use it carefully.
There are also two stances you need to be aware of. 'Two Legged' where he is standing on his hind legs and 'Four Legged' where he's crawling on all fours.
'Two Legged' has his head high up, making it harder to hit for melee users. There are two ways you can force him to switch his stances.
- Damaging his chest with your weapons will cause Fatalis to body slam into 'Four Legged' stance. Make sure you get out of the way when this happens. Otherwise, you will get squashed and pinned down.
- Flinch Shotting into Fatalis' head with the Clutch Claw will cause Fatalis to fall on all fours.
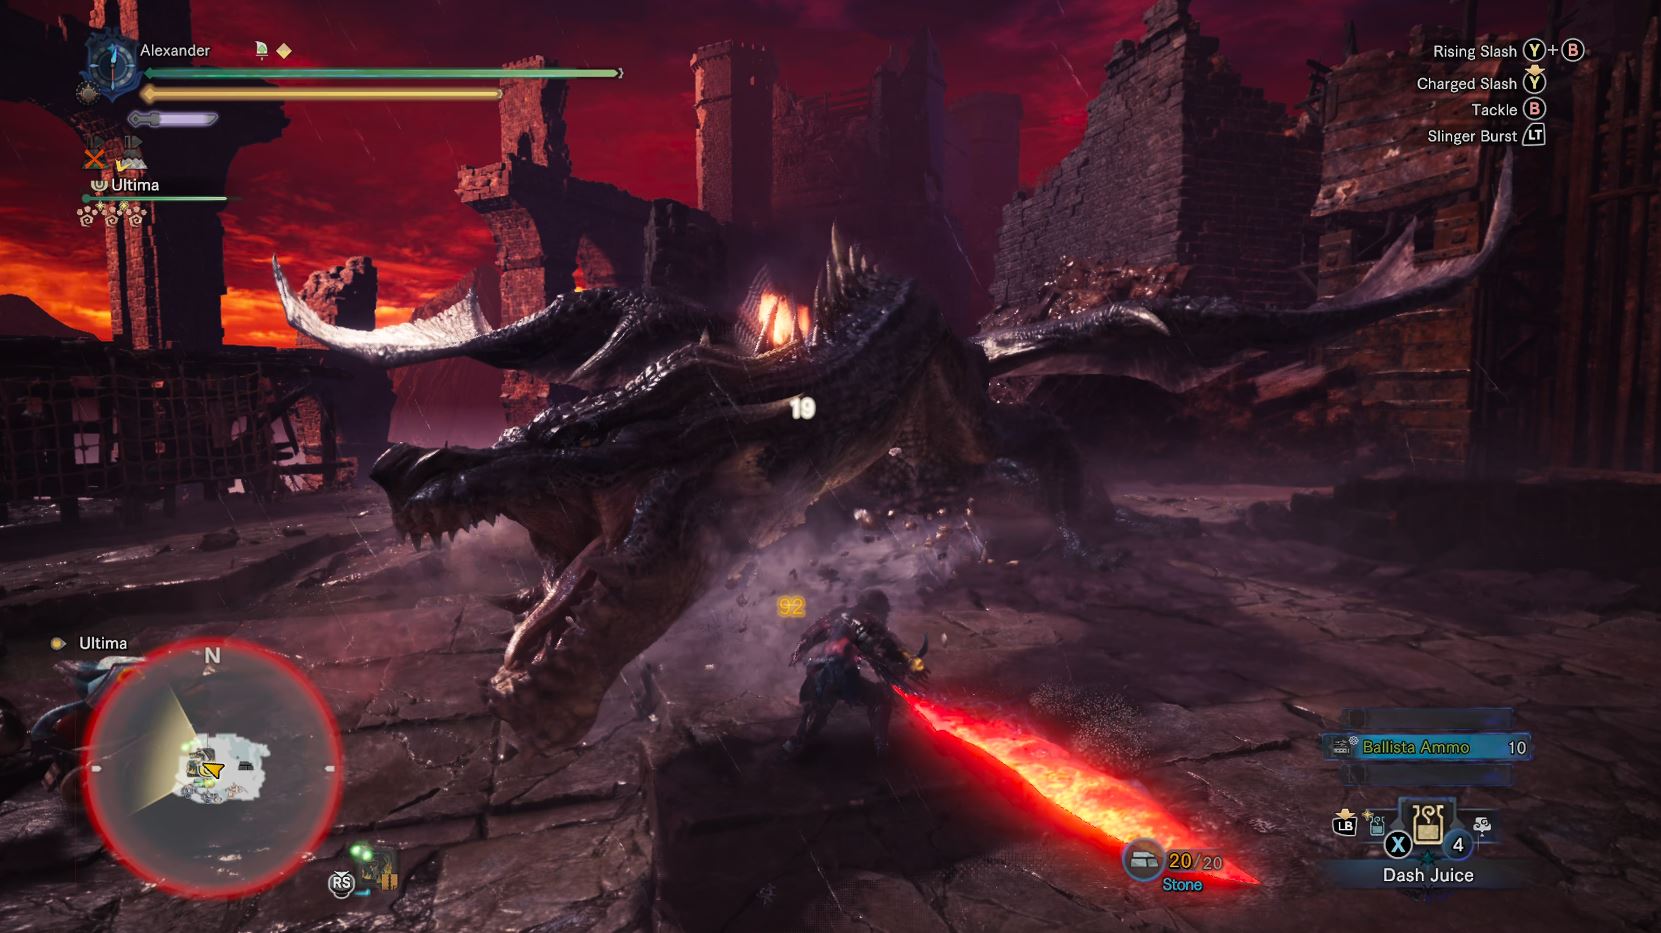
In 'Four Legged' stance, his head will be lower to the ground for melee users to hit. Also, you can Flinch Shot Fatalis into walls for massive damage (provided he's not enraged). In the solo portion, the A-Lister can bind Fatalis if you flinch him. Giving you a nice opening for damage.
For ranged users, I would recommend spending only a few rounds of status effect ammo in the 1st phase. This way, you can more easily trigger them later on.
It's important to note that you should try and focus your attacks at Fatalis' head if you can. Breaking his horns will weaken his fire attacks in Phase 3, which will help you tremendously. Failing to smash his horns will make the fight much harder, so try to focus on that as much as you can.
Once you do enough damage to Fatalis, he will fly into the sky to his ultimate attack. Take cover behind the ruins with the objective marker. After your cover has melted, the second phase begins and multiplayer will be unlocked.
Fatalis Phase 2
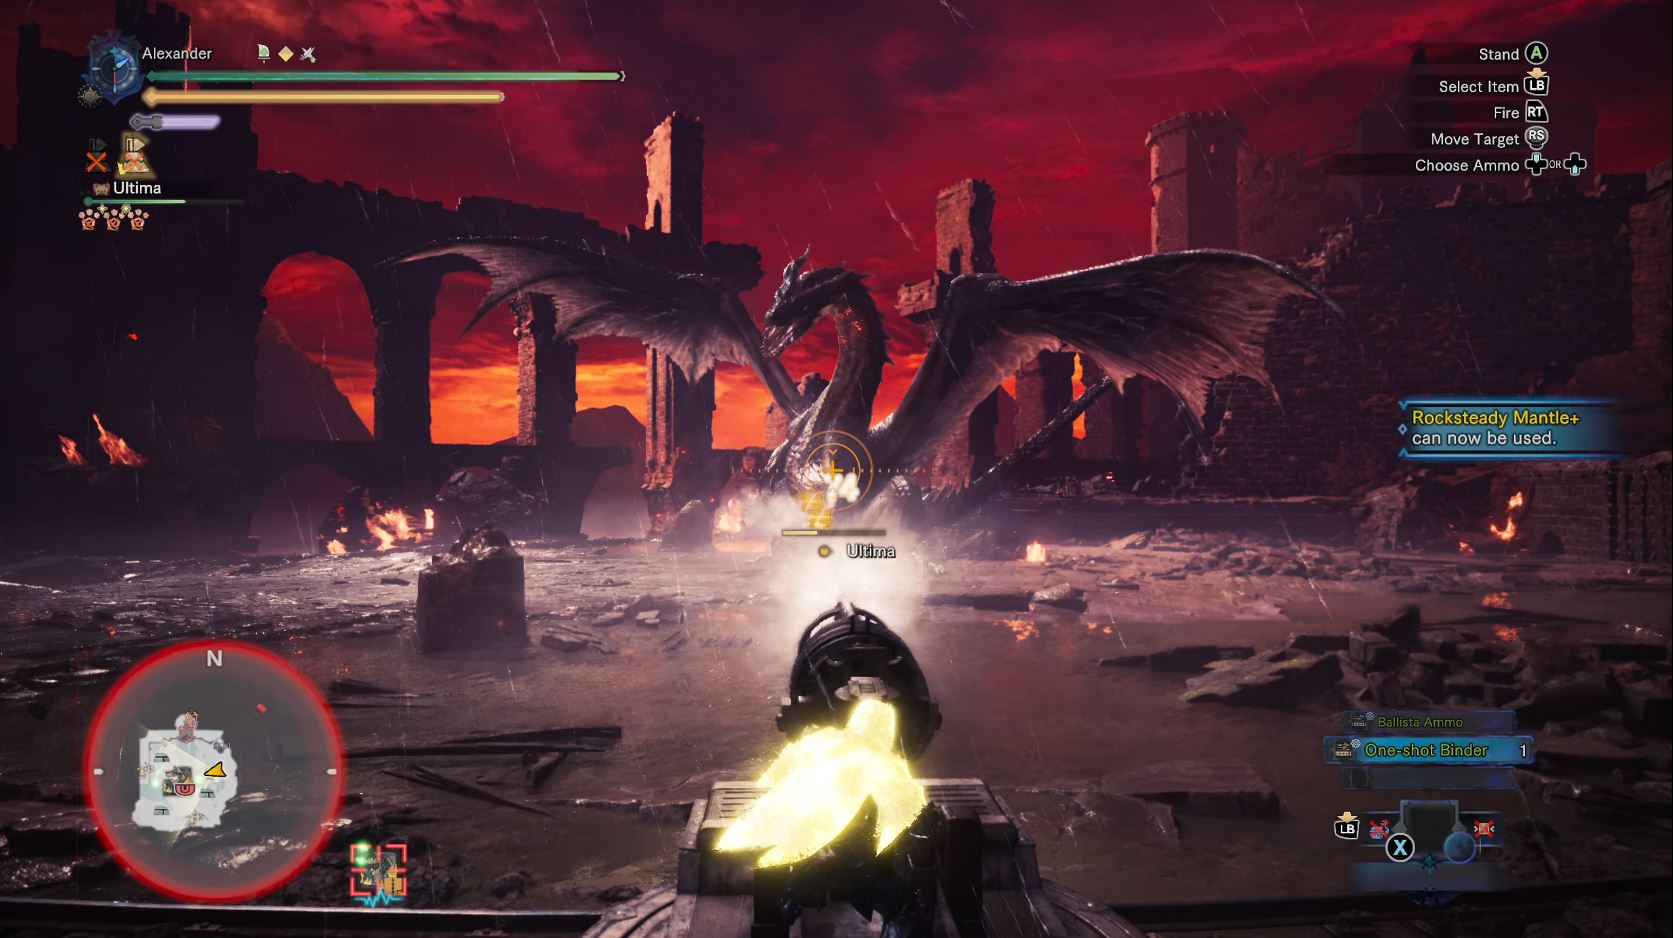
Fatalis' ultimate attack will open up the whole map and give access to more siege weapons. The weapons include the Roaming Ballista, another regular Ballista, a cannon at the back of the arena (the first cannon platform will be destroyed during the phase transition), and Binder Ballista ammo.
Use the Roaming Ballista ASAP. It's already loaded, and it can do massive damage to Fatalis' chest or head. Especially if they are tenderized. Also, using Roaming Ballista immediately will let you use it again later in the final phase, after it's recharged. If you use the Temporal Mantle whilst using it, you won't be knocked off. Keep the duration in mind though, in case Fatalis decides to do a combo.
There are also ledges now, so you can do aerial attacks to trigger a mount. Here's a tip when mounting monsters; If you use Slinger ammo to flinch the monster whilst mounting it, you can topple it faster.
Fatalis can now fly to roast you from above. Ranged users can still hit Fatalis, but melee users will have to clutch claw onto him to do damage. You can force Fatalis back to the ground by flinch shotting him (when he's not enraged) or use Binder Ballista ammo.
Aside from that. The fight is the same as before. Keep laying on damage and eventually Fatalis will fly into the sky to scorch the earth again. Head to the switch with the objective marker at the back of the arena. This will activate a gate to protect you from Fatalis' ultimate attack.
After the gate has melted, Fatalis will scream to the heavens and go nuclear, signaling you arrived at the final phase.
Fatalis Phase 3
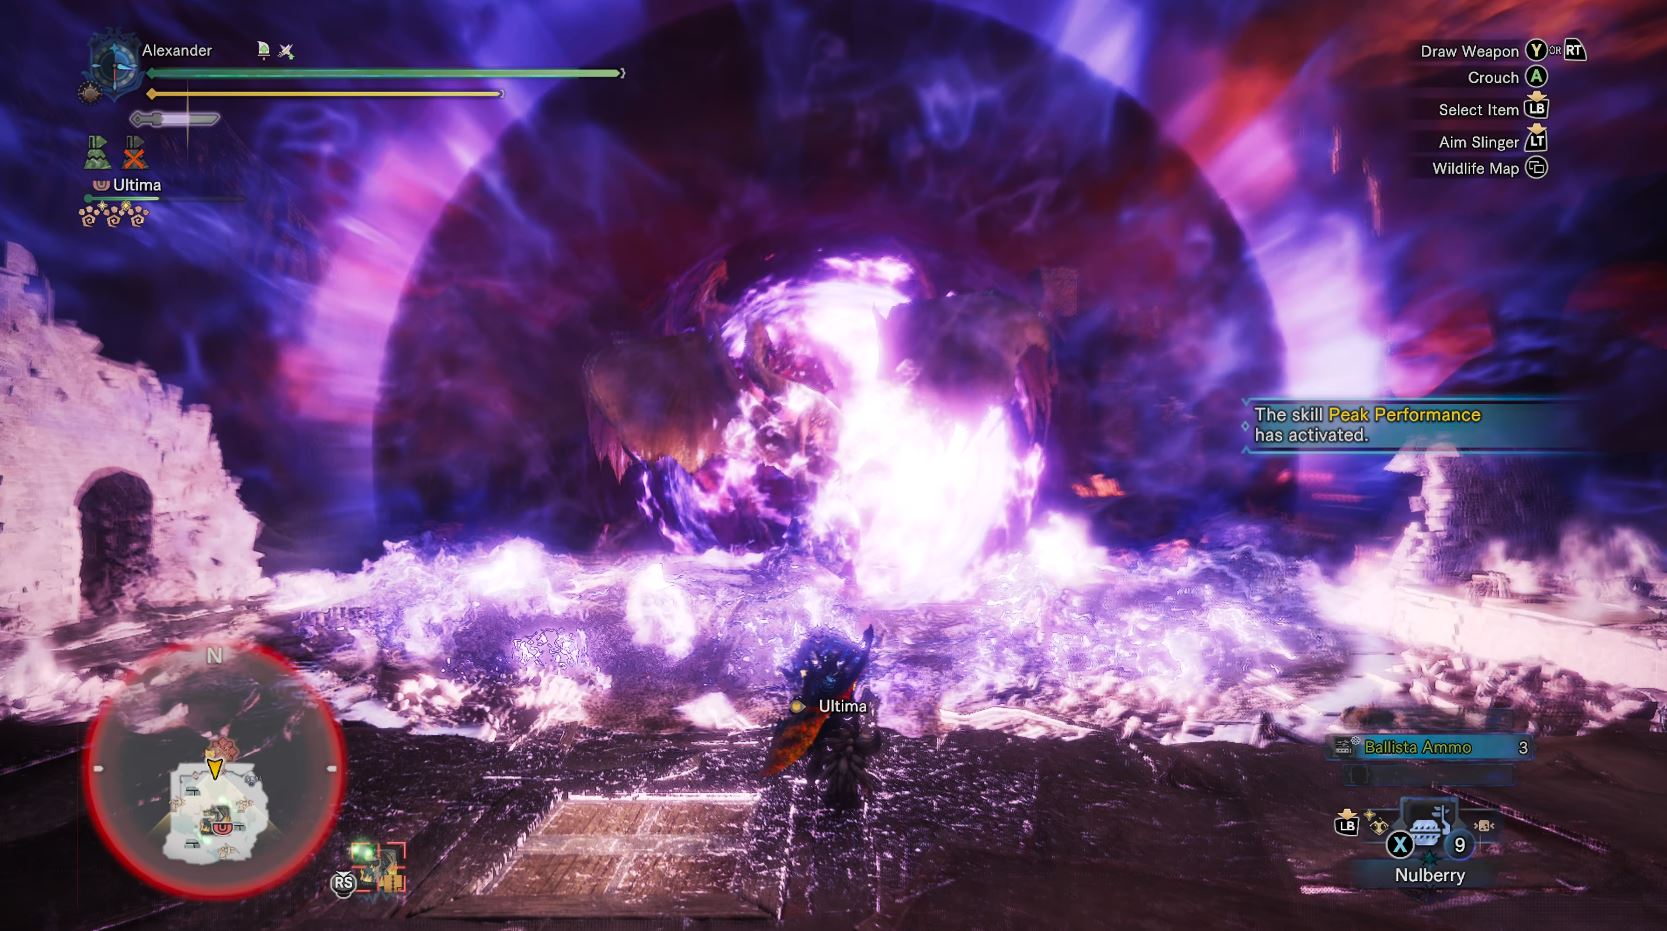
At this point, Fatalis is so mad that his fire powers have gone out of control. He gains three new attacks during this state.
- Fatalis's Charge Up Fireball can now be fired three times in succession.
- A body slam where you get glued to his chest before being chewed up and spat out.
- Fatalis looks to the side and proceeds to do 360-degree spin fire breath attack. This move, in my opinion, is his most deadly attack. Best way to avoid this is by getting to his chest at the opposite side of Fatalis' head when he's charging this move. Then dodge roll to the other side once the flame is coming to your side. Superman Dive also works.
All of his flame breath attacks are augmented in this state, to the point where they can potentially one-shot you, no matter how high your defense stats are. However, if you manage to break Fatalis' horns during the hunt, Fatalis' flame breath will weaken. His horns can be broken twice, each time weakening the flame attacks.
Fatalis's chest will become softer due to his out of control fire, taking more damage during this state as a result.
For gunners, now would be a good time to use the rest of your status effect ammo. Except Sleep ammo, save that for later.
At this point, Fatalis doesn't have any more tricks up its scales. Though he will occasionally try to do his ultimate attack to finish you off. Except now there's no cover to hide behind.
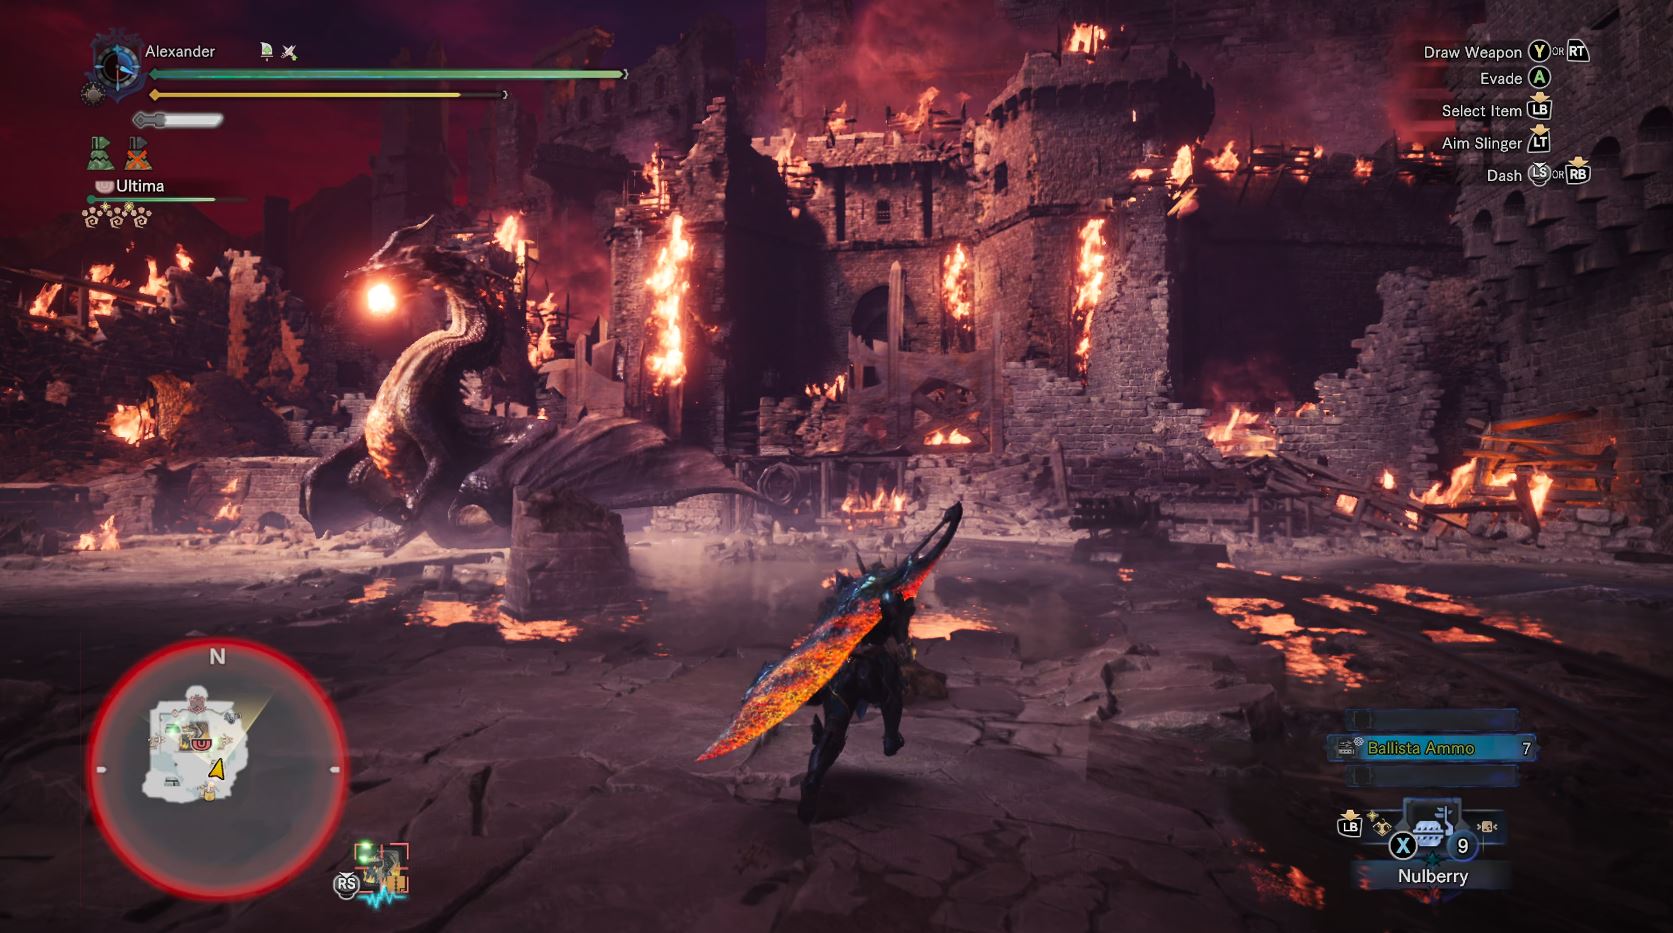
Fortunately, Fatalis won't go out of the map's boundaries anymore. So, you can run underneath him to avoid the attack. It won't kill you immediately if you get hit, so keep calm and keep running. Once underneath him, you can pelt him with ranged ammo or heal yourself. Do note that Farcasters get locked out during this attack, so you can't use them to escape like with Lunastra's Supernova.
After doing enough damage in this phase, you will be notified that the Dragonator is ready. Once it is, lure Fatalis to the back of the arena. Activate the switch once he's there. This will do insane amounts of damage to Fatalis.
Ranged users, now is the time to use the rest of your Sleep ammo. If you use the Dragonator whilst Fatalis is asleep, it will do double damage. There's hidden surprise if you hit him with the Dragonator, which I won't spoil. So, don't miss at all costs!
If you have survived up to this point, you have proven you got the skills to take on Fatalis. There is nothing else to learn. Everything from now is practice and execution. Now it's up to you.
Budget Build Kill Video
Here's a video of me killing Fatalis using the budget Raging Brachydios Greatsword build I mentioned above. I've never killed Fatalis using this build or in melee before, but I wanted to show that it is possible even without using ideal meta builds. Expect mistakes in this video, but it's better to see my mistakes so that you don't make them yourself.
Farming Fatalis
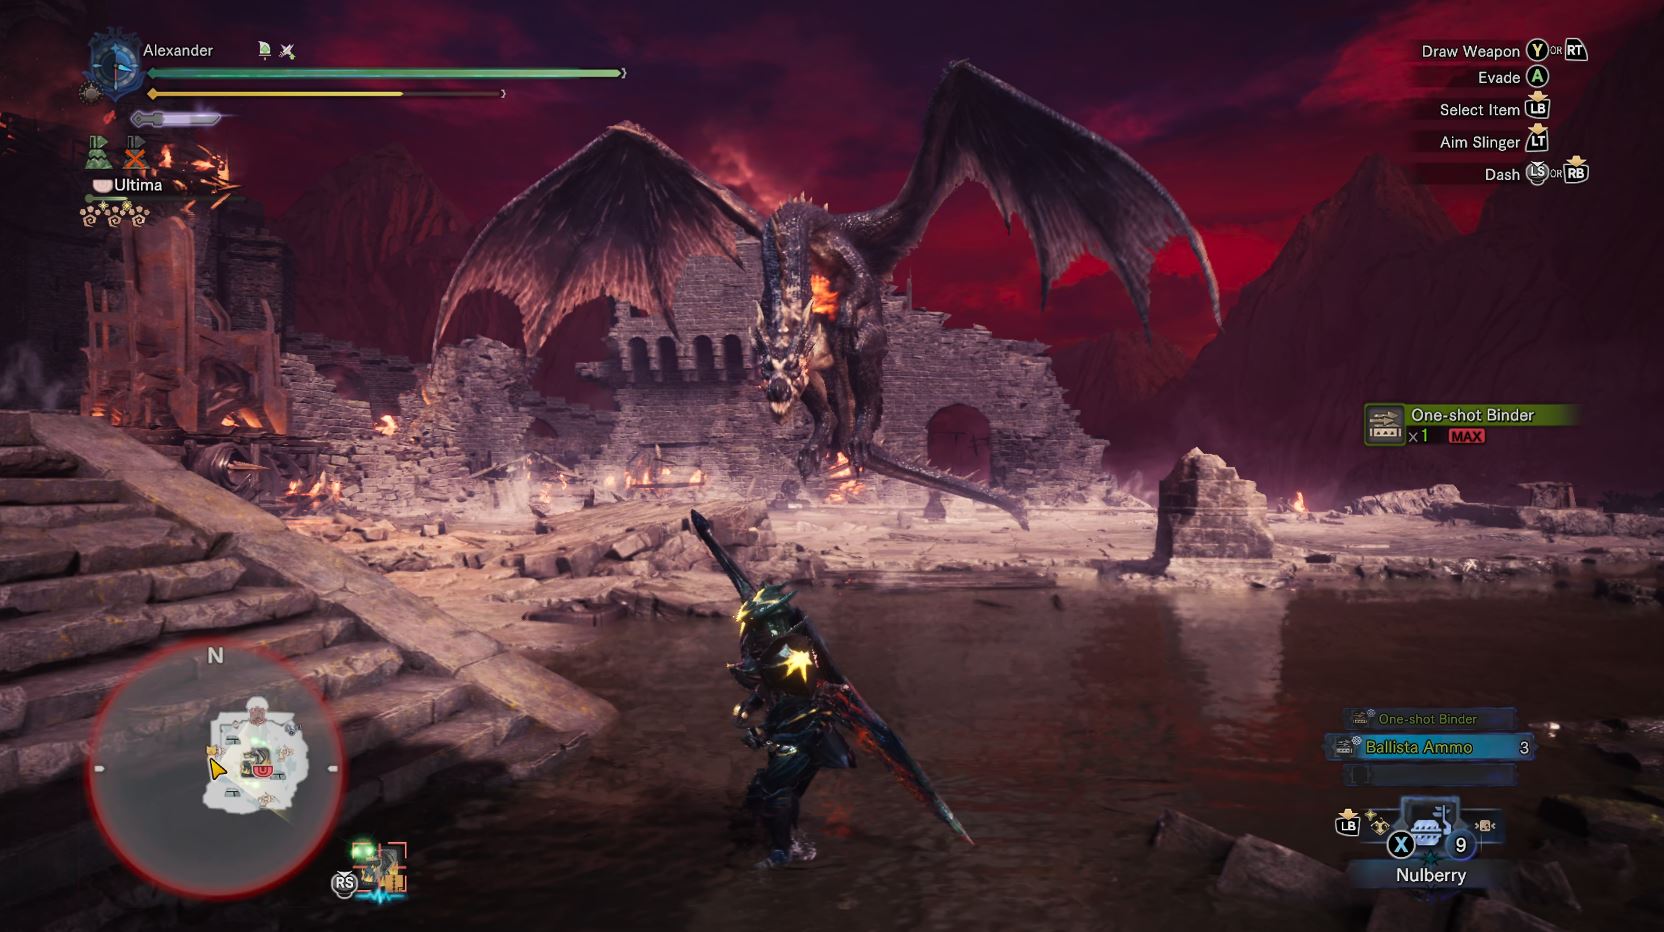
Without spoiling the stats, Fatalis' gear is the best in the entire game. You are definitely going to want to farm for this.
After beating Fatalis' Special Assignment, you will gain access to his Event Quest. Which is slightly harder because you get 3 lives by default instead of 5. That's the only difference. The fight proceeds as we covered.
My method farming for Fatalis' gear is the following:
- Using the Palico Plunderblade to steal his crafting materials.
- Targeting only the head to break his horns twice. This will give you guaranteed drops of one horn and one eye.
Each time I get the eye, I return from the quest. This usually takes about me 15 minutes or so. It's more efficient than killing him outright because you get guaranteed drops. Whereas, simply killing him will give you random chances to get the materials.
Good luck hunters. You will need it.
Xbox Series X/S
Main
- Xbox Series X: Everything we know
- Best games coming to Xbox Series X/S
- List of Xbox Series X specs
- What is the Xbox Series X release date?
- How much does Xbox Series X cost?
- Why you can't preorder Xbox Series X yet
- Best Xbox Series X Headsets

Alexander Cope is a gaming veteran of 30-plus years, primarily covering PC and Xbox games here on Windows Central. Gaming since the 8-bit era, Alexander's expertise revolves around gaming guides and news, with a particular focus on Japanese titles from the likes of Elden Ring to Final Fantasy. Alexander is always on deck to help our readers conquer the industry's most difficult games — when he can pry himself away from Monster Hunter that is!

