How to use Snip & Sketch to take screenshots on Windows 10 October 2018 Update
Windows 10 now includes the Snip & Sketch app to take screenshots, and in this guide, you'll learn the steps on how to use it.
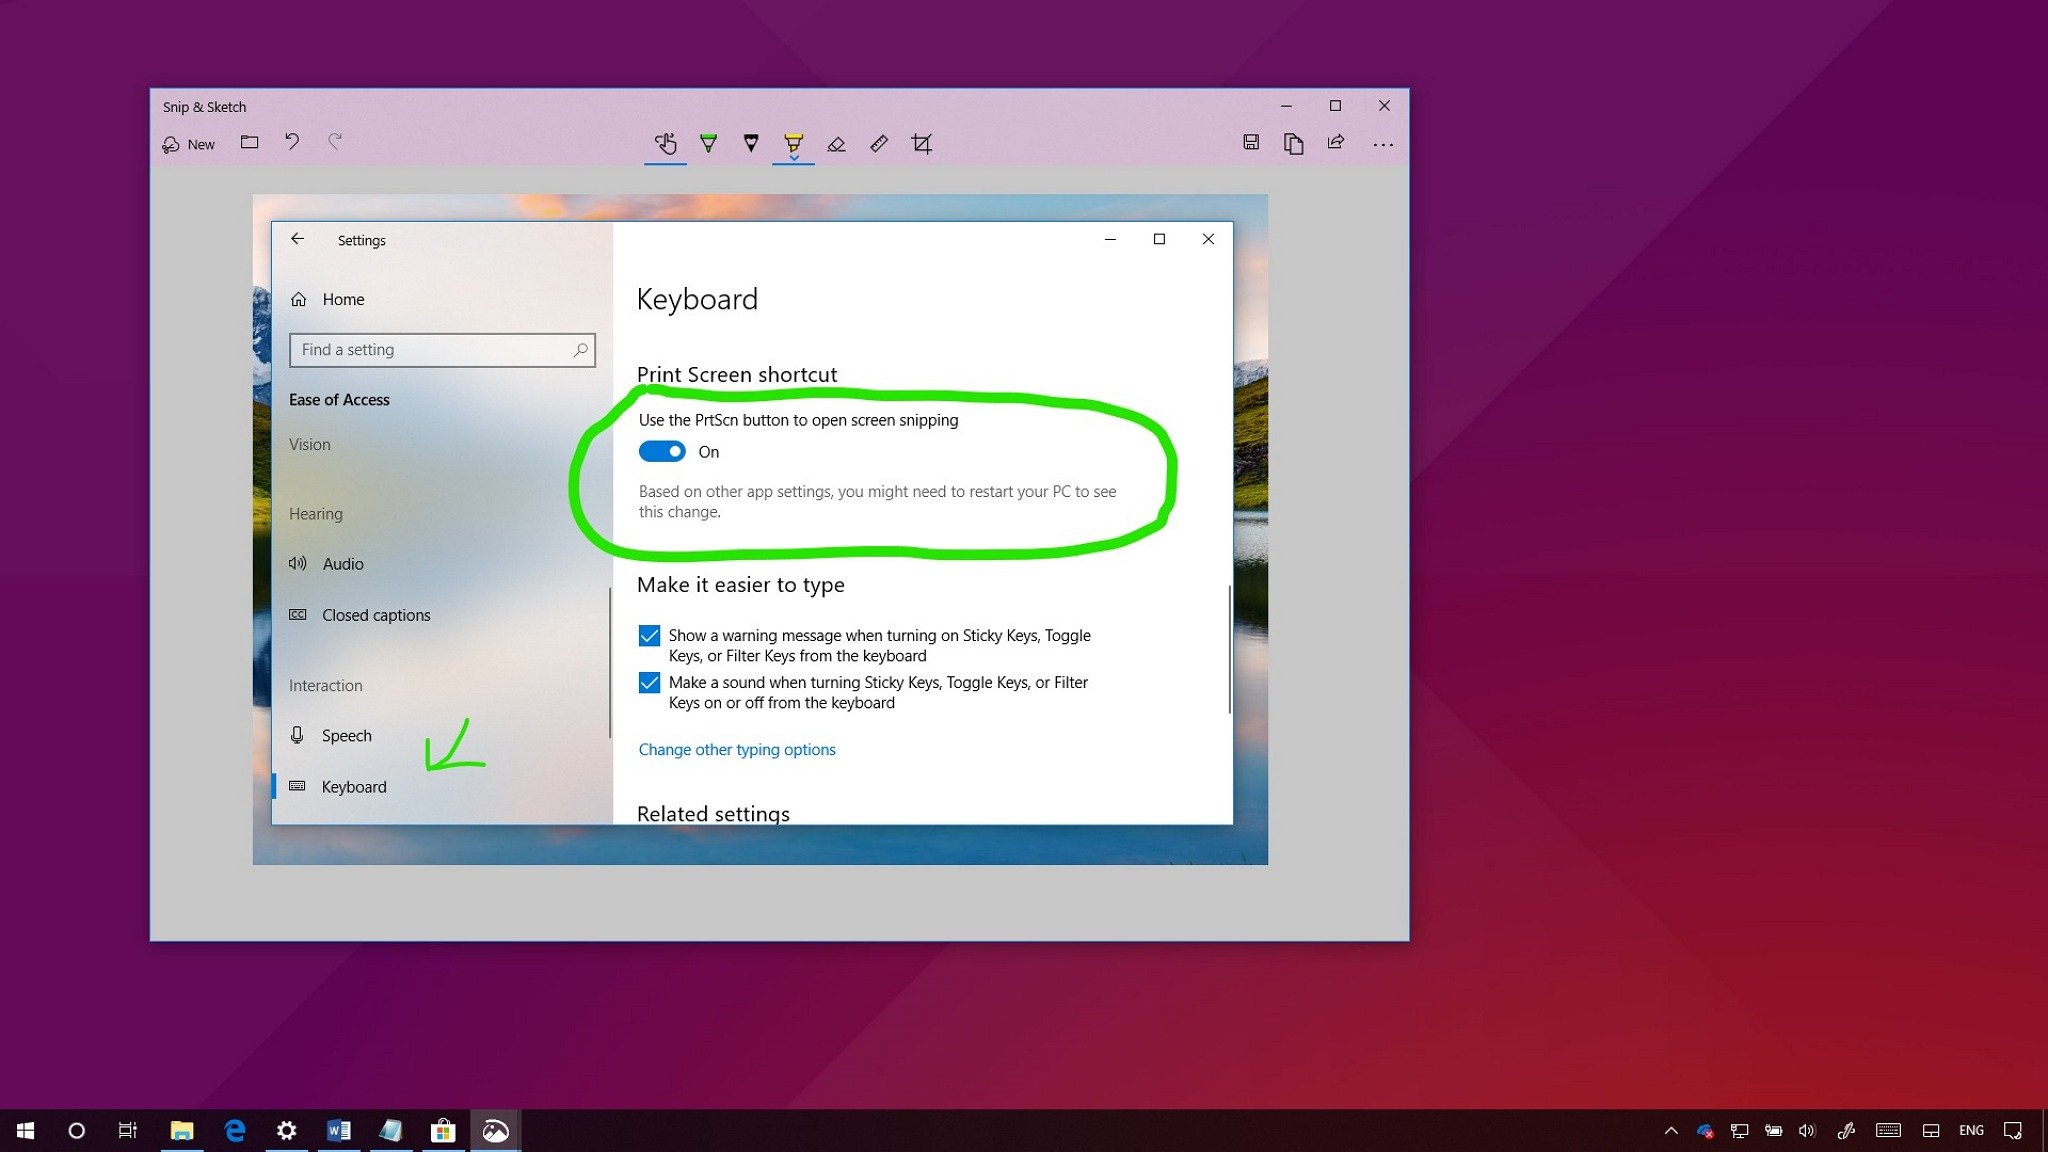
Starting with the October 2018 Update, Windows 10 is modernizing the experience to take screenshots with the new Snip & Sketch app, which combines the legacy Snipping Tool with Screen sketch (previously part of Windows Ink Workspace).
The result is a single experience to take and annotate screenshots of the desktop, apps, and games without the need for third-party tools, and an app that will be frequently updated through the Microsoft Store.
In this Windows 10 guide, we'll walk you through the steps to get started with the new Snip & Sketch app to take screenshots with the October 2018 update.
- How to take screenshots with Snip & Sketch
- How to enable Print Screen button to use Snip & Sketch
- How to edit screenshots with Snip & Sketch
How to take screenshots with Snip & Sketch
Using Snip & Sketch, there are at least three ways to access and take screenshots on Windows 10:
Using Snip & Sketch app
The easiest way to get to the snipping tools is to use the Snip & Sketch app with these steps:
- Open Start.
- Search for Snip & Sketch, click the top result to open the experience.
- Click the New button in the top-left corner.
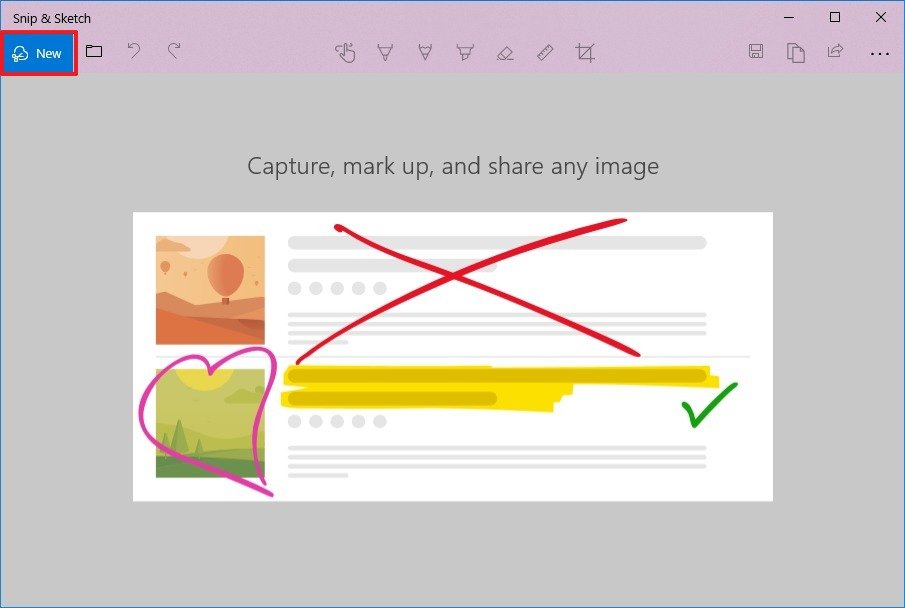
- Select the type of snip you want to use, including:
- Rectangular Clip.
- Freeform Clip.
- Fullscreen Clip.
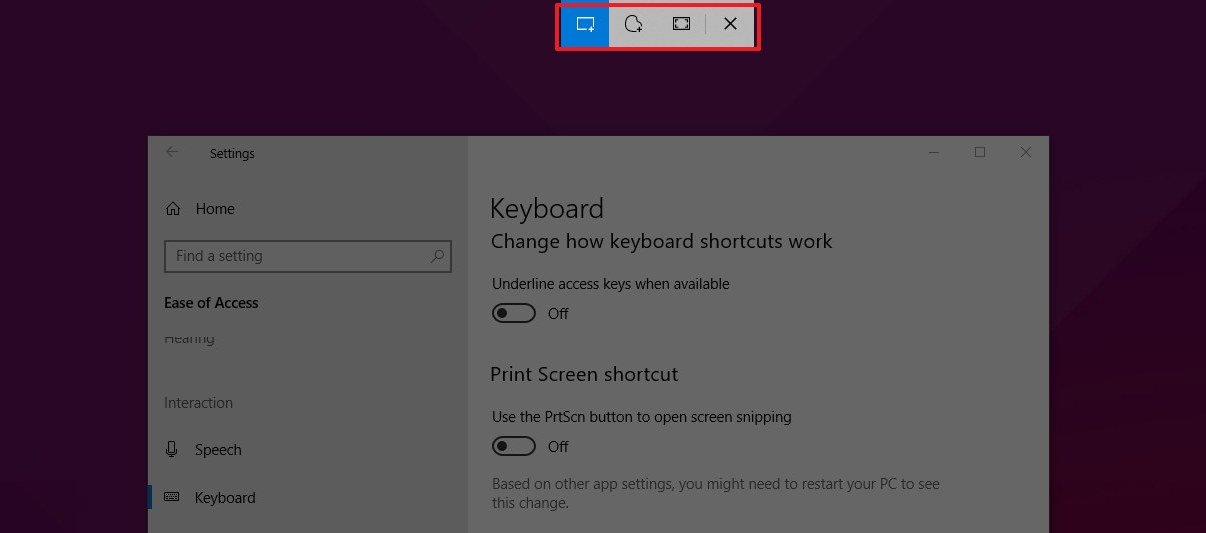
- Take the screenshot.
Using Action Center quick button
If you want to take a screenshot to paste on a document, you can use the new Screen snip button using these steps:
- Open Action Center.Quick tip: Use the Windows key + A keyboard shortcut, or click the Action Center button in the notification area to open the experience.
- Click the Expand button.
- Click the Screen snip button.
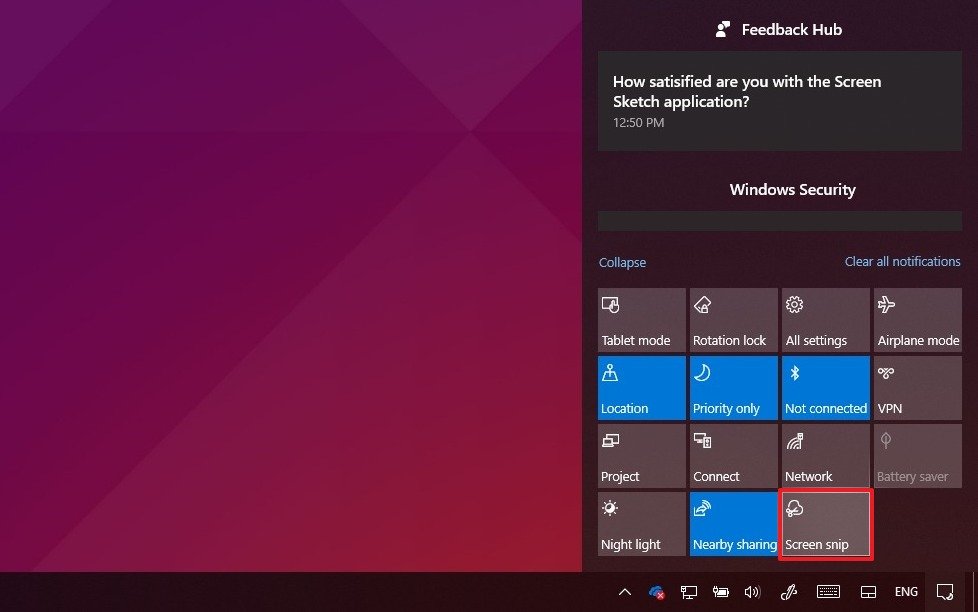
- Select the type of snip you want to use, including:
- Rectangular Clip.
- Freeform Clip.
- Fullscreen Clip.

- Take the screenshot.
Using the Print Screen button
If you enabled the option, you can take screenshots on Windows 10 using the Print Screen key.
Get the Windows Central Newsletter
All the latest news, reviews, and guides for Windows and Xbox diehards.
- Hit the Print Screen button.Quick Tip: Alternatively, you can use the Windows key + Shift + S shortcut to open the snipping toolbar.
- Select the type of snip you want to use, including:
- Rectangular Clip.
- Freeform Clip.
- Fullscreen Clip.

- Take the screenshot.
Unlike using Snip & Sketch app when using the Screen snip button or the Print Screen key, the screenshot will copy to the clipboard. If you want to annotate the snip or save it into a file, you need to click the Snip & Sketch notifications in Action Center.
How to enable Print Screen button to use Snip & Sketch
You can also bring up the screen snipping tool using the Print Screen button on the keyboard, but it's an option that you need to enable manually using these steps:
- Open Settings.
- Click on Ease of Access.
- Click on Keyboard.
- Under "Print Screen shortcut," turn on the Use the PrtScn button to open the screen snipping option.
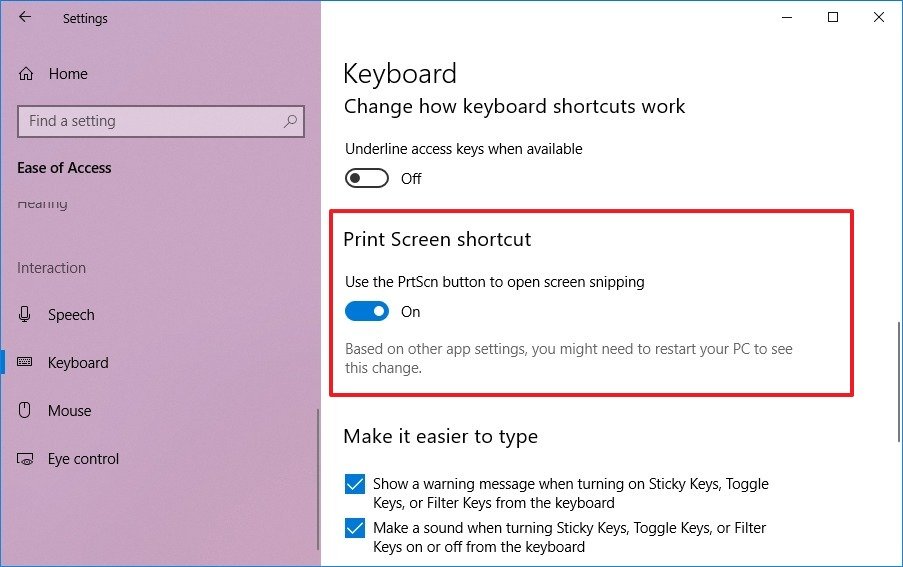
After completing the steps, you can hit the Print Screen key on your keyboard to take screenshots on Windows 10.
How to annotate screenshots with Snip & Sketch
Alongside the ability to quickly take screenshots on Windows 10, the app includes a number of tools to annotate images virtually any way you like.
Once you've taken the screenshot (or you can use the open (folder) button to load an image), the image will open in Snip & Sketch. While in the experience, you can use a number of tools to annotate the screenshot, including ballpoint pen, pencil, and marker. All of which you can click to customize the color and thickness.
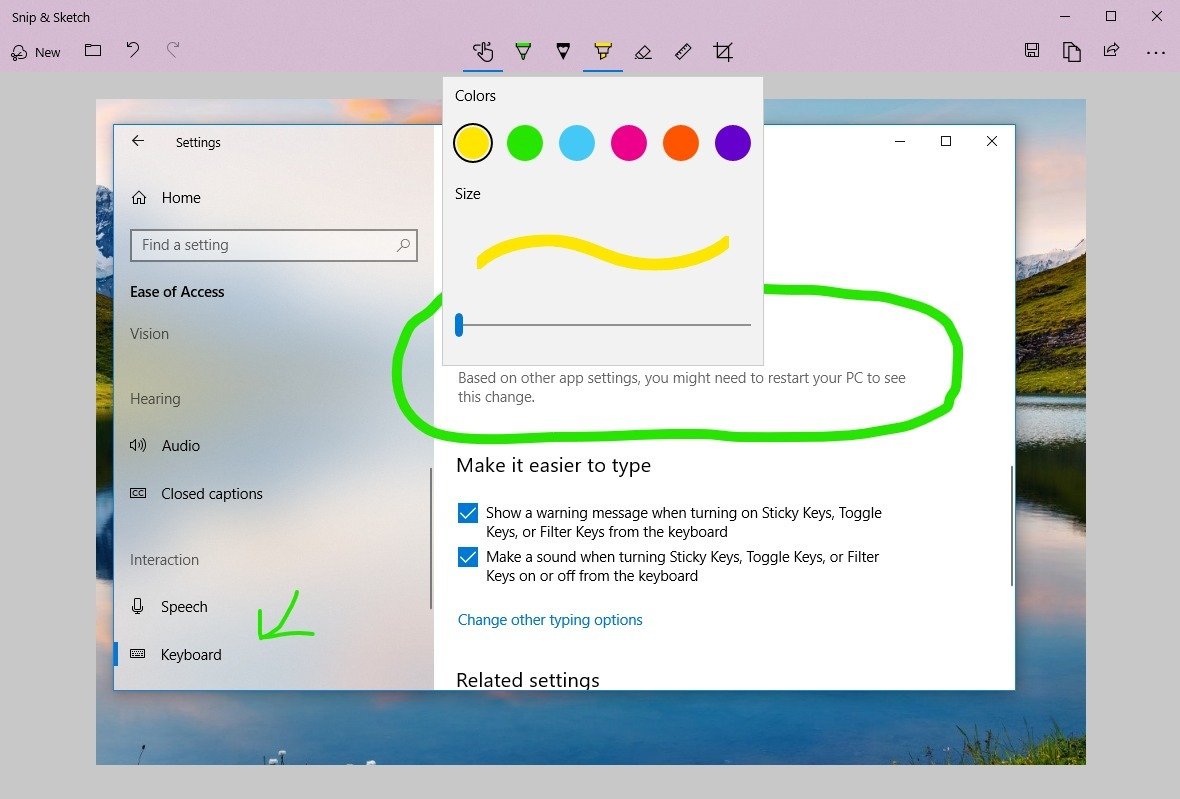
In addition, there's an eraser to delete one or all the strokes from the screenshot. You can use the digital ruler to draw straight lines, and there's a cropping tool to trim the excess.
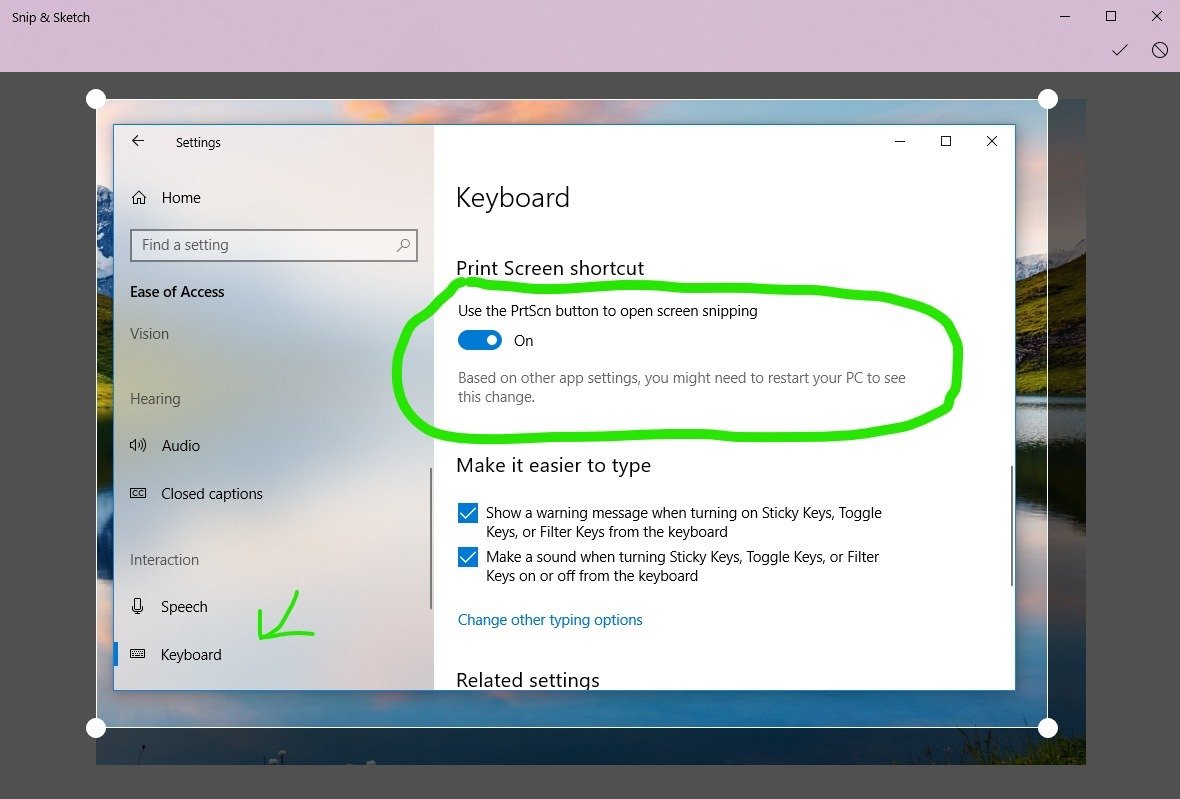
These tools have been designed to work best using a stylus on a touch-enabled device, but they also work with a keyboard and mouse.
On the far-right corner, you'll find the options to save the snip as a PNG file. You can also use the copy button to copy the image to the clipboard, which you can then paste on any document.
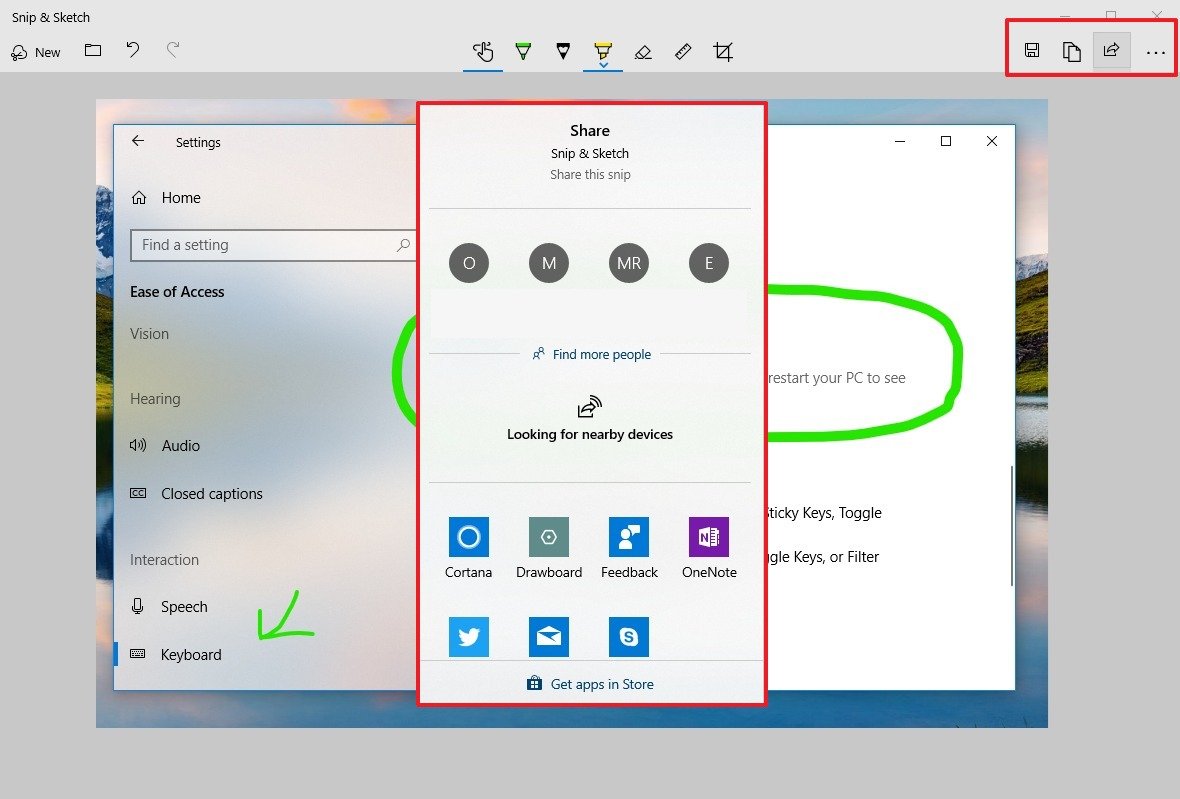
Finally, there's the share button that brings up the experience to send the screenshot to another person using email, nearby sharing, or another supported application.
Do you like the new experience to take screenshots on Windows 10? Tell us in the comments.
More Windows 10 resources
For more helpful articles, coverage, and answers to common questions about Windows 10, visit the following resources:
- Windows 10 on Windows Central – All you need to know
- Windows 10 help, tips, and tricks
- Windows 10 forums on Windows Central
Mauro Huculak has been a Windows How-To Expert contributor for WindowsCentral.com for nearly a decade and has over 15 years of experience writing comprehensive guides. He also has an IT background and has achieved different professional certifications from Microsoft, Cisco, VMware, and CompTIA. He has been recognized as a Microsoft MVP for many years.

