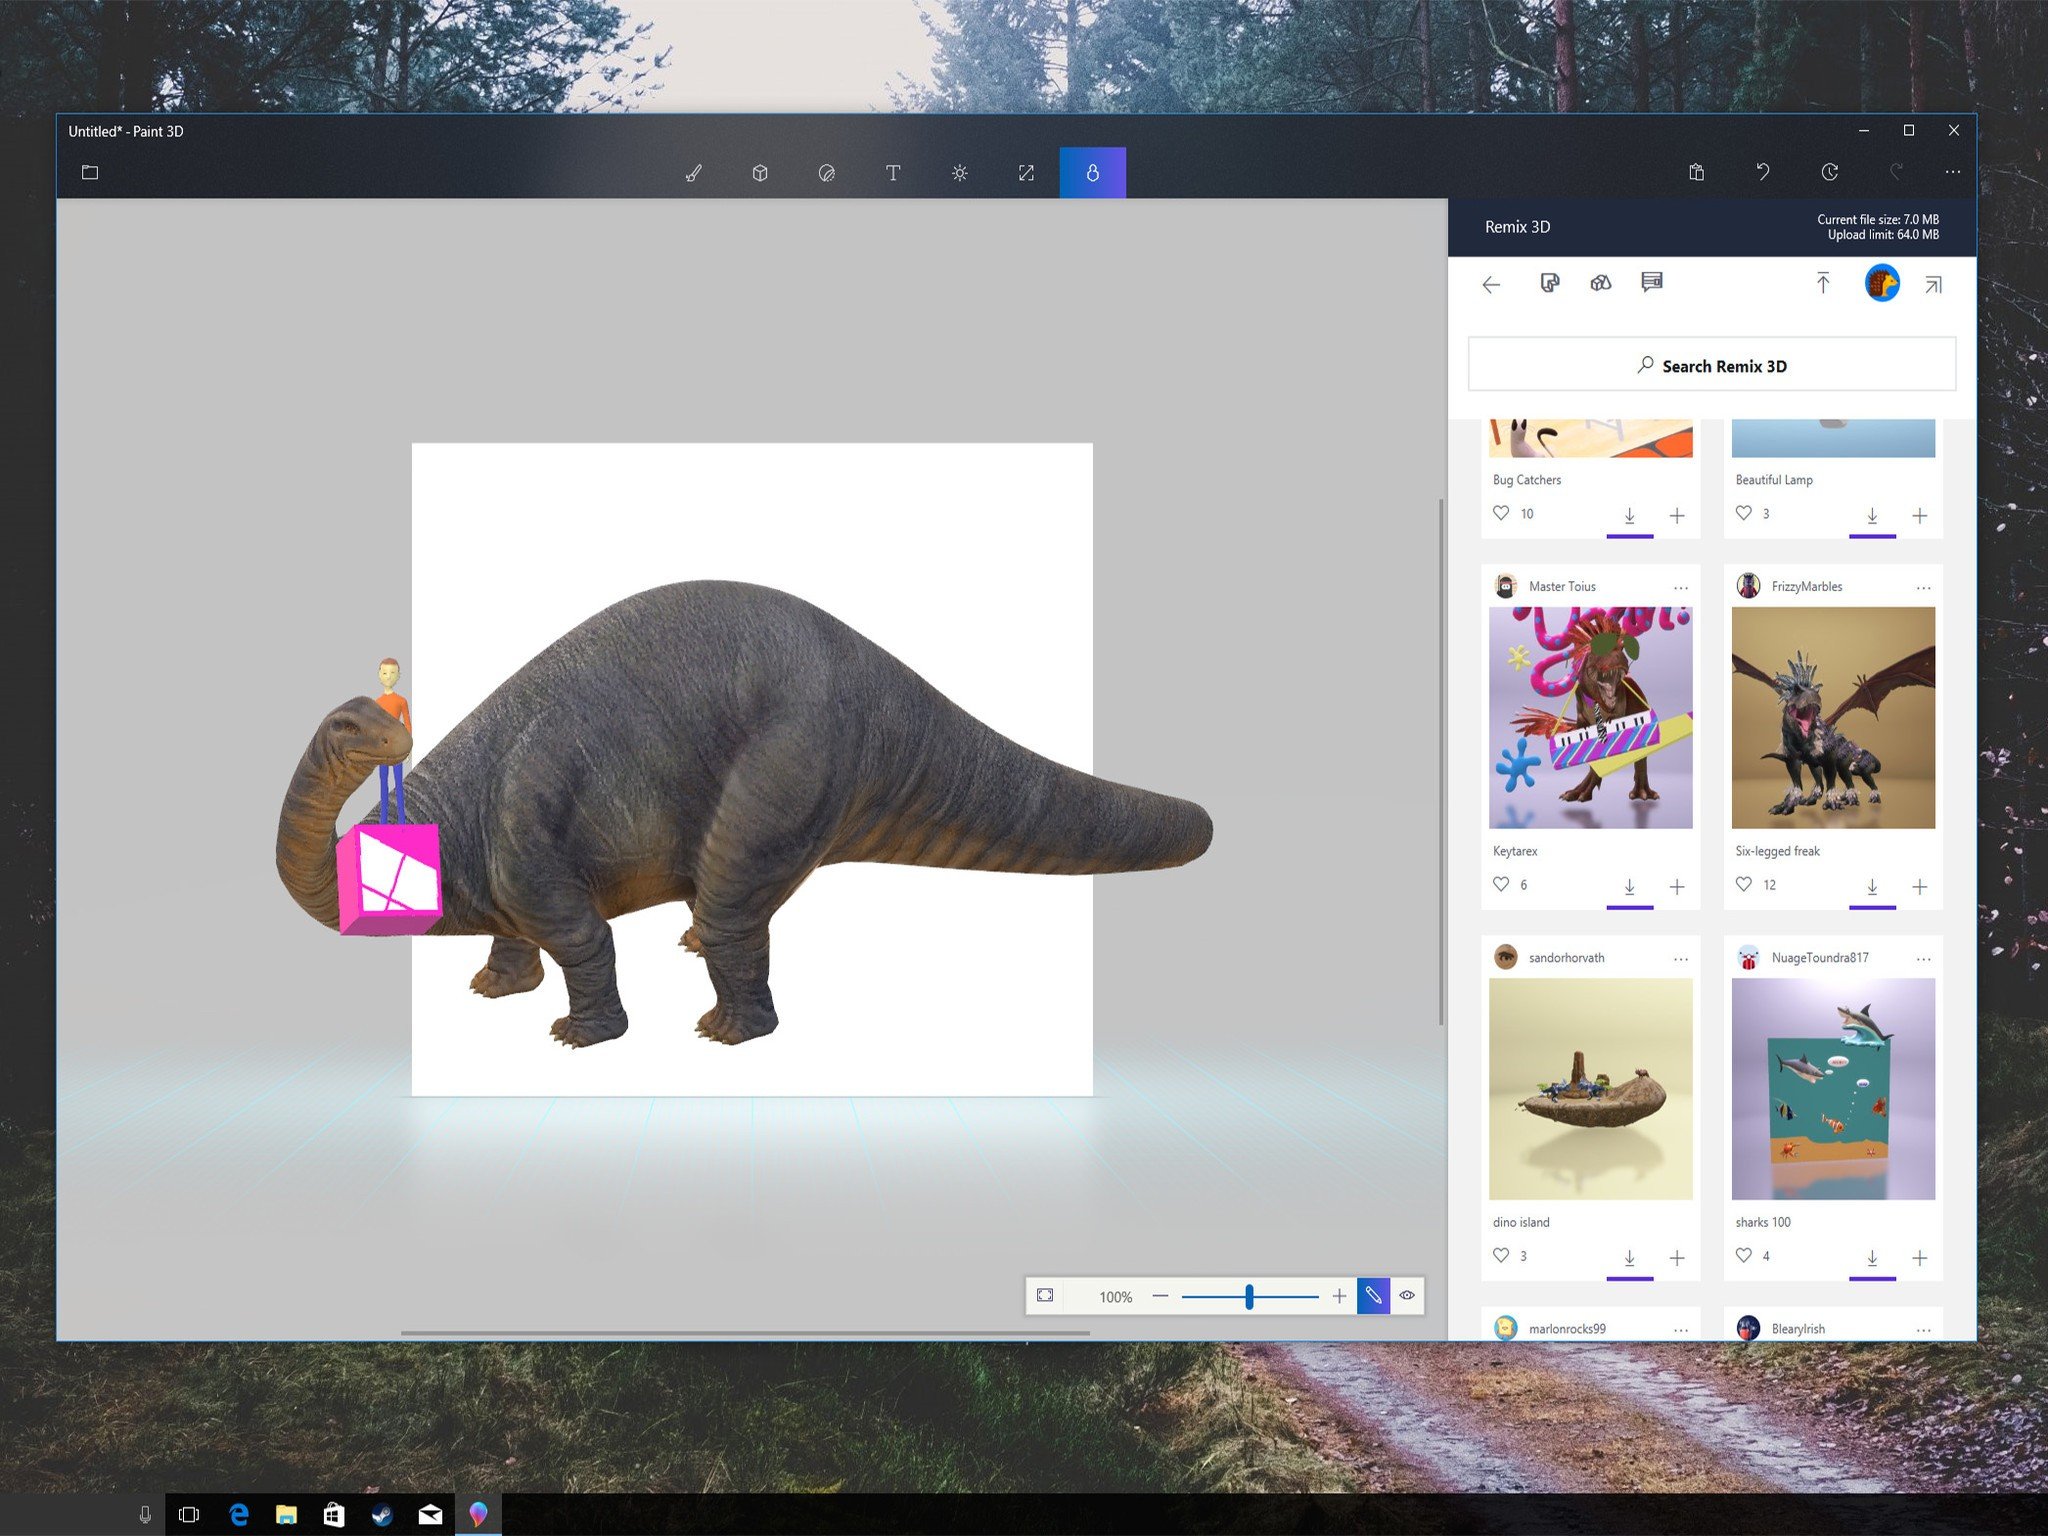
Microsoft showed off some impressive mixed reality demonstrations at Build 2017, one of which included 3D models being worked into videos and projects in the upcoming Story Remix app. While the app isn't arriving until the Windows 10 Fall Creators Update, you can still get a taste of the Remix 3D community through the Paint 3D app.
There is already a ton of 3D models available, and you can even upload your own models to the collection. Here's how to get the most out this awesome community!
How to browse and add 3D models from the Remix 3D community
First, you want to have a look at all the 3D models available from the community. From here you can add models to your project, whether new or ongoing.
- Launch Paint 3D from the Start menu, desktop, or taskbar.
- Click the 3D objects button near the top of the window.
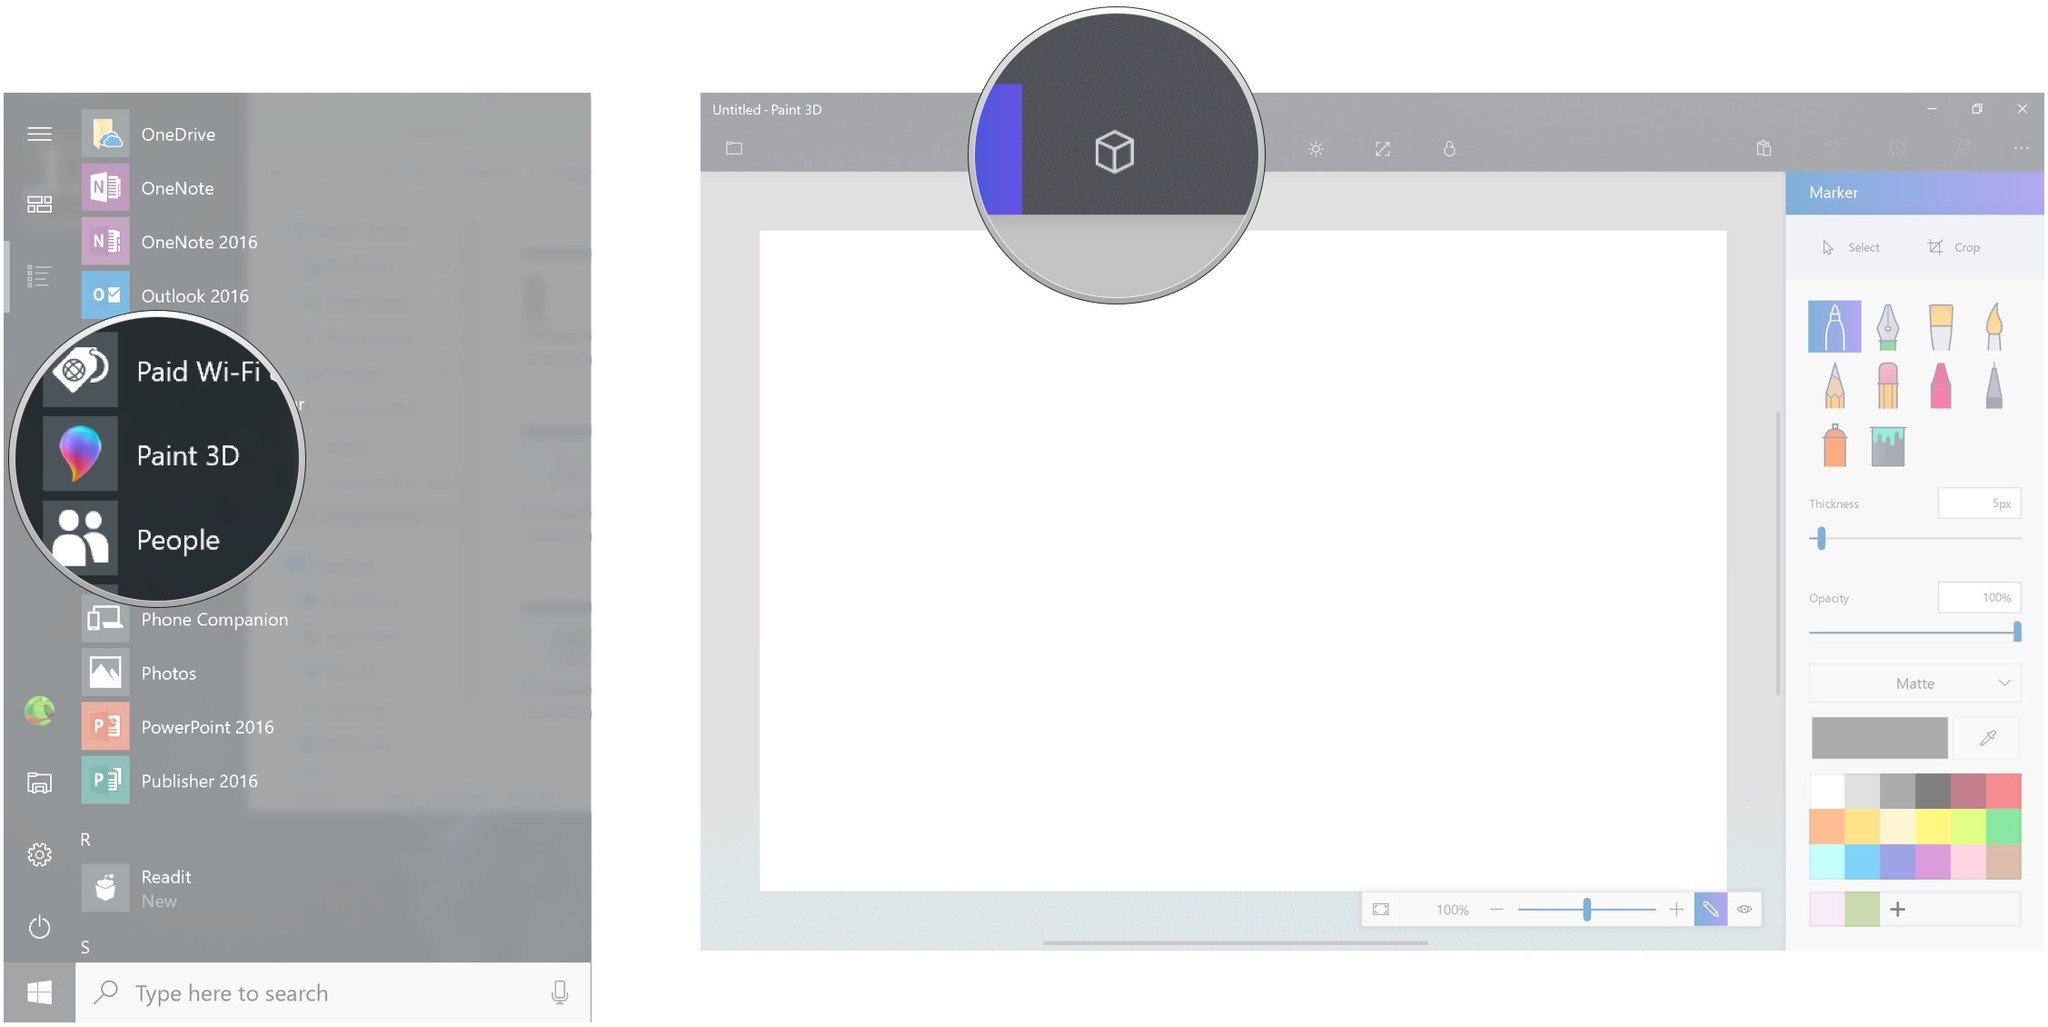
- Click Get more models.
- Click Sign in.

- Click the account you want to use.
- Click Continue.

- Click the dropdown arrow next to Staff picks.
- Click Community.

- Click a community board.
- Click the Place in project button below a model you'd like to add. It looks like an arrow pointing down.If you have a specific model in mind, you can also search for it.

- Click the Search Remix 3D field.
- Type a keyword and hit Enter on your keyboard.
- Click the Place in project button below a model you'd like to add. It looks like an arrow pointing down. The 3D model will now be added to your project. From here you can edit it all you want.

How to add your own 3D model to the Remix 3D community
The whole idea of the Remix 3D community is to allow users to upload their own creations for others to use. Whether it's a model you created from scratch, or it's an existing model that's been modified — aka remixed — here's how to upload your creation to the Remix 3D community for others to use.
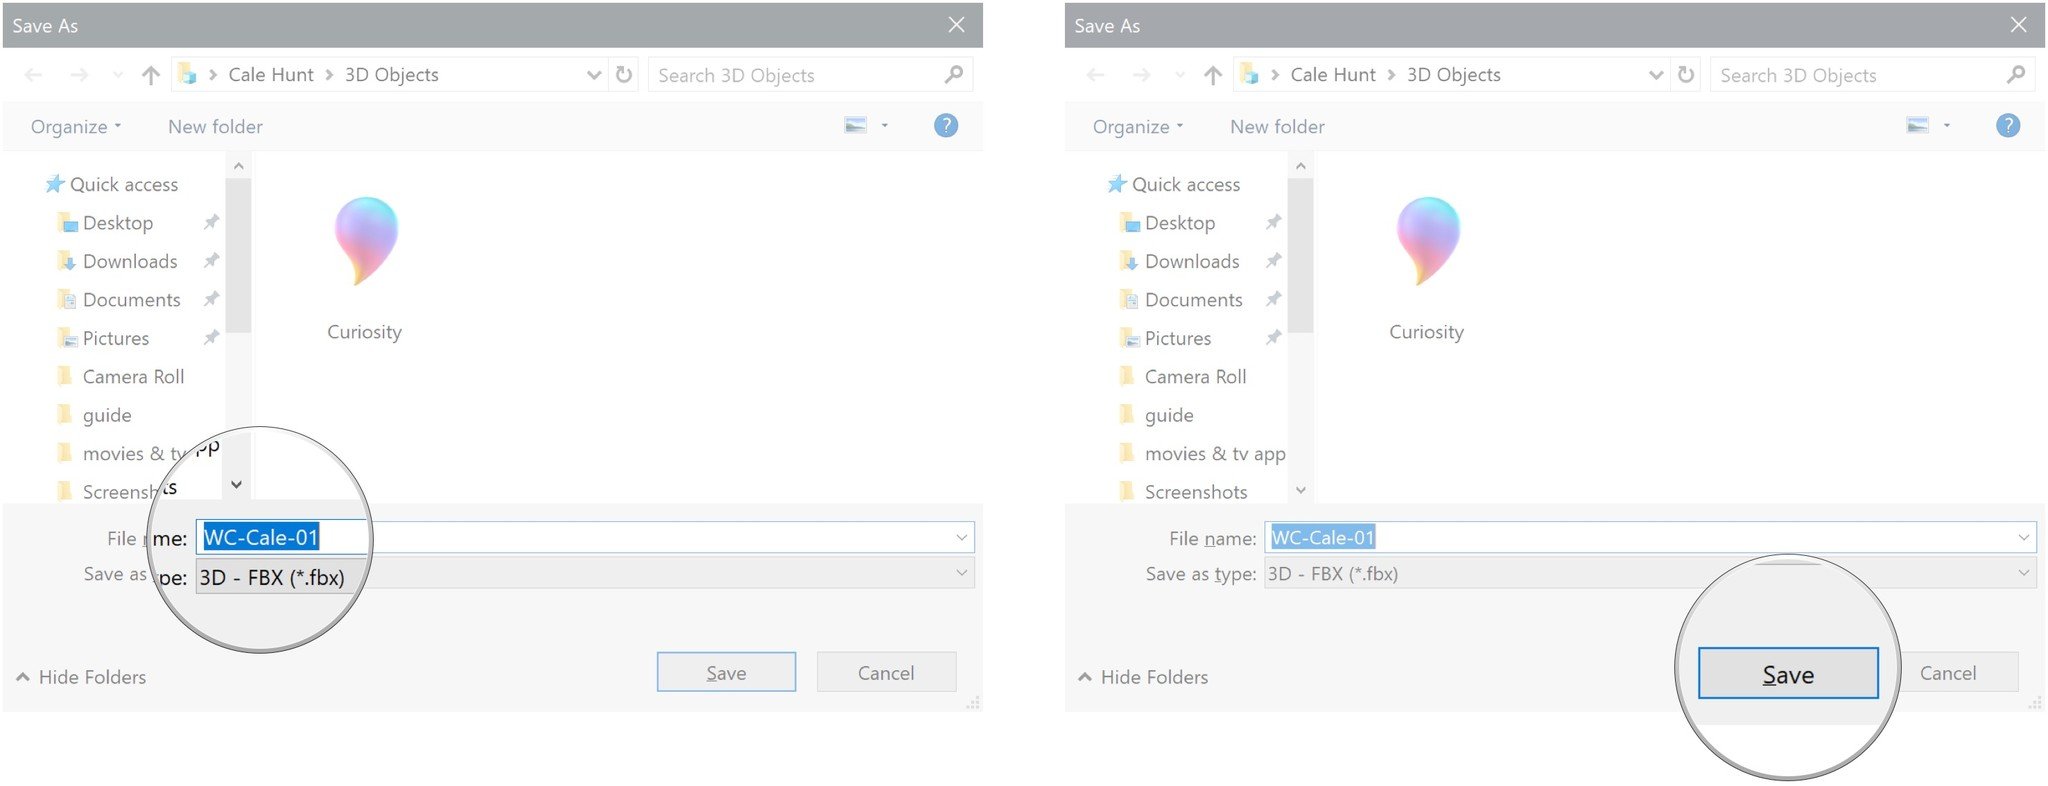
- Click the Expand menu button. It looks like a folder and is located in the top-left corner of the window.
- Click FBX.

- Type a filename
- Click Save.
- Click the Remix 3D button near the top of the window.
- Click the Upload button. It looks like an arrow pointing up.
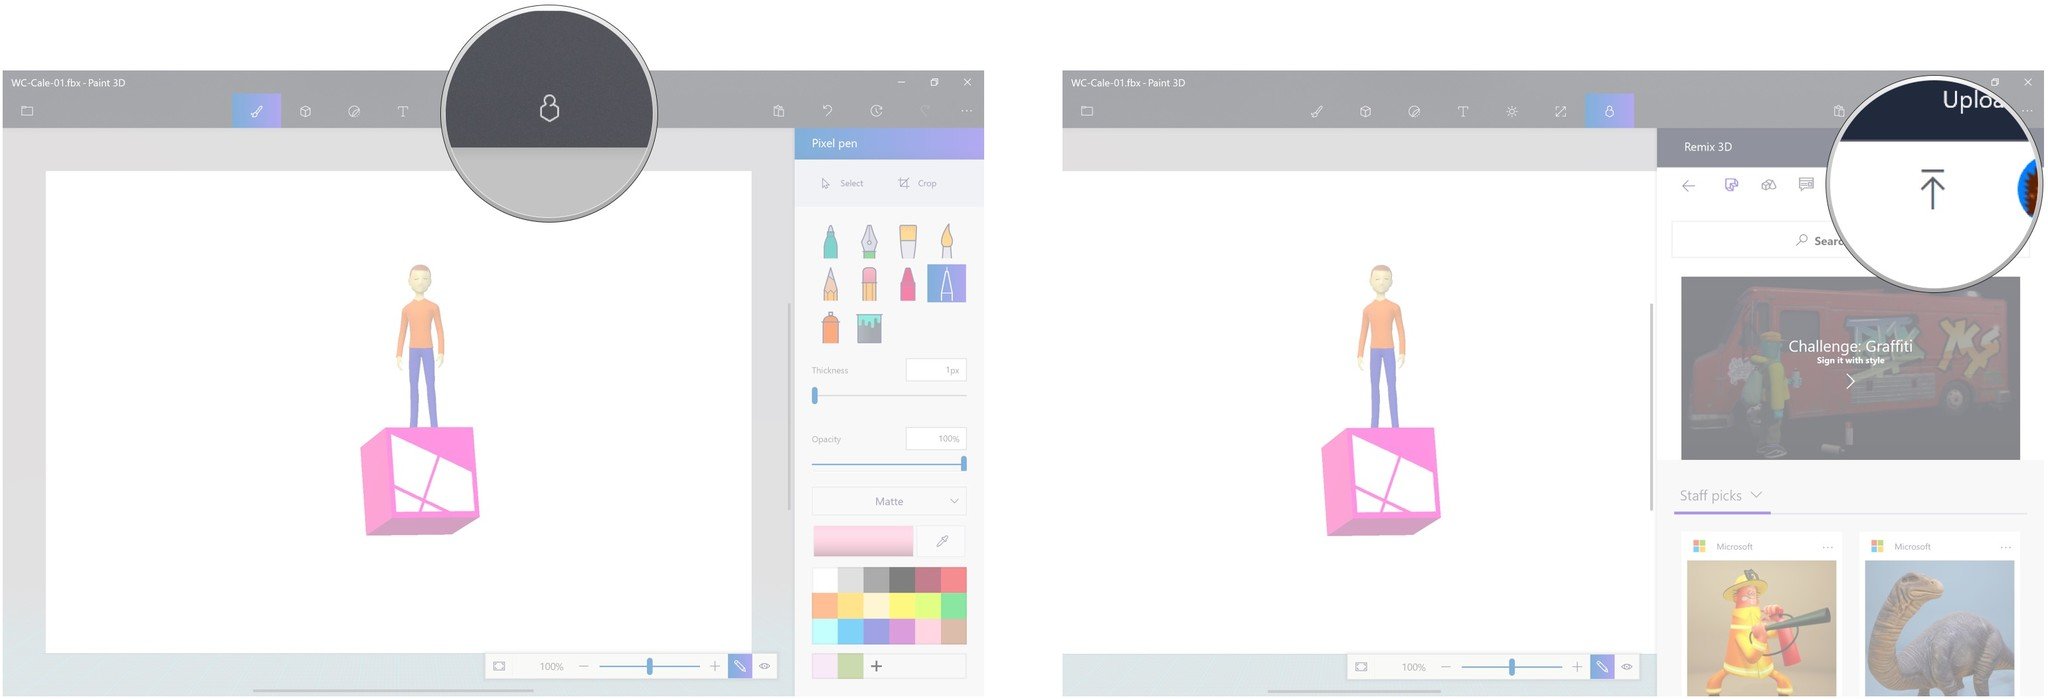
- Click a background color.
- Click and drag the sun button around the Light wheel to change the lighting.

- Click Next.
- Click the Name field.
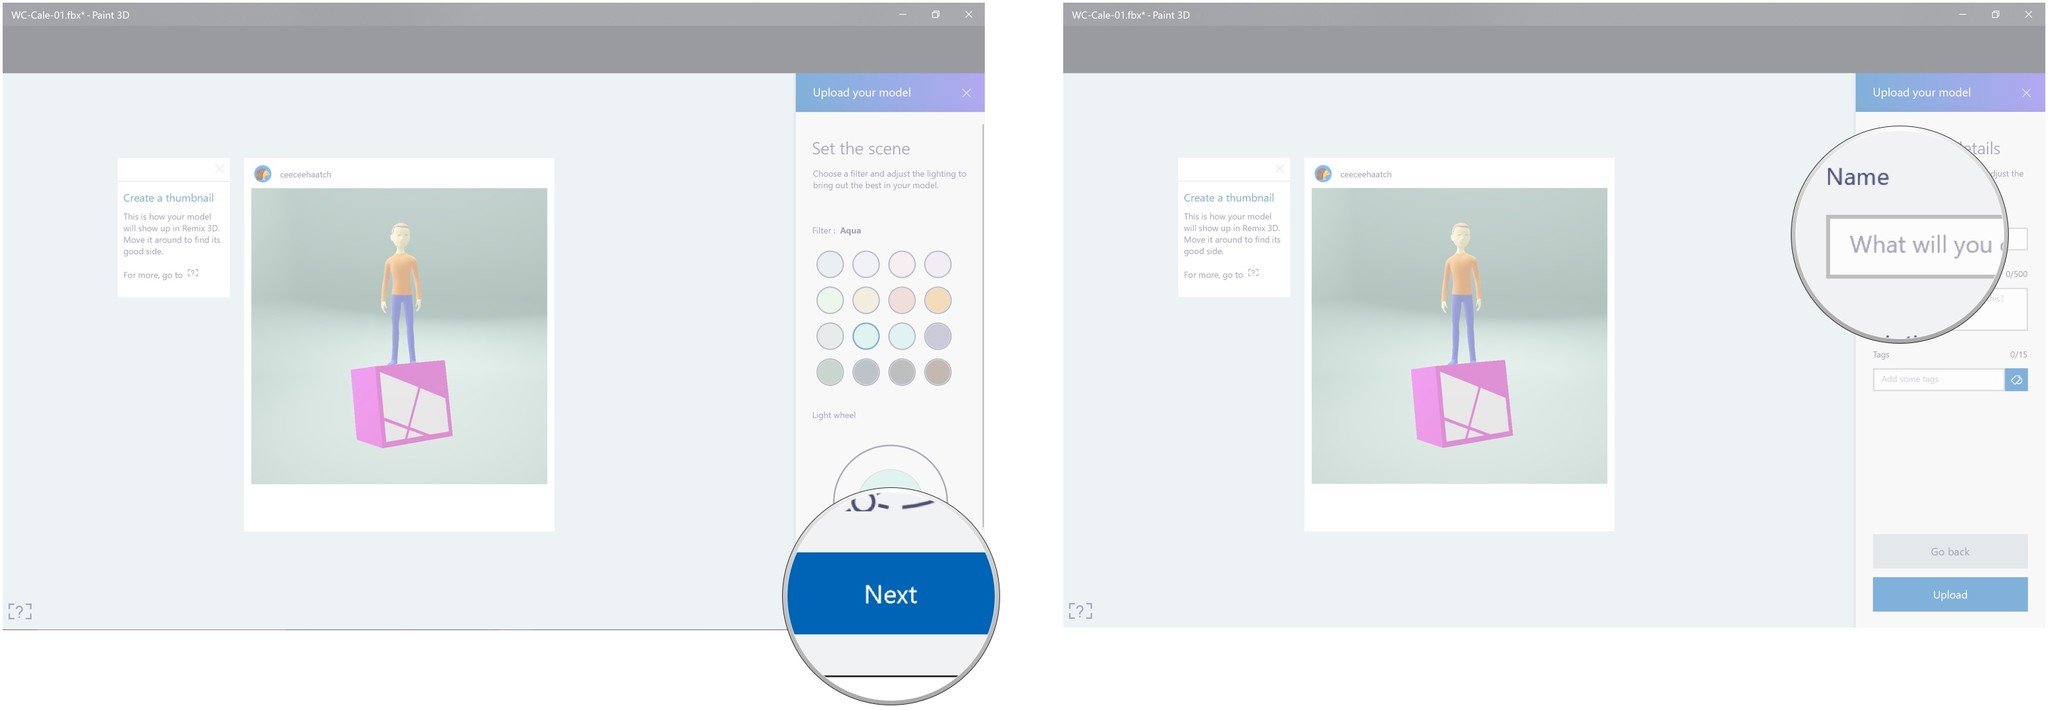
- Type a name for the 3D object.
- Click the Description field.

- Type a description for the 3D object.
- Click the Tags field.

- Type a tag for the 3D object.
- Click the Add tag button. You can repeat steps 14-16 for up to 15 tags.

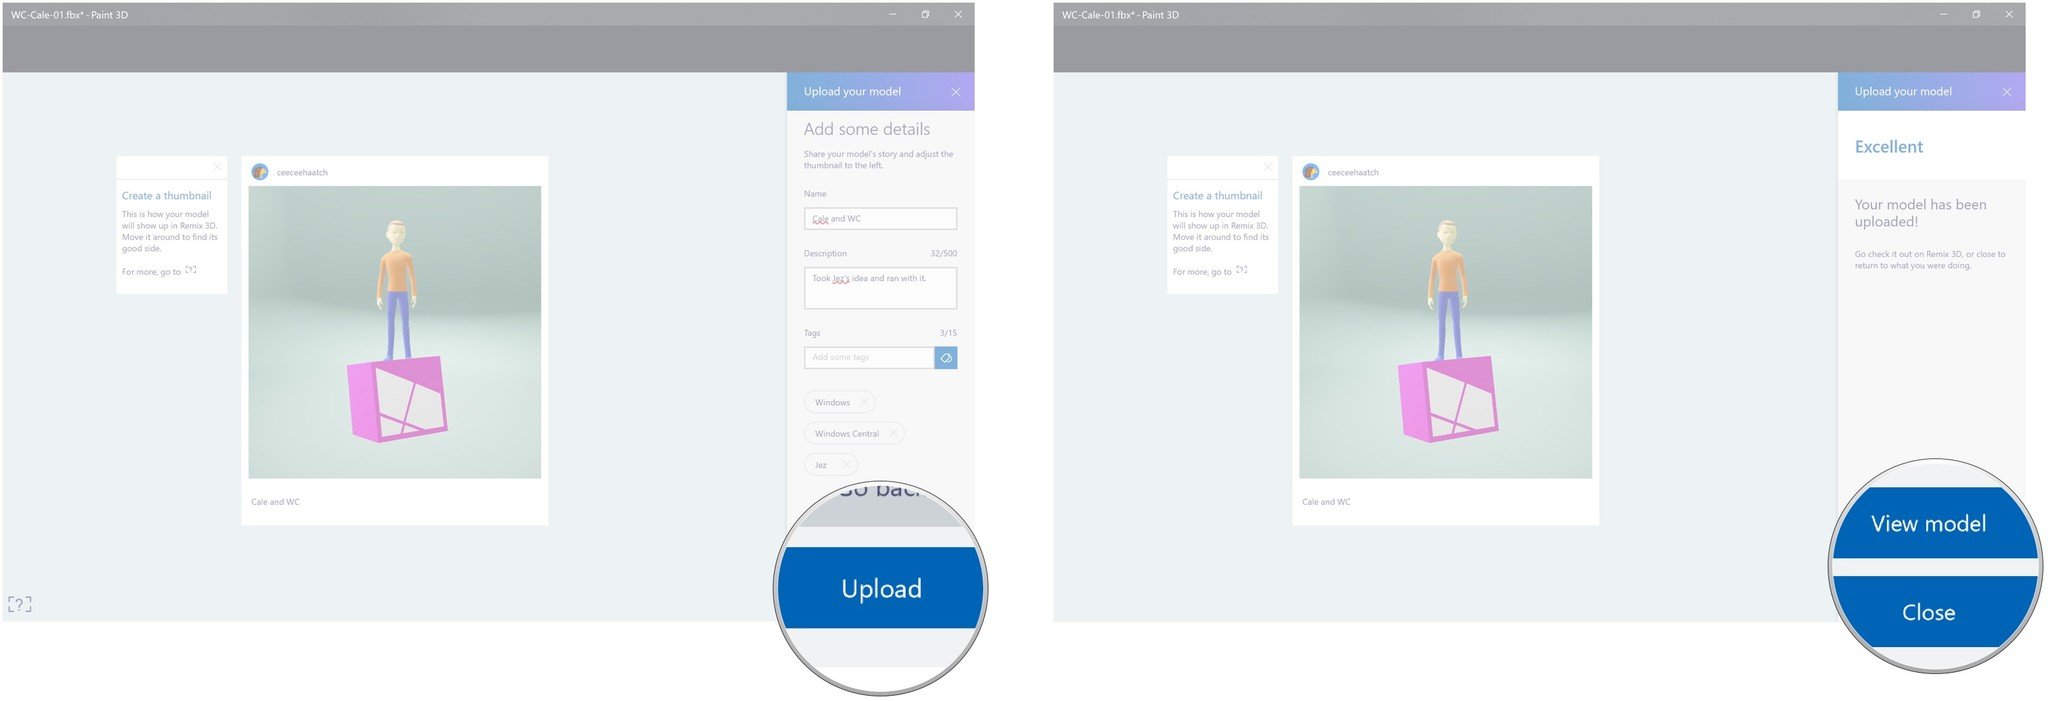
- Click Upload.
- Click View model or Close.
How to see your collection of 3D models and how to create your own board in the Remix 3D community
Boards in the Remix 3D community are sort of like a bookmarks folder. You can create your own boards to help keep all of your models organized.
- Launch Paint 3D from the Start menu, desktop, or taskbar.
- Click the Remix 3D button near the top of the window.
- Click the My stuff button near the top of the pane. Here you can see your models that you've uploaded.
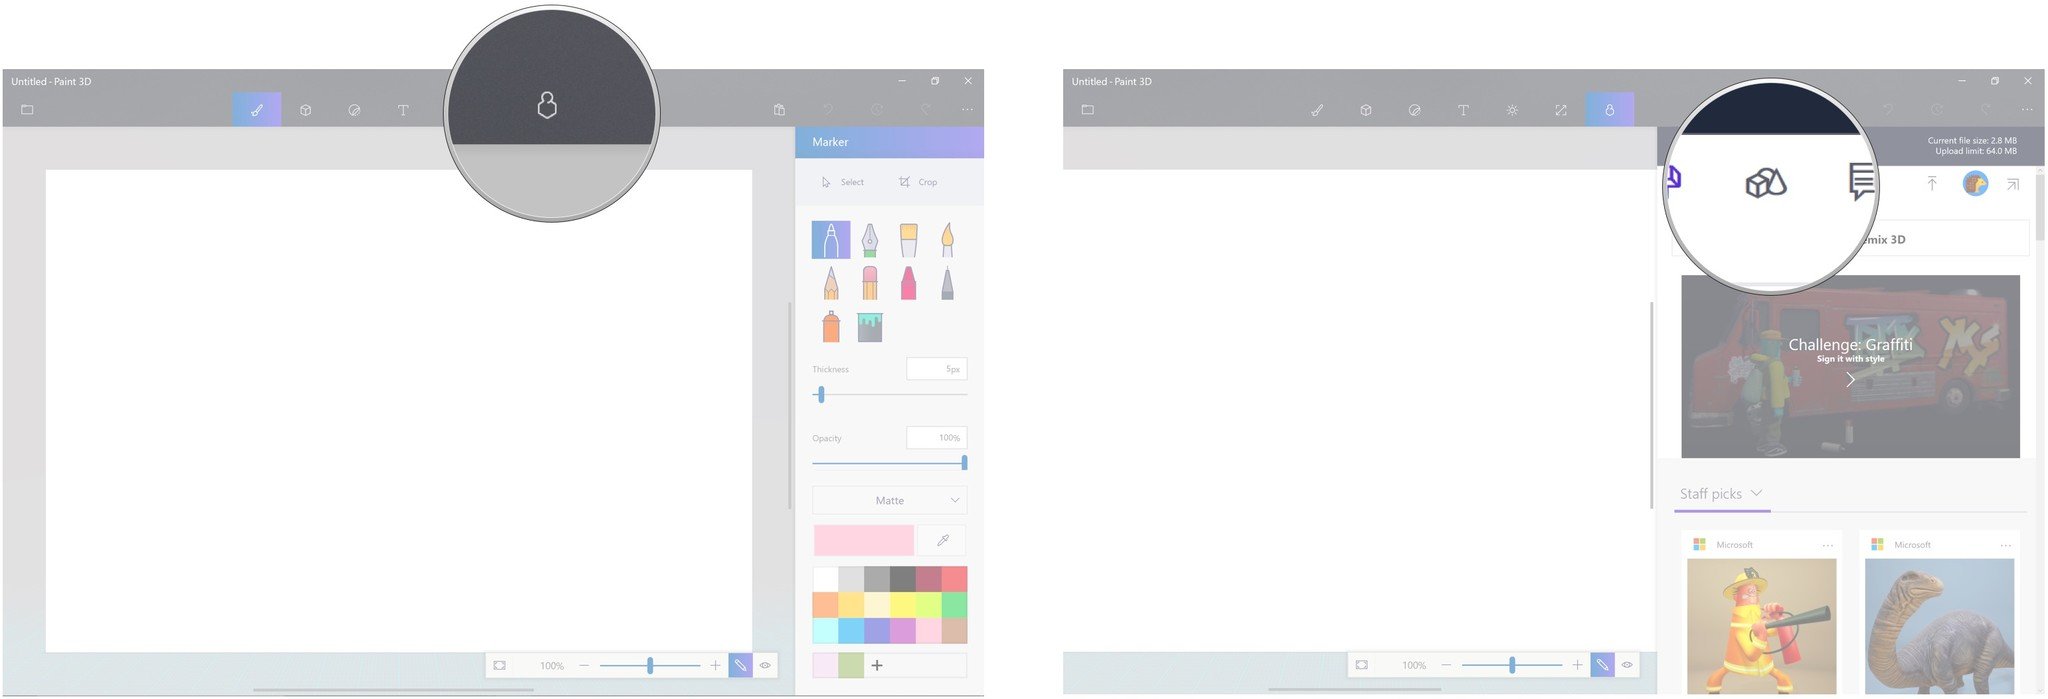
- Click the dropdown arrow next to Models.
- Click Boards.

- Click New board.
- Click the Name field.

- Type a name for the board.
- Click the Description field.

- Type a description for the board.
- Click a Privacy option.

- Click the Tags field.
- Type a tag

- Click the Add tag button.
- Click Save.

How to add 3D models to a board in the Remix 3D community
Now that you have a board, you can add any models you find to it.
- Launch Paint 3D from the Start menu, desktop, or taskbar.
- Click the Remix 3D button near the top of the window.
- Click the Add to boards button on a 3D model. It looks like a +.
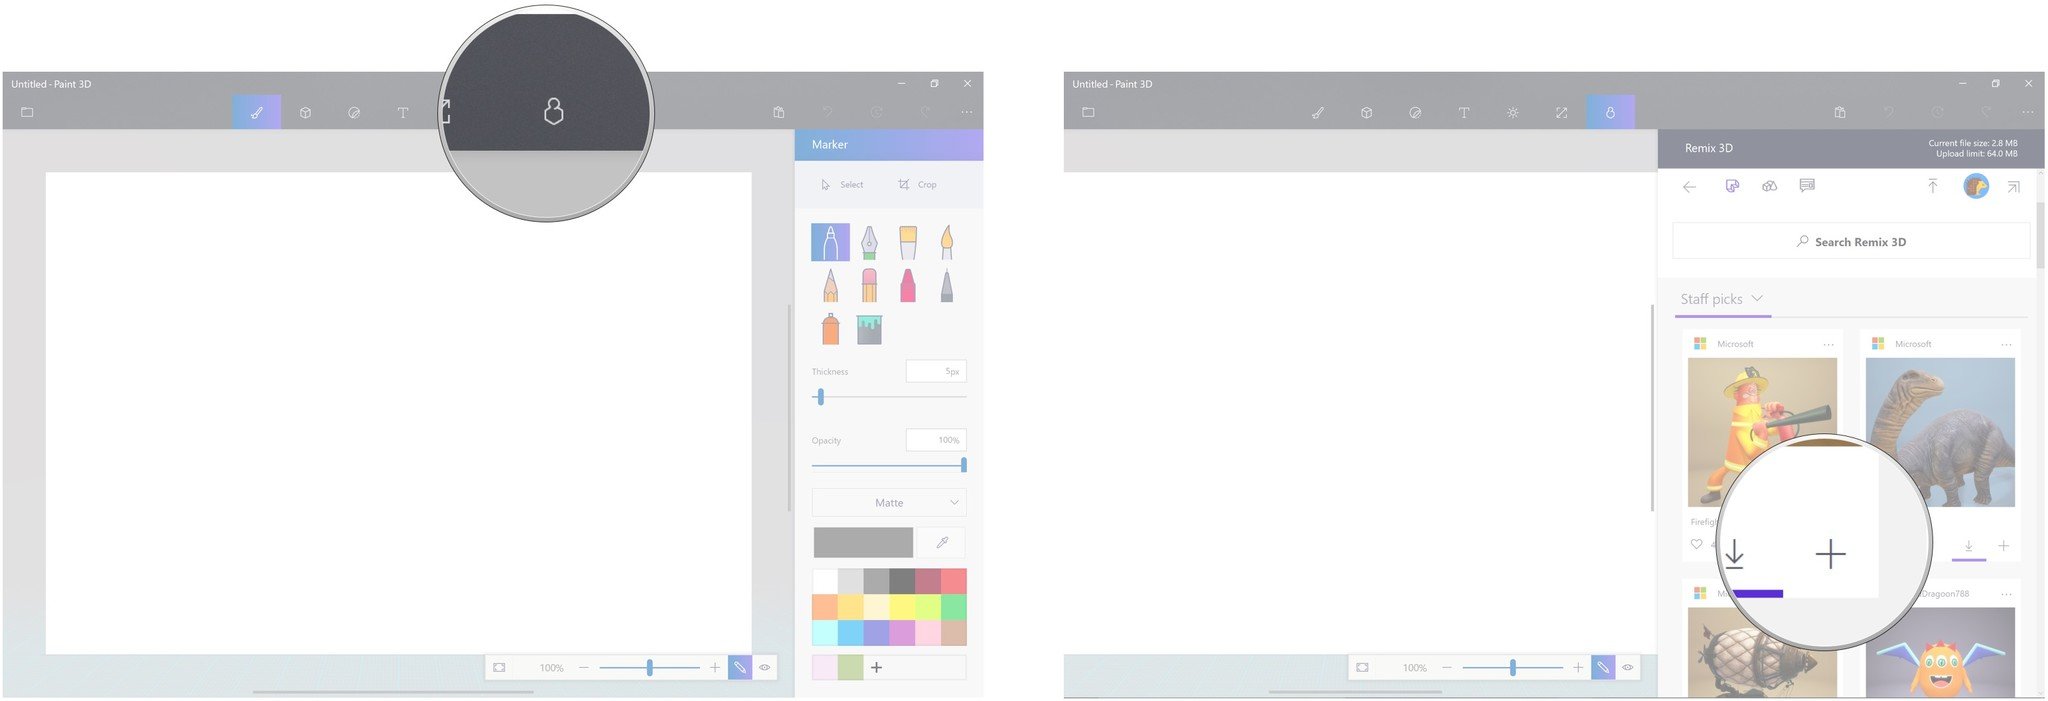
- Click a board.
- Click Add.

You can now find the model on the board you save it to.
Get the Windows Central Newsletter
All the latest news, reviews, and guides for Windows and Xbox diehards.

Cale Hunt brings to Windows Central more than eight years of experience writing about laptops, PCs, accessories, games, and beyond. If it runs Windows or in some way complements the hardware, there’s a good chance he knows about it, has written about it, or is already busy testing it.
