How to install mods for Skyrim Special Edition on Xbox One
How easy is modding Skyrim on Xbox One? Too easy!
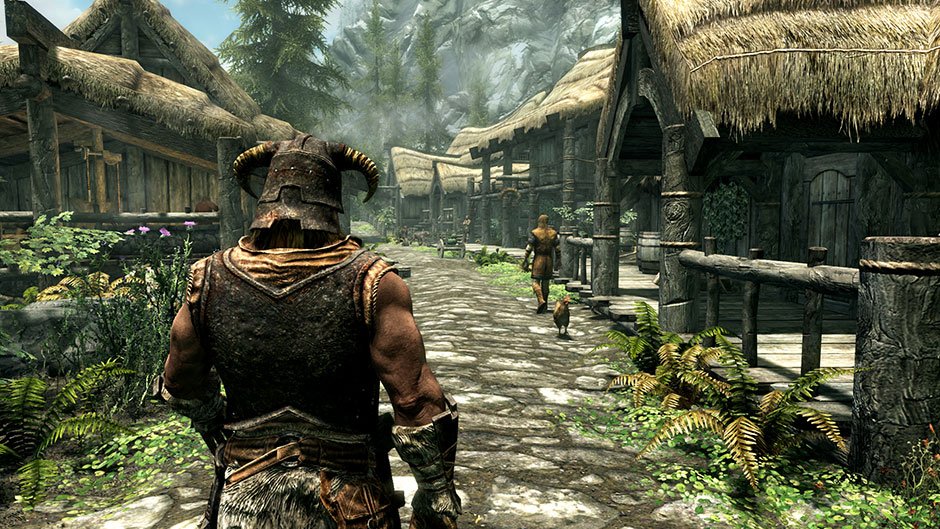
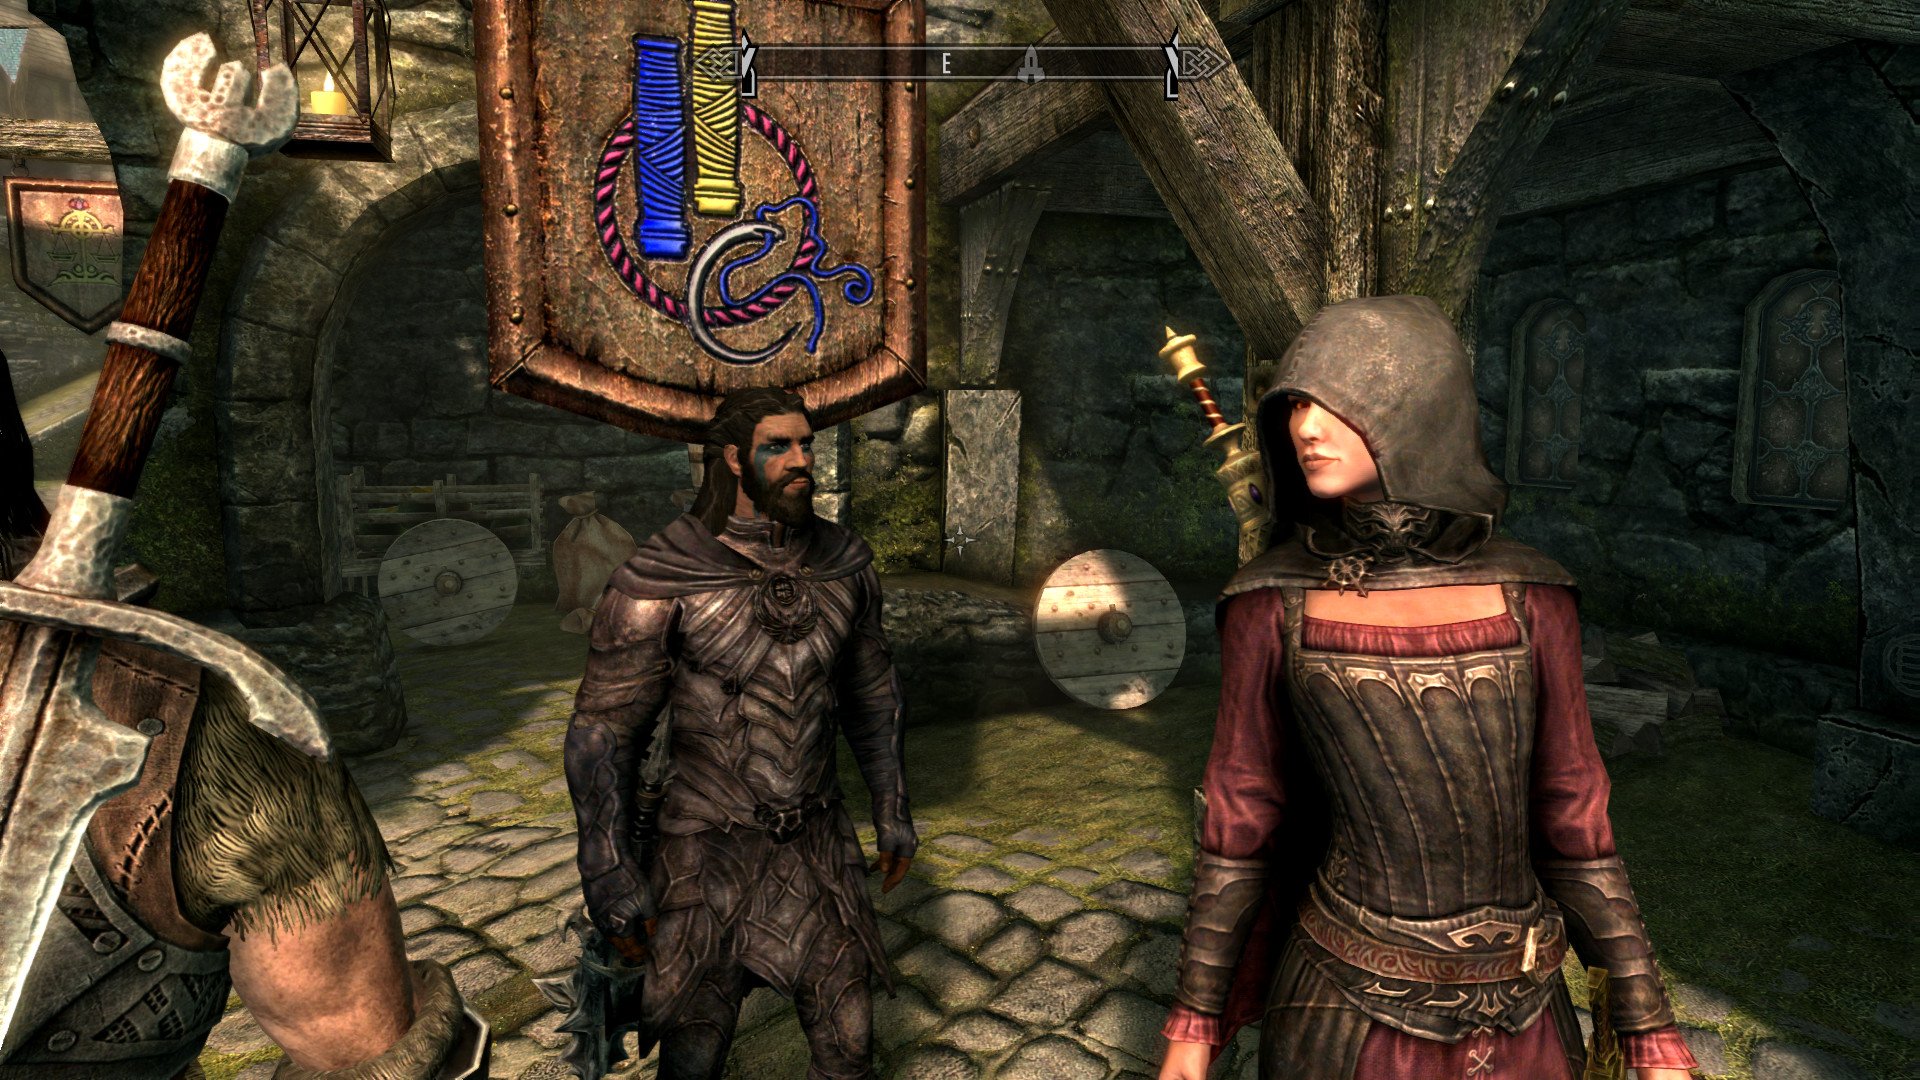
With the recent release of Skyrim: Special Edition came the ability to mod your game, giving the player a whole wagon full of new content to play around with and build the Dragonborn of their dreams.
Here's how to get set up for using mods on Skyrim Special Edition for Xbox One!
How to set up a Bethesda account
The first thing you're going to need is a Bethesda account. A Bethesda account is needed to do this thing and that thing and these other things. If you've played Fallout 4 and used mods on your Xbox One, then you've already got a Bethesda account. You can do this on your PC:
- Go to account.bethesda.net.
- Click Create Account.
- Enter your account information in the fields, agree to the terms and conditions, and verify that you're not a robot.
- Click Create Account
- Verify your email! If you don't verify your email, then you won't be able to use mods until it's done.
Link your Bethesda and Xbox One accounts
When you sign in to your Bethesda account on your Xbox One, you are linking your account to your Xbox One so you can download mods from Bethesda's mod hub directly and they'll go straight to your console. Here's how to link the two:
- Start the Skyrim on your Xbox.
- Press any button to open the main menu.
- Select Mods halfway down the list.
- Enter the username and password you created for your Bethesda account.
Finding and downloading a mod
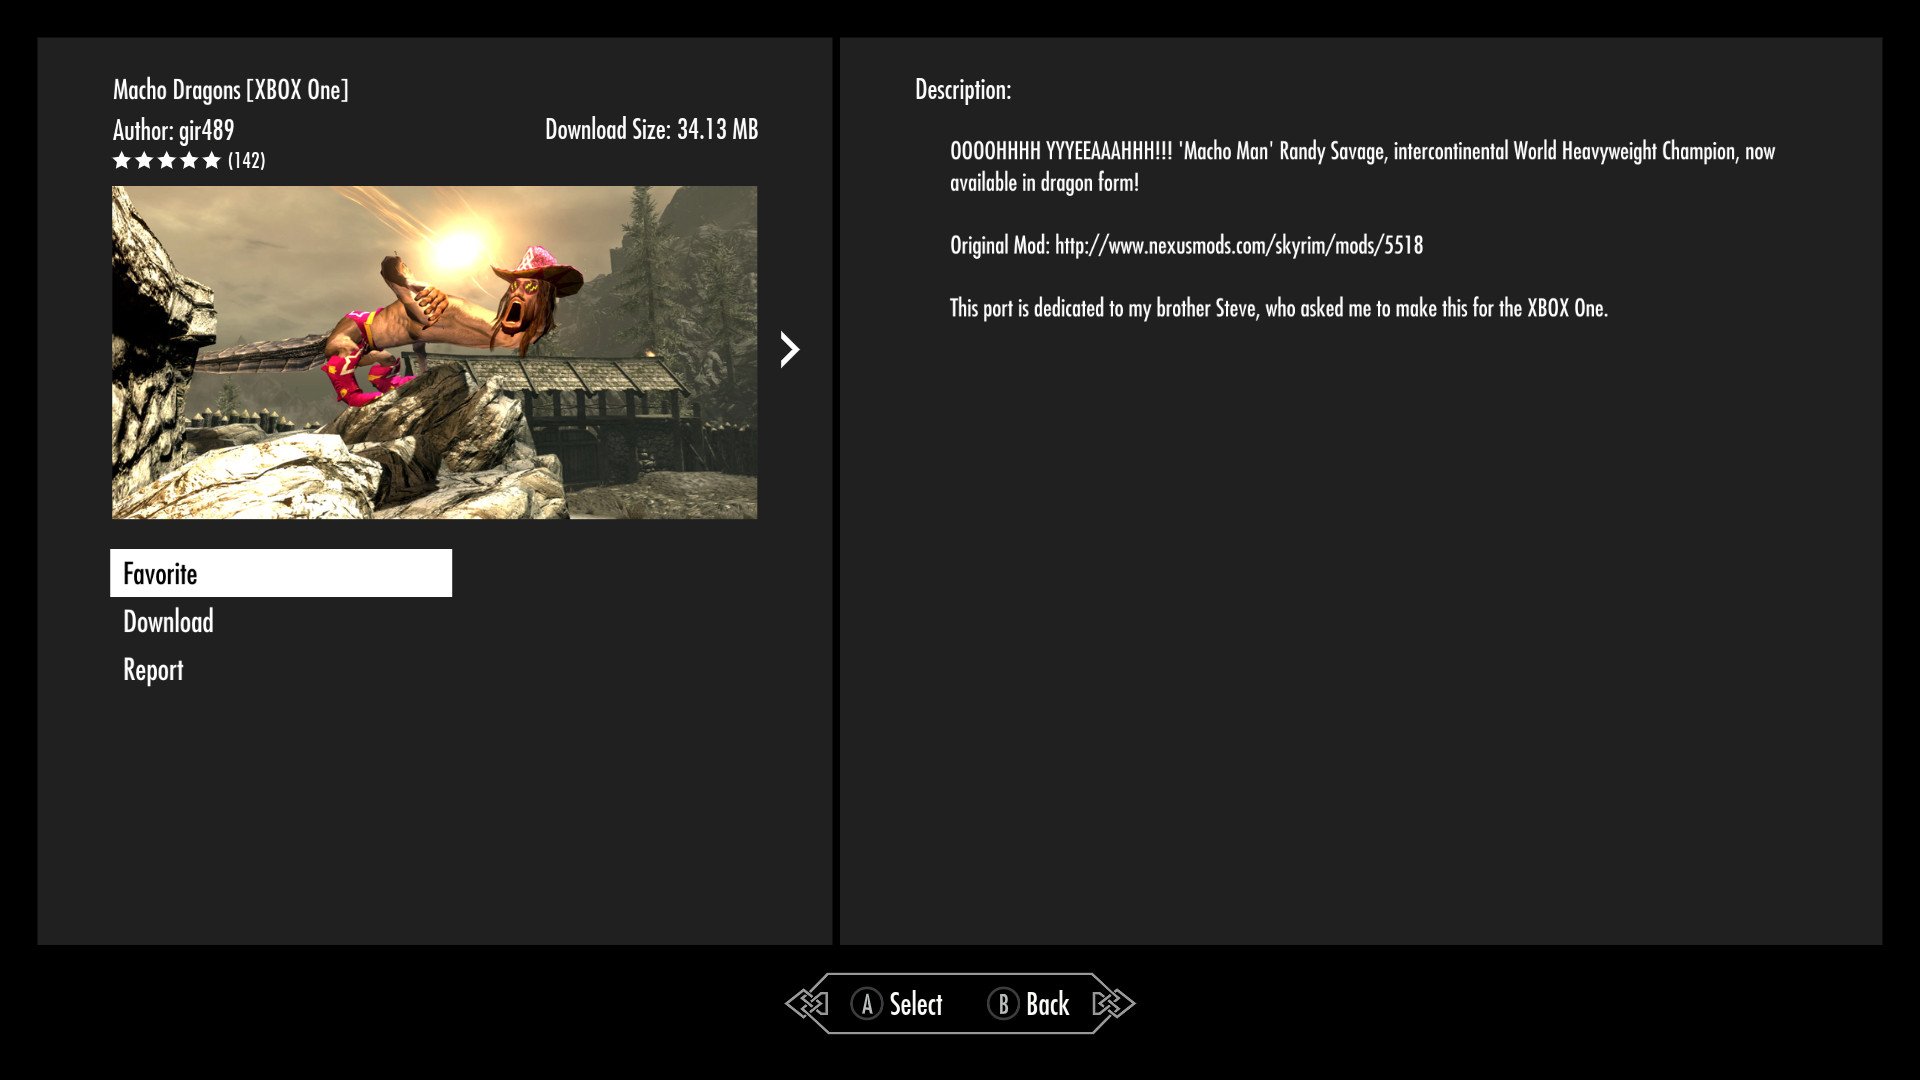
Once you're signed in with your Bethesda account, you'll be confronted with all the available mods. You can also search mods to narrow your selection down. Scrolling up and down the mod page separates the mods by type.
- Hit X to bring up the search menu.
- Enter your search term. For example, if you want to see what type of rings there are, type 'rings'.Once you have found a mod:
- Press A to select a mod.
- Read the description, and check whether it has any load order requirements. If it does, we'll cover that in the next section.
- Select Favorite to add it to your list to find again later.
- Select Download to begin installing it to your console.
Enabling or disabling mods once they're installed
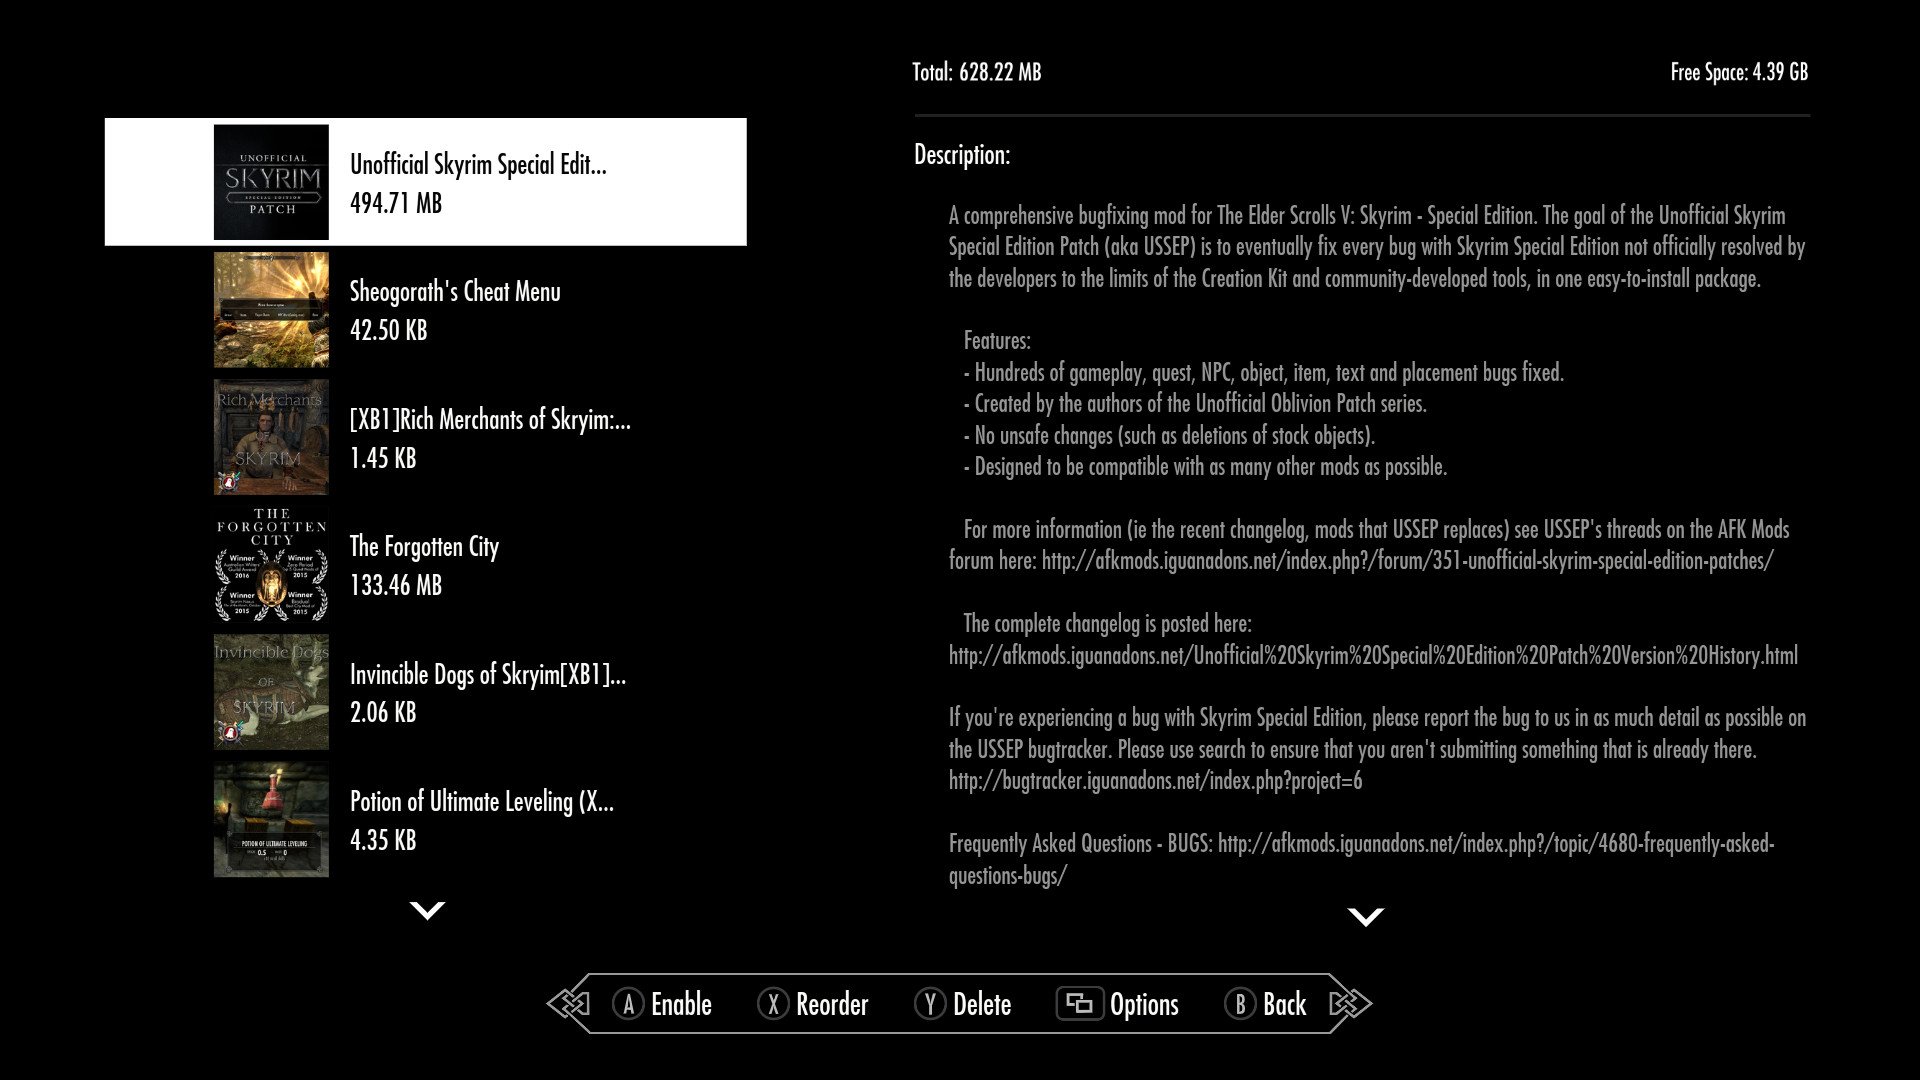
Downloaded mods go into your Mods list, which details which ones you have installed on the console.
- On the main mod hub screen, hit Y to access your Load Order.
- To enable or disable a mod: select the mod and press A. If you want to play and get achievements, all mods will needs to be disabled before you start a game.
- Delete a mod you no longer want by pressing Y.
- Pressing the View button will enable you to delete or disable all mods.
Changing the Load Order of your mods
Certain mods may require being in a certain position in the Load Order to be enabled. This determines the importance of which mods should be applied first when the game is loaded. For example, some mods like the Unofficial Skyrim Patch need to go first, as some other patches are dependent on it to work.
Get the Windows Central Newsletter
All the latest news, reviews, and guides for Windows and Xbox diehards.
- On the main mod hub screen, hit Y to access your Load Order.
- Select the mod you need to reorder.
- Press X.
- Move the mod up or down the list using the directional pad.
- Press X again when it is in place.
And that's it! Once you head back to the main menu to start your game, you'll be ready to fulfill your Dragonborn destiny with all the mods and tweaks your console can carry!
Lauren Relph is a games writer, focusing on Xbox. She doesn't like piña coladas but loves getting caught in the rain. Follow her on Twitter!
