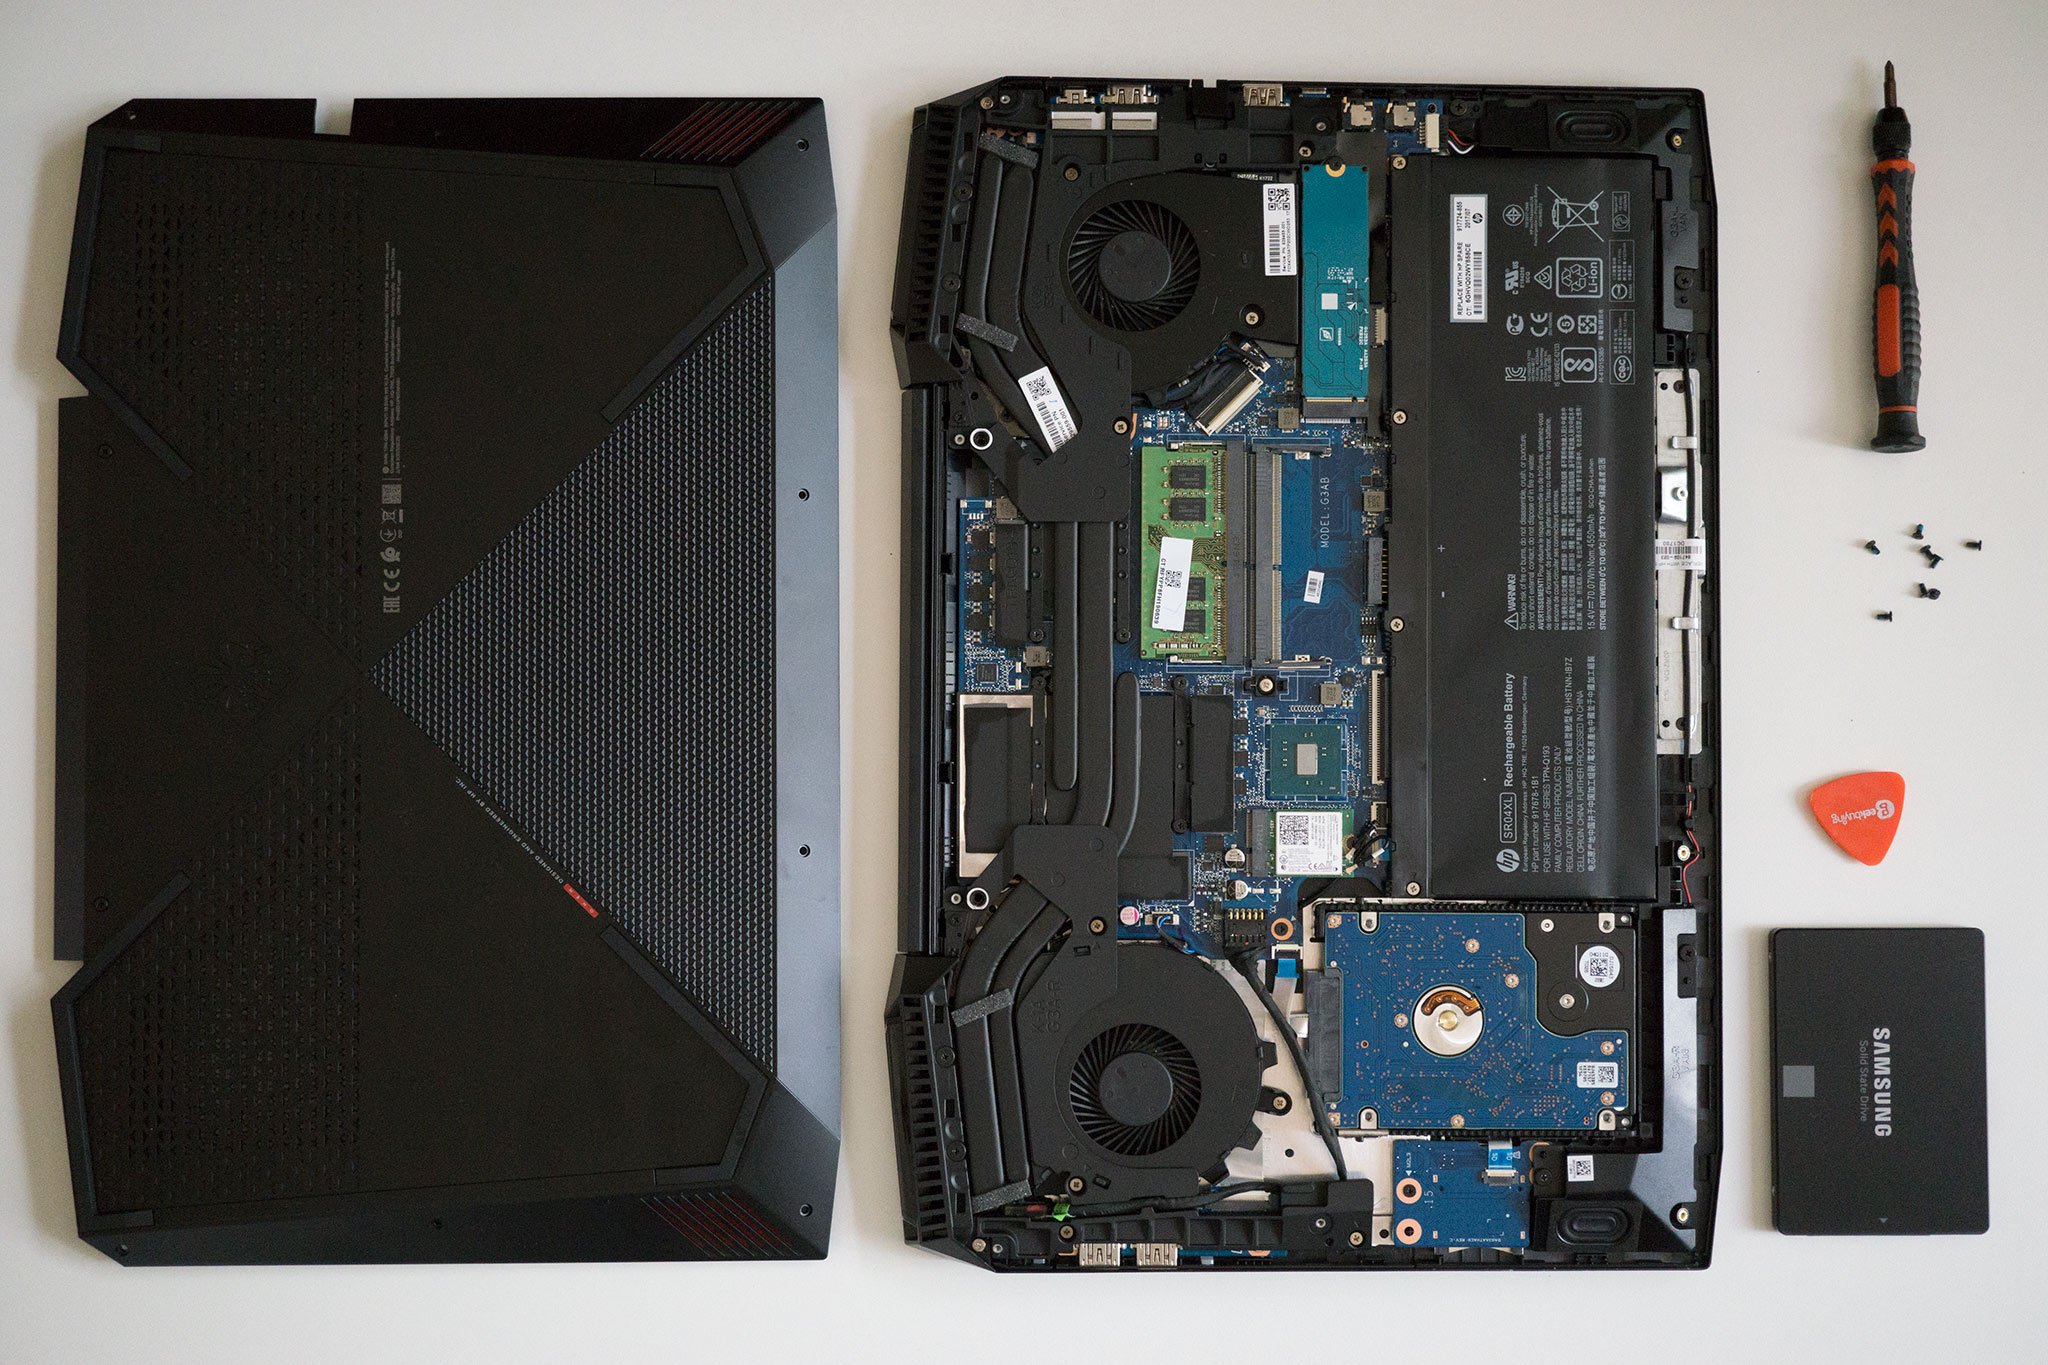
Whether you wanted to save some money during the initial laptop purchase, the manufacturer you purchased your laptop from only offered hard-disk drive (HDD) options, or you're fixing up a laptop from a time before solid-state storage, upgrading to an SSD is a relatively common DIY practice. However, before ripping the back off your laptop and poking around inside, there are a few things to consider and keep in mind when going about this task.
Why upgrade your laptop's hard drive?
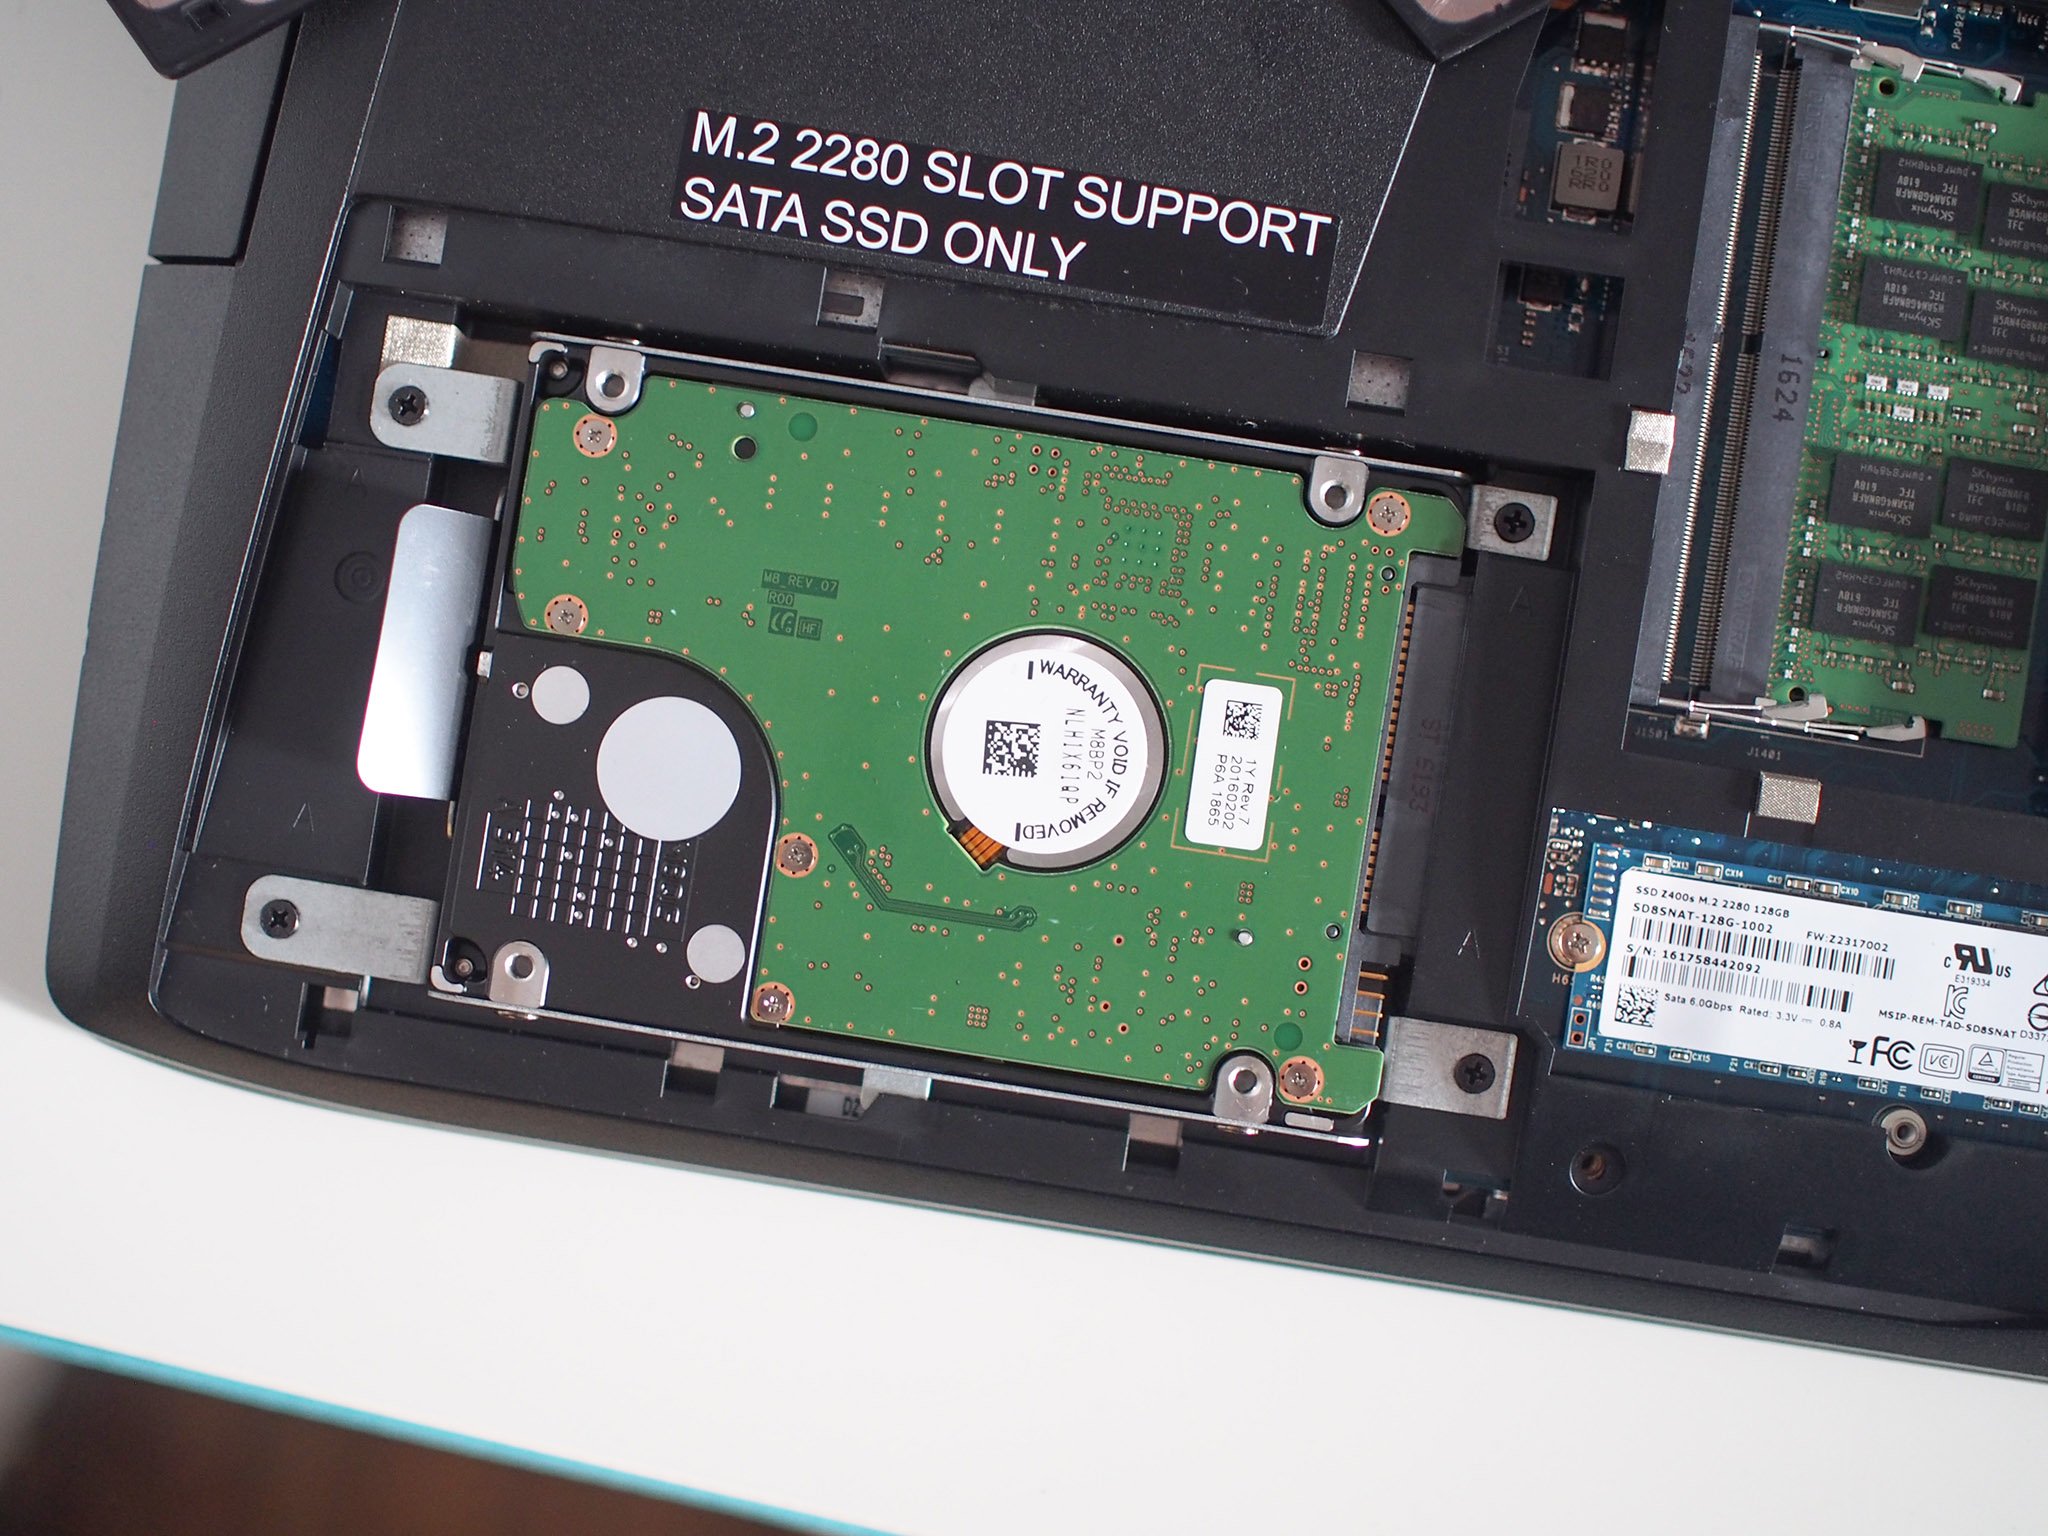
HDDs were the standard form of big storage for PCs for a long time, but their spinning platters and actuator arms can only operate so fast. SSDs, which have no moving parts inside and usually rely on NAND flash memory, offer speeds that far surpass HDDs. They're also quite a bit more stable and should last longer due to the lack of moving mechanical parts.
SSDs are likewise a lot more compact since they don't need to accommodate the platters and arm, and they're usually found in lightweight, thin Ultrabooks. No matter what size you choose, the biggest positive impact you'll see from a replacement should be speed, especially when using a PCIe bus. Windows 10 boots in seconds, and you'll probably even notice a difference when working with large files and apps.
Before continuing any further with a DIY replacement project, you want to ensure that your laptop can indeed be opened up and can have its hard drive accessed. Some laptops will stop you from even getting past the outer chassis, while others will let you in before dashing your hopes with a buried drive.
Your best bet is to do some research on your specific model to see if it is indeed upgradeable, or check out our roundup of great laptops that are easily upgraded at home.
- SSD vs. HDD: Which should I have in my PC?
- What is an SSD and why would I want one?
- Best upgradeable laptop in 2018
Back up your data
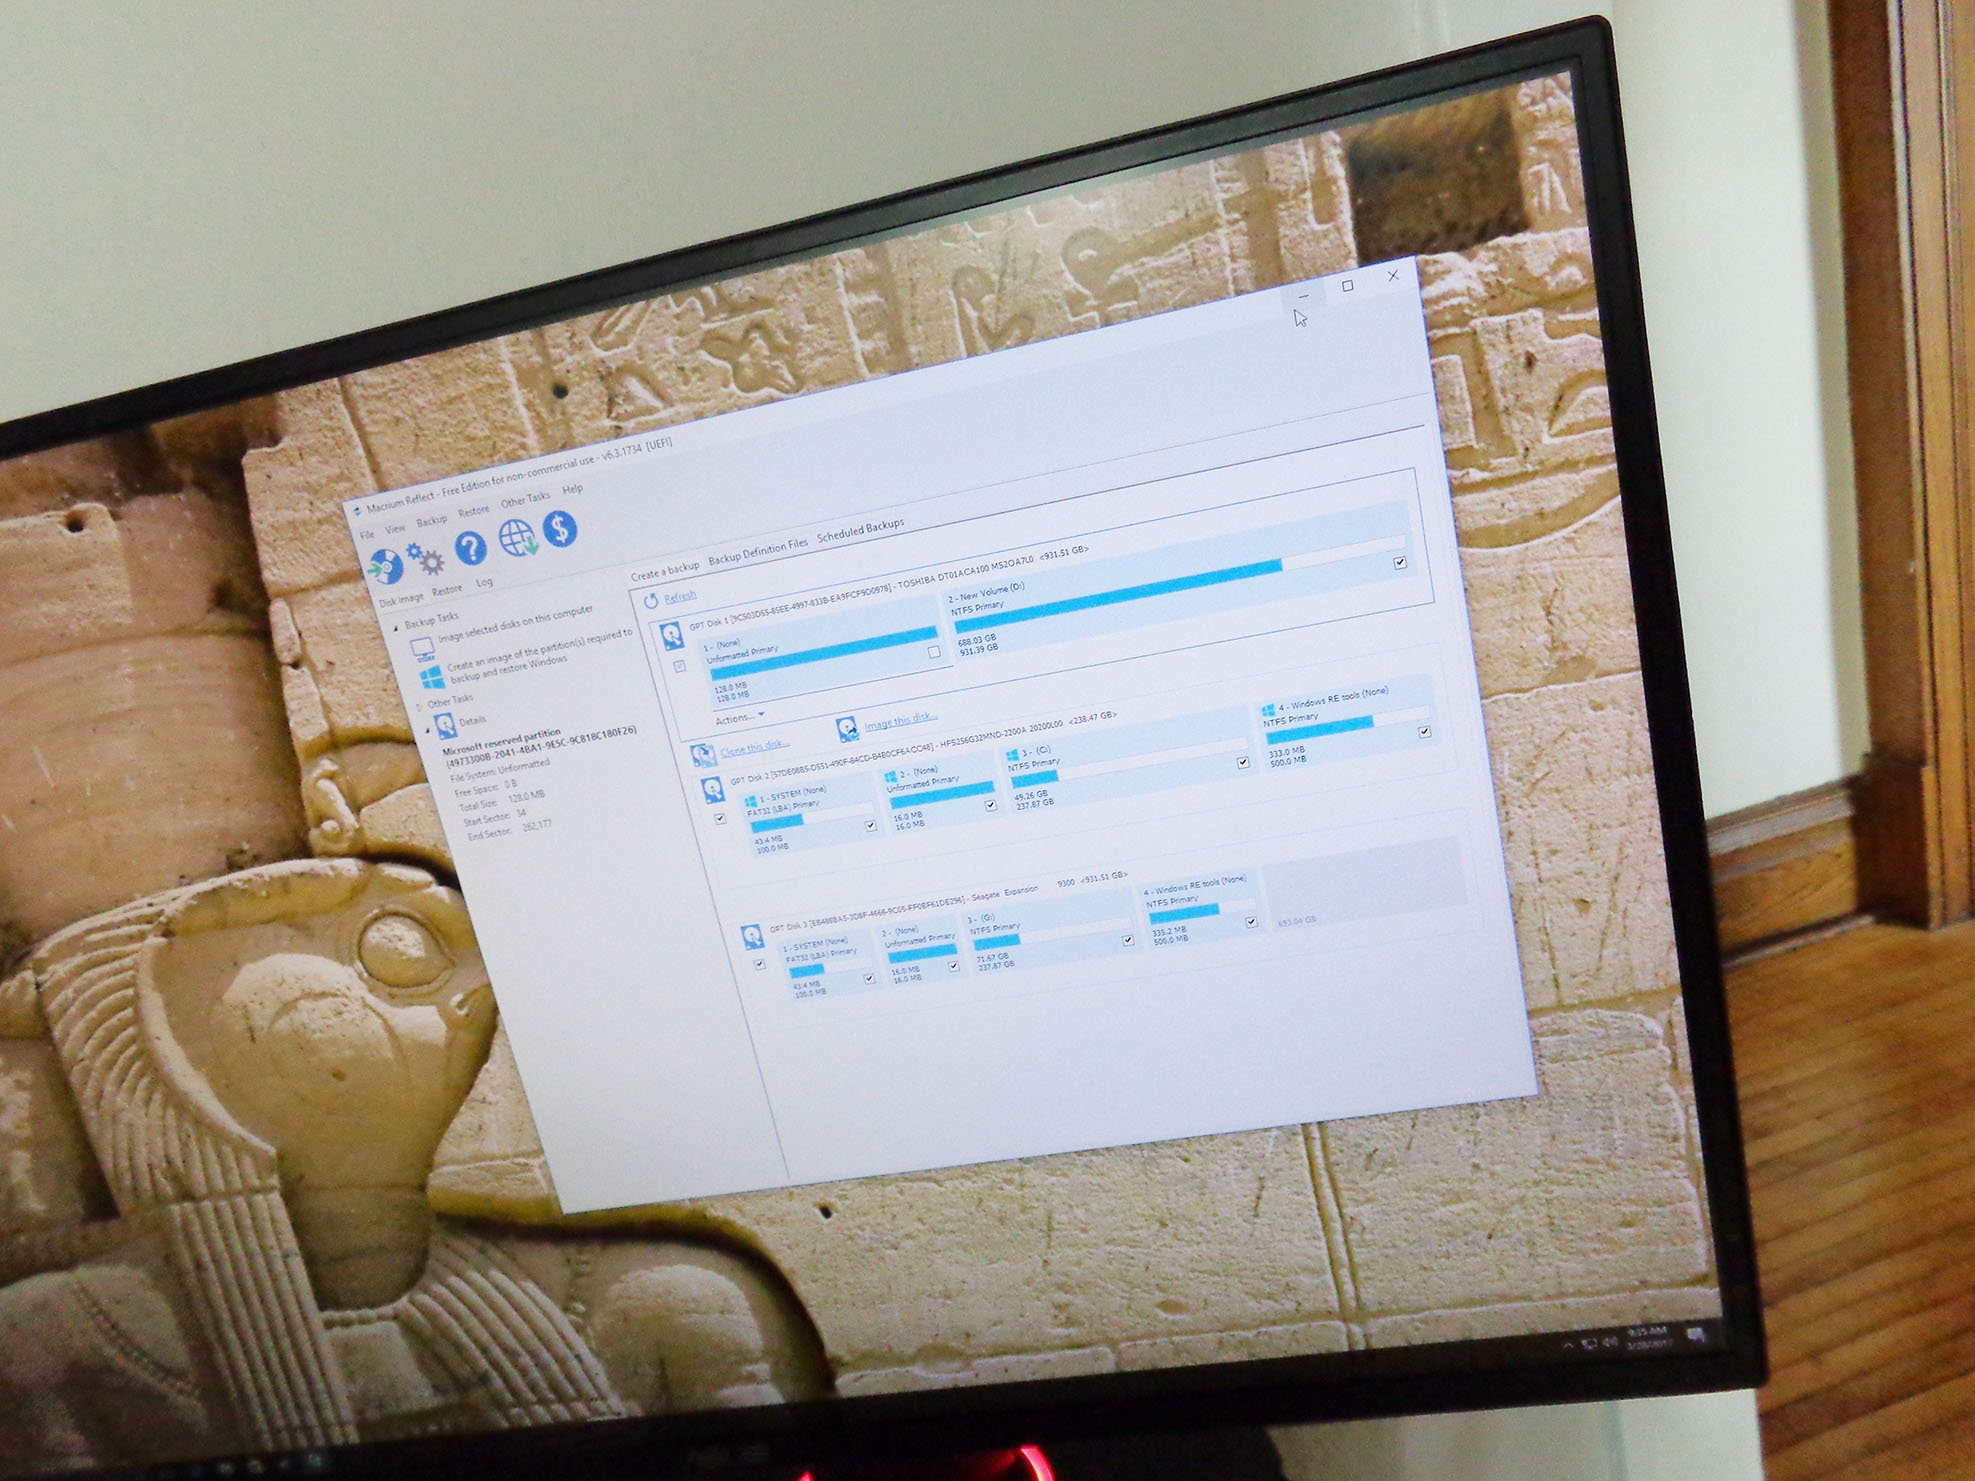
Now that you know your laptop can indeed have its drive replaced, it's time to back up your existing drive. If you'd like to start over completely fresh without any of your old files and programs, you can gloss over this section and go straight to choosing a replacement SSD.
Upgrading your hard drive? Don't bother with cloning, just do a clean Windows 10 install
Get the Windows Central Newsletter
All the latest news, reviews, and guides for Windows and Xbox diehards.
If you want to pick up where you left there are a few popular options. You can clone your old drive to your new SSD for an exact replica, you can create an image and restore your familiar OS with all apps and settings, or you can back up files to a cloud service, like OneDrive. There are a few other options as well, detailed in our guide to easy and effective ways of backing up your PC.
If you're interested in cloning or imagining, these guides should help you get started (and finished!) with the process.
- How to make a full backup of your Windows 10 PC
- How to clone your PC hard drive using Macrium Reflect
- How to use Macrium Reflect to create an image of your PC hard drive
Choose a replacement solid-state drive
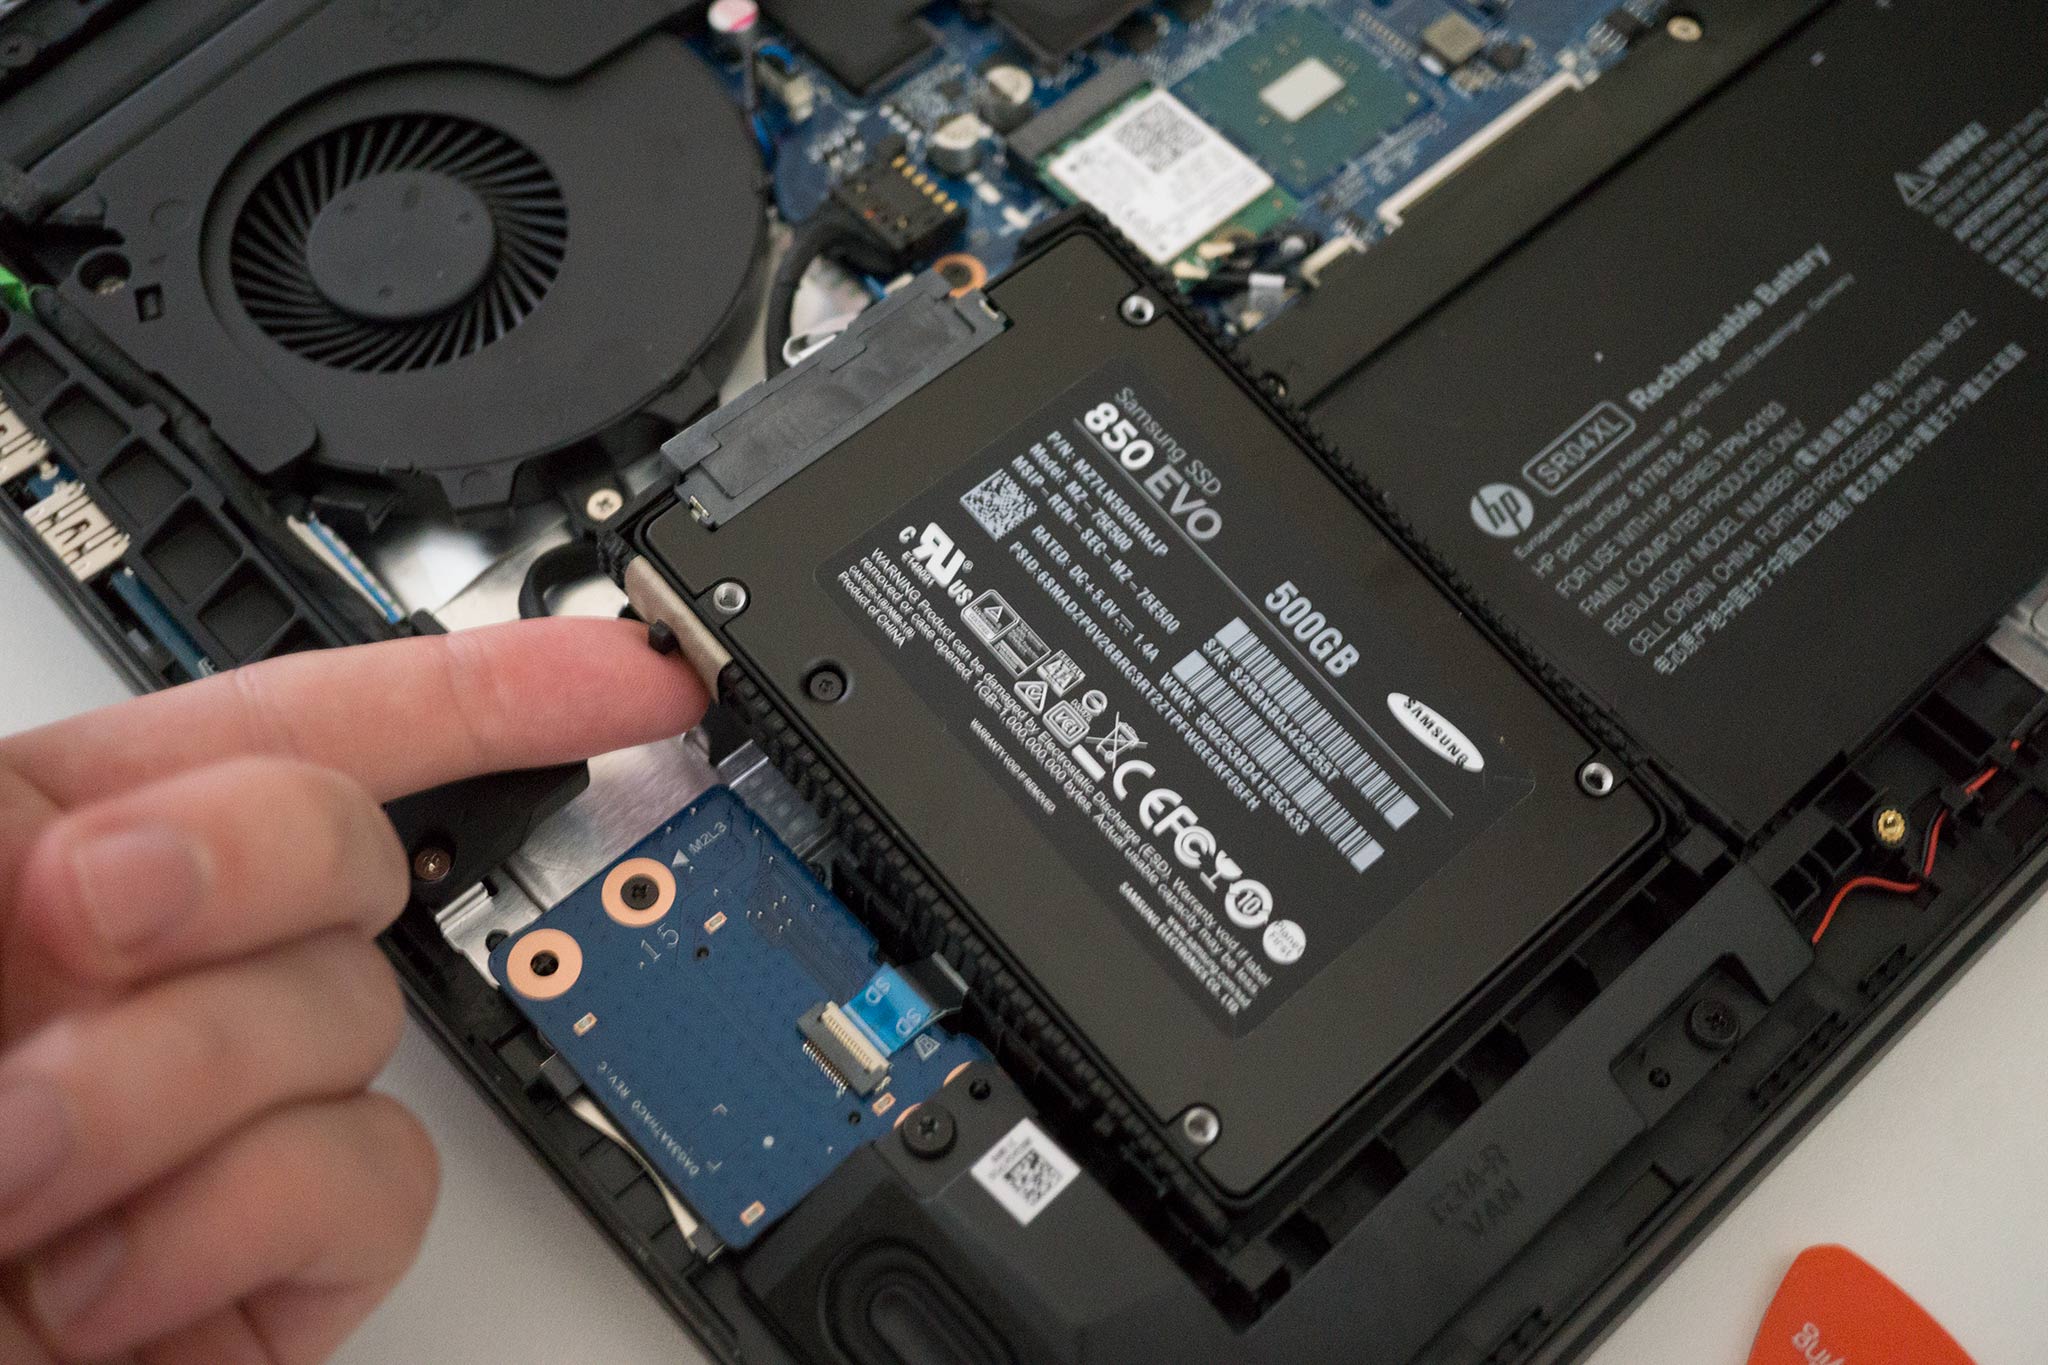
Whether or not you're bringing your old data over to your new drive, it's time to pick out a quality SSD that makes the entire upgrade worthwhile.
First, figure out what type of interface the drive in your laptop is compatible with (usually SATA or PCIe) and determine which form factor will fit (often 2.5-inch or the slim M.2). From there, it's up to you to balance price, performance, and size. If you need a hand, we've put together a list of the best SSDs on the market today.
Best solid-state drives for Windows PCs
Use the right tools
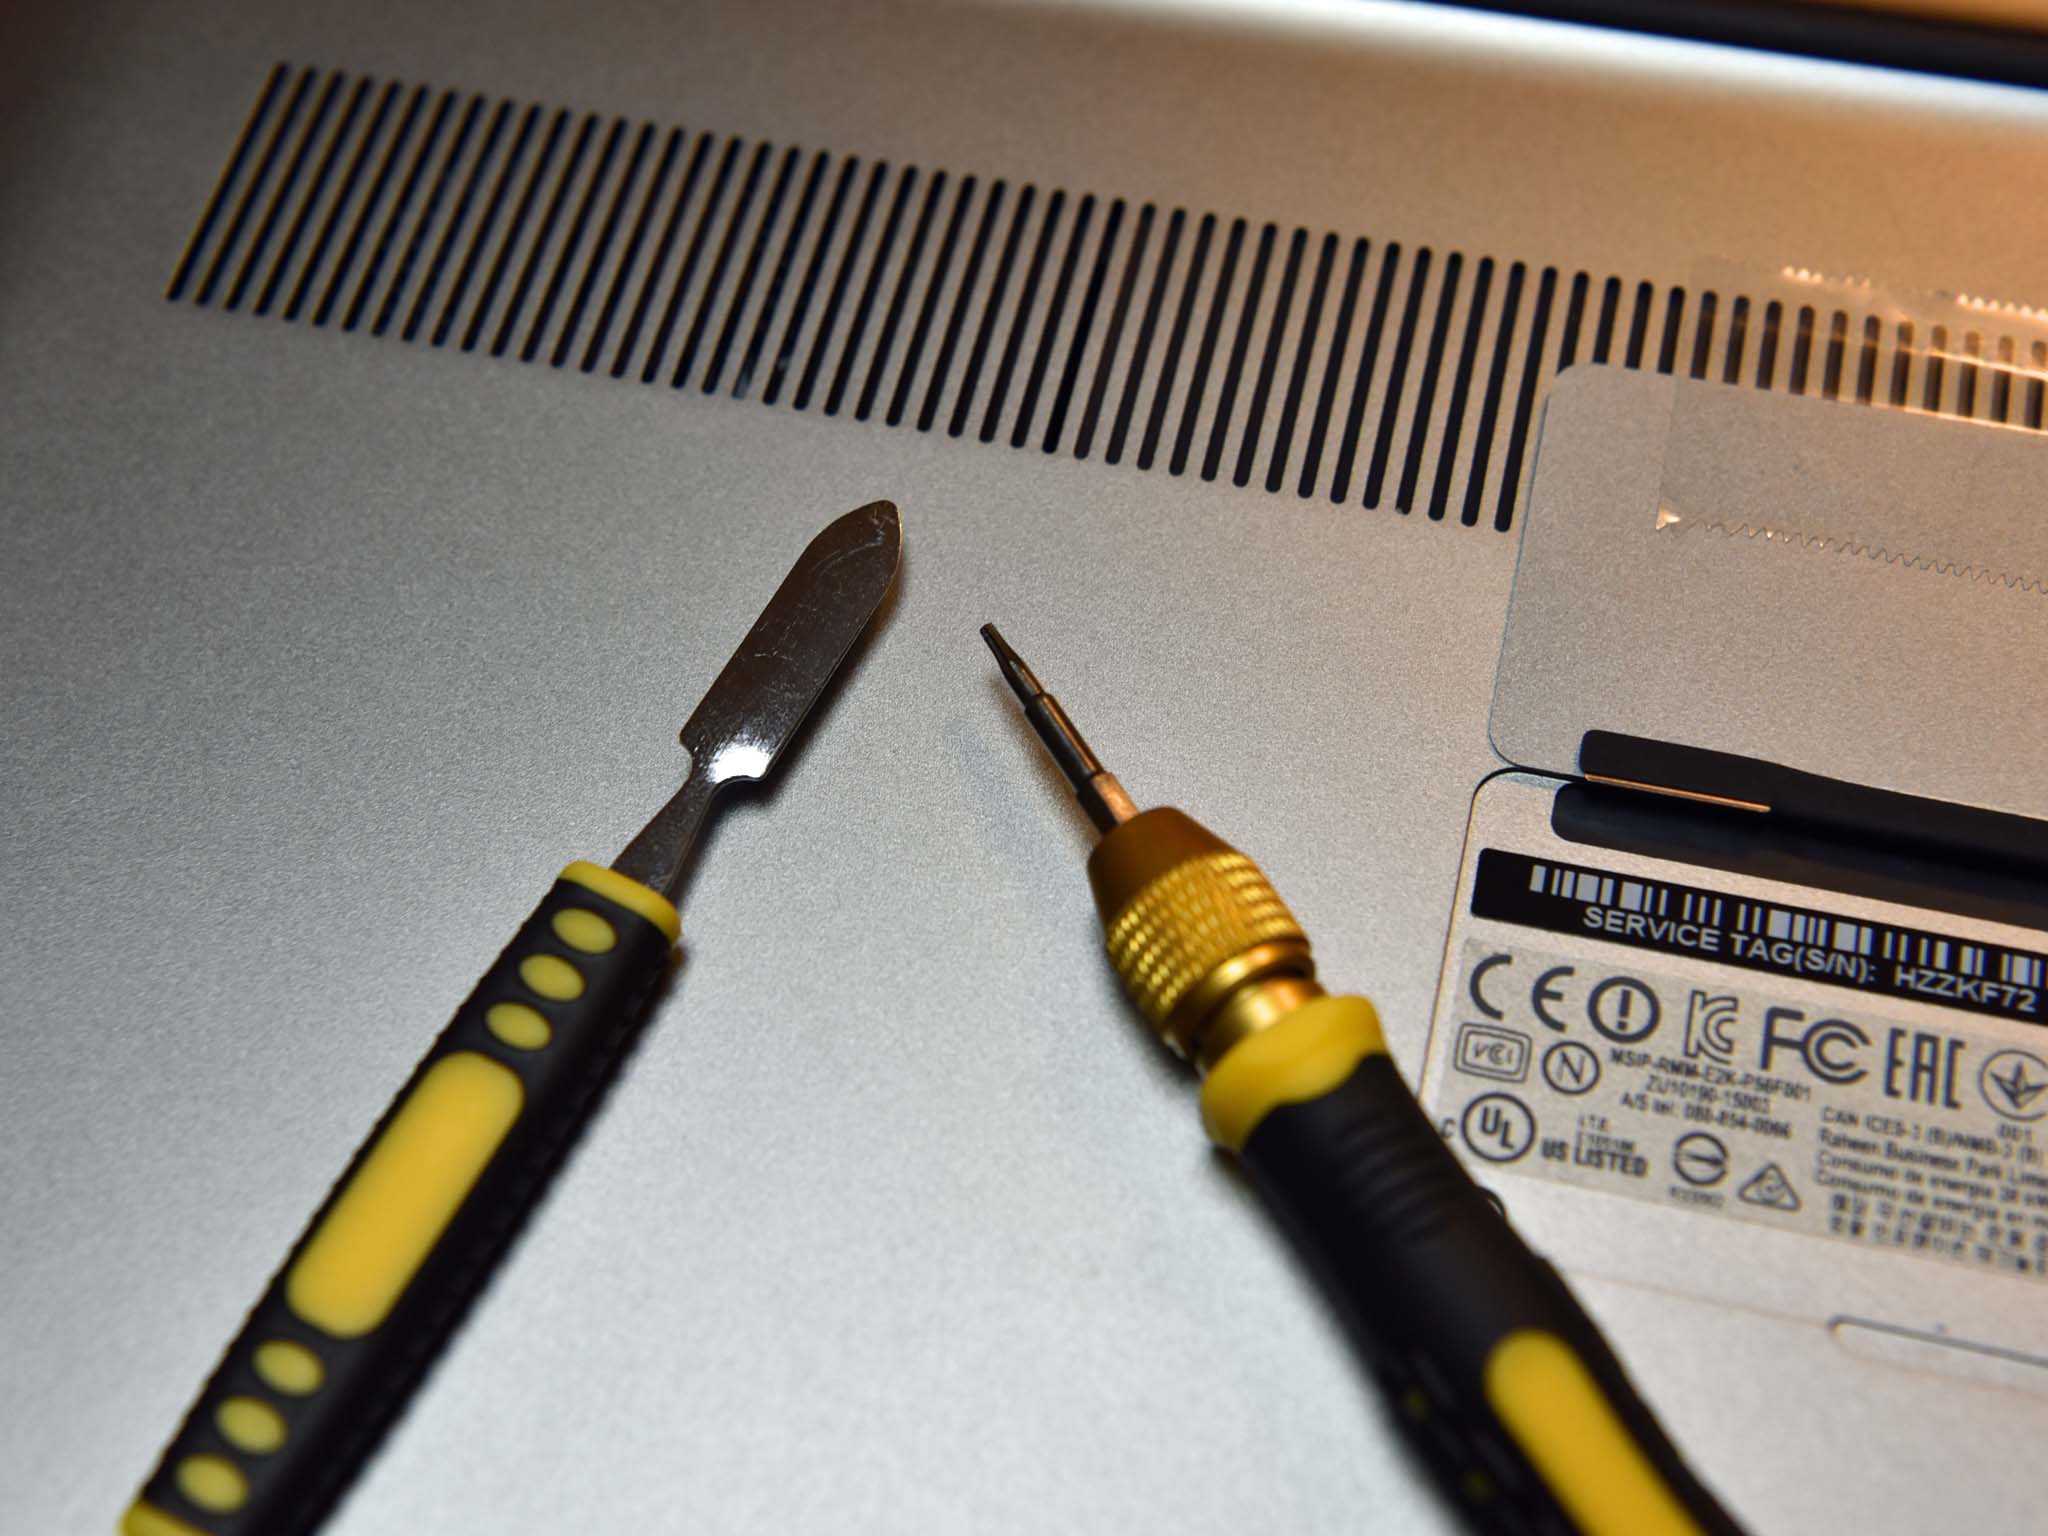
Gathering up whatever assortment of tools you have lying around the home or office and sitting down to operate on your laptop's innards likely won't do. There are plenty of delicate parts inside, and we all know how everything starts looking like a nail when all you have is a hammer to work with.
Luckily, specialized toolkits are generally inexpensive and should contain everything you need for a successful upgrade, including specialized screwdrivers, suction cups, pry tools, tweezers, and spudges. For our Razer Blade SSD swap, we used the E.Durable kit (about $12) and haven't looked back.
As an added bonus, you can invest in an anti-static mat or anti-static wrist strap to prevent any accidental damage while working.
How to upgrade your laptop's hard drive
Video tutorial on replacing the SSD in a Razer Blade.
Because laptops differ so much when it comes to internal layout, it's hard giving a specific step-by-step explanation that covers everything. In general, though, you remove the back of the laptop's chassis, loosen the old drive, unclip the bus, and remove the old hardware.
In some cases ― like with the Acer Aspire 5 ― there will be an easy-access panel that lets you quickly and painlessly add extra storage without even taking apart your laptop.
There are plenty of tutorials online that will help with replacing the drive in a specific laptop, including a few of our own.
- How to replace the drive in your Dell XPS 13 (9350)
- How to upgrade the RAM, SSD, and HDD in the HP Omen 15
- How to upgrade the Razer Blade with a Samsung 960 EVO SSD
- How to upgrade the SSD in a Dell XPS 15 (9550)
- How to upgrade the storage and RAM on the ASUS GL552
- How to upgrade the storage and RAM on the ASUS G752
Wrapping up
As a reminder, always create a backup (unless you want to start completely new), always research what type of SSD your laptop is compatible with, always use the right tools, and upgrade to an SSD that will remain relevant (consider size and speed) for years to come.
Have any extra tips or tricks for anyone looking to go down this DIY road? Be sure to hit up the comments section!

Cale Hunt brings to Windows Central more than eight years of experience writing about laptops, PCs, accessories, games, and beyond. If it runs Windows or in some way complements the hardware, there’s a good chance he knows about it, has written about it, or is already busy testing it.
