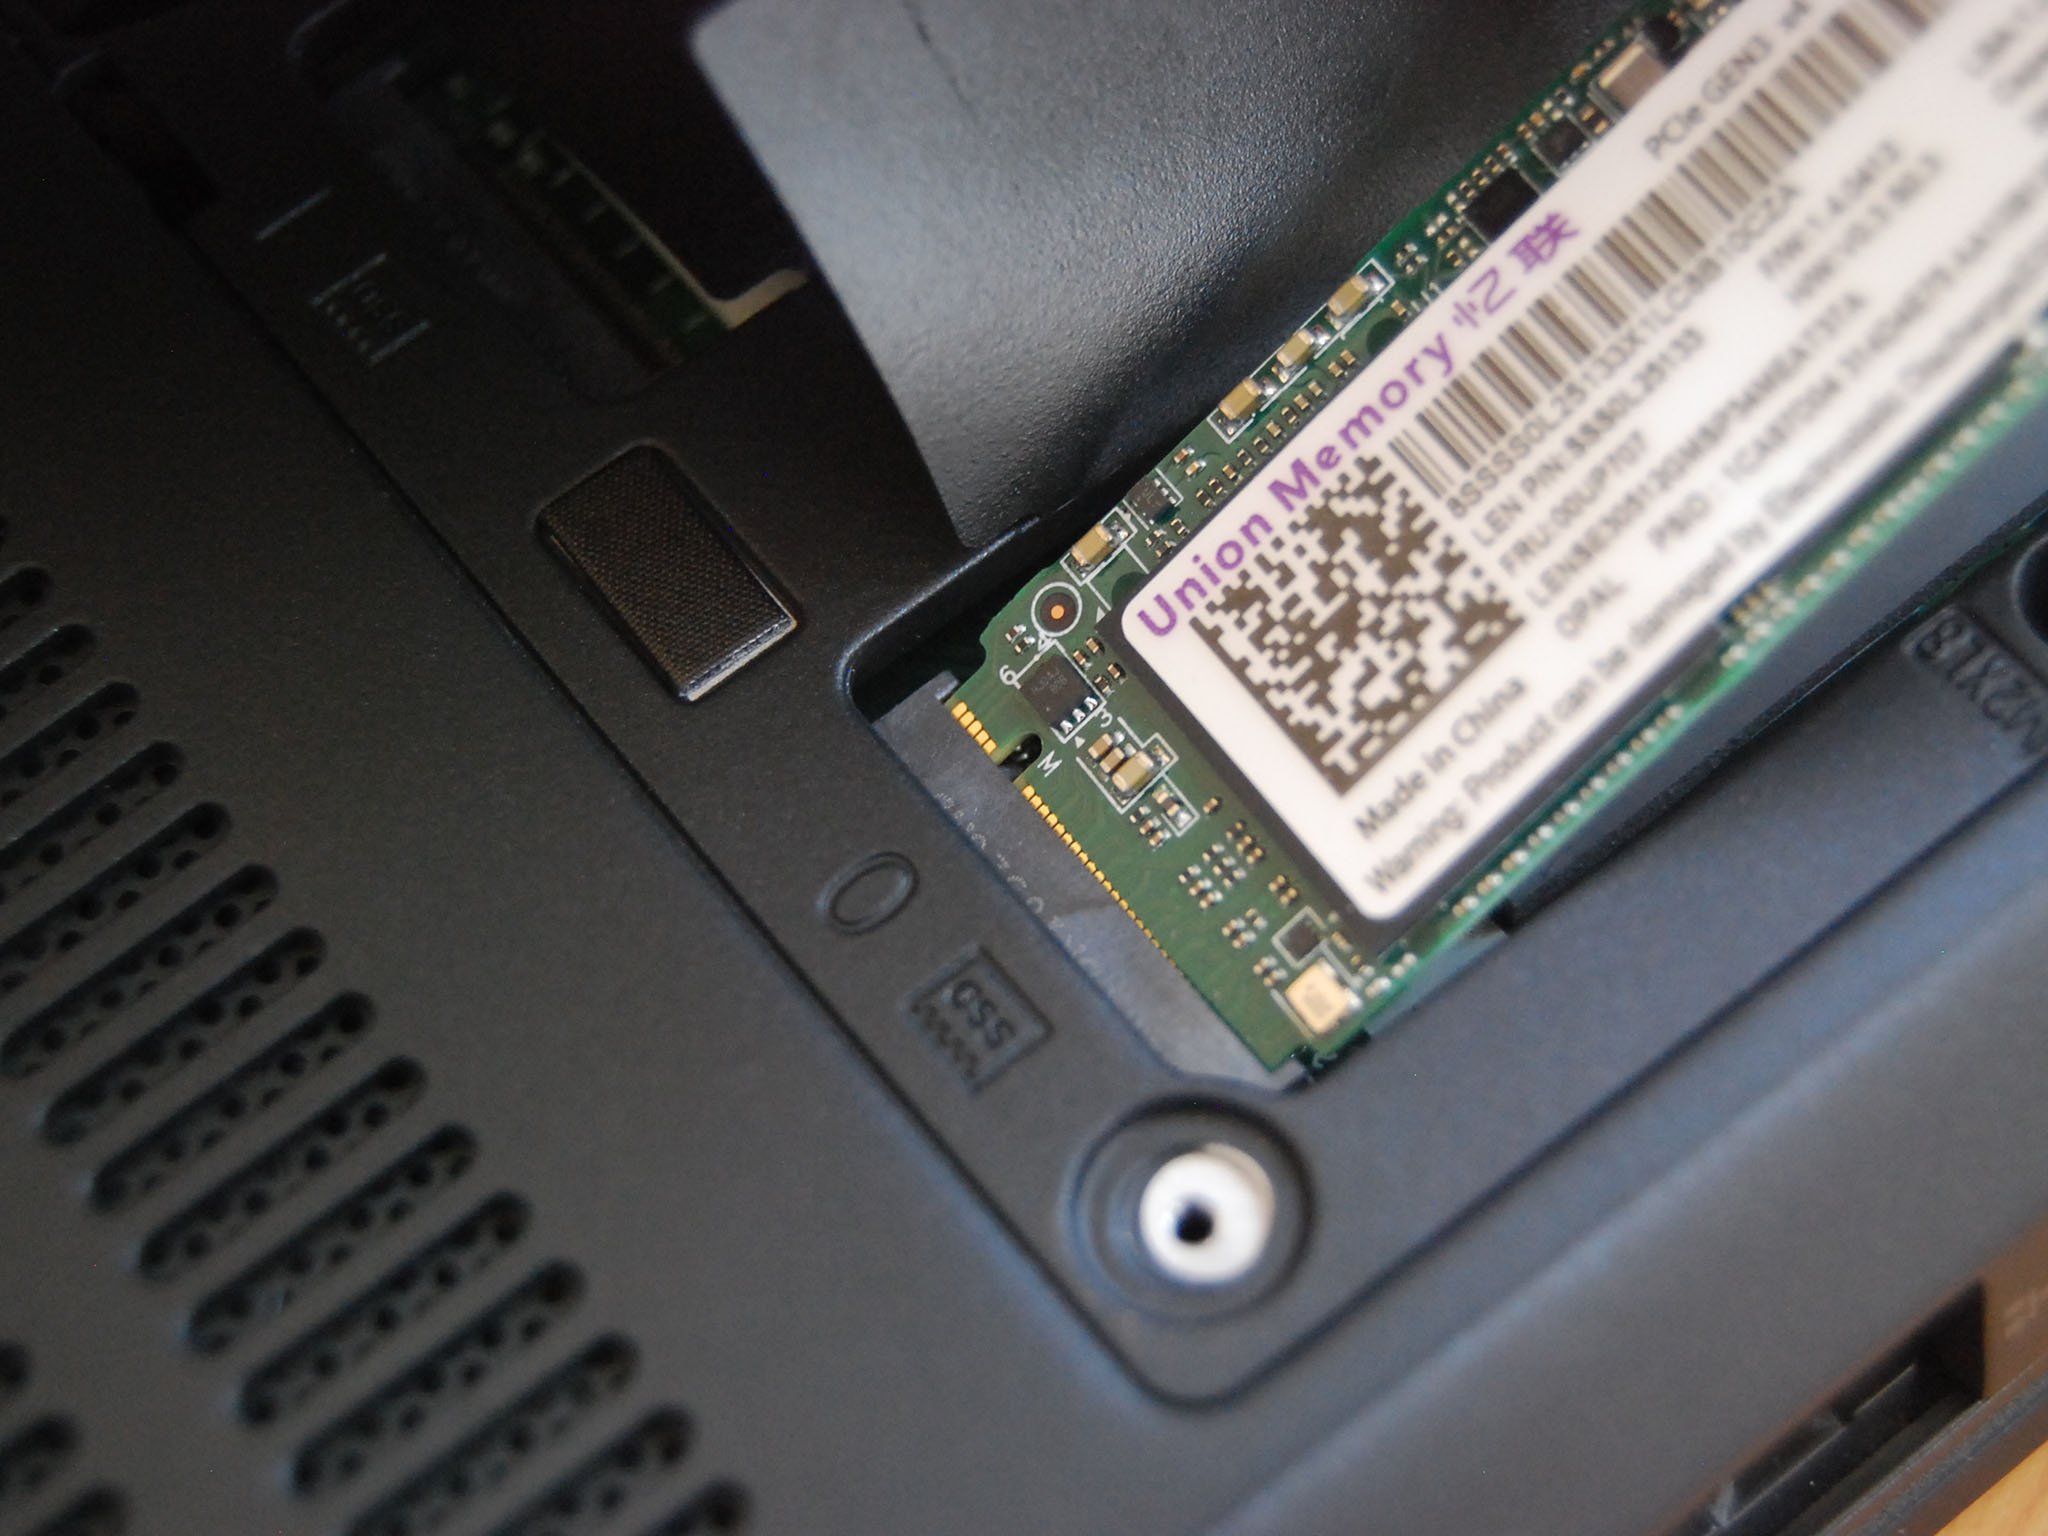
To match the powerful processor (CPU) and graphics (GPU) hardware options, Lenovo's ThinkPad P72 provides space for dual M.2 PCIe solid-state drives (SSD) alongside a 2.5-inch hard-disk drive (HDD), which can also be upgraded. If your P72 didn't come with an M.2 SSD or you just want to add something faster, we've laid out all the steps required for the upgrade right here.
Hardware and software to get the job done
- M.2 PCIe NVMe SSD: Samsung 970 EVO Plus (From $88 at Amazon)
- SSD enclosure for cloning: ElecGear M.2 PCIe enclosure ($50 at Amazon)
- Cloning tool: Macrium Reflect 7 (Free at Macrium)
- Prevent damage: Rosewill anti-static wristband ($6 at Amazon)
- All required tools: ORIA PC toolkit ($33 at Amazon)
- 17-inch powerhouse laptop: Lenovo ThinkPad P72 (From $1,529 at Lenovo)
How to upgrade the SSD in your Lenovo ThinkPad P72
Note: Before beginning any upgrades on a PC, it's a good idea to back up your data in the unlikely event something should go wrong. You'll also want to ensure you're not working in a static-filled environment, as it can cause damage to a PC's internal hardware. Consider investing in an anti-static wristband to avoid unnecessary damage.
Besides HDD and RAM upgrades, adding faster or larger M.2 PCIe SSDs to the ThinkPad P72 can boost performance and can give you more room to work with. Basic P72 models come with only an HDD, but you might have a model that already has one or even two M.2 SSDs. In any case, they can be easily upgraded thanks to a quick-access panel on the bottom of the laptop.
When working with a laptop with only one SSD slot, it's generally recommended to purchase an external enclosure and clone any data, including Windows 10, over to the new SSD before installation. However, if your ThinkPad P72 has an empty M.2 slot, you can add an SSD and optionally clone your data over from the other M.2 SSD or the 2.5-inch HDD. Just want to add a drive without cloning? Install the SSD and make sure it's recognized by the system.
If your P72 came with two M.2 SSDs from the factory and you don't want to swap out piece by piece and internally clone as you go, you can grab an external enclosure and clone one or both drives to the new hardware before adding it to the laptop. We've had success using Macrium Reflect and have written a guide to help you through the process.
Alternatively, if you're upgrading to Samsung's 970 EVO Plus, you will have access to Samsung's cloning tool. Finally, if you want a clean start, you can do a fresh install of Windows 10 on the new hardware you install.
After making any necessary data backups and have completed any cloning, clear out a well-lit workspace and power down your ThinkPad P72 before continuing with the steps below. In this case, we'll demonstrate how to remove the original M.2 SSD and replace it with a new one. If you're adding an M.2 SSD to an empty slot, skip step 5.
All the latest news, reviews, and guides for Windows and Xbox diehards.
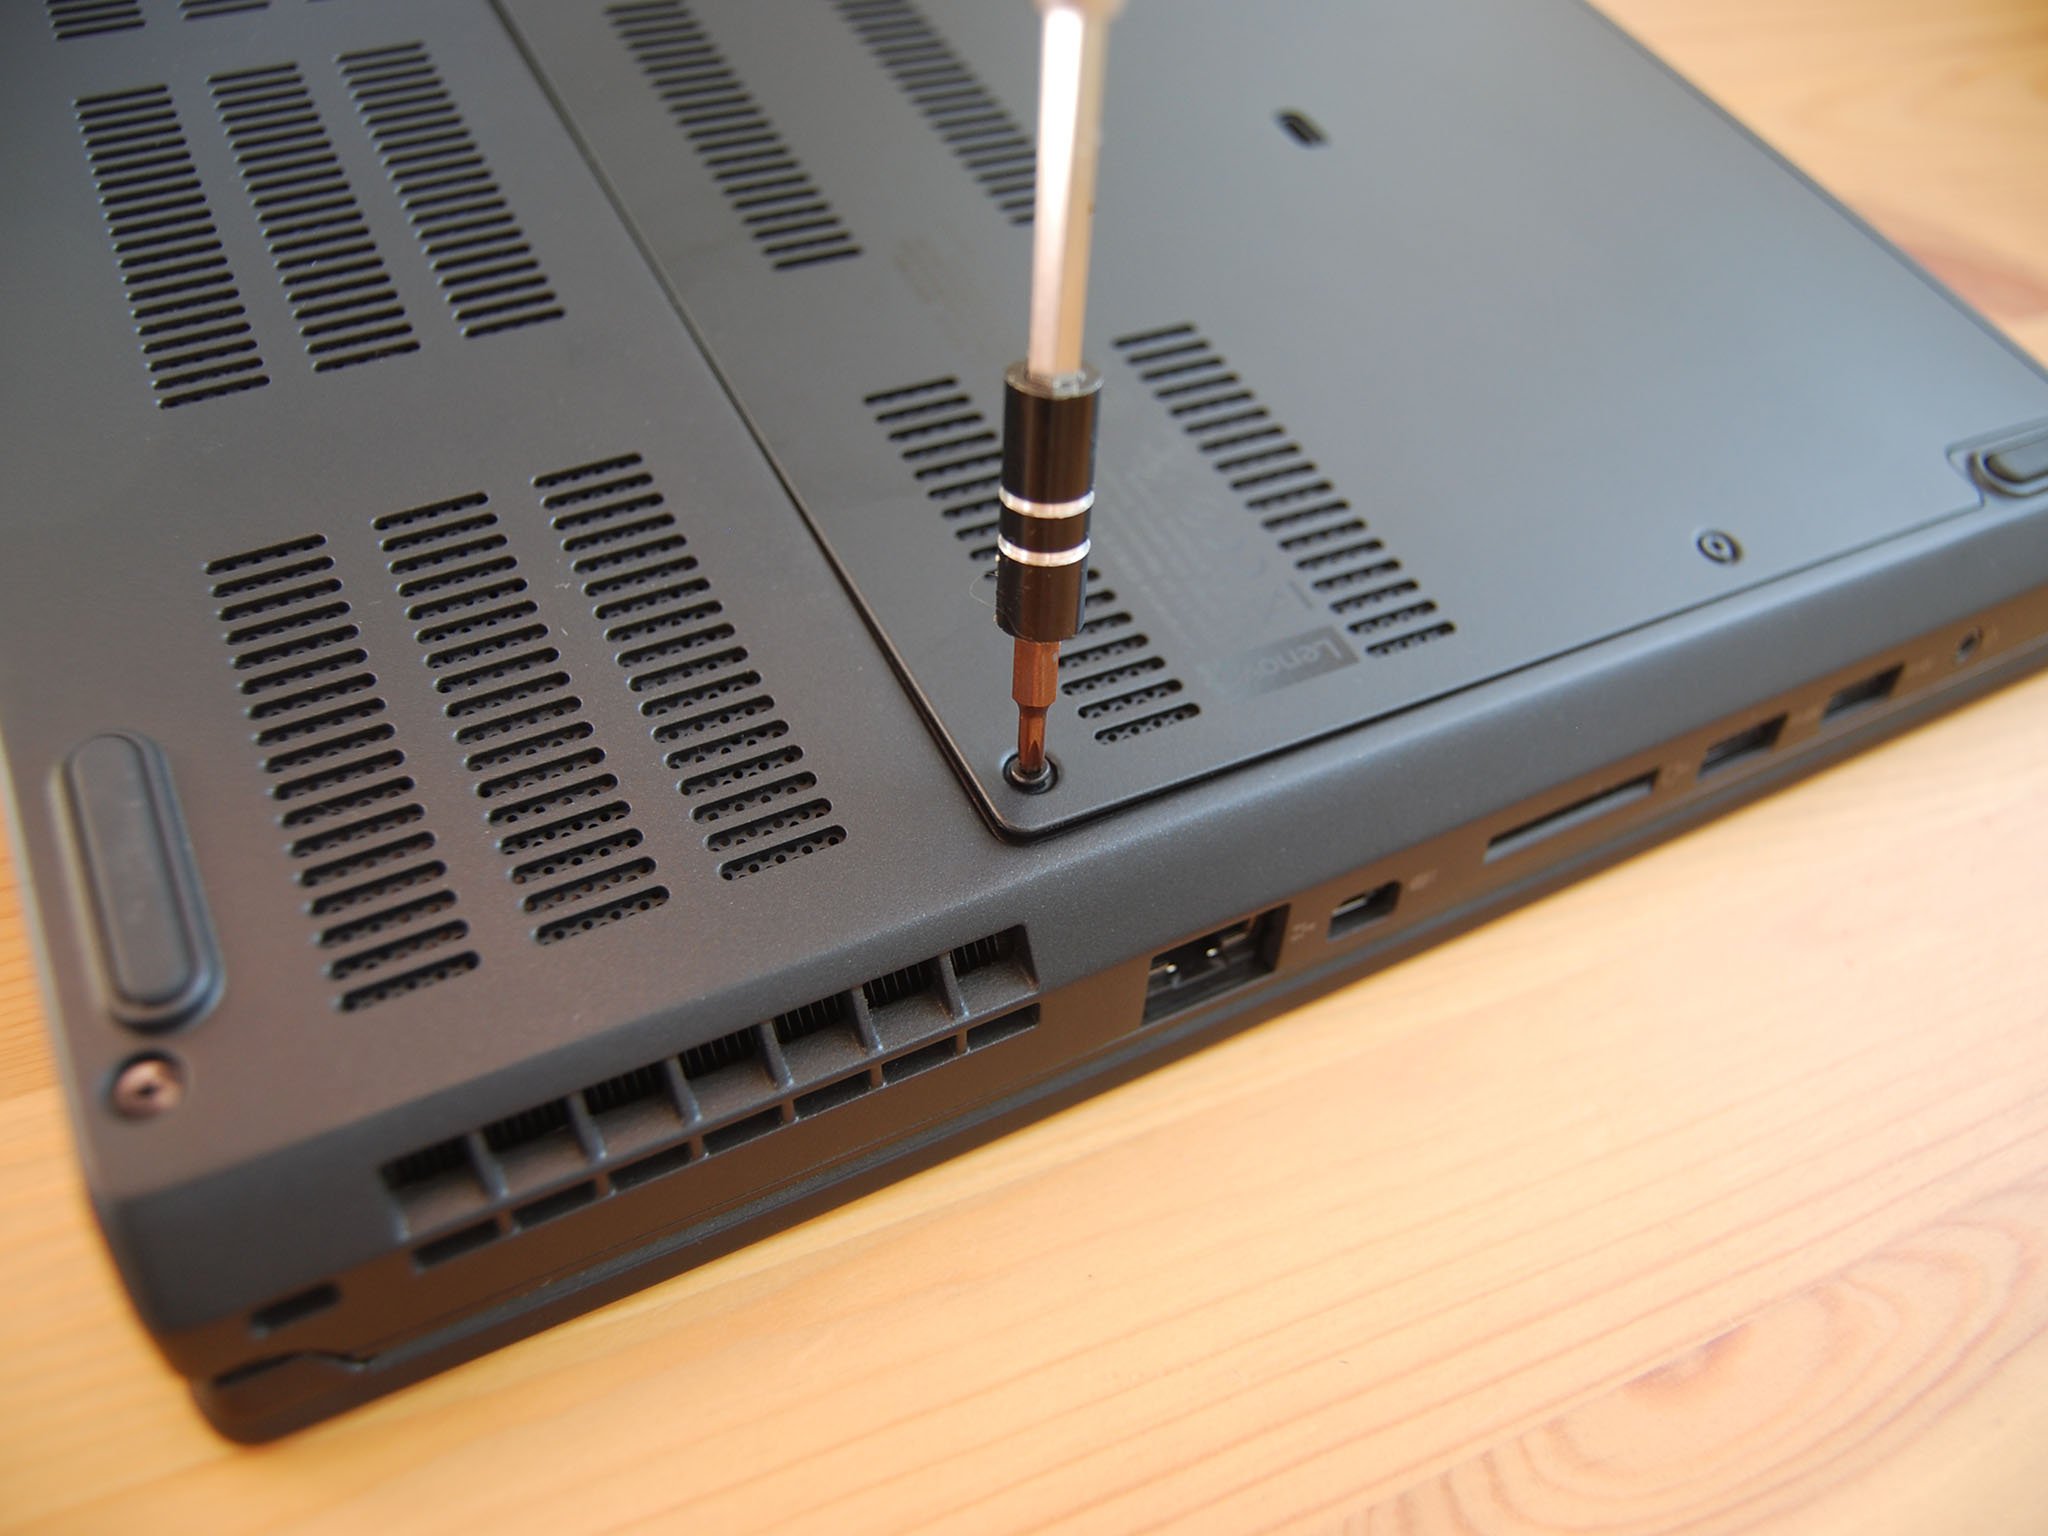
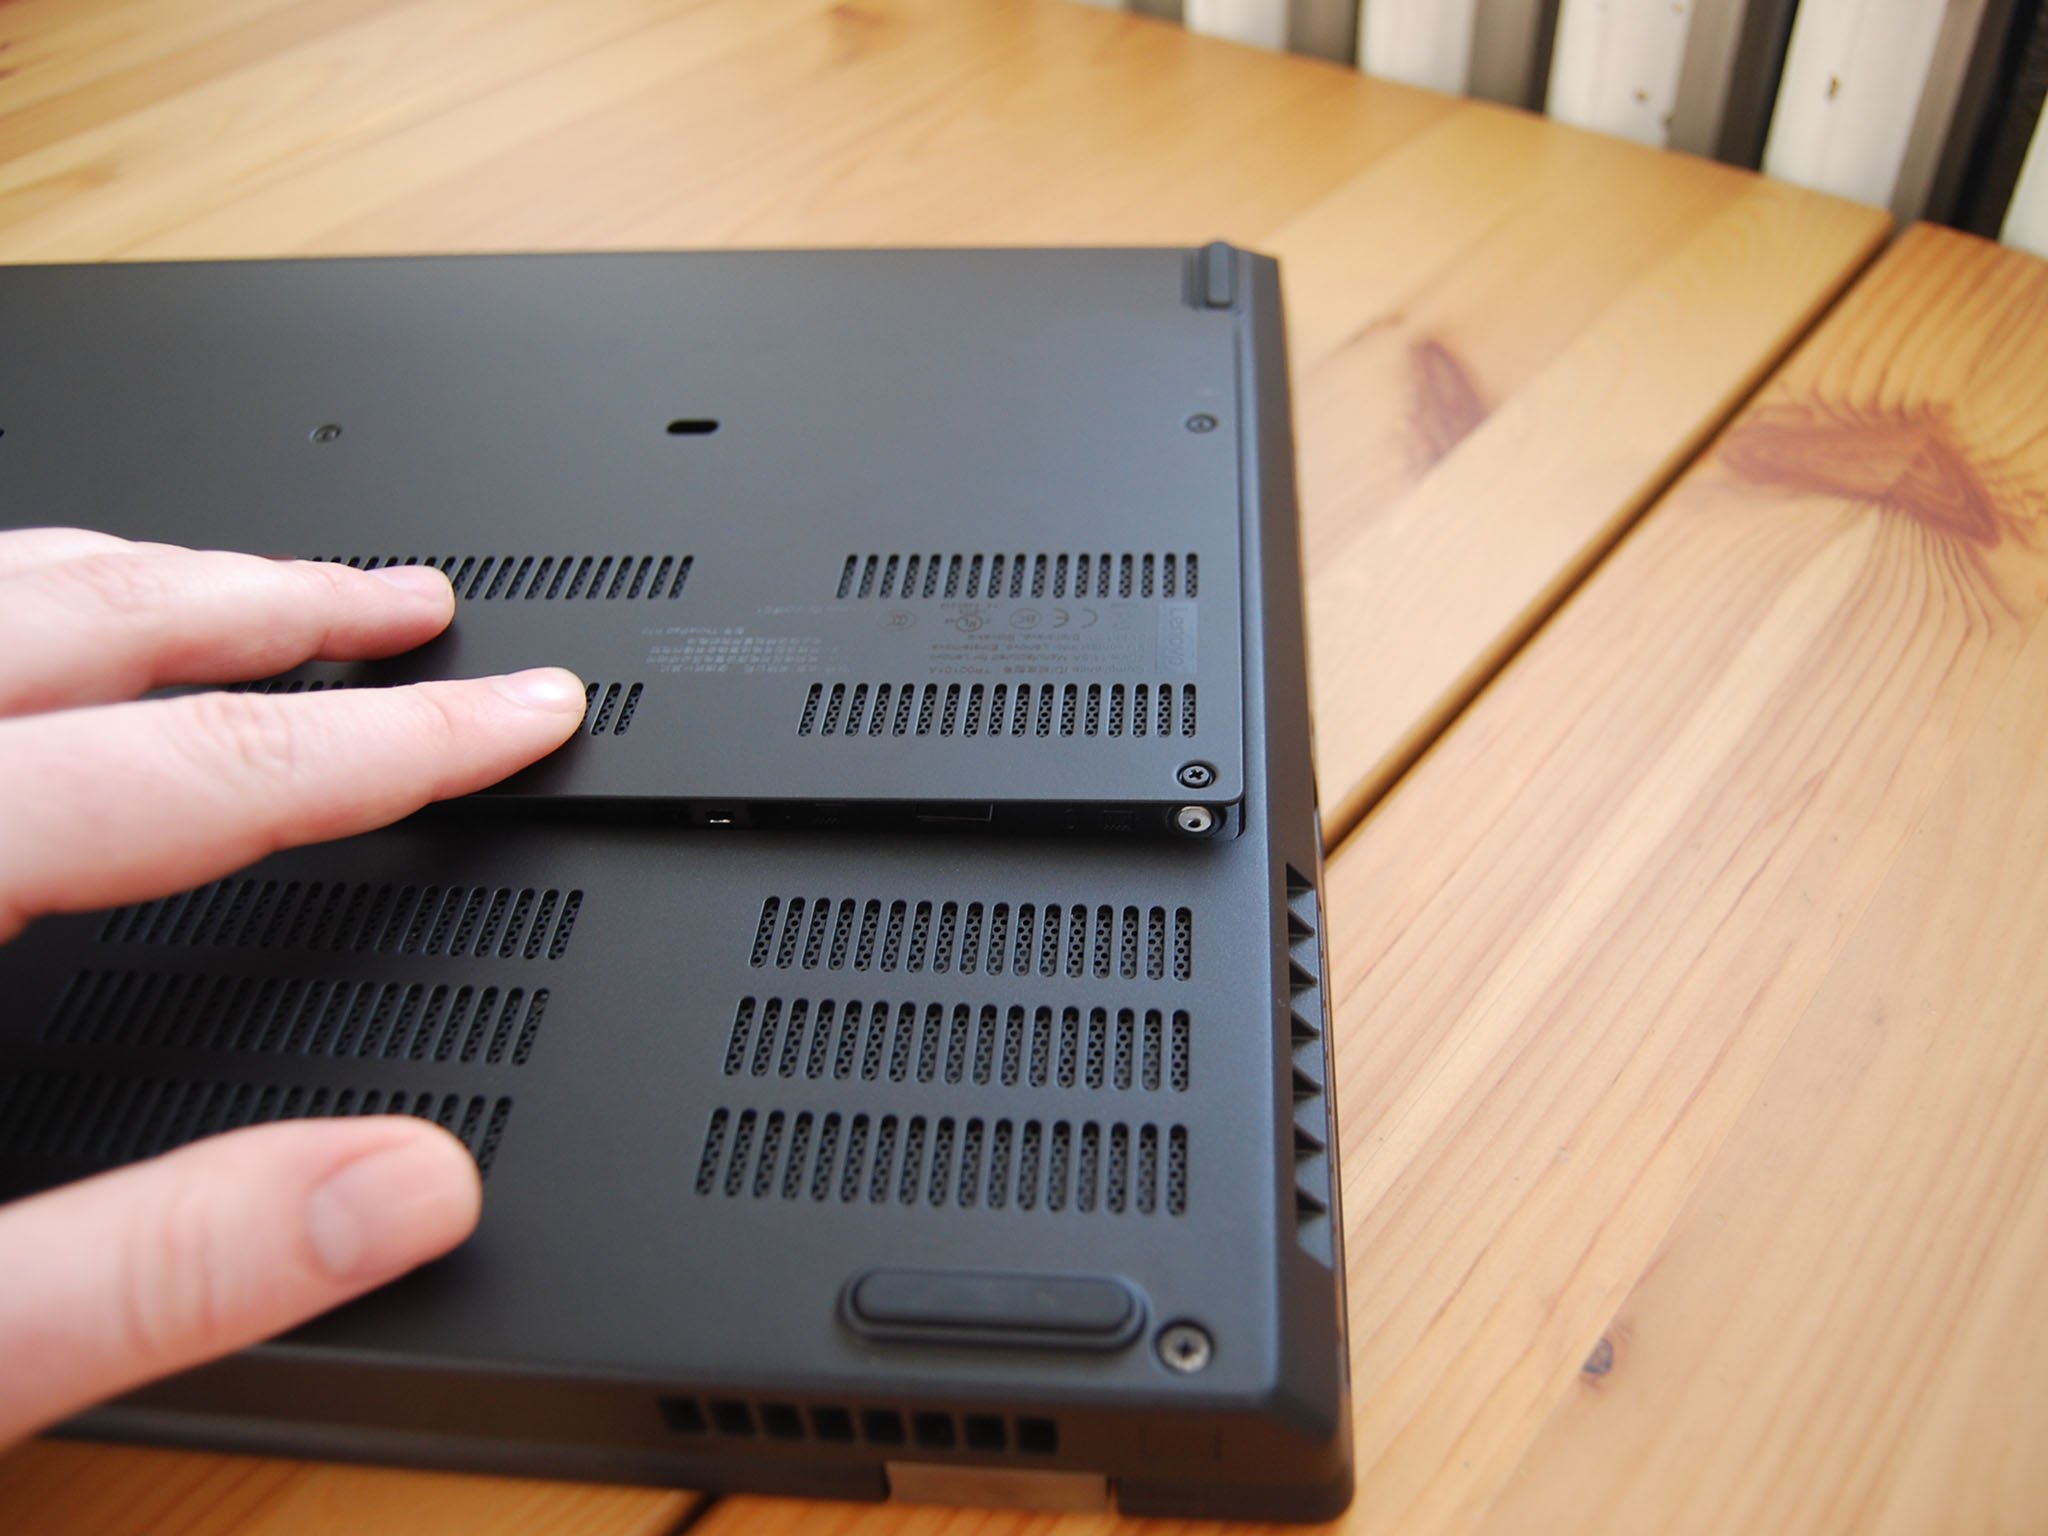
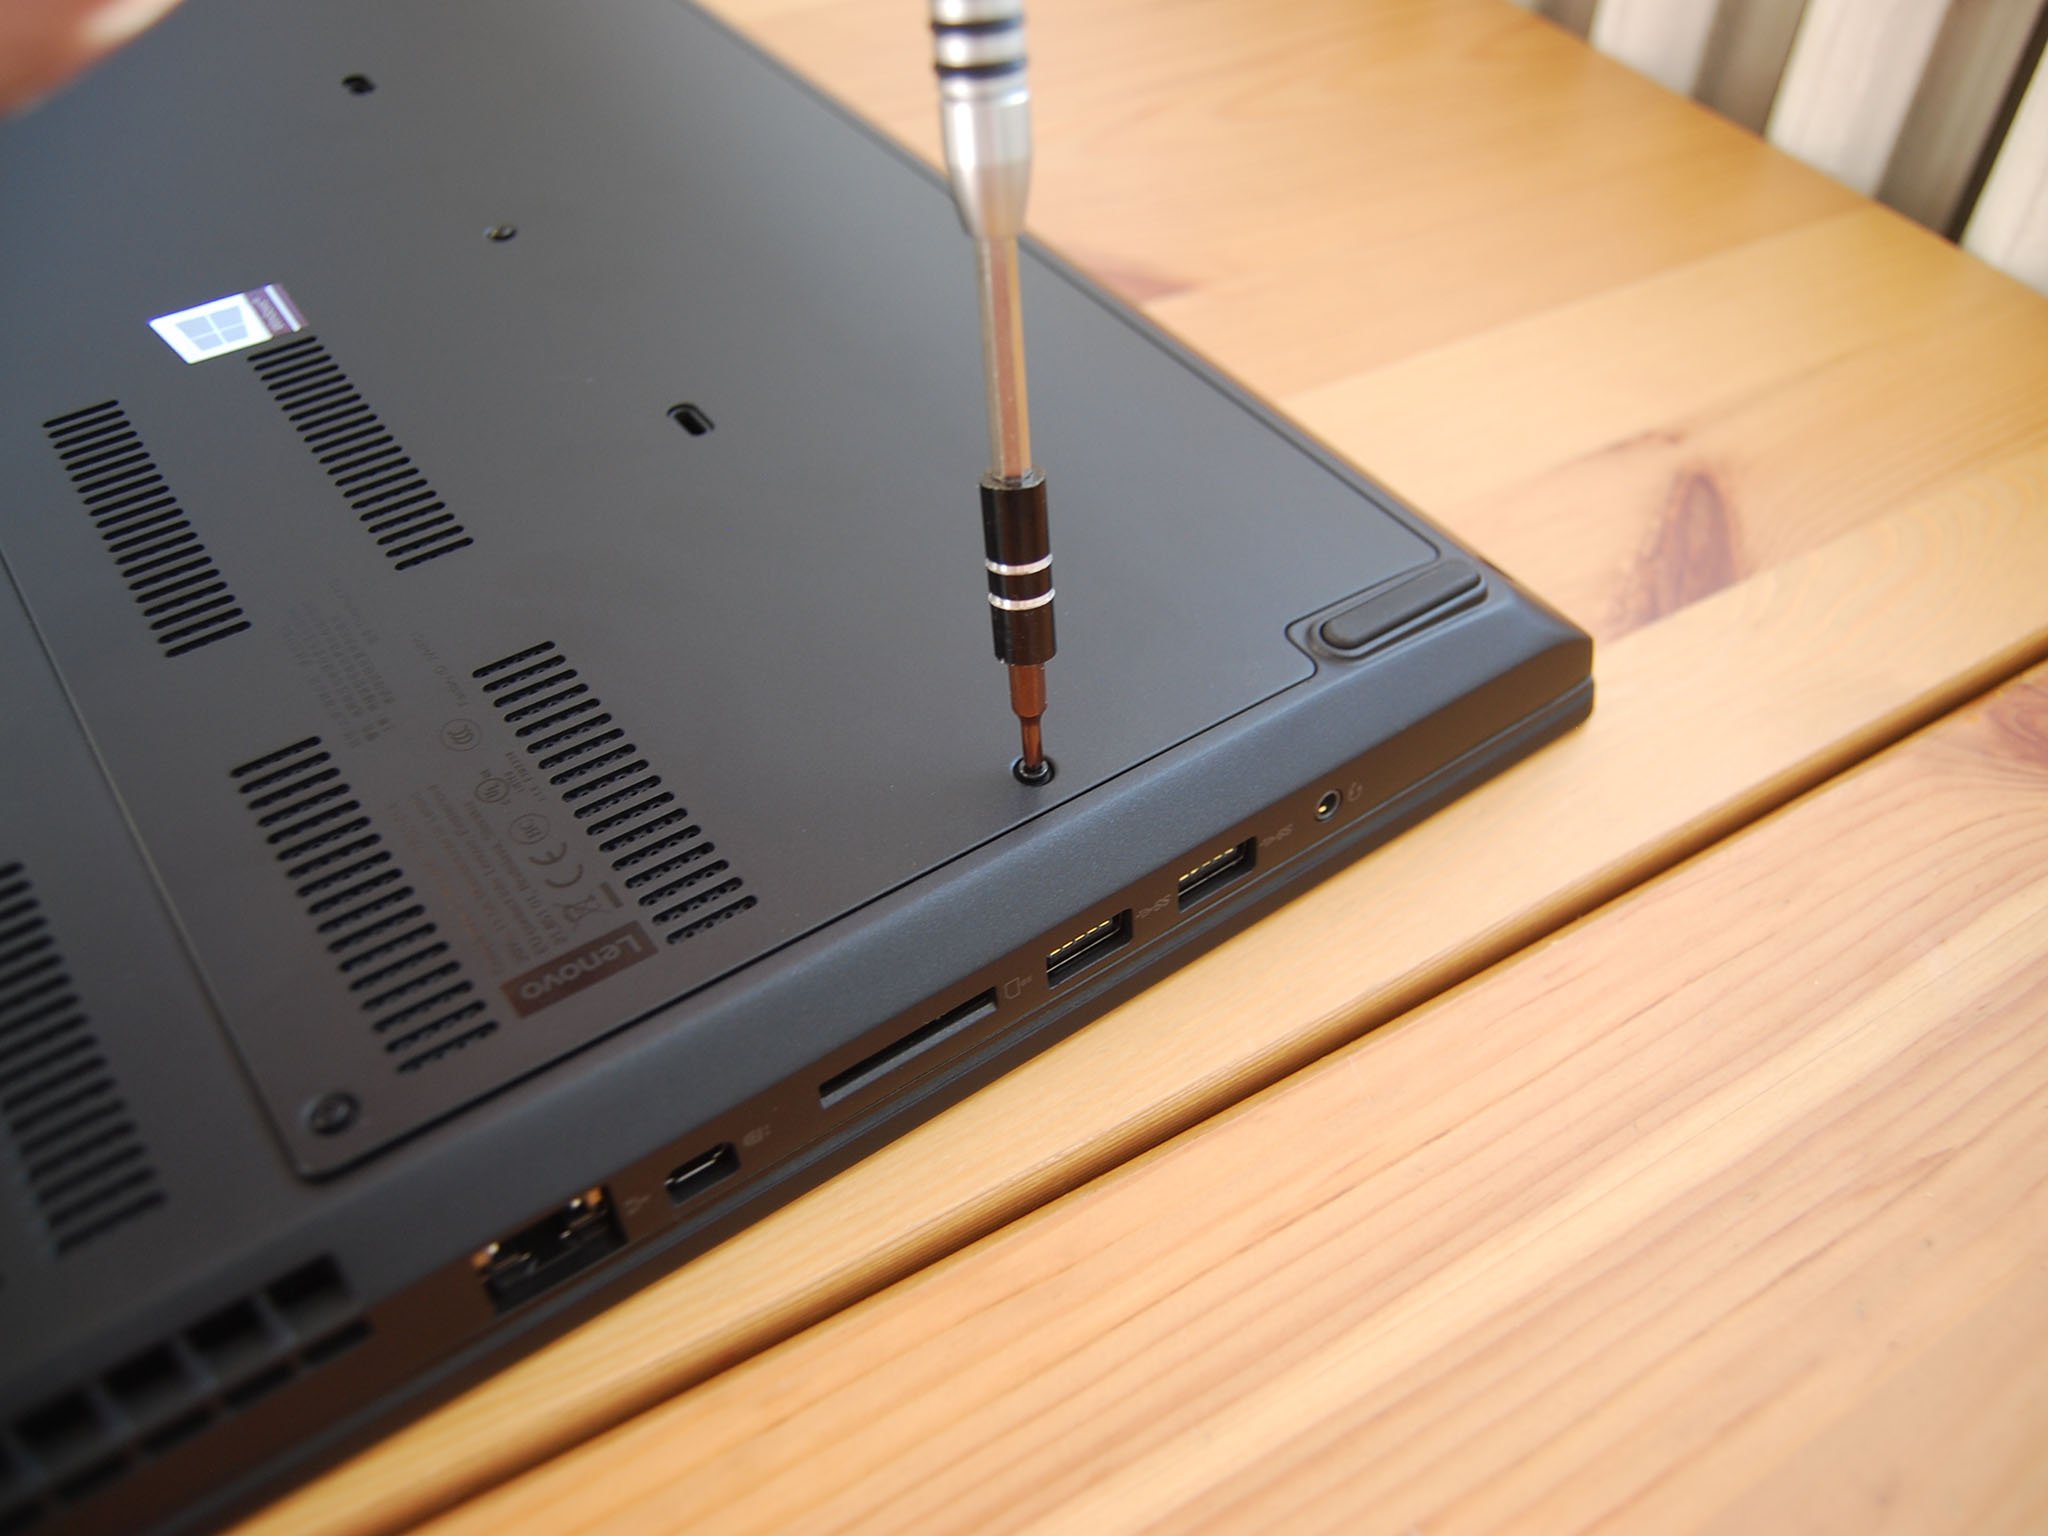
- Unscrew the seven fasteners on the quick-access panel using a Philips-head screwdriver. The screws can't be completely removed and will stay in the access panel despite being loosened.
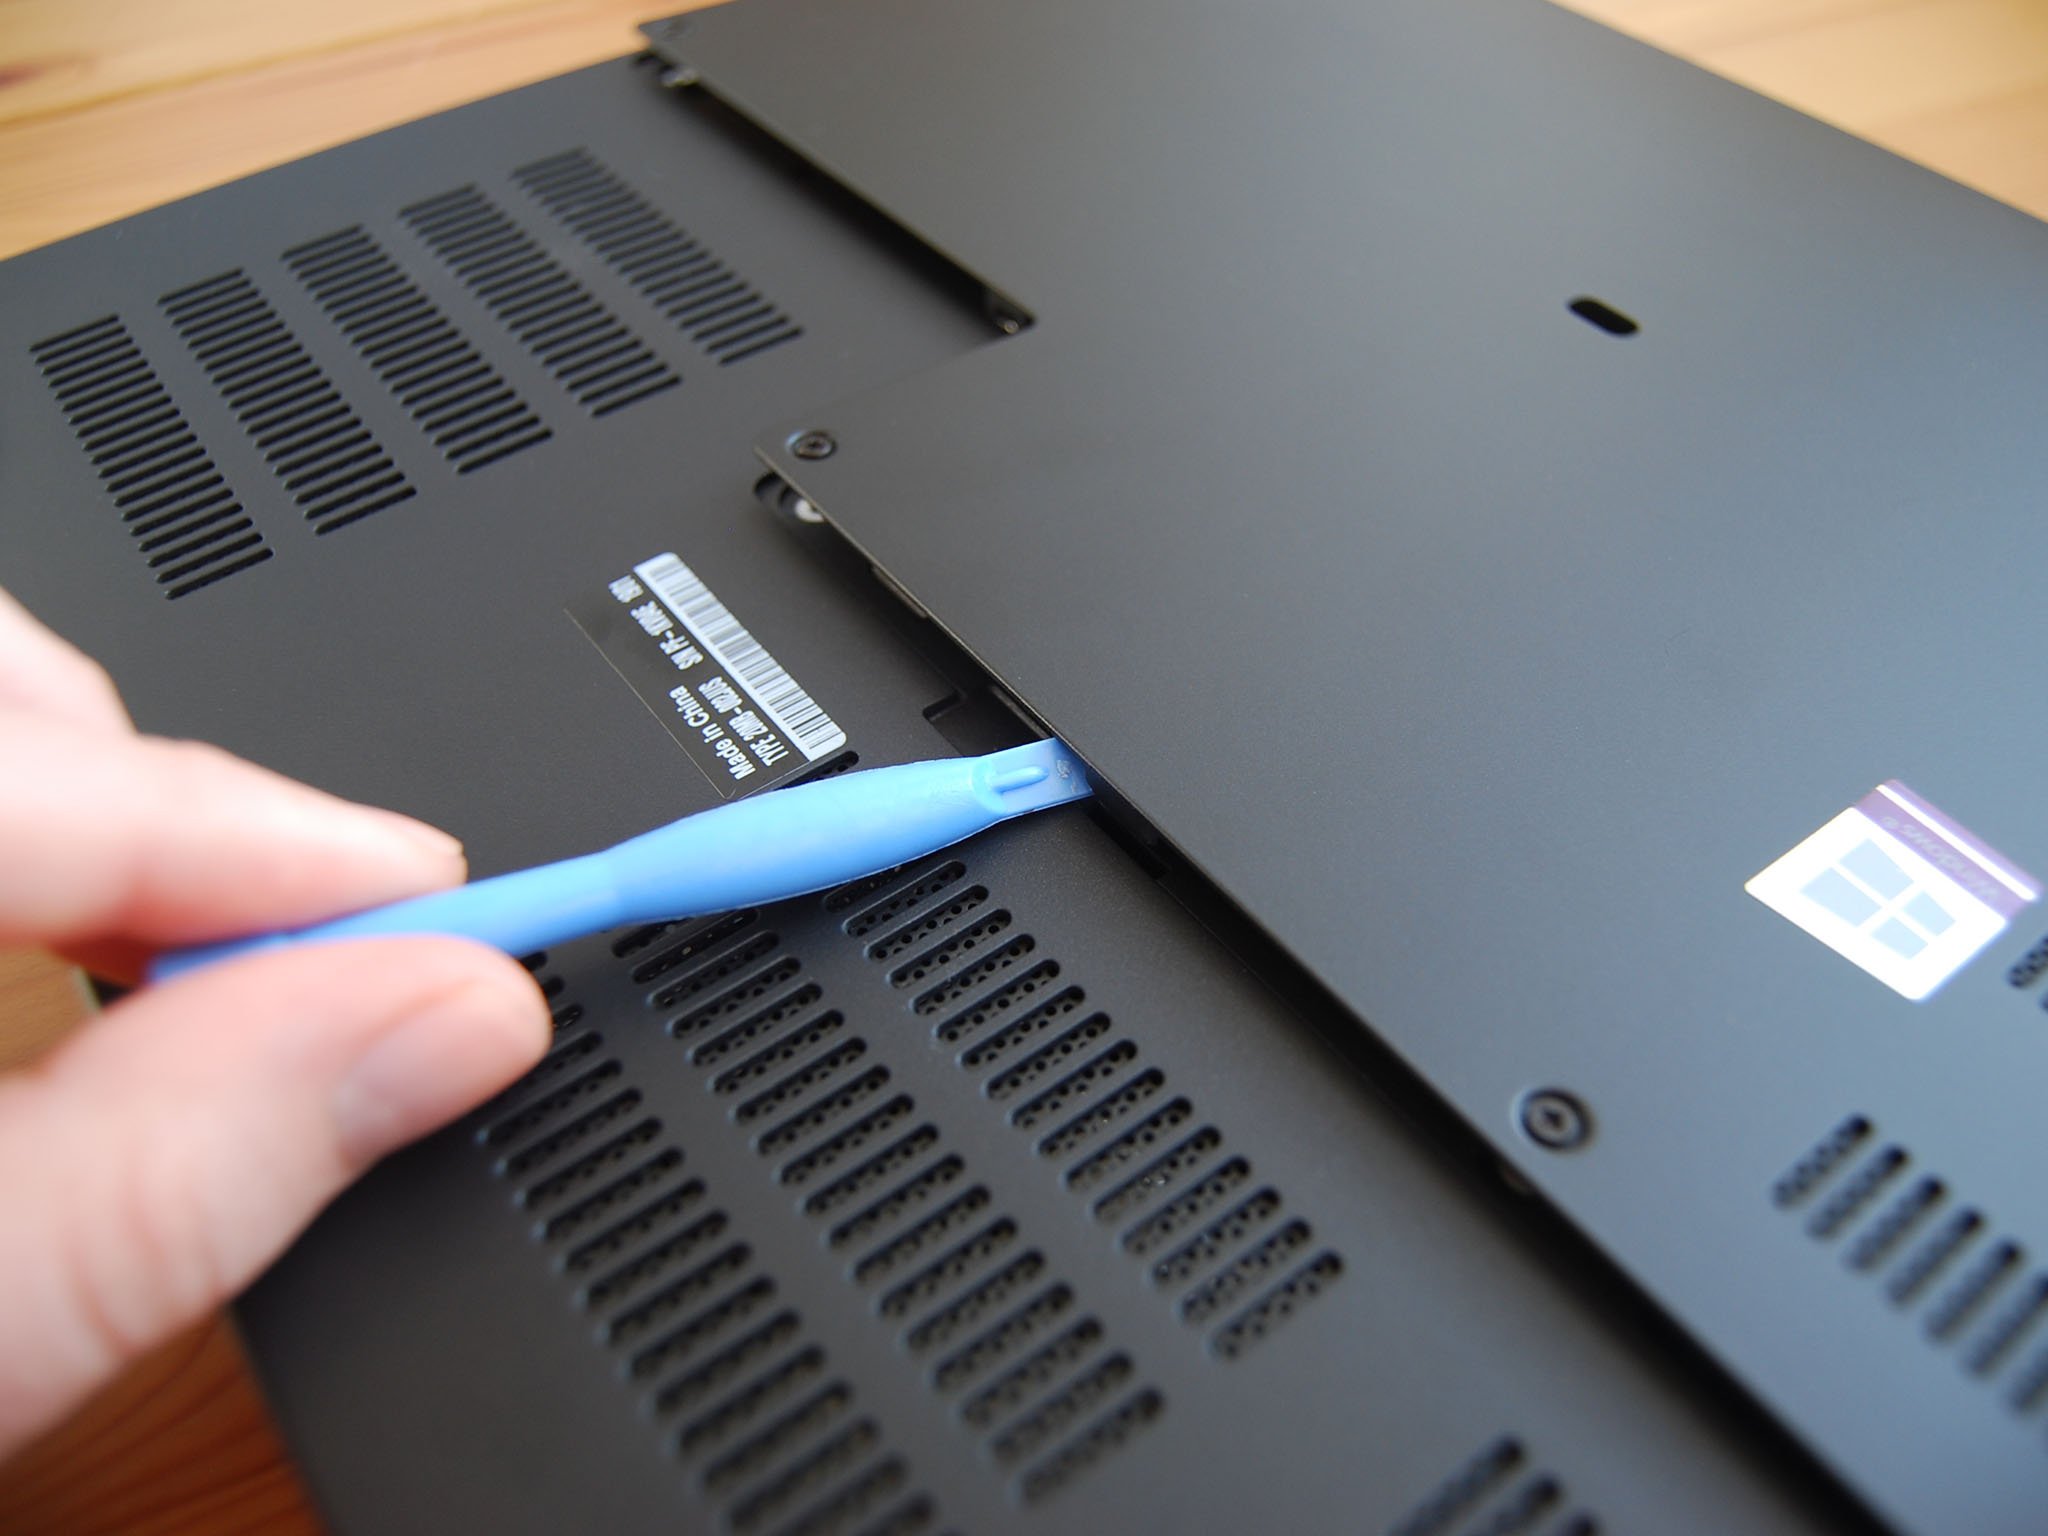
- Lift up the access panel with a thumb or pry tool. Notice there's a notch along the edge that helps to pry it up.
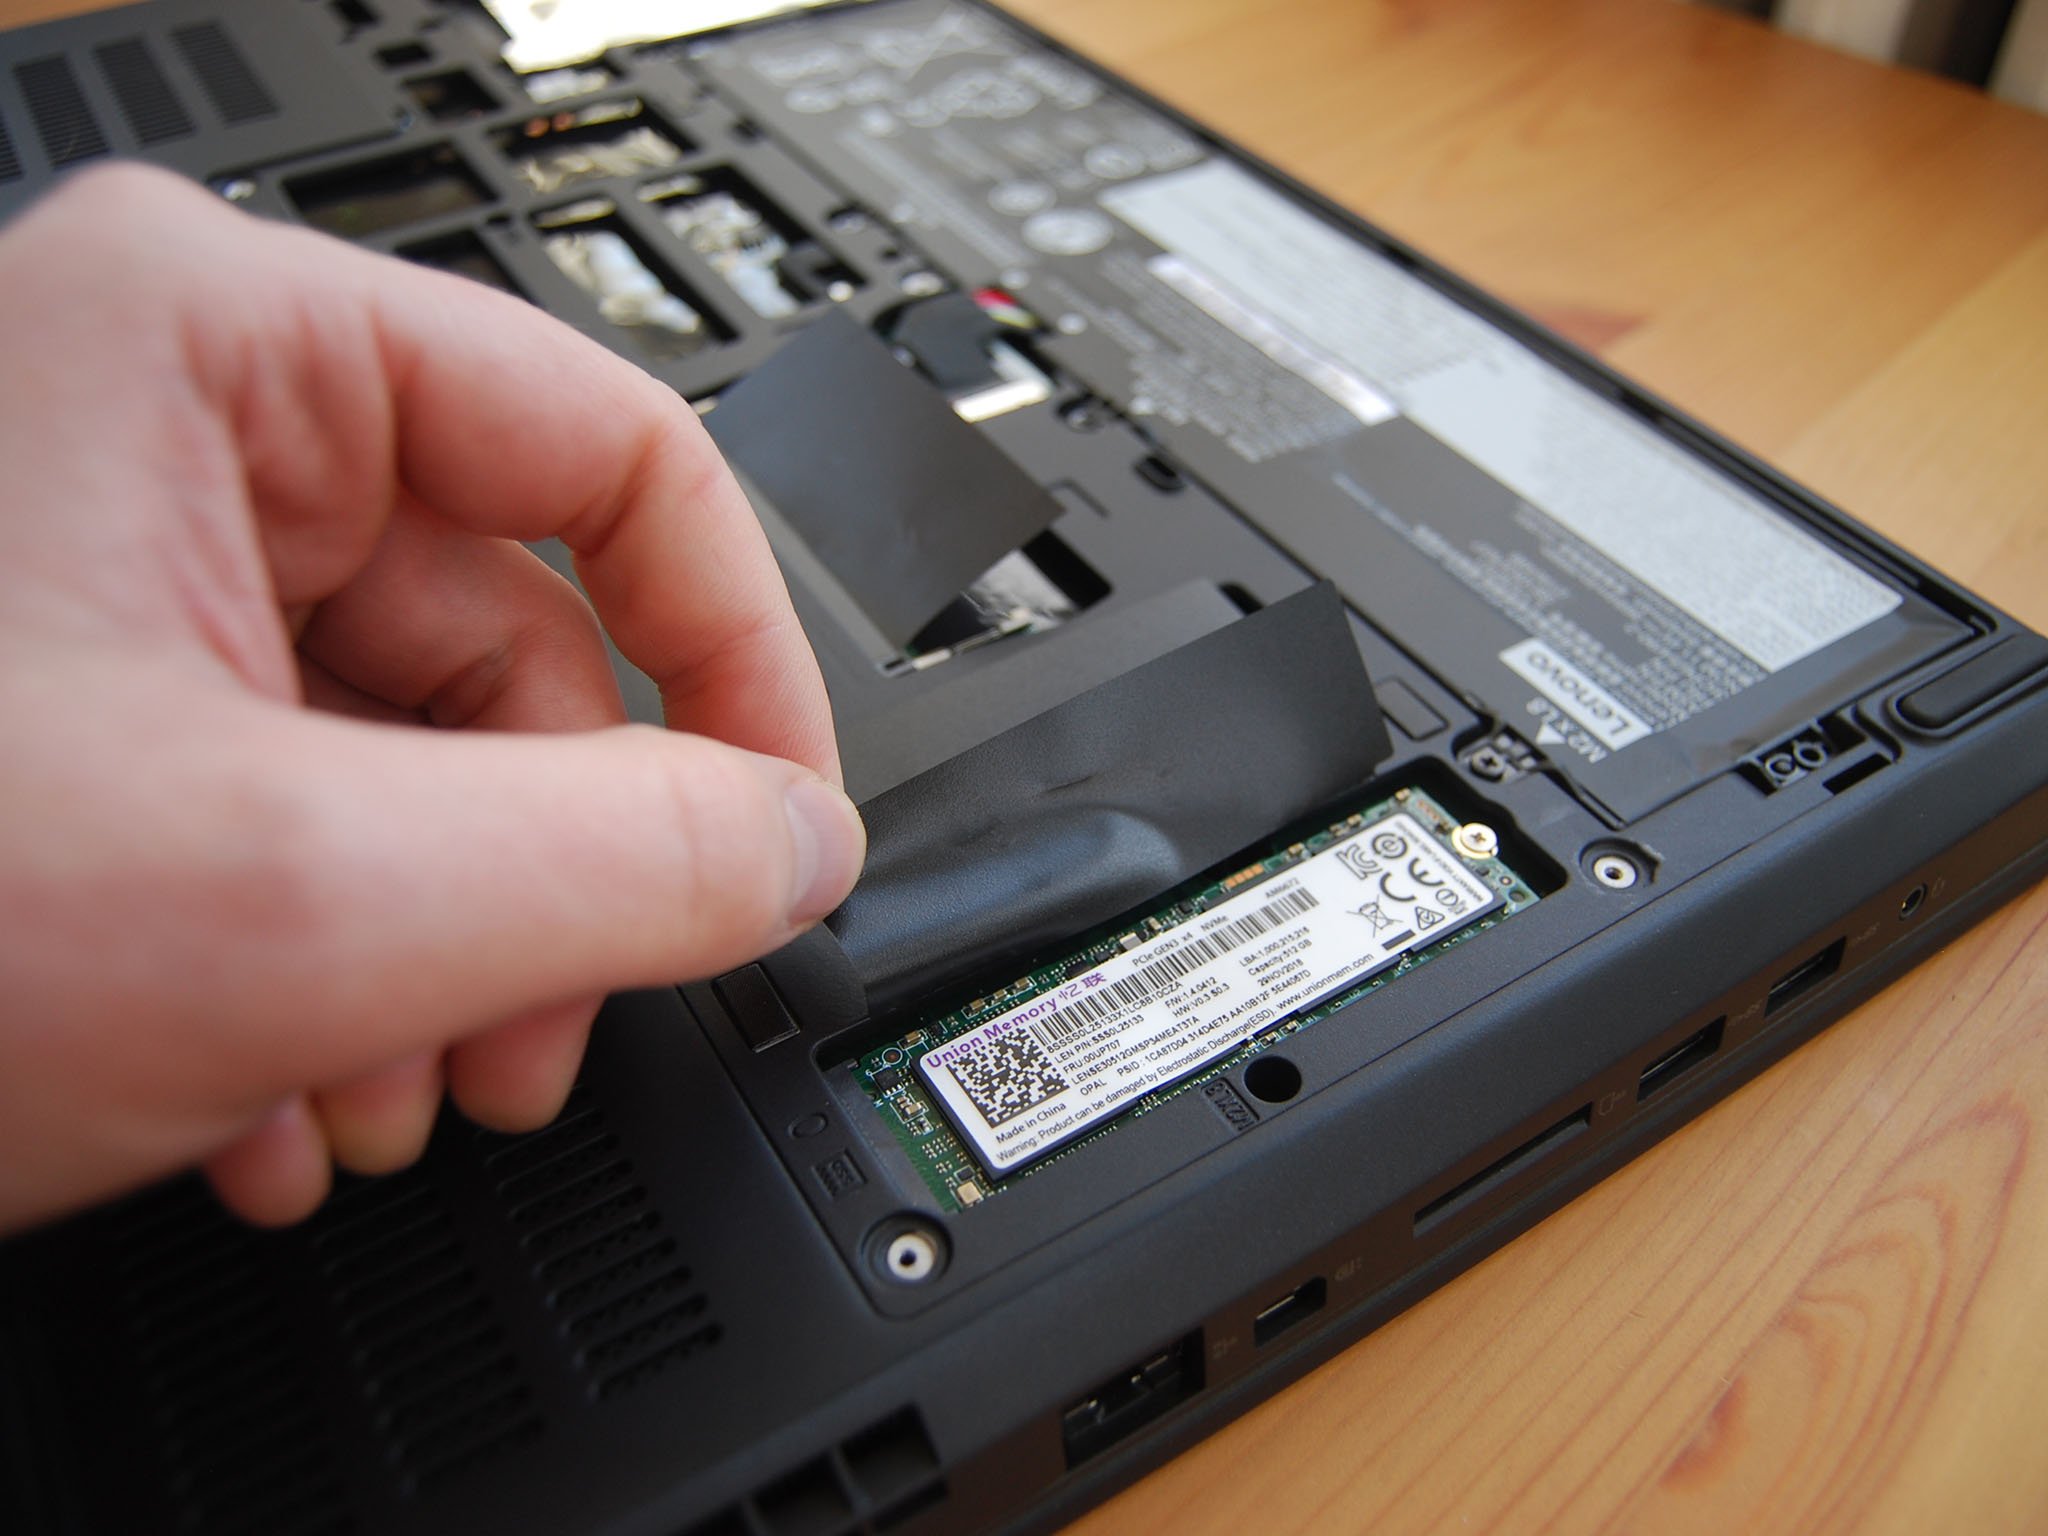
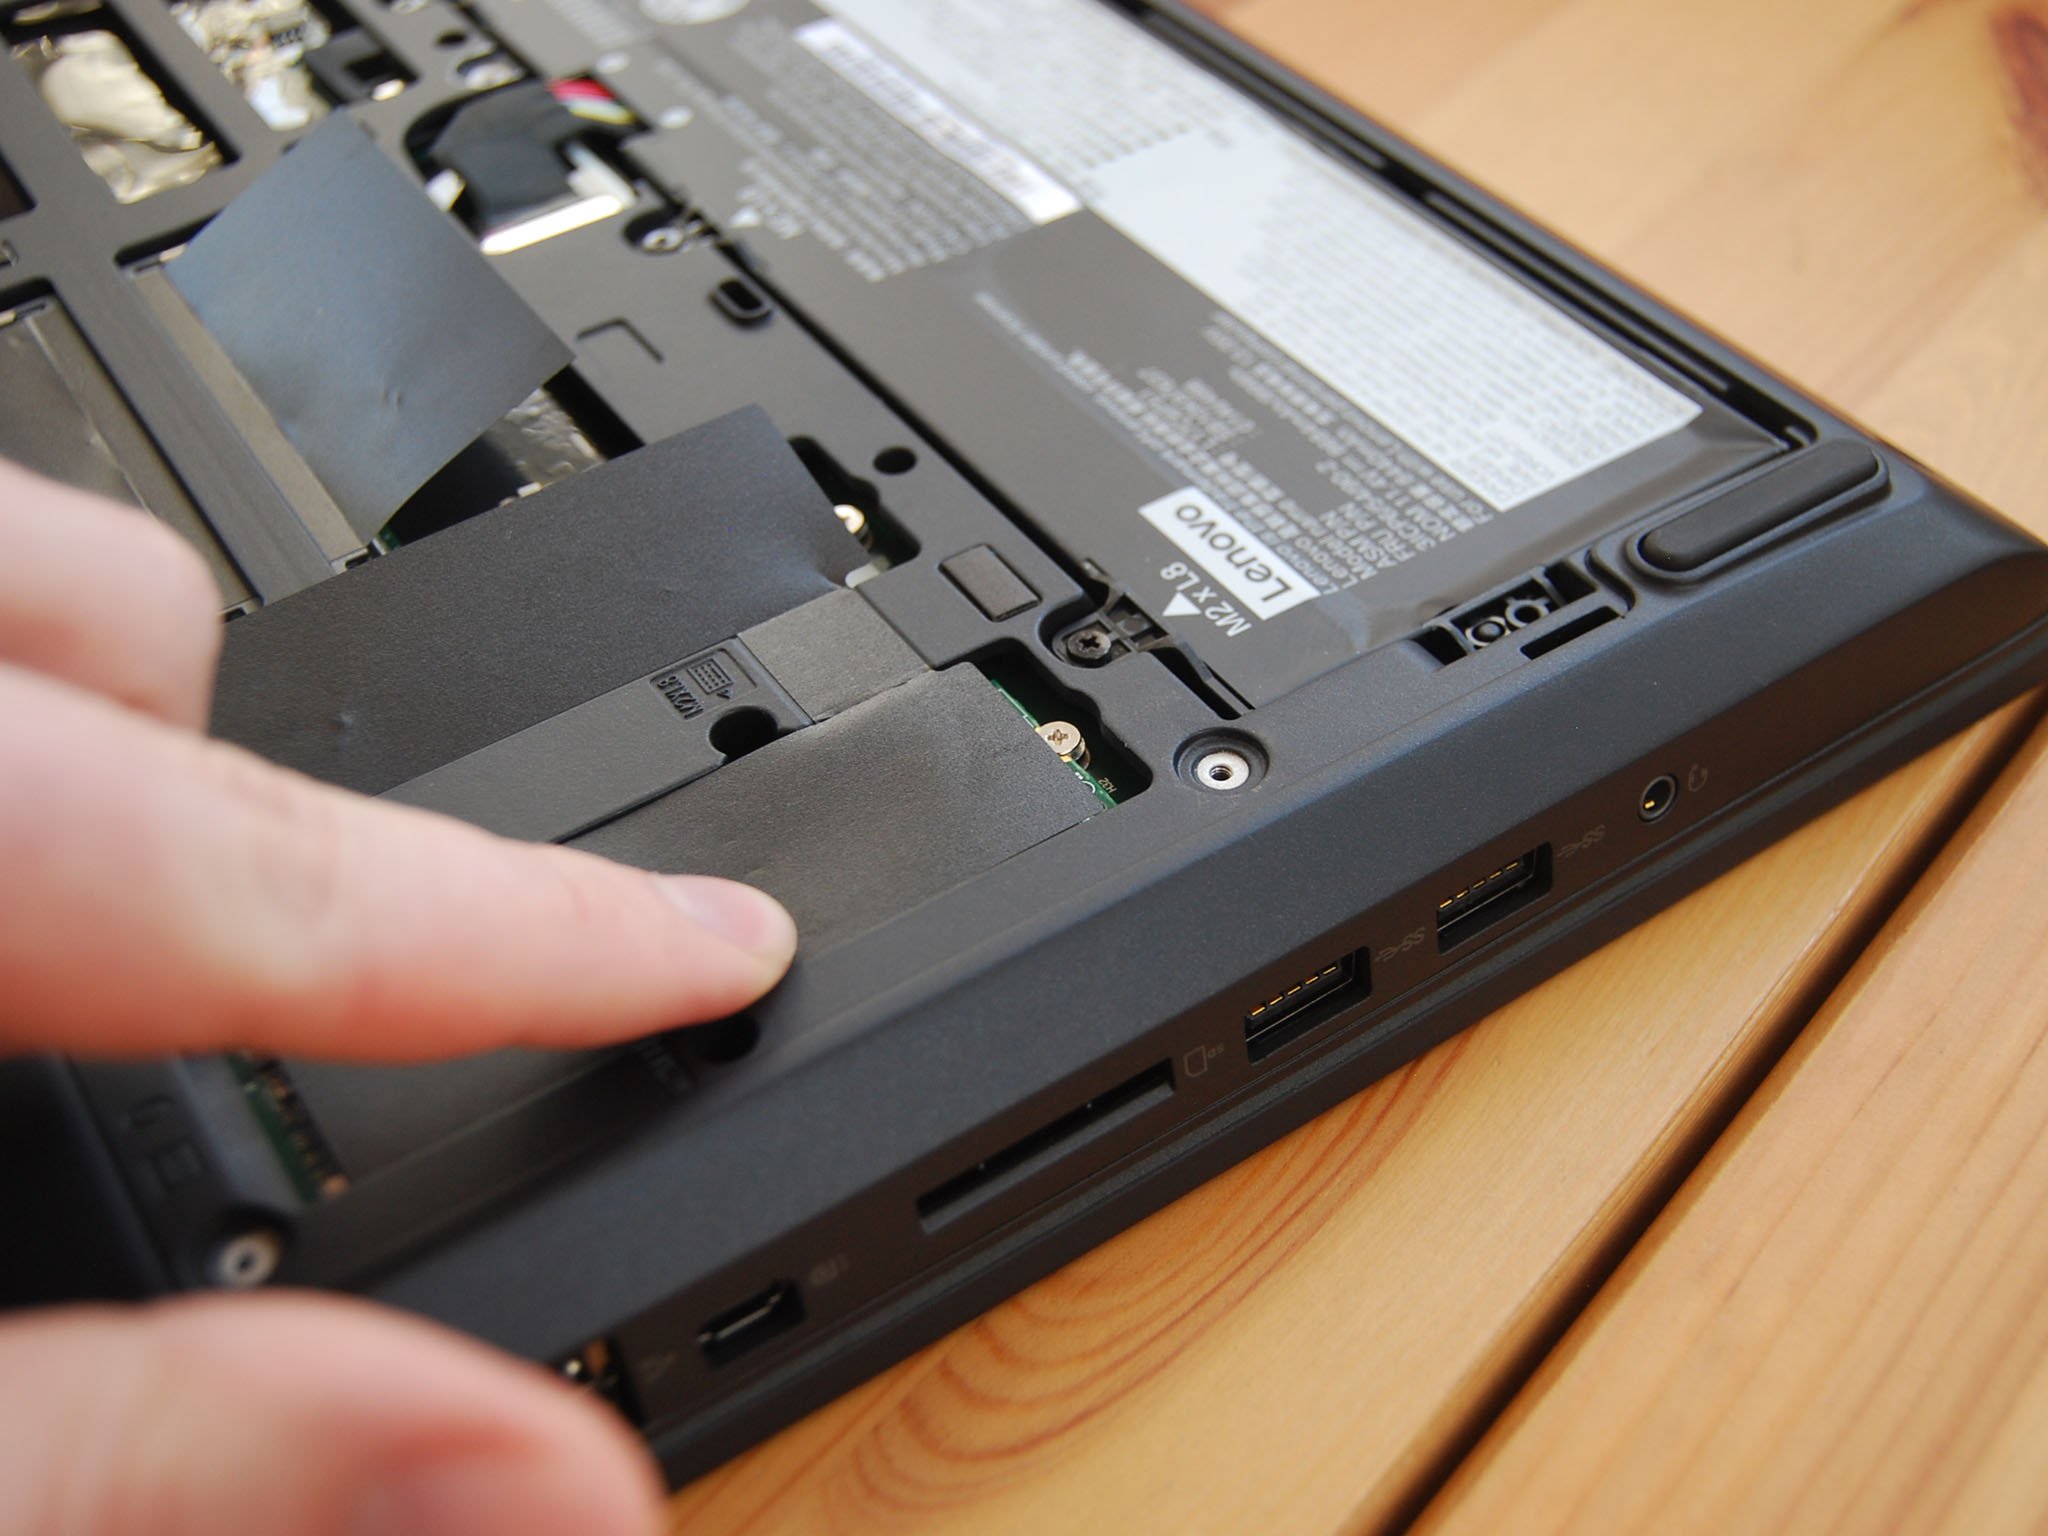
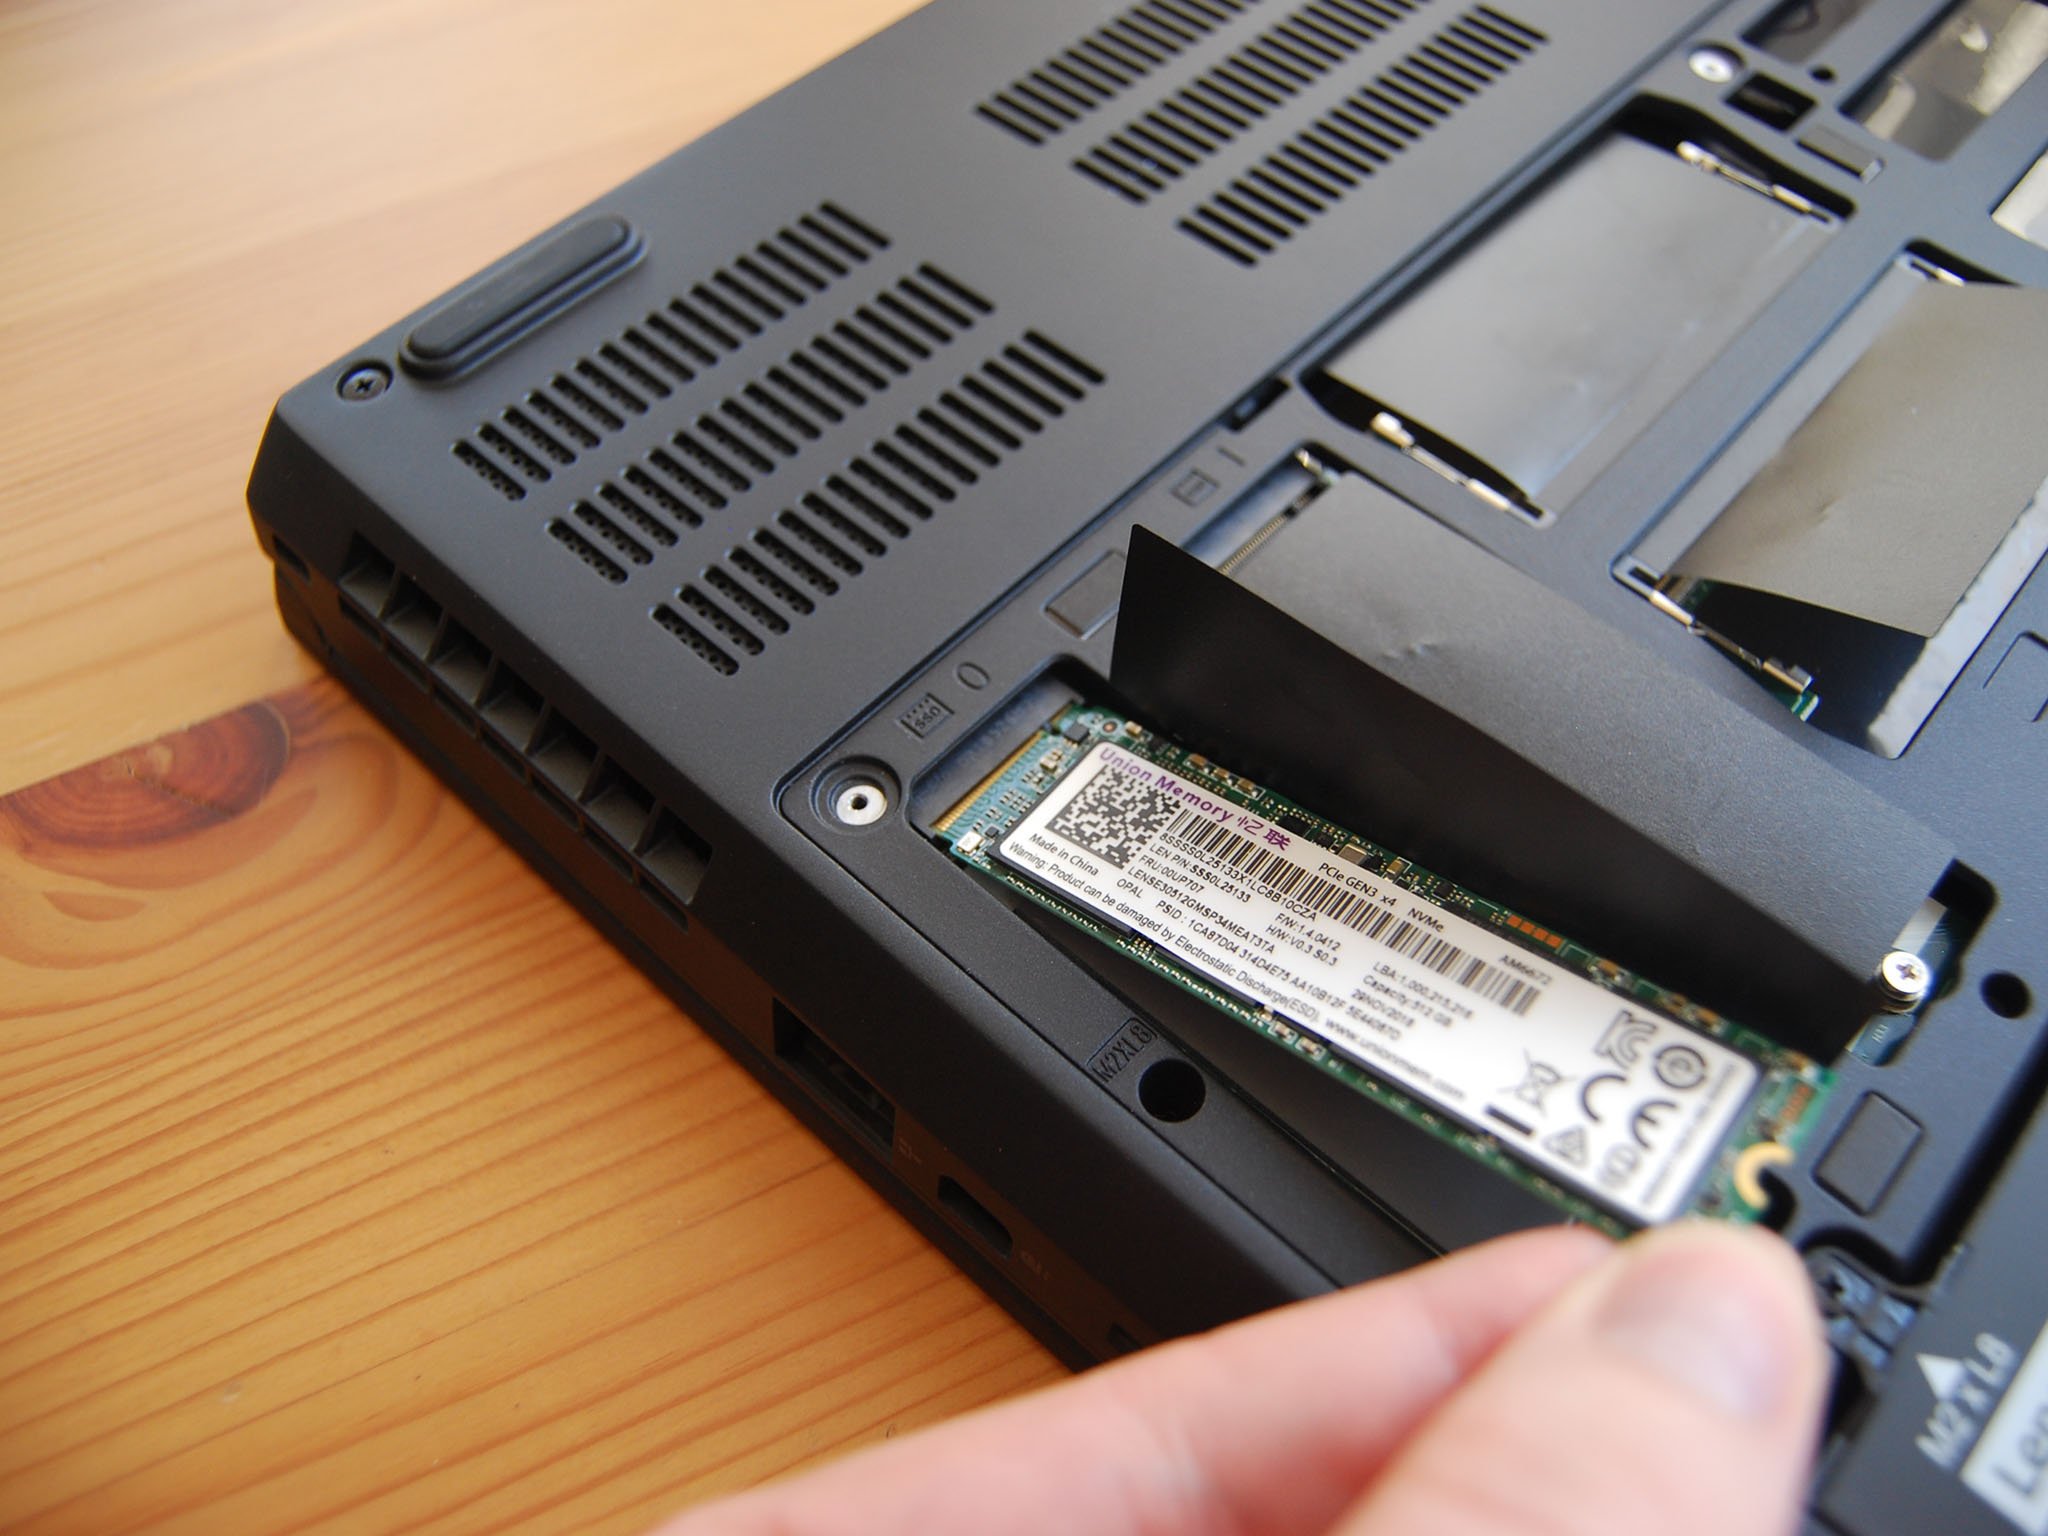
- Fold back the shielding over the M.2 PCIe SSD slot. Do not remove it completely.
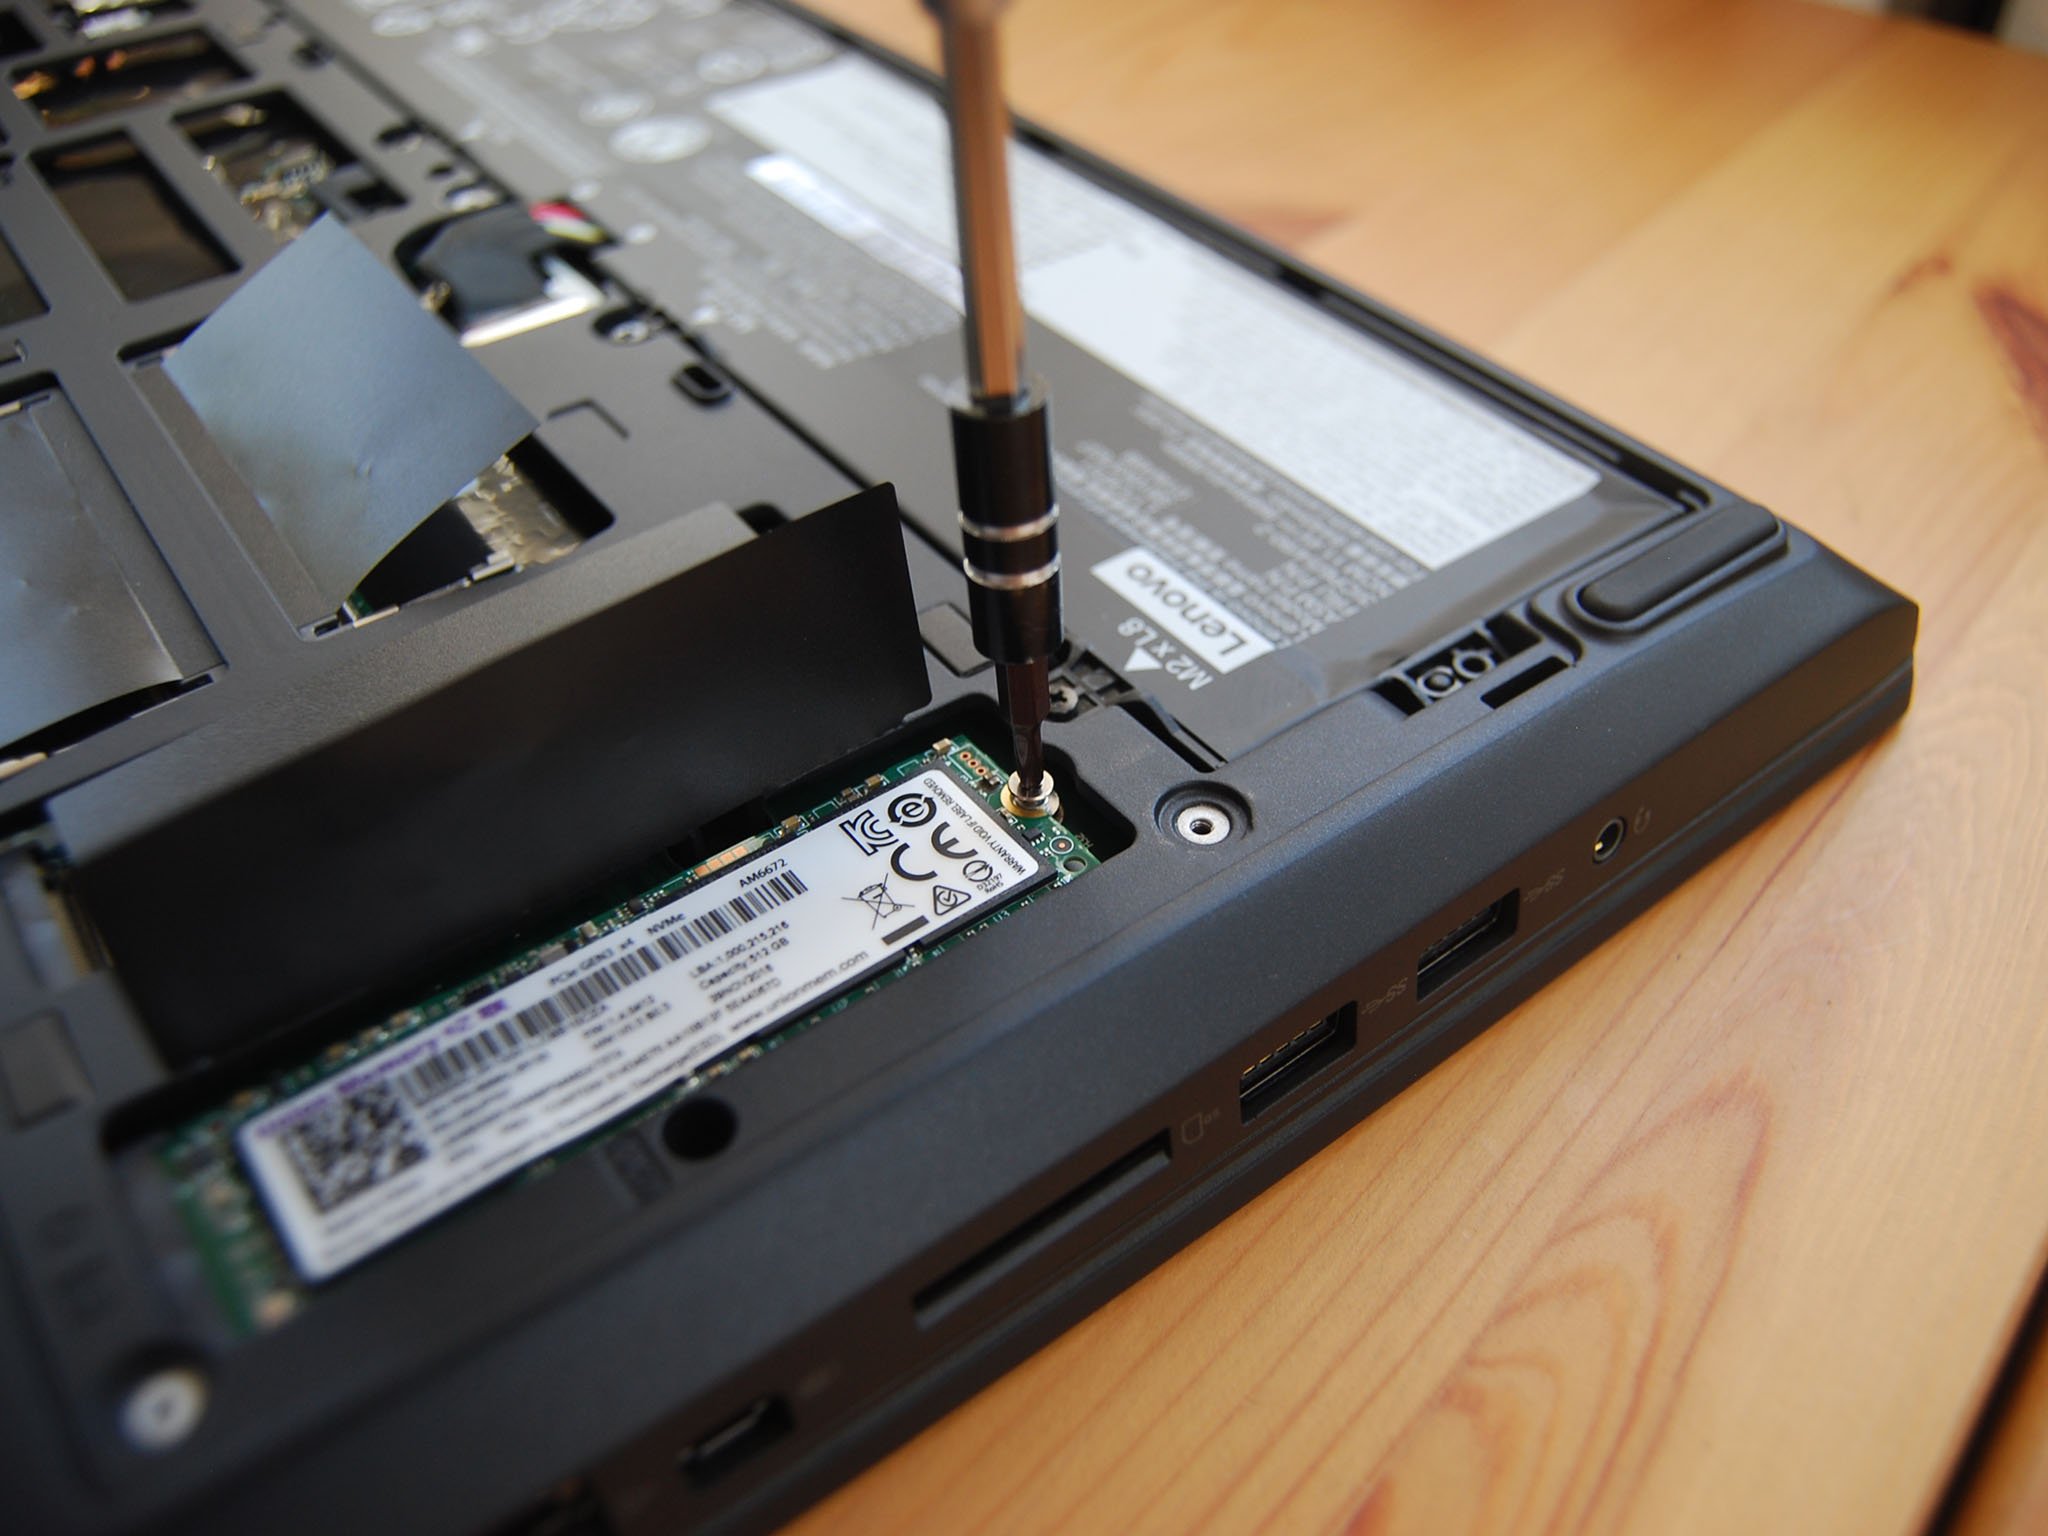
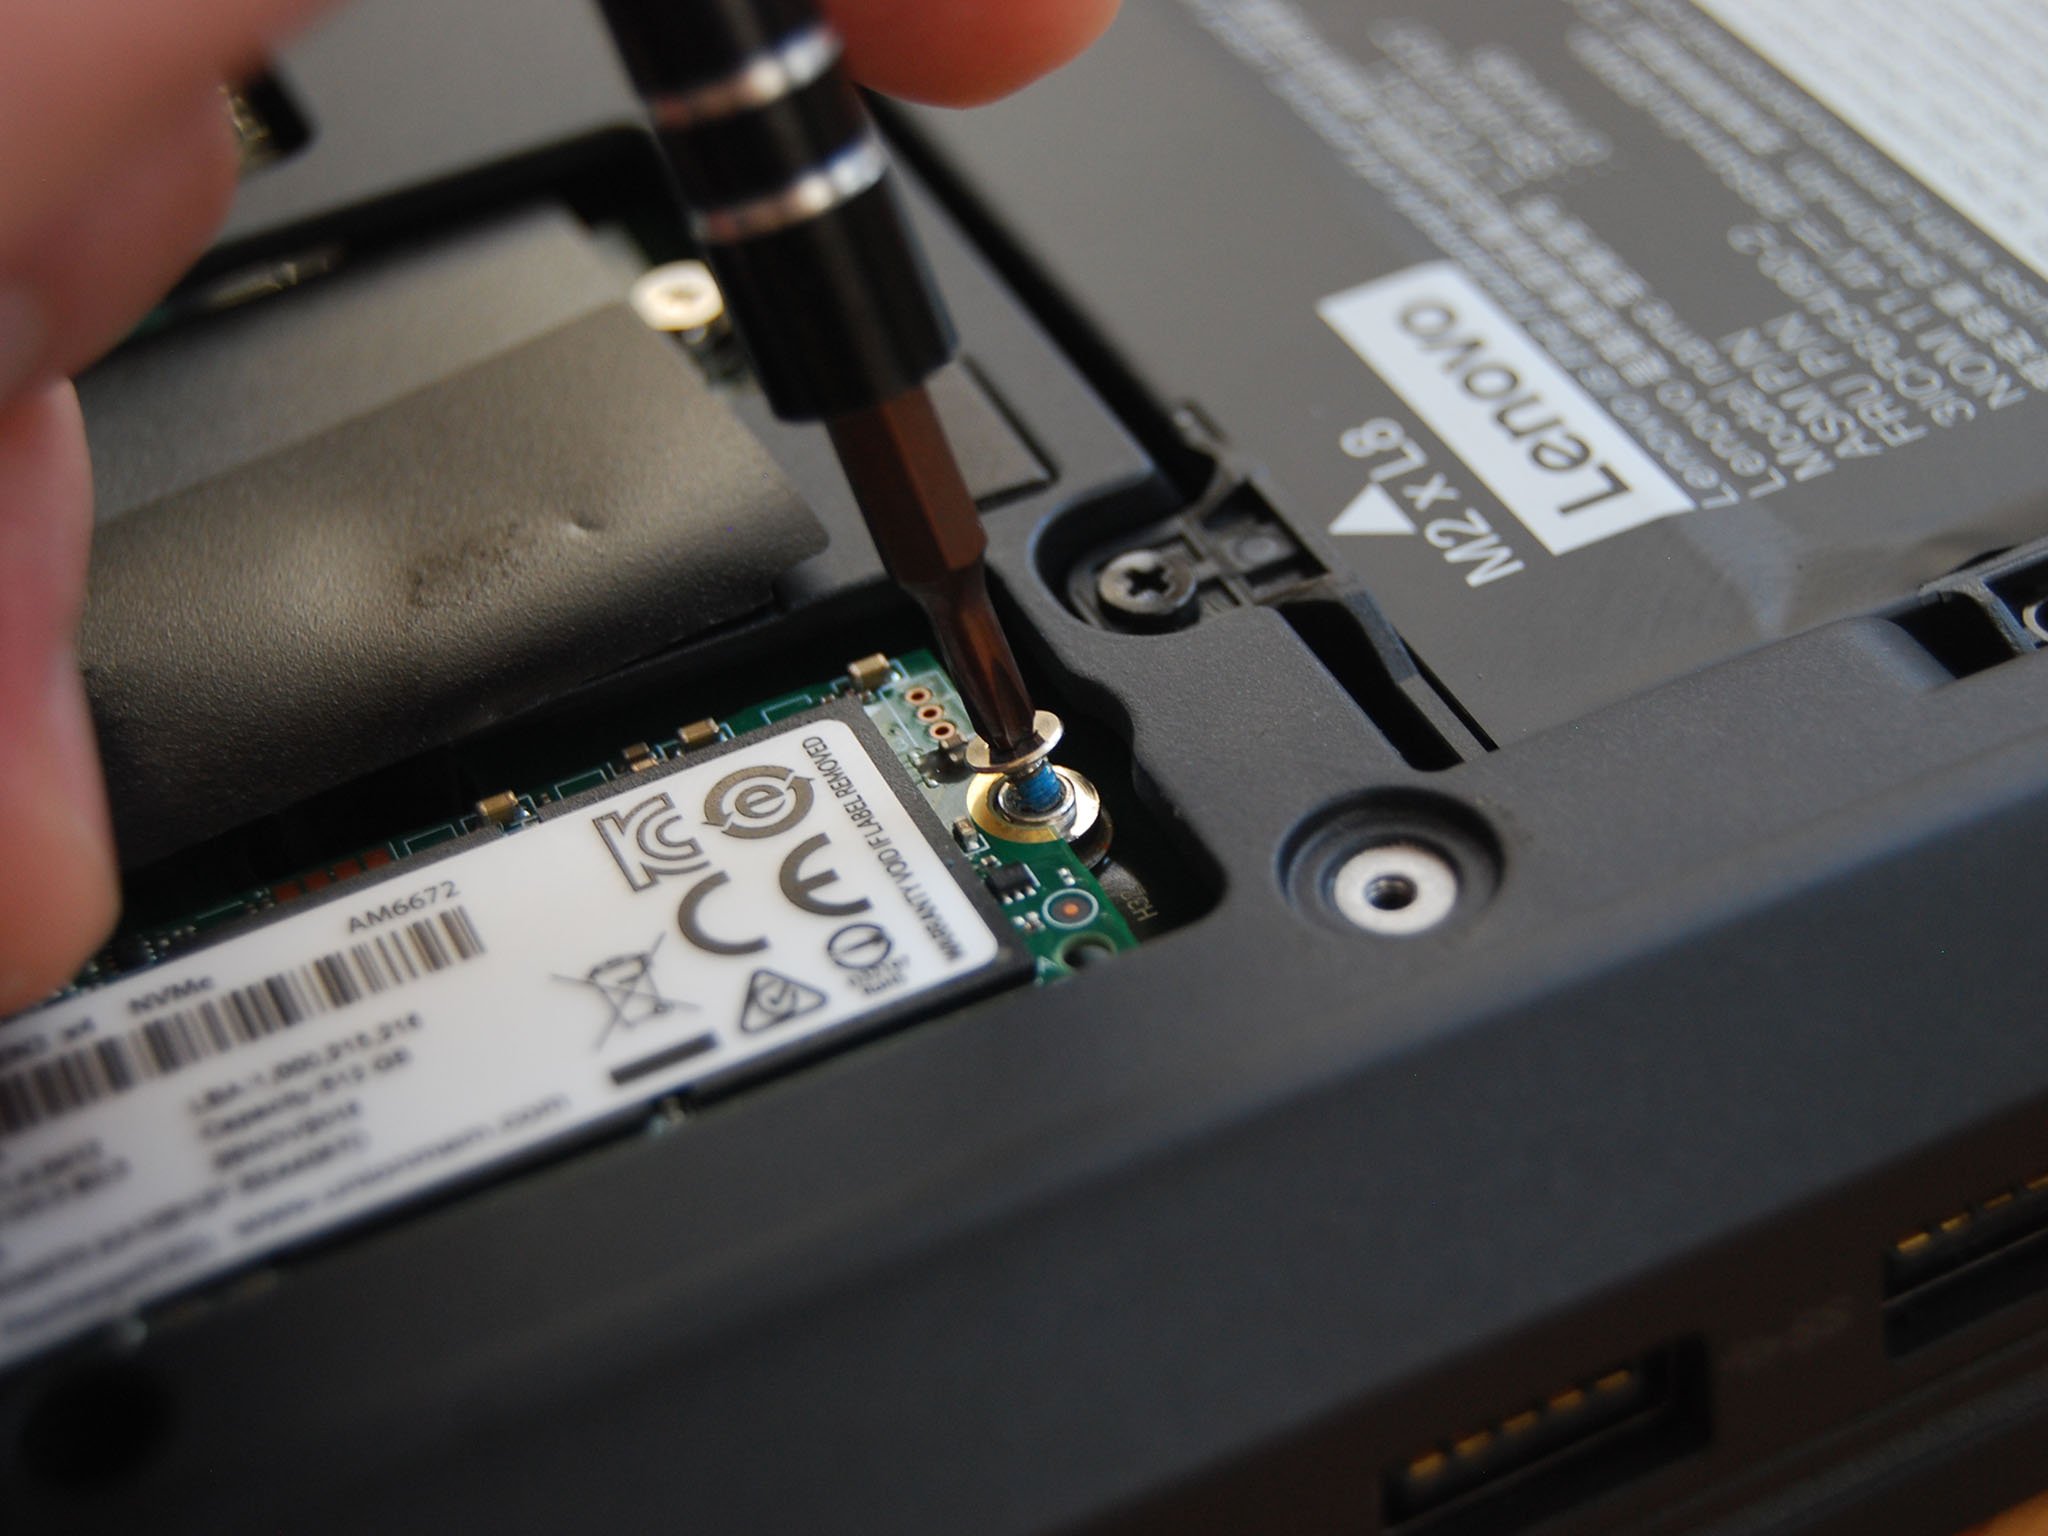
- Unscrew the single fastener at the end of the SSD. The old SSD should pop up and remain at an angle.
- Slide the old M.2 SSD out of its slot.
- Insert the new M.2 SSD into the slot at a slight angle. It is keyed and will only fit one way.
- Screw in the single fastener at the end of the M.2 SSD. Do not overtighten.
- Replace the shielding over the new M.2 SSD.
- Replace the access panel by applying pressure. It should partially clip into place.
- Screw in the seven fasteners on the quick-access panel.
You're now free to boot up your ThinkPad P72 to check if the storage upgrade went according to plan. If your system doesn't automatically recognize the new SSD, check out our guide on how to format a new drive to get it working properly. If you want to clone existing data from either the HDD or a secondary M.2 SSD without an external enclosure, you should now be free to do so.
Our top hardware and software picks
Our pick for an upgrade M.2 PCIe NVMe SSD is Samsung's 970 EVO Plus. It's incredibly fast, it's long-lasting, and it's relatively cheap for the performance you're getting.
This enormous Lenovo workstation brings ridiculous power, a stunning 4K display, and space inside for plenty of hardware upgrades to keep it relevant long into the future.
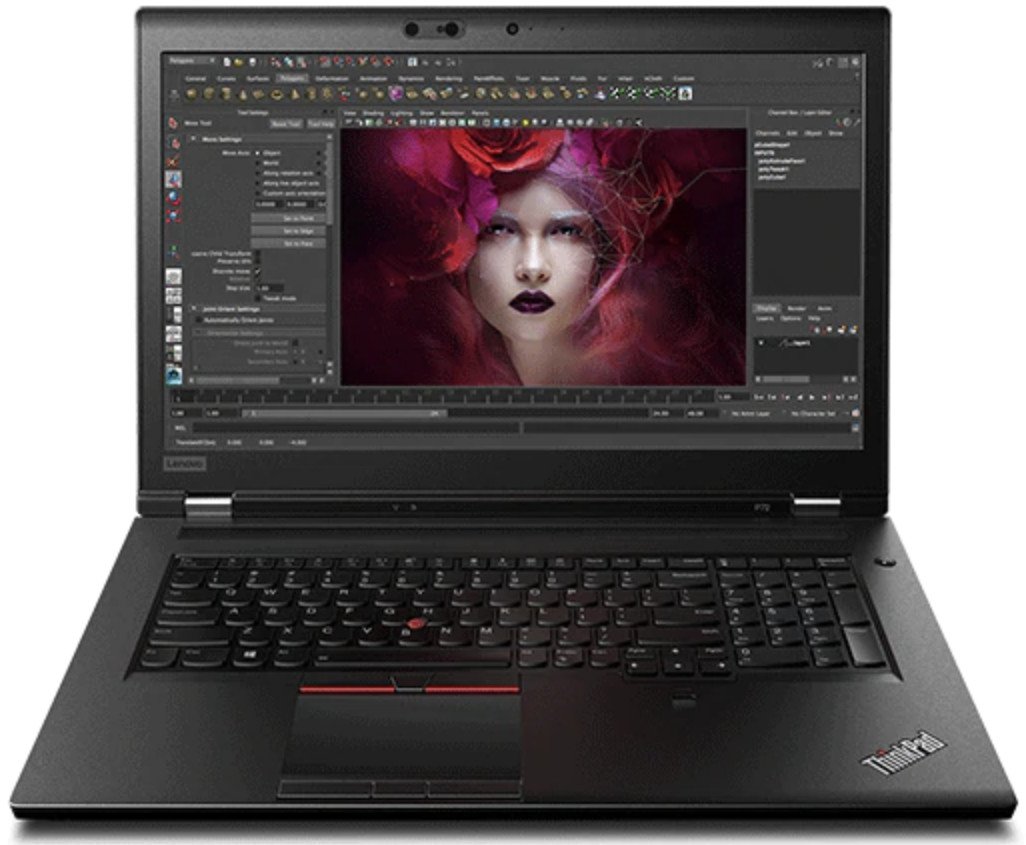
Huge laptop, huge performance
With up to an Intel Xeon E-2186M vPro CPU, NVIDIA Quadro P5200 GPU with 16GB of VRAM, and plenty of space for speedy storage and ECC RAM, the ThinkPad P72 is a laptop built for a life of high-performance design and development work.
Additional Equipment
To make the upgrade process easier and less risky, consider investing in some of these affordable PC tools, and don't forget about Macrium Reflect and an external enclosure for those who want to clone drives.
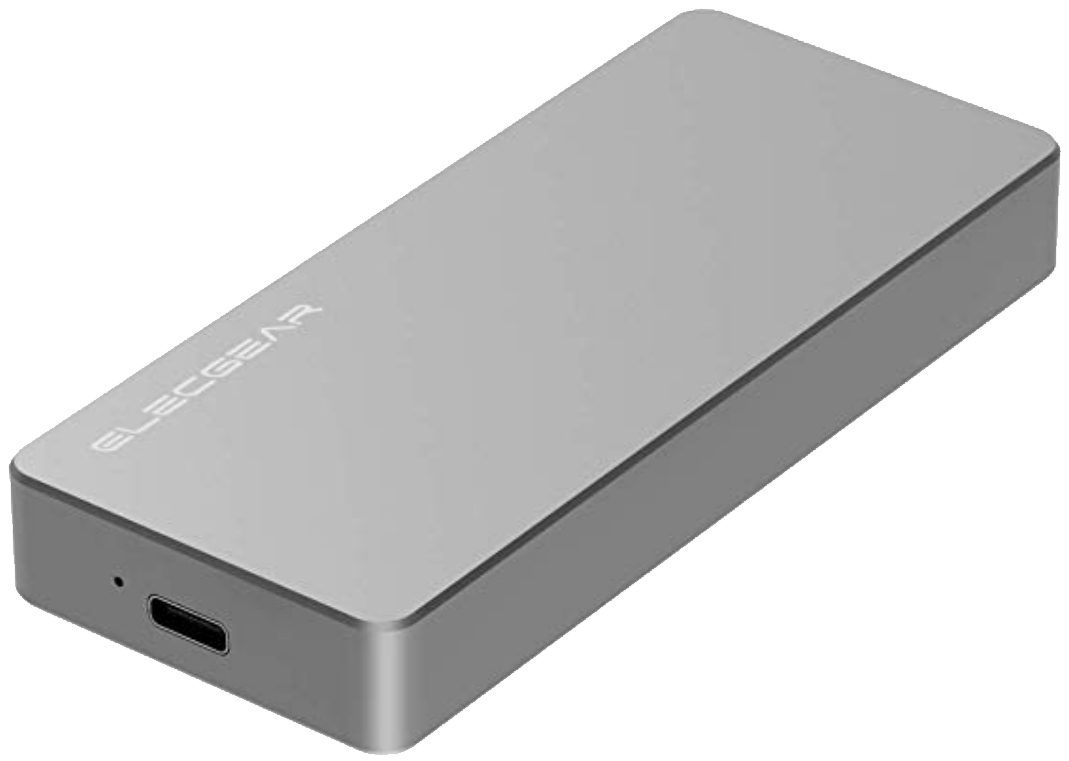
ElecGear M.2 PCIe enclosure ($50 at Amazon)
If you're cloning the original SSD to the new SSD, an external enclosure is needed. This option from ElecGear fits M.2 PCIe NVMe SSDs and can connect back to your ThinkPad P72 with USB-C or USB-A.
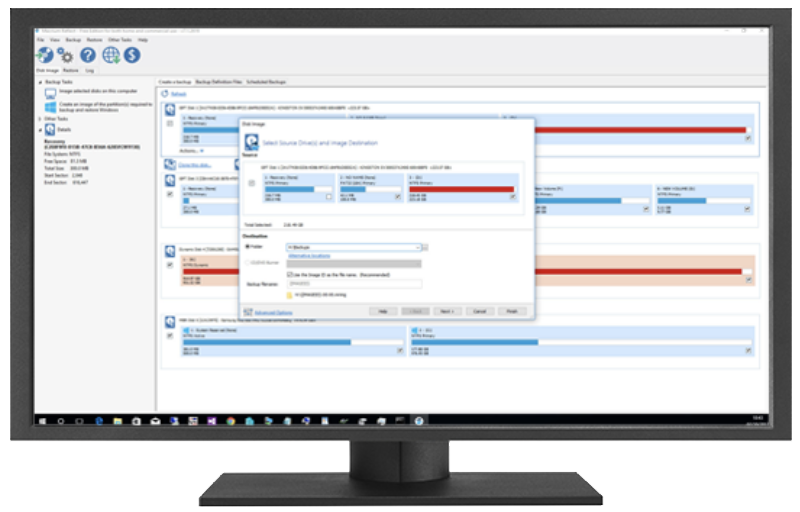
Macrium Reflect 7 (Free at Macrium)
We've had success cloning drives with Macrium Reflect 7, and have even written a complete guide on how to use it properly. A free edition is available, but you can purchase a full edition with a bunch more features for those who truly take backups seriously.
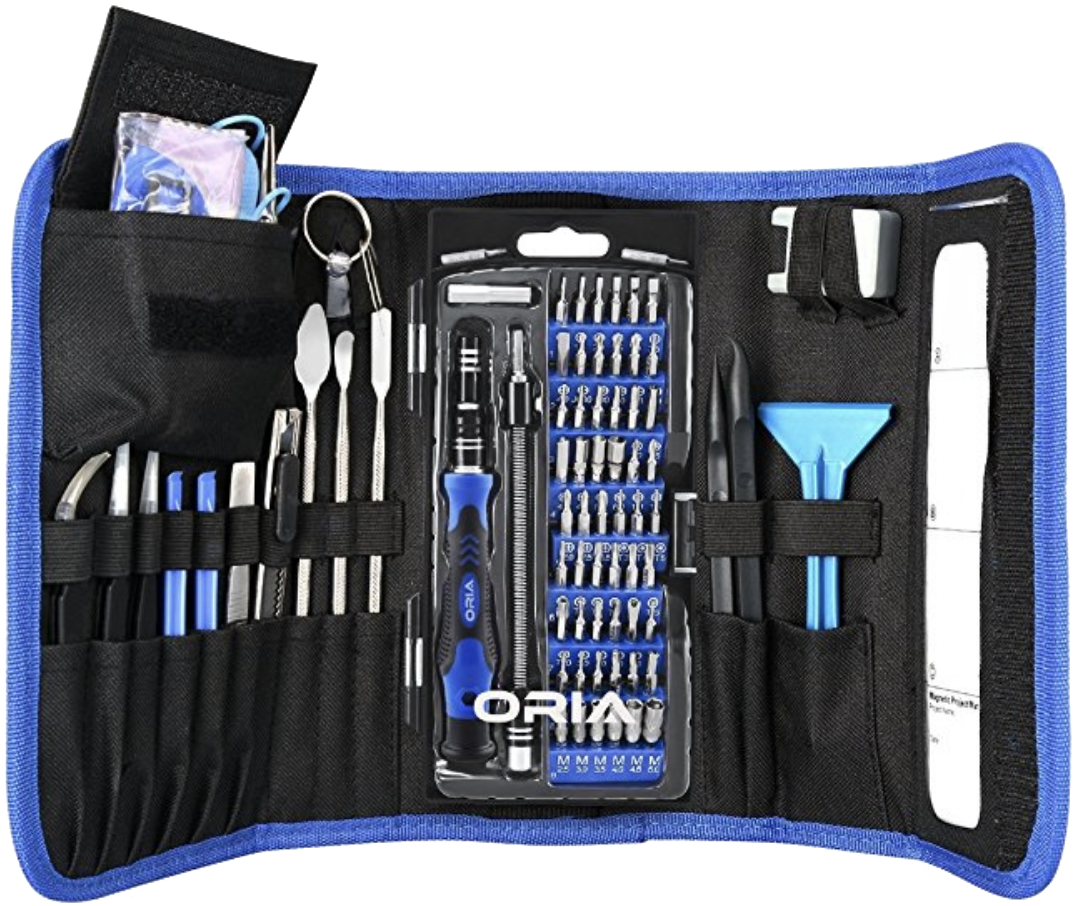
ORIA PC toolkit ($33 at Amazon)
Having the proper gear to work on your PC will always make the job much easier. Here you get a plethora of tools contained in a portable case.
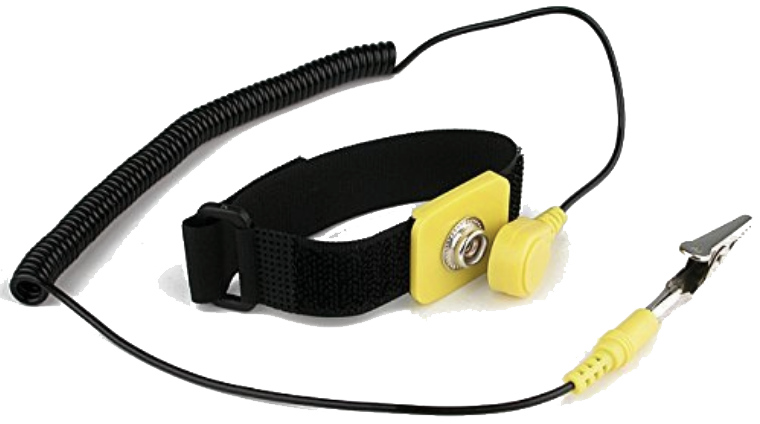
Rosewill anti-static wristband ($6 at Amazon)
Static electricity can damage sensitive PC parts, so remove the risk with an anti-static wristband. Fasten it around your wrist and clip it onto your PC for peace of mind.

Cale Hunt brings to Windows Central more than nine years of experience writing about laptops, PCs, accessories, games, and beyond. If it runs Windows or in some way complements the hardware, there’s a good chance he knows about it, has written about it, or is already busy testing it.
