How to upgrade the SSD in your Dell XPS 13
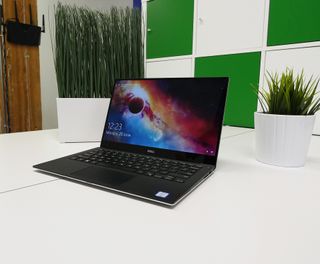
You might find yourself needing more storage space on your Dell XPS 13. Fortunately, it's really easy to add some.
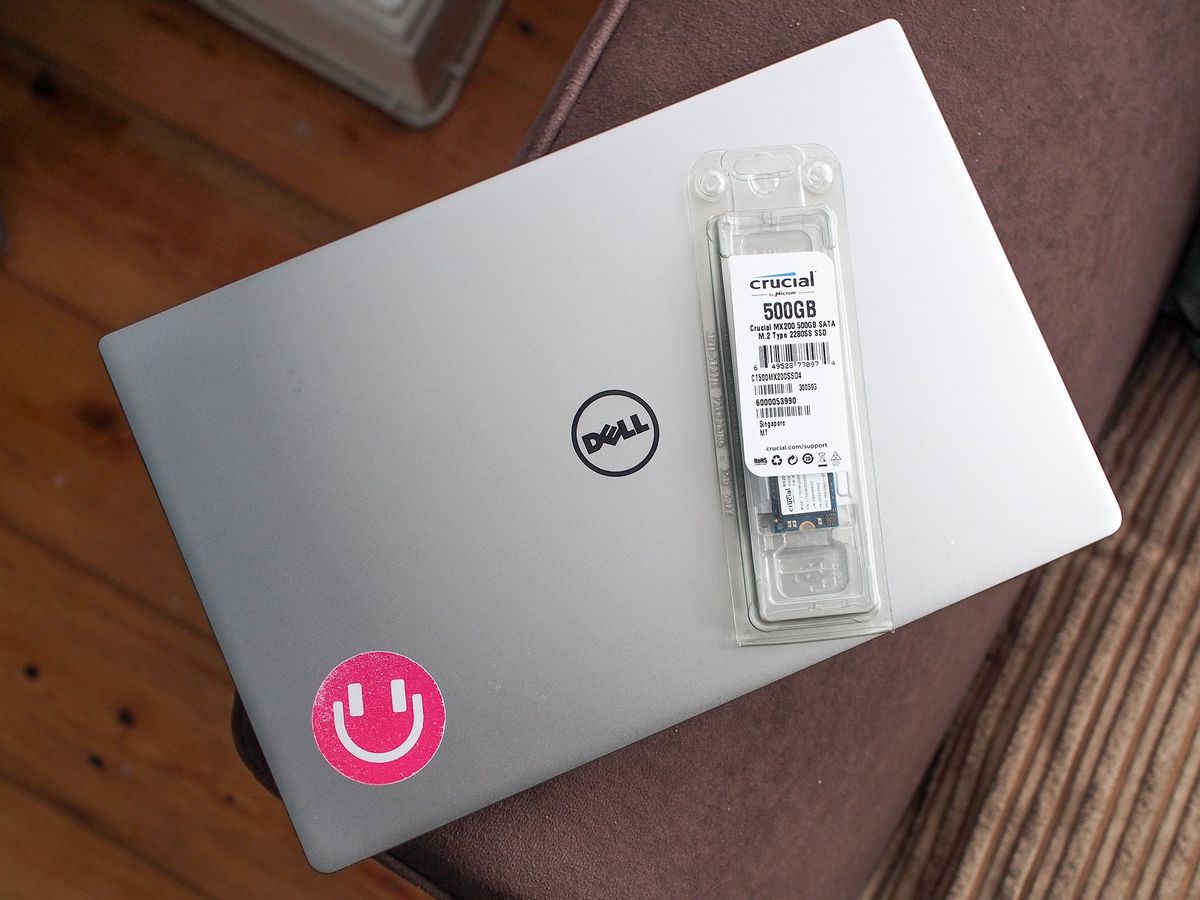
It doesn't matter exactly why you find yourself needing more storage, it's a perfectly reasonable thing to come up against. You could use the cloud to help you out, but more local storage space is usually the way to go.
Fortunately on the Dell XPS 13, the latter of those two options is actually very straightforward. With a little know-how, a screwdriver, and the time to do it, you can swap out the existing SSD for a larger one.
Here's what you need to know.
What you need


In order to do this there are a few things you'll need.
- A new m.2 SSD
- A USB 3.0 enclosure for m.2 SSD drives
- A Torx T5 screwdriver
- A Philips screwdriver
- Cloning software
- A blunt edge such as a pry tool or a credit card
For this guide we're going to be going from the stock 256GB SSD up to a 500GB model from Crucial. This SSD also comes with a copy of Acronis True Image, a piece of software you can use to clone the existing drive.
Samsung is another brand we'd recommend if you're shopping for an SSD. They too ship with some cloning software that, while different in user interface, ultimately achieves the same thing.
You also need to backup any important information on your laptop before going any further. If anything goes wrong, you don't want to be left without. Check out our guide on backing up in Windows 10 if you need some help with that.
Get the Windows Central Newsletter
All the latest news, reviews, and guides for Windows and Xbox diehards.
Cloning the existing drive
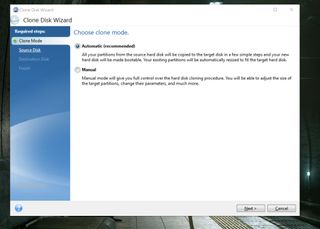
Before you go taking anything apart you want to have the new SSD set up and ready to roll. As it's a direct replacement and not a secondary drive, you need to do it first, and outside of the laptop.
That's where the USB 3.0 enclosure comes in. This one is relatively inexpensive; it's basically a box with an m.2-to-USB interface board. It allows you to connect the new SSD to a laptop via a regular USB 3.0 cable for cloning.
Open up the enclosure and fix the unused SSD to the board using the screws provided, and then re-assemble. Plug the drive into the XPS 13 using the included USB 3.0 cable.


Then we're going to head into the cloning software of choice. The actual steps may vary from software to software, but the overall process should be pretty similar. If you want to see an example using Samsung's SSD and software check out this guide on doing a similar upgrade on the Dell Inspiron 15 7559 gaming laptop.
You need to choose the source drive and the target drive and very little else. Hit the magic button and allow the software to do its thing. In this case, we're going from a smaller to a larger SSD you shouldn't encounter any space issues.
Now you should have a brand new SSD drive set up exactly as the old one. So then it's time to grab the screwdriver.
Opening up the XPS 13
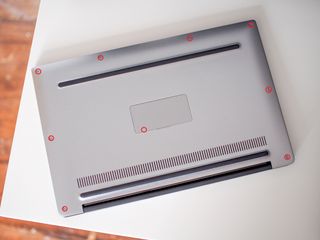
Flip the laptop over so the XPS logo is staring back at you. Grab the screwdriver and remove each one of the screws in turn. Be sure not to lose them, with a good trick being to use a magnetic parts tray if you can get one easily. Don't forget to lift the XPS flap, either, as you'll find a final screw lurking under there. The outer screws are T5, while the one beneath the flap is a regular Philips.
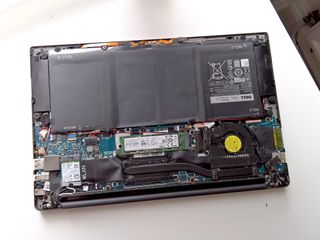
Once they're all removed the bottom of the laptop will come away but it'll need a little persuasion. Here's where the pry tool or credit card comes in. Slide it into the edges of the laptop and gently press the back cover away until you can lift it off completely.
The good news from here is that you don't have to dig too far into the belly of the laptop.
Swap the SSD drives over


The current SSD drive will be looking right at you, secured with a single screw. Carefully remove the screw and the SSD will pop up slightly. Then pull it away from its mounting, holding the outer edges while you do it.
Installing the new one is the reverse of this process. Carefully hold the edges and slot the new SSD into the mounting, gold contacts first. You should have a new screw in the packaging as it is, so go ahead and secure the drive with it once it's in place. You'll know you're good when you can't see the notches on the new SSD drive any more.
And that's all there is to that. While you're looking at the naked bowels of the XPS 13 you'll see that upgrading beyond the SSD isn't possible. But it's pretty remarkable to see how much Dell managed to cram in.
Cross fingers and boot up
Look after the existing drive carefully. Don't do anything with it right now and certainly don't think about wiping it just yet. You may still need it! A safe bet is to install it into the housing you used to clone to the new drive.
Because you've cloned the existing drive to the new one, in theory you should now just boot up as normal. Hit the power button on your XPS 13, cross your fingers and watch it boot up. If anything did go wrong you still have the existing drive that you can re-insert to troubleshoot the process.
What to do with the old drive?
Certainly don't throw the old drive away once you're done with it. Once you're booted up and sure everything went well, you can use the USB enclosure you have to format this and leave it empty. From there, keep it inside the enclosure all the time and you've got a nifty, highly portable SSD drive.
If the existing drive is 256GB or higher, you could also plug it in to your Xbox One to expand your game storage a little. If you need guidance on what to do there, we've got a handy guide for you.
And that's it. With SSDs readily available now in large capacities, you've got a not massively expensive way to increase your internal storage should you need to on your Dell XPS 13.

Richard Devine is a Managing Editor at Windows Central with over a decade of experience. A former Project Manager and long-term tech addict, he joined Mobile Nations in 2011 and has been found on Android Central and iMore as well as Windows Central. Currently, you'll find him steering the site's coverage of all manner of PC hardware and reviews. Find him on Mastodon at mstdn.social/@richdevine