How to upgrade the SSD in the Lenovo Yoga C930
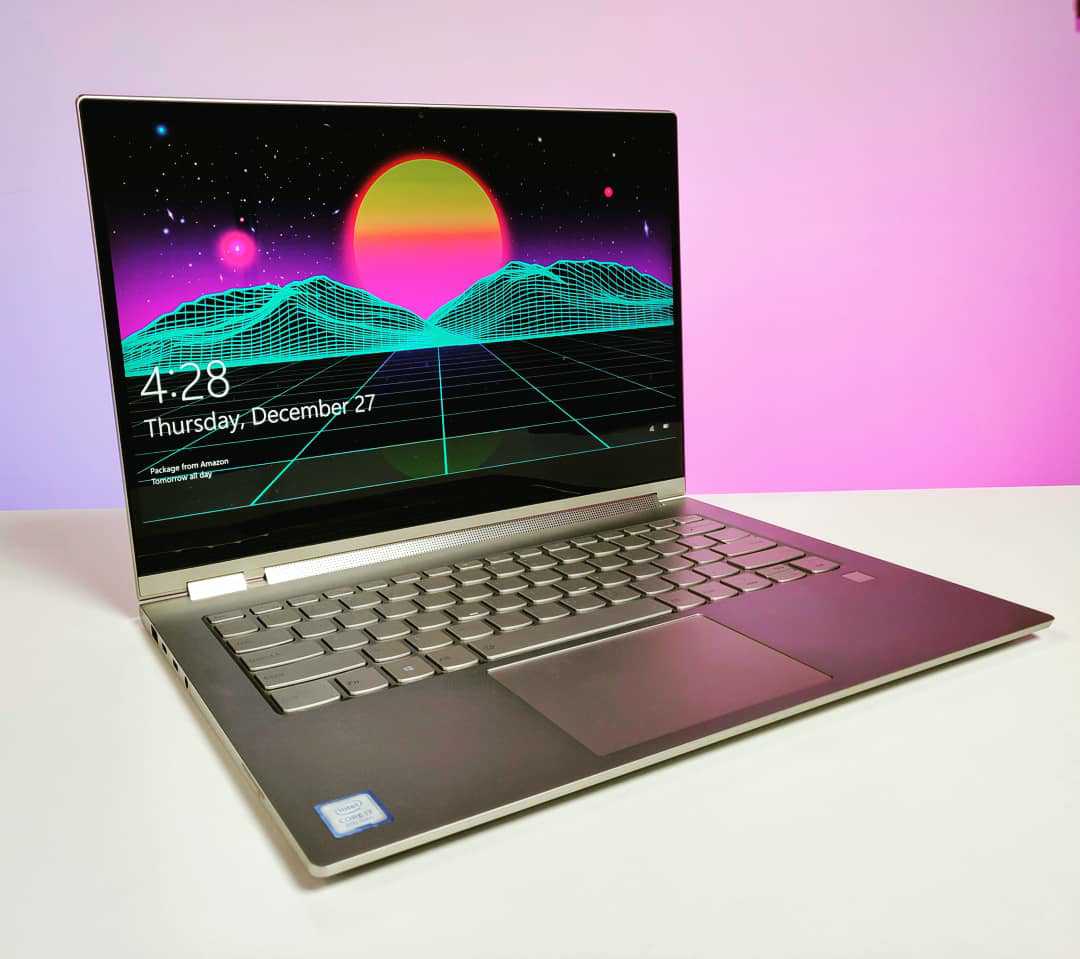
Lenovo ships premium storage with the highly-rated Yoga C930 – usually the Samsung PM961 or PM971 – but for those who need to add more storage you can easily change it yourself. Besides adding more storage you can splurge a bit too and add even faster memory, which is ideal for writing to disk for video tasks. Here's what you need to know to get the job done.
Hardware and software to get the job done
- Amazon: Samsung 970 Pro ($160+)
- Amazon: ADWITS PCIe NVMe SSD enclosure ($57)
- Macrium: Macrium Reflect 7 (Free+)
- Amazon: Rosewill anti-static wristband ($6)
- Amazon: ORIA PC toolkit ($34)
- Amazon: Arctic 1.5mm Thermal Pad ($18) (Optional)
- Best Buy: Lenovo Yoga C930 ($1,299+)
How to upgrade the SSD in the Lenovo Yoga C930
Note: Before beginning any upgrades on a PC, it's a good idea to back up your data in the unlikely event something should go wrong. You'll also want to ensure you're not working in a static-filled environment, as it can cause damage to a PC's internal hardware. Consider investing in an anti-static wristband to avoid unnecessary damage.
In this guide, we're going to be going from the stock 256GB SSD up to a new 512GB Samsung 970 Pro.
You can purchase any PCIe NVMe SSD you want, but the Samsung 970 Pro – at the time of this article – is the fastest and has the best warranty (5-year limited). Prices have also come down for the 970 Pro making it more affordable, although pricing for the 1TB model will set you back around $400.
If, however, you want the most storage the cheaper Samsung 970 EVO may be a better choice. That SSD is available with a 2TB option, but you'll pay a handsome $500 for the privilege. Just 500GB though is $130 – about $30 cheaper than the same Pro model. The difference between Pro and EVO is the latter won't have as good write speeds as the Pro, but unless you are writing a lot of data that won't matter much. Both have similar read speeds, which is what most users experience day to day.
Samsung offers its own data migration software, or you can use the free Macrium Reflect (our choice).
Cloning the existing drive
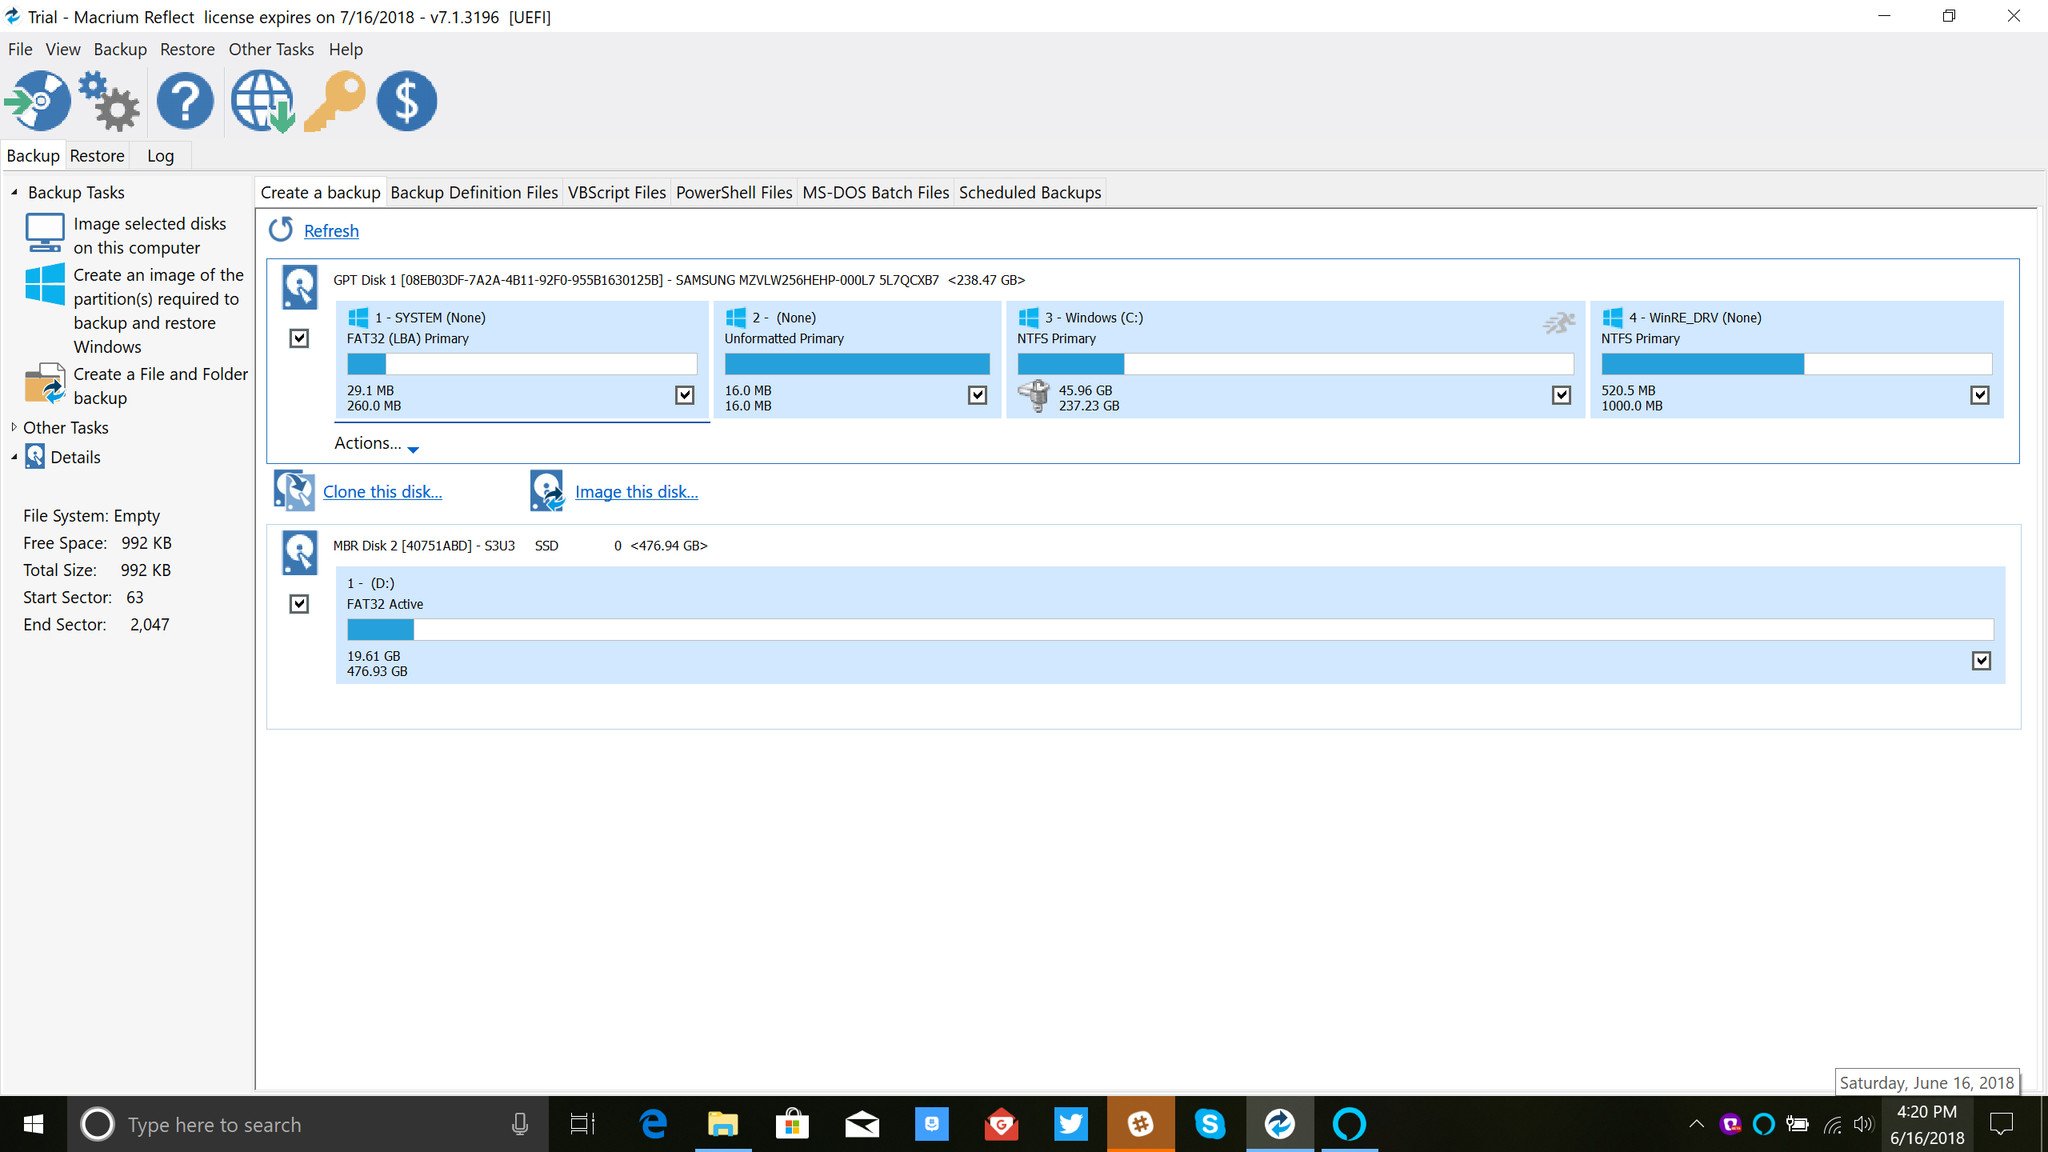
Before you take anything apart, you want to have the new SSD set up and ready to roll. As it's a direct replacement and not a secondary drive, you need to do it first, and outside of the laptop.
Get the Windows Central Newsletter
All the latest news, reviews, and guides for Windows and Xbox diehards.
That's where the USB 3.0 enclosure comes in. This one is relatively inexpensive; it's a box with an m.2 (PCIe)-to-USB interface board. It allows you to connect the new SSD to a laptop via a regular USB 3.0 cable for cloning.
Open the enclosure and fix the unused SSD to the board using the screws provided, and then reassemble. Plug the drive into the Yoga C930 using the included USB 3.0 cable.
Next is the cloning software. The actual steps may vary from software to software, but the overall process should be similar. If you want to see an example using Samsung's SSD and software, check out this guide on doing a similar upgrade on the Dell Inspiron 15 7559 gaming laptop.
You need to choose the source drive and the target drive. Hit the magic button and allow the software to do its thing. In this case, we're going from a smaller to a larger SSD, so you shouldn't encounter any space issues.
Now you should have a brand new SSD drive set up exactly like the old one.
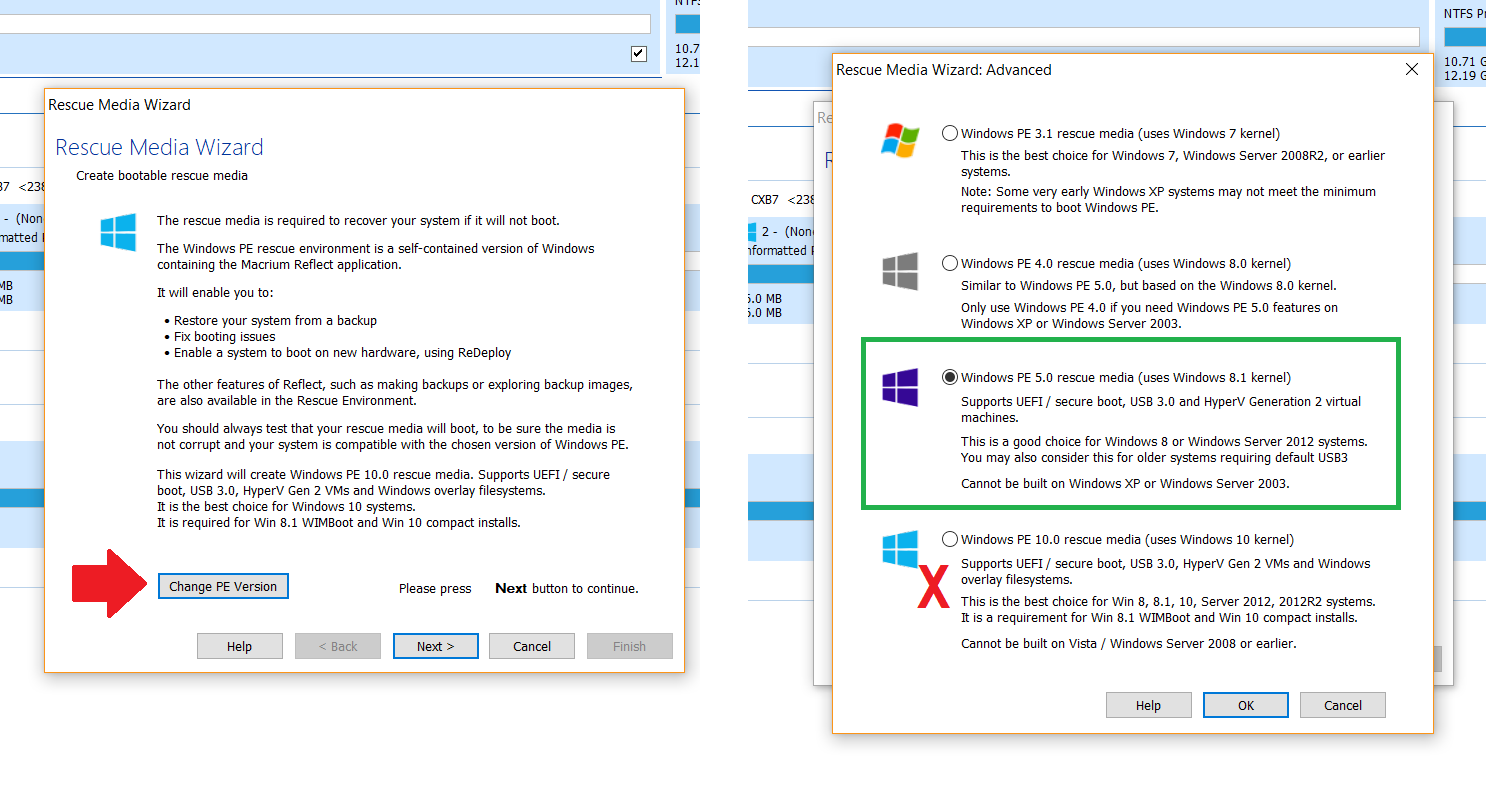
IMPORTANT: If you are using Macrium Reflect 7 (free) you need to switch PE Version during the Rescue Media Wizard portion. Instead of the default Windows PE 10.0 you need to switch to Windows PE 5.0. If you do not, when you go to restore the image the graphics will be at less than full HD, and you won't be able to complete the restore due to graphics incompatibility.
Opening the Yoga C930
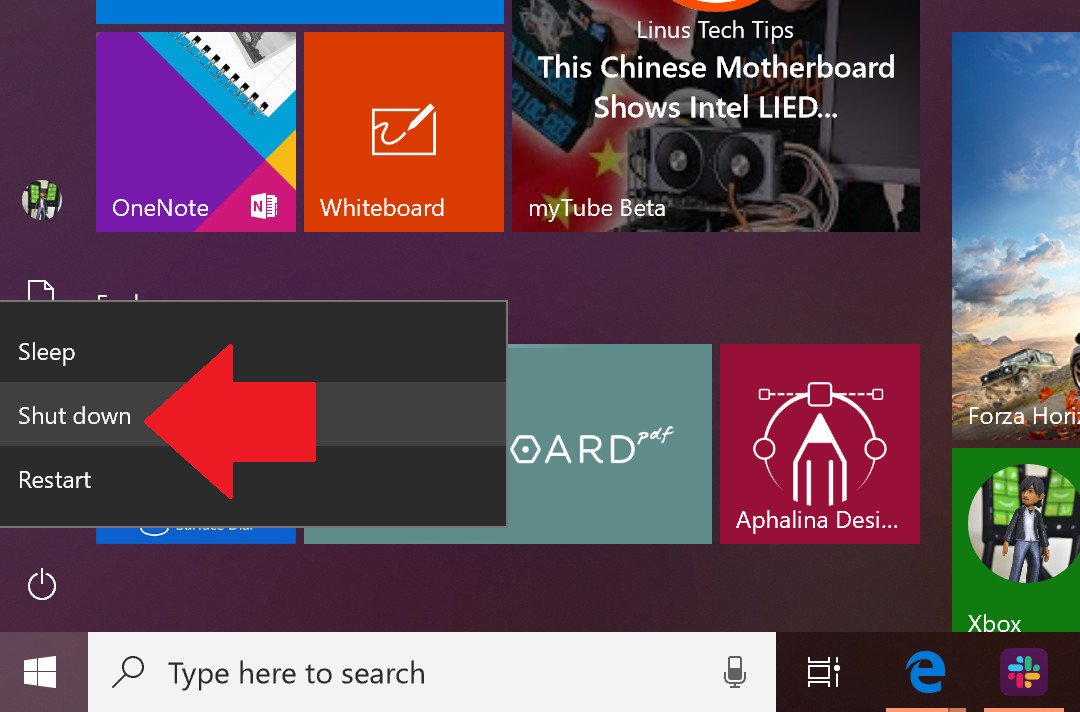
- Power down the Lenovo Yoga C930 through the Windows Start menu. Do not just close the lid and put into standby.
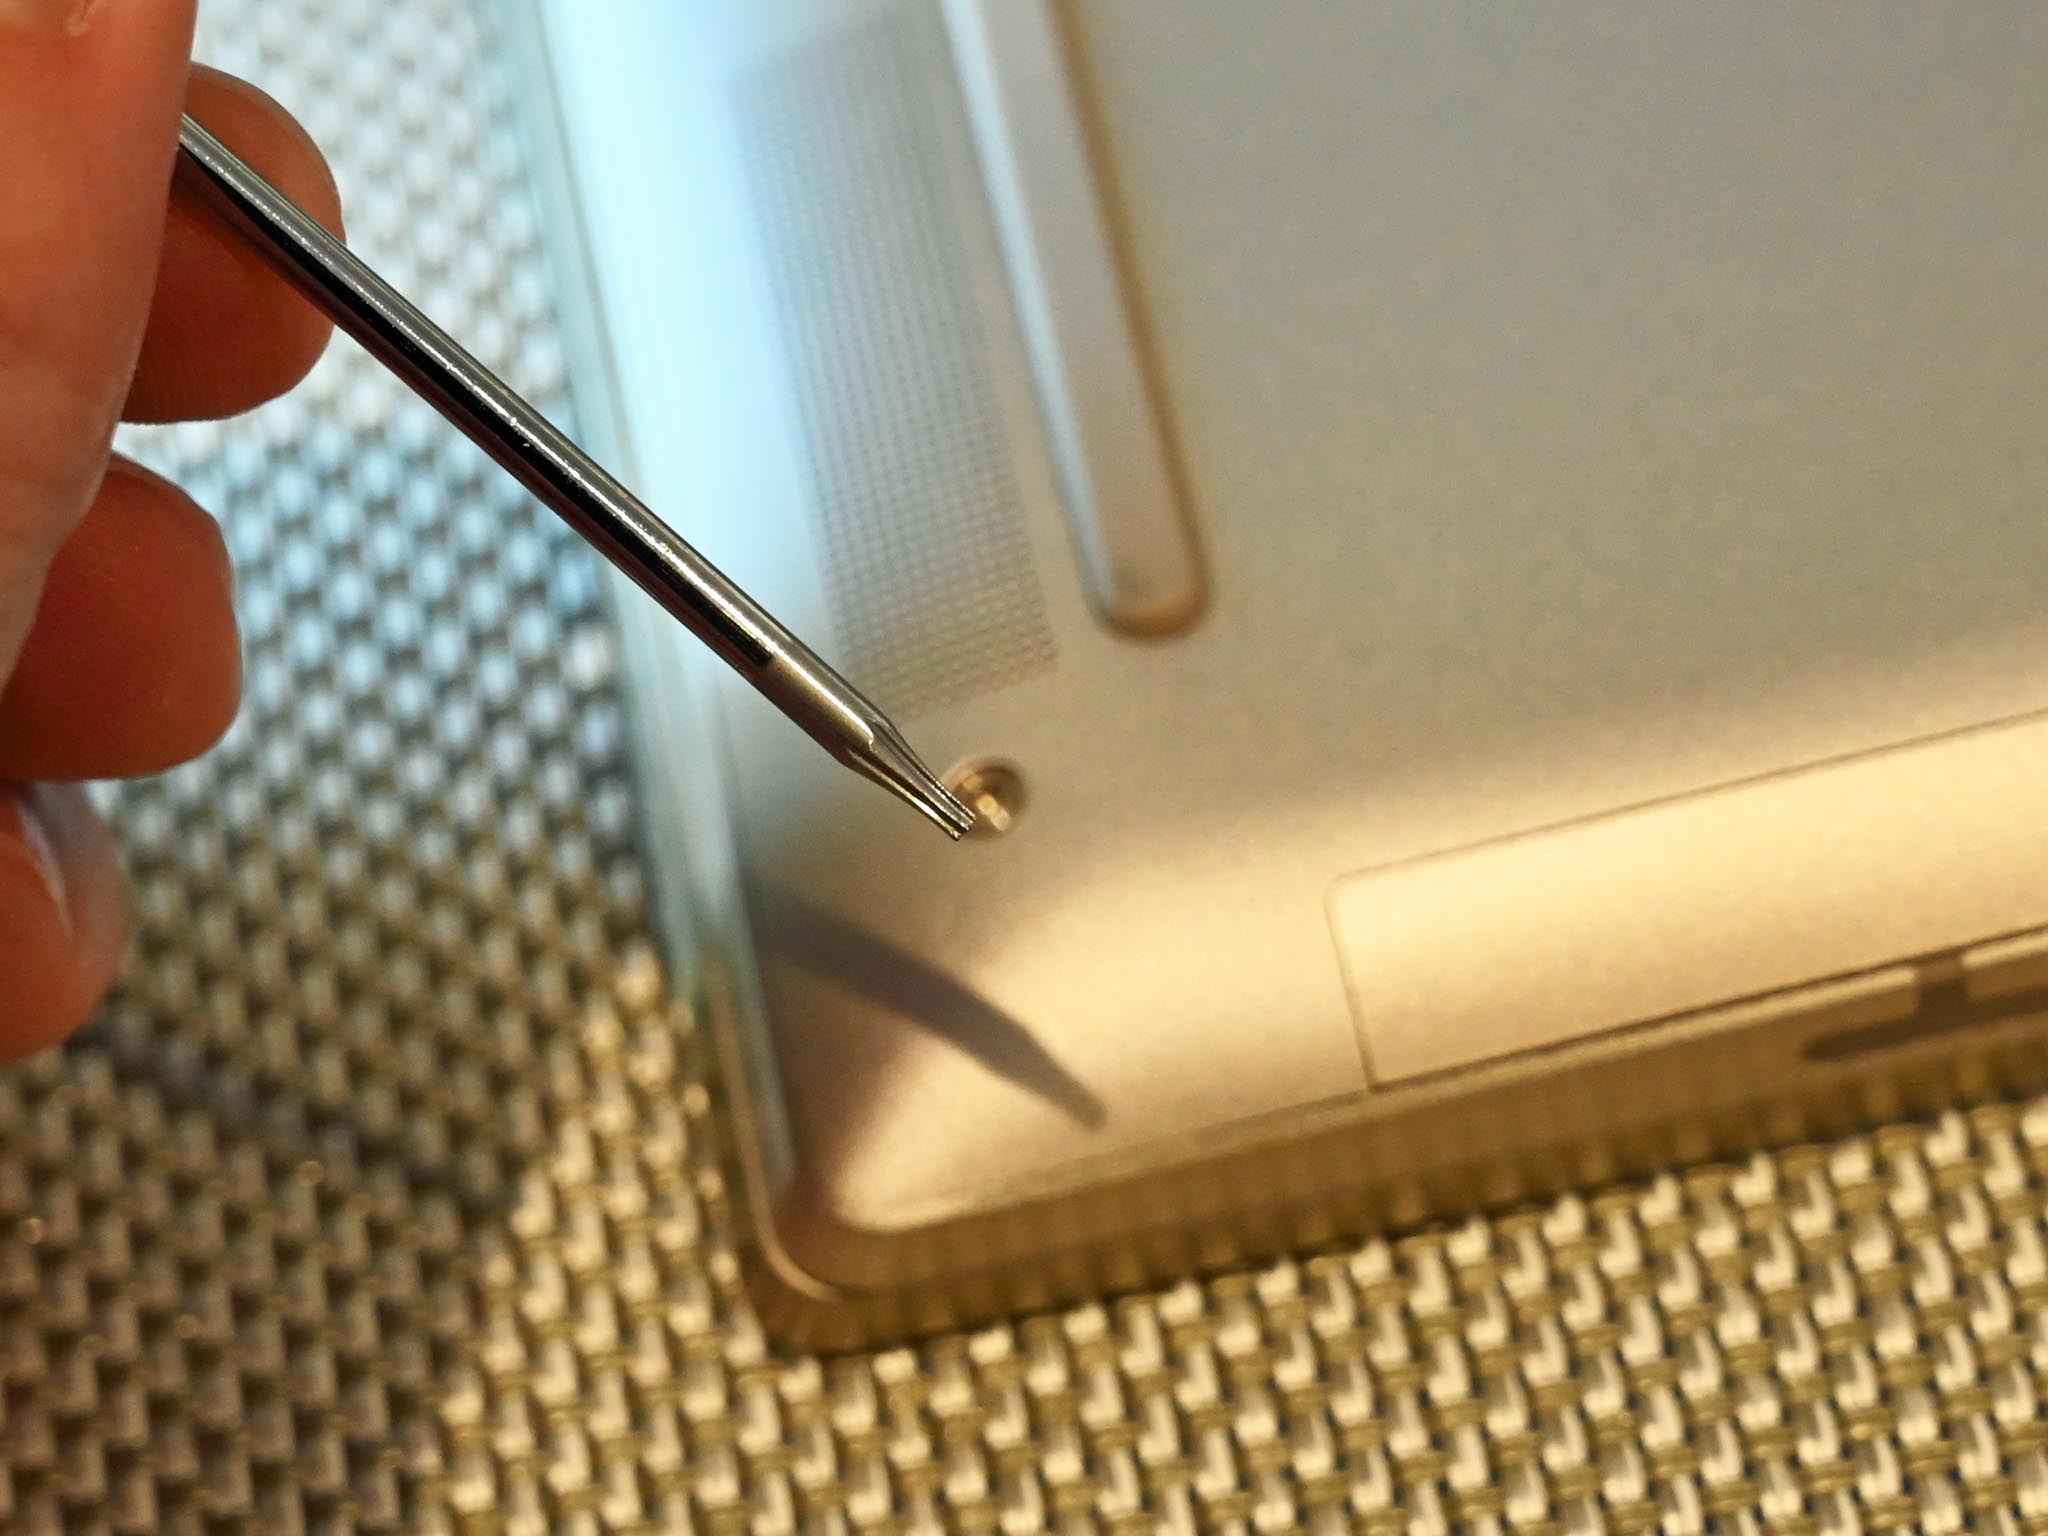
- Locate all six of the T5 Torx screws on the bottom of the Yoga C930.
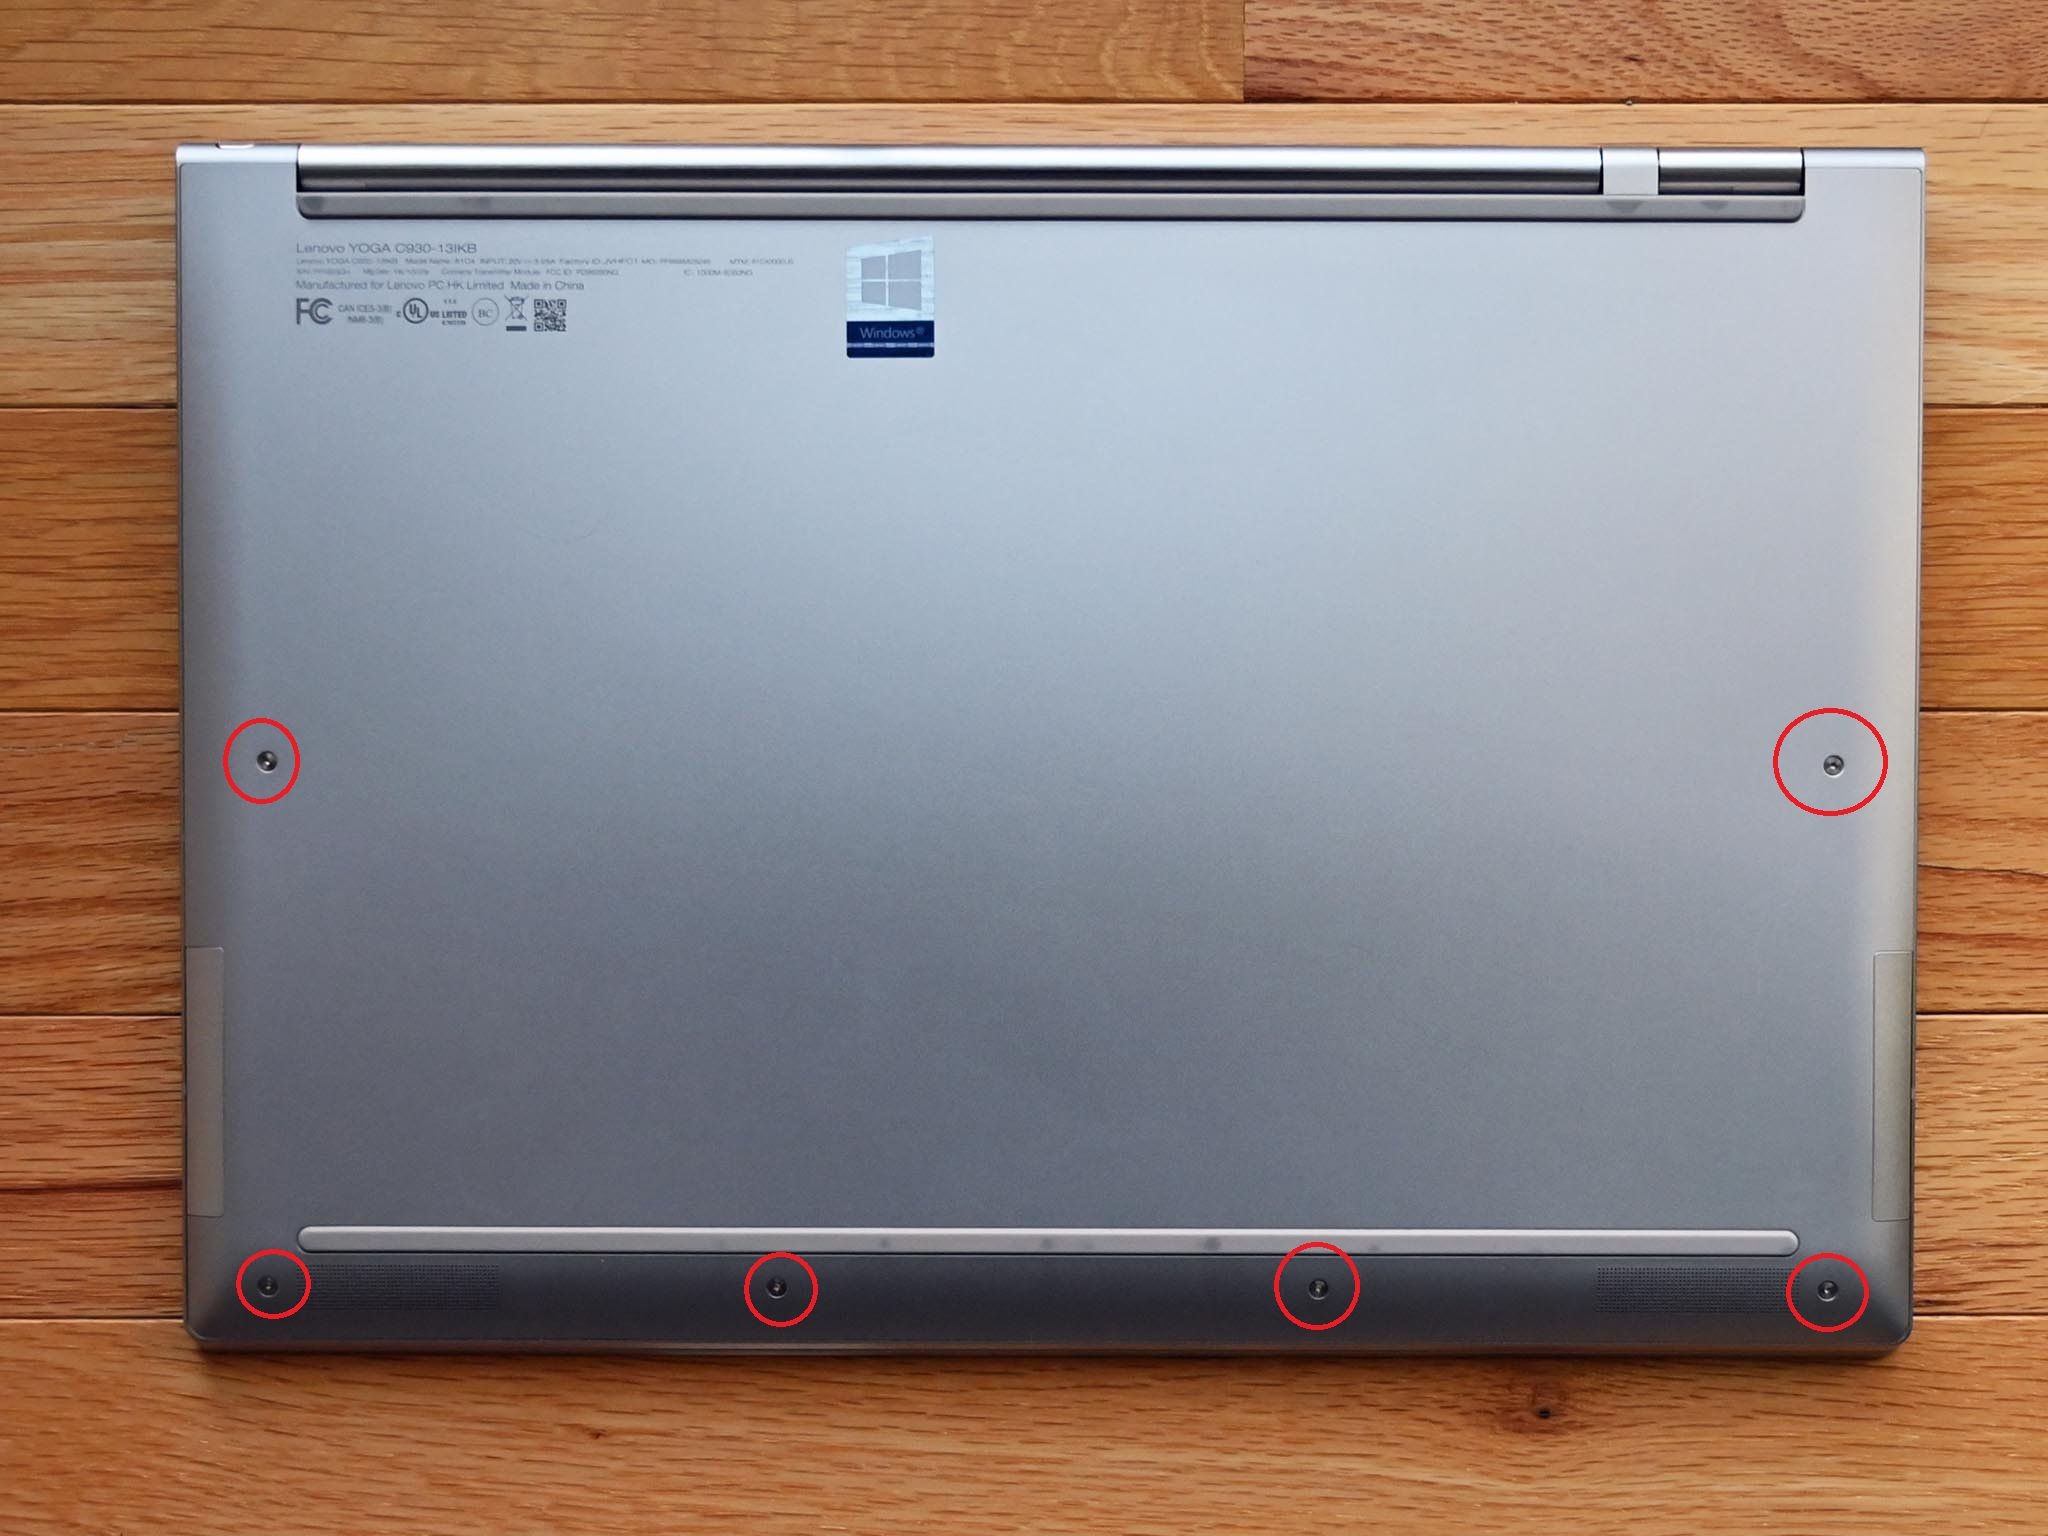
- Remove all six screws making sure to not lose them.
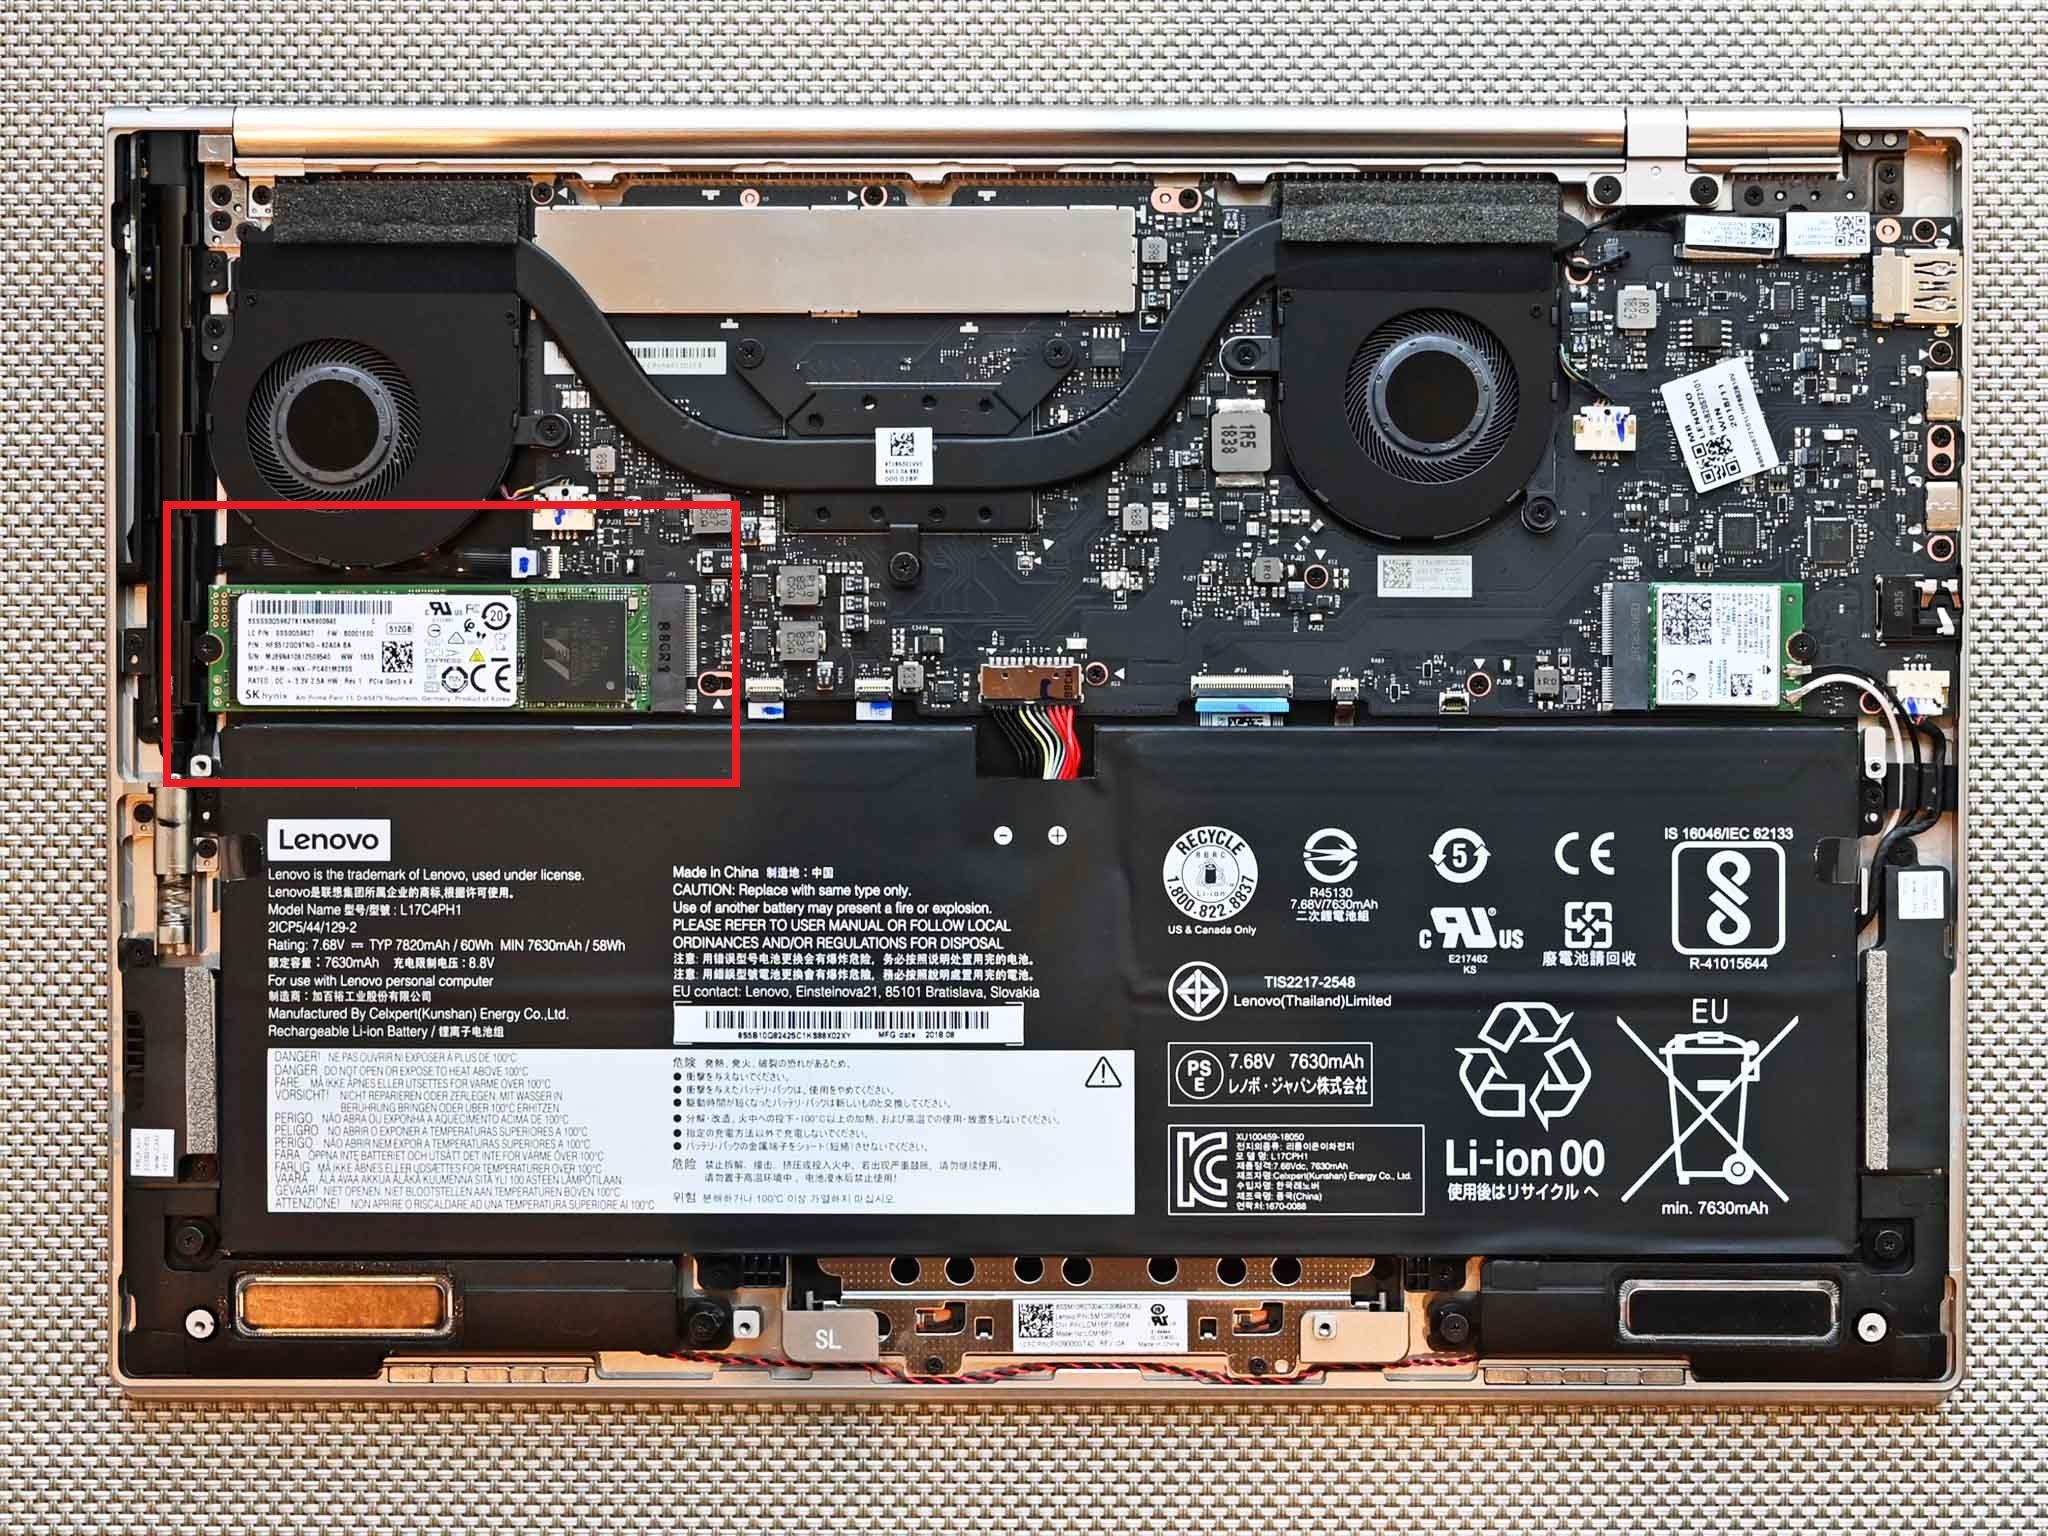
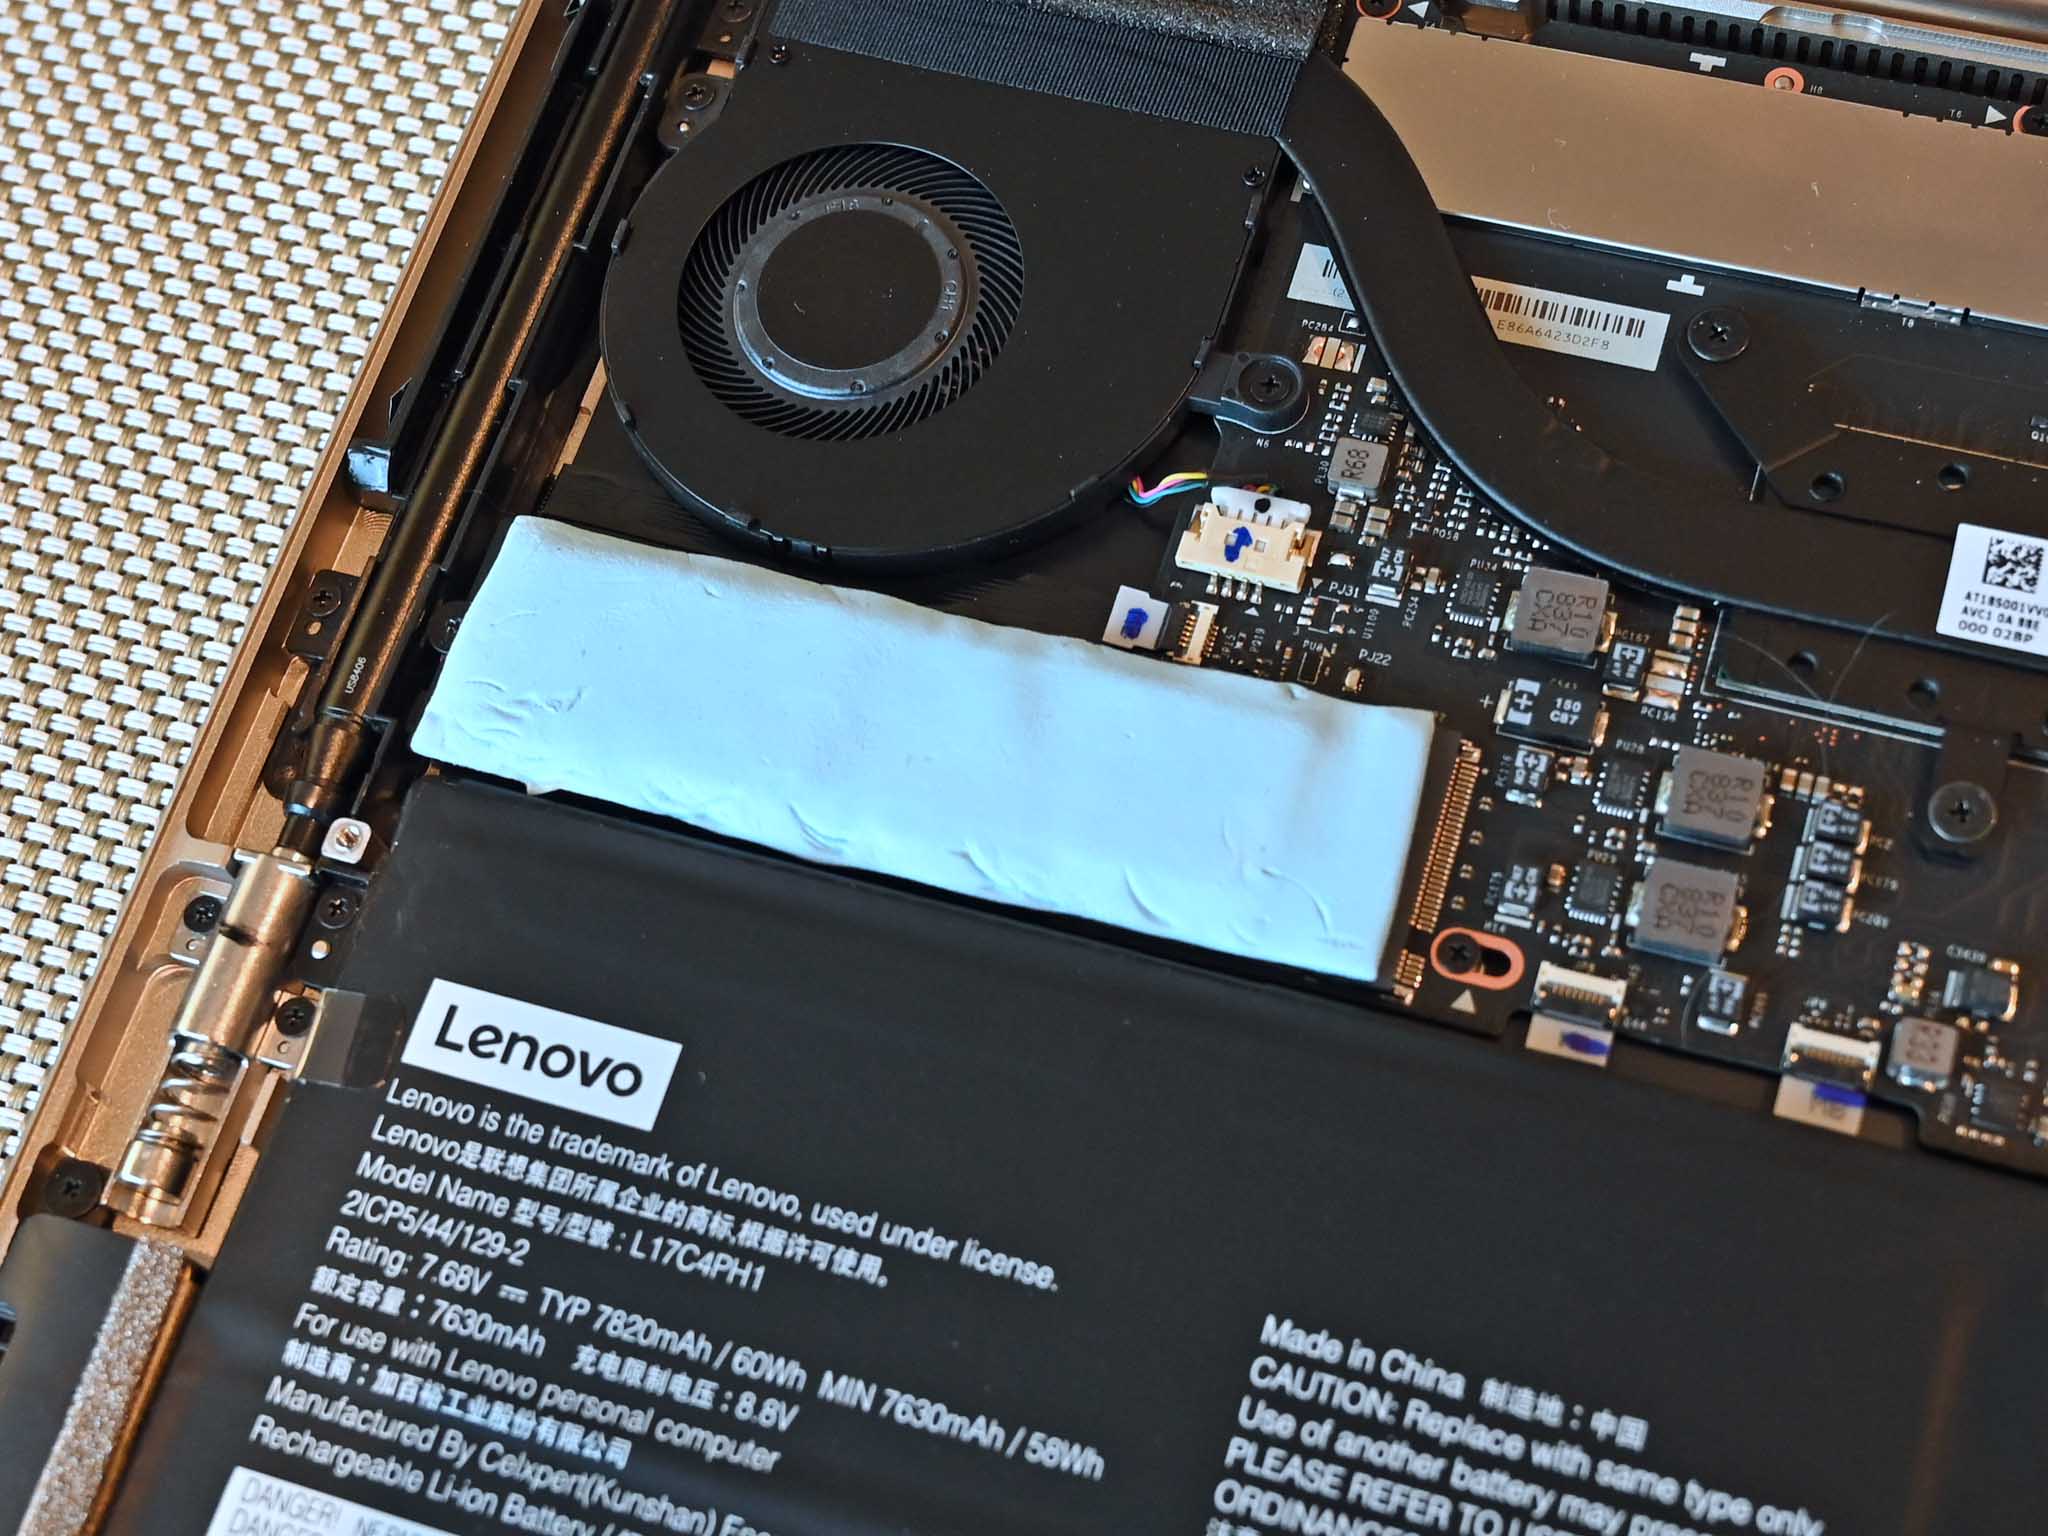
- Located the current SSD, which is located near the pen silo.
- Unscrew the single Philips Head screw holding the SSD in place and set it aside.
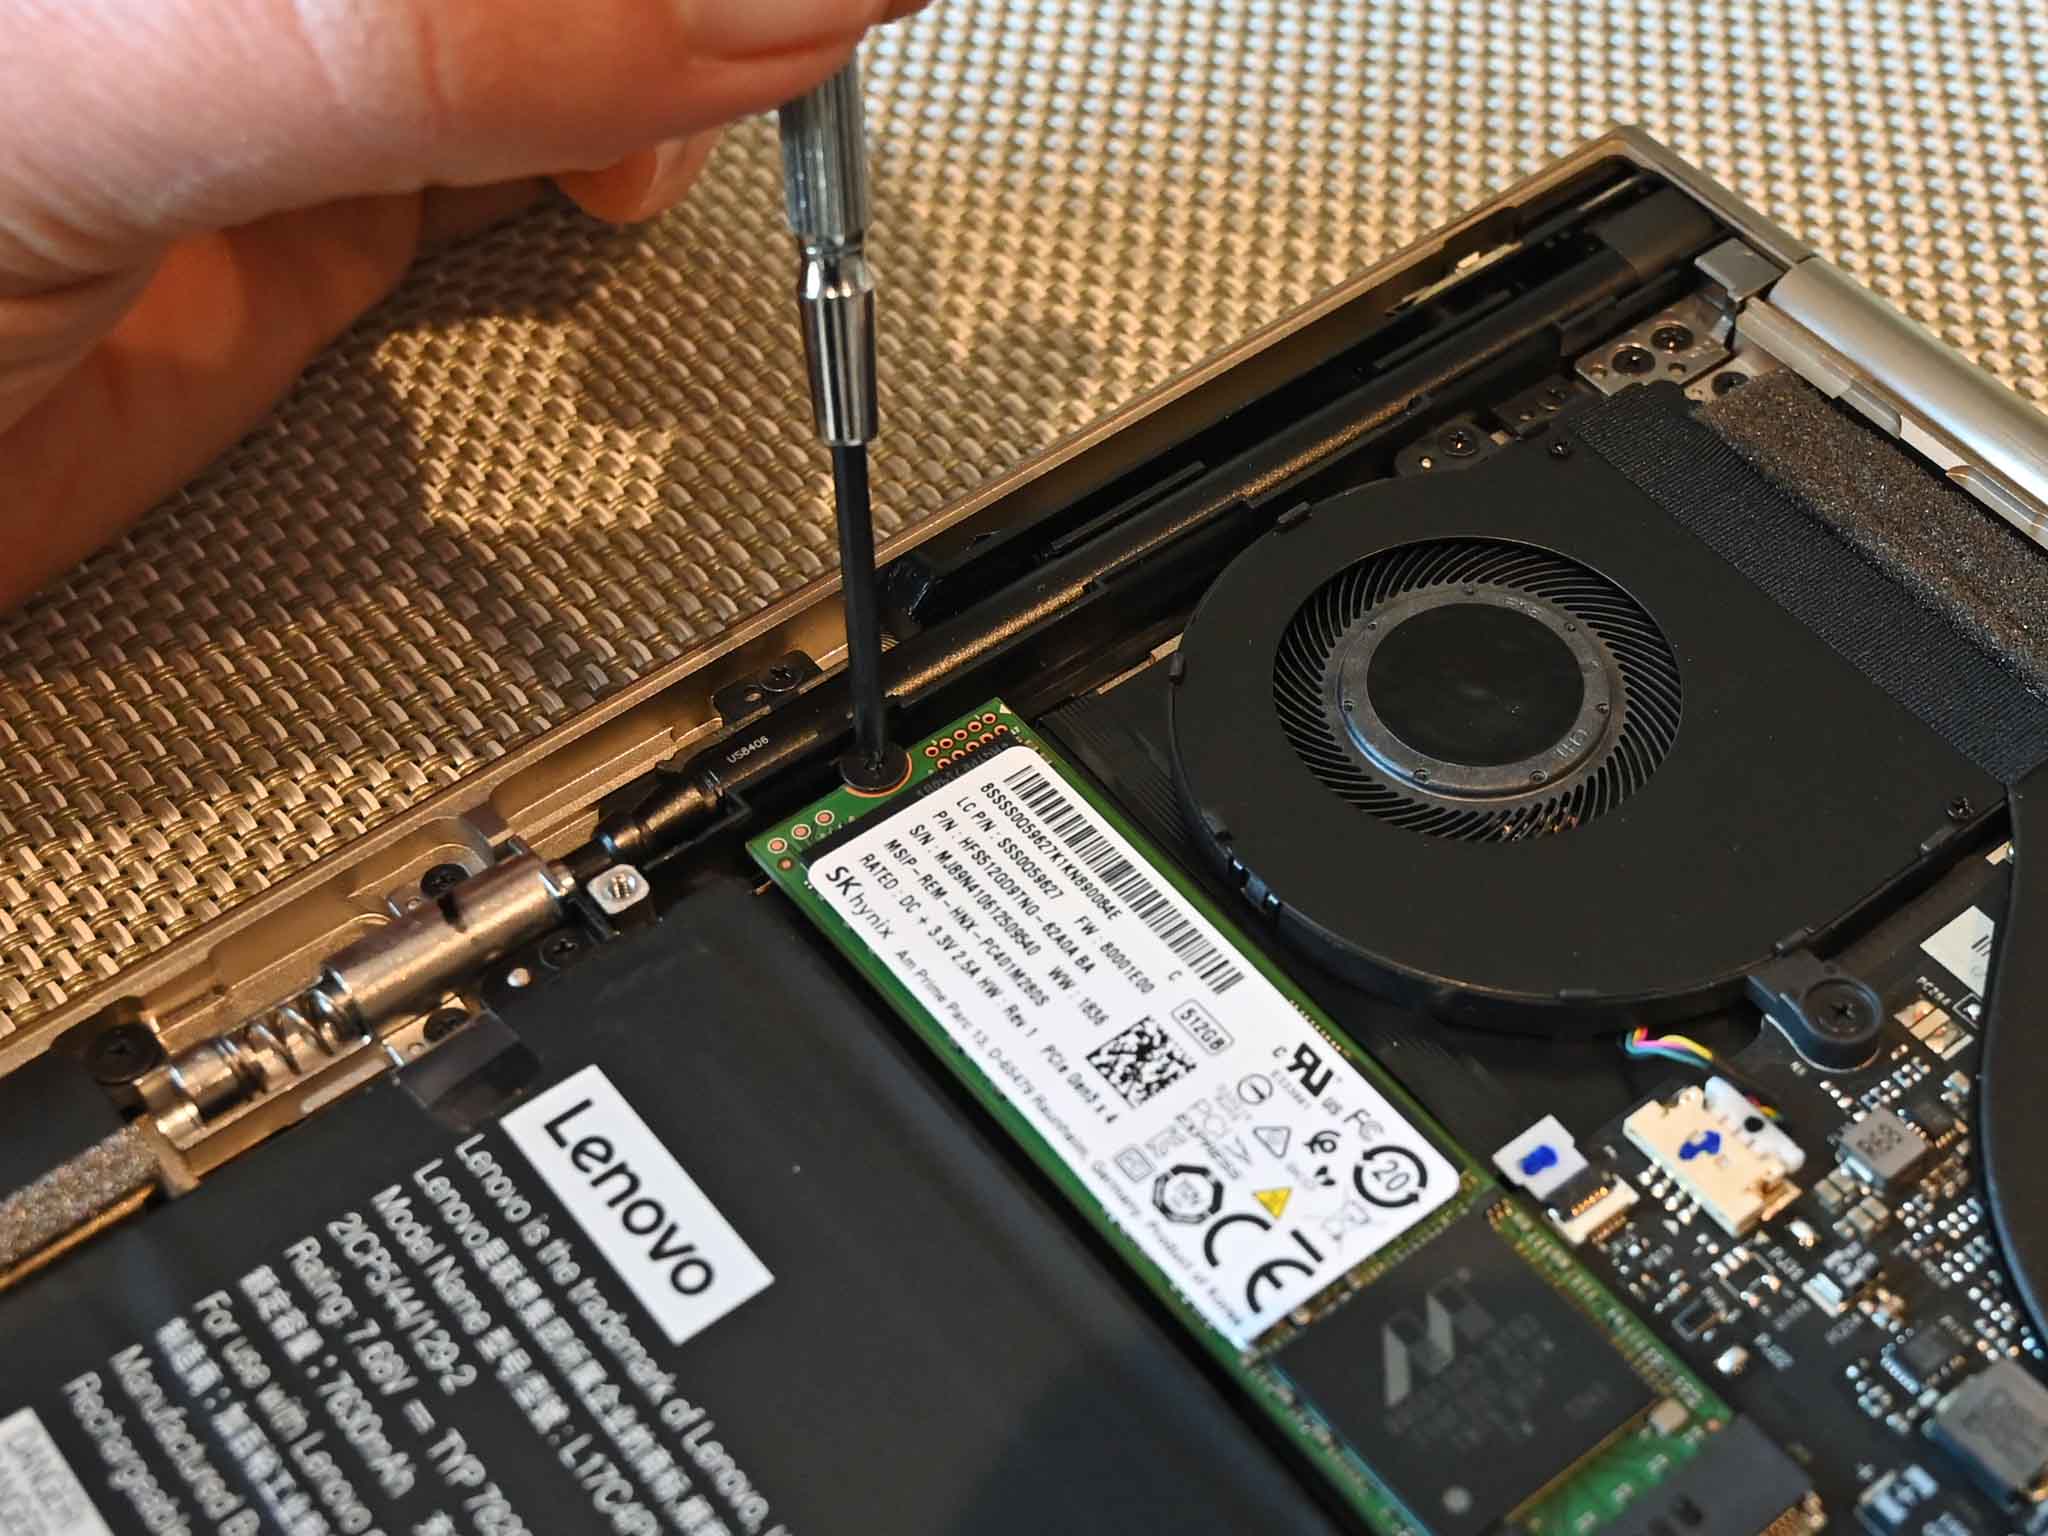
- Gently slide out the SSD and replace it with the Samsung 970 Pro. Carefully hold the edges and slot the new SSD into the mounting, gold contacts first.
- Refasten the Philips screw to the Samsung 970 Pro

- Optionally install a thermal pad to reduce excess heat caused by the SSD if preferred (not necessary).
- Place the bottom cover back onto the Yoga C930 starting with the back first and working your way forward.
- Retighten all six of the T5 Torx Screws.
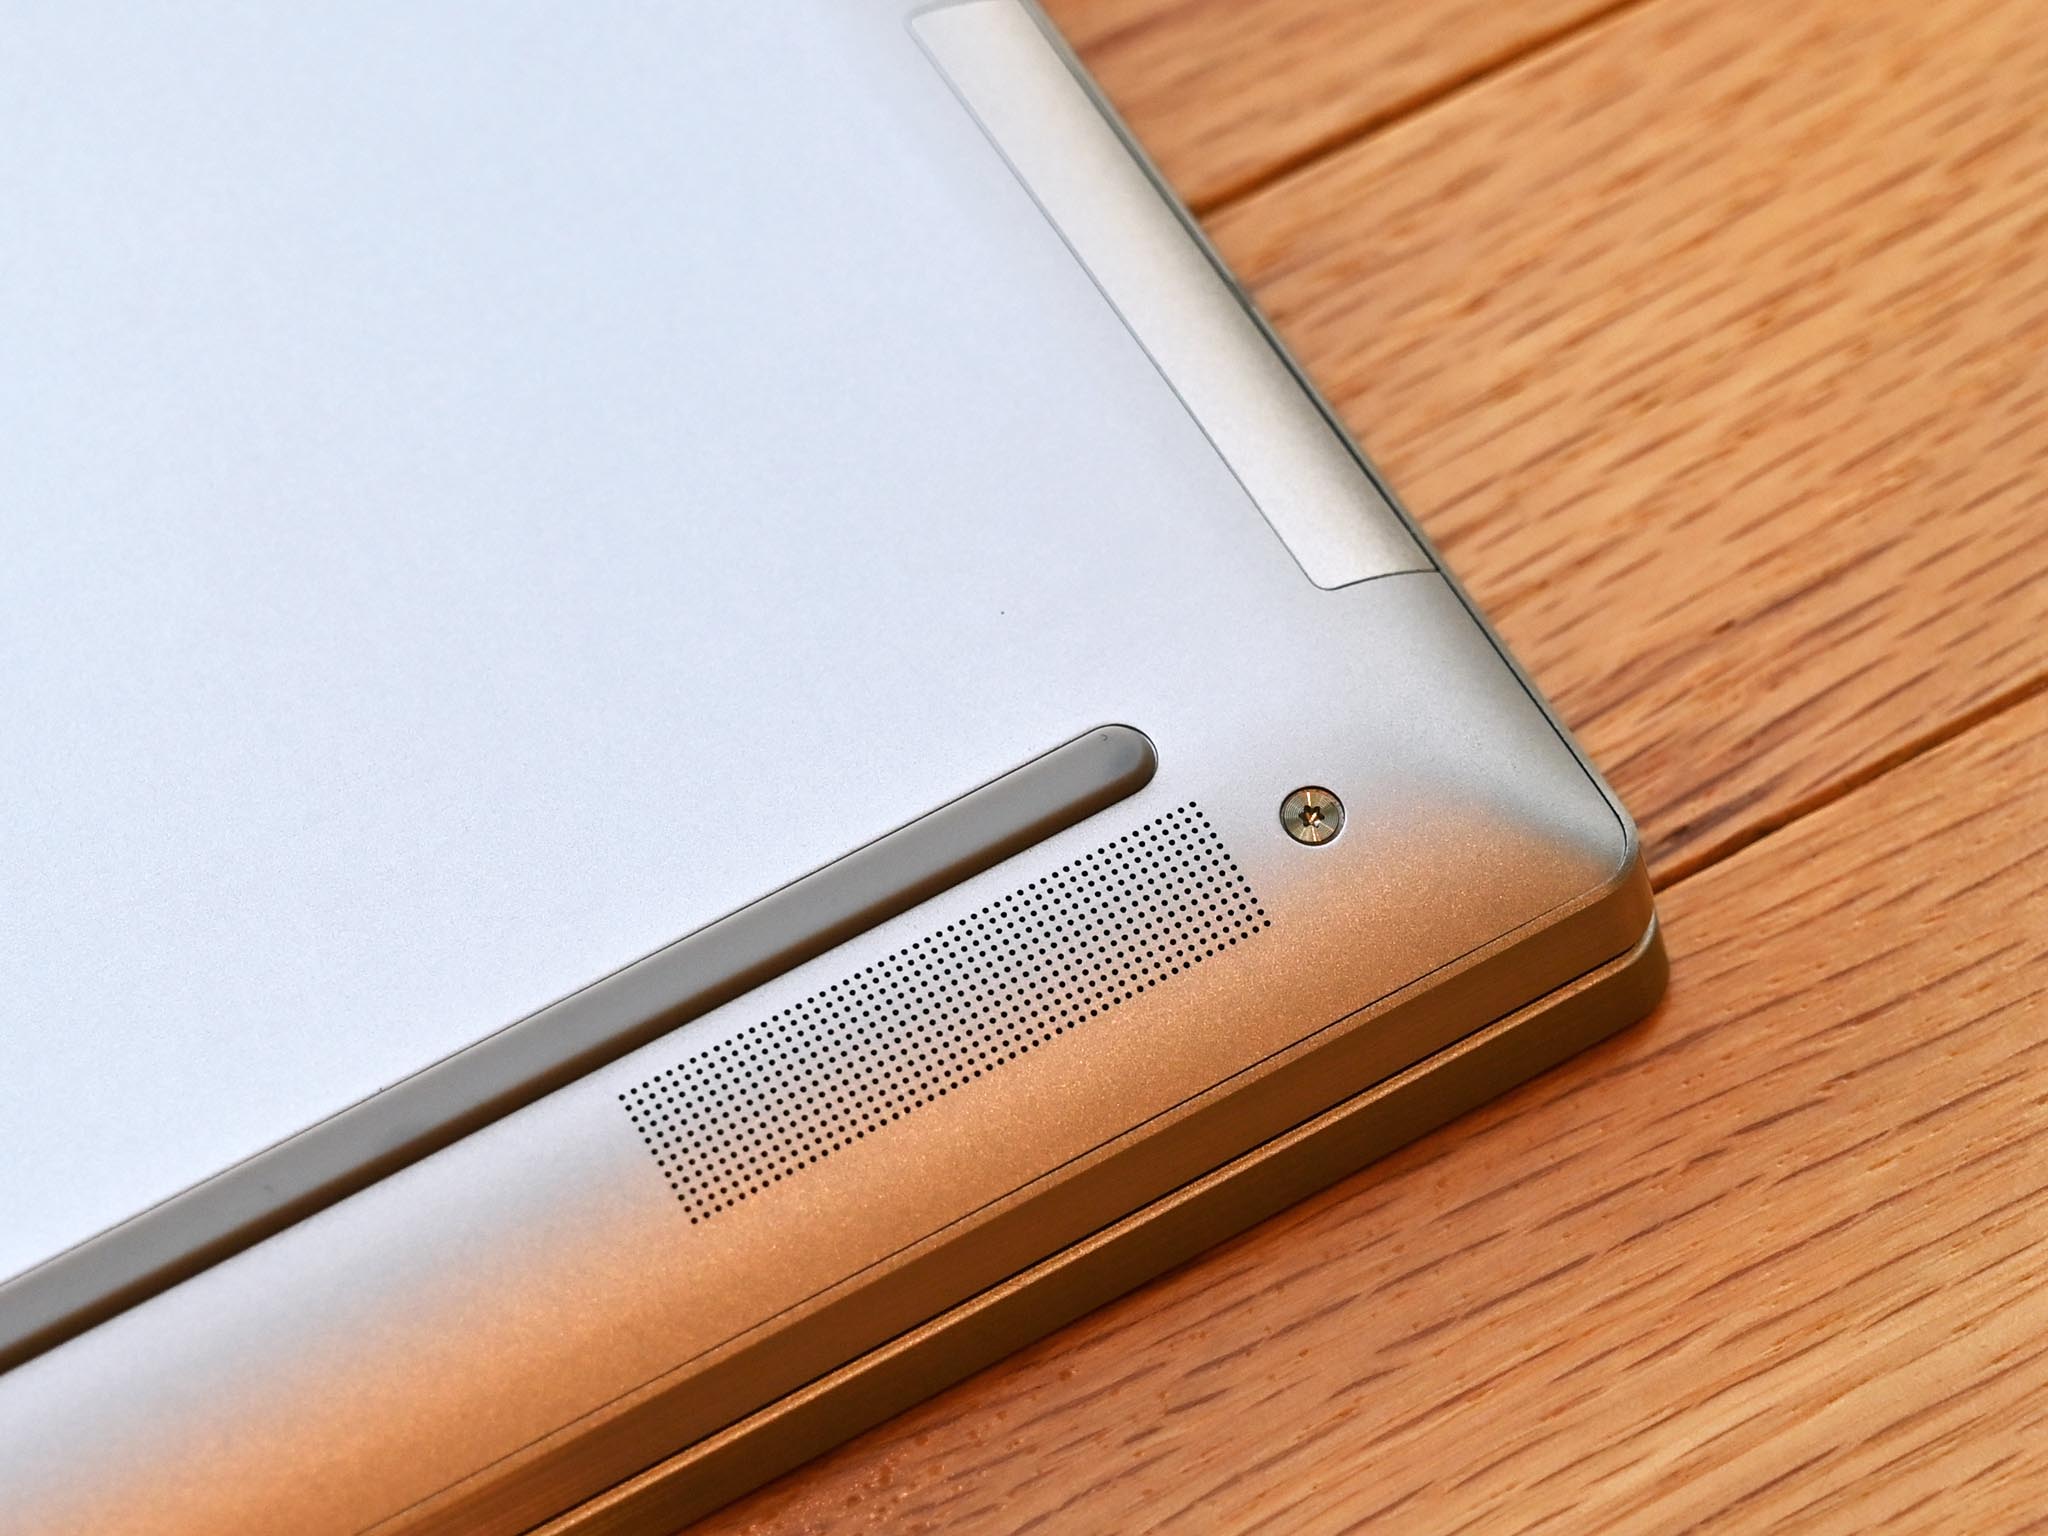
That's all there is to that. While you cannot upgrade the RAM on the Yoga C930, you can swap out the SSD or Wi-Fi card. The battery is also user-replaceable should it deteriorate over the next few years.
Look after the existing drive carefully. Don't do anything with it right now and certainly don't think about wiping it just yet. A safe bet is to install it into the housing you used to clone to the new drive.
Because you've cloned the existing drive to the new one, in theory, you should now boot up as normal. Hit the power button on your Lenovo Yoga C930 and watch it boot up. If anything did go wrong, you still have the existing drive that you can reinsert to troubleshoot the process.
If you are using Macrium Reflect you will need an extra step. Make sure the Yoga C930 is set to boot to USB in the BIOS (hold F1 key during boot process > Startup > Boot). Boot to the backup drive containing the Macrium Reflect Rescue Media and restore the backup image to the new SSD.
And that's it. With SSDs readily available now in large capacities you have a relatively easy way to upgrade your laptop either with more storage, faster storage, or both.
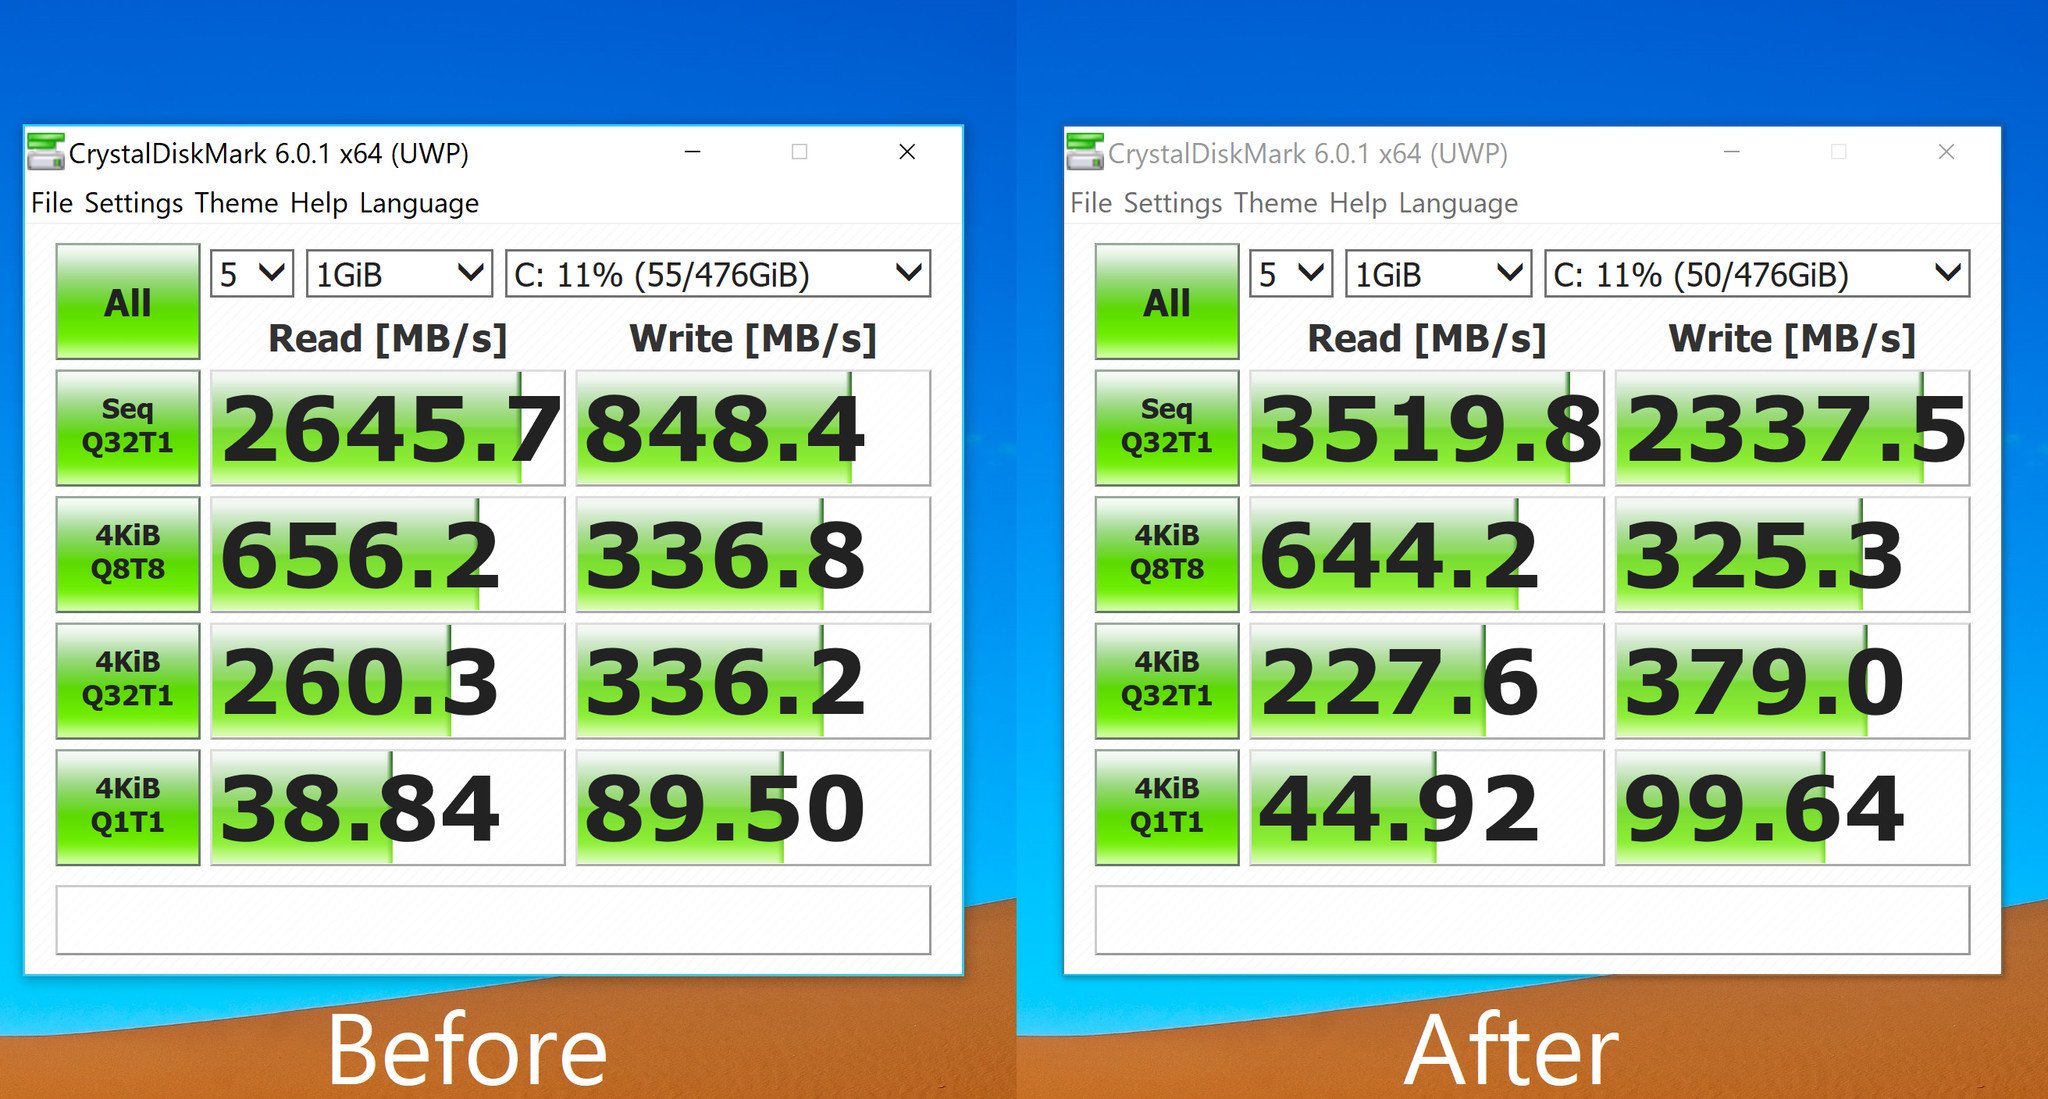
The Yoga C930 already shipped with above-average storage reaching 2,600 MB/s for read and a modest 850 MB/s for write. However, switching to the Samsung 970 Pro changes things dramatically especially for write speed. Now, the Yoga C930 yields 3,500 MB/s for sequential read and a jaw-dropping 2,340 MB/s for write – a nearly 3x increase.
What to do with that old SSD drive?
Don't throw the old drive away. Once you're booted up and sure everything went well, you can use the USB enclosure you have to format this and leave it empty. From there, keep it inside the enclosure all the time, and you've got a nifty, highly portable SSD drive.
If the existing drive is 256GB or higher, you could also plug it into your Xbox One to expand your game storage. If you need guidance on what to do there, we've got a handy guide for you.
Our top hardware and software picks
We recommend Samsung's 970 Pro as an upgrade for your Lenovo Yoga C930 thanks to fast read and write speeds, reliable construction, and a 5-year warranty. Since the Yoga C930 already ships with an excellent SSD you'll need to buy the best if you want more storage and to improve those speeds.

Up to 1 TB of speedy storage
Enjoy read speeds up to 3,500 MB/s and write speeds up to 2,500 MB/s from this top of the line PCIe NVMe SSD from Samsung.
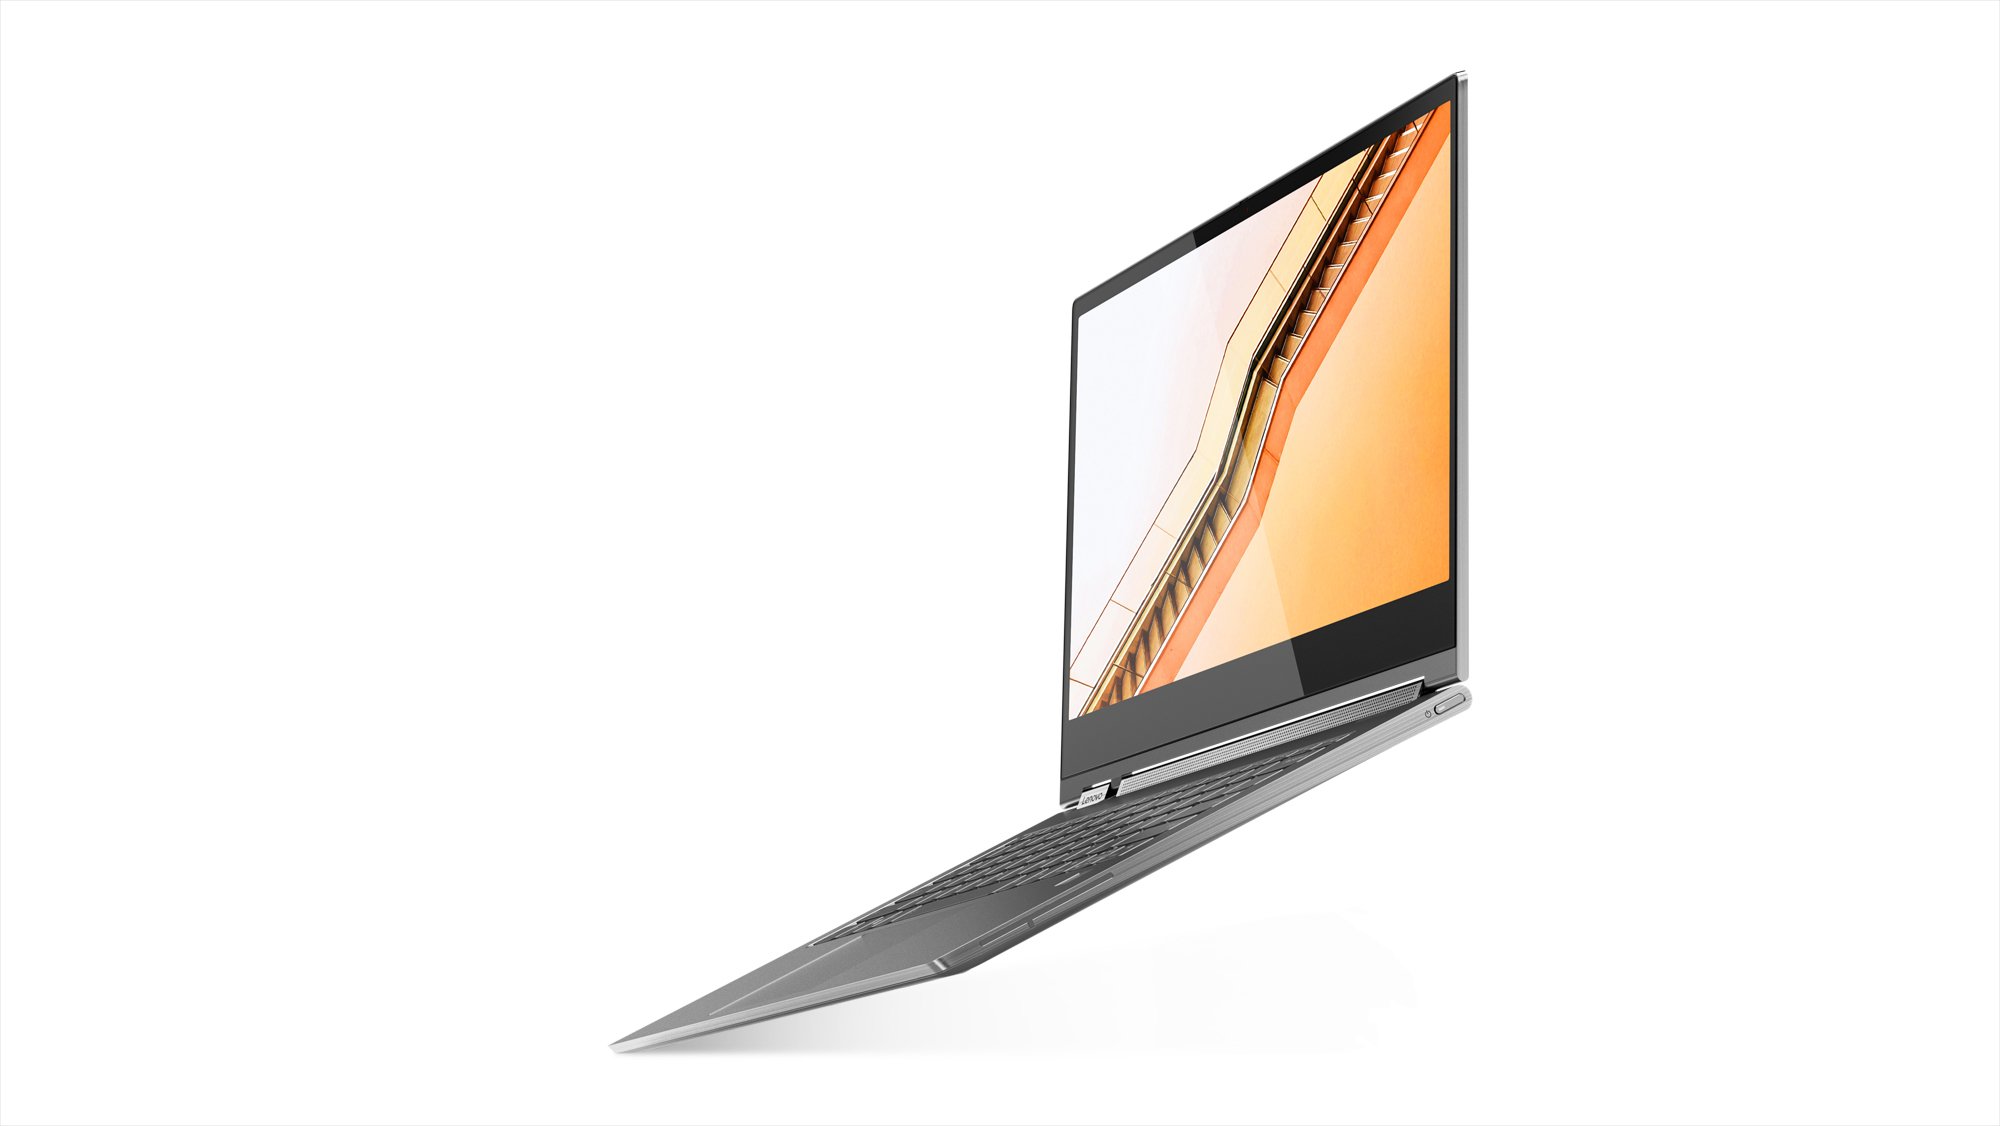
The Yoga C930 is rated as our best 14-inch convertible for many reasons including that sound bar, display, inking, and performance.
The best laptop now even better
The Yoga C930 is basically perfect, but if you need more storage, or want the maximum performance you can also easily upgrade its SSD with little trouble.
Additional Equipment
Upgrading a laptop will go much smoother if you have the right tools and software for the job. We've had much success cloning with Macrium Reflect 7, the external SSD enclosure is highly rated and relatively affordable, and the Rosewill anti-static wristband can help ensure no damage comes to your PC's internal hardware.
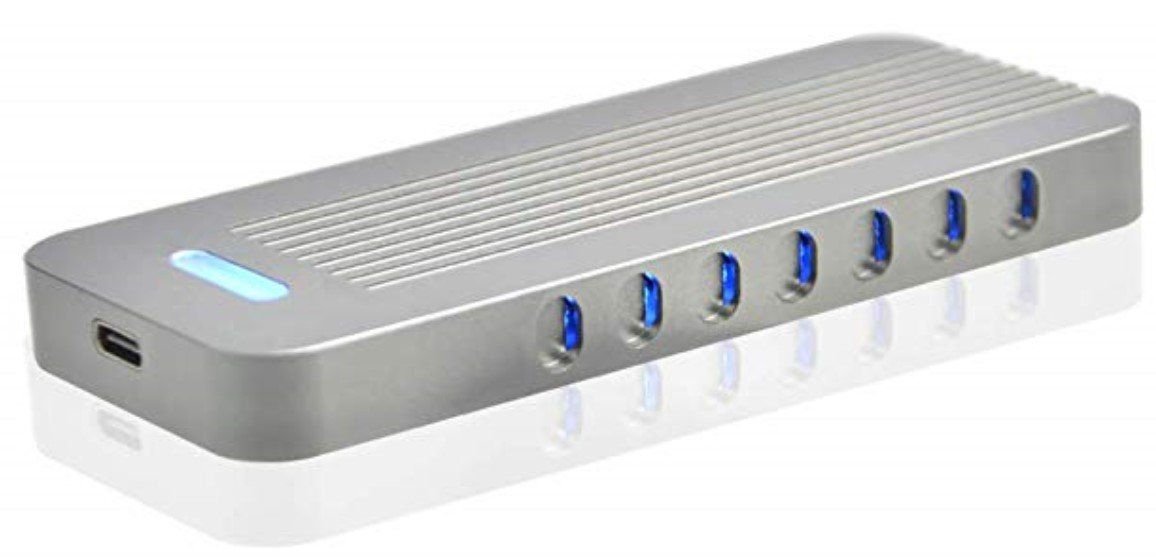
ADWITS PCIe NVMe SSD enclosure ($57 at Amazon)
If you're cloning your old PCIe NVMe SSD over to the upgraded PCIe NVMe SSD, you'll no doubt want to invest in this external enclosure. It fits PCIe and NVMe SSDs and connects back to your laptop with USB-A or USB-C.
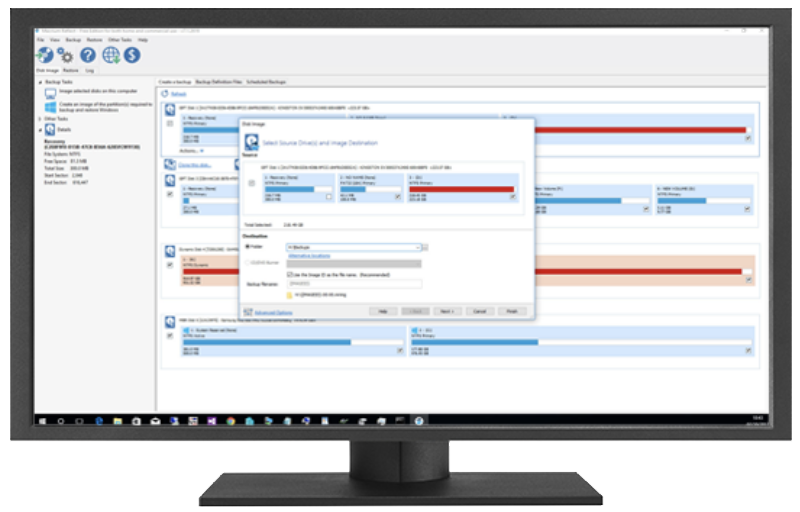
Macrium Reflect 7 (Free+ at Macrium)
We've had success cloning drives with Macrium Reflect 7, and have even written a complete guide on how to use it properly. A free edition is available, but you can purchase a full edition with a bunch more features for those who truly take backups seriously.
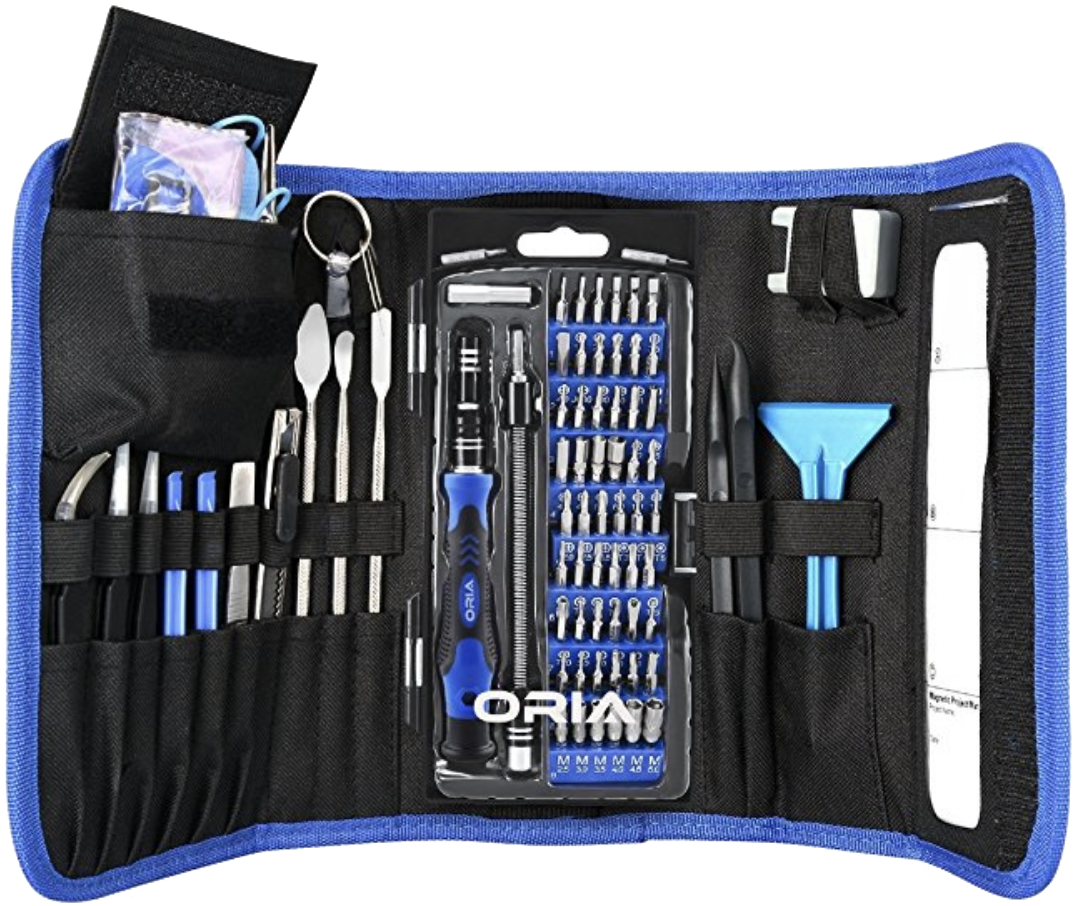
ORIA PC toolkit ($34 at Amazon)
Having the proper gear to work on your PC will always make the job much easier. Here you get a plethora of tools contained in a portable case.
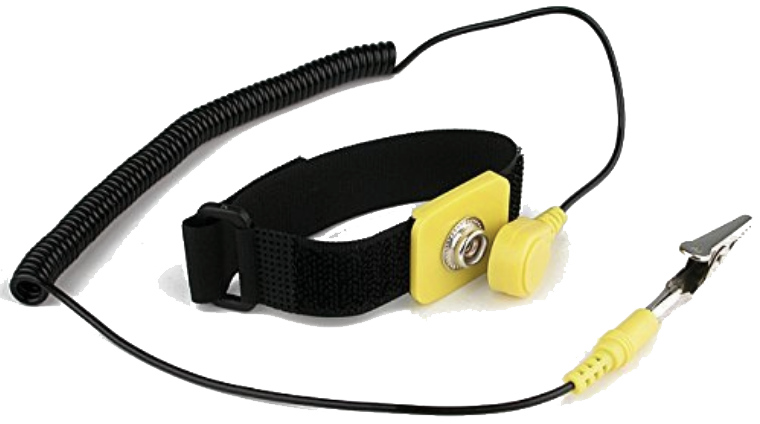
Rosewill anti-static wristband ($6 at Amazon)
Static electricity can damage sensitive PC parts, so remove the risk with an anti-static wristband. Fasten it around your wrist and clip it onto your PC for peace of mind.

Daniel Rubino is the Editor-in-chief of Windows Central. He is also the head reviewer, podcast co-host, and analyst. He has been covering Microsoft since 2007 when this site was called WMExperts (and later Windows Phone Central). His interests include Windows, laptops, next-gen computing, and wearable tech. He has reviewed laptops for over 10 years and is particularly fond of 2-in-1 convertibles, Arm64 processors, new form factors, and thin-and-light PCs. Before all this tech stuff, he worked on a Ph.D. in linguistics, performed polysomnographs in NYC, and was a motion-picture operator for 17 years.
