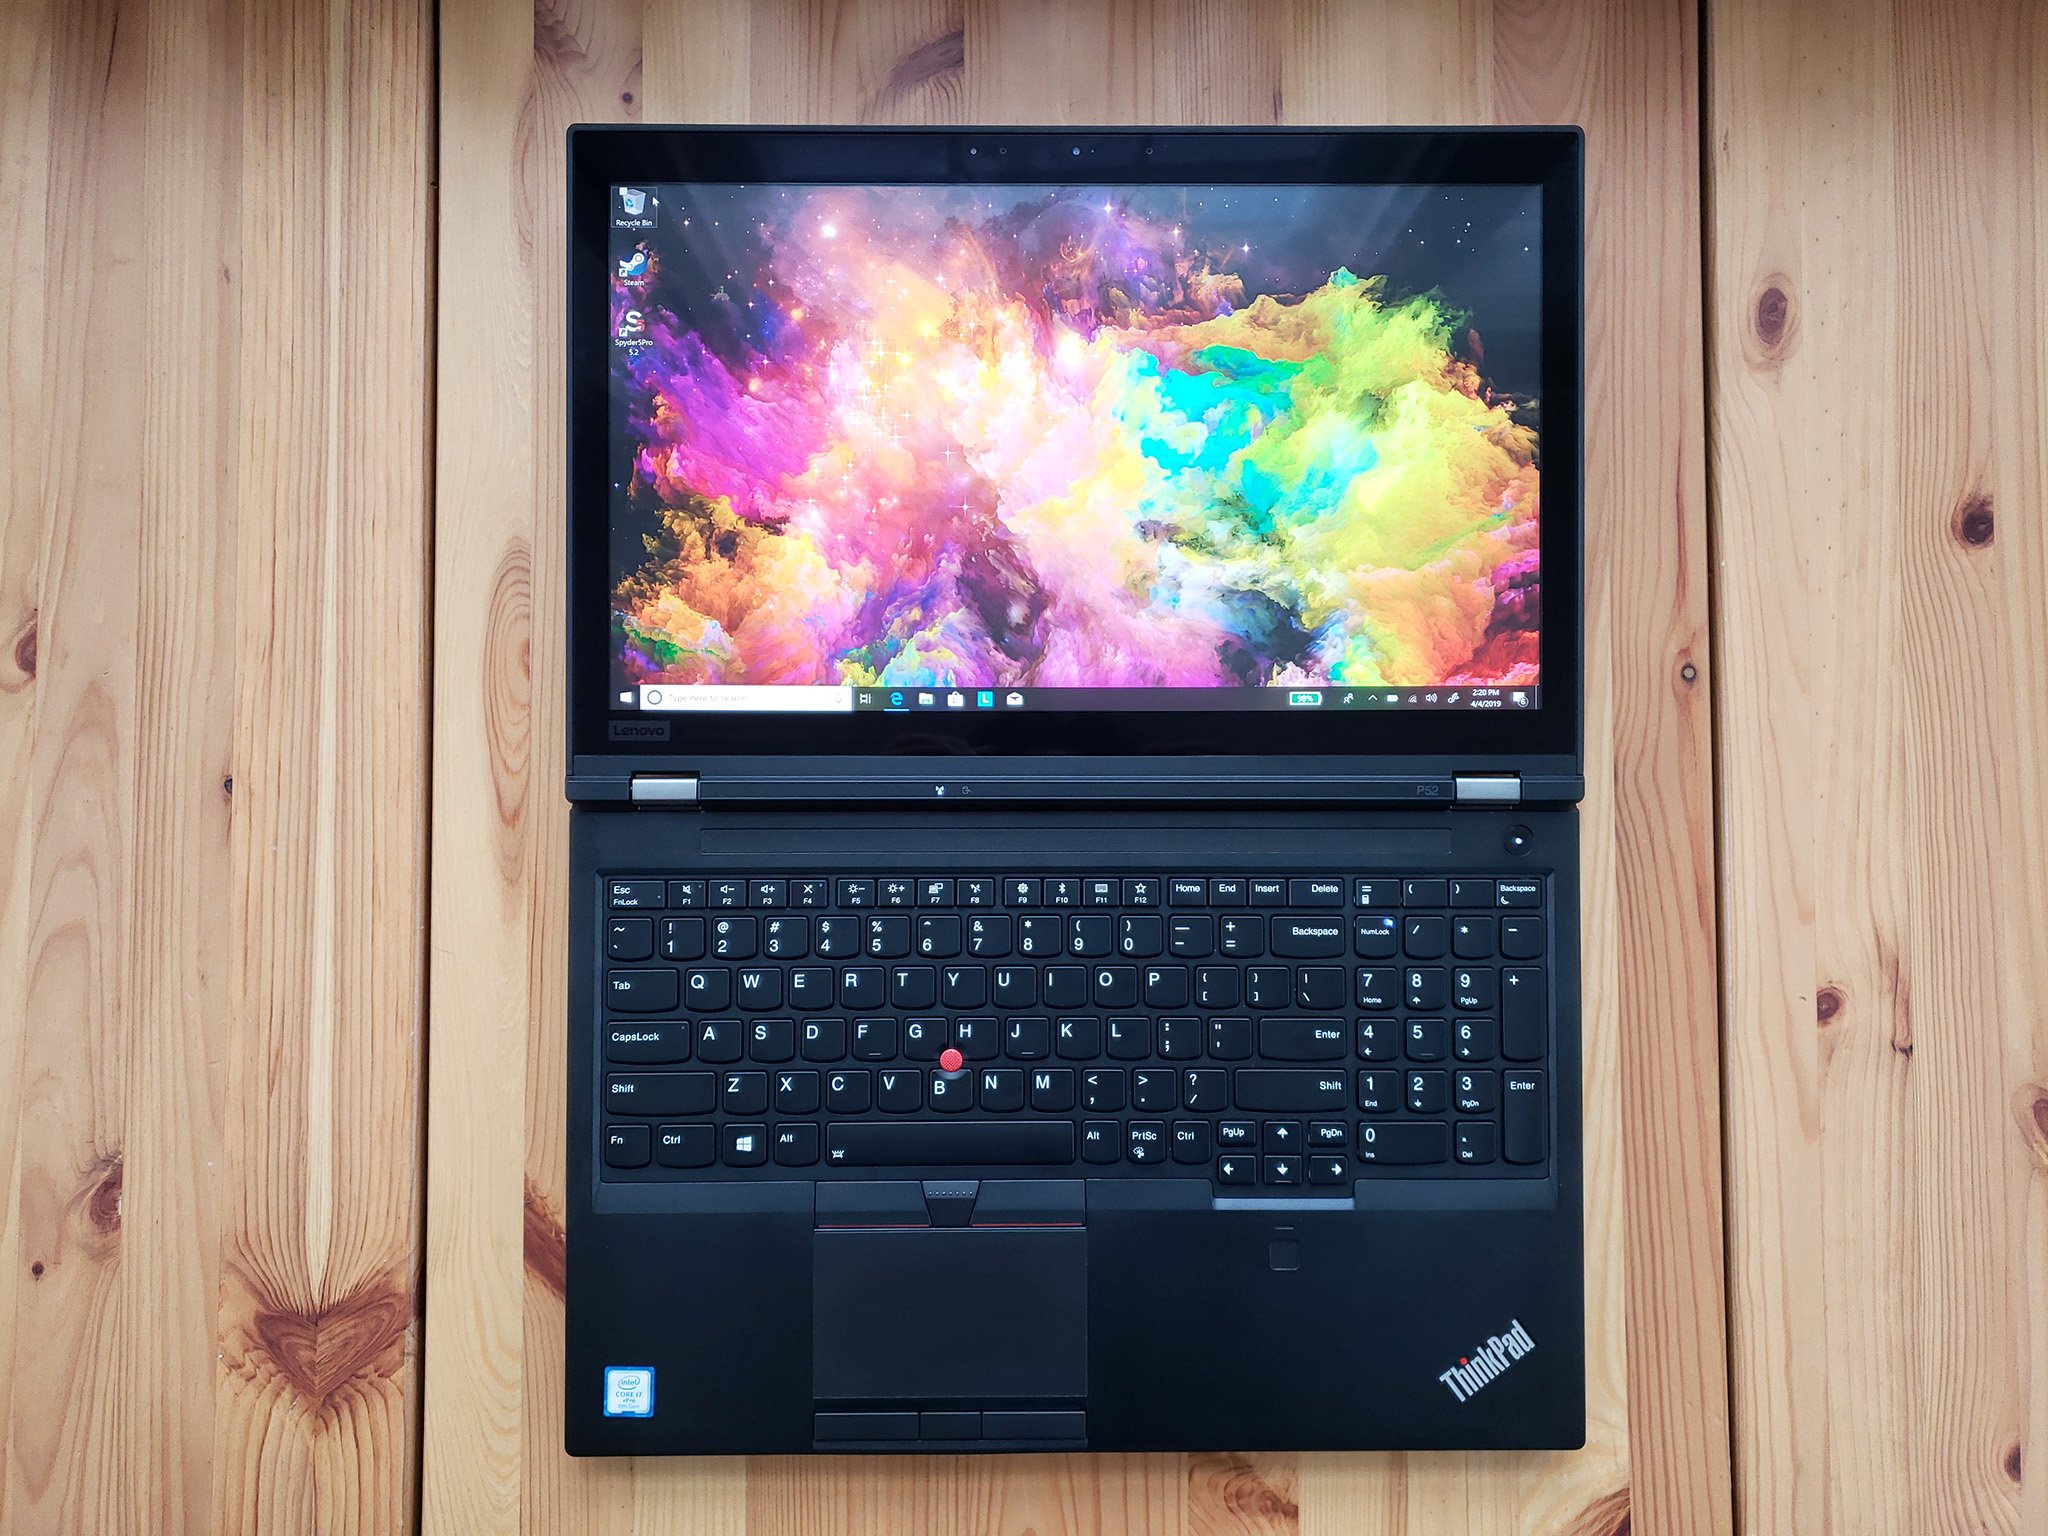
Lenovo's ThinkPad P52 is a mobile workstation available with impressive performance hardware designed for design and development software. It's a thick laptop with plenty of room for upgrades, and Lenovo made the process for adding RAM, M.2 PCIe solid-state drives (SSD), and a 2.5-inch drive as easy as possible thanks to a quick-access panel on the back of the laptop. If you want to add more RAM to your ThinkPad P52, we have everything you need right here.
Hardware to get the job done
- Compatible SODIMM RAM: Crucial DDR4 (From $27 at Amazon)
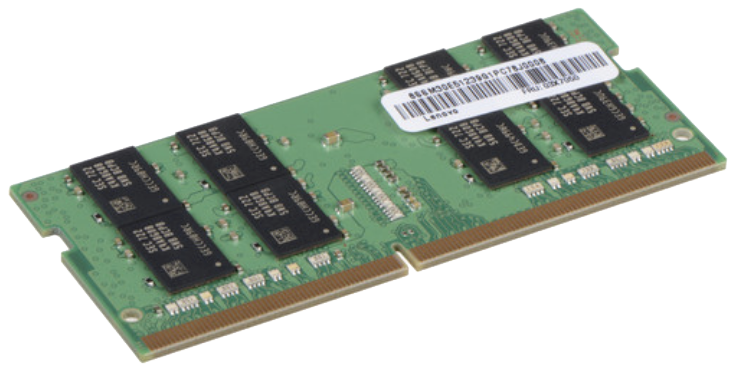
- Error-correcting code (ECC) RAM: Lenovo DDR4 (From $70 at B&H)
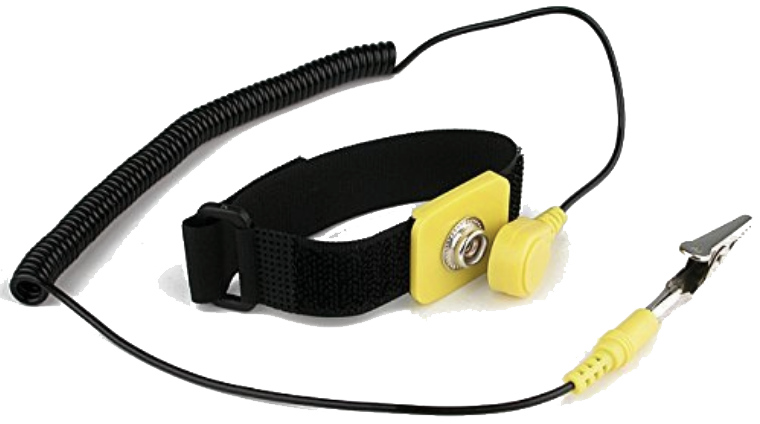
- Prevent damage: Rosewill anti-static wristband ($6 at Amazon)
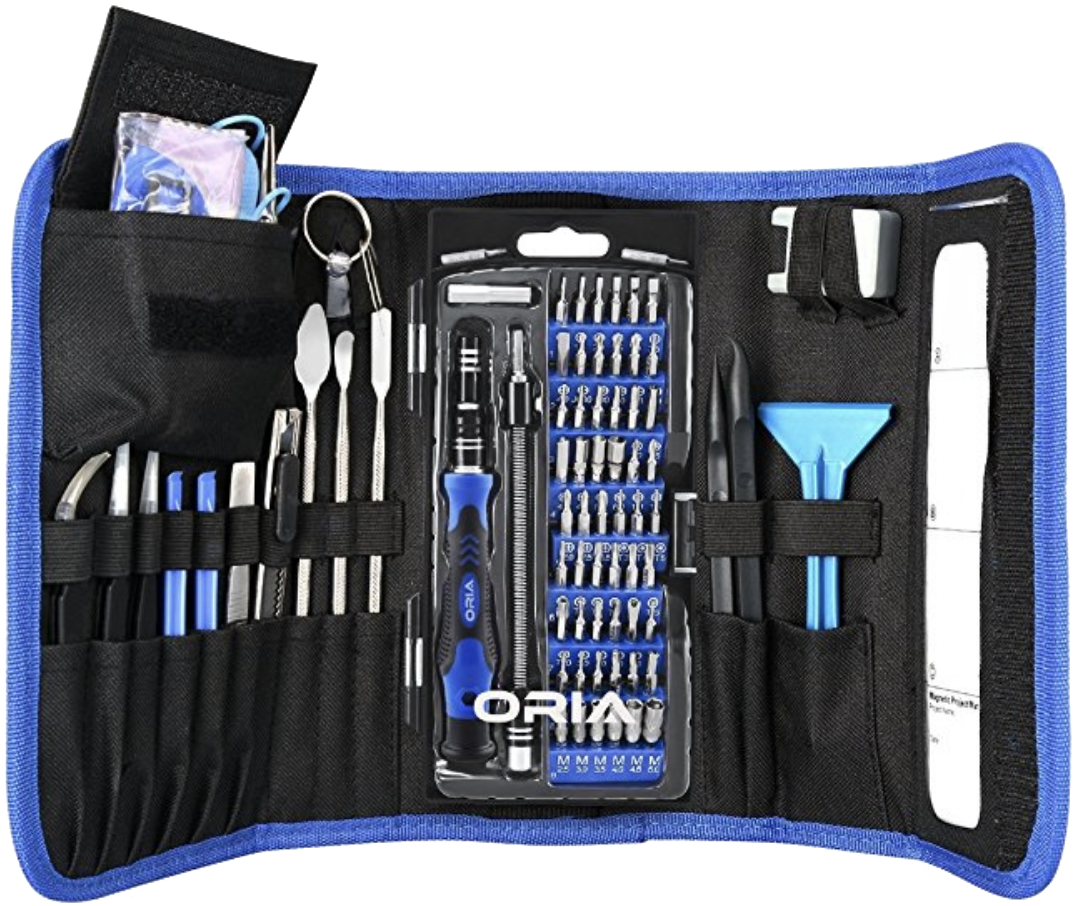
- All required tools: ORIA PC toolkit ($33 at Amazon)
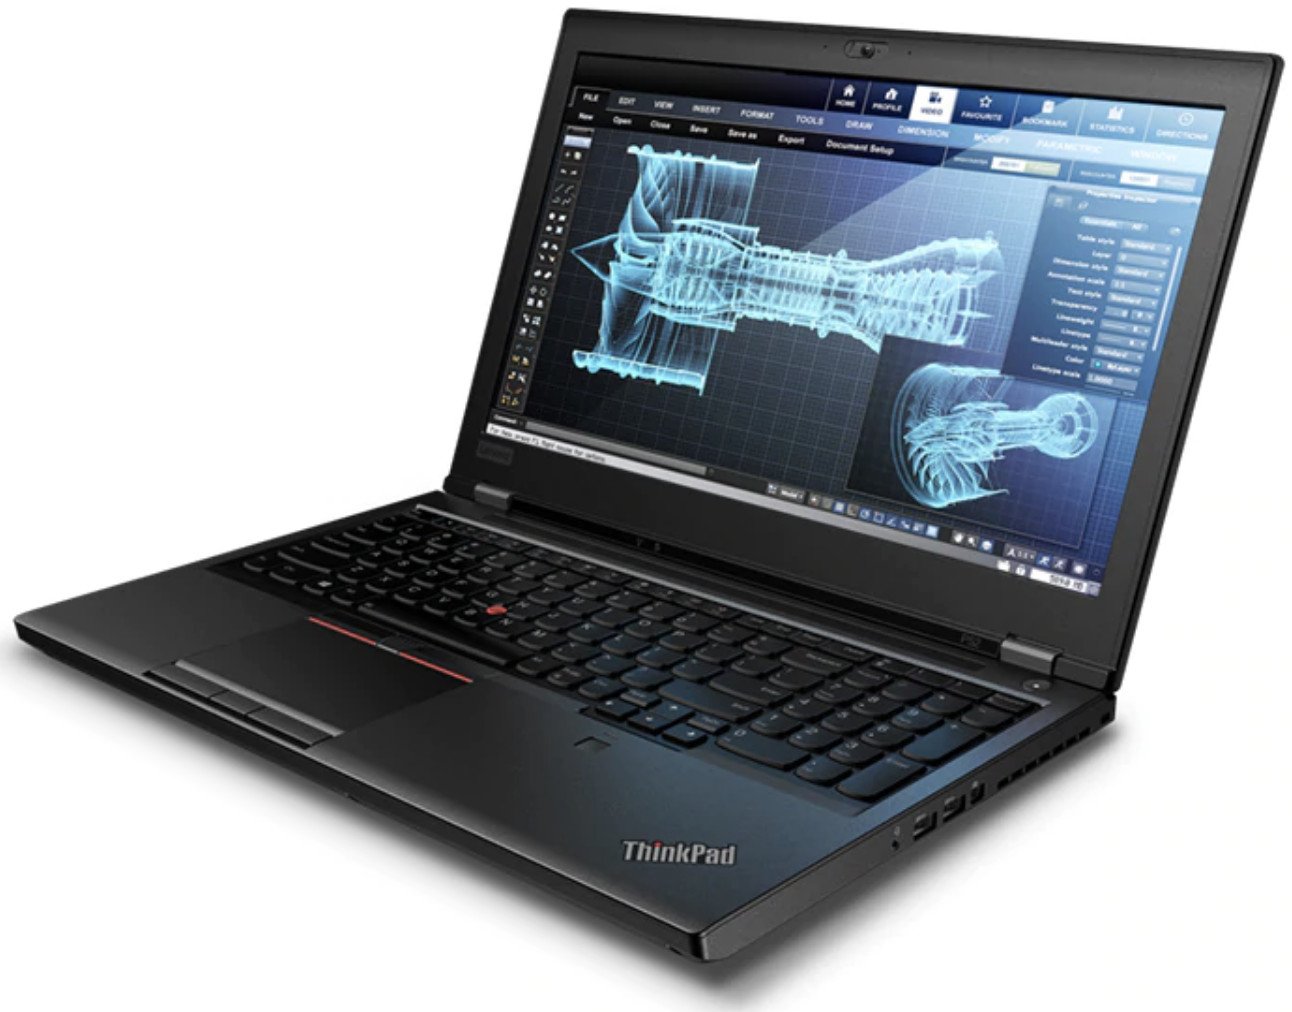
- Mobile workstation: Lenovo ThinkPad P52 (From $1,349 at Lenovo)
How to upgrade the RAM in your Lenovo ThinkPad P52
Note: Before beginning any upgrades on a PC, it's a good idea to back up your data in the unlikely event something should go wrong. You'll also want to ensure you're not working in a static-filled environment, as it can cause damage to a PC's internal hardware. Consider investing in an anti-static wristband to avoid unnecessary damage.
The Lenovo ThinkPad P52 has a total of four SODIMM RAM slots, though only two — which are likely sitting unused if you didn't select at checkout any more than 16GB — are easily accessible through the quick-access panel on the back of the laptop. The other two slots are located between the keyboard and the rest of the chassis. To get to them, you must remove the keyboard and TrackPoint system and disconnect a whole lot of sensitive connectors. It's not an easy process at all, but in most cases, you'll only be adding RAM instead of removing RAM, which is what we focus on here.
The ThinkPad P52 is available with either an Intel Xeon E-2176M, an Intel Core i7-8750H, or an Intel Core i7-8850H vPro processor (CPU), and depending on which you go with, factory RAM options differ. Models with the Xeon CPU are available with error-correcting code (ECC) memory — RAM with an extra chip that corrects mistakes to prevent data corruption — and if you indeed have a model that already contains ECC memory, your best bet is to only add more ECC memory. Lenovo's own ThinkPad ECC DDR4 RAM is what we recommend. You'll pay more for ECC memory, but mixing ECC and non-ECC RAM is not recommended.
If you have one of the Intel Core CPUs in your machine or you have a Xeon configuration without ECC RAM already installed, you can stick with standard SODIMM DDR4 RAM. We recommend Crucial RAM for its competitive price and resilience.
Once you have the upgrade RAM in-hand, back up your data, set up a clean and well-lit workspace, and proceed with the steps below to upgrade the RAM in your ThinkPad P52. Be sure to power off your laptop — you can even remove the modular battery — before removing the back panel.
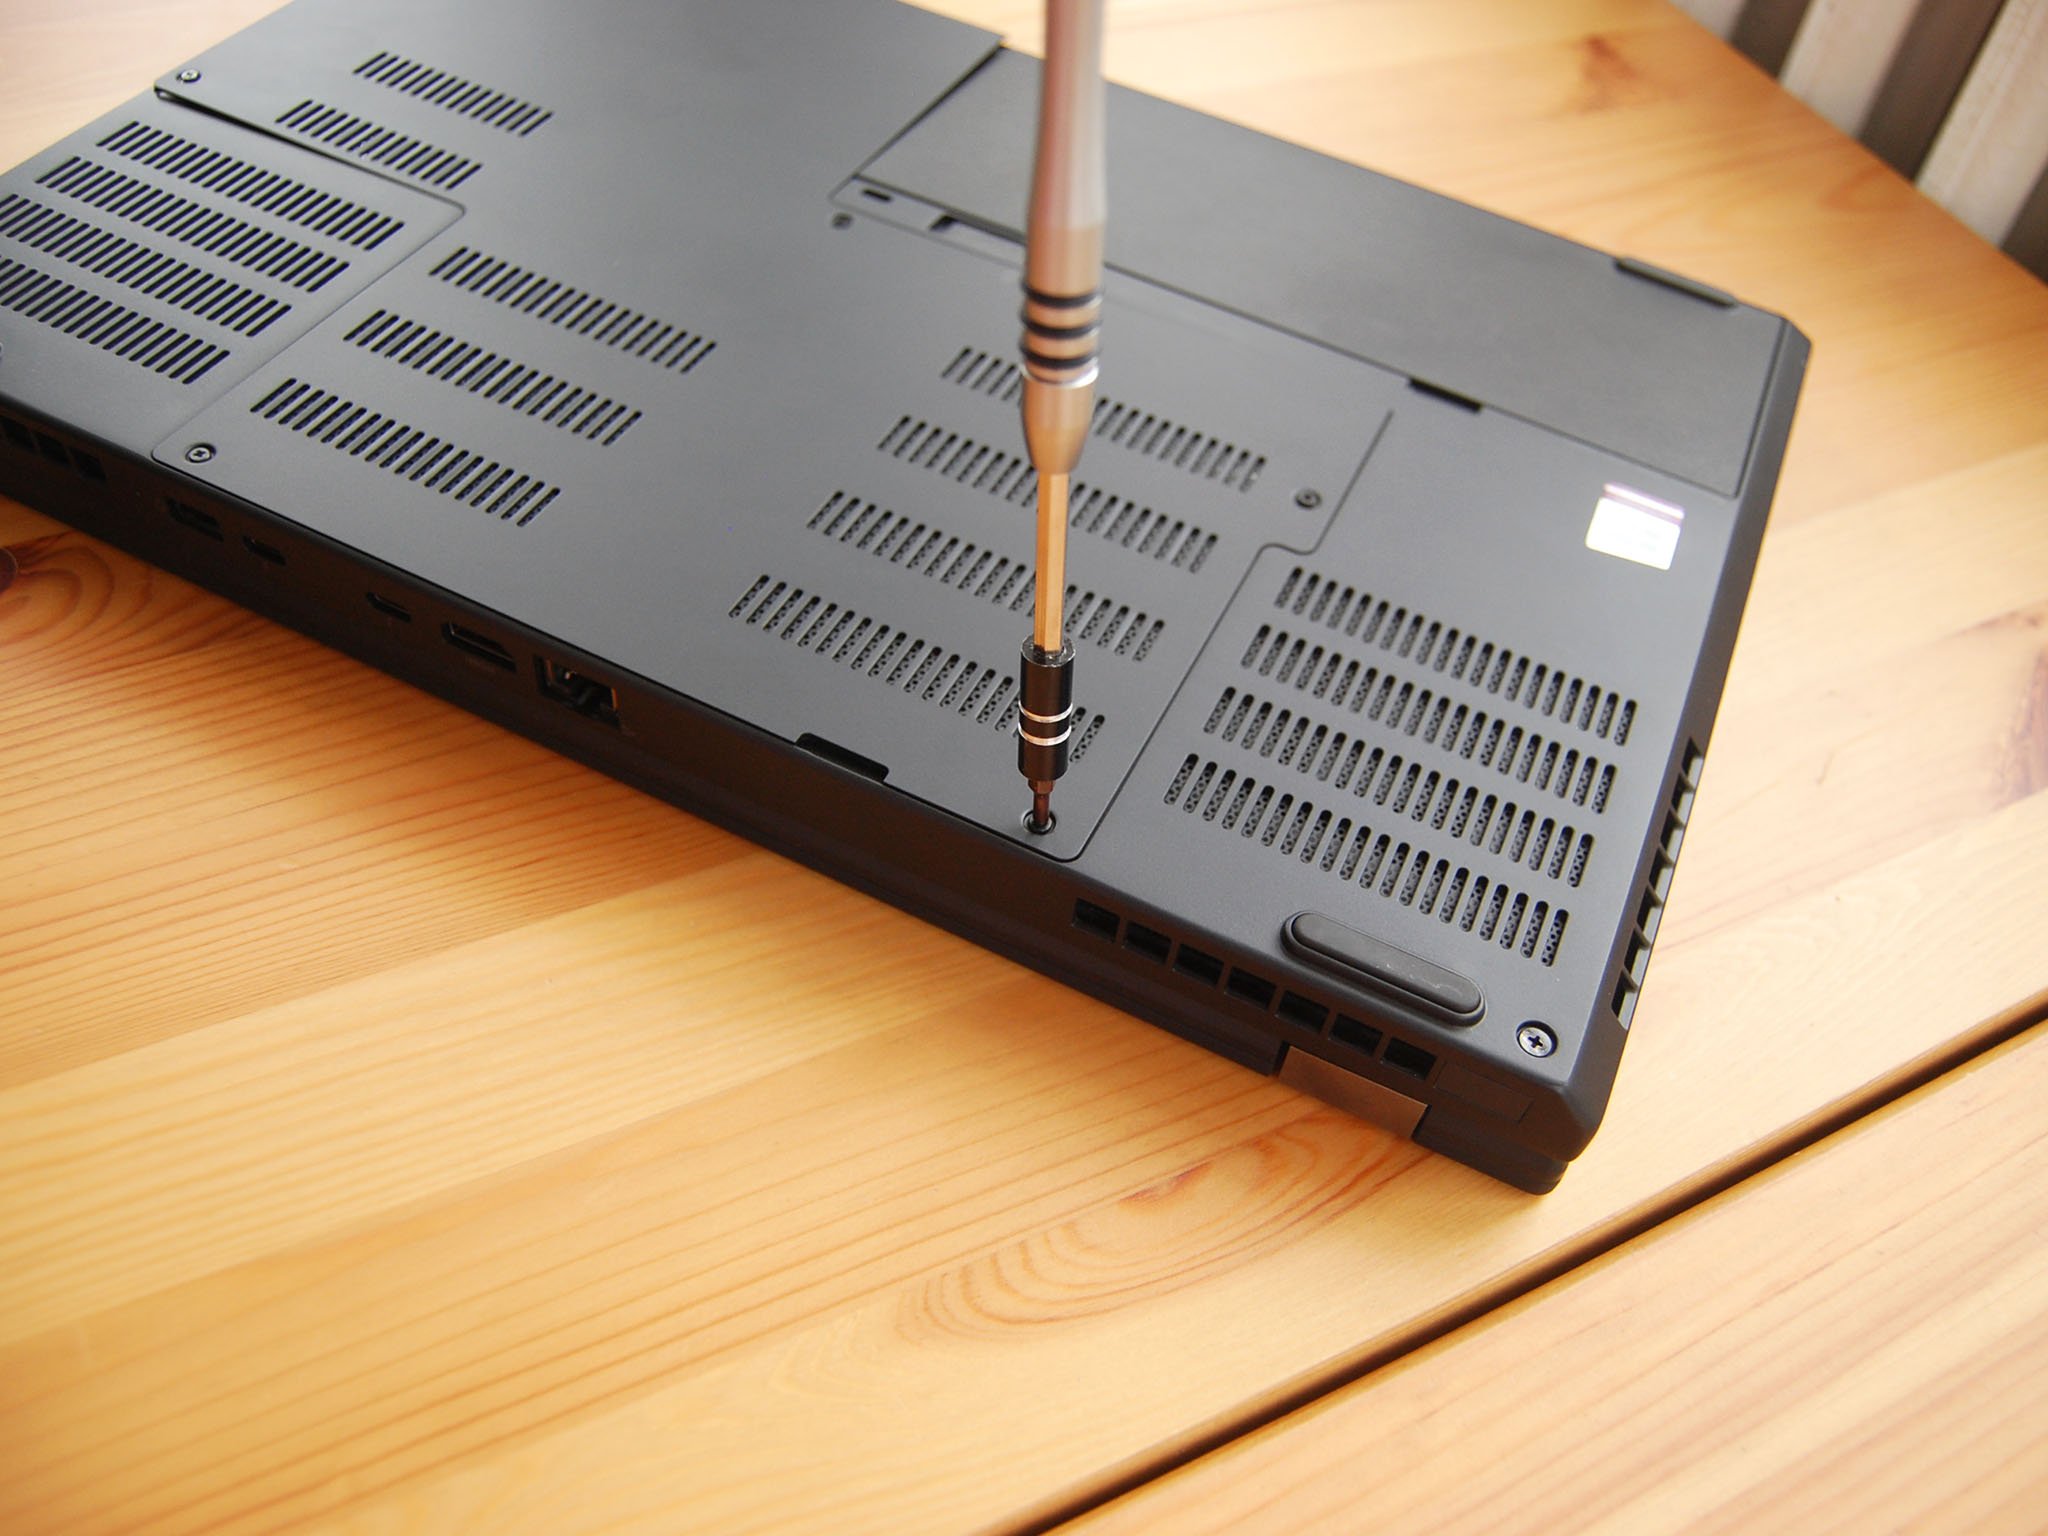
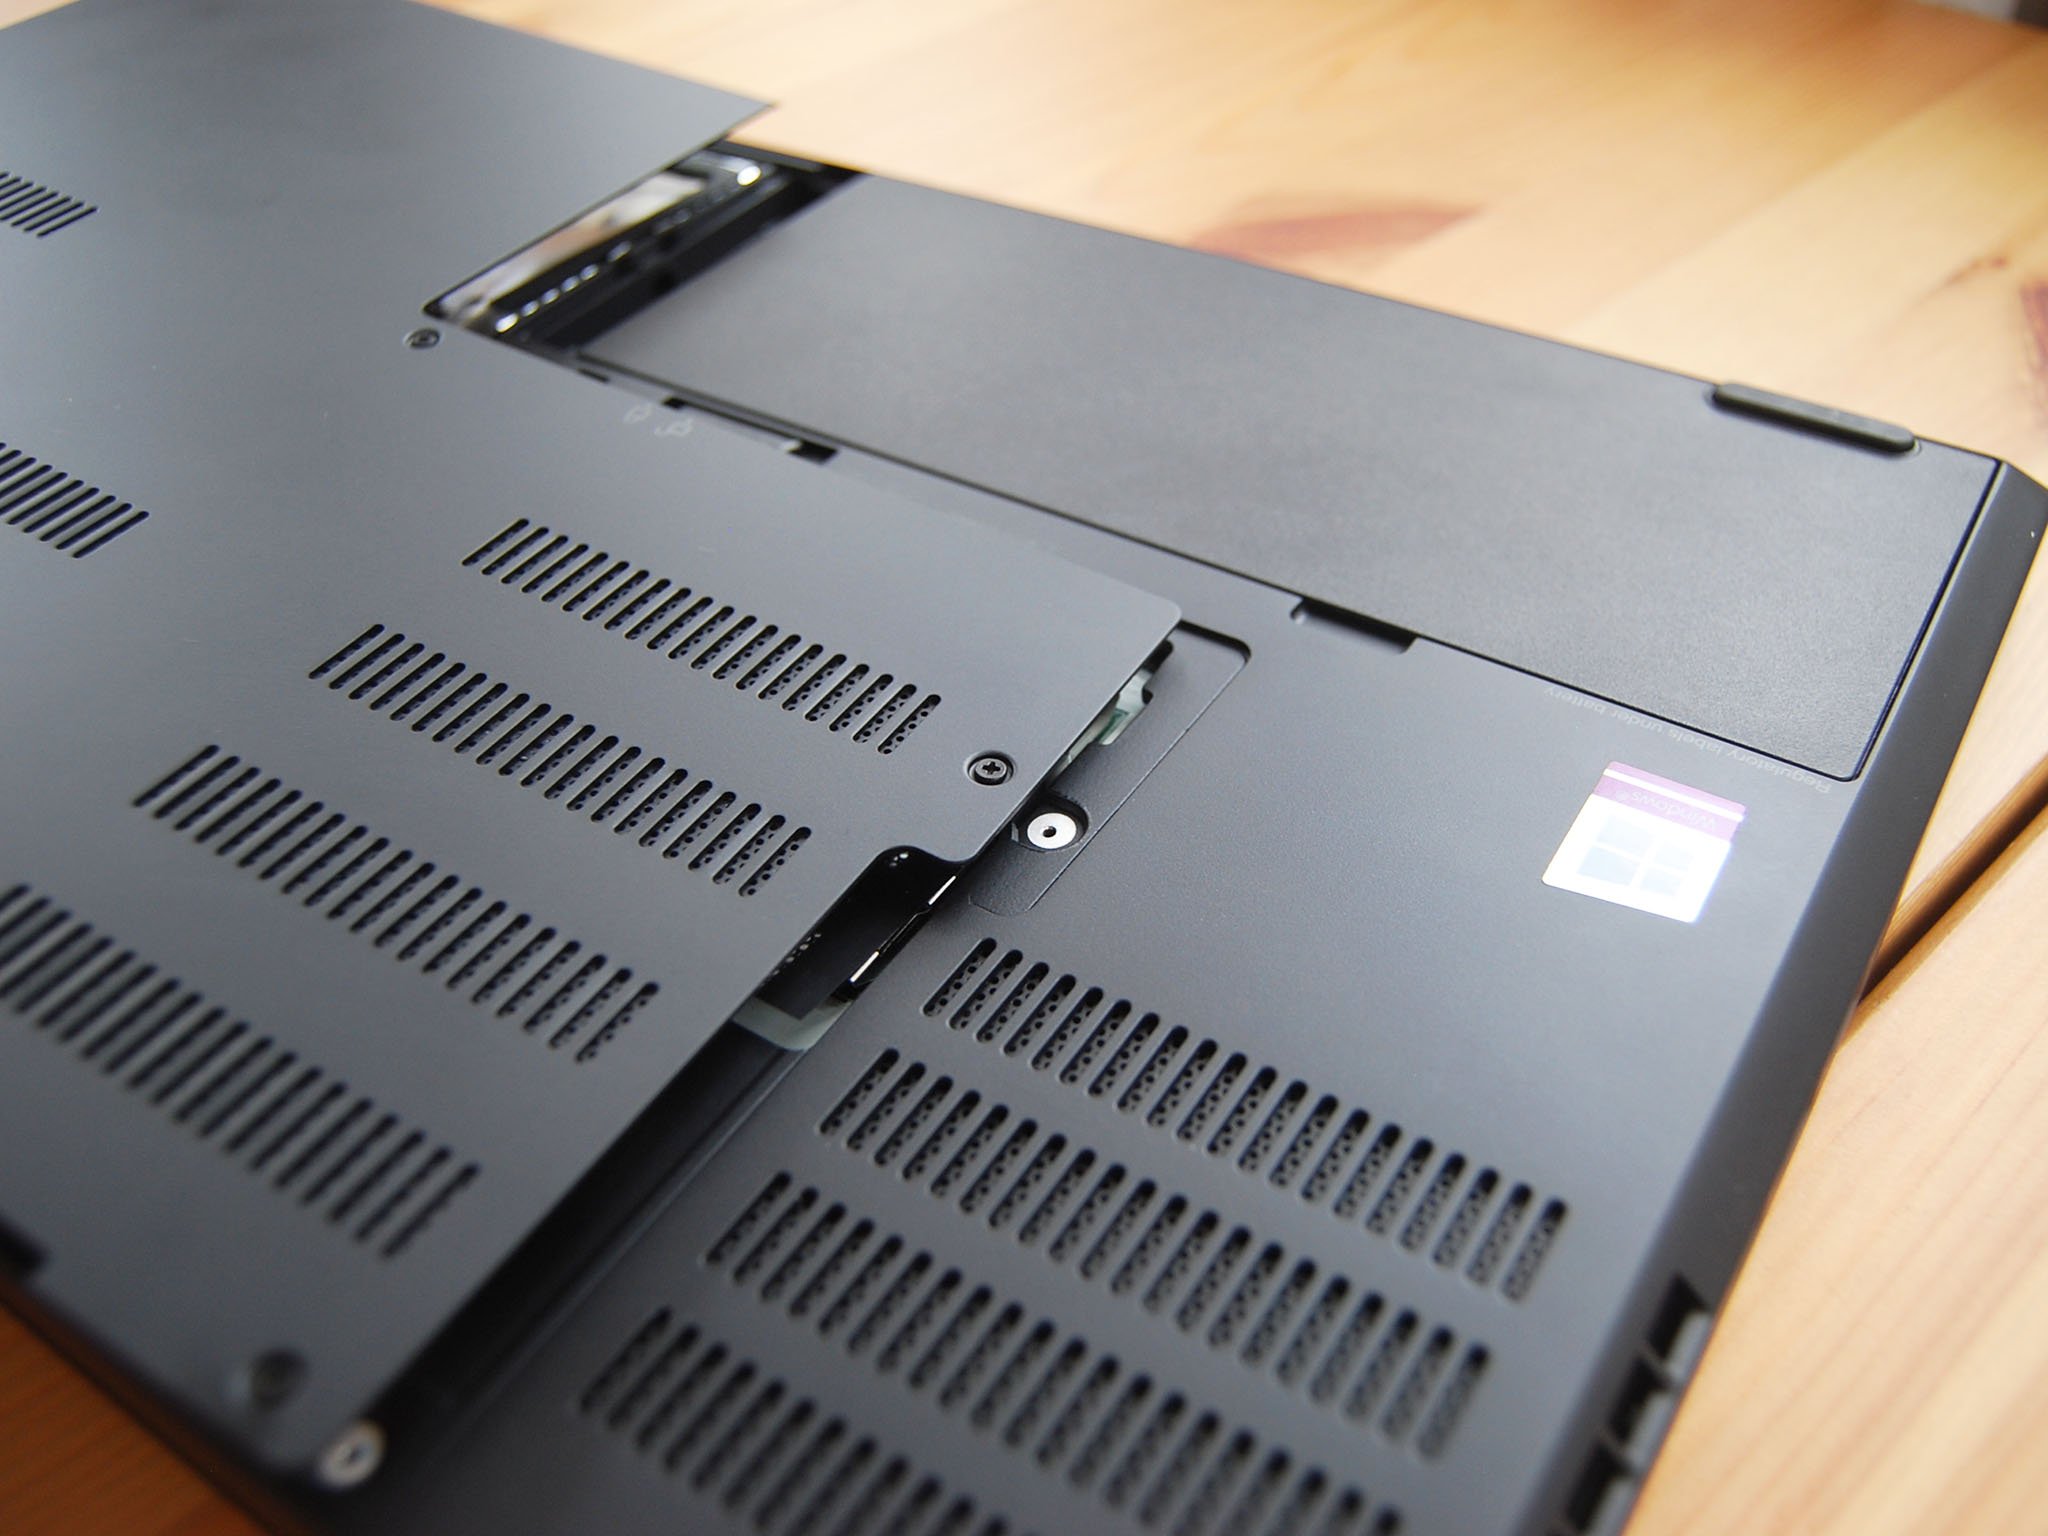
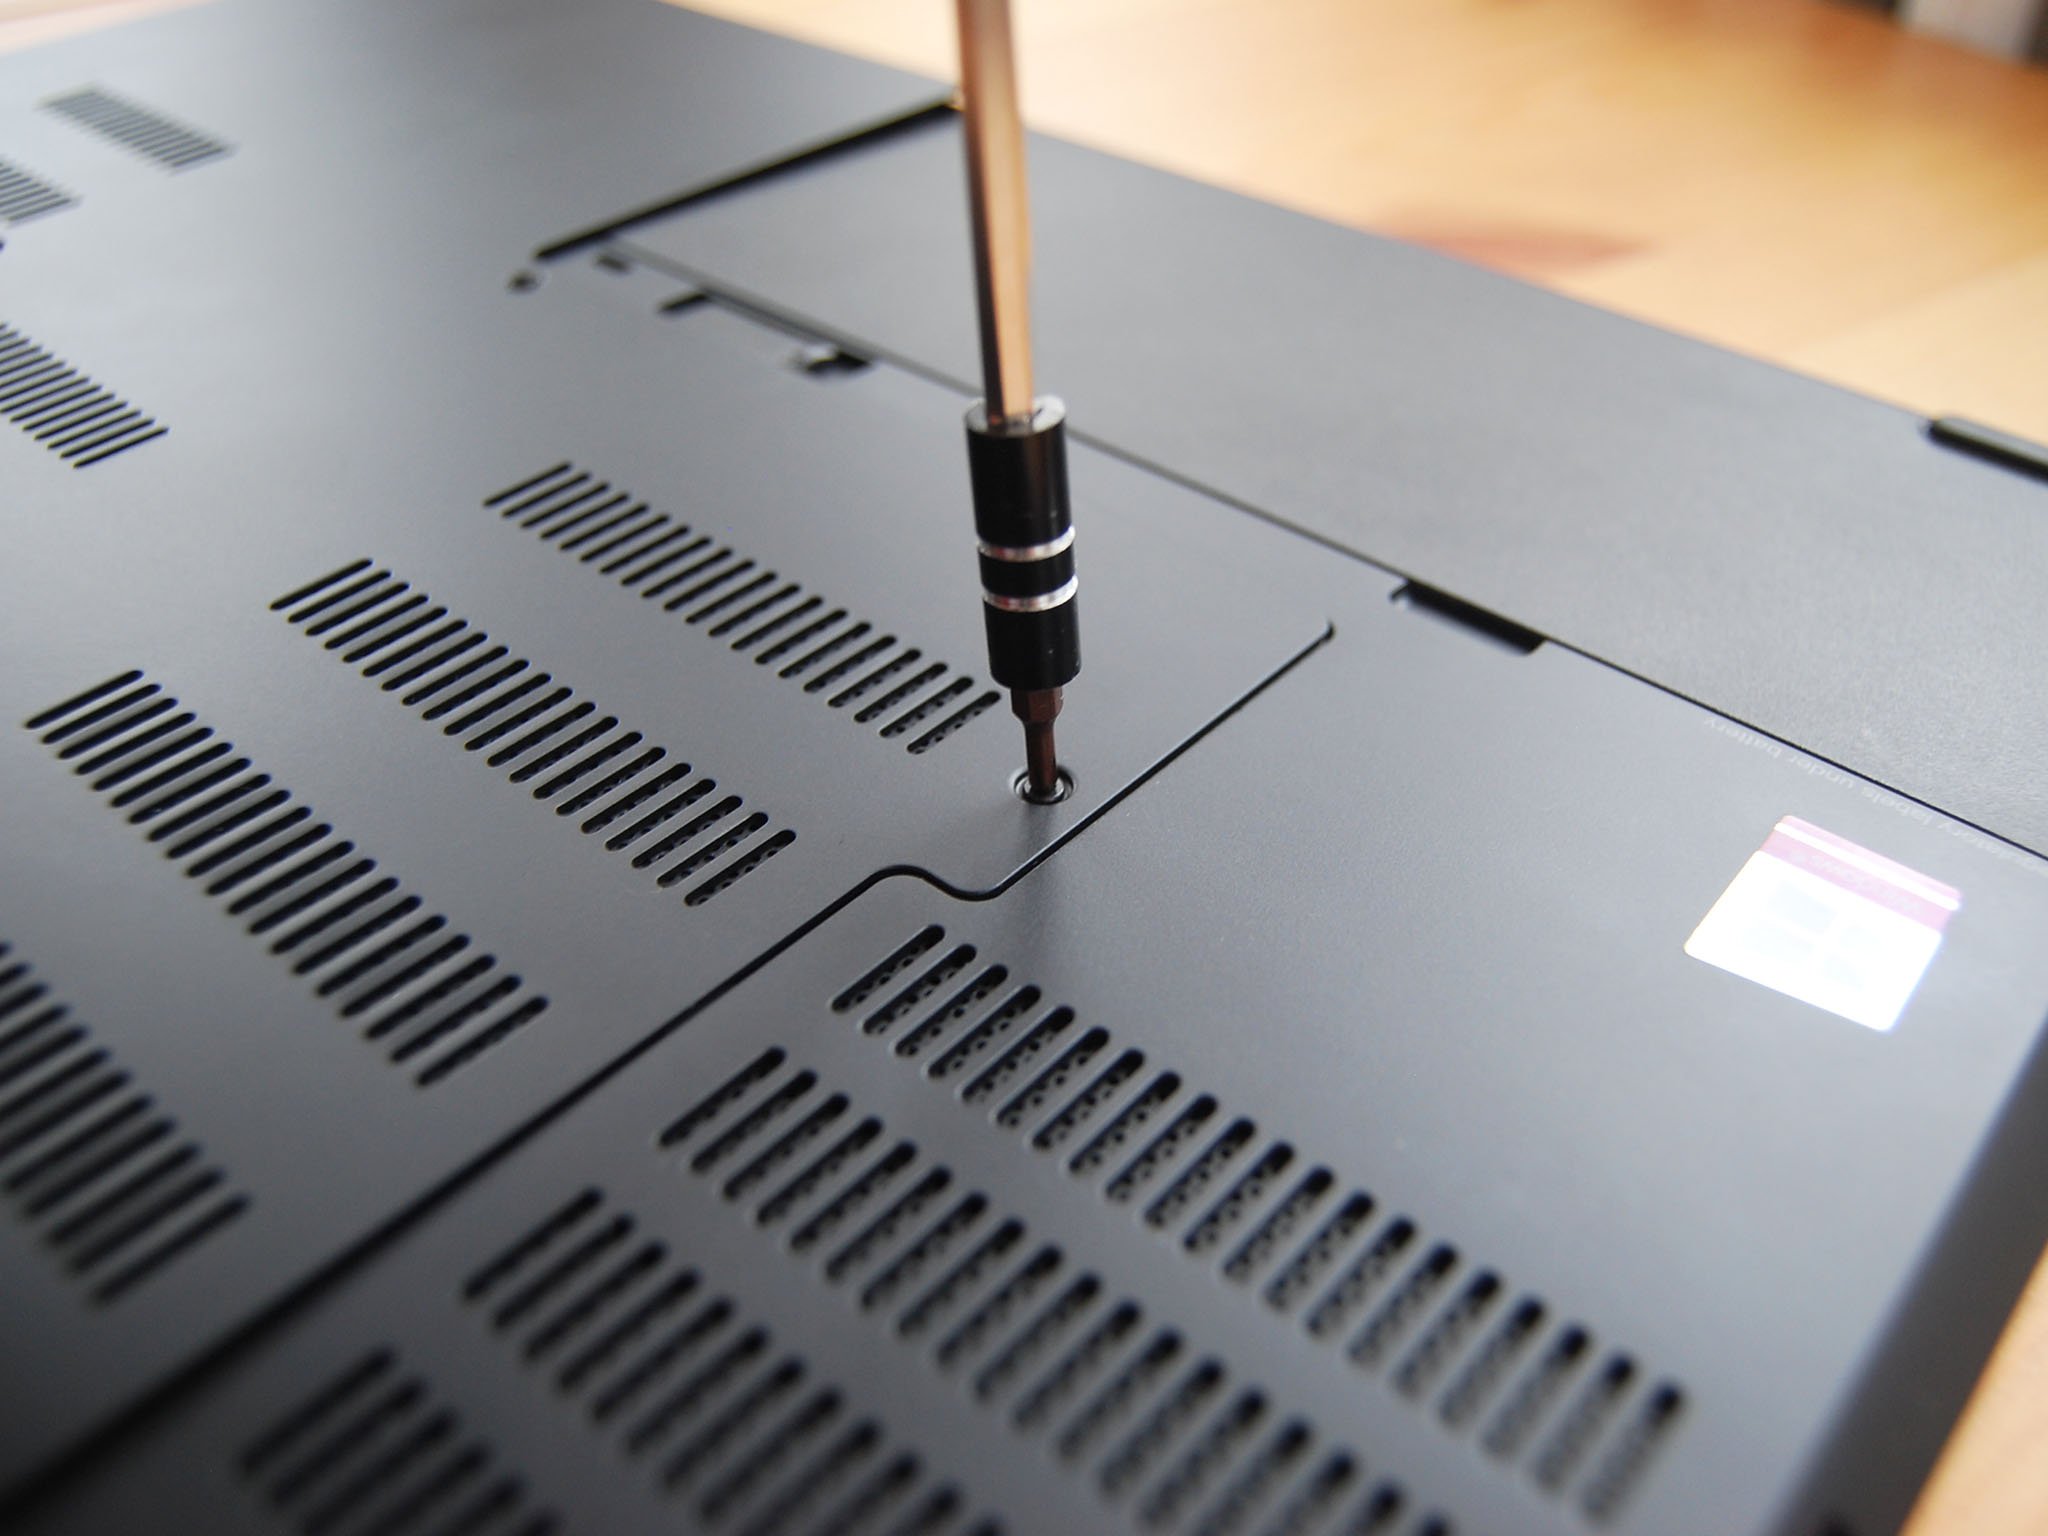
- Unscrew the six fasteners on the quick-access panel using a Philips-head screwdriver. The screws can't be removed completely to ensure none are lost.
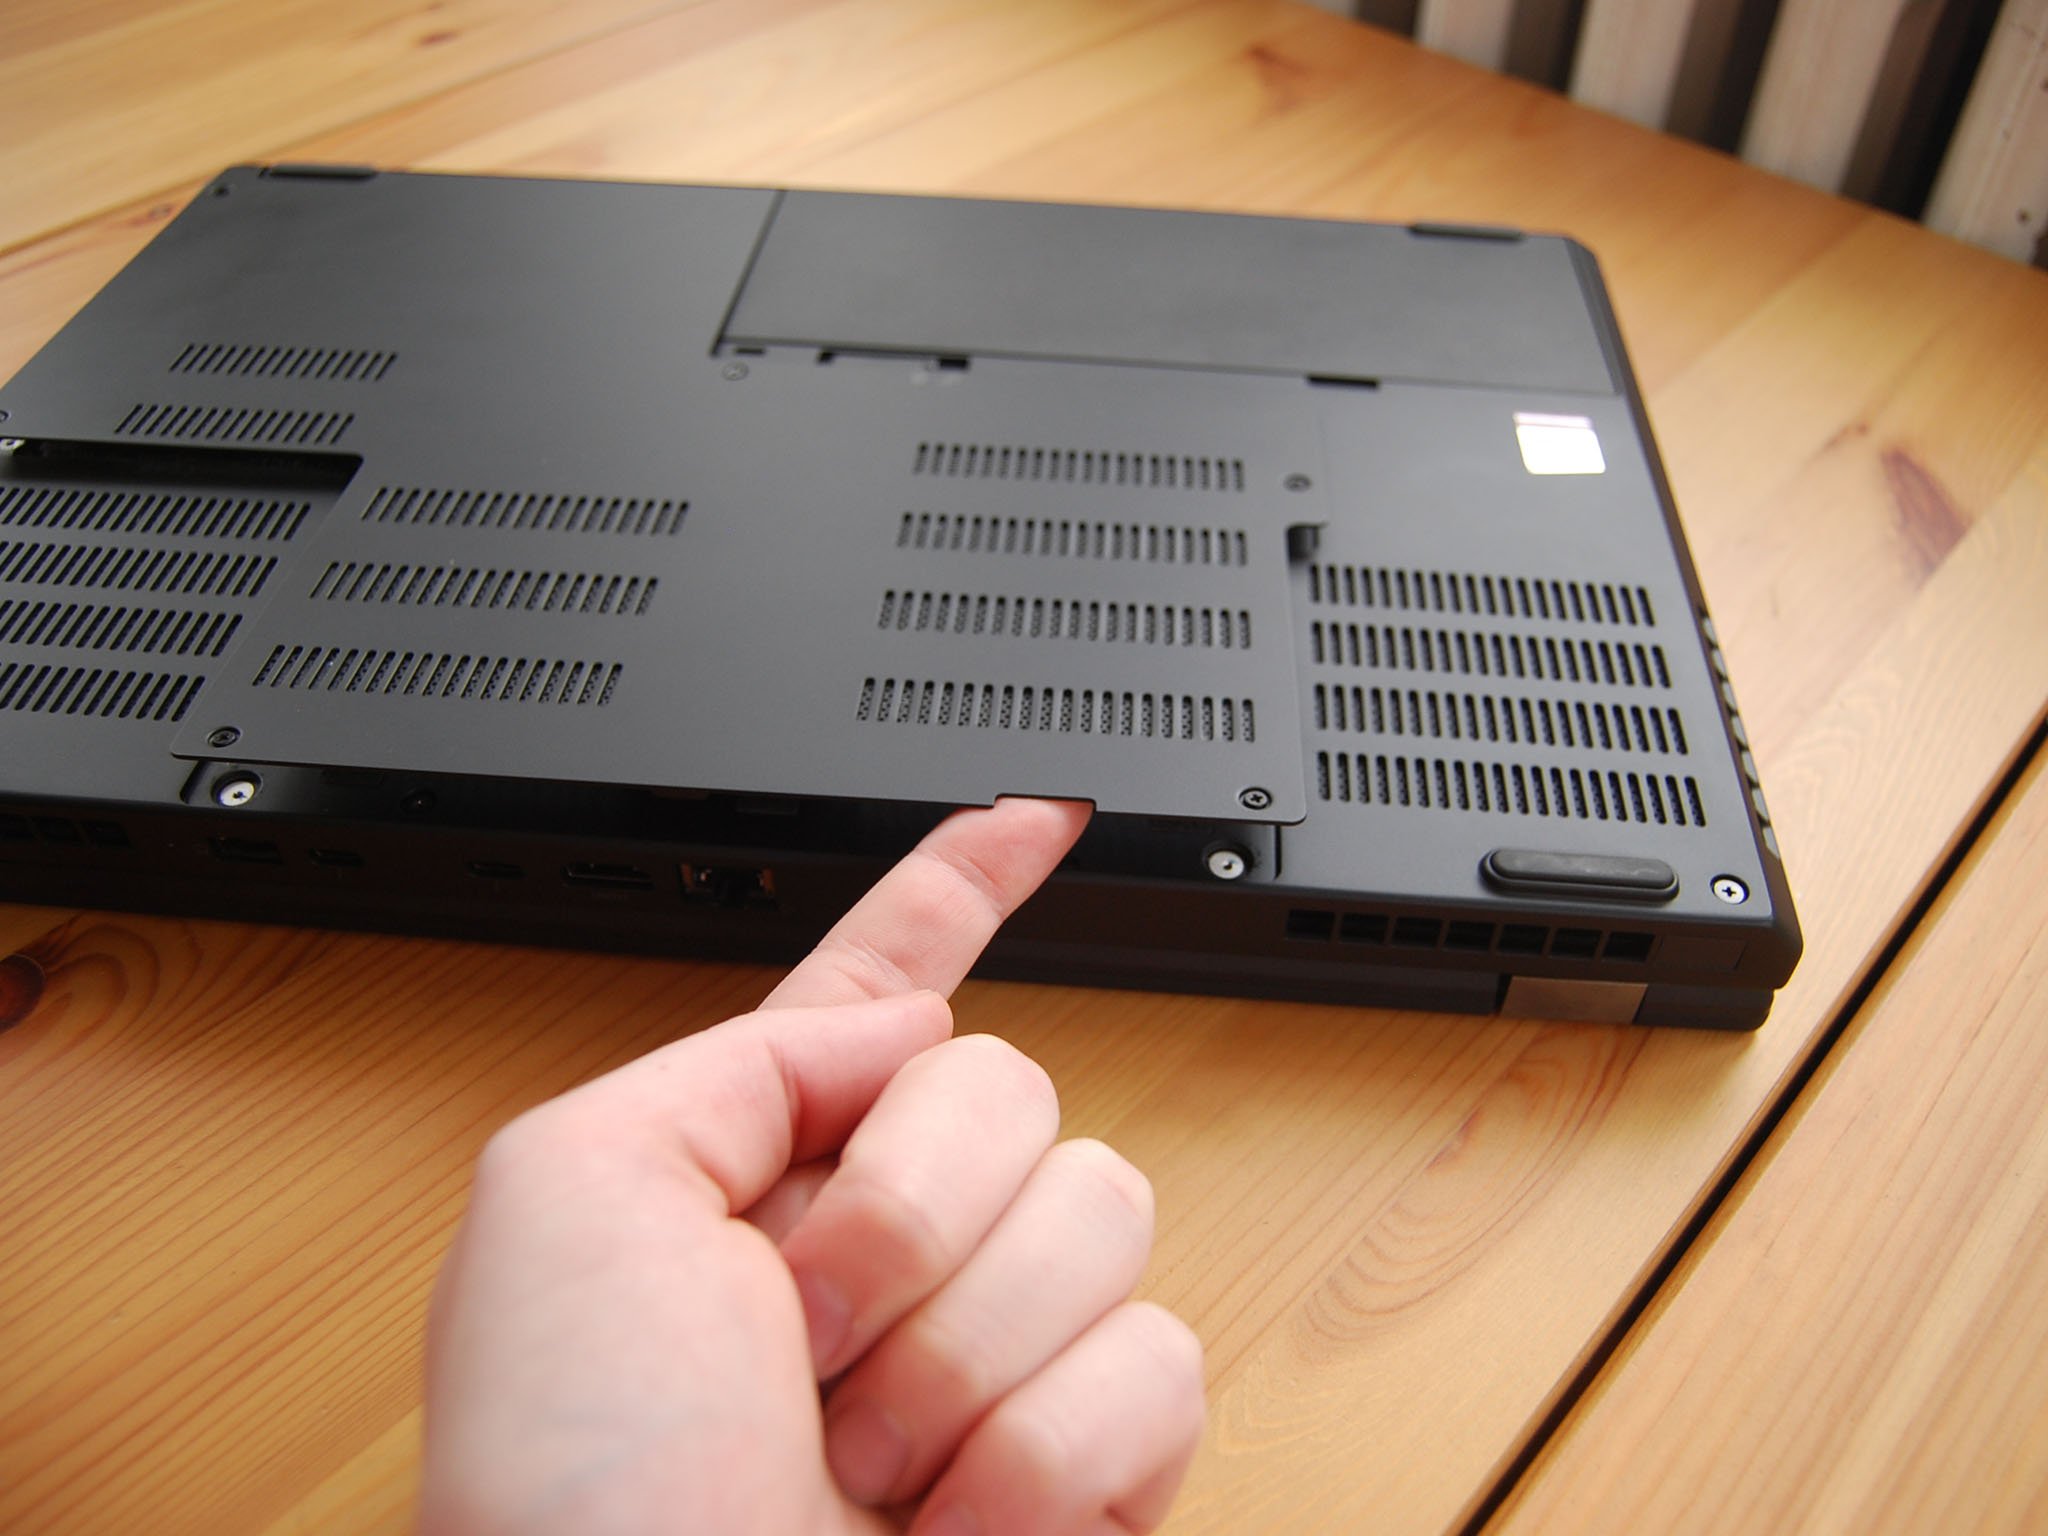
- Lift up the access panel with a thumb or pry tool. Notice there's a notch along the edge to easily get it up.
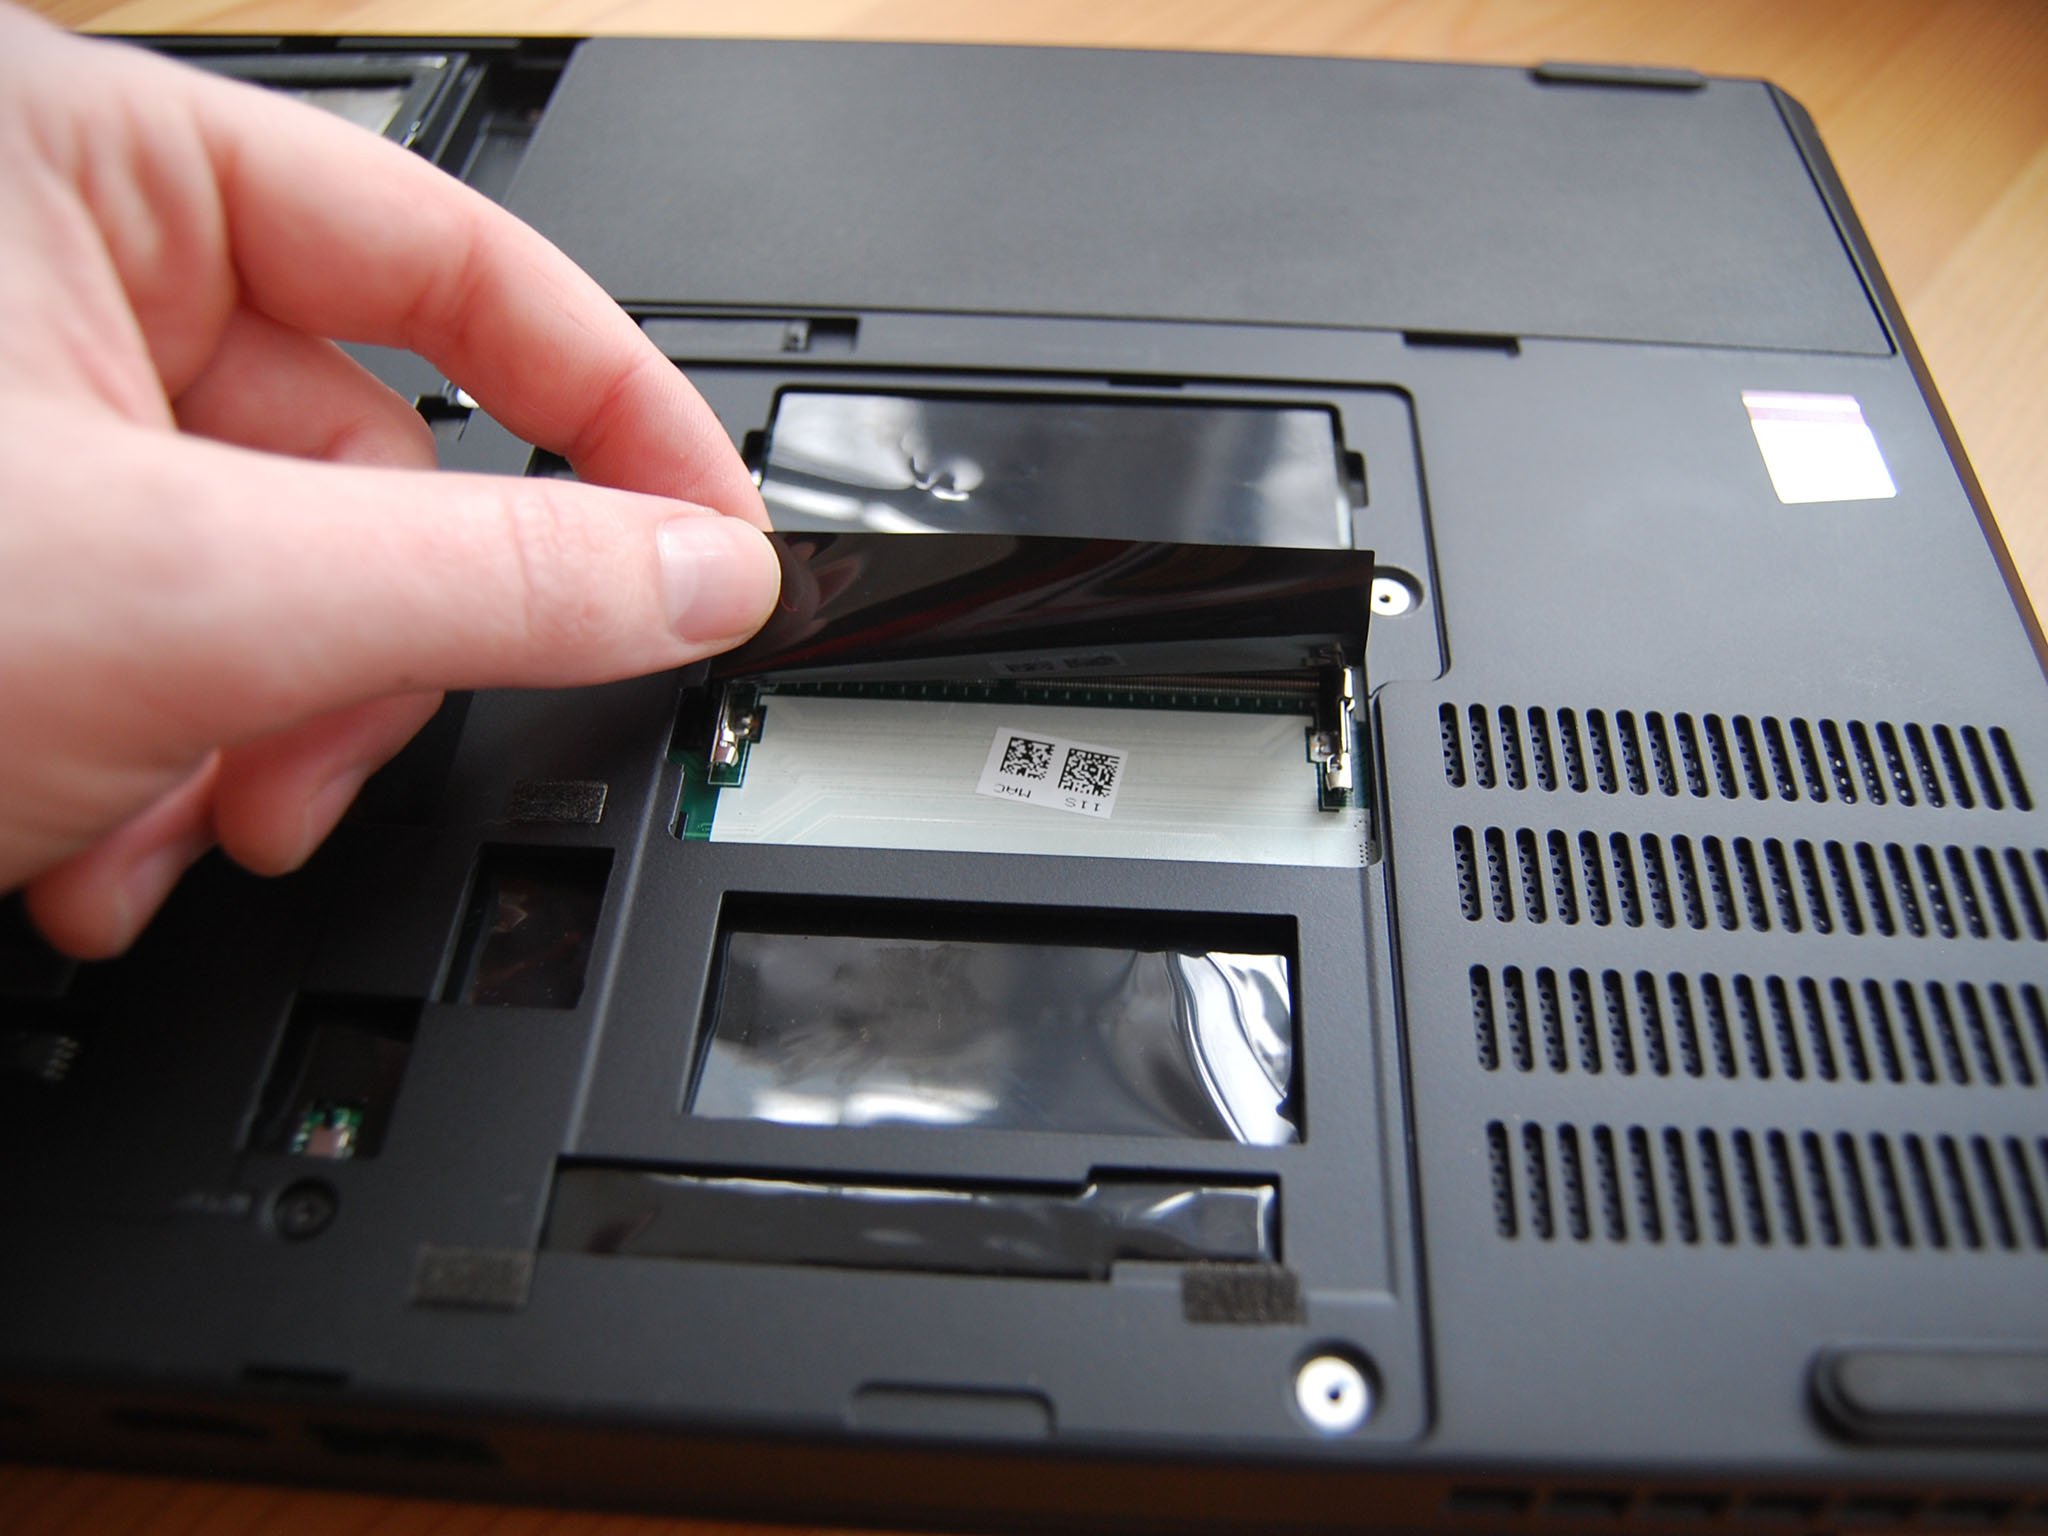
- Pull up the plastic shield to reveal the first RAM slot. Do not completely remove the plastic shield.
- Insert the first RAM module at an angle. Notice that it is keyed and will only fit one way.
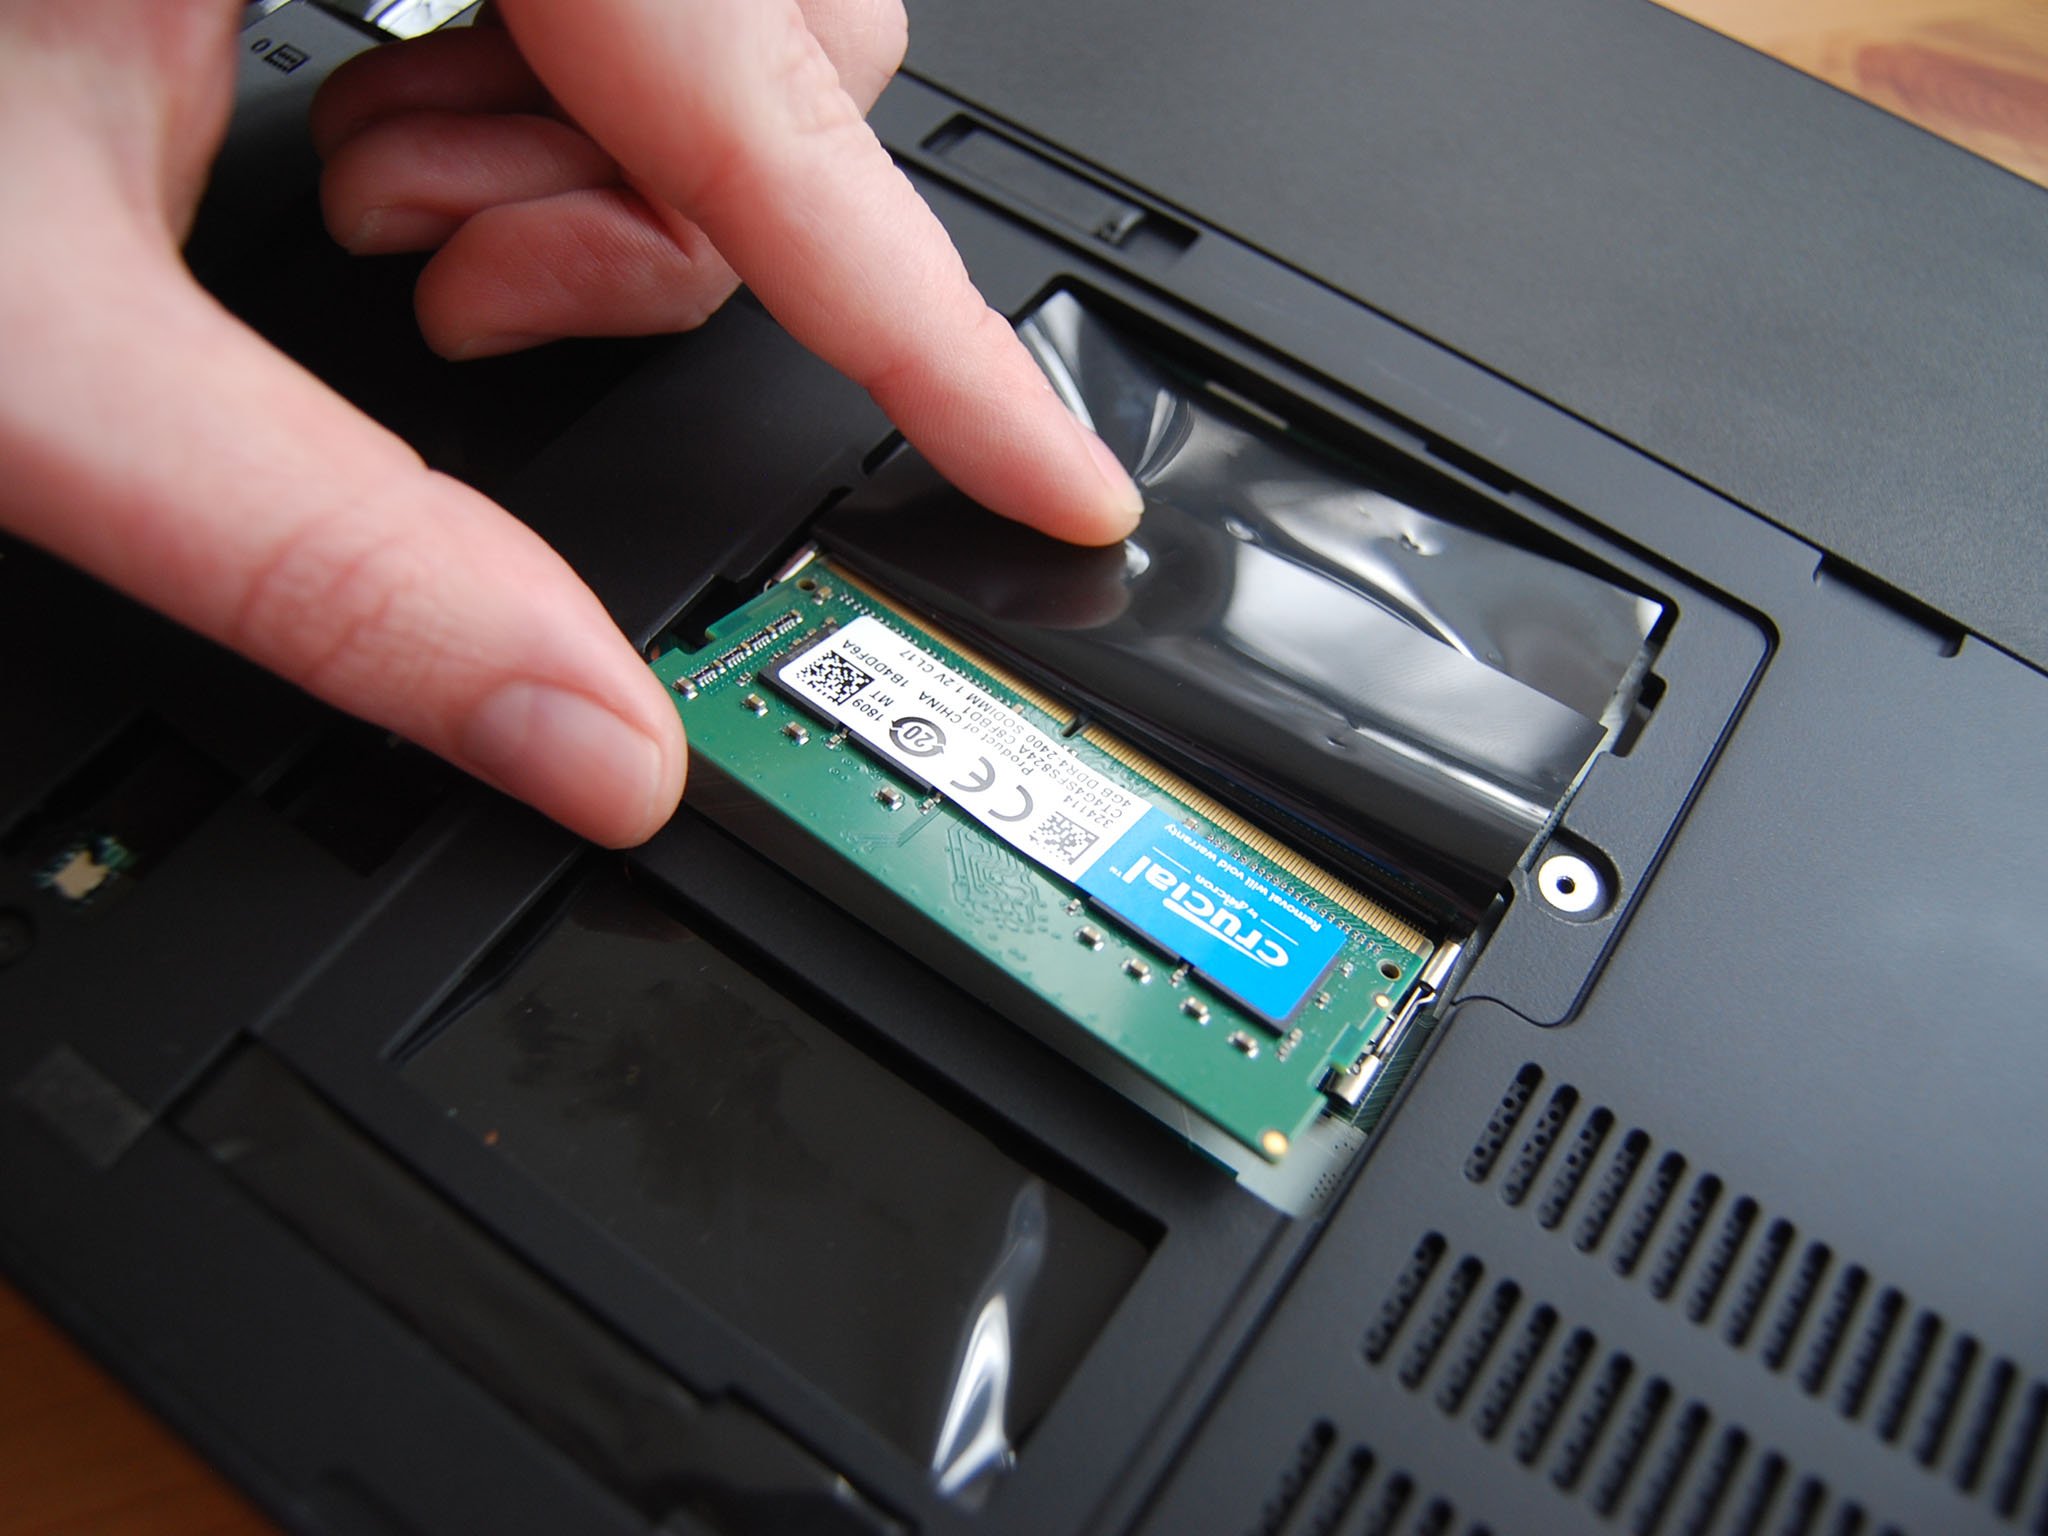
- Press down on the RAM module until it clicks into place. Notice the two small arms on either side that slide over the edges to secure the module.
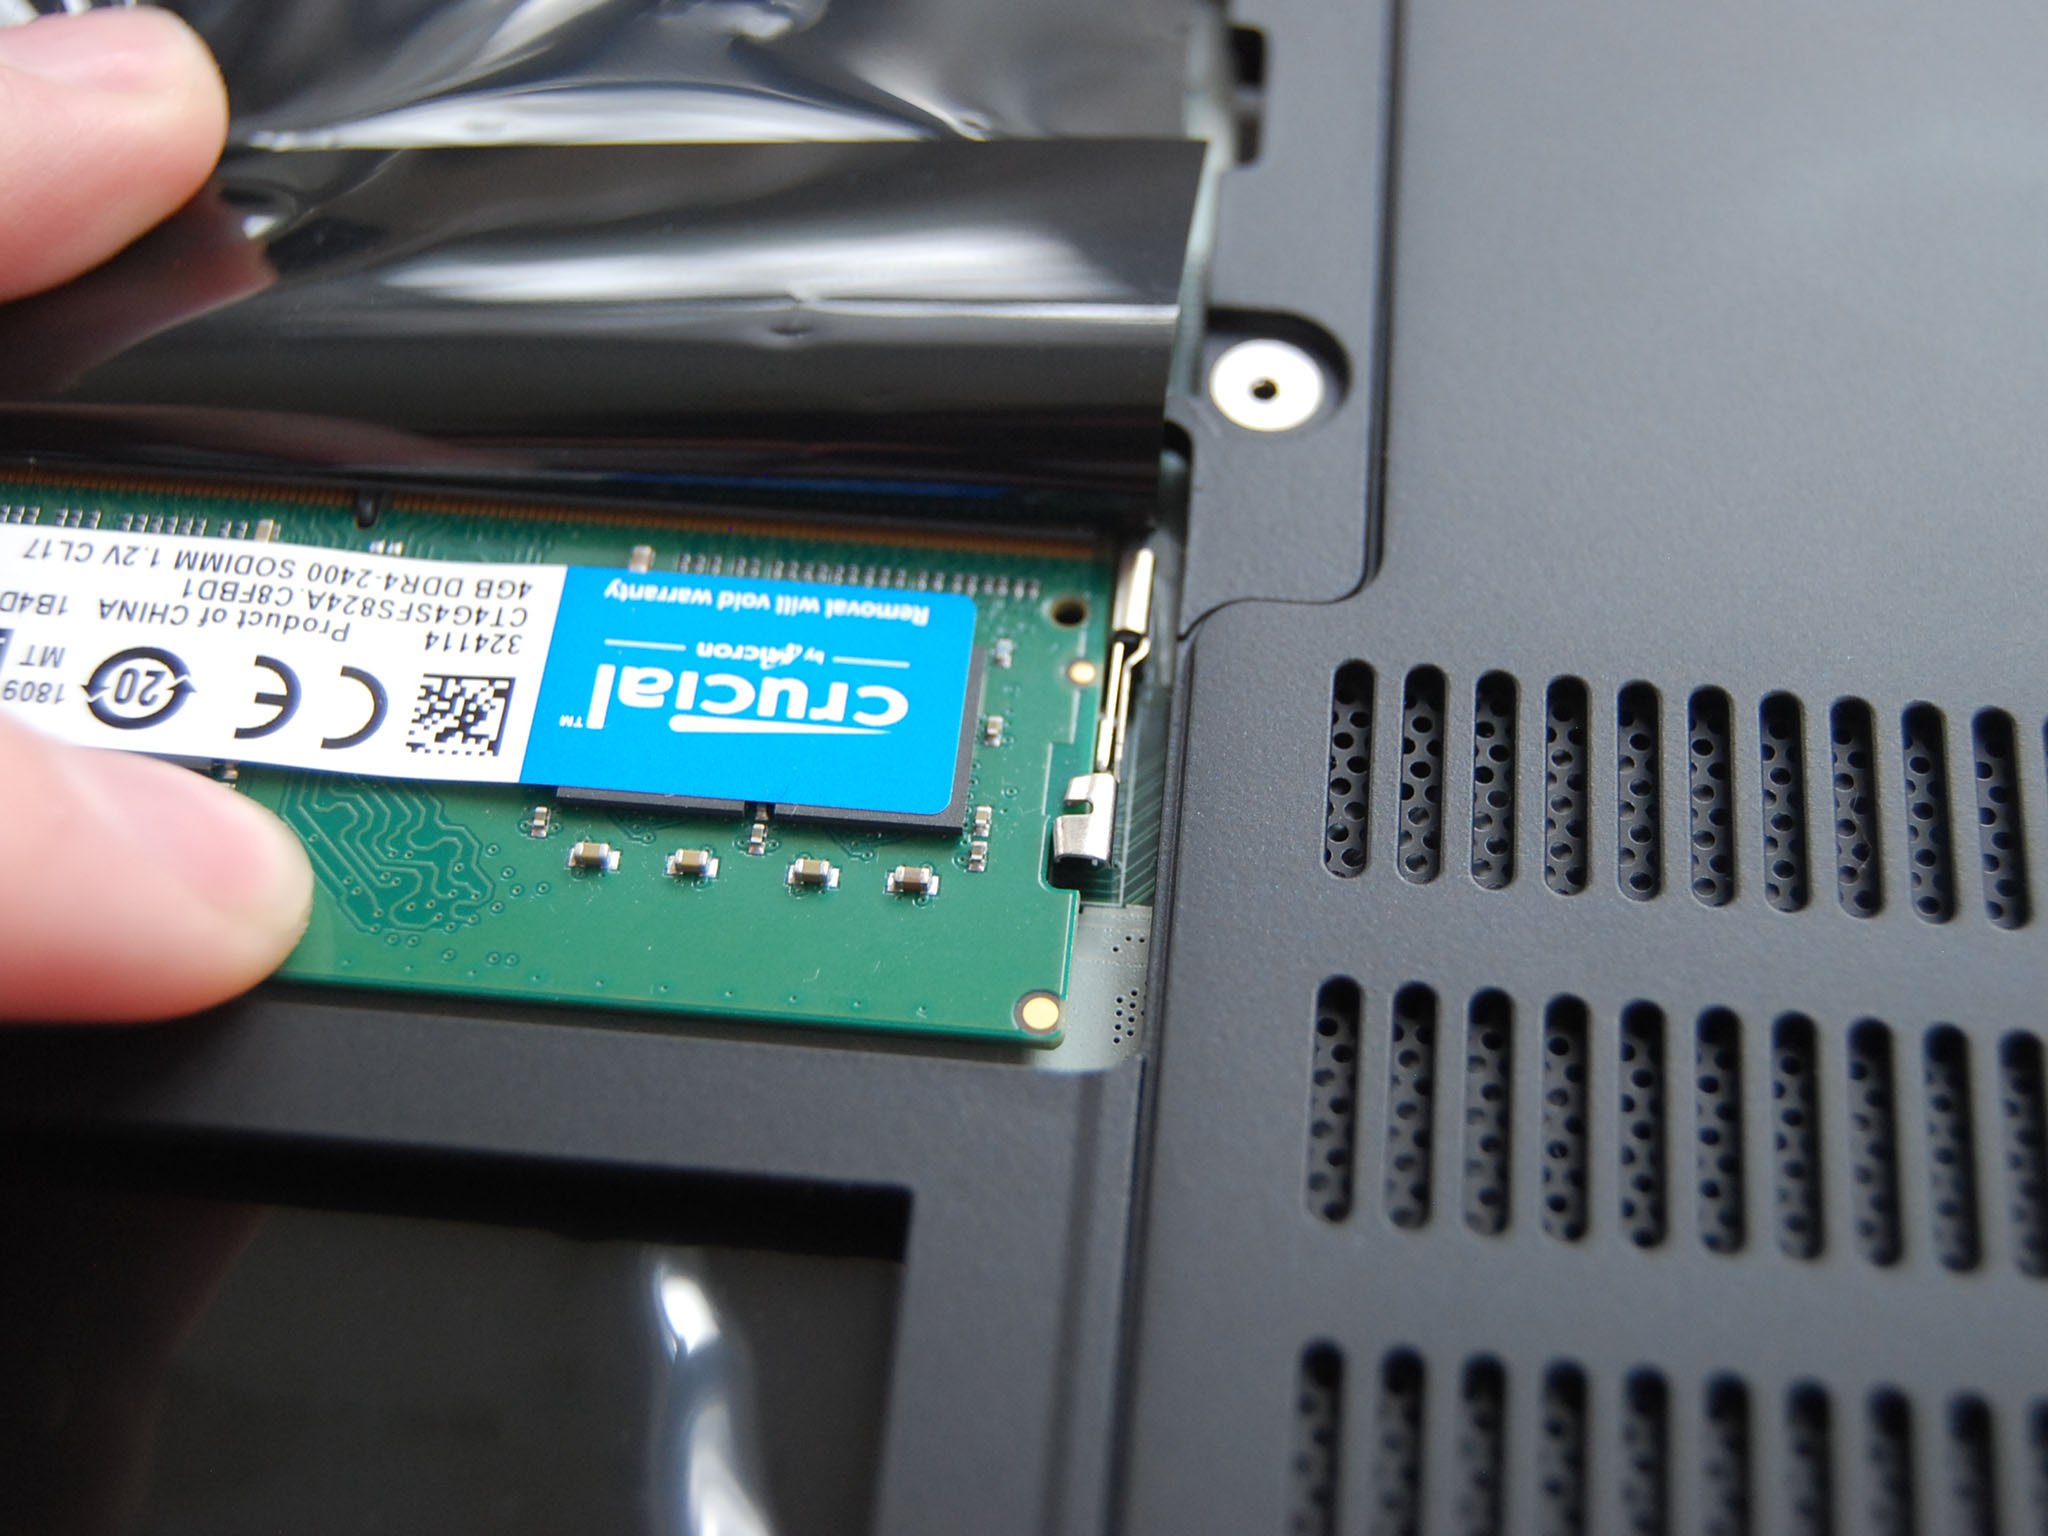
- Pull up the plastic shield on the second RAM slot. Do not remove the plastic shield.

- Insert the second RAM module at an angle. It is also keyed and will only fit one way.
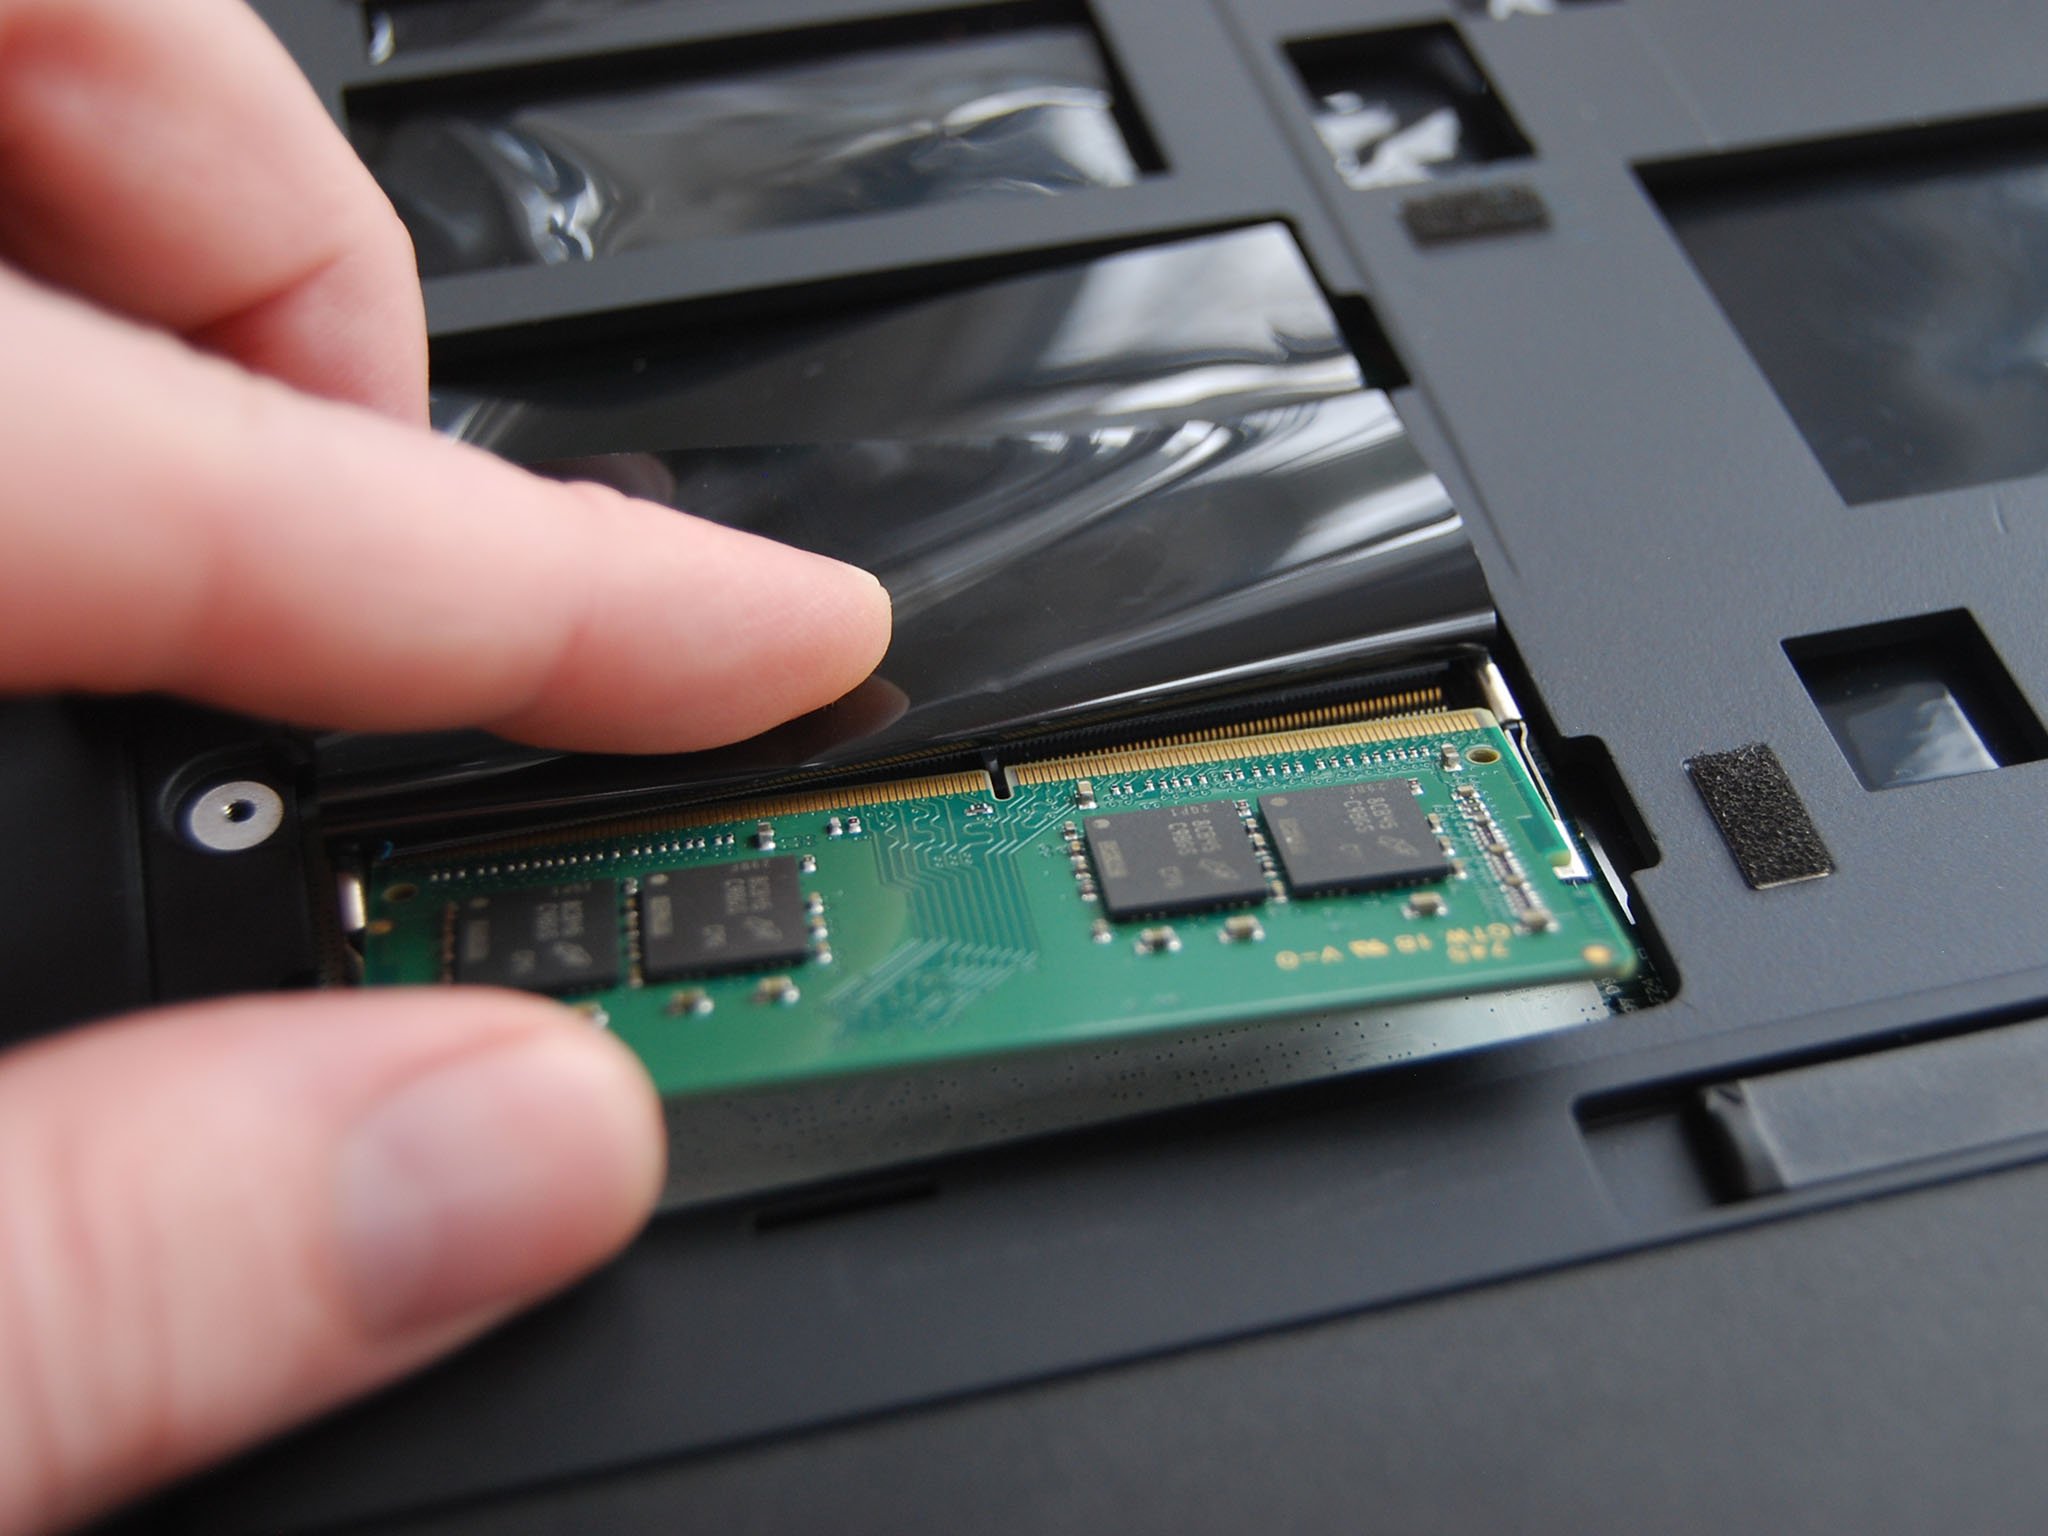
- Press down on the RAM module until it clicks into place.
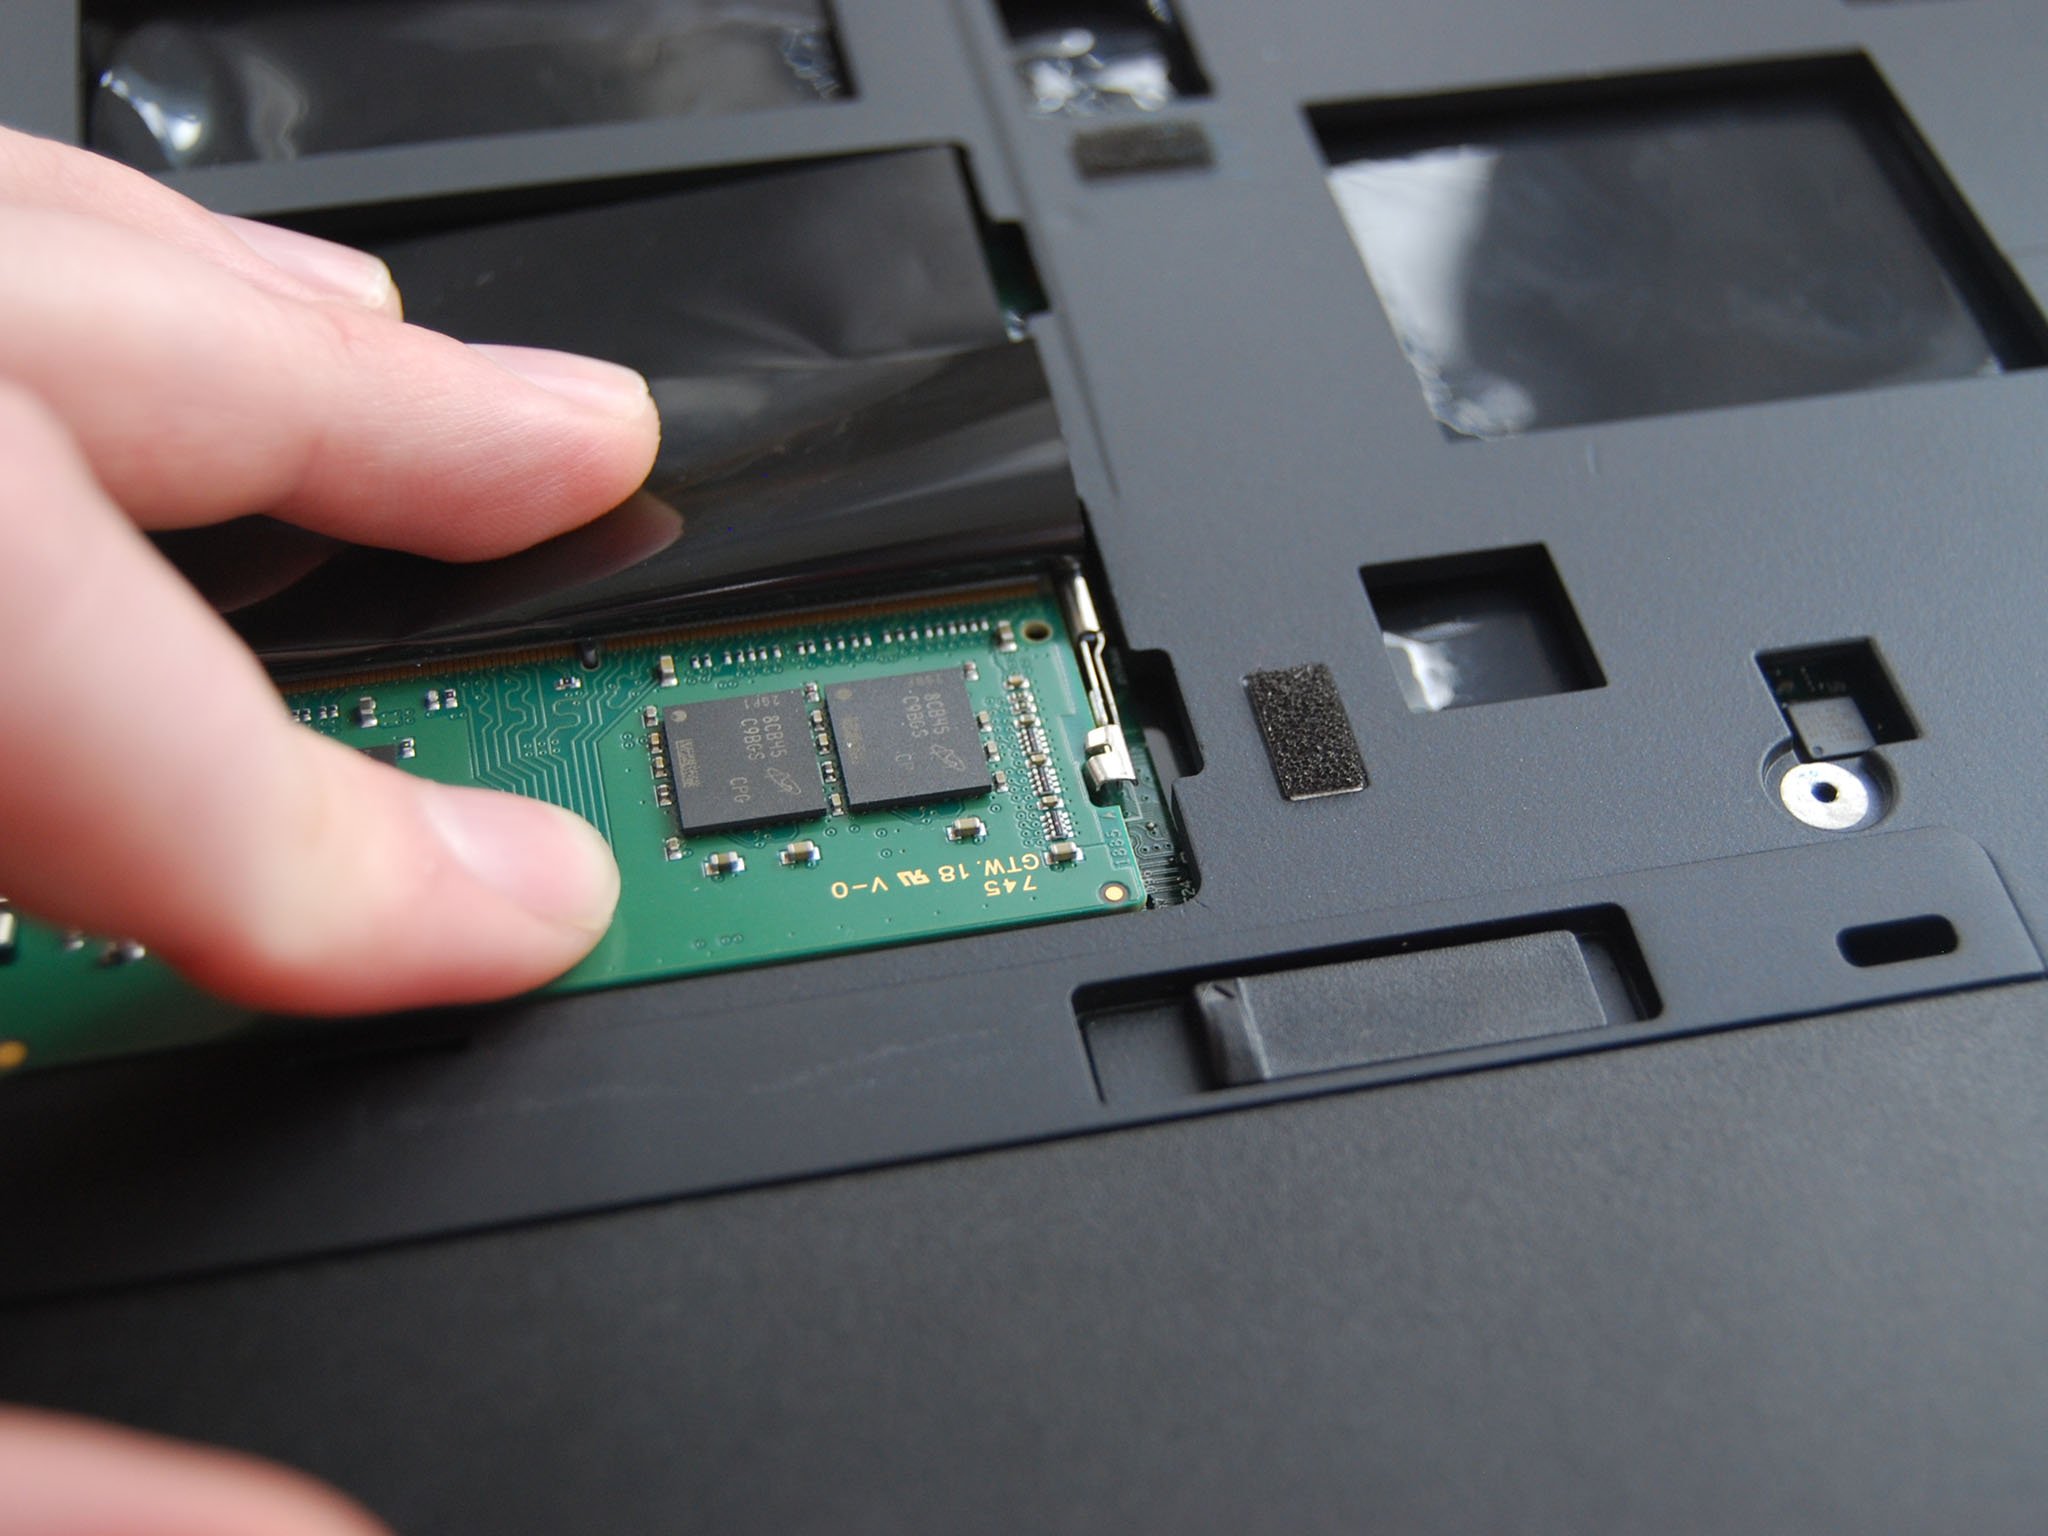
- Replace the access panel, lining up the fasteners with the silver holes.
- Screw in the six fasteners attached to the access panel.
You can now power on your ThinkPad P52 and verify that the RAM you've installed is recognized by your system.
Get the Windows Central Newsletter
All the latest news, reviews, and guides for Windows and Xbox diehards.
- Right-click the Start button.
- Click System.
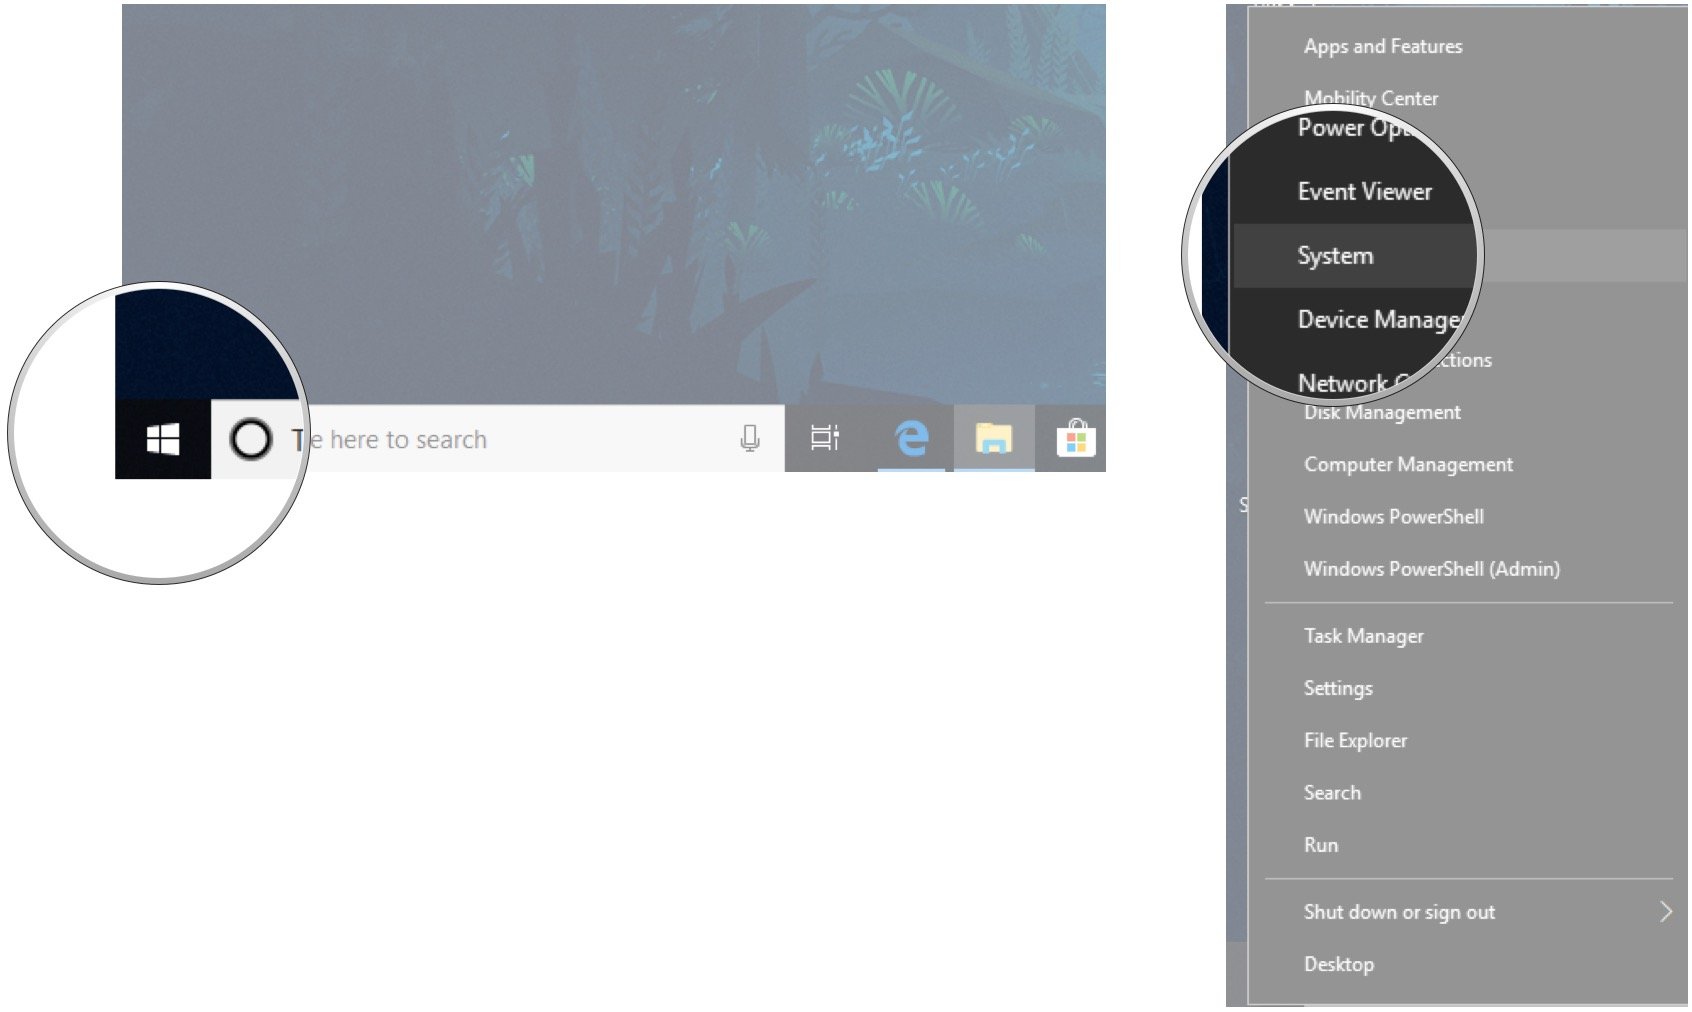
You should now be able to see the total amount of installed RAM in the Device specifications section. As long as it matches the total amount you have installed, your upgrade was a success.
Our top hardware picks
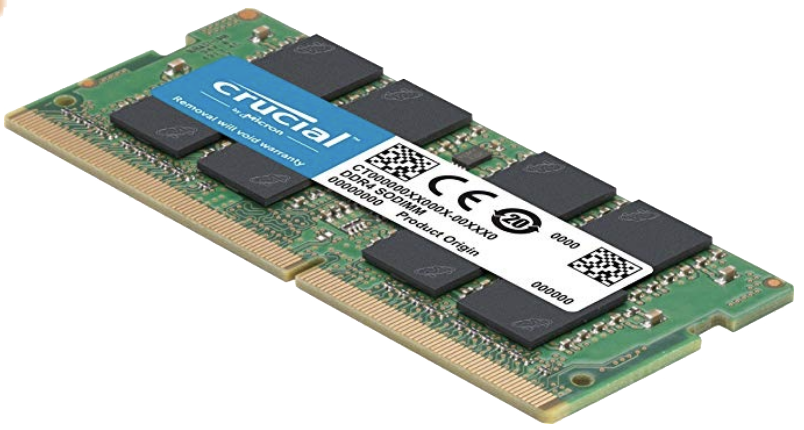
It's not the only option when buying RAM for your laptop, but the Crucial SODIMM RAM we recommend is reliable, competitively priced, and will work in your system. It's available in single 4GB sticks all the way up to dual 16GB sticks for a 32GB total.
Reliable and affordable
If you're looking for extra RAM for your ThinkPad P52, we've had much success with Crucial. It's competitively priced and reliable, checking two of the big boxes when it comes to buying hardware for your PC.
If you have a ThinkPad P52 that came with an Intel Xeon CPU and ECC RAM, you'll no doubt be looking to add more of the same type. Lenovo's offering comes in 4GB or 8GB sizes, allowing you to add up to 16GB in the two free slots.
Avoid errors and data corruption
Lenovo's DDR4 ECC RAM offering comes in a couple of different sizes and shouldn't have any issues working in your system, as long as you already have ECC RAM installed and you're working with an Intel Xeon CPU.
It's thick and it's heavy, but the ThinkPad P52 brings a powerful collection of hardware focused on design and development, a beautiful 4K display, outstanding keyboard, and plenty of ports. A quick-access panel on the back makes it easy to access RAM slots, SSD slots, and 2.5-inch storage.
Trade performance for portability
The ThinkPad P52 trades portability and battery life for outstanding performance. The 4K display is beautiful, there are plenty of ports, the keyboard is top-of-class, and you can upgrade hardware down the line to keep the laptop relevant into the future.
Additional Equipment
ORIA PC toolkit ($33 at Amazon)
Having the proper gear to work on your PC will always make the job much easier. Here you get a plethora of tools contained in a portable case.
Rosewill anti-static wristband ($6 at Amazon)
Static electricity can damage sensitive PC parts, so remove the risk with an anti-static wristband. Fasten it around your wrist and clip it onto your PC for peace of mind.

Cale Hunt brings to Windows Central more than eight years of experience writing about laptops, PCs, accessories, games, and beyond. If it runs Windows or in some way complements the hardware, there’s a good chance he knows about it, has written about it, or is already busy testing it.
