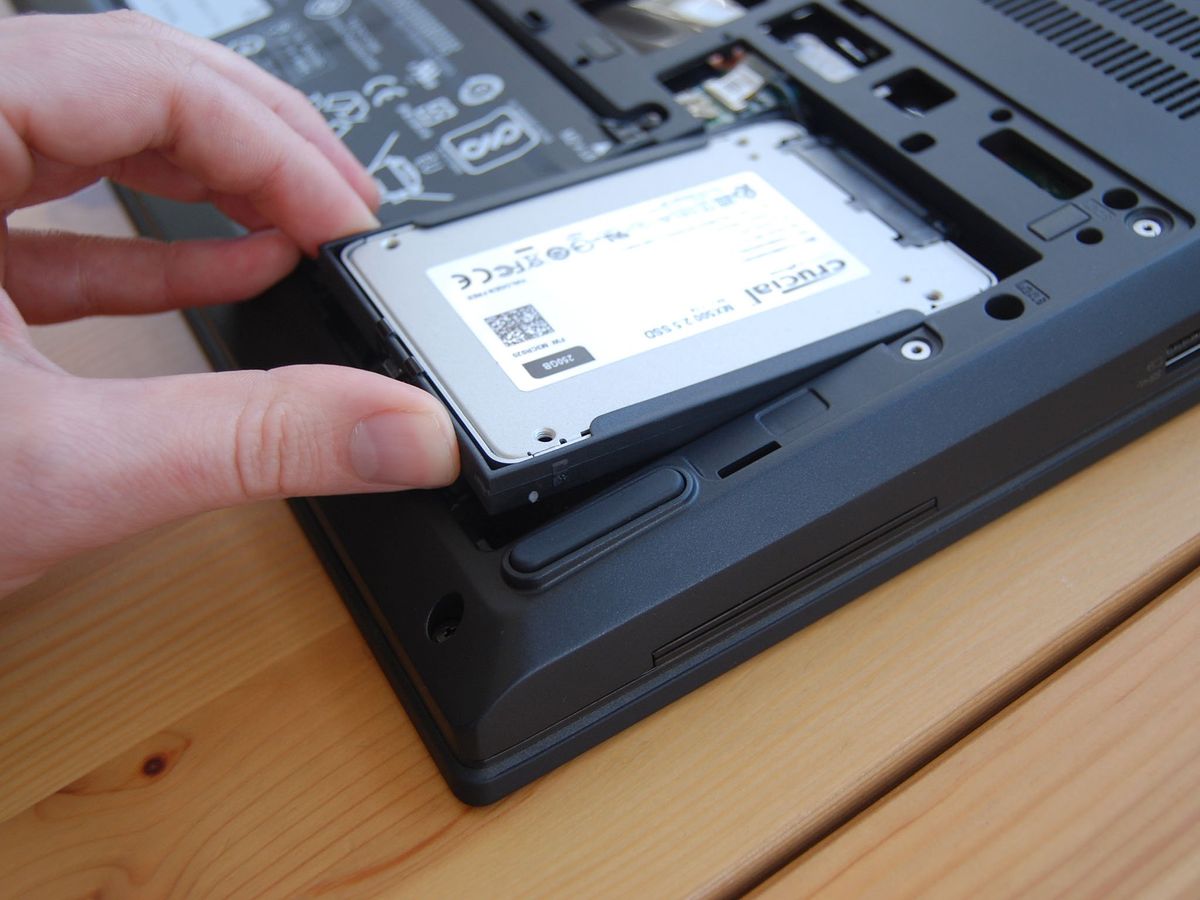
Thanks to plenty of space inside its 17-inch chassis, Lenovo's ThinkPad P72 has relatively generous hardware upgrade options. Most models come with a 2.5-inch hard-disk drive (HDD) that provides bulk storage, but it's slow and you might eventually find that you need more space. Here's everything you need to know about replacing the HDD for something larger, faster, or both.
Hardware and software to get the job done
- 2.5-inch SATA SSD: Samsung 860 EVO SSD (From $58 at Amazon)
- Enclosure for cloning: Inateck SATA drive enclosure ($20 at Amazon)
- Cloning tool: Macrium Reflect 7 (Free at Macrium)
- Prevent damage: Rosewill anti-static wristband ($6 at Amazon)
- All required tools: ORIA PC toolkit ($33 at Amazon)
- 17-inch powerhouse laptop: Lenovo ThinkPad P72 (From $1,529 at Lenovo)
How to upgrade the HDD in your Lenovo ThinkPad P72
Note: Before beginning any upgrades on a PC, it's a good idea to back up your data in the unlikely event something should go wrong. You'll also want to ensure you're not working in a static-filled environment, as it can cause damage to a PC's internal hardware. Consider investing in an anti-static wristband to avoid unnecessary damage.
The ThinkPad P72 has room for RAM upgrades, dual M.2 PCIe solid-state drives (SSD), and a single 2.5-inch SATA drive. Because models from the factory ship with an HDD with relatively slow speeds, we recommend upgrading to a SATA SSD — in this case Samsung's 860 EVO. It offers improved read and write speeds and it's available in sizes up to 4TB.
ThinkPad P72 models without a secondary M.2 PCIe SSD inside will have Windows 10 installed on the original HDD. If you don't want to do a clean install of Windows 10 on the upgraded drive, we recommend using Macrium Reflect cloning software and an external 2.5-inch SATA enclosure to clone all data, including Windows 10, over to the new 2.5-inch drive before the upgrade process. For reference, we've created a guide on how to successfully get through the cloning process.
Once you've backed up your data and have completed any drive cloning, you can clear out a well-lit workspace and power down your ThinkPad P72 before starting with the steps below.
- Unscrew the seven fasteners on the quick-access panel using a Philips-head screwdriver. The screws can't be completely removed and will stay in the access panel despite being loosened.
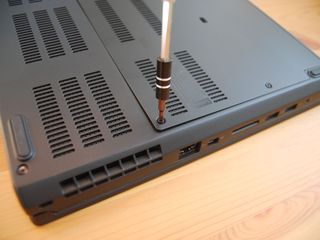
- Lift up the access panel with a thumb or pry tool. Notice there's a notch along the edge that helps to pry it up.
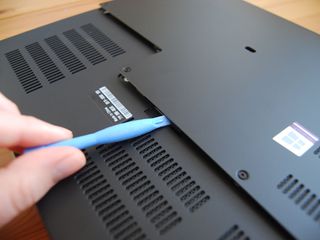
- Press the HDD mount clip on the back end of the drive so that it releases. Use a pry tool for best result.
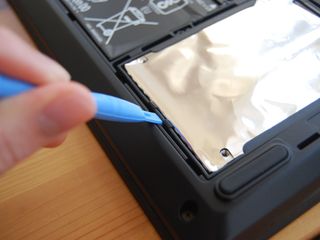
- Pry up the HDD and mount using a pry tool. It should come loose with relative ease.
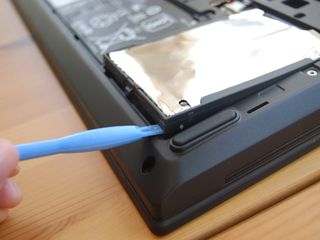
- Unplug the SATA connector from the end of the HDD.
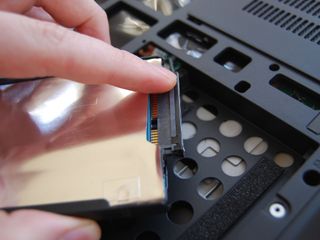
- Remove the plastic gasket from around the HDD. It should pull out relatively easily.
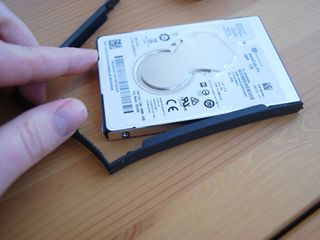
- Attach the plastic gasket to the new 2.5-inch drive. Notice the plugs on the gasket that fit into the usual screw holes on the side of the drive.
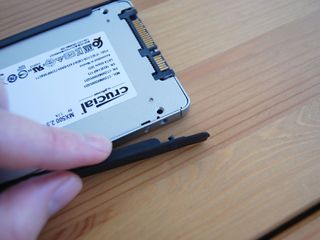
- Reattach the SATA connector to the new 2.5-inch drive. Notice it will only fit one way.
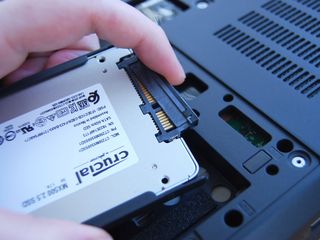
- Slide the new 2.5-inch drive into the laptop.
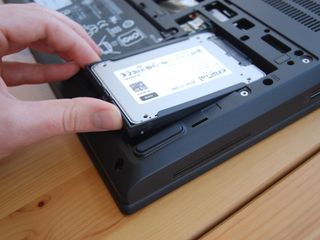
- Press down on the new drive until the end clip clicks back into place.
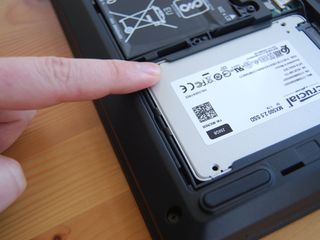
- Replace the access panel by applying pressure. It should partially clip into place.
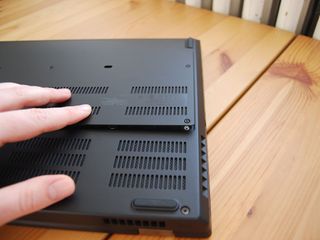
- Screw in the seven fasteners on the quick-access panel.
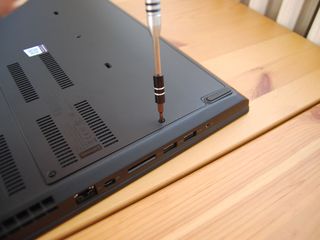
You're now free to boot up your ThinkPad P72 to see if the storage upgrade went according to plan. If your system doesn't recognize the new drive, refer to our guide on formatting a new drive to get it working.
Our top hardware and software picks
Our pick for an upgrade is Samsung's 860 EVO 2.5-inch SATA SSD, which adds better performance and can add more space depending on the size you buy.
Get the Windows Central Newsletter
All the latest news, reviews, and guides for Windows and Xbox diehards.
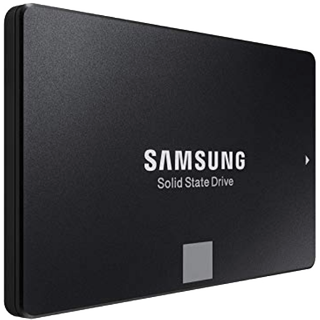
Up to 4TB of speedy storage
Get read speeds up to 550 MB/s and write speeds up to 520 MB/s for superior performance, and take advantage of a 5-year warranty. If you're going through the trouble of replacing your HDD, do it right with the 860 EVO.
This enormous Lenovo workstation brings ridiculous power, a stunning 4K display, and space inside for plenty of hardware upgrades to keep it relevant long into the future.

Huge laptop, huge performance
With up to an Intel Xeon E-2186M vPro CPU, an NVIDIA Quadro P5200 GPU with 16GB of VRAM, and plenty of space for speedy storage and ECC RAM, the ThinkPad P72 is a laptop built for a life of high-performance design and development work.
Additional Equipment
To make the upgrade process easier and less risky, consider investing in some of these affordable PC tools, and don't forget about Macrium Reflect for those who want to clone drives.

Inateck SATA enclosure ($20 at Amazon)
If you'd like to clone the 2.5-inch HDD's data over to your new storage, an external enclosure will facilitate the process. Insert the new SSD or HDD into the enclosure, plug it into your laptop with USB-C or USB-A, and let the cloning software take over.
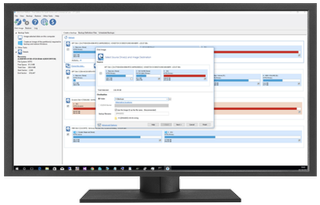
Macrium Reflect 7 (Free at Macrium)
We've had success cloning drives with Macrium Reflect 7, and have even written a complete guide on how to use it properly. A free edition is available, but you can purchase a full edition with a bunch more features for those who truly take backups seriously.
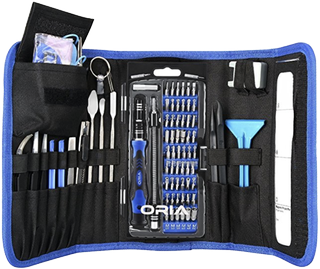
ORIA PC toolkit ($33 at Amazon)
Having the proper gear to work on your PC will always make the job much easier. Here you get a plethora of tools contained in a portable case.
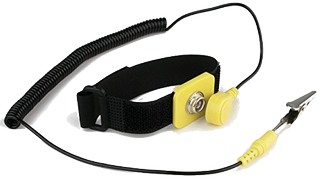
Rosewill anti-static wristband ($6 at Amazon)
Static electricity can damage sensitive PC parts, so remove the risk with an anti-static wristband. Fasten it around your wrist and clip it onto your PC for peace of mind.

Cale Hunt brings to Windows Central more than eight years of experience writing about laptops, PCs, accessories, games, and beyond. If it runs Windows or in some way complements the hardware, there’s a good chance he knows about it, has written about it, or is already busy testing it.