The Lenovo ThinkCentre M720q Tiny is a compact PC ideal for anyone who doesn't need a laptop, but still wants to keep their desk tidy and unencumbered by a full-size PC. Within the small chassis is a 2.5-inch hard drive bay for either a SATA hard-disk drive (HDD) or SATA solid-state drive (SSD), which can be upgraded after purchase. Here's what you need and how to get the job done successfully.
Hardware and software to get the job done
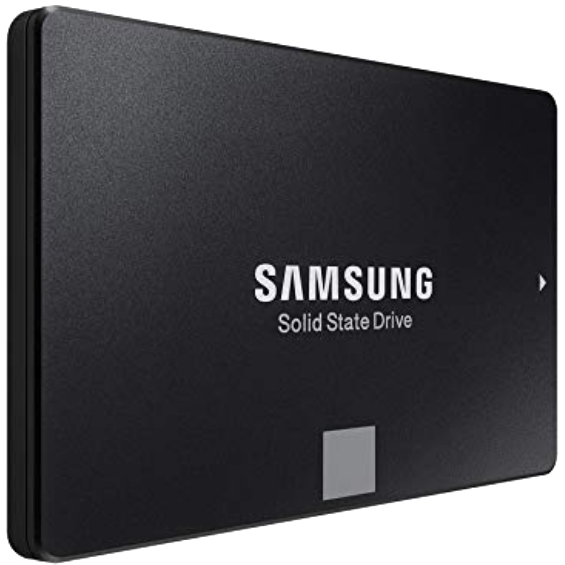
- 2.5-inch SATA SSD: Samsung 860 EVO SSD (From $58 at Amazon)
- Cloning tool: Macrium Reflect 7 (Free at Macrium)
- Enclosure for cloning: Inateck SATA drive enclosure ($20 at Amazon)
- Prevent damage: Rosewill anti-static wristband ($7 at Amazon)
- All required tools: ORIA PC toolkit ($33 at Amazon)
- Compact desktop PC: Lenovo ThinkCentre M720q Tiny (From $389 at Lenovo)
How to upgrade the HDD in your Lenovo ThinkCentre M720q
Note: Before beginning any upgrades on a PC, it's a good idea to back up your data in the unlikely event something should go wrong. You'll also want to ensure you're not working in a static-filled environment, as it can cause damage to a PC's internal hardware. Consider investing in an anti-static wristband to avoid unnecessary damage.
The ThinkCentre M720q has a number of configuration options available at checkout, including models with and without a 2.5-inch SATA hard drive. If your M720q has only a 2.5-inch drive (either HDD or SSD) and you'd like to upgrade, we recommend cloning the old 2.5-inch drive over to the new hardware before installing in the PC. This ensures your files and Windows 10 are ready to go on the new drive as soon as it's installed. To do so, an external drive enclosure can be used along with Macrium Reflect 7 cloning software. To get you through the cloning process, we've created a complete guide you can use for reference.
If your M720q came with an M.2 PCIe SSD instead, it's safe to assume that Windows 10 is installed there. In this case, you can simply add the 2.5-inch drive to the PC and use it as bulk storage. A proper format might be required for it to be recognized by Windows 10. If your M720q came with an M.2 PCIe SSD (which has Windows 10 installed on it) and a 2.5-inch drive, you can back up any data contained on the latter storage and transfer it back to the new 2.5-inch drive once it's installed.
Finally, if you're looking for a fresh start with a model that has only a 2.5-inch drive, you can swap out the old drive and do a clean install of Windows 10 on the new drive.
Once you've completed any cloning or data backups, clear out a well-lit workspace and power down your ThinkCentre M720q before proceeding with the steps below. If your model came from the factory with only an M.2 PCIe SSD and no 2.5-inch drive, skip steps 4 and 5.
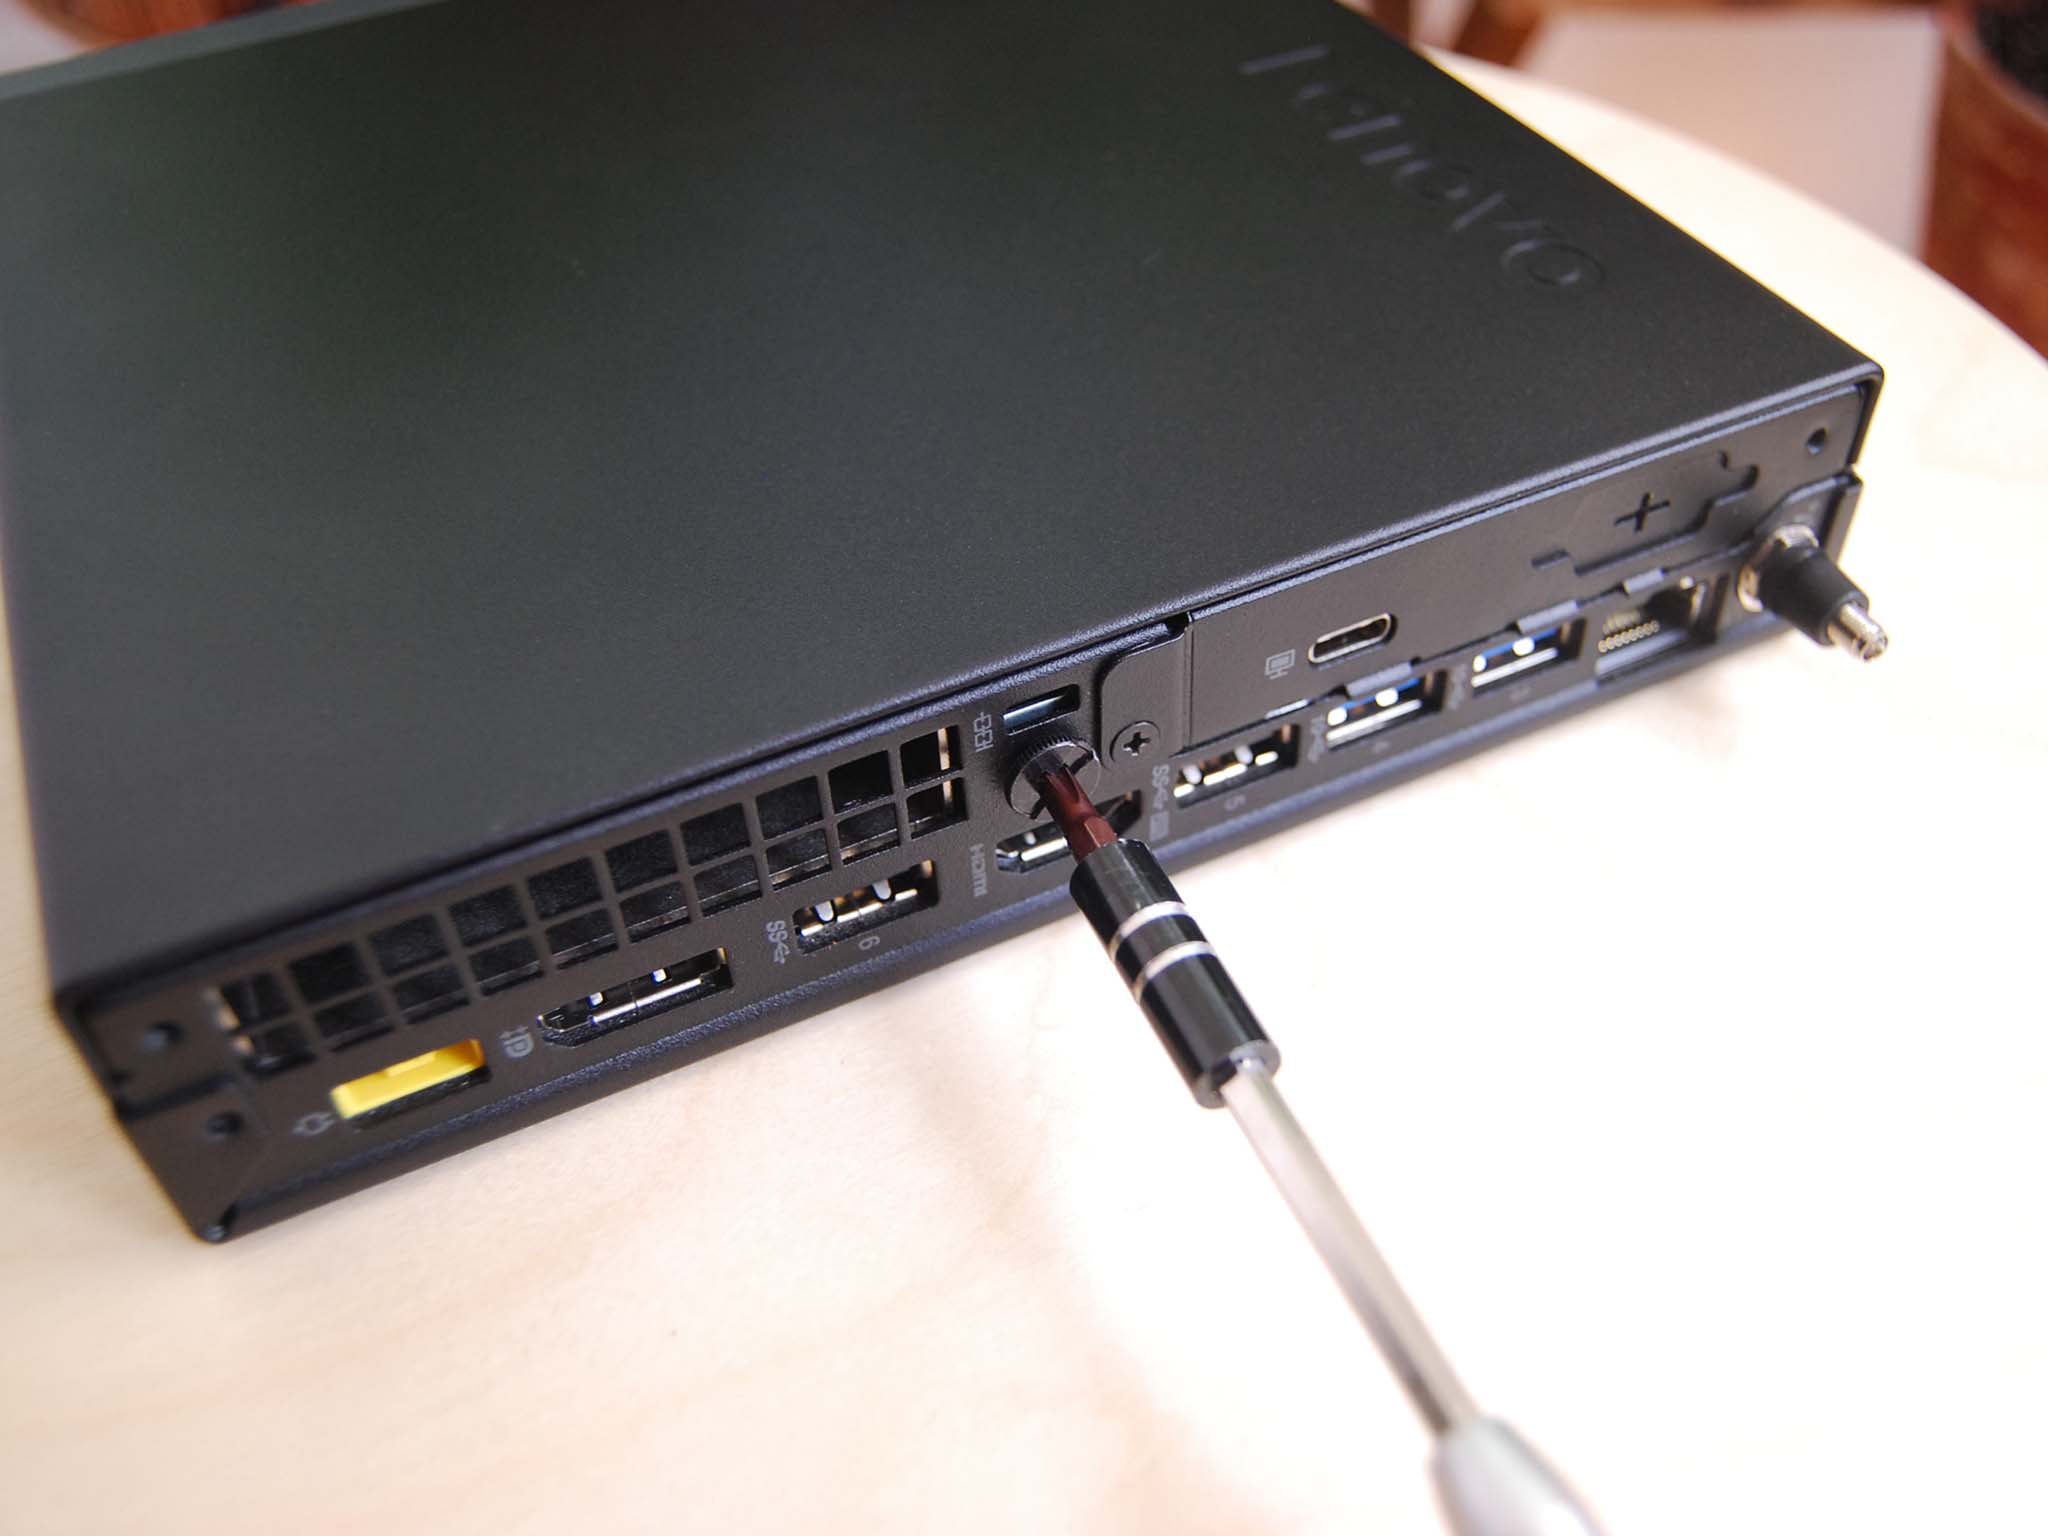
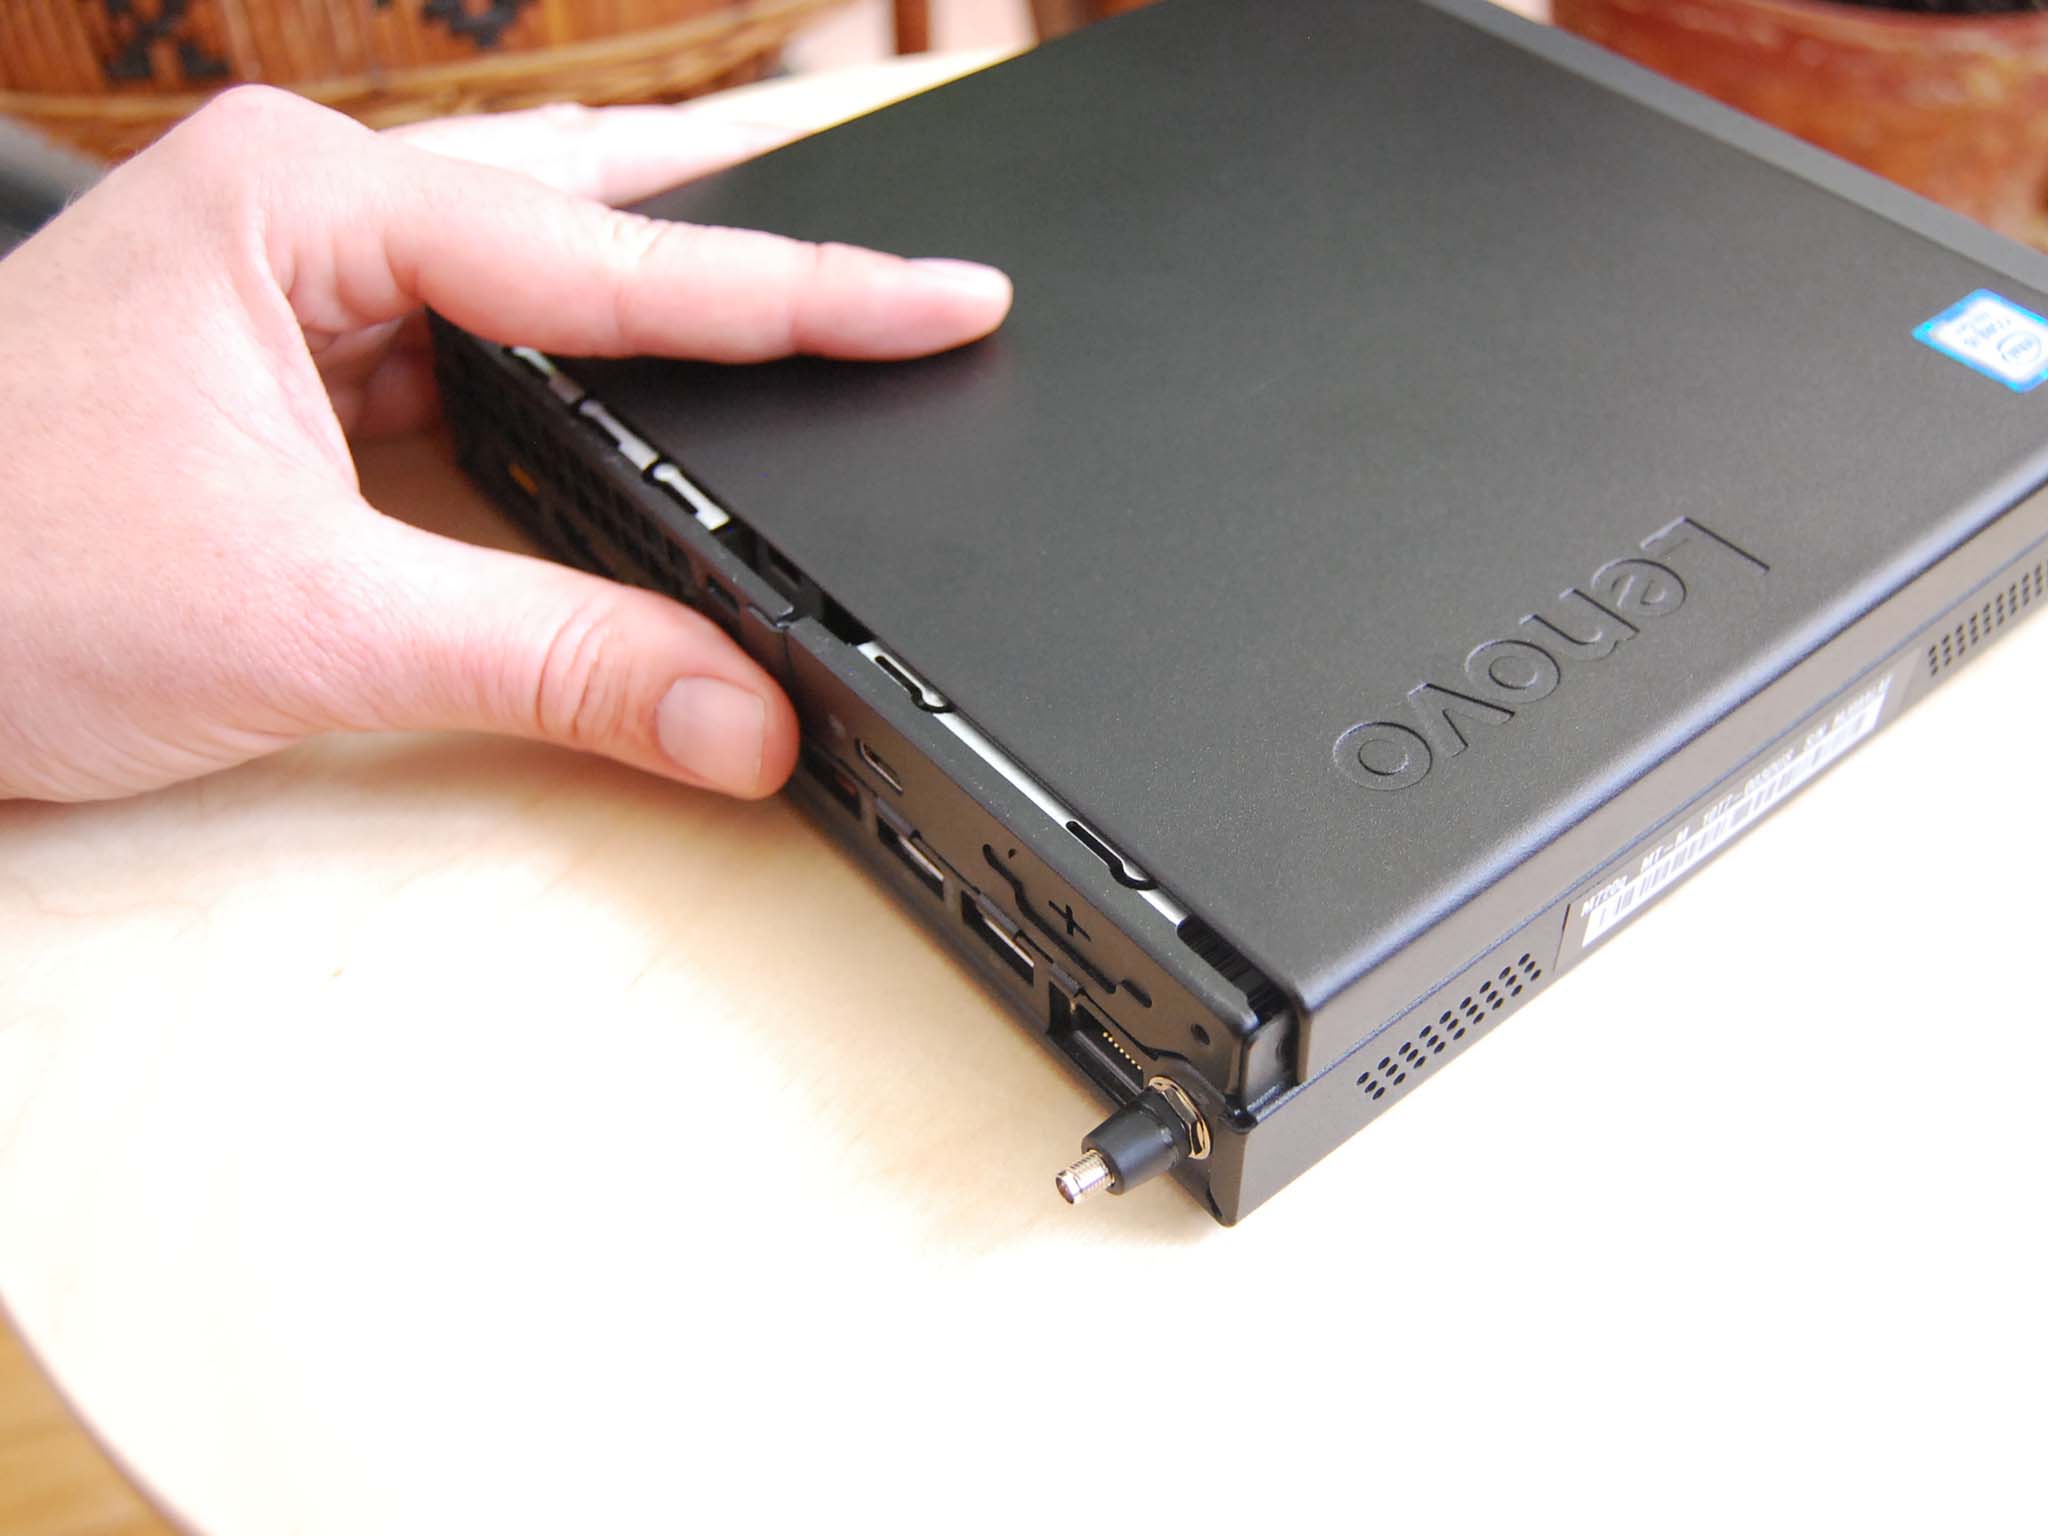
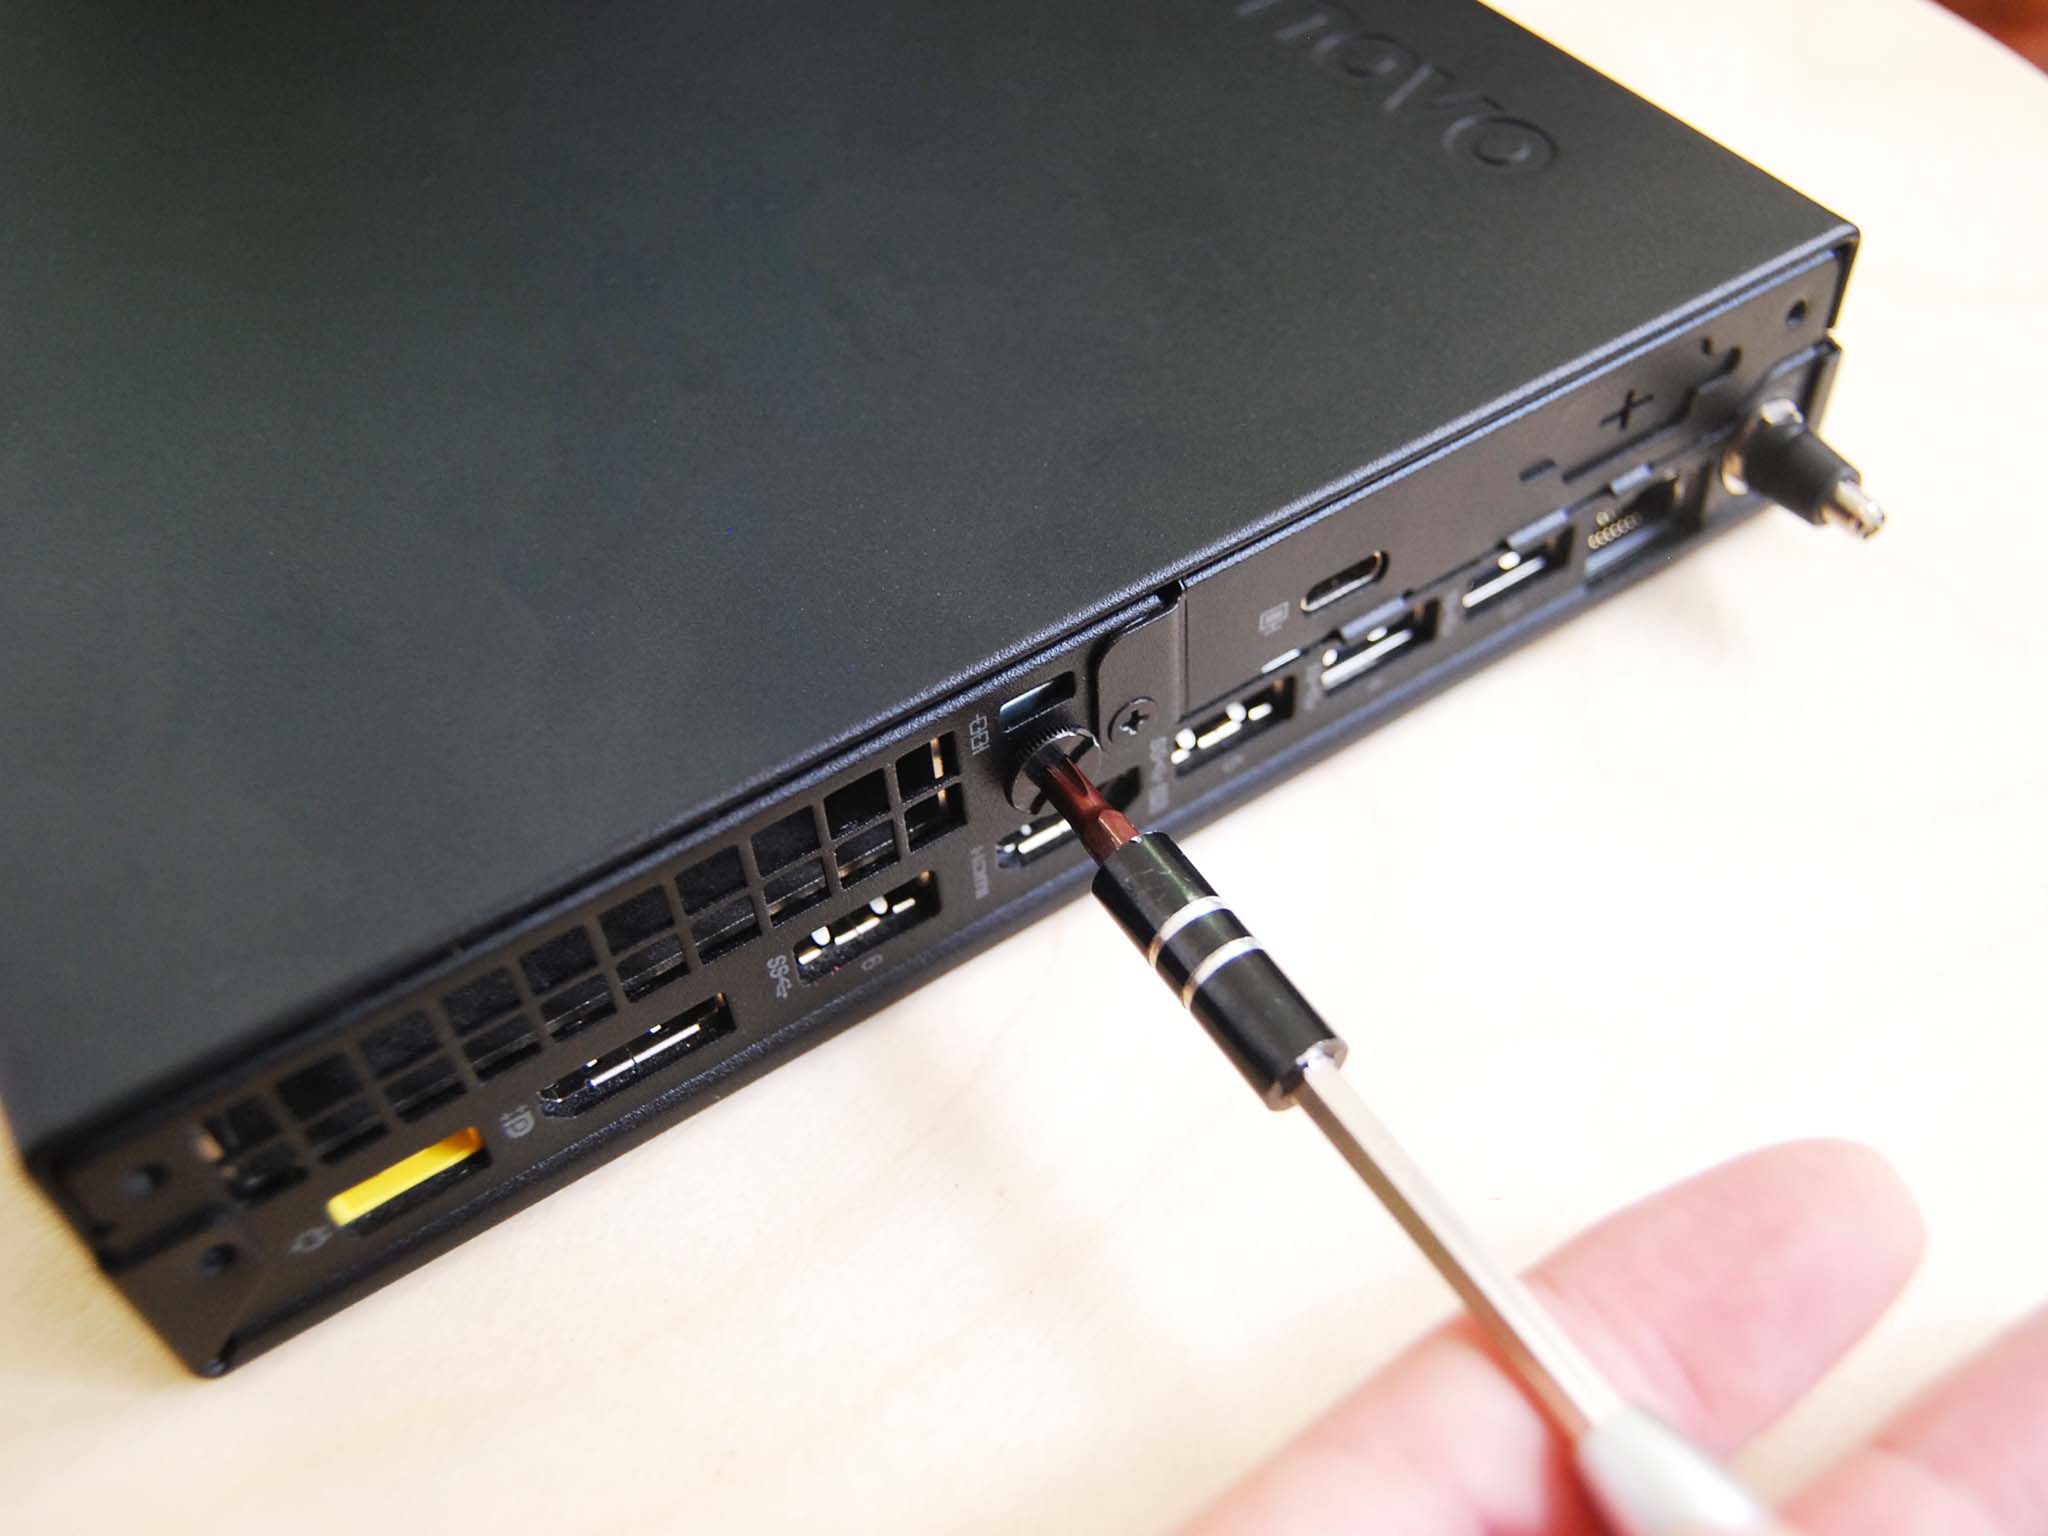
- Unscrew the large black fastener on the back of the ThinkCentre M720q.
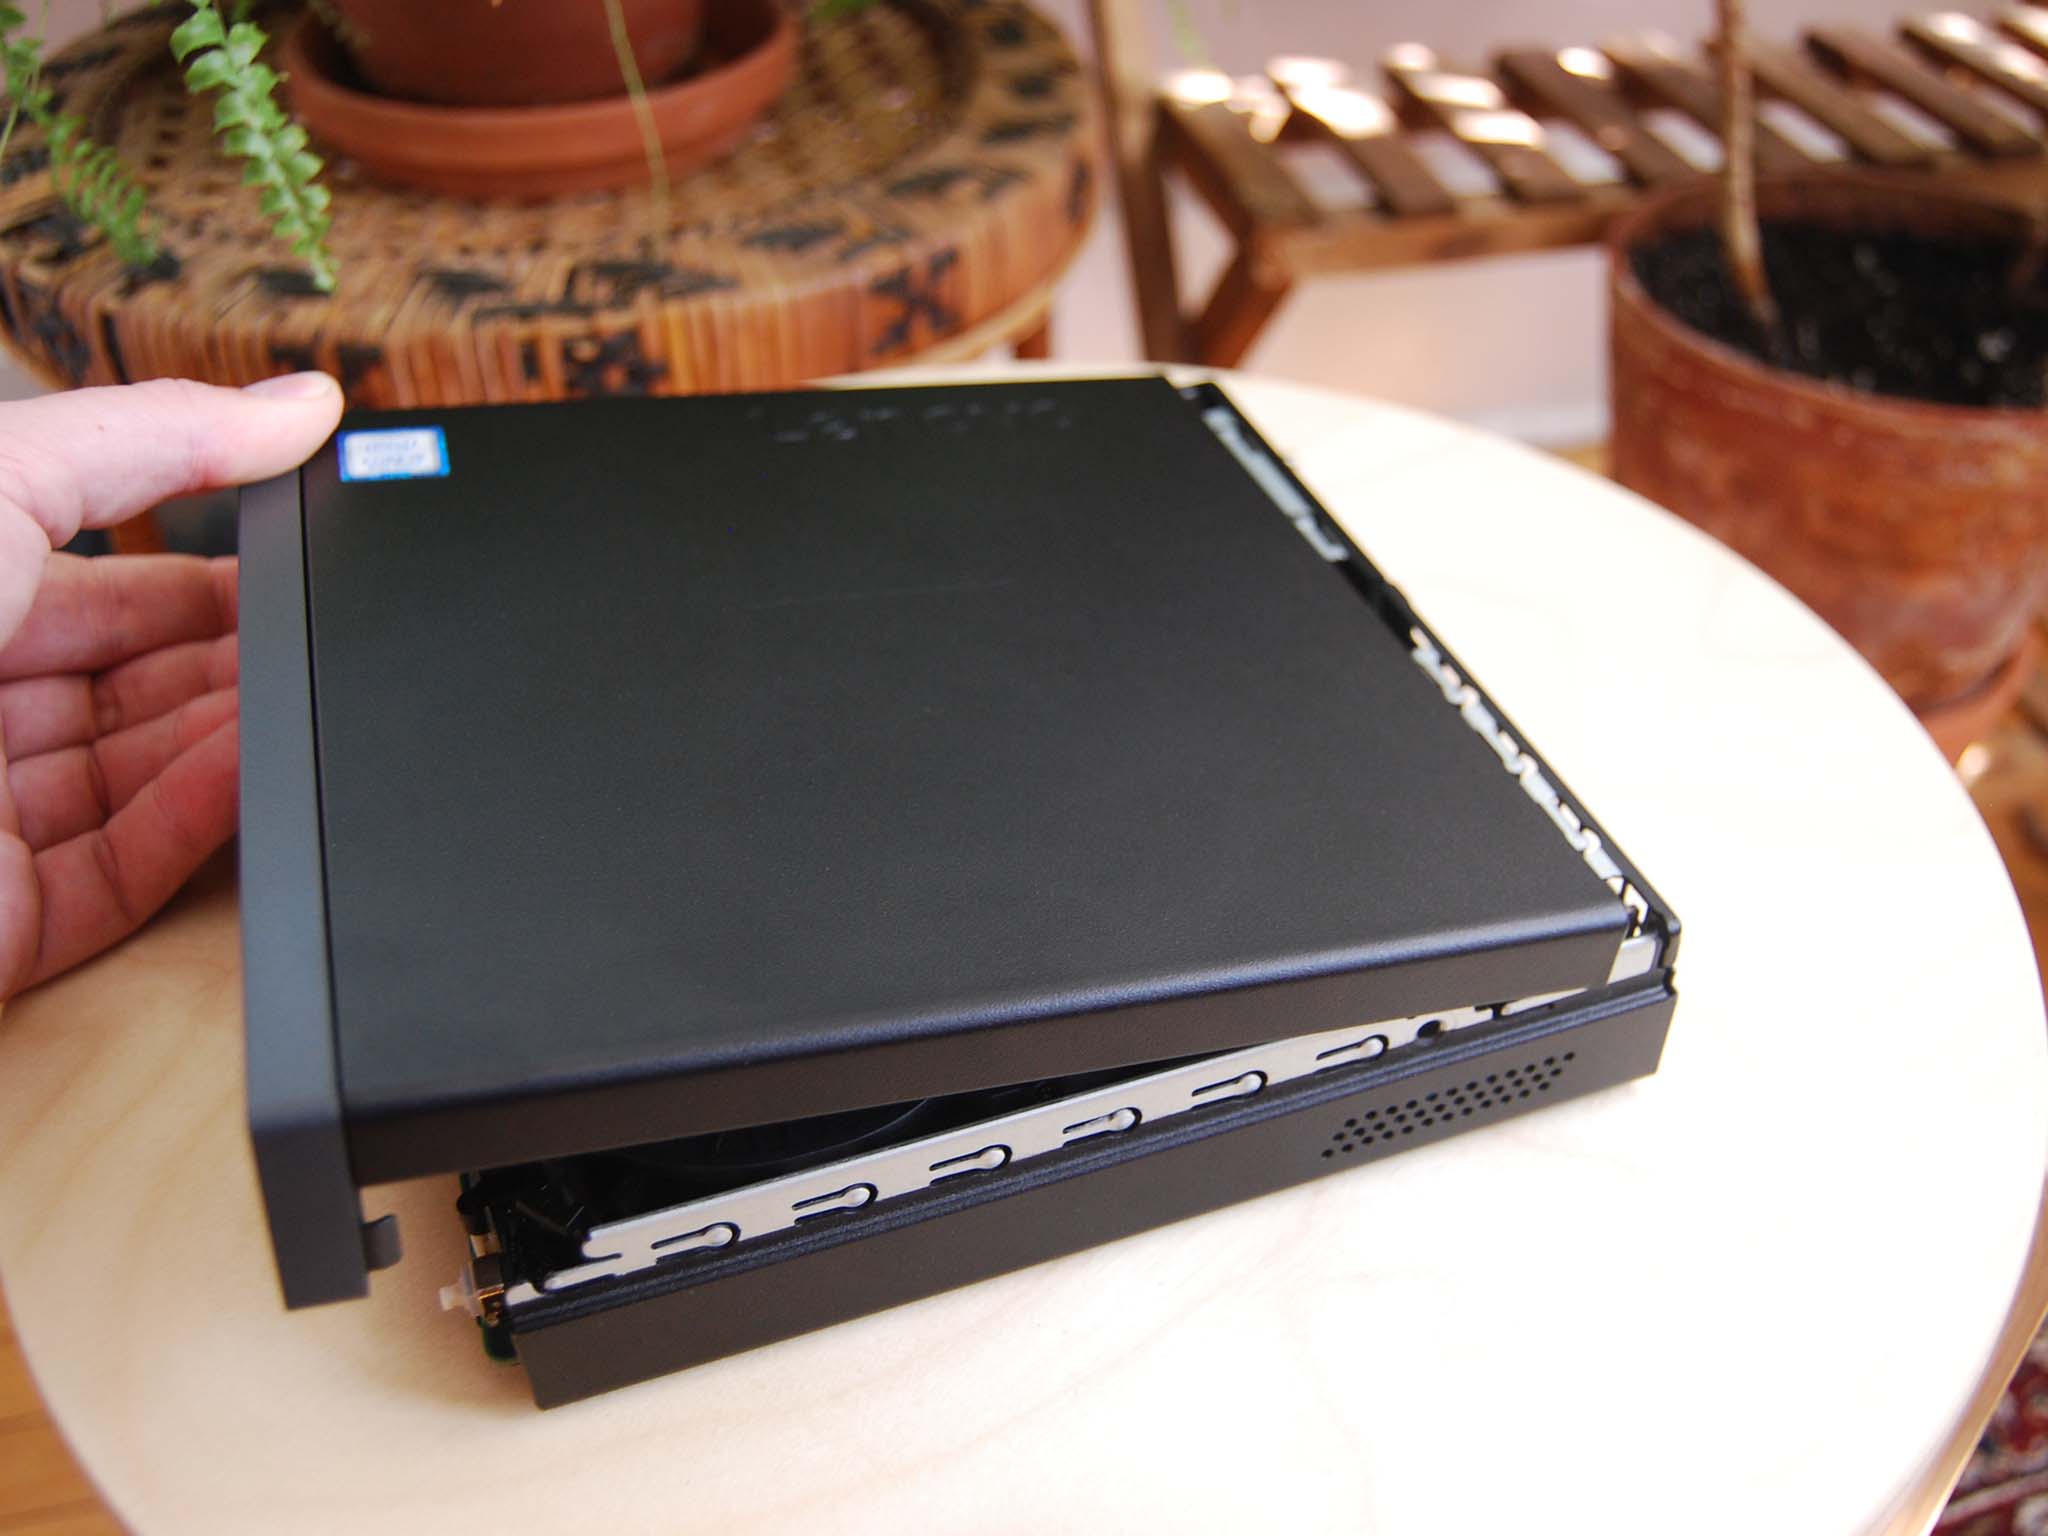
- Slide the top and front portions of the chassis cover away from the rear. It should separate with relative ease.
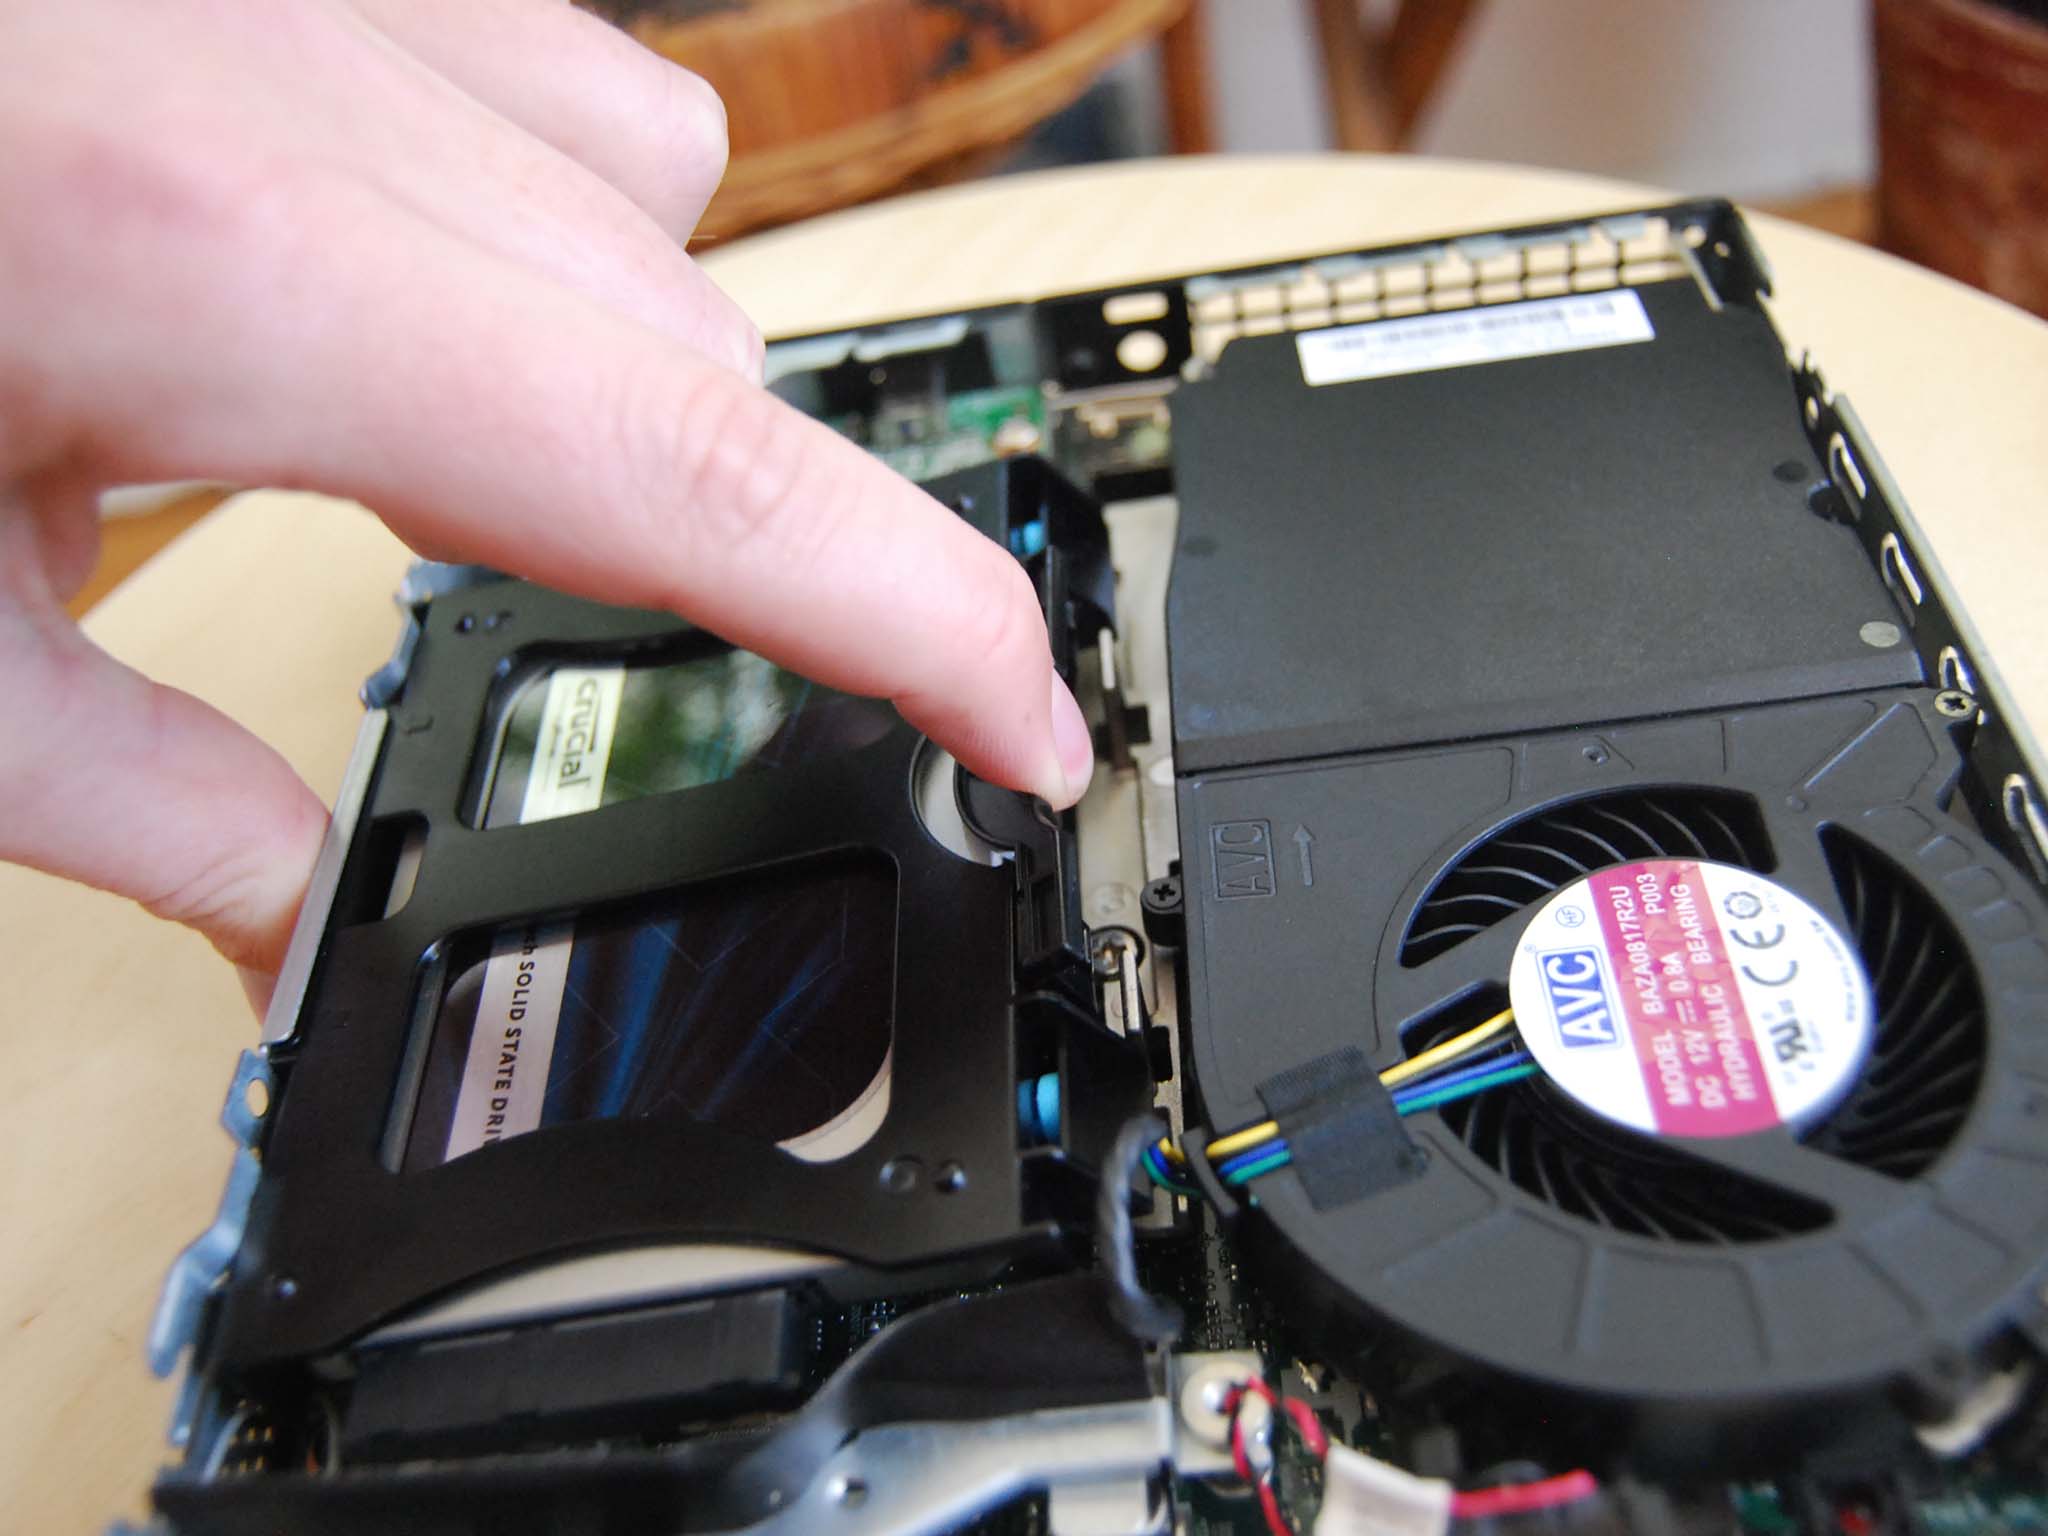
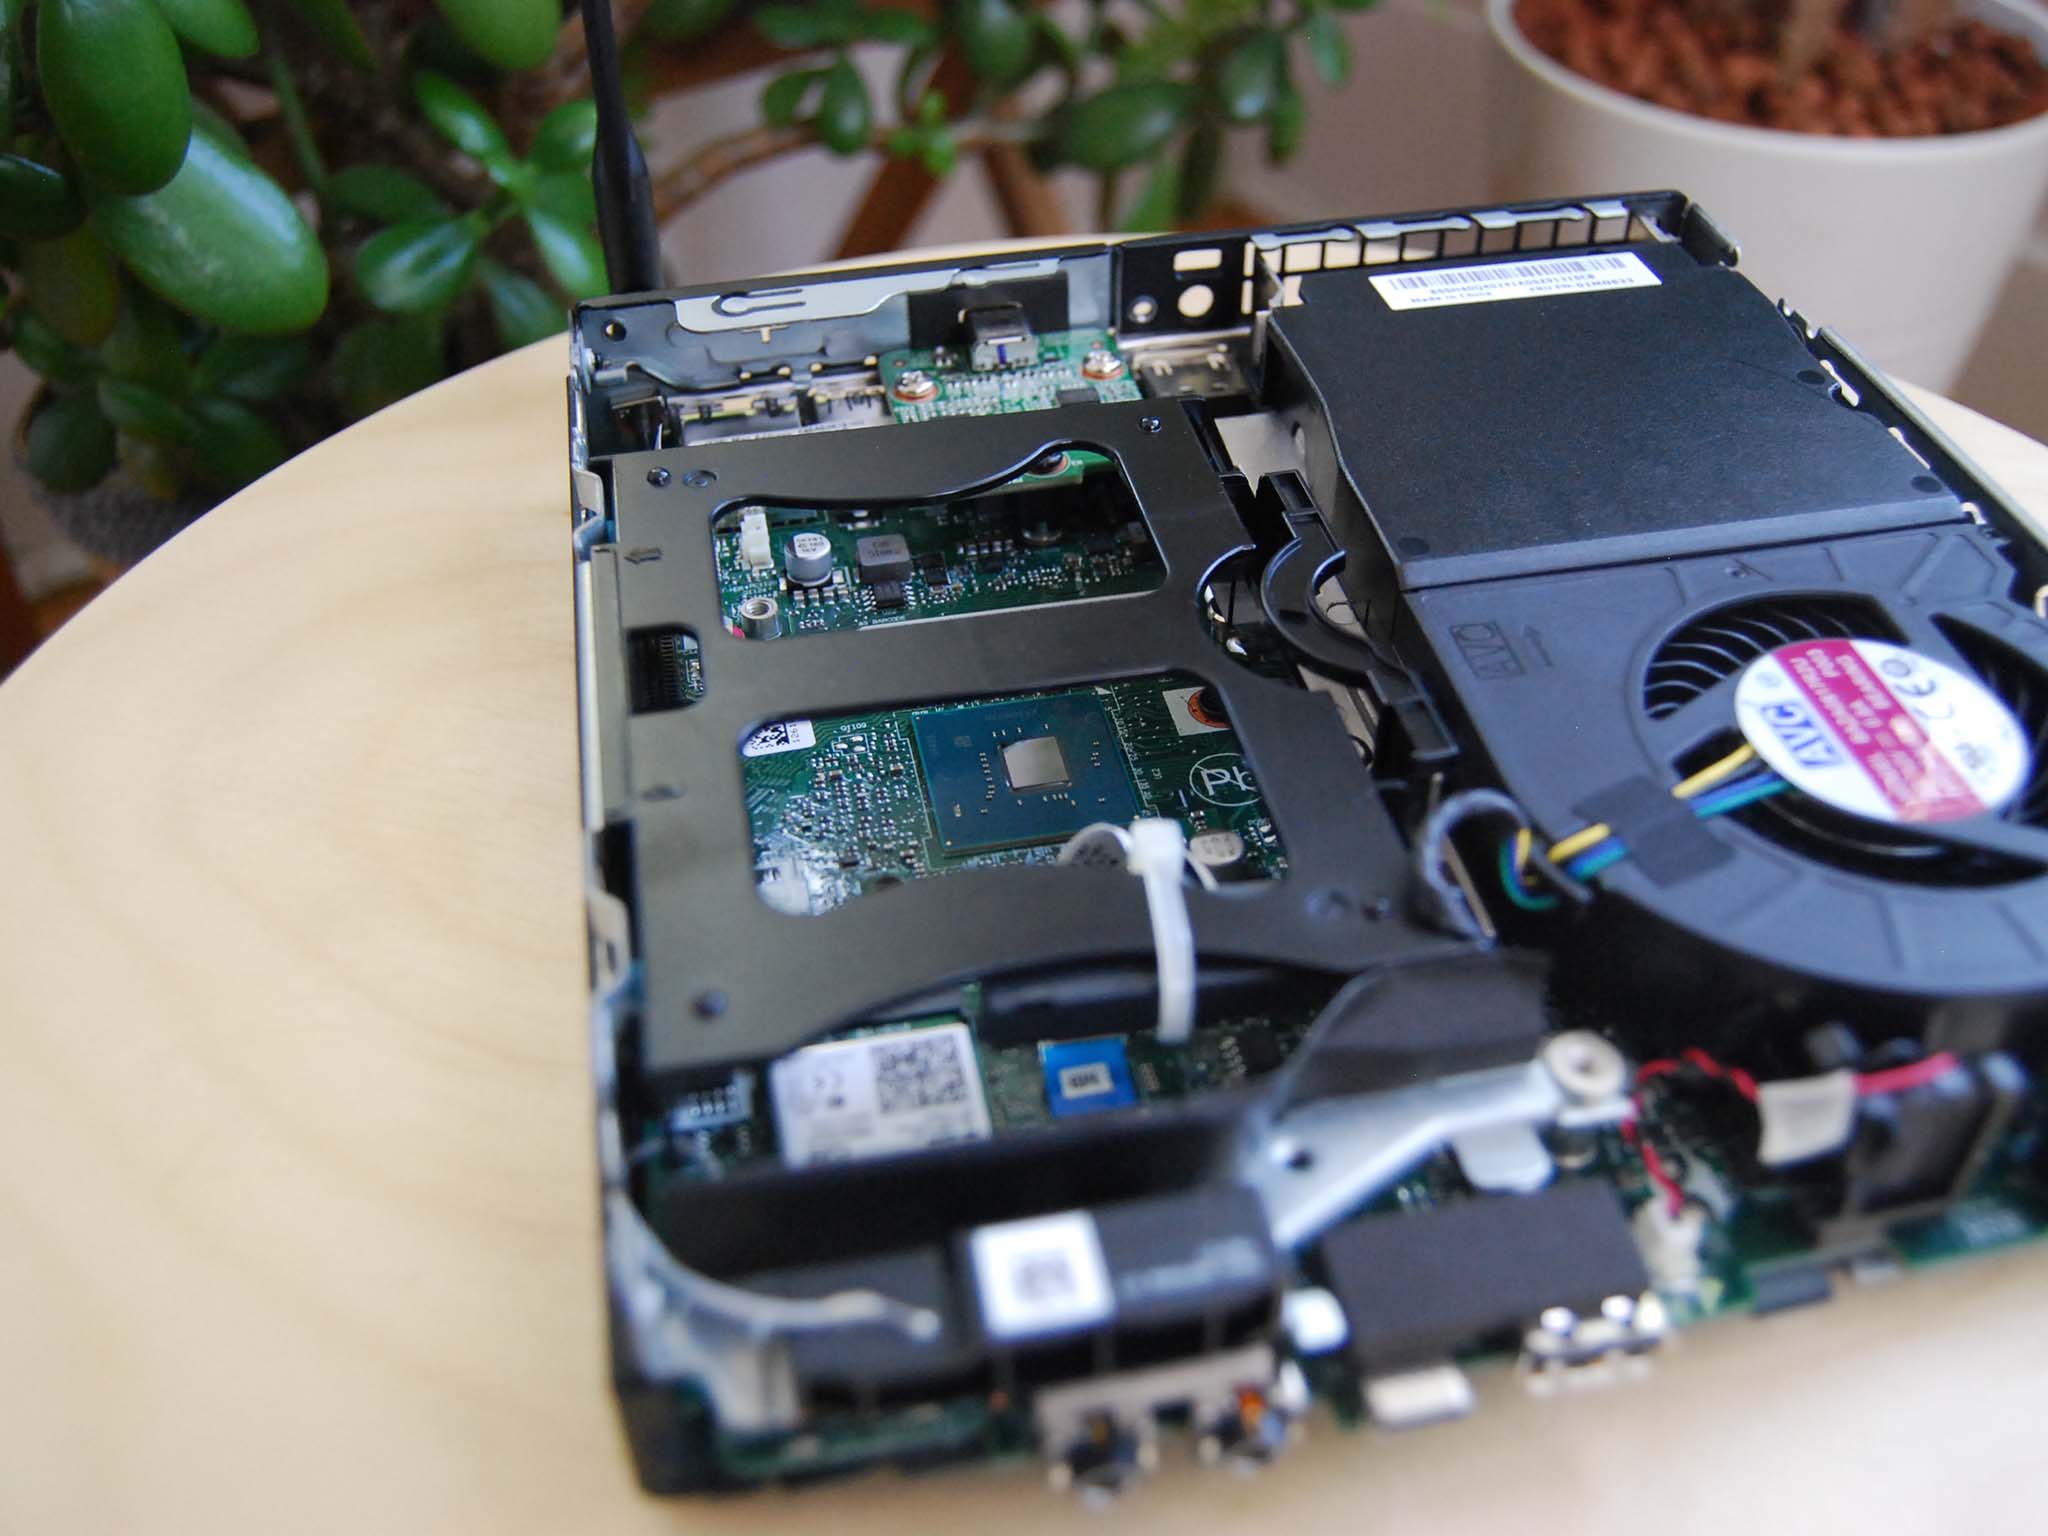
- Press the clip on the right side of the 2.5-inch drive harness. The entire harness should pull up and away from the PC.
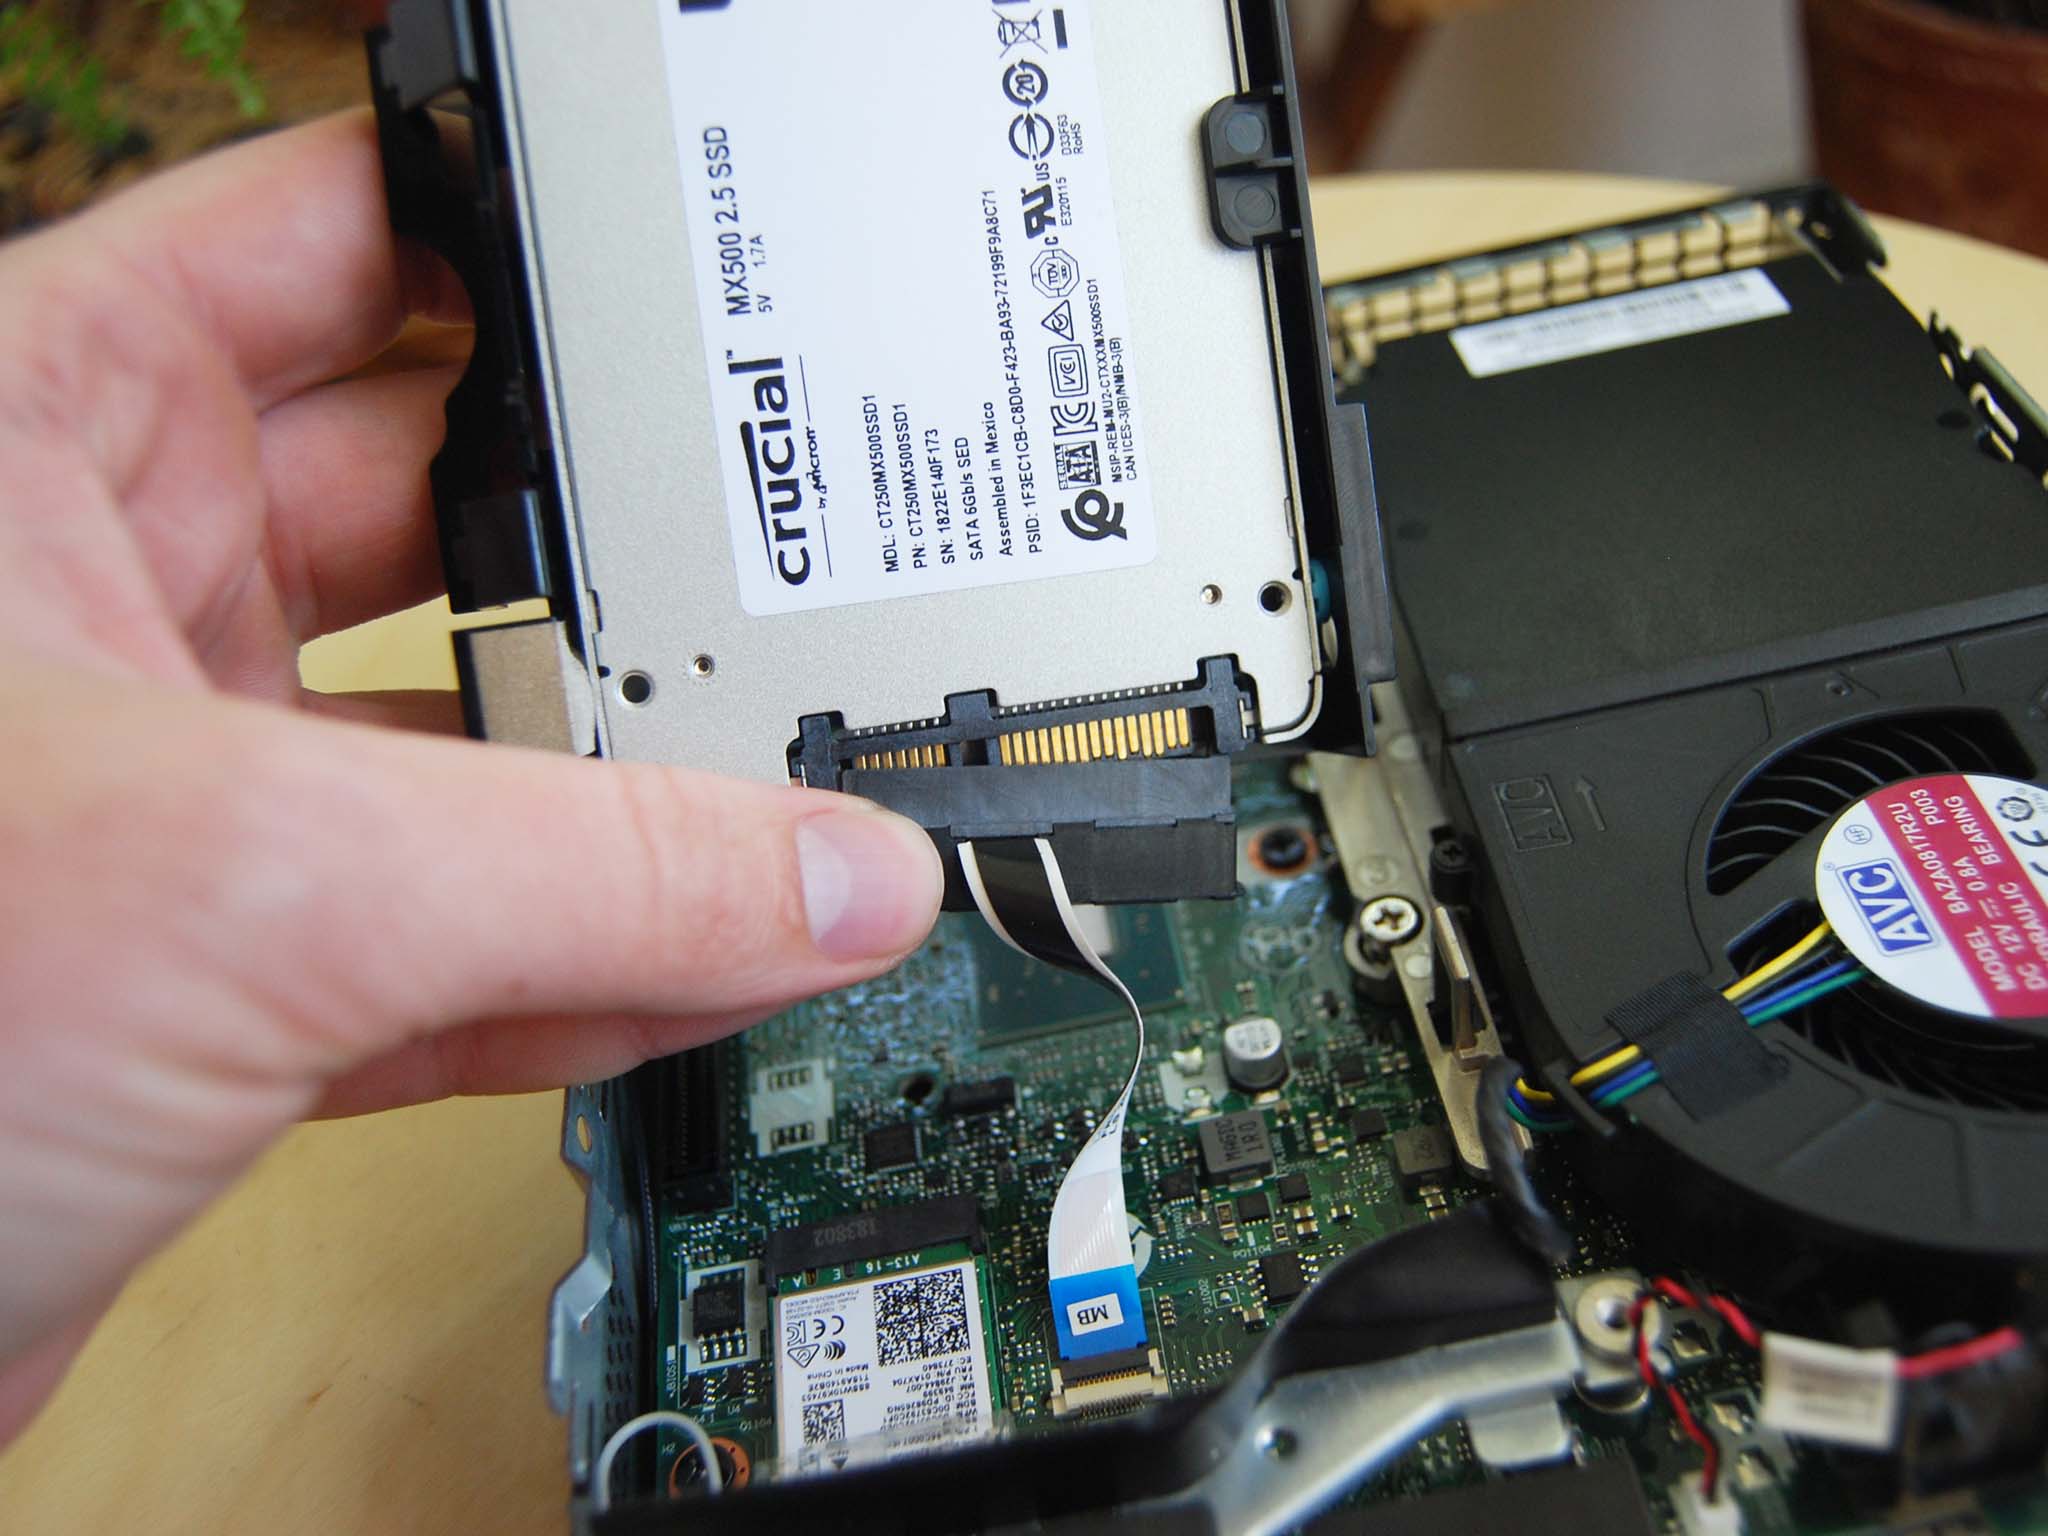
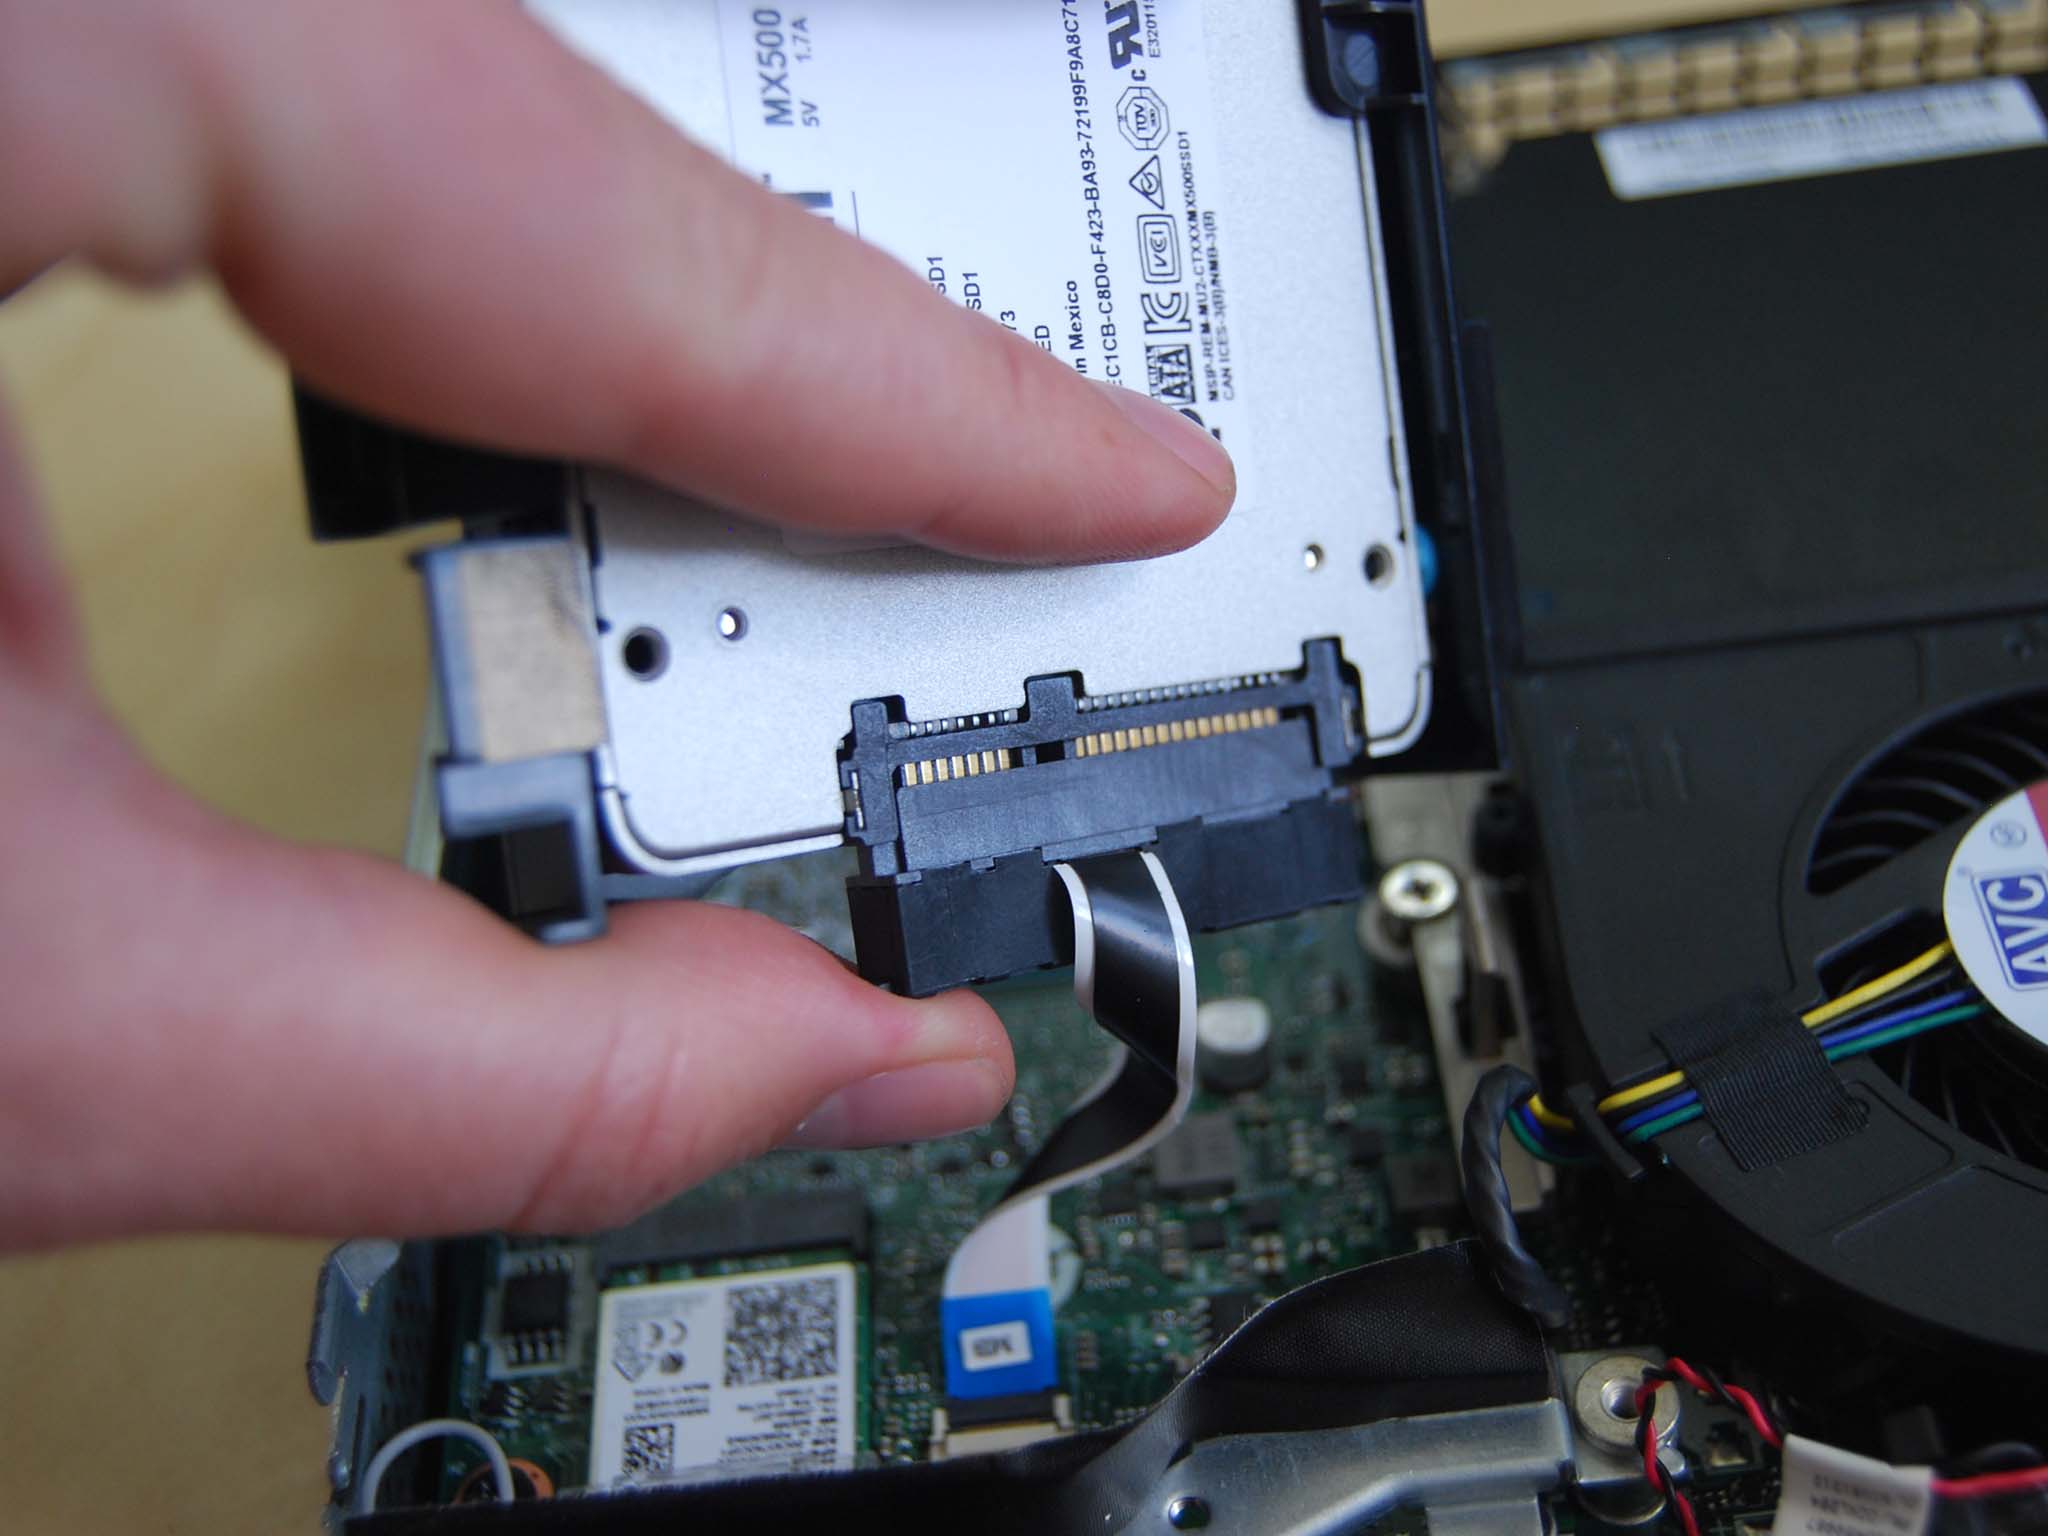
- Unplug the SATA connector from the old 2.5-inch drive.
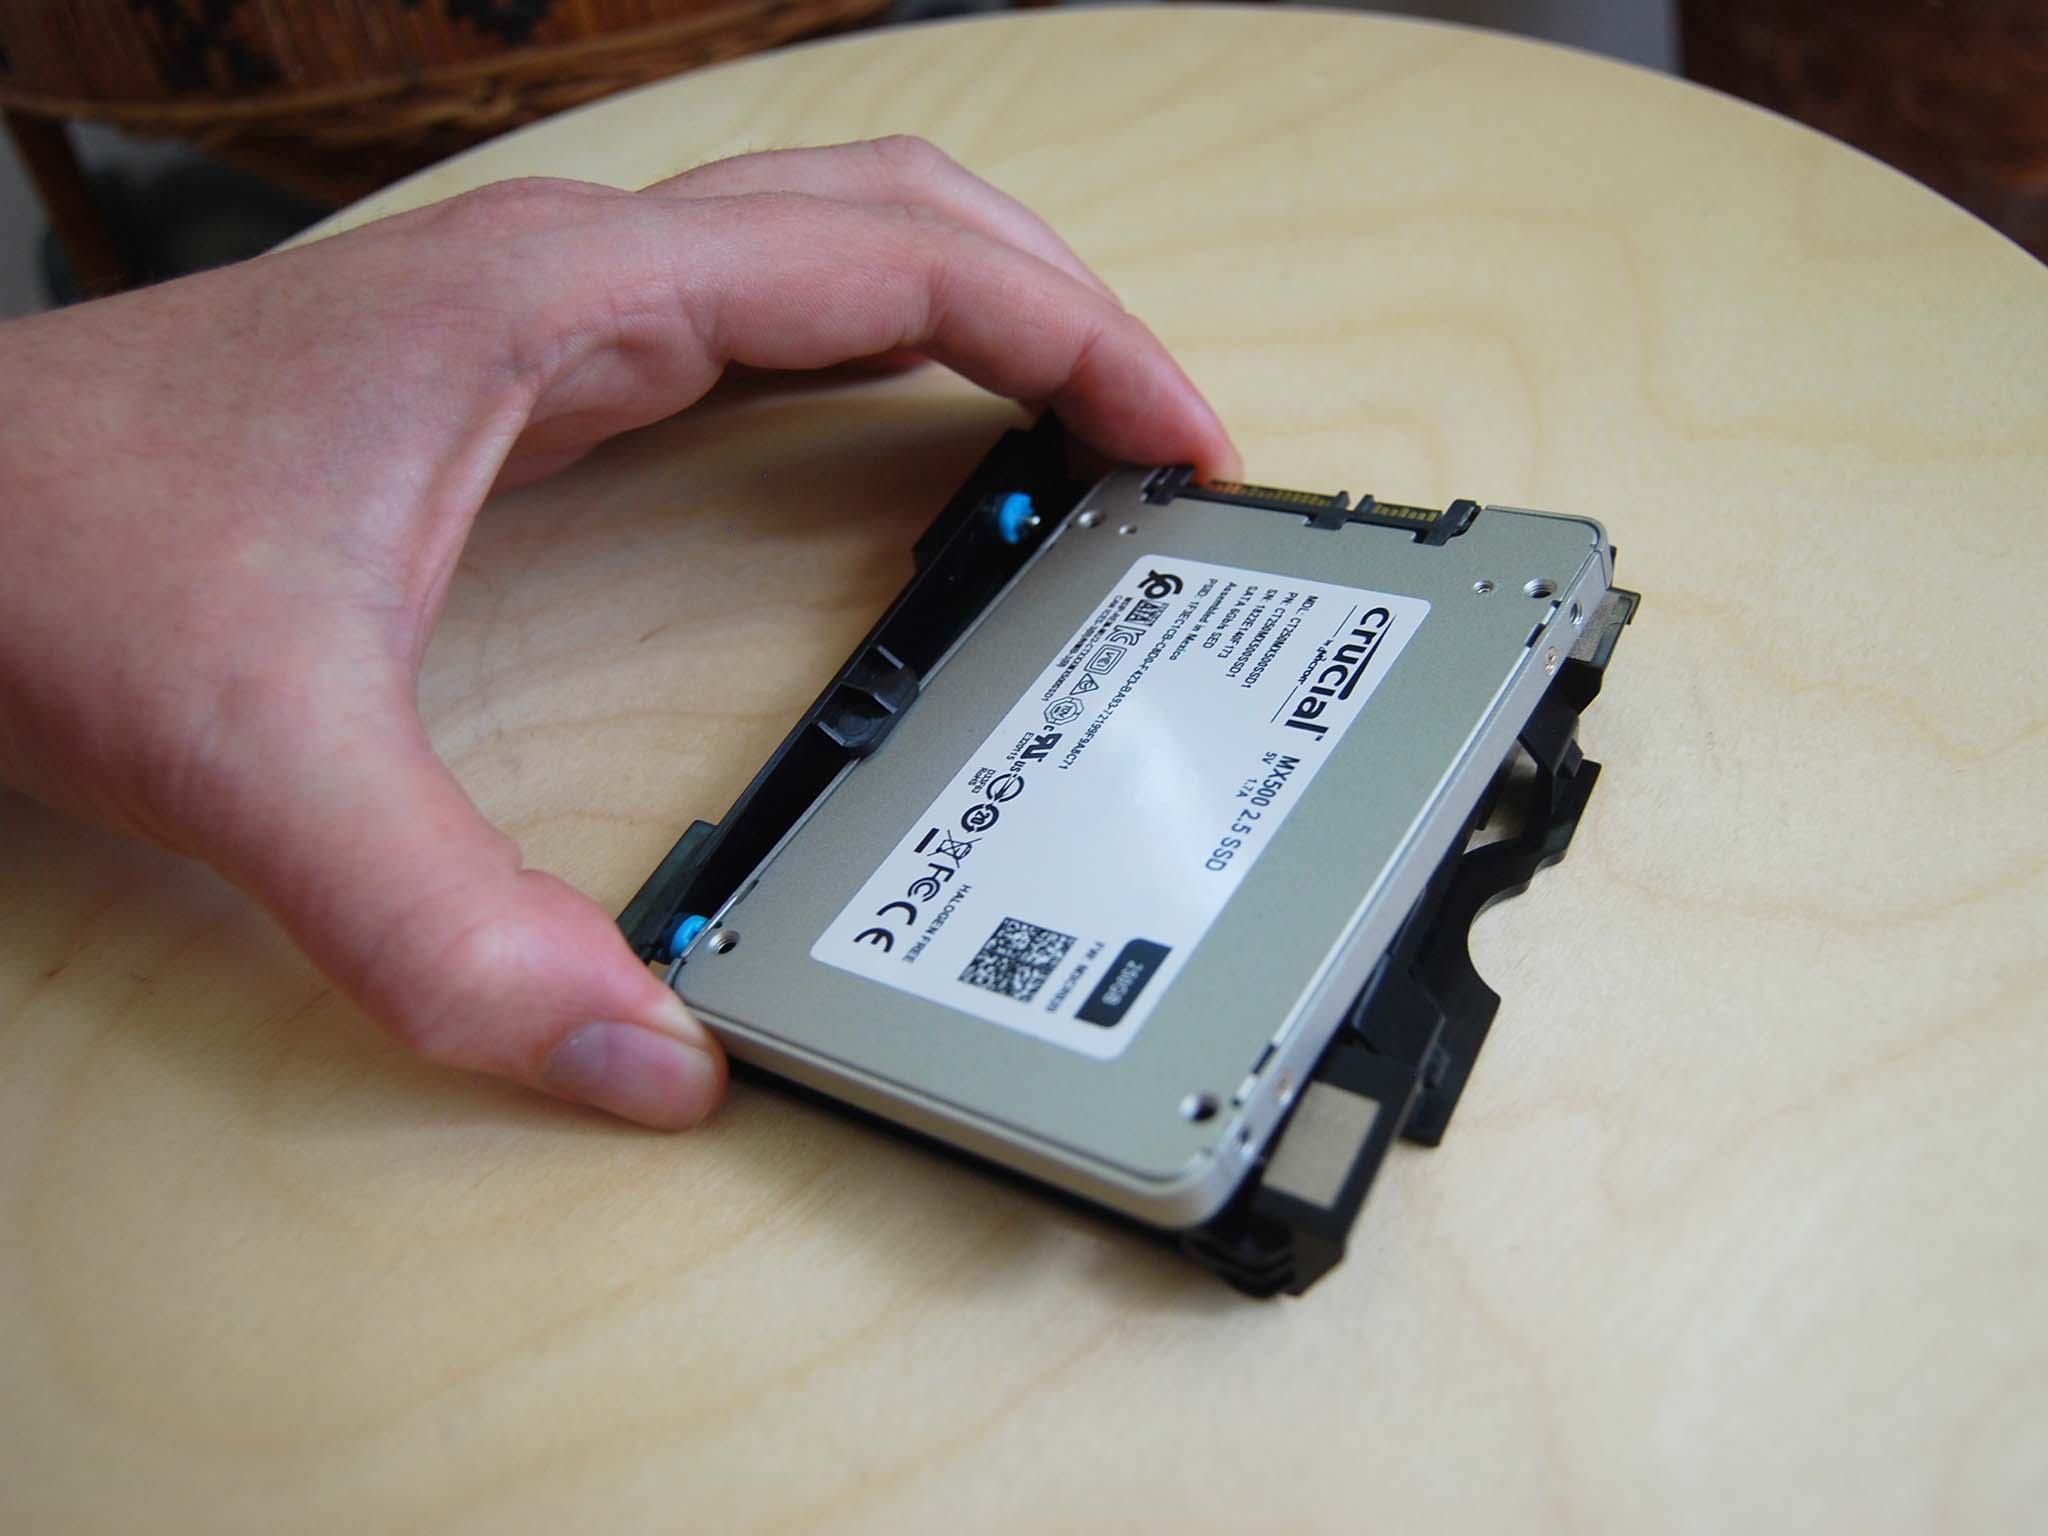
- Remove the old 2.5-inch drive from the harness. There are no screws holding it in place, so you should be able to pull away the sides of the harness to free the drive.
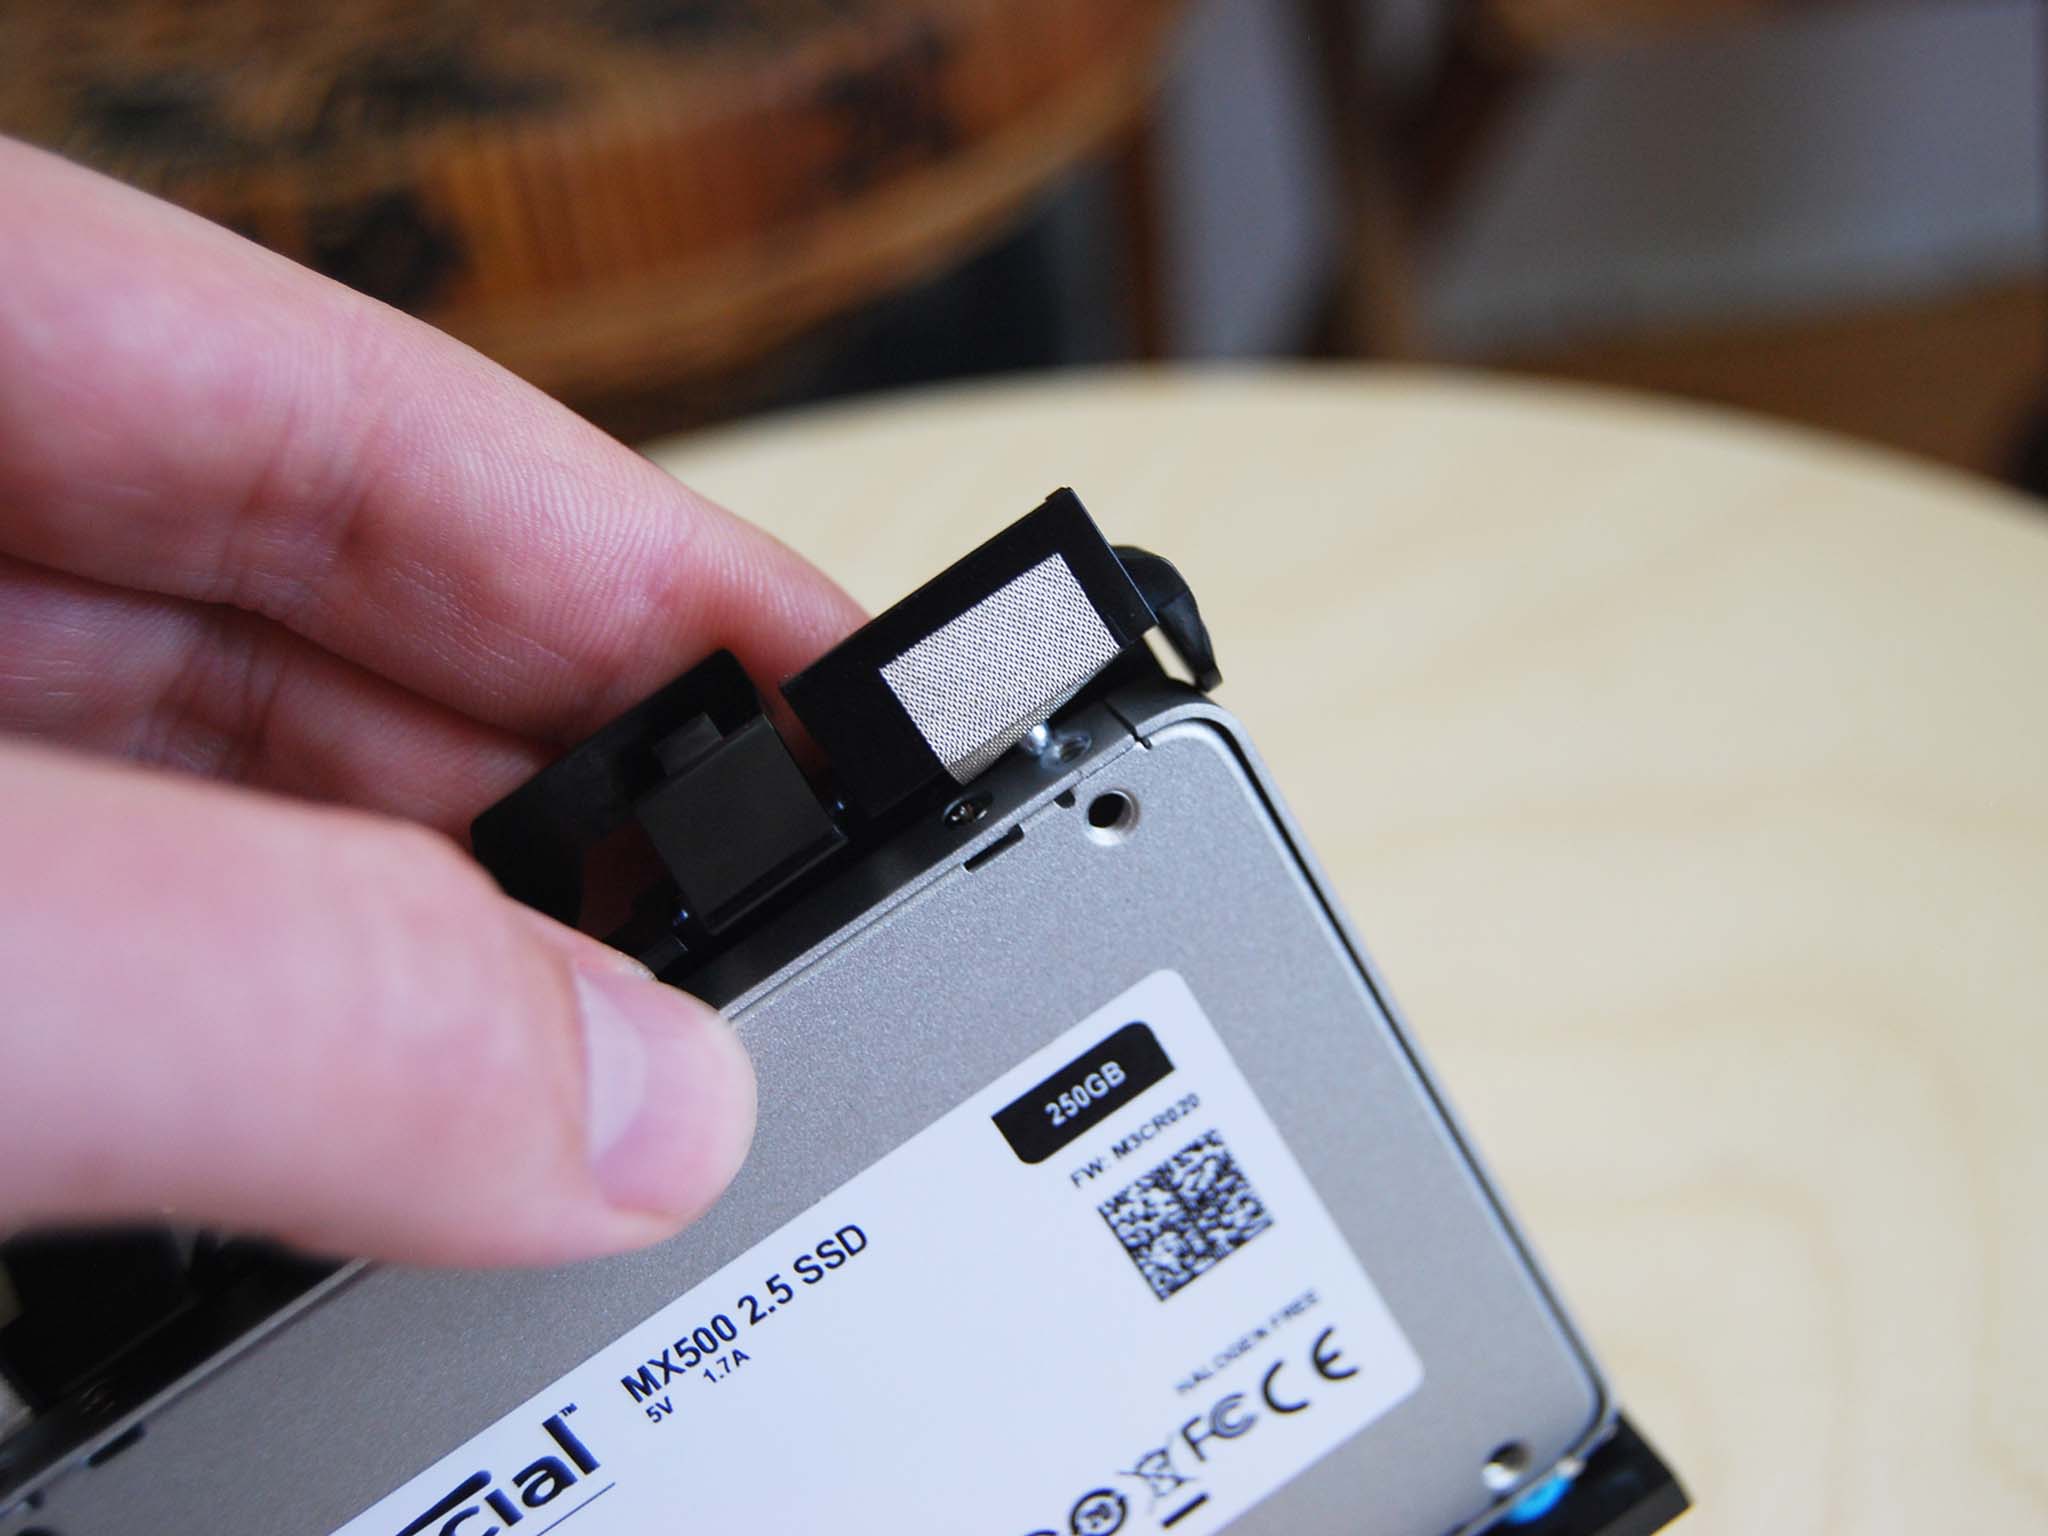
- Insert the new 2.5-inch drive into the harness by sliding in one side and pressing down on the other side. The harness has built-in teeth that line up with the drive's screw holes to hold it in place.
- Plug the SATA connector attached to the PC into the new drive. Notice it is keyed and will only fit one way.
- Clip the 2.5-inch drive harness back into the PC by applying pressure on the right side.
- Slide the top and front panels of the M720q back on the main chassis.
- Screw in the single black fastener on the back of the M720q.
You can now boot up your ThinkCentre M720q and check whether or not the storage upgrade went according to plan. If the drive isn't recognized by Windows 10, refer to our guide on formatting a new hard drive.
All the latest news, reviews, and guides for Windows and Xbox diehards.
Our top hardware and software picks
Our pick for an upgrade is Samsung's 860 EVO 2.5-inch SATA SSD, which adds better performance and can add more space depending on the size you buy.
If you're looking for a desktop PC that can stay connected to a monitor, keyboard, and mouse at all times yet doesn't take up much space in your office, Lenovo's ThinkCentre M720q Tiny is an excellent option.

Compact PC with plenty of features
With up to an Intel Core i7 CPU, 32GB of RAM, and 2TB of storage, there's a lot of hardware packed into this little PC. It has a generous port selection, it runs cool, and you can upgrade RAM and storage down the line with relative ease.
Additional Equipment
To make the upgrade process easier and less risky, consider investing in some of these affordable PC tools, and don't forget about Macrium Reflect and an external enclosure for those who want to clone drives.
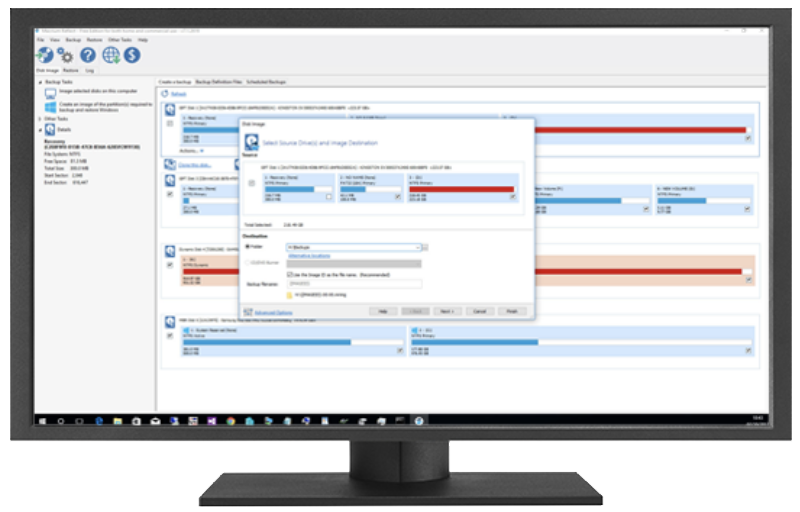
Macrium Reflect 7 (Free at Macrium)
We've had success cloning drives with Macrium Reflect 7, and have even written a complete guide on how to use it properly. A free edition is available, but you can purchase a full edition with a bunch more features for those who truly take backups seriously.
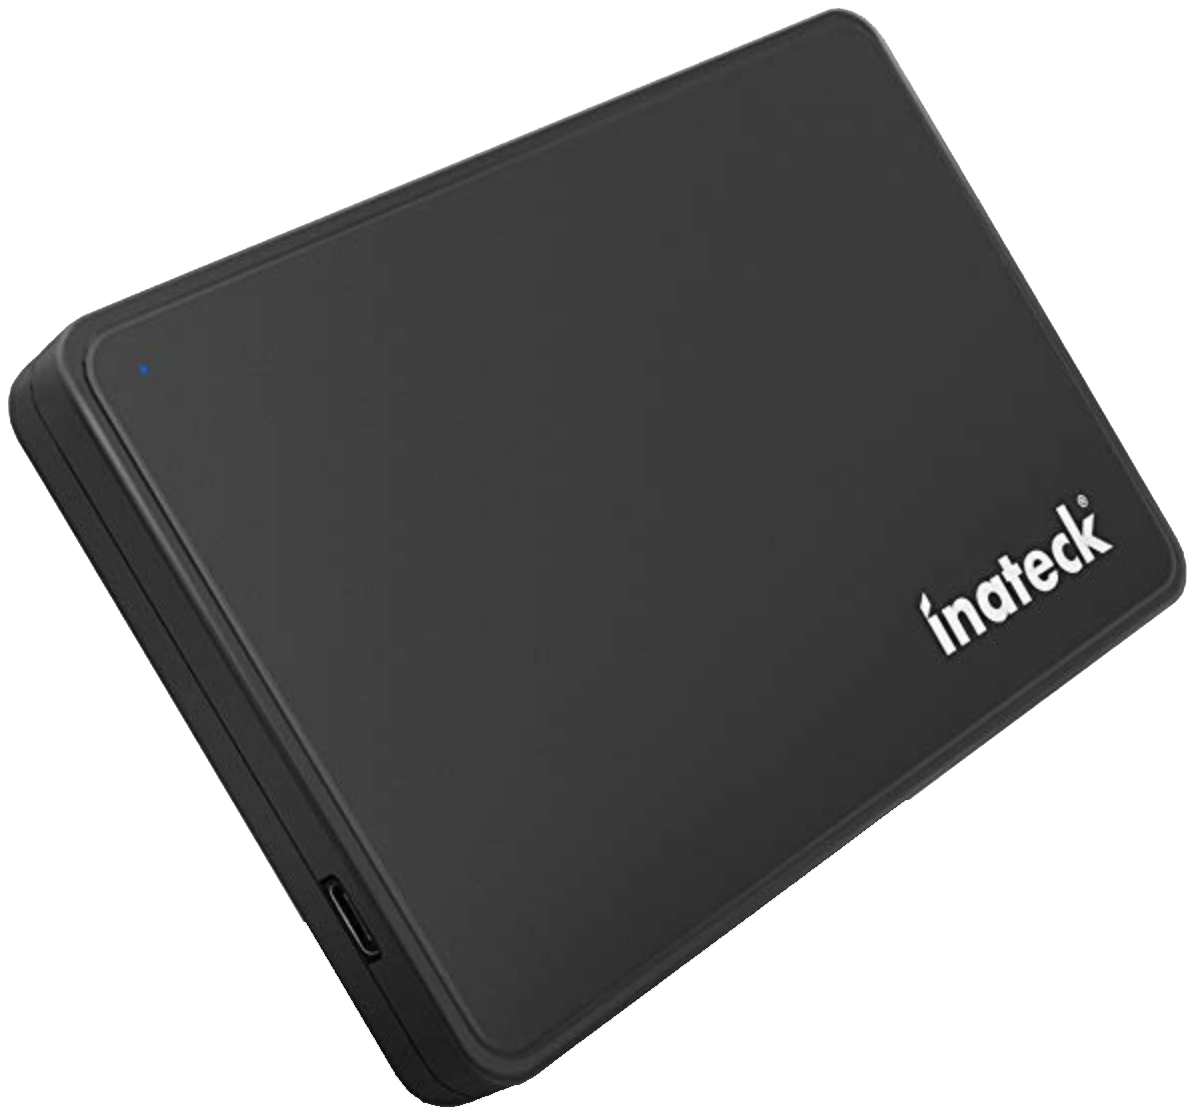
Inateck SATA enclosure ($20 at Amazon)
If you'd like to clone the 2.5-inch SATA drive's data over to your new storage, an external enclosure will facilitate the process. Insert the new SSD or HDD into the enclosure, plug it into your laptop with USB-C or USB-A, and let the cloning software take over.
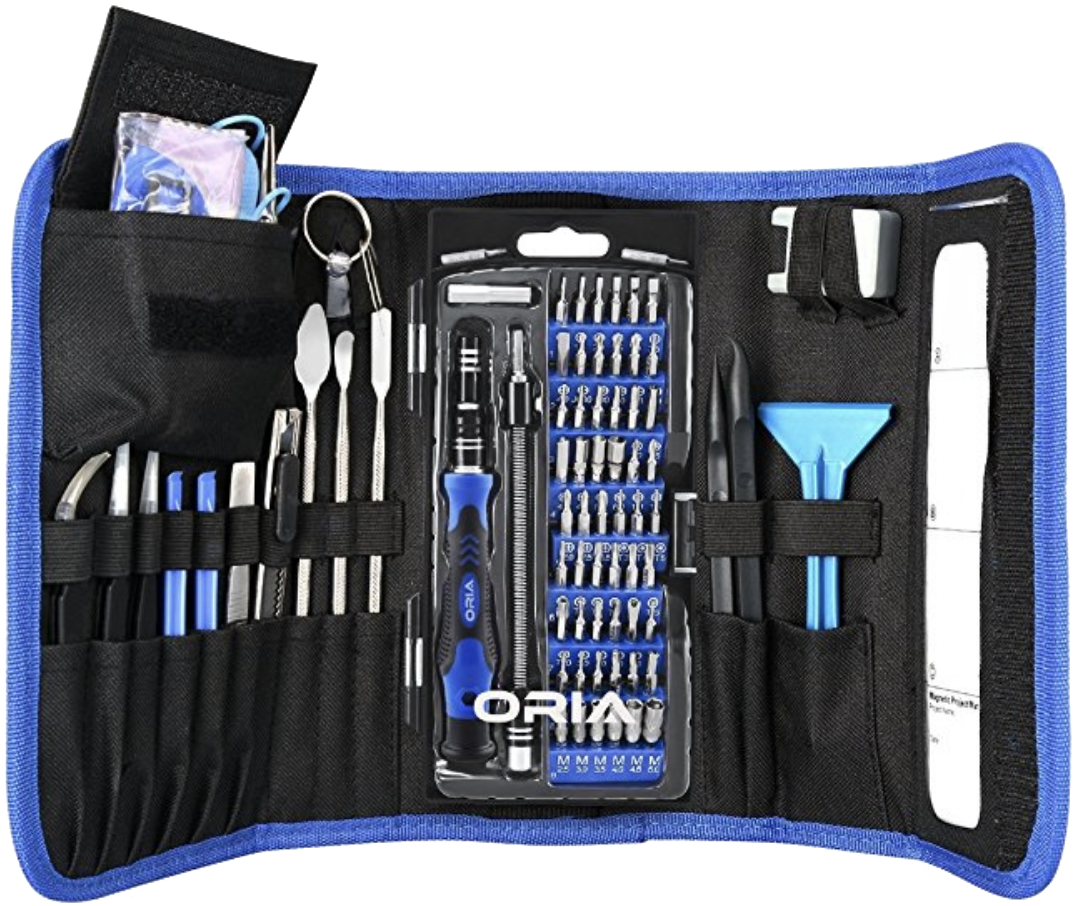
ORIA PC toolkit ($33 at Amazon)
Having the proper gear to work on your PC will always make the job much easier. Here you get a plethora of tools contained in a portable case.
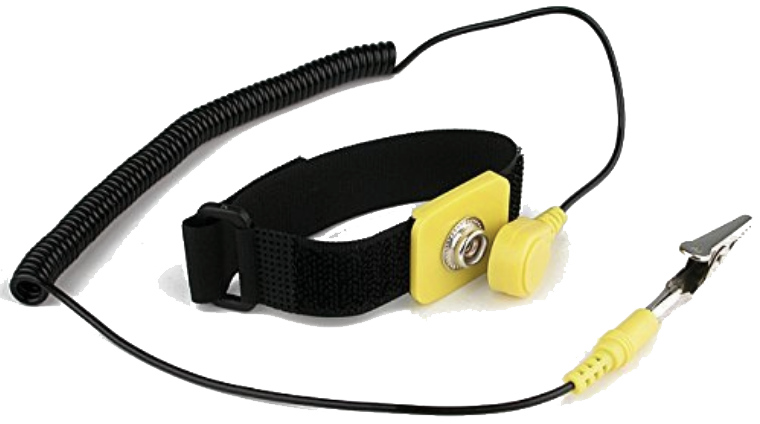
Rosewill anti-static wristband ($7 at Amazon)
Static electricity can damage sensitive PC parts, so remove the risk with an anti-static wristband. Fasten it around your wrist and clip it onto your PC for peace of mind.

Cale Hunt brings to Windows Central more than nine years of experience writing about laptops, PCs, accessories, games, and beyond. If it runs Windows or in some way complements the hardware, there’s a good chance he knows about it, has written about it, or is already busy testing it.
