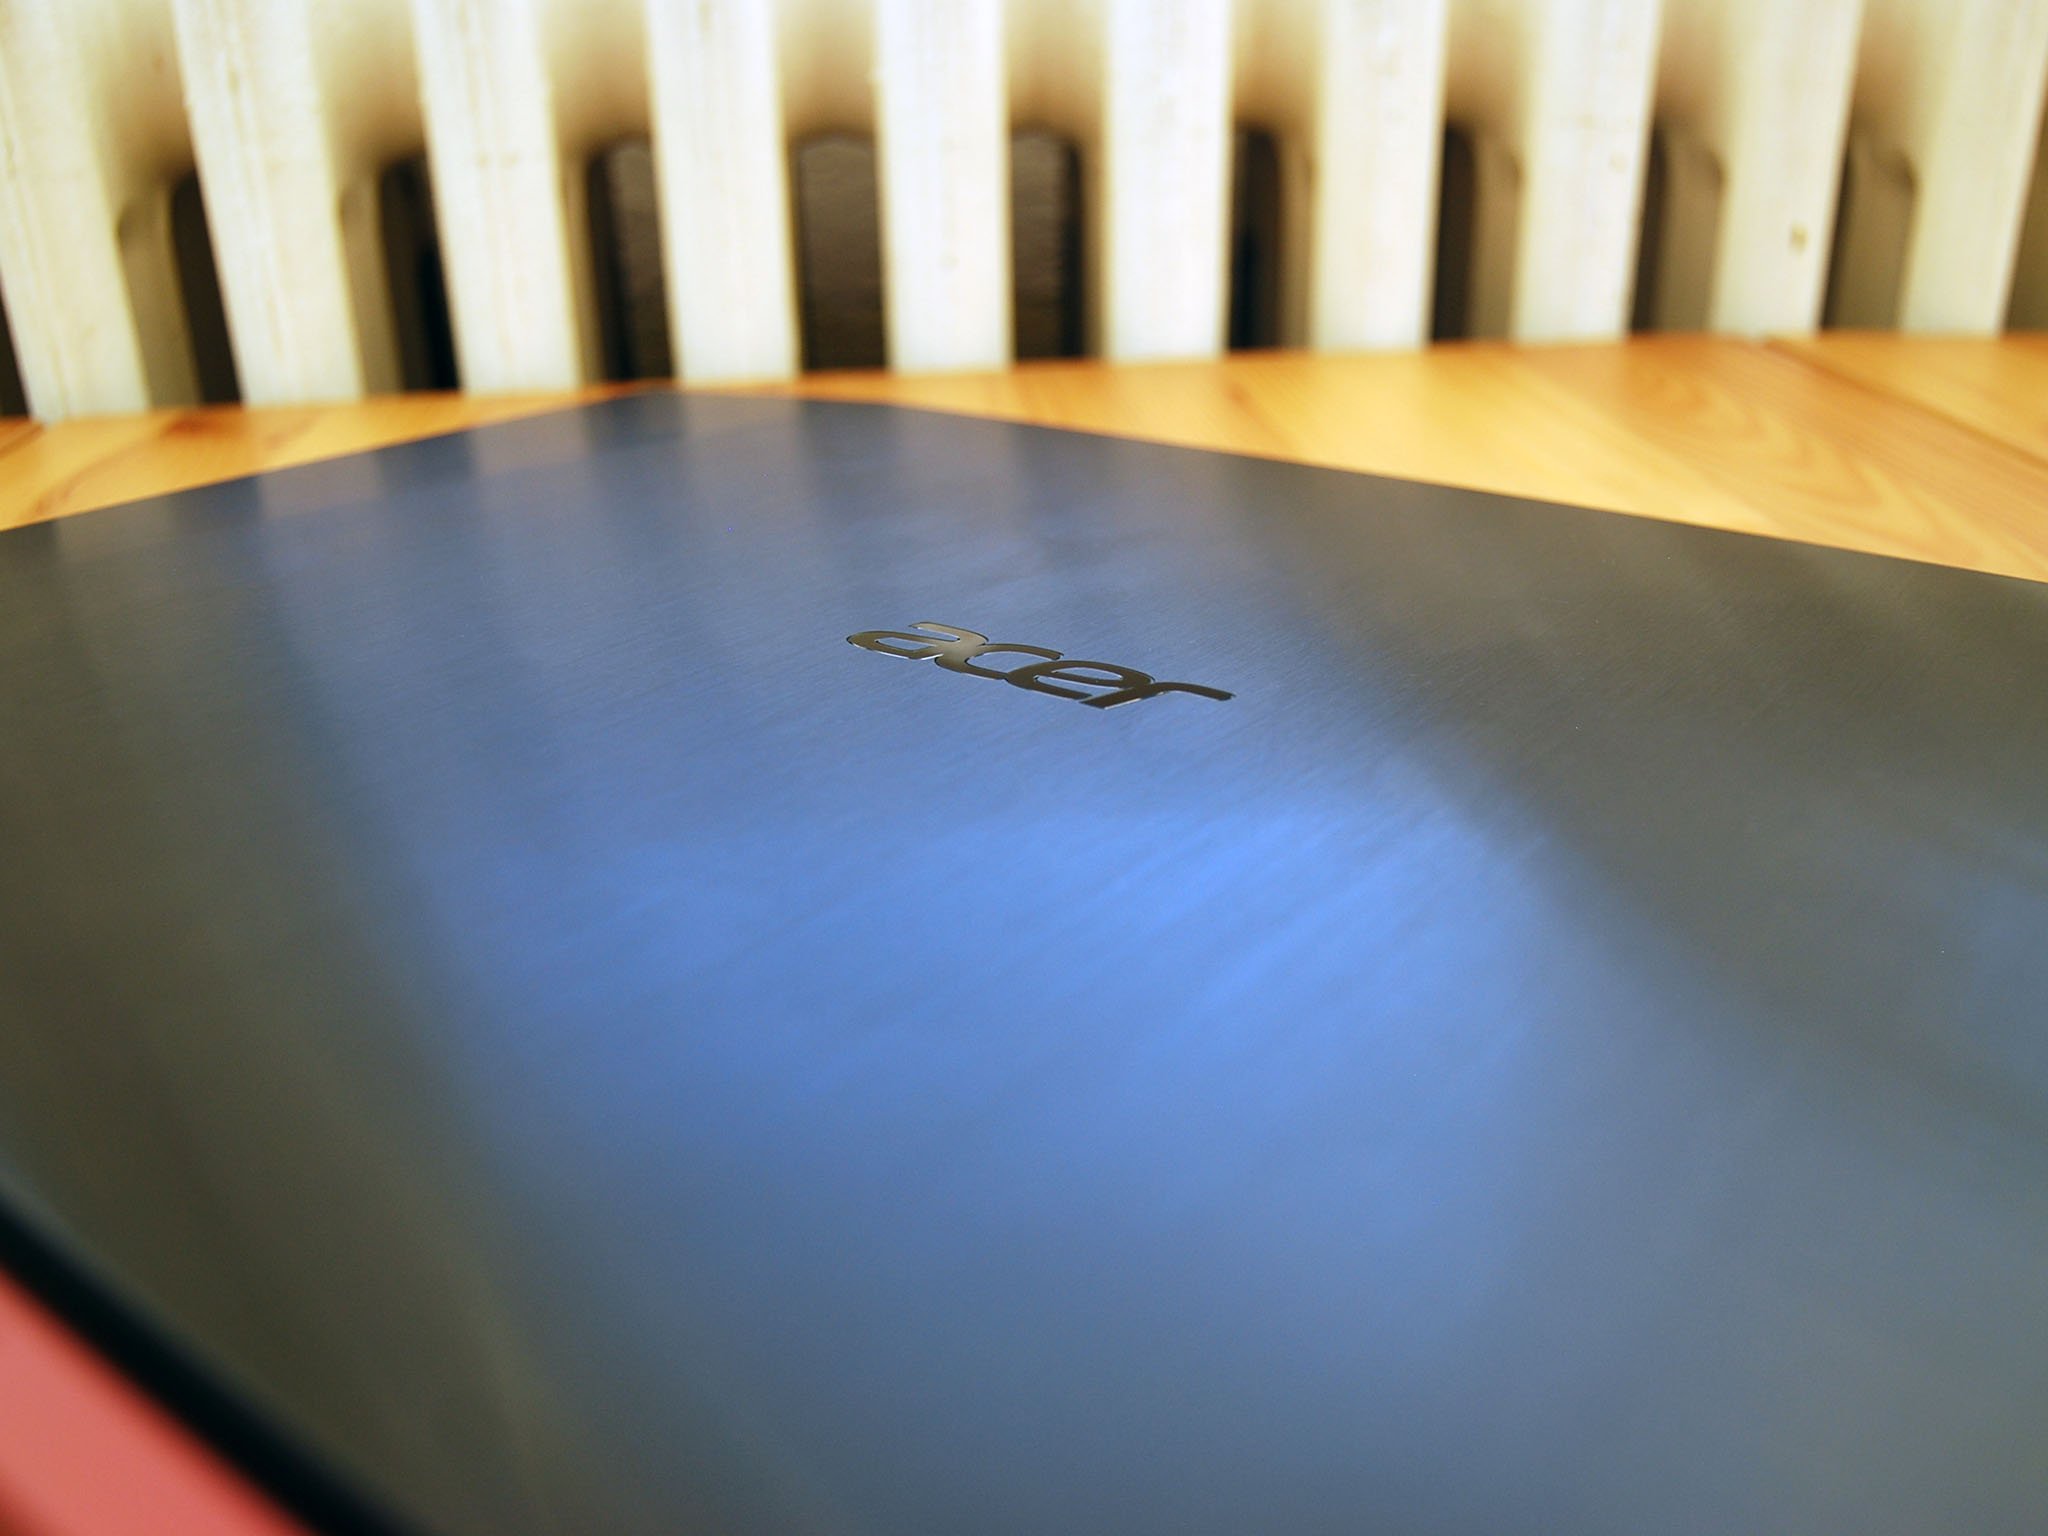
Acer's Nitro 5 is a budget gaming laptop that's designed to allow for easy in-house upgrades to keep it relevant longer and to boost performance. An easy-access panel on the bottom gives you quick entry into the 2.5-inch storage drive bay, which can hold either a SATA hard-disk drive (HDD) or solid-state drive (SSD). Whether you're interested in adding a larger drive or upgrading the existing 2.5-inch HDD to a faster SSD, we've laid out the entire process right here.
Hardware and software to get the job done
- Amazon: Samsung 860 EVO SSD (no enclosure) ($58+)
- Amazon: Samsung 860 EVO SSD and enclosure ($67+)
- Macrium: Macrium Reflect 7 (Free+)
- Amazon: Rosewill anti-static wristband ($6)
- Amazon: ORIA PC toolkit ($34)
- Best Buy: Acer Nitro 5 ($670+)
How to upgrade the 2.5-inch HDD in your Acer Nitro 5
Note: Before beginning any upgrades on a PC, it's a good idea to back up your data in the unlikely event something should go wrong. You'll also want to ensure you're not working in a static-filled environment, as it can cause damage to a PC's internal hardware. Consider investing in an anti-static wristband to avoid unnecessary damage.
The Nitro 5 has room for a 2.5-inch storage drive (HDD or SSD) and an M.2 SSD, and is available with three common storage configurations. The most common has a lone 1 TB 2.5-inch SATA HDD, which is what we're working with in this guide. There's also a configuration with a 256 GB M.2 SSD that leaves the 2.5-inch bay empty, and finally, there's a configuration with a 1 TB 2.5-inch HDD and a 128 GB M.2 SSD.
Those who wish to upgrade a Nitro 5 that came with only a 1 TB 2.5-inch HDD have a couple of options. After the upgrade, you can reinstall Windows 10 on the new SSD with an ISO and start completely from scratch, or you can first clone the original drive (which contains Windows 10) over to the new 2.5-inch drive using an external enclosure. The enclosure only adds a few dollars onto the price of our top 2.5-inch SSD pick, Samsung's 860 EVO. As far as cloning software goes, we've had success using Macrium Reflect and have even written a guide on the process, though you can technically use any cloning software you're comfortable with. Samsung even makes its own migration software to use with its drives.
If you have a Nitro 5 with only a 256 GB M.2 SSD, adding a 2.5-inch drive for extra storage will be much easier and will not require any drive cloning since Windows 10 comes installed on the M.2 SSD. Those with a 1 TB 2.5-inch HDD and 128 GB M.2 SSD combo will likewise be able to skip cloning (though you'll still want to backup any data stored on the 2.5-inch HDD that you're swapping out) since Windows 10 comes installed on the M.2 SSD.
Once you've backed up your data, completed any necessary drive cloning, and have powered off your Nitro 5, you can proceed with the following steps.
- Locate the larger access panel on the bottom of your Acer Nitro 5.
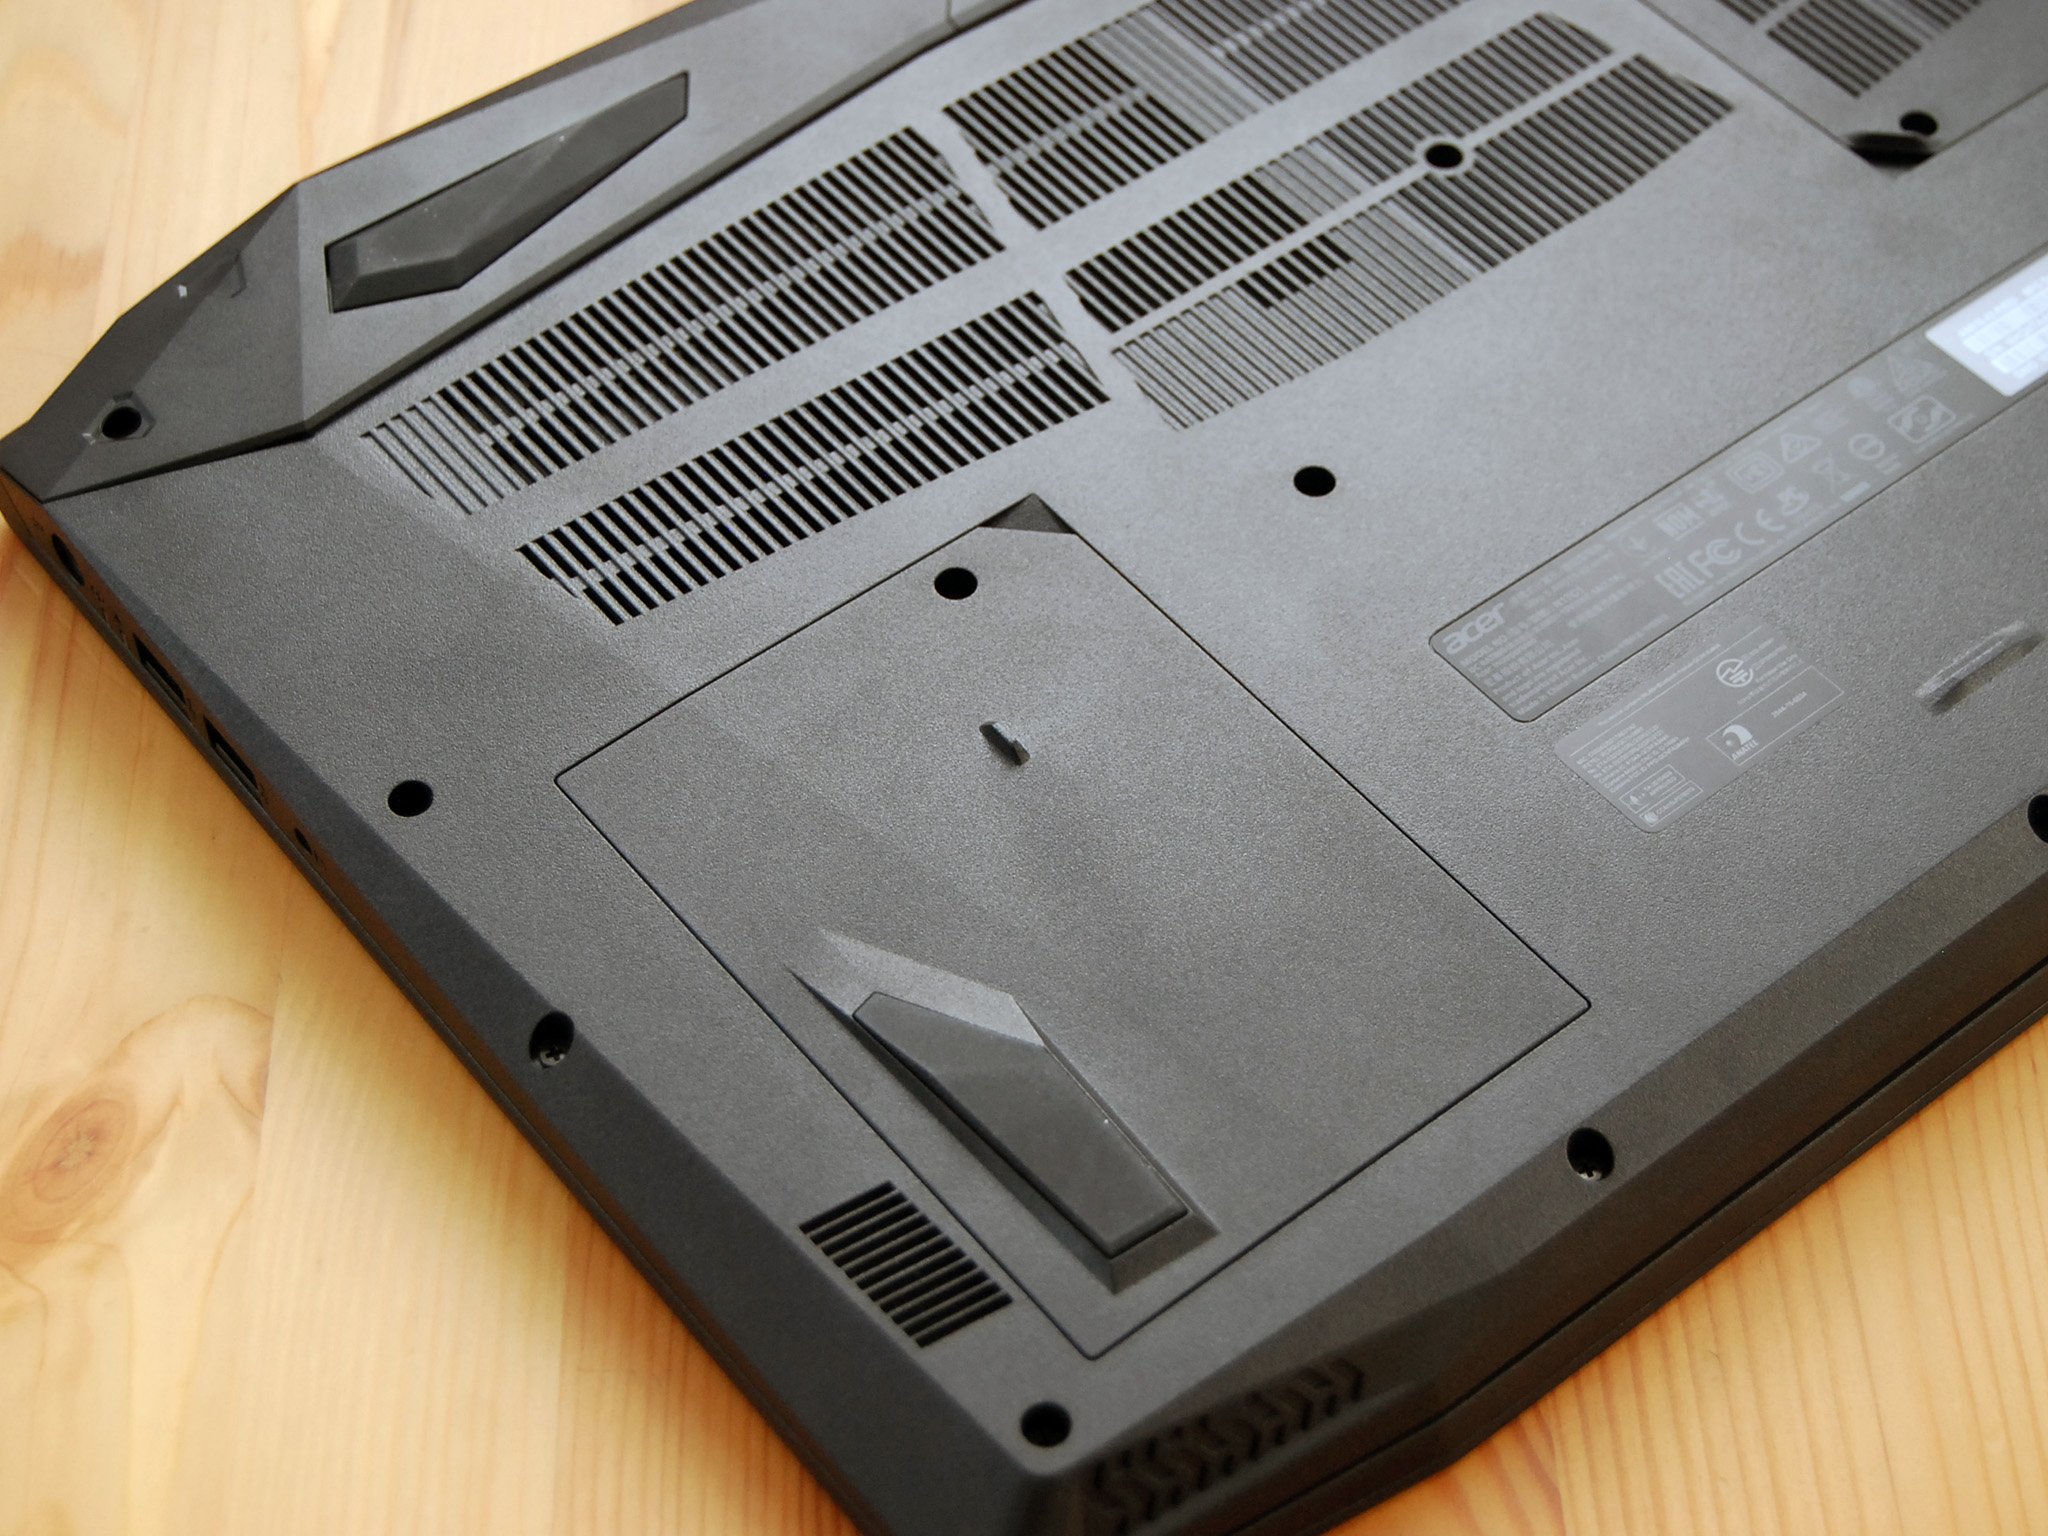
- Unscrew the single fastener with a Philips-head screwdriver.
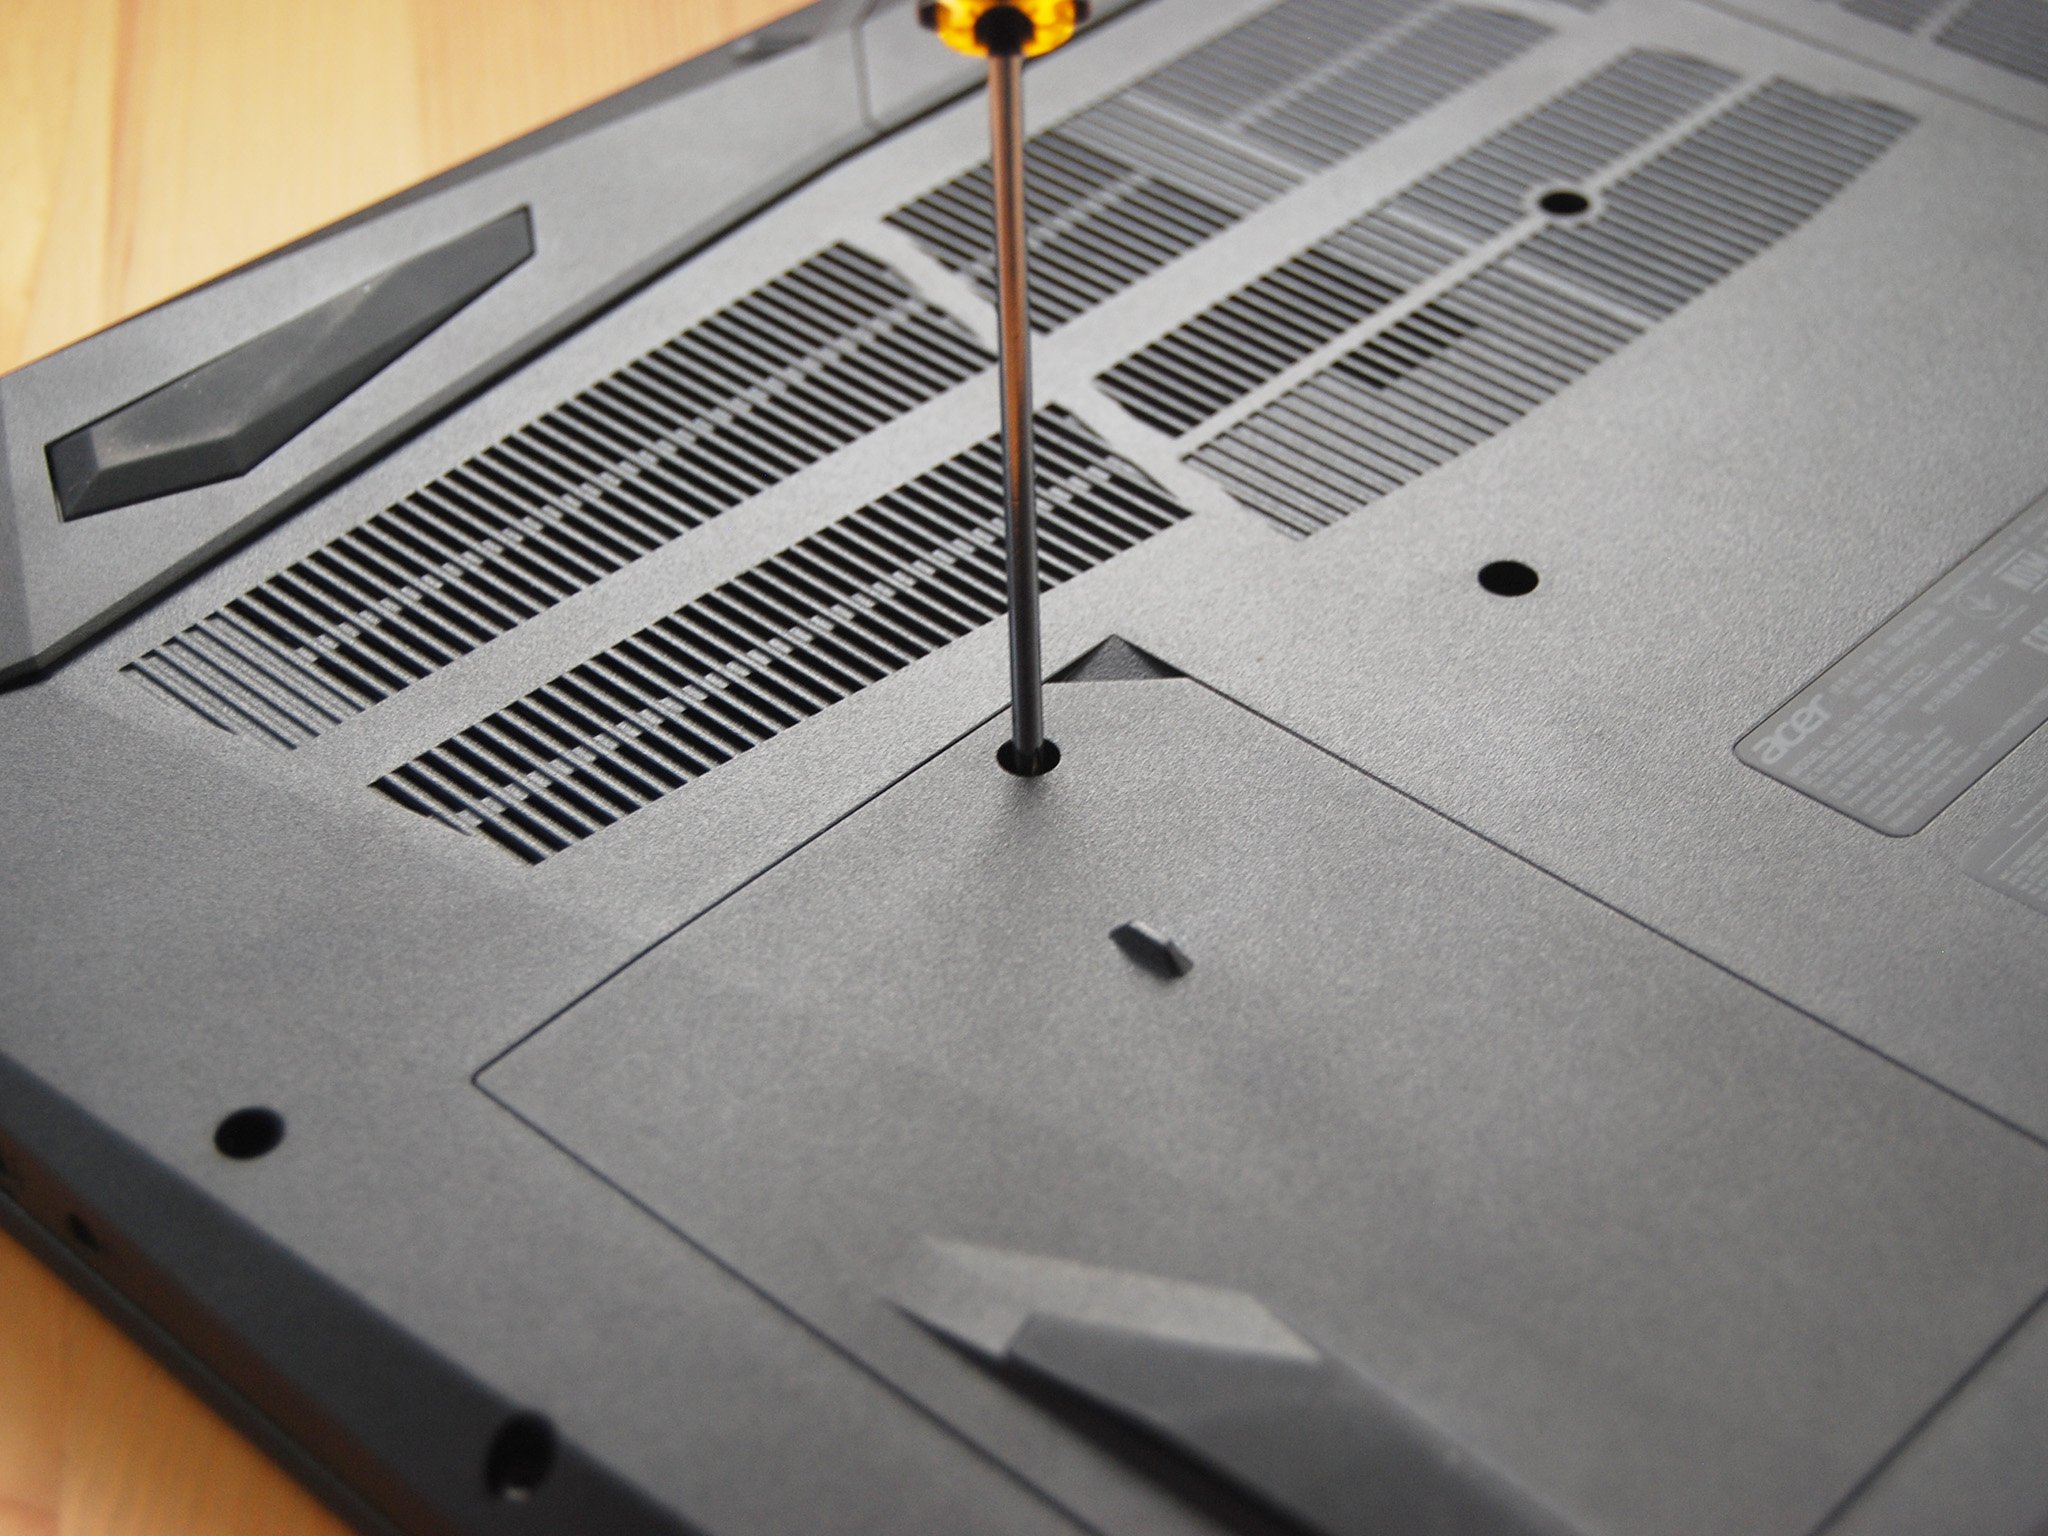
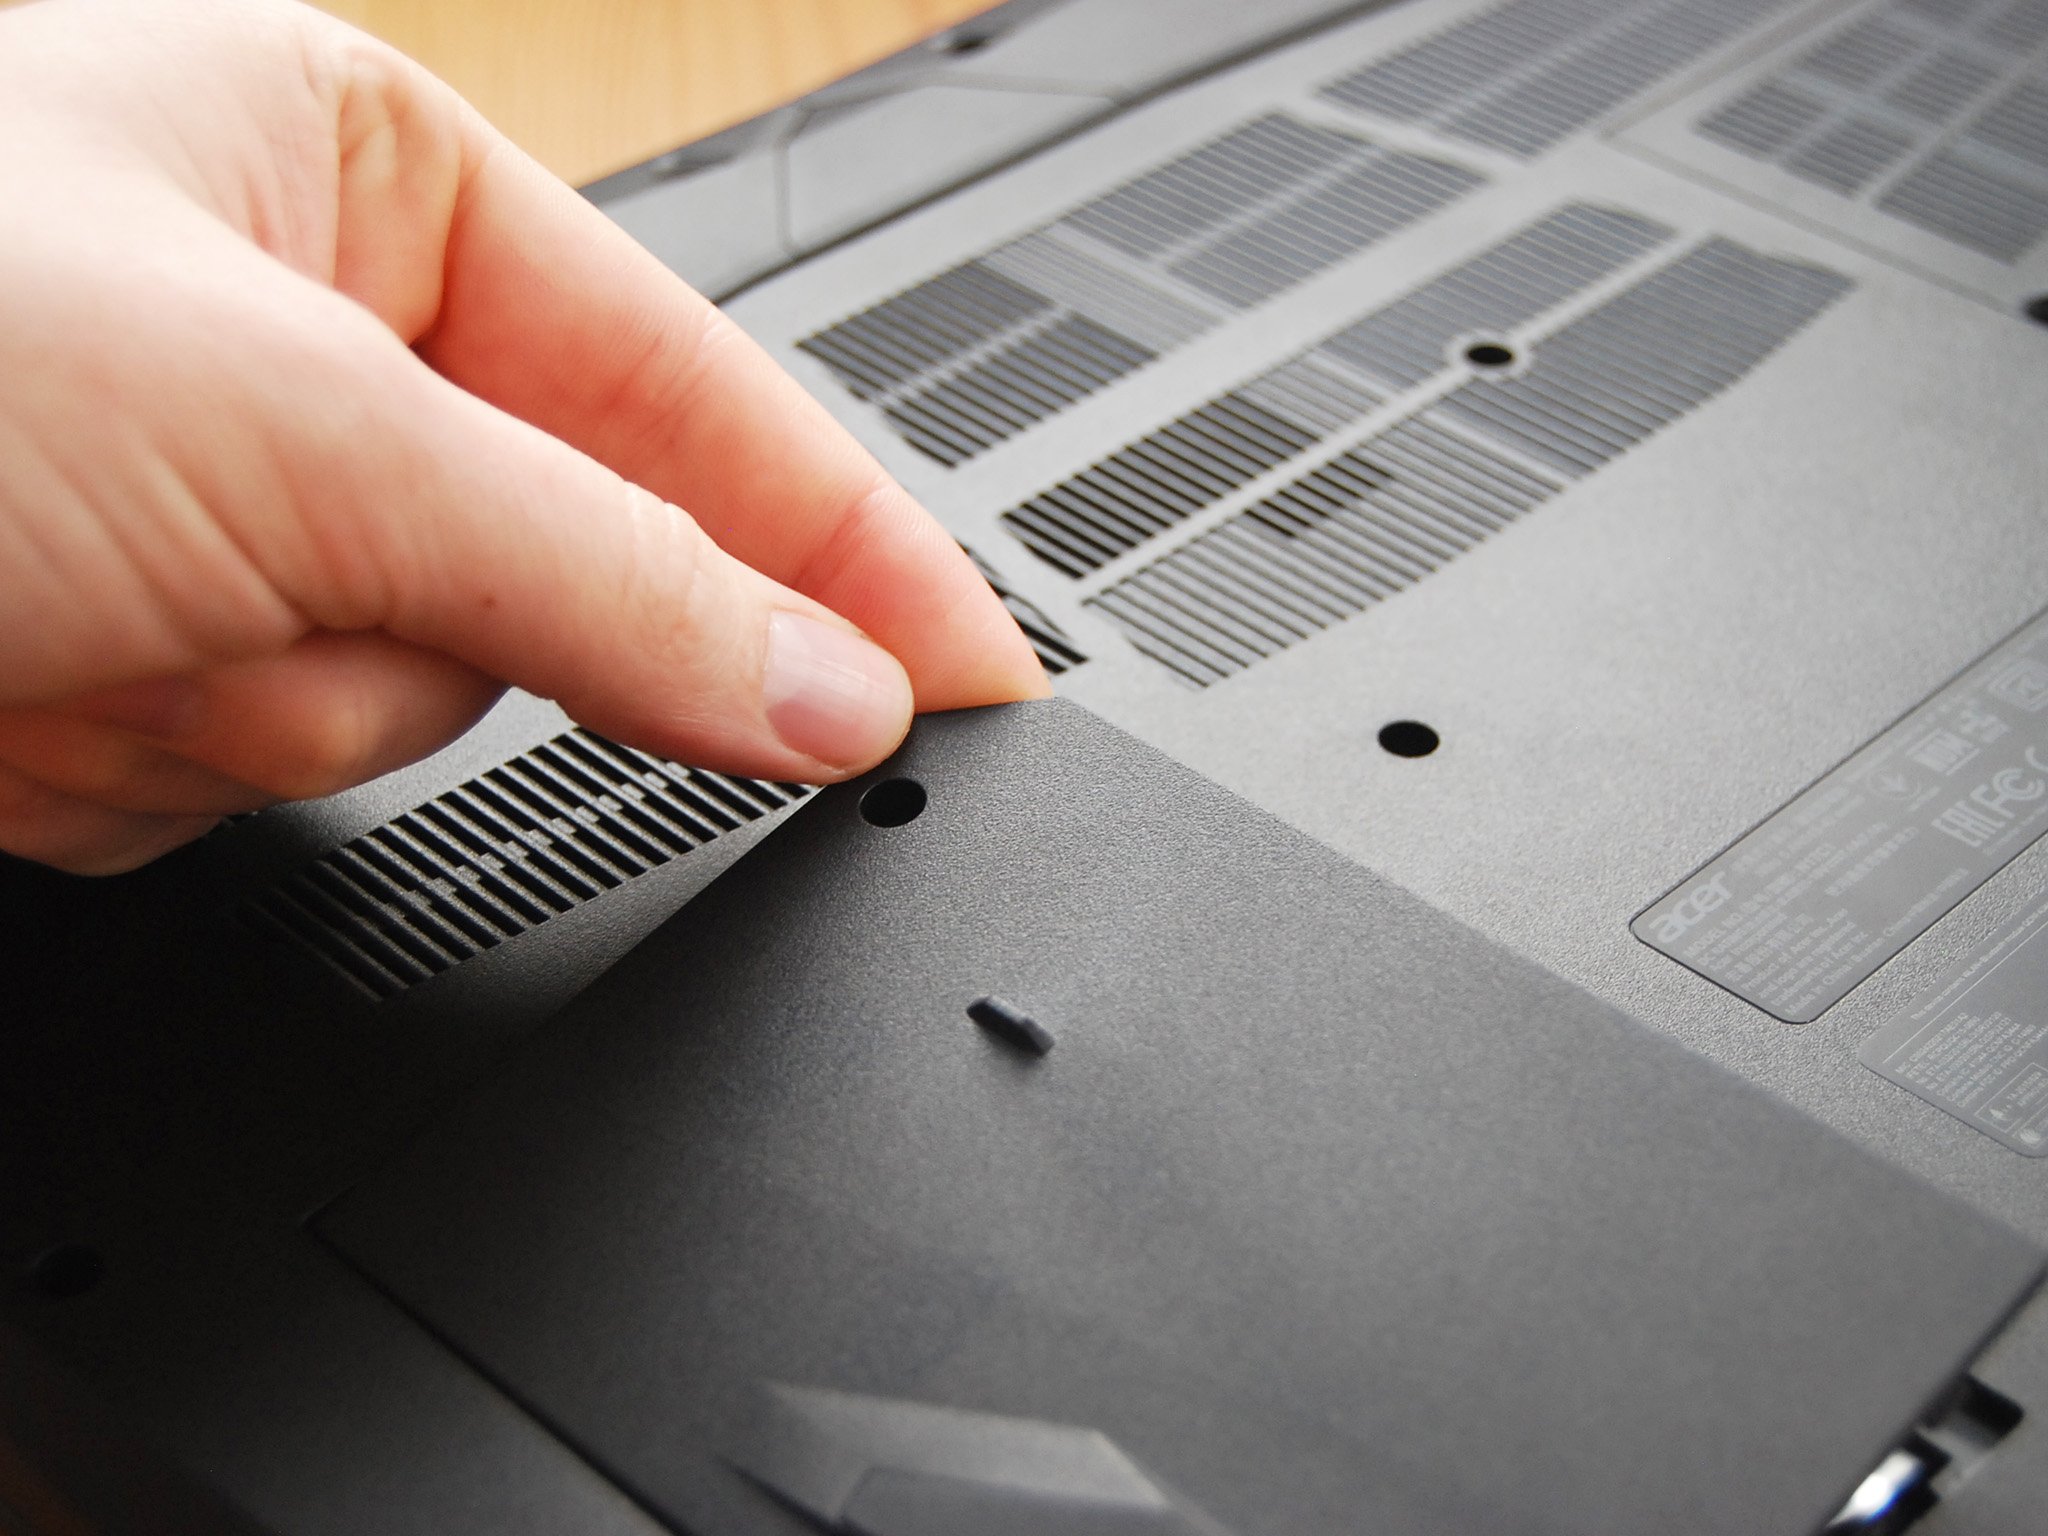
- Pry up the access panel with a finger or pry tool. Once removed, you should see a metallic foil.
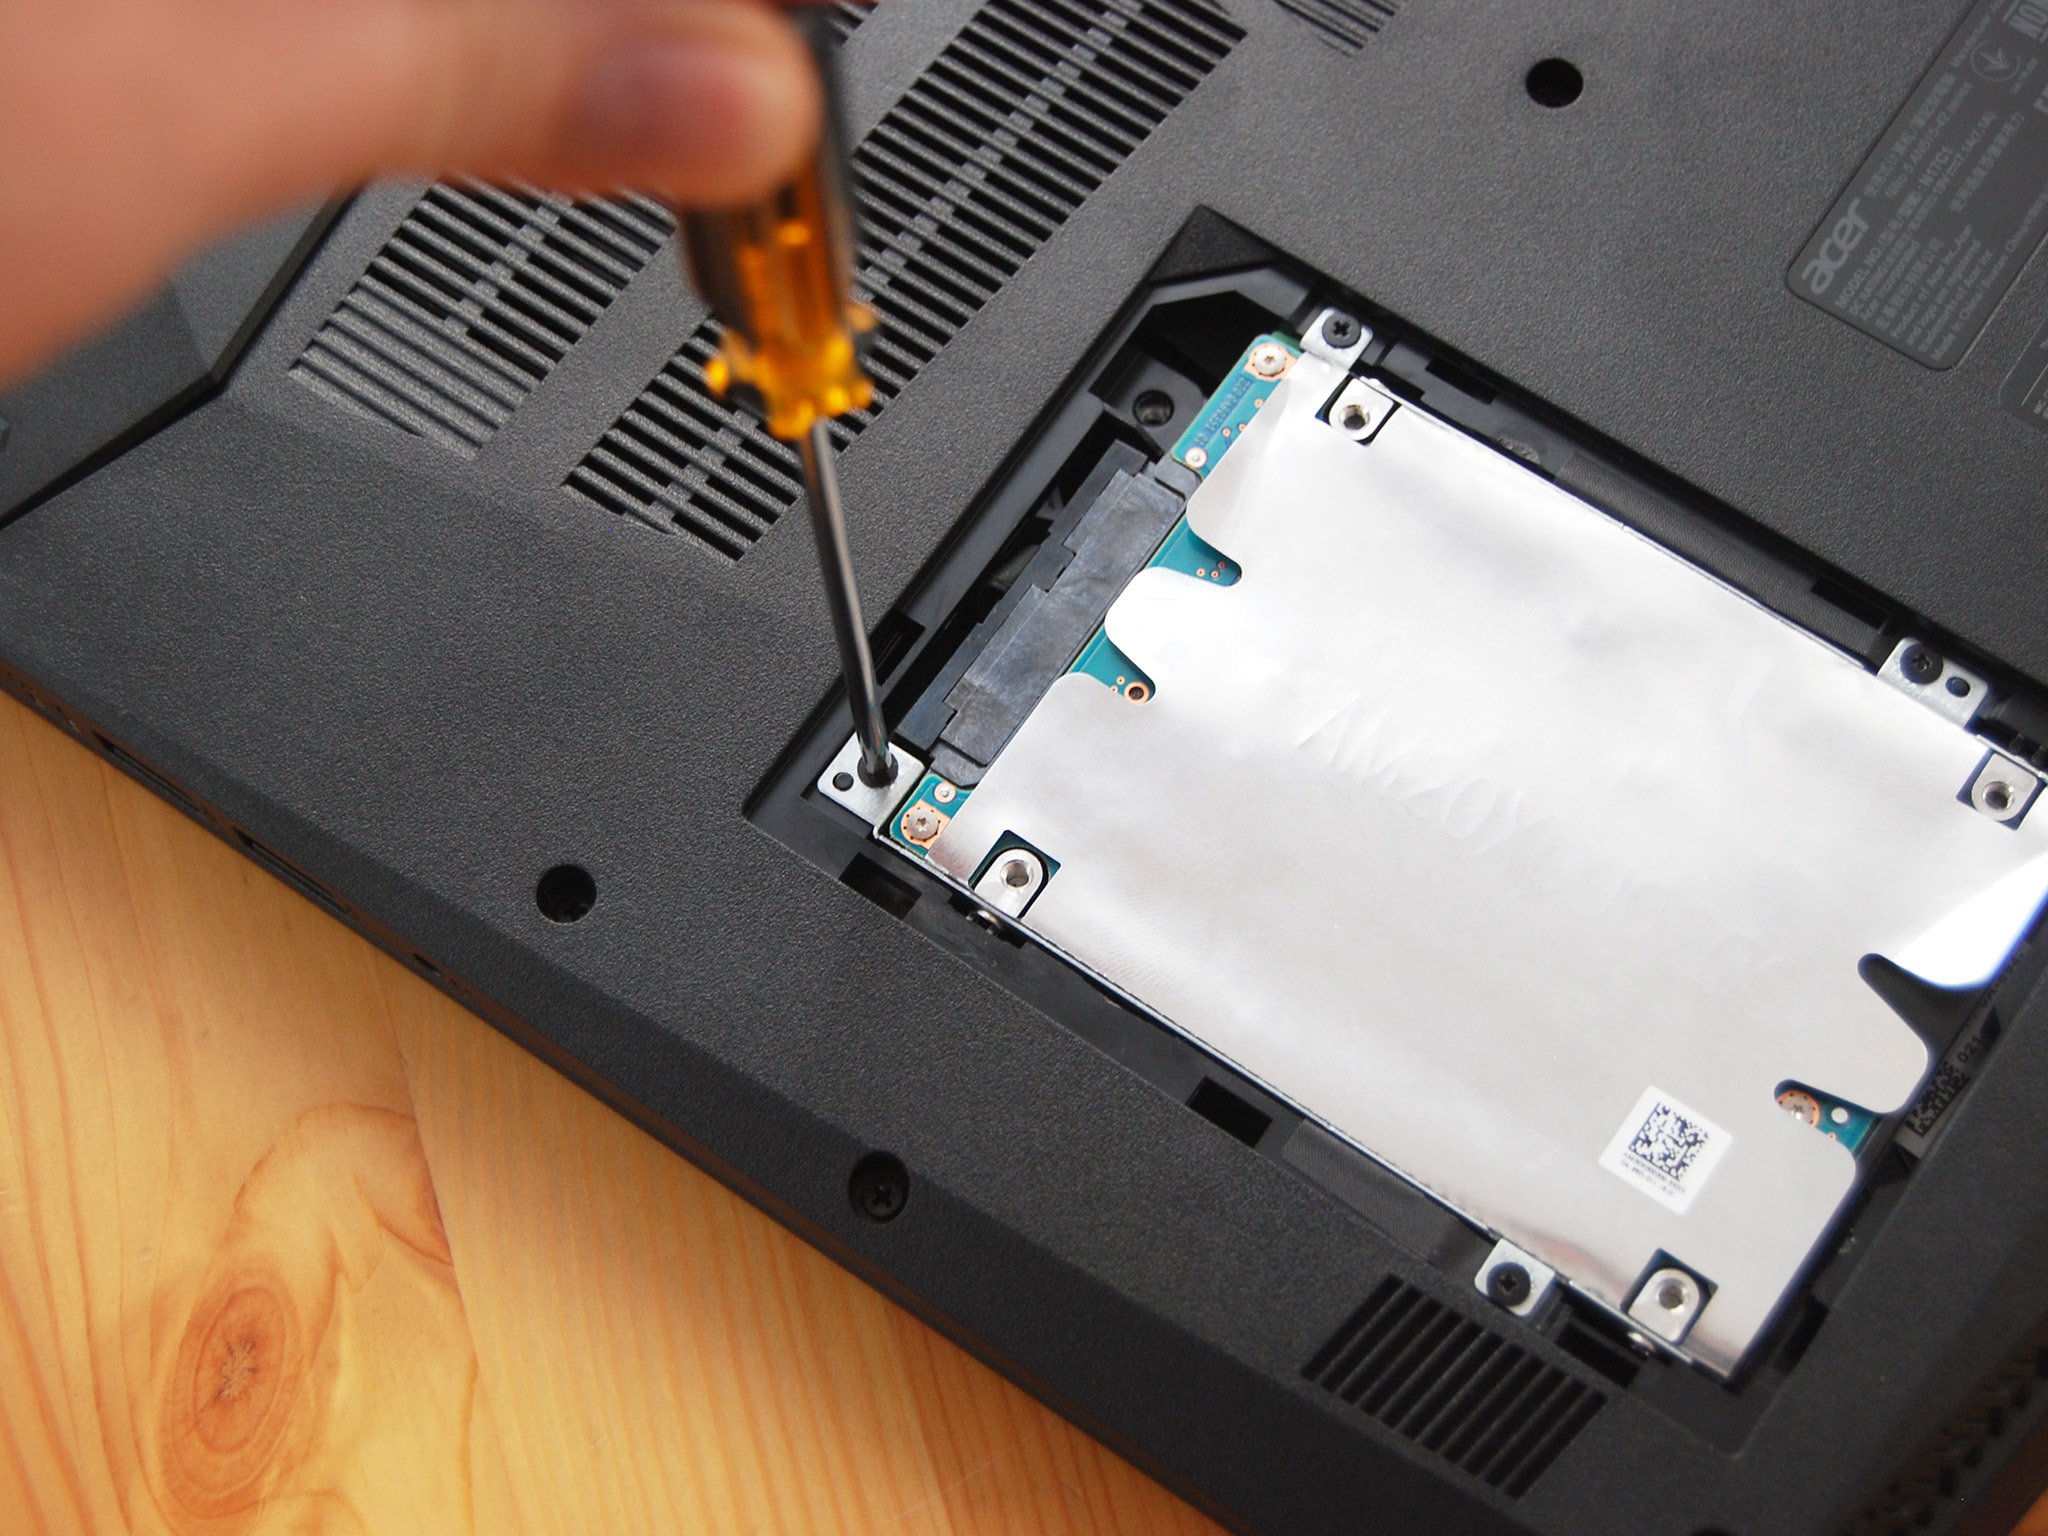
- Unscrew the four black fasteners with a Philips-head screwdriver. They are located on mounting brackets along the outside of the drive bay.
- Lift the HDD out of the bay.
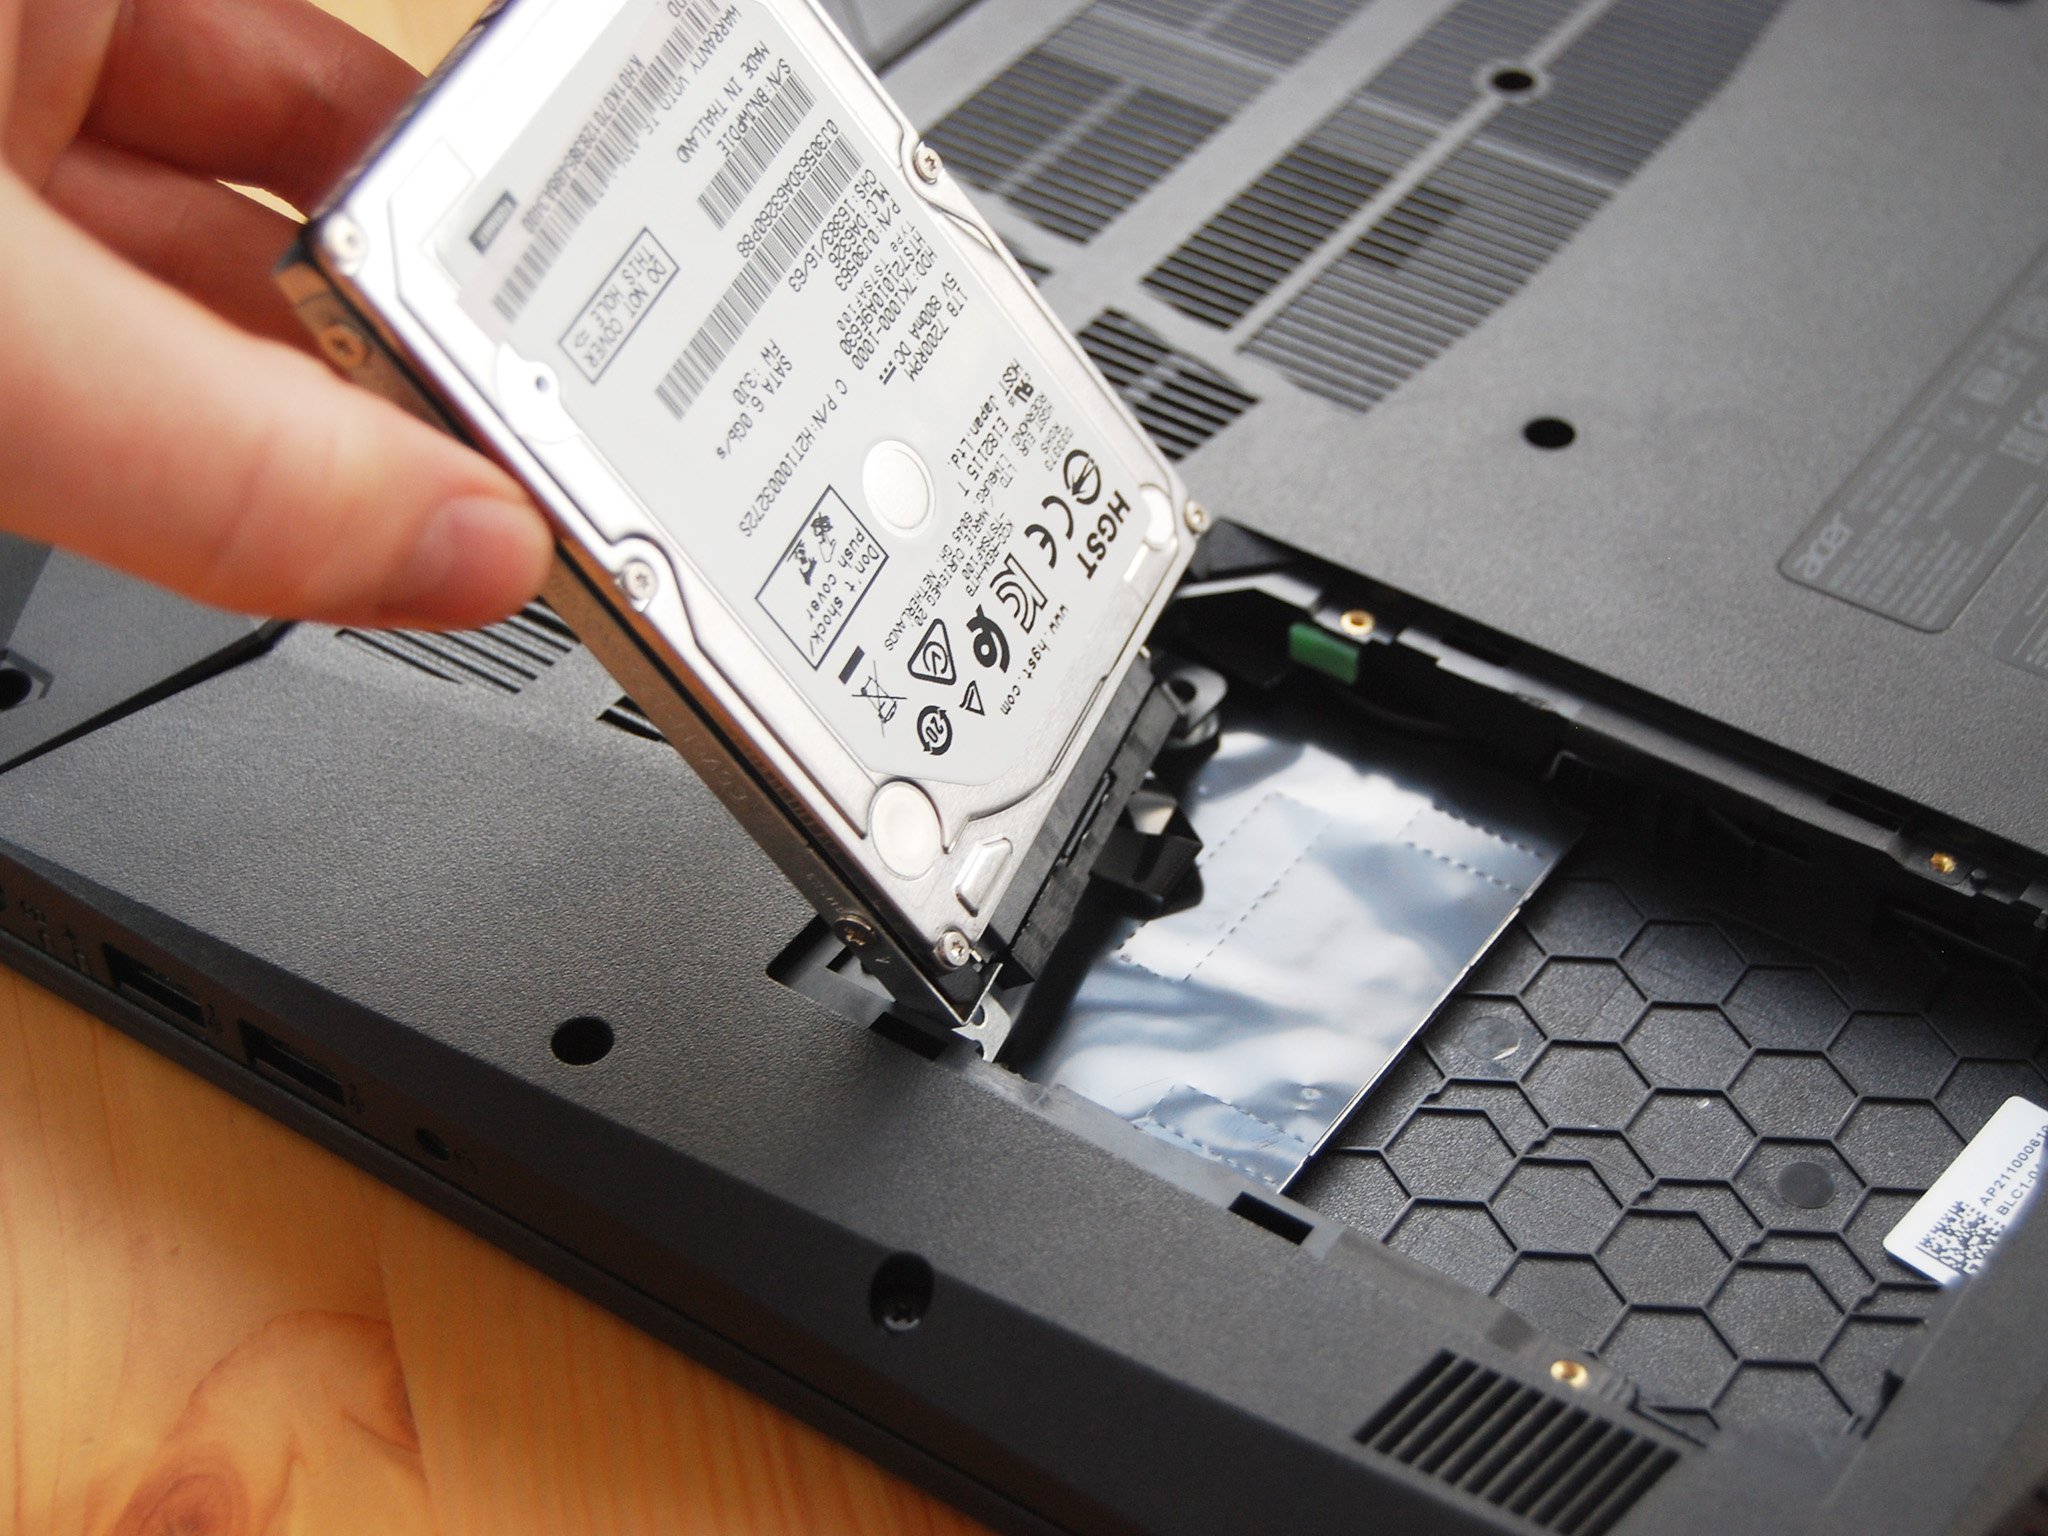
- Detach the SATA cable from the 2.5-inch drive. It should come apart relatively easily.

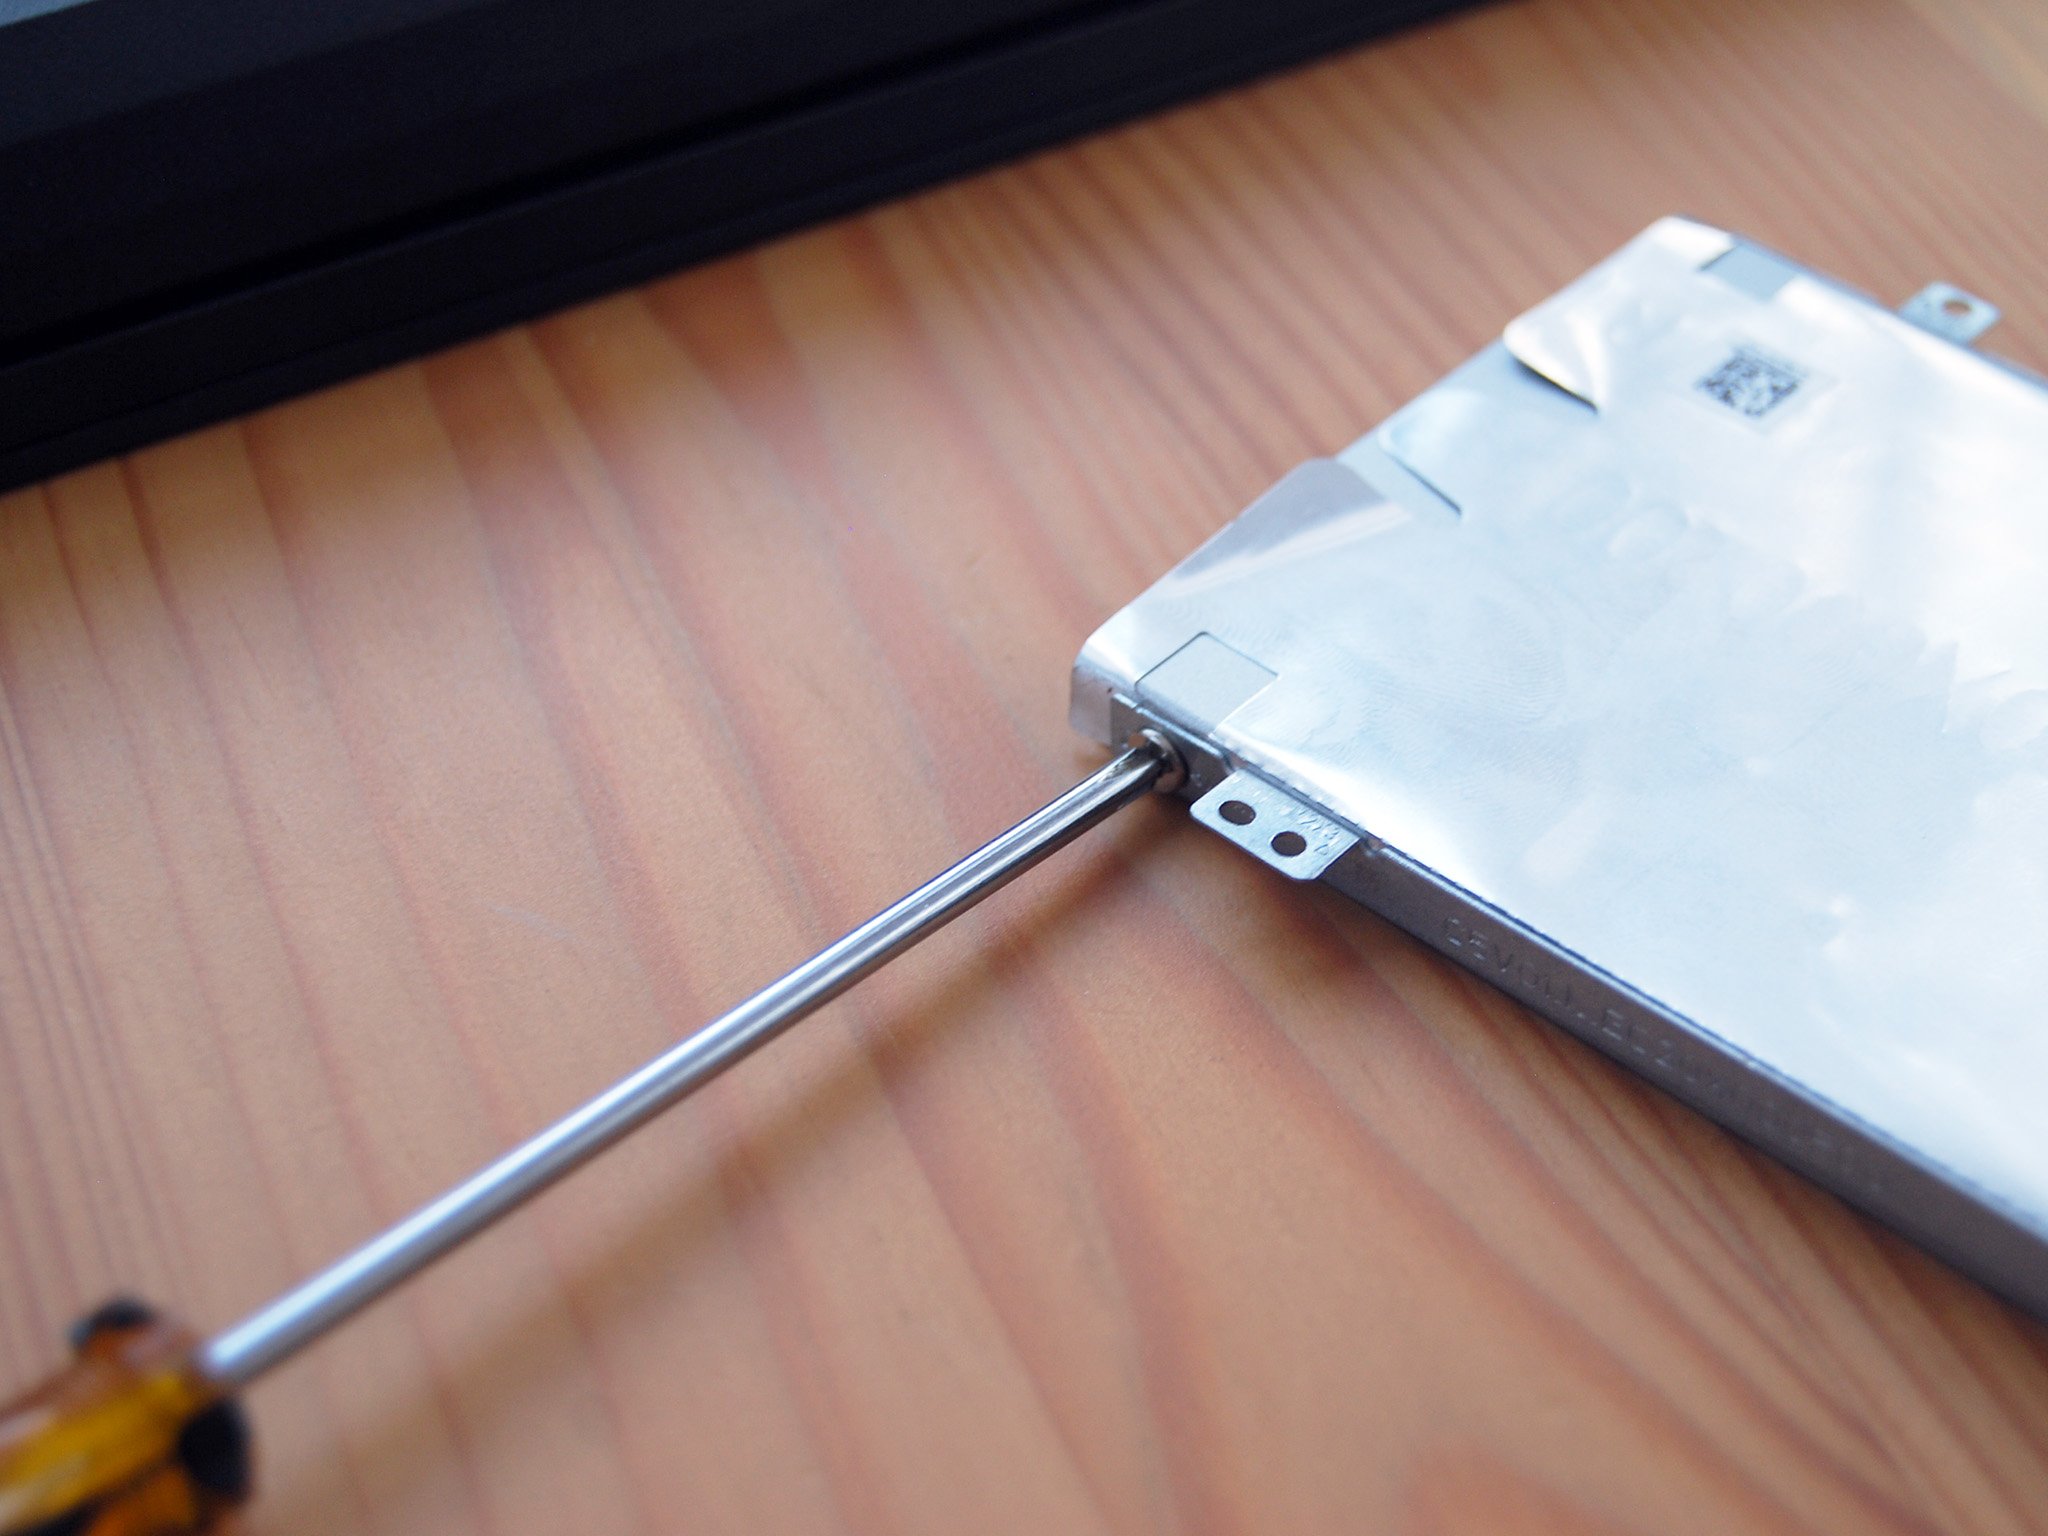
- Unscrew the four silver fasteners on the side drive mount with a Philips-head screwdriver.
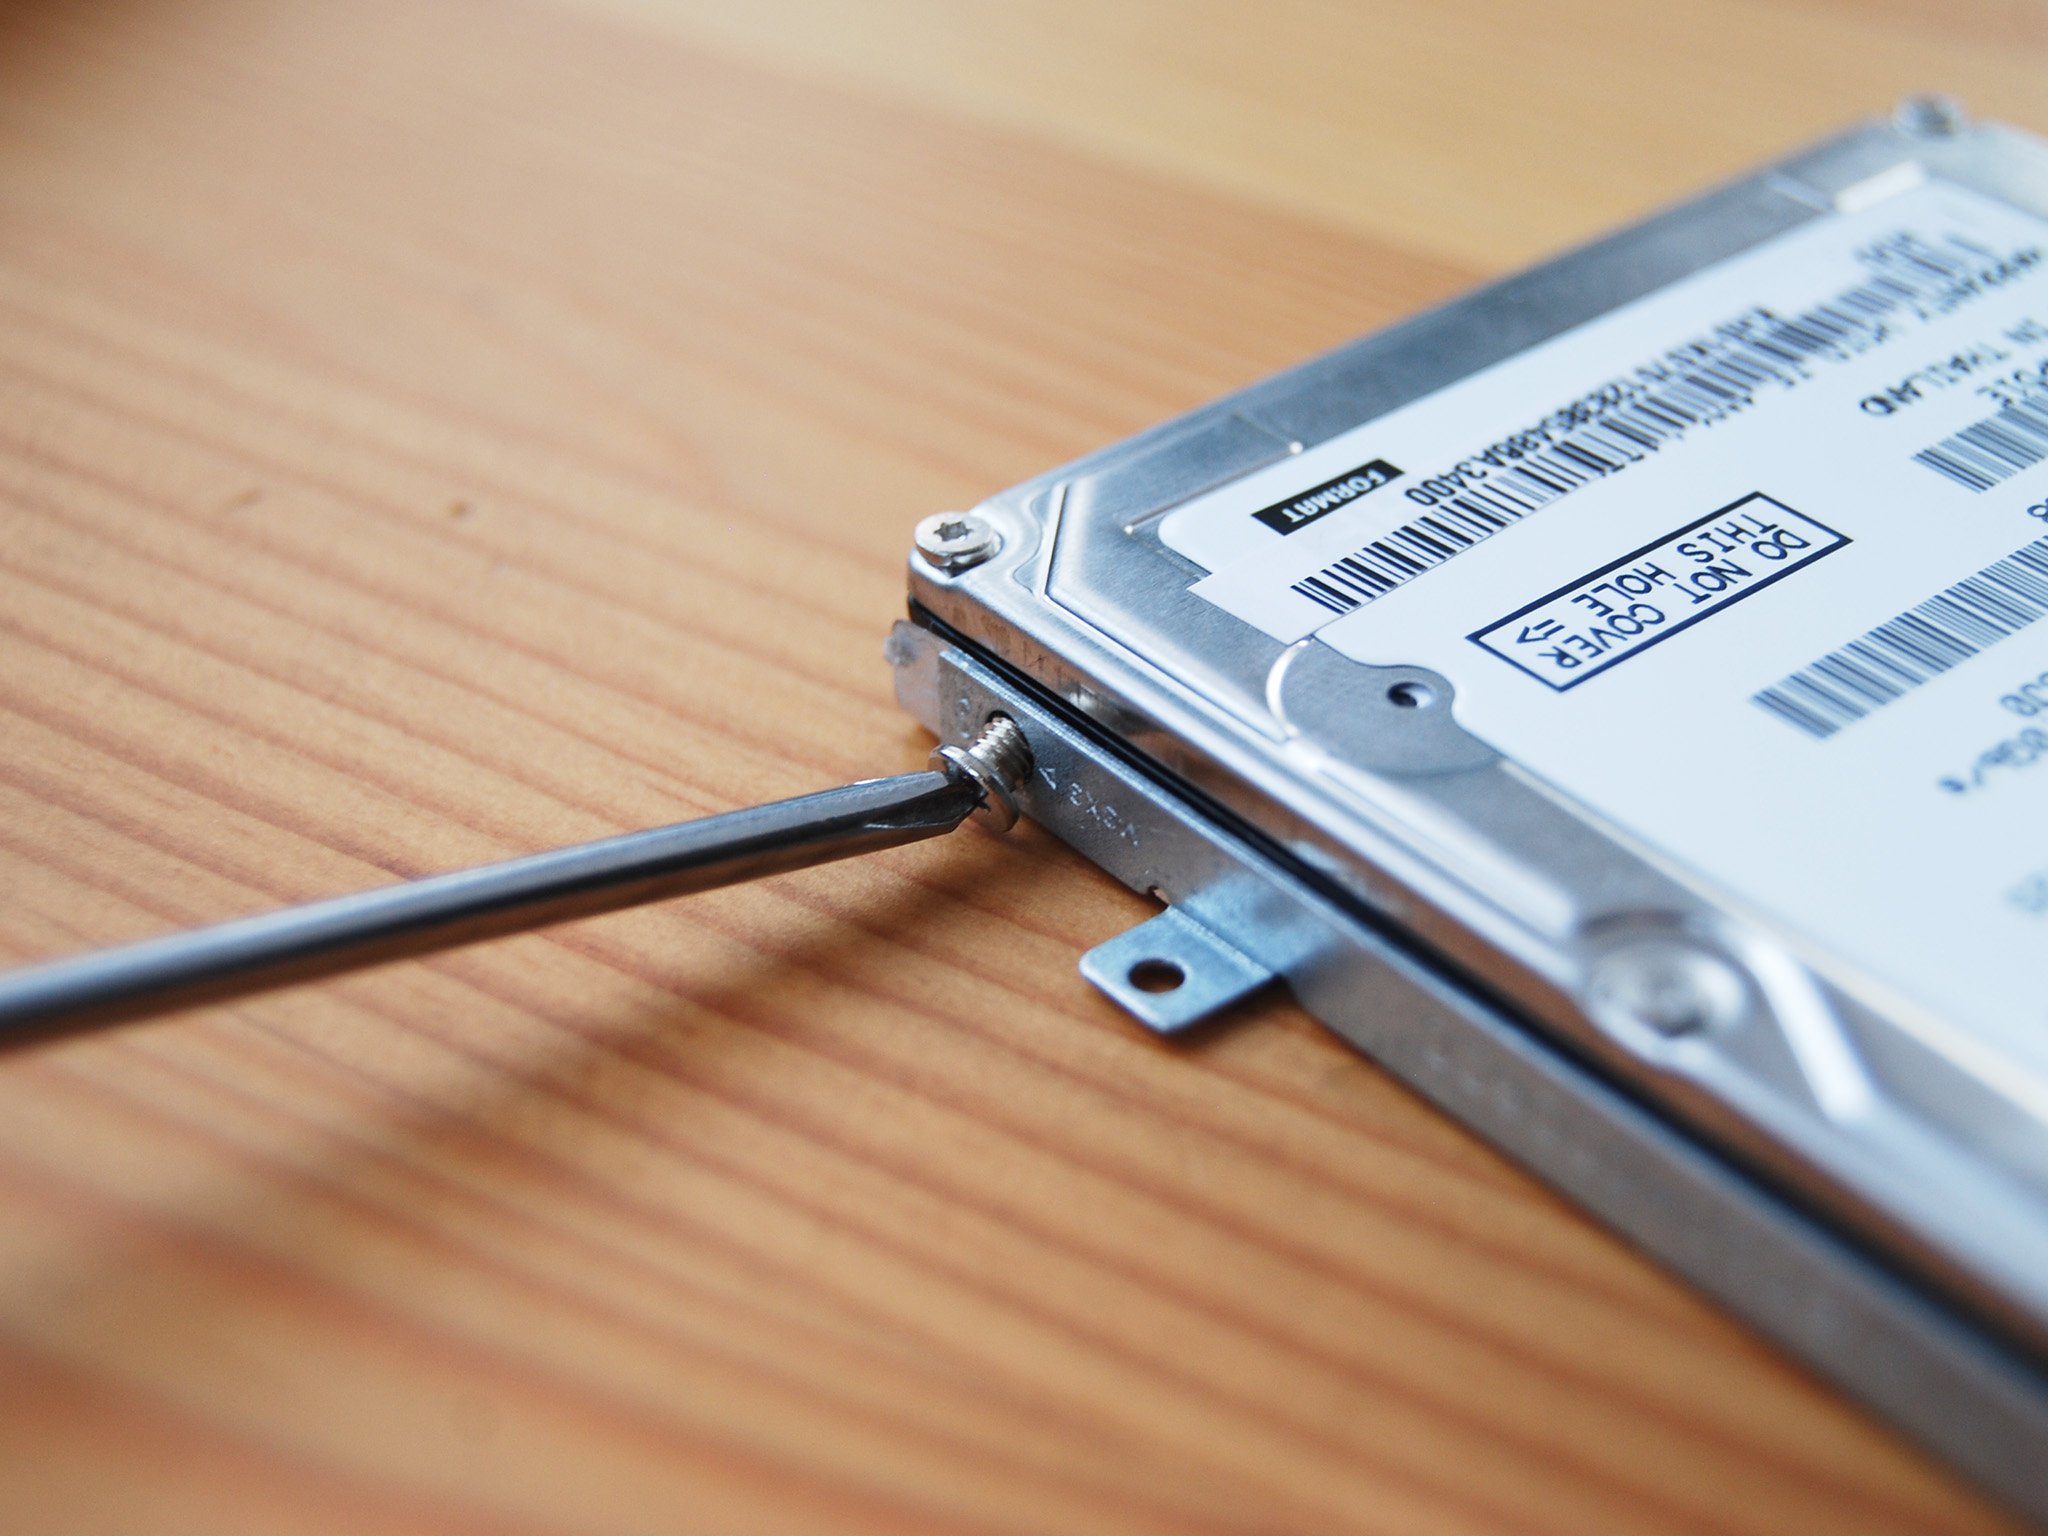
- Remove the old 2.5-inch HDD from the mount. If you have a Nitro 5 model that came only with an M.2 SSD, skip this step.
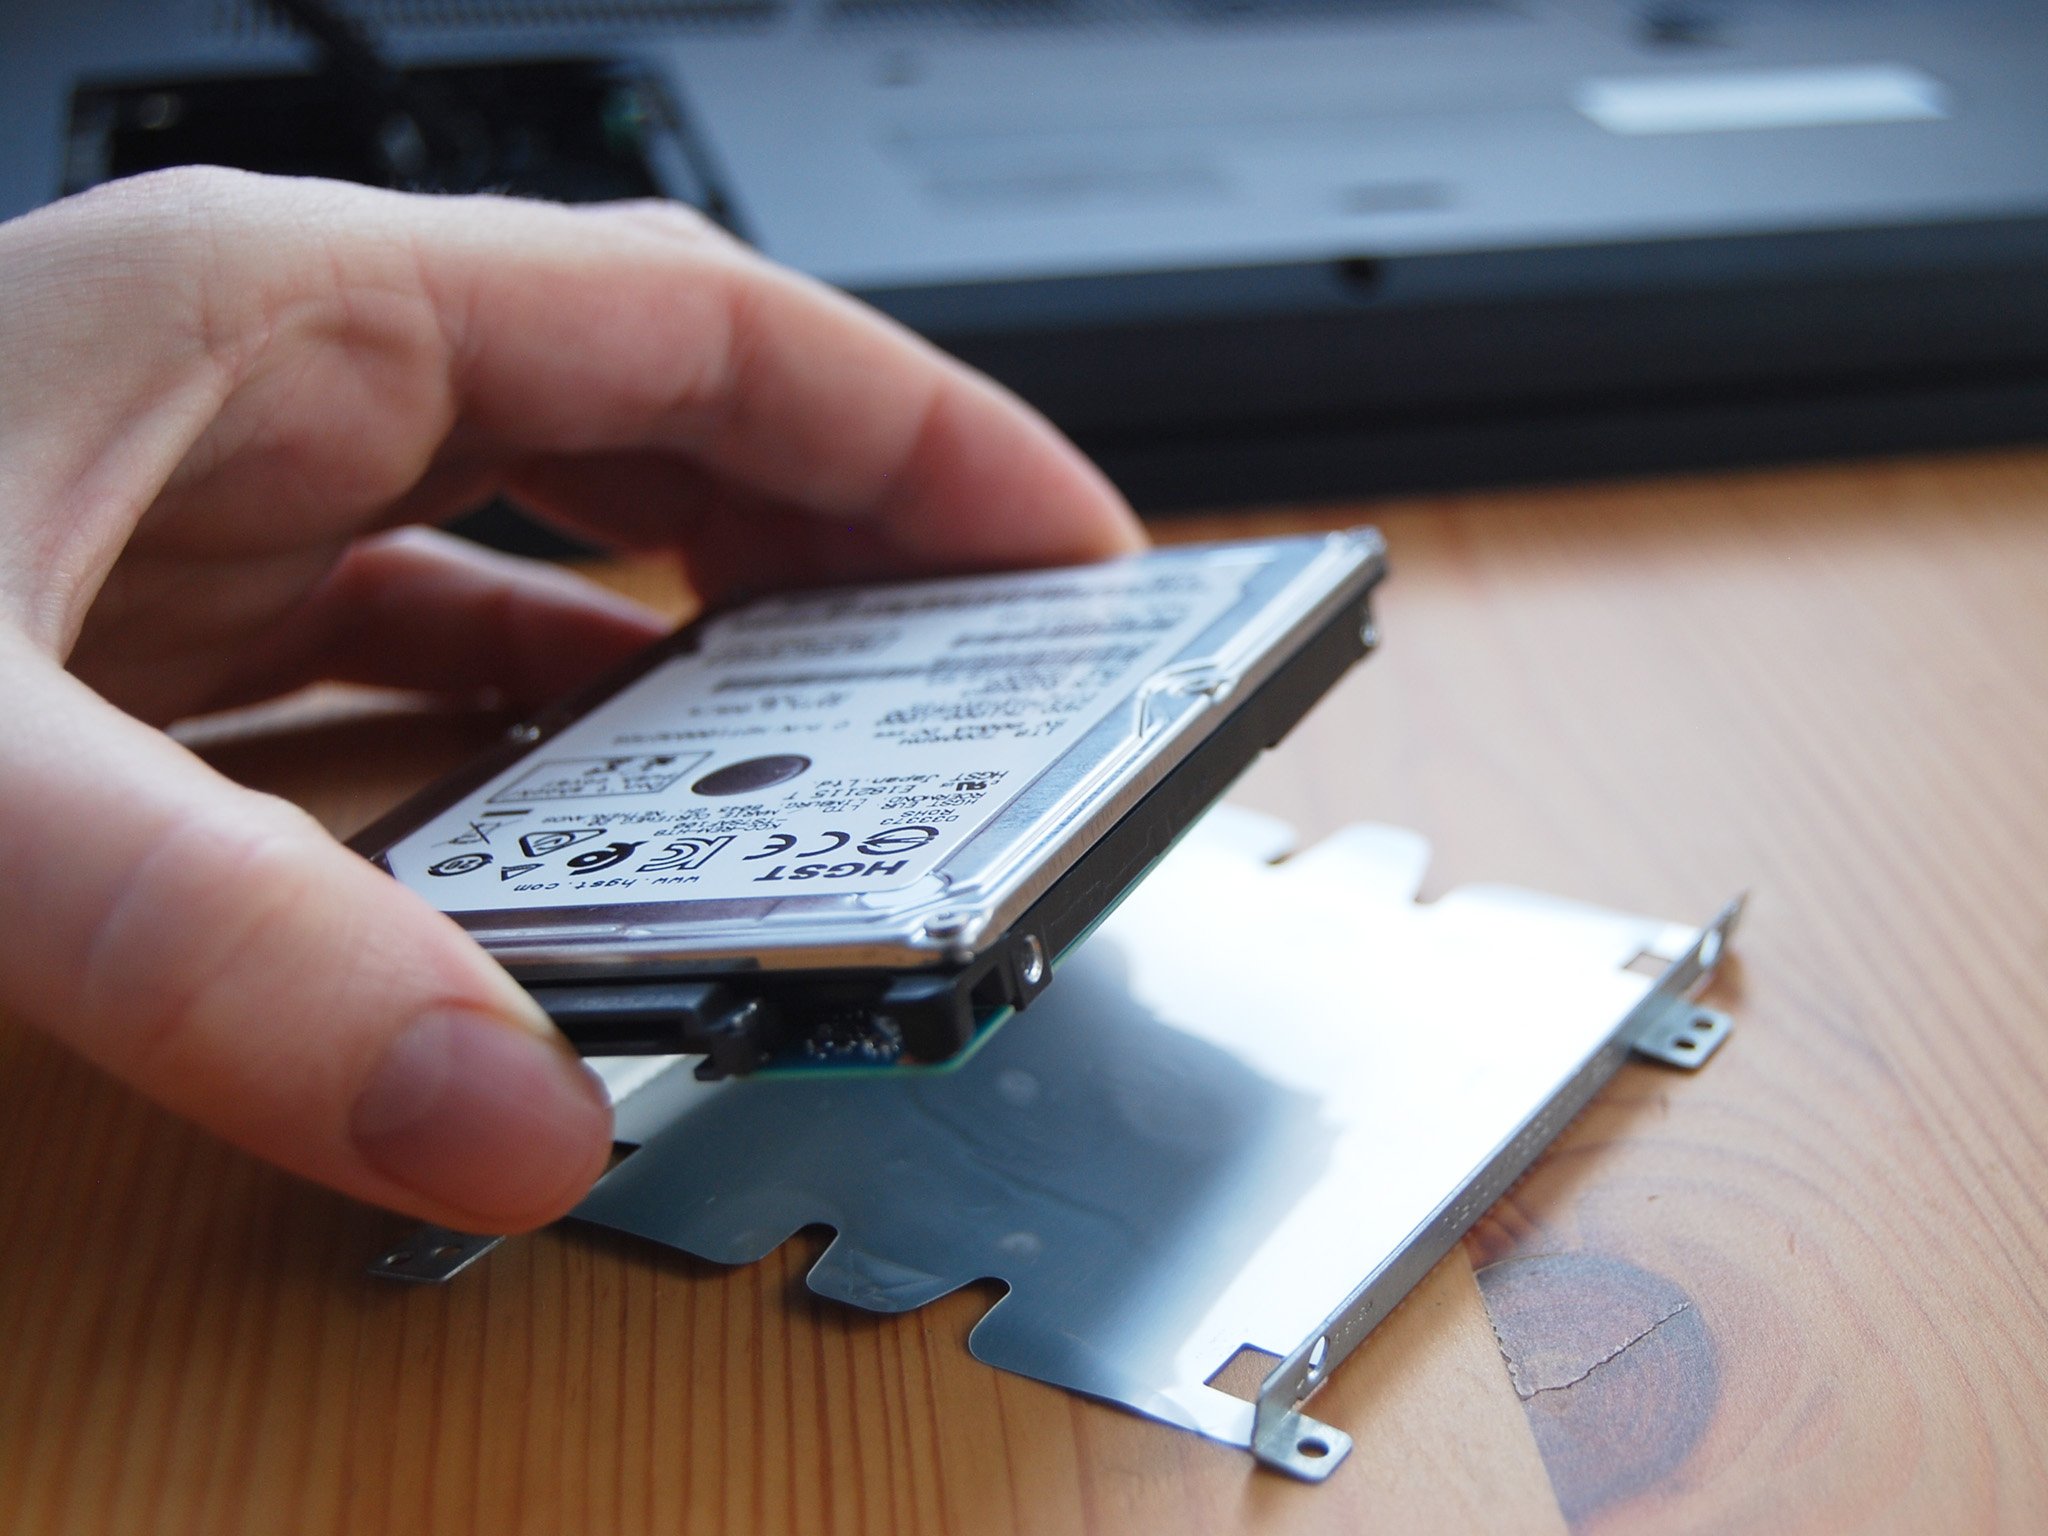
- Place the new 2.5-inch SSD into the mount.
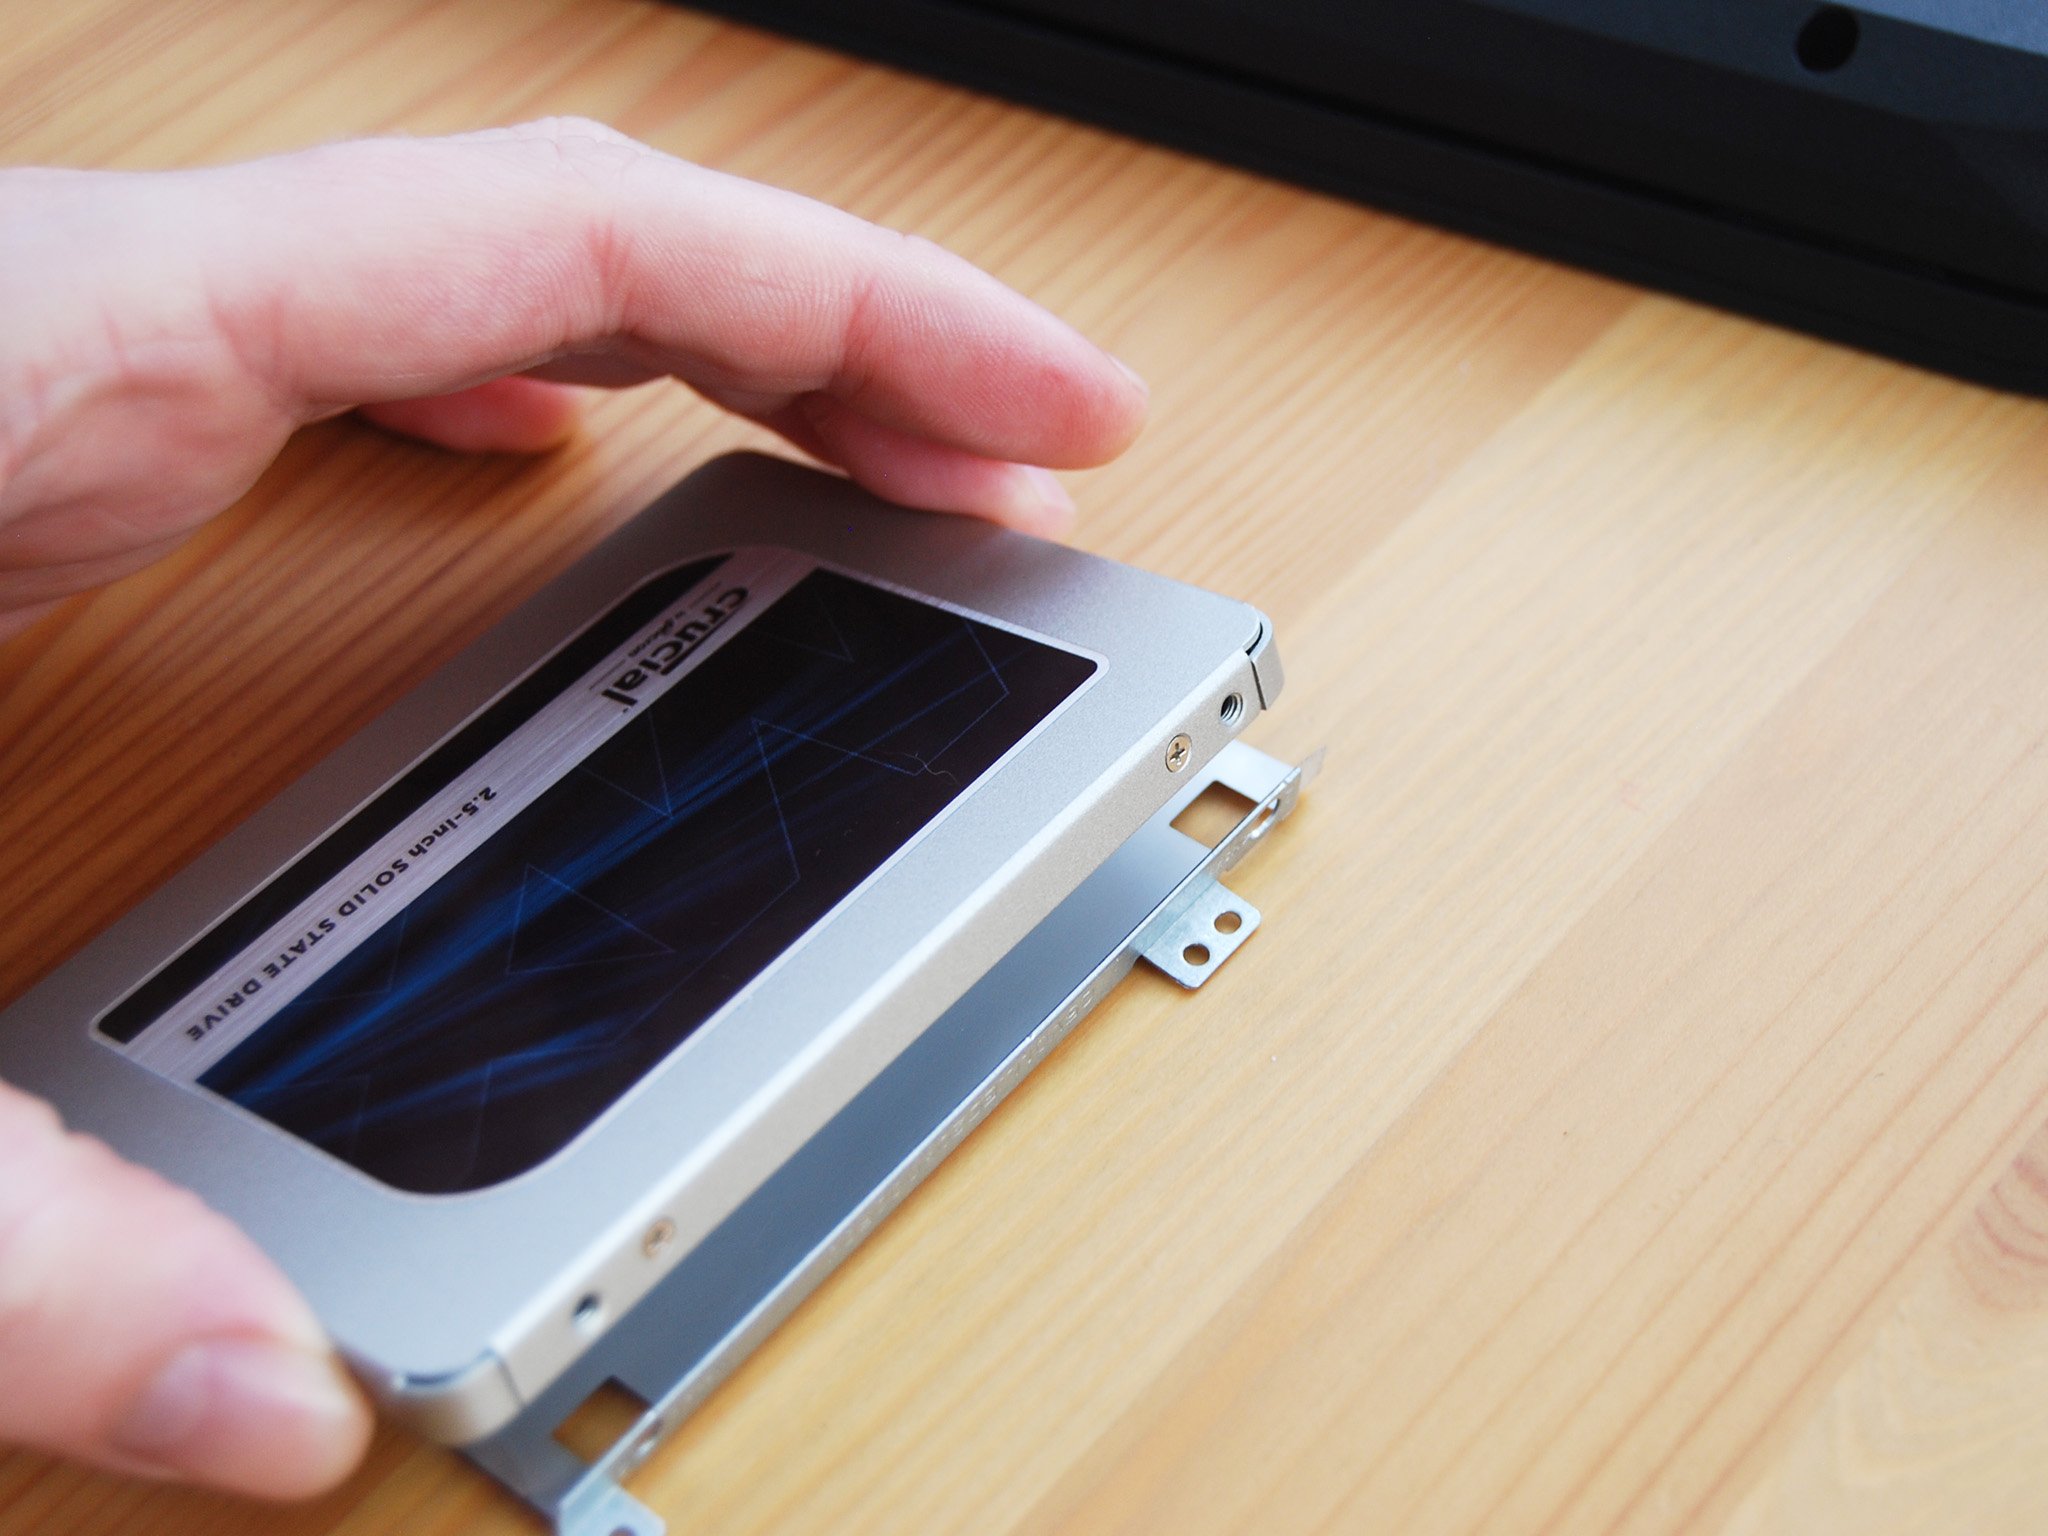
- Screw in the four silver fasteners along the sides of the mount. If the screw holes don't line up, the SSD isn't sitting in the mount properly.
- Re-attach the SATA cable to the new 2.5-inch SSD.
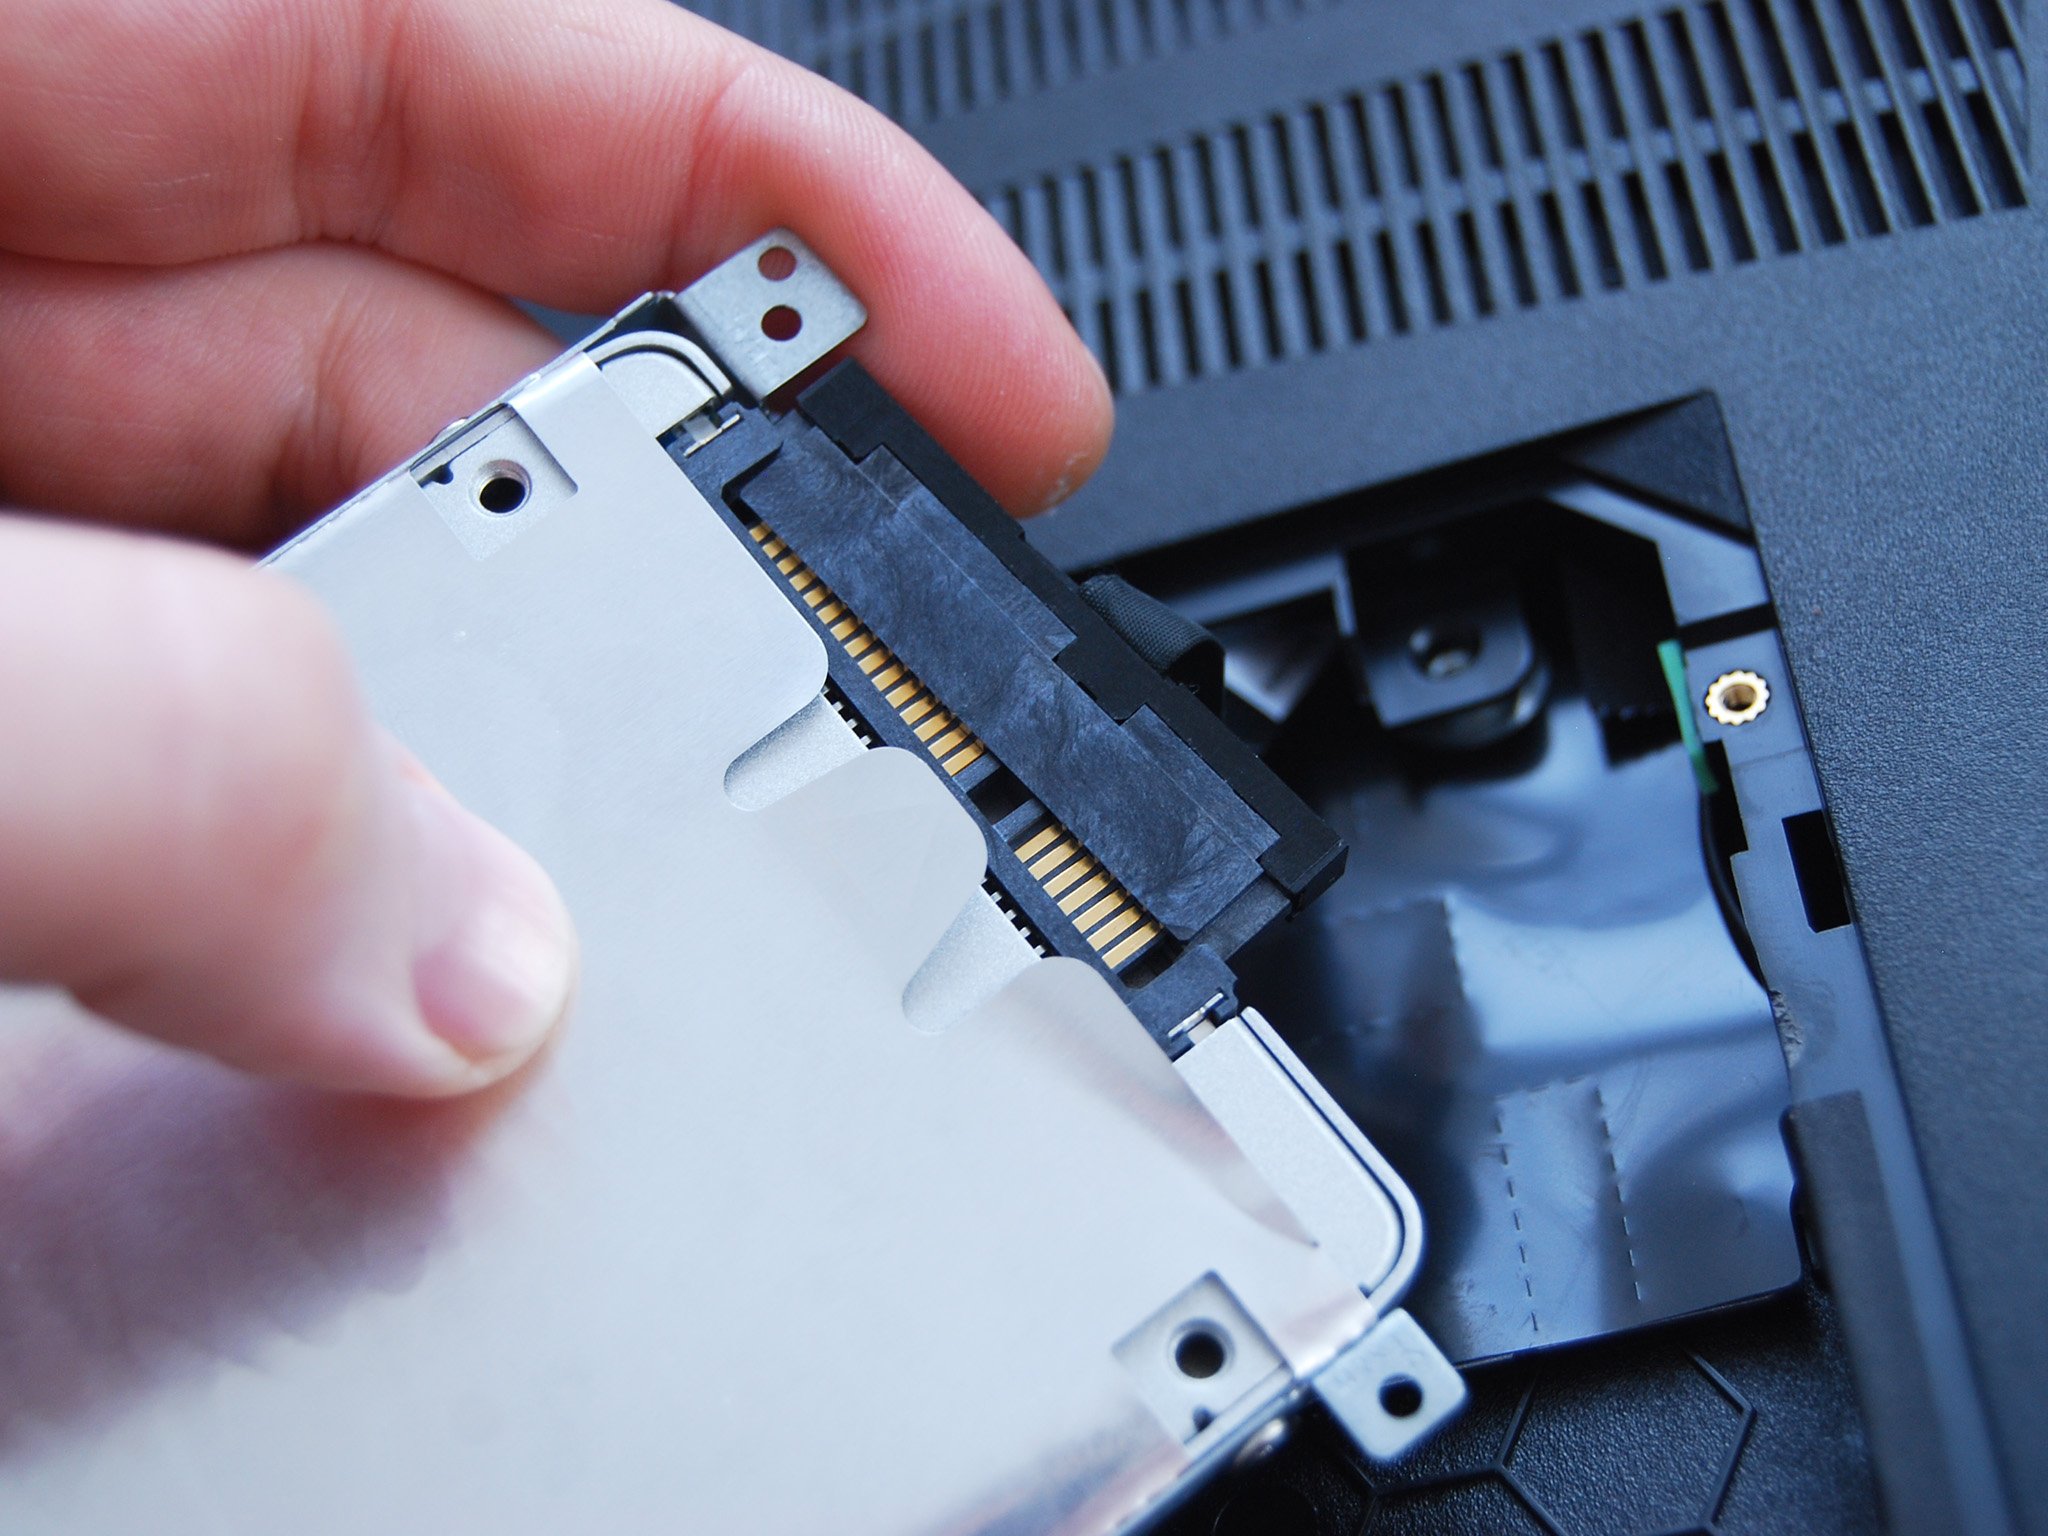
- Set the SSD and mount into the bay.
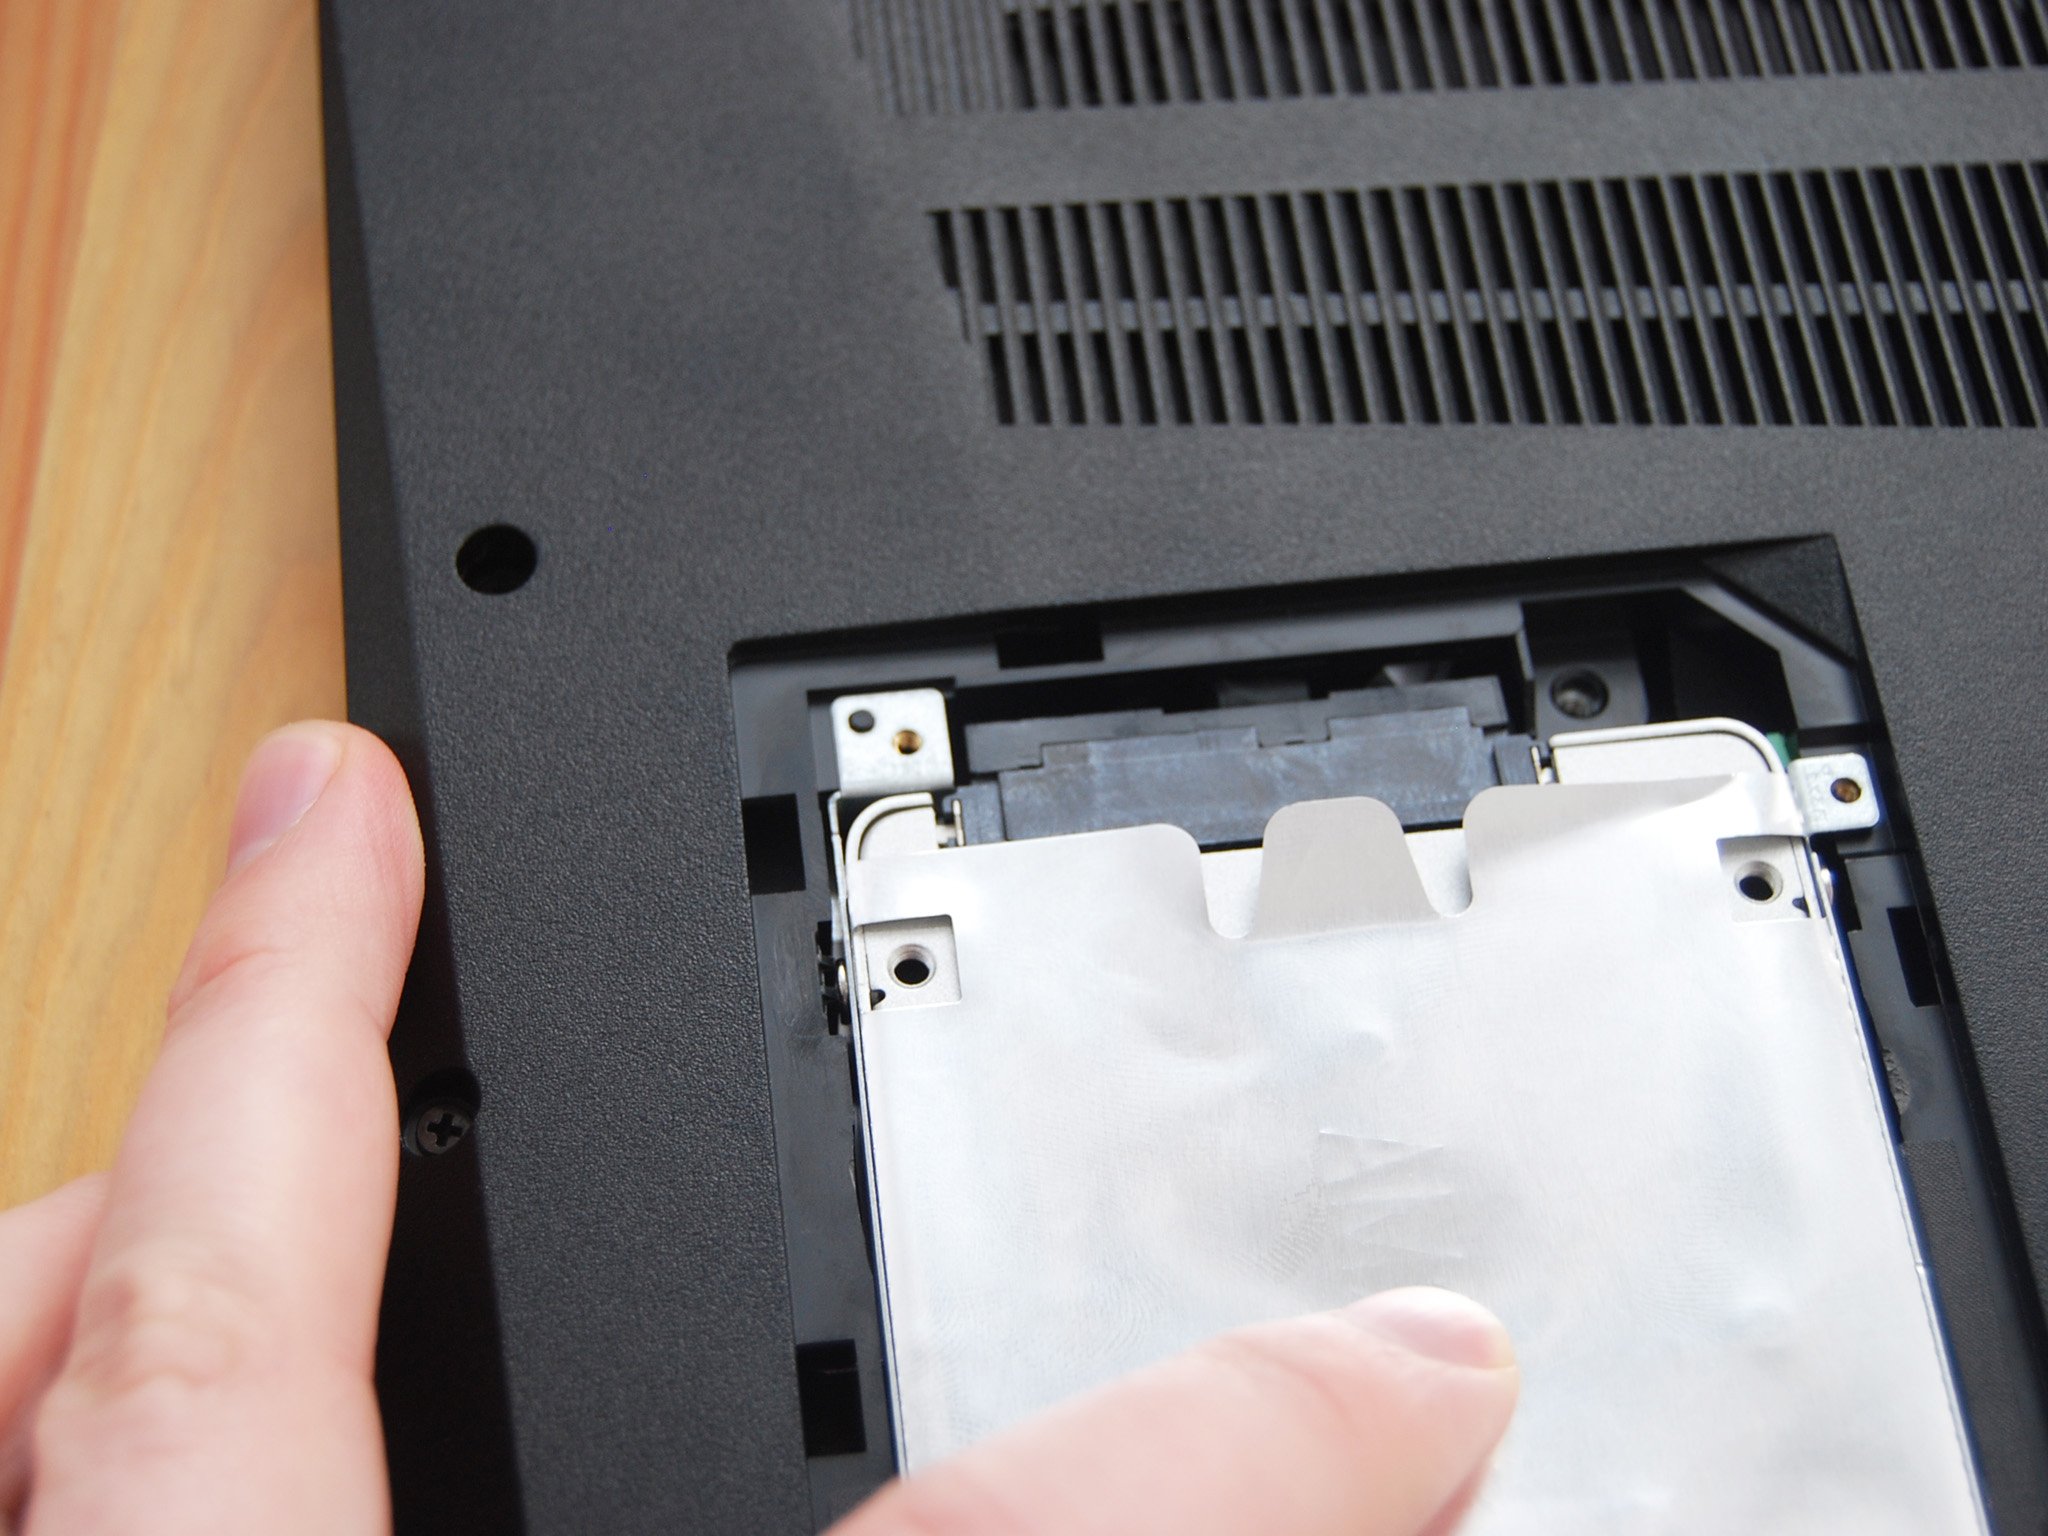
- Screw in the four black fasteners that hold the mounting brackets in place along the outside of the bay.
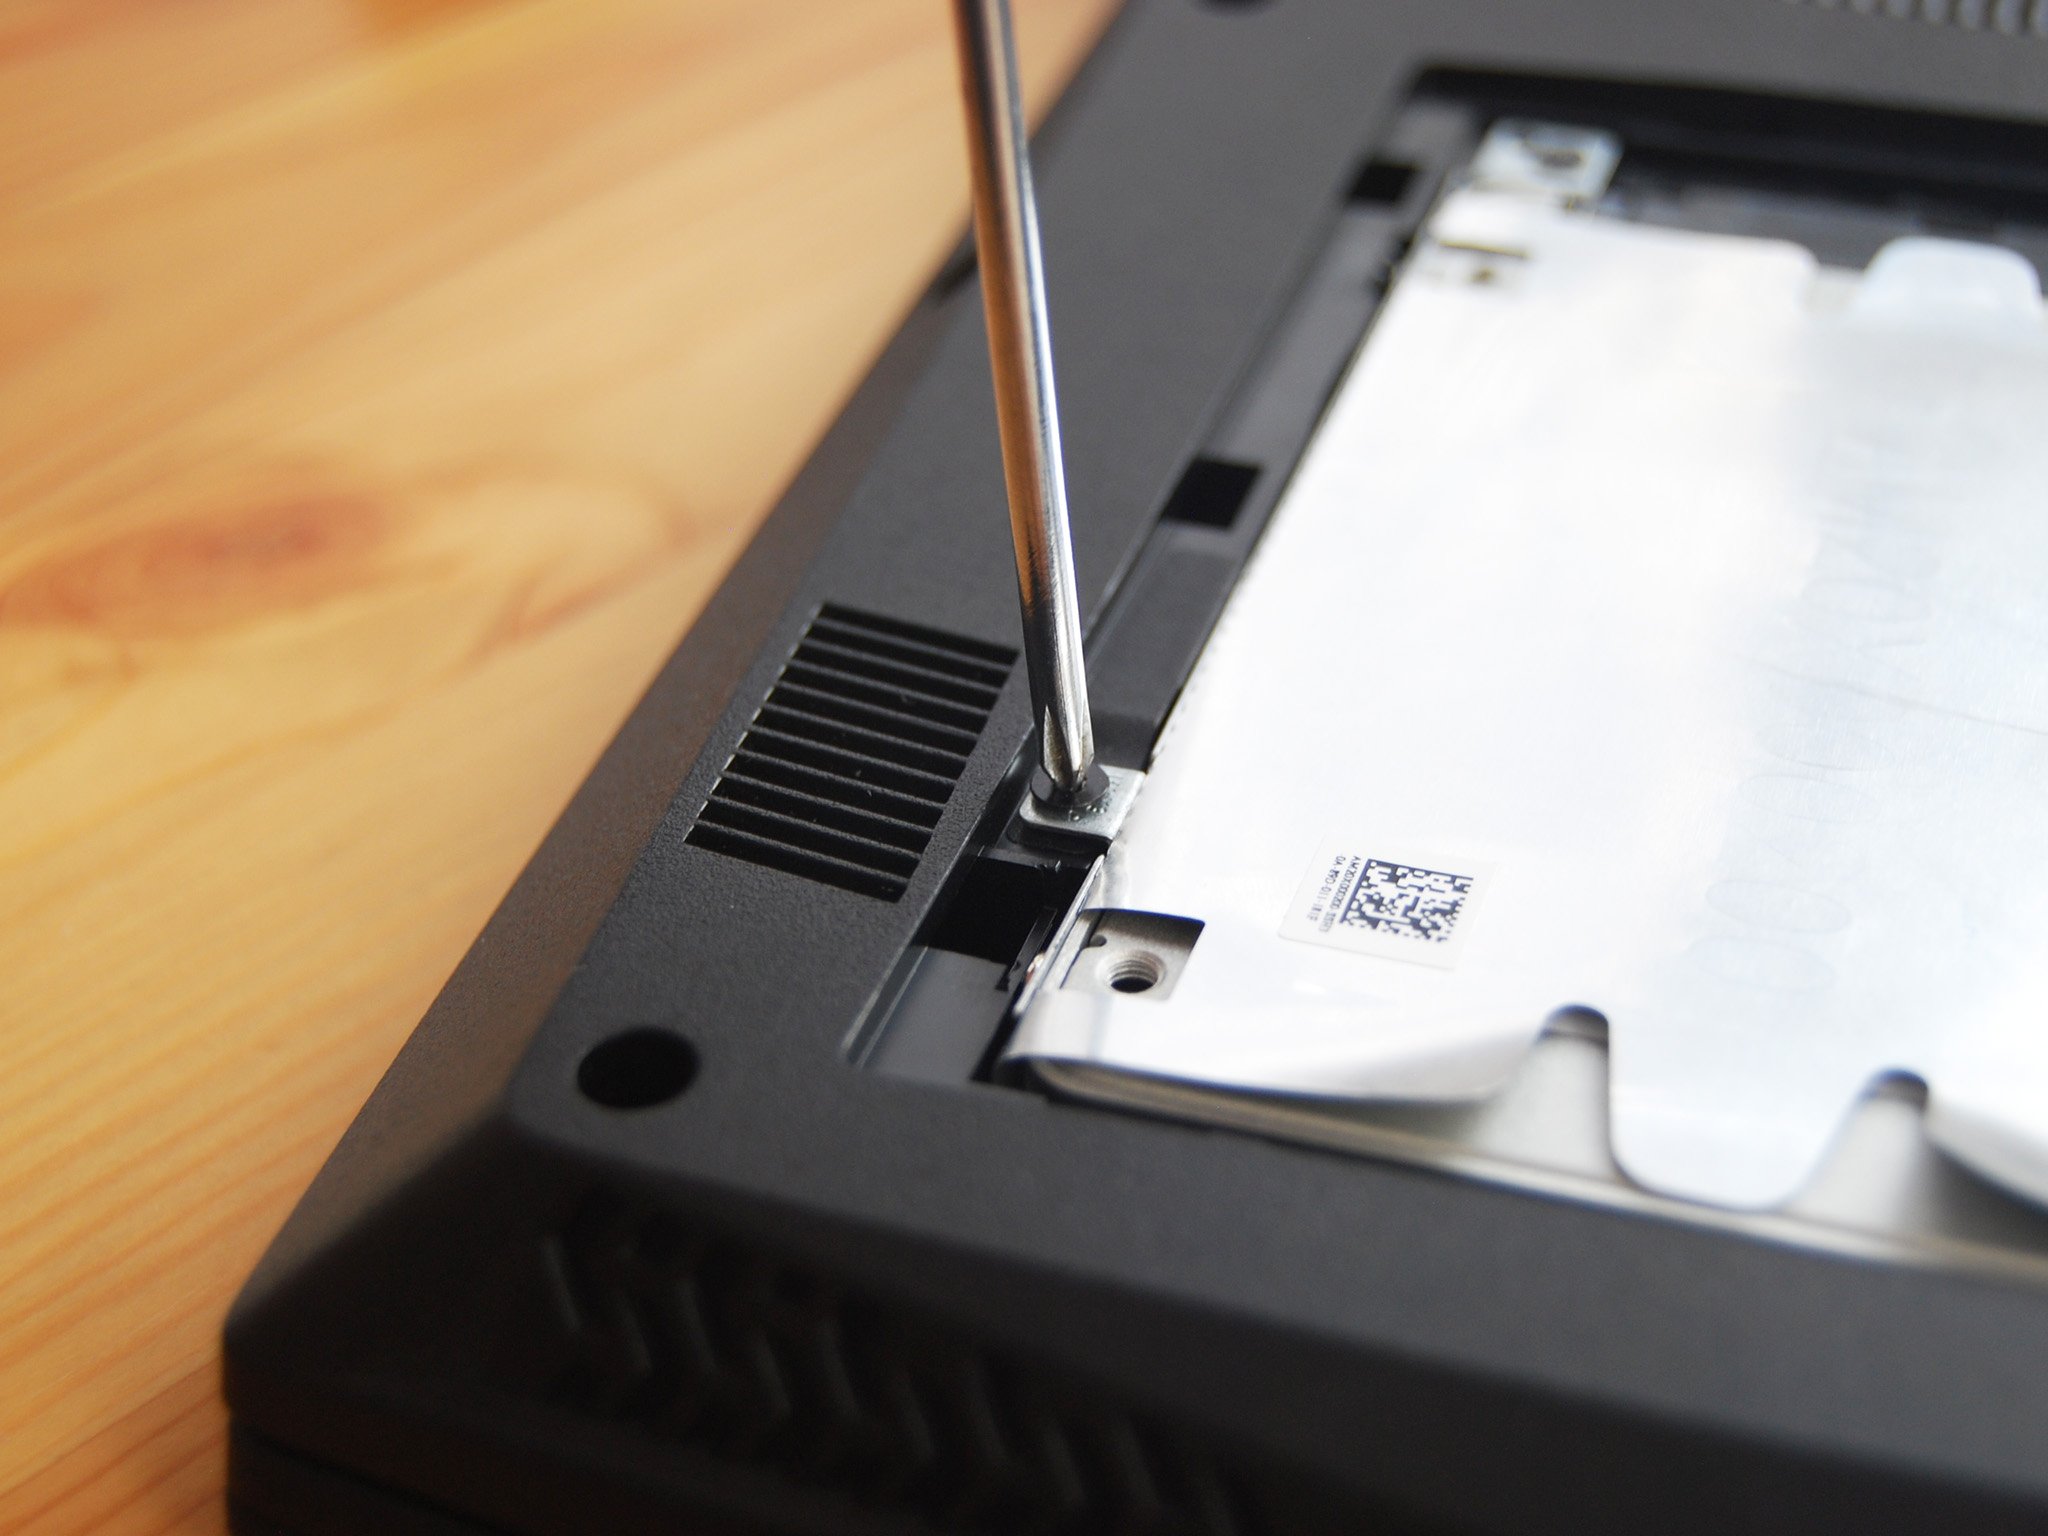
- Press the access panel back into place, making sure all plastic teeth are properly inserted. You should hear a few clicks before it's seated properly.
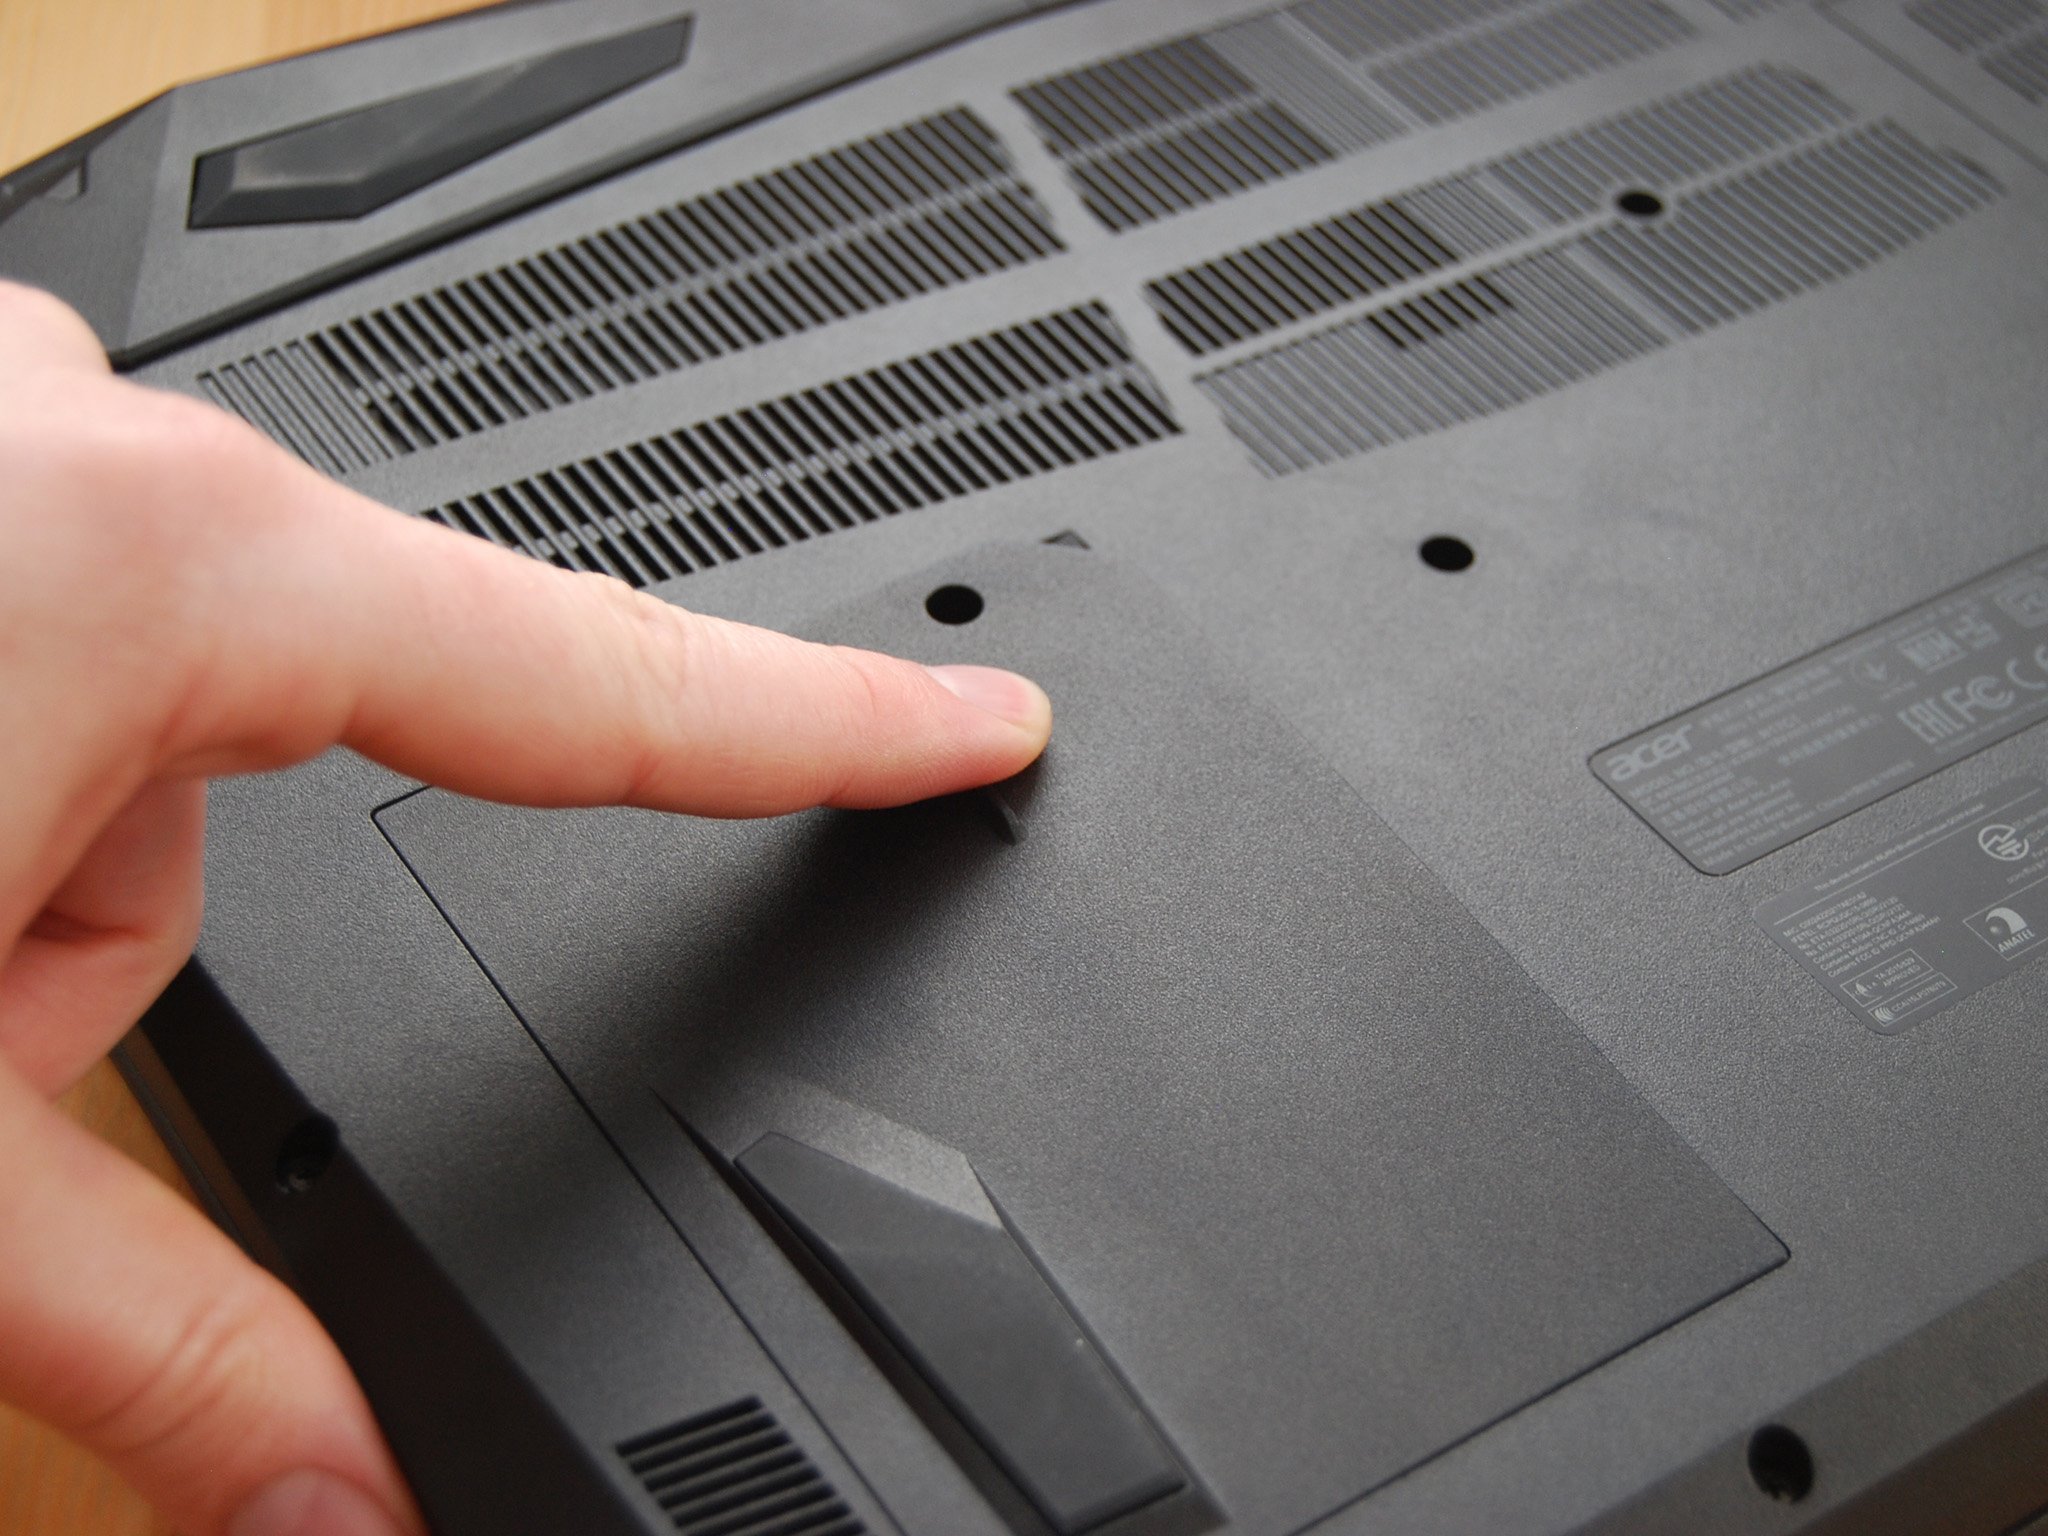
- Screw in the fastener.

You are now free to boot up your Acer Nitro 5 and check to see if the storage upgrade worked. If you run into problems — more likely if you cloned drives than if you simply added a 2.5-inch drive to complement an M.2 SSD — you can always put the old drive back into the Nitro 5 and begin the process again.
Get the Windows Central Newsletter
All the latest news, reviews, and guides for Windows and Xbox diehards.
Our top hardware and software picks
Our pick for an upgrade is Samsung's 860 EVO 2.5-inch SATA SSD, which adds better performance and can add more space depending on the size you buy.
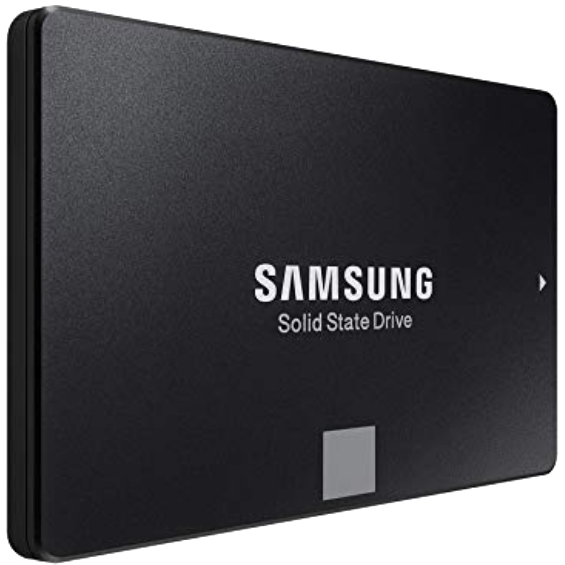
Up to 4 TB of speedy storage
Get read speeds up to 550 MB/s and write speed up to 520 MB/s for superior performance, and take advantage of a 5-year warranty. Don't forget to add an external enclosure for a few dollars more if you plan on cloning your old drive.
One of the Nitro 5's best features is how easy it is to upgrade the storage, allowing you to store more games and enjoy better performance.
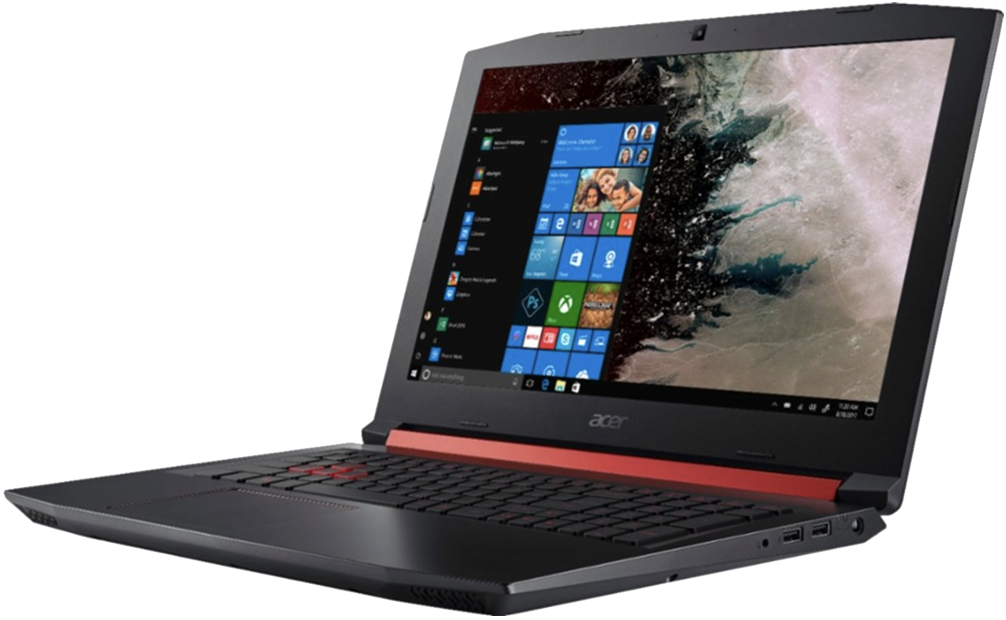
A laptop that's easy to upgrade
If you're a casual PC gamer who wants to stay mobile, the Acer Nitro 5 is a cheap way to get your hands on 1080p performance. Optional AMD hardware is a bonus for anyone who'd rather steer clear of Intel and NVIDIA.
Additional Equipment
To make the upgrade process easier and less risky, consider investing in some of these affordable PC tools, and don't forget about Macrium Reflect for those who want to clone drives.
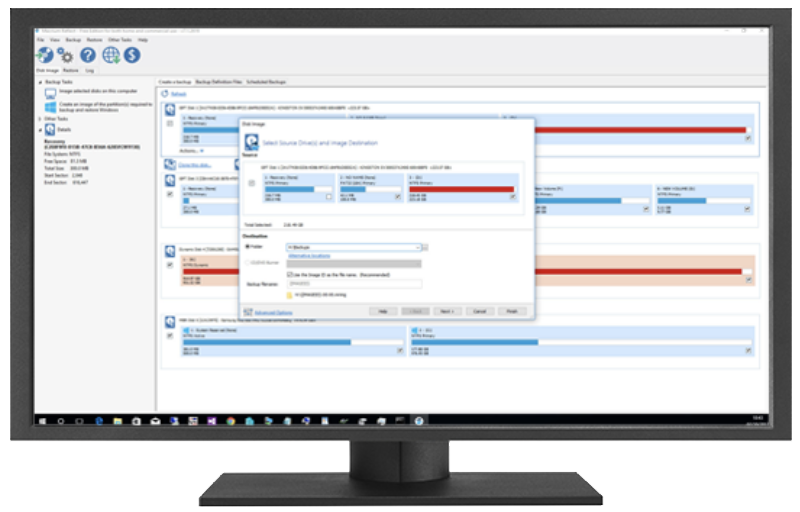
Macrium Reflect 7 (Free+ at Macrium)
We've had success cloning drives with Macrium Reflect 7, and have even written a complete guide on how to use it properly. A free edition is available, but you can purchase a full edition with a bunch more features for those who truly take backups seriously.
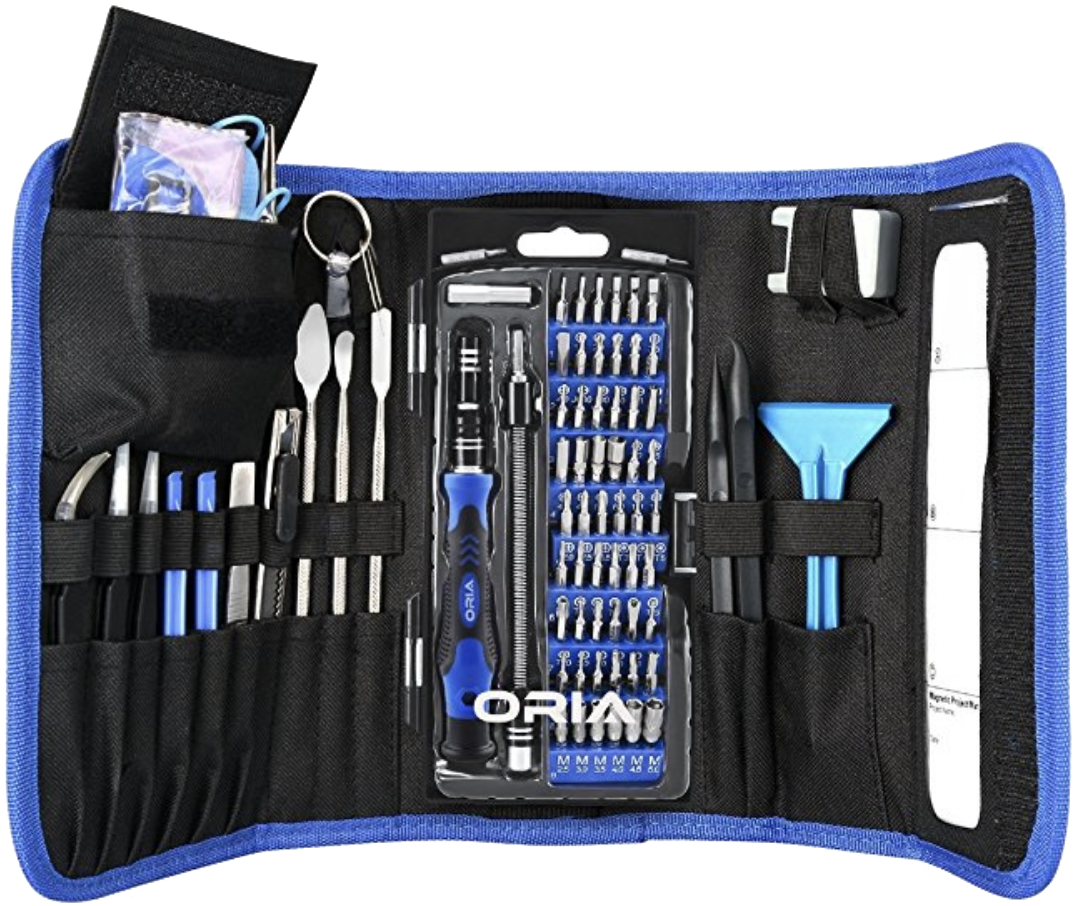
ORIA PC toolkit ($34 at Amazon)
Having the proper gear to work on your PC will always make the job much easier. Here you get a plethora of tools contained in a portable case.
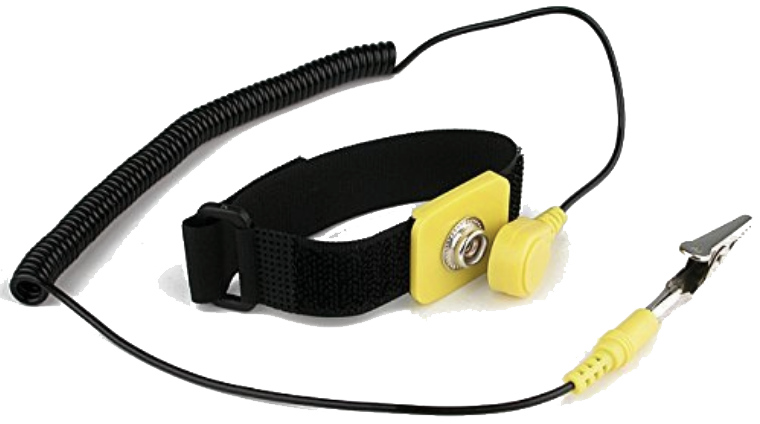
Rosewill anti-static wristband ($6 at Amazon)
Static electricity can damage sensitive PC parts, so remove the risk with an anti-static wristband. Fasten it around your wrist and clip it onto your PC for peace of mind.

Cale Hunt brings to Windows Central more than eight years of experience writing about laptops, PCs, accessories, games, and beyond. If it runs Windows or in some way complements the hardware, there’s a good chance he knows about it, has written about it, or is already busy testing it.
