How to set up Facebook two-factor authentication (2FA)
Whether you're getting extra social or enjoying Facebook Gaming, it's a good idea to protect your account with two-factor authentication.

Whenever two-factor authentication (2FA) is supported, you really should have it enabled. This is especially true on a service like Facebook, which handles a ton of your personal information and hasn't exactly got a gleaming history when it comes to privacy.
Two-factor authentication adds an additional layer of security, requiring a token to complete a login attempt on your account which is generated by you and that only you know. It's a huge extra barrier when it comes to keeping someone out of your account.
If you're looking to get Facebook 2FA set up, we'll walk you through it.
How to set up Facebook two-factor authentication

If you find yourself doing most of your Facebook browsing on your PC, the website is probably the easiest place to get two factor enabled.
There are two methods you'll be able to turn on: SMS-based code generation, and app-based generation. The latter is definitely the better choice, it's more secure and more difficult to spoof by would-be hackers. You'll want to grab something like Microsoft Authenticator or Authy for your Android device or iPhone.
Then simply follow these steps.
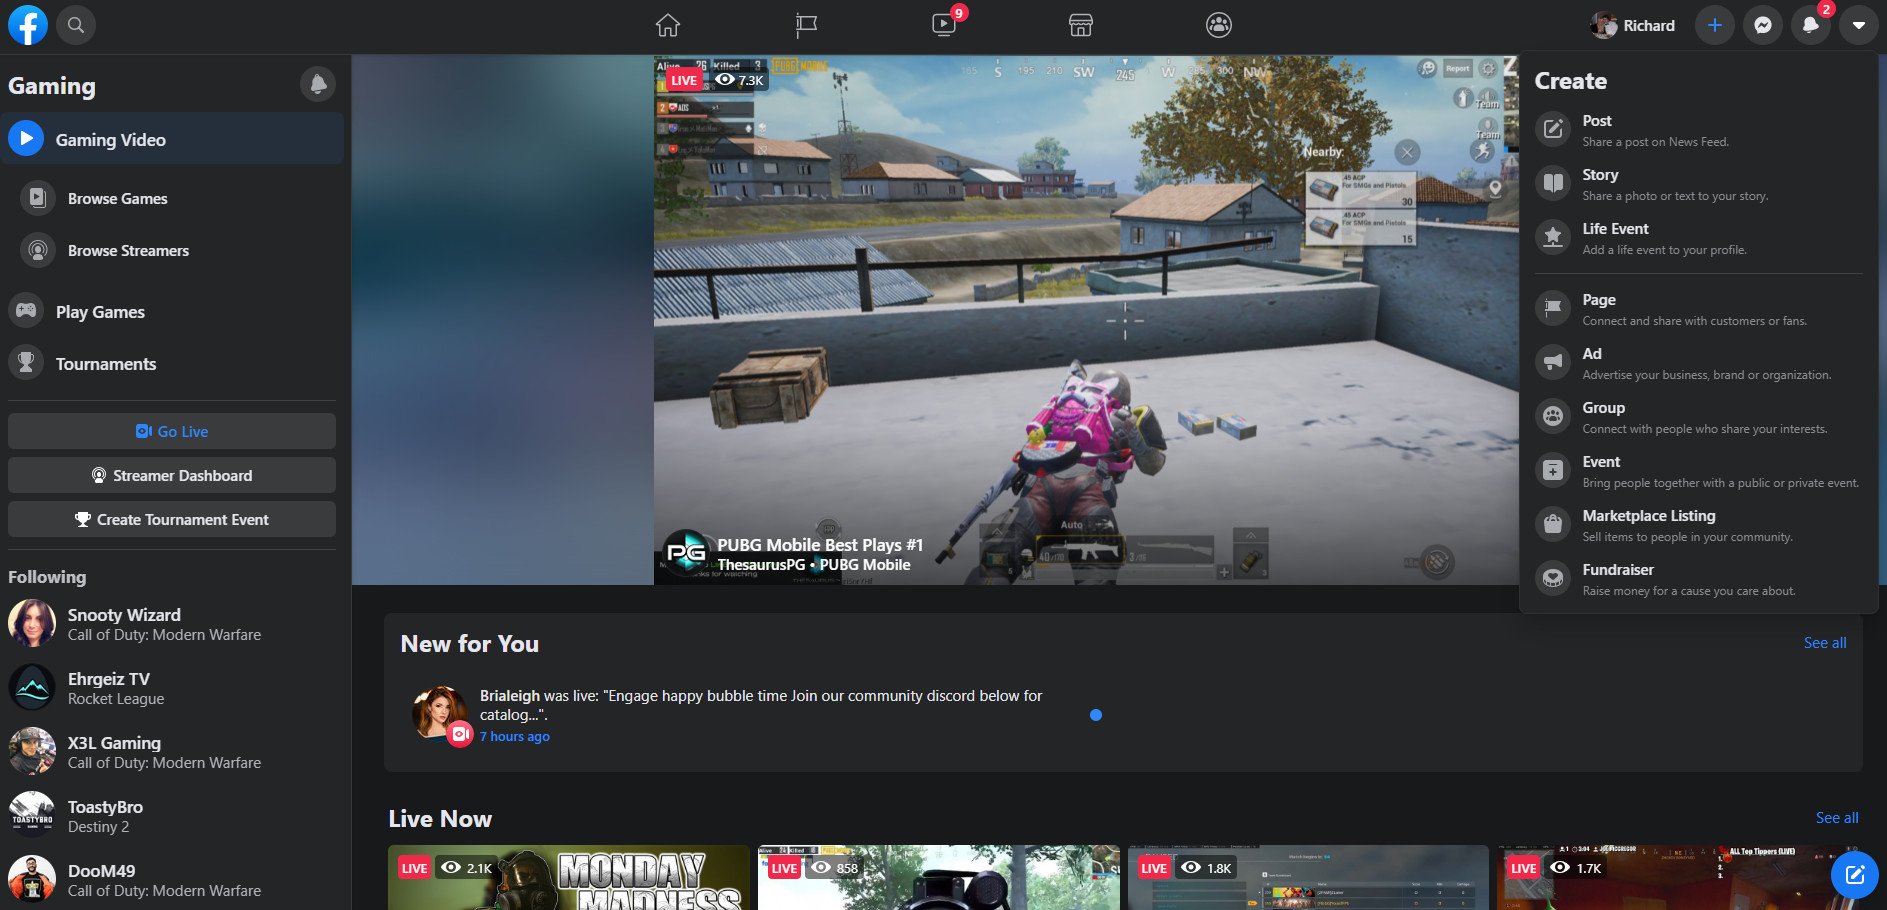
- Click on the dropdown arrow in the very top right-hand corner of a Facebook page.
- Select Settings & Privacy.
- Select Settings.
- In the sidebar click on Security and Login.
- Scroll down and click Edit next to two-factor authentication.
- Next you'll have a choice of either app-based or SMS-based authentication. For the purposes of this guide we're going with the recommended option of app-based, but you can enable the other method at any time.
- Open your chosen authenticator app on your smartphone.
- Either scan the barcode or enter the code given to you.
- Click Continue.
- Go into your authenticator app and enter the six digit code from here in the boxes on screen.

- When you see a message confirming two-factor is on, click Done.

After you complete this process, anytime you log in to Facebook on any device you'll be prompted to enter a six-digit code from your authenticator app before you're allowed in. It's absolutely crucial that you don't share your QR code, or even your device, with anyone else who may also know or be able to find out your Facebook password.
All the latest news, reviews, and guides for Windows and Xbox diehards.

The steps above also relate to the Facebook mobile apps. The same menus exist in those apps and setting up two-factor authentication is done in the exact same way.
The only difference may be that you have to copy and paste the code or QR code into your authenticator app instead of simply scanning it with your camera.
And that's all there is to it. Your Facebook account is now a whole heap more secure than it was before, and that is a very good thing.

Richard Devine is a Managing Editor at Windows Central with over a decade of experience. A former Project Manager and long-term tech addict, he joined Mobile Nations in 2011 and has been found on Android Central and iMore as well as Windows Central. Currently, you'll find him steering the site's coverage of all manner of PC hardware and reviews. Find him on Mastodon at mstdn.social/@richdevine


