How to set up Reolink security camera on QNAP NAS

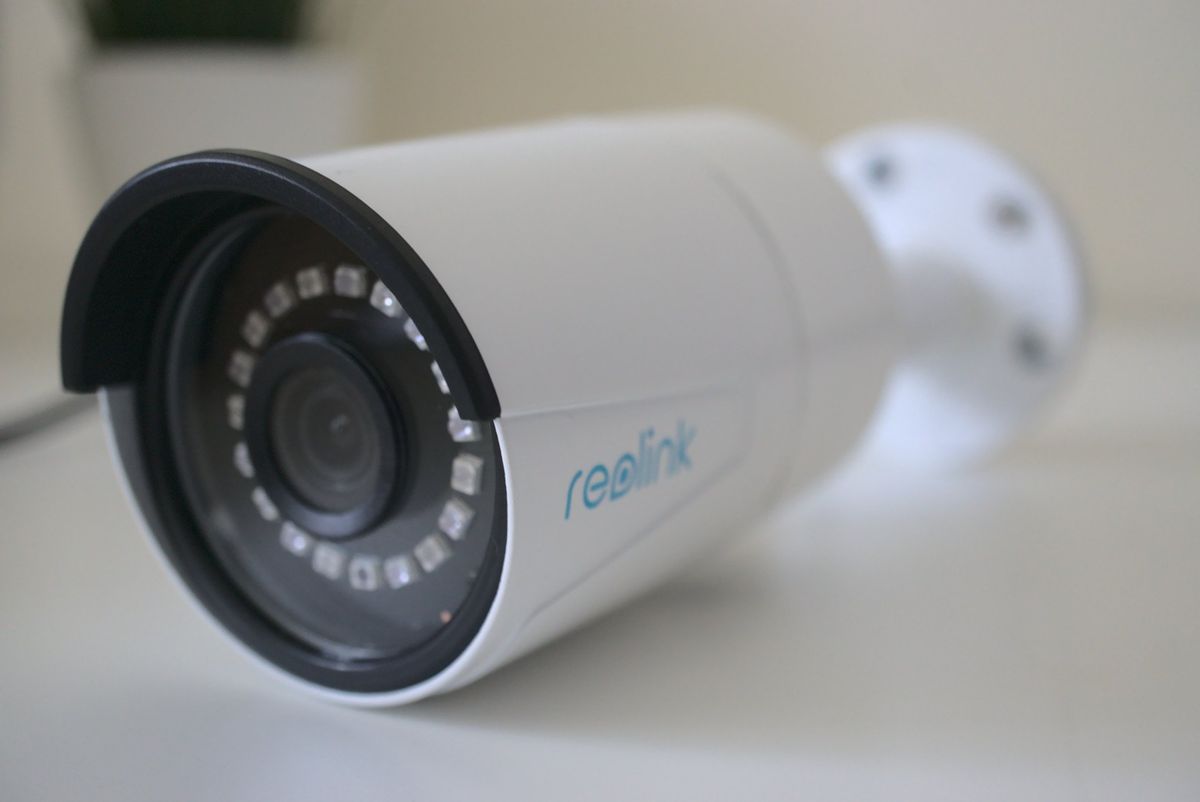
It's easy to configure a Reolink security camera to get it working on a QNAP network-attached storage (NAS) enclosure. With enough IP camera licenses available on your server, it's even possible to set up a Surveillance Station in but a few minutes. In this guide, I'll run you through the quick and painless process of adding Reolink cameras to your QNAP NAS.
Products used in this guide
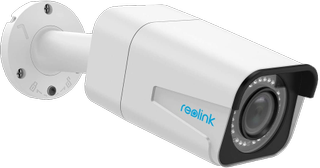
- A great value security camera: Reolink RLC-511W ($100 at Amazon)
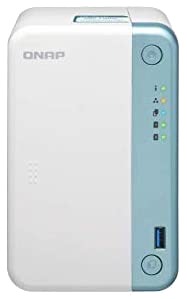
- Great NAS for surveillance: QNAP TS-251D ($299 at Amazon)
How to connect your Reolink camera to QNAP NAS
- Turn on your QNAP NAS.
- Make sure you've already connected your Reolink camera to your home network, and it's installed and ready for use.
- Launch your favorite browser on a PC to log into your QNAP NAS. (This is usually the IP address followed by port 80, e.g.: 192.168.1.15:80.)
- Open App Center.
- Install Surveillance Station.
- Launch Surveillance Station.
- Enter Settings.
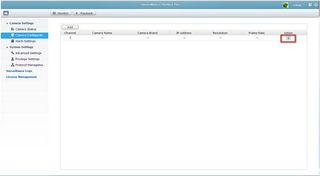
- Click on the + on Camera 1.

- Enter all the details for the Reolink camera you're attempting to connect to.
- Hit Test to make sure it works.
- Click Next.
- You can now configure quality and recording settings or leave them default.
- Click Next.
- Here, we can set up schedules and more.
- Once finished, click Next.
- Confirm all the details and click Next to complete the process.
You'll now be able to control, manage, and set all kinds of settings for the newly added Reolink camera within the Surveillance Station. This software suite is expansive, allowing you to set up recordings, schedules, and more.
Our top equipment picks

Reolink makes some killer security camera equipment, and the RLC-511W is a solid outdoor choice for homeowners. It works wirelessly or cables and can be hooked up to a QNAP NAS.

The QNAP TS-251 has plenty going for it, allowing you to secure the entire home for much less. This NAS can support up to 12 cameras, includes eight free licenses, and has 2GB of DDR4 RAM. It's one of the best NAS for home surveillance.
Get the Windows Central Newsletter
All the latest news, reviews, and guides for Windows and Xbox diehards.

Rich Edmonds was formerly a Senior Editor of PC hardware at Windows Central, covering everything related to PC components and NAS. He's been involved in technology for more than a decade and knows a thing or two about the magic inside a PC chassis. You can follow him on Twitter at @RichEdmonds.