How to set up a Reolink security camera on ASUSTOR NAS

ASUSTOR makes some of the best NAS for home and the company's enclosures are also on the best NAS for home surveillance. Adding a Reolink security camera to an ASUSTOR NAS enclosure is a simple process that takes but a few minutes.
How to connect a Reolink camera
In this guide, I'm going to be using the Reolink E1 Pro and ASUSTOR LOCKERSTOR 4 AS6604T, but the process will largely be the same for other compatible Reolink cameras and ASUSTOR NAS.
- Log into your NAS ADM OS.
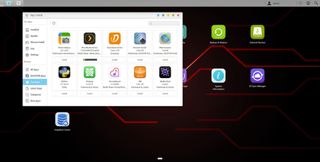
- Open App Central and select ASUSTOR apps.

- Click on Surveillance Center.
- Click on Install.
- Open Surveillance Center after it's installed.
- Click on Settings > Quick Start to launch the wizard.
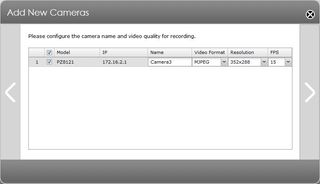
- If the NAS does not detect the camera automatically, select "Add manually."
- Enter all the necessary details.
- Hit the next arrow once everything is set.

- Configure resolution, name, format, and other settings.
- Configure the recording schedule.
- Set storage limits and other advanced settings.
Having your Reolink camera connected to a NAS is a great way to store recorded footage. An SD card can not only fill up quickly, but it can also be physically removed. Storing data on a NAS is yet another line of defense.

Extra pair of eyes
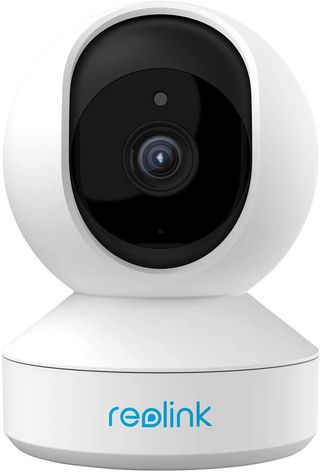
The Reolink E1 Pro has everything you need in a compact, affordable package. It has motorized panning, 4MP sensor with night vision, local SD storage, and works perfectly with NAS.
Get the Windows Central Newsletter
All the latest news, reviews, and guides for Windows and Xbox diehards.

Rich Edmonds was formerly a Senior Editor of PC hardware at Windows Central, covering everything related to PC components and NAS. He's been involved in technology for more than a decade and knows a thing or two about the magic inside a PC chassis. You can follow him on Twitter at @RichEdmonds.