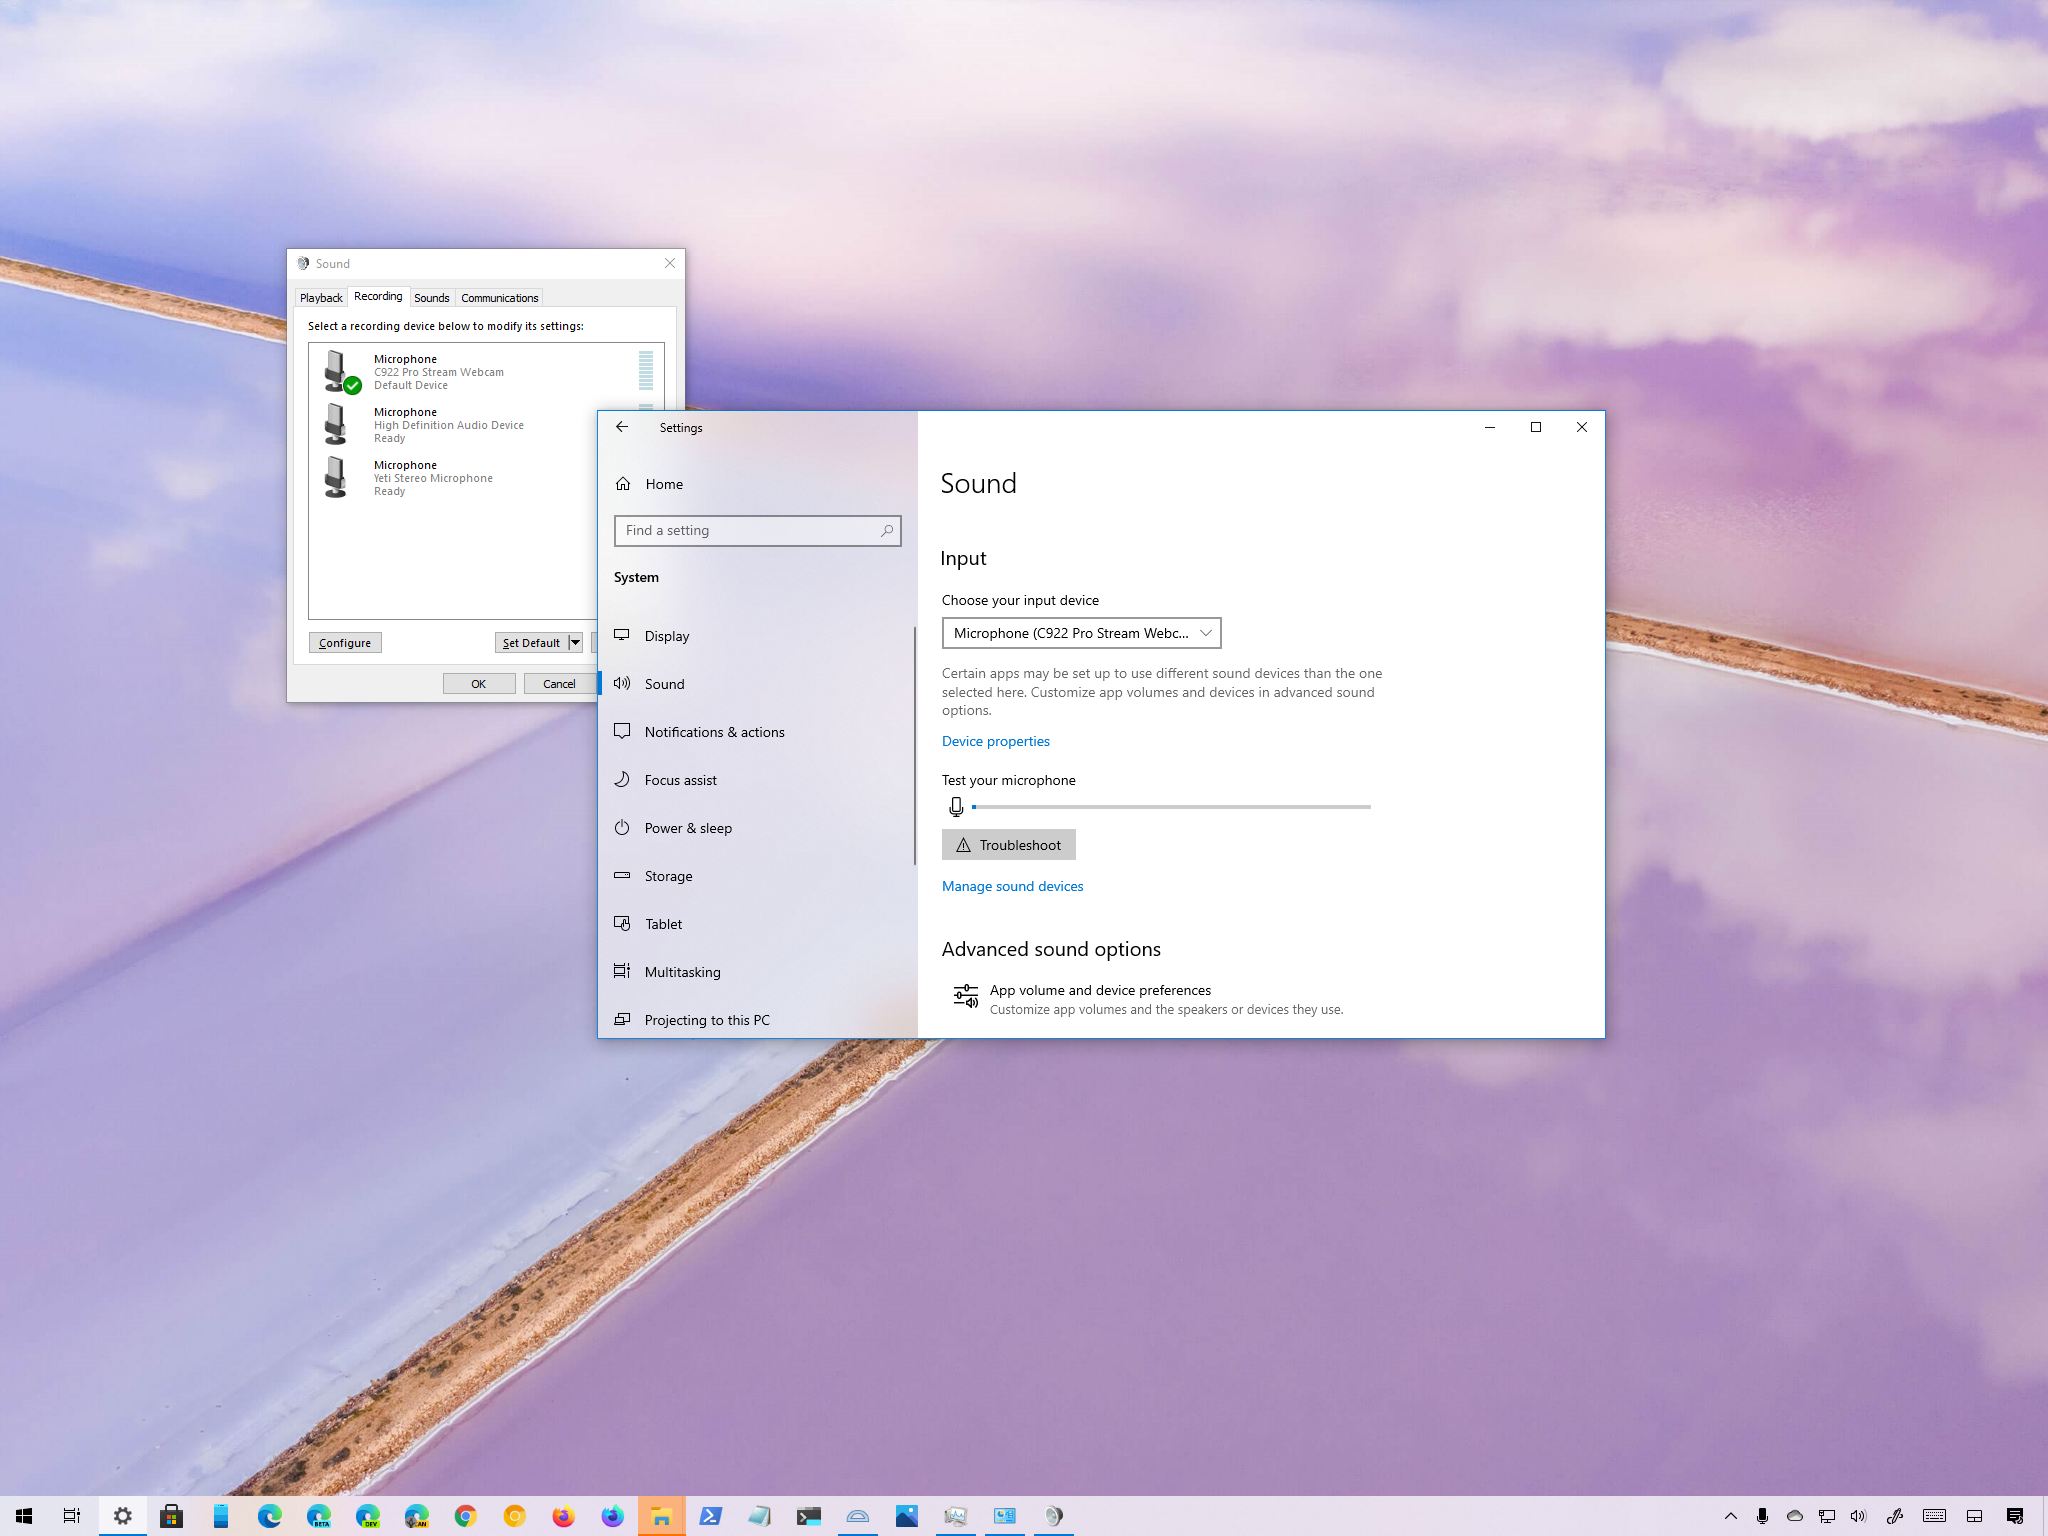
How to set up a microphone as the new default on Windows 10
Yes, you can set a new microphone as the system default, and in this guide, you will learn two ways to complete this task on Windows 10.

On Windows 10, you can connect virtually as many microphones as you want. The only issue is that the first one you install will automatically become the default recording device for the enteire system.
However, if you happen to have multiple microphones because, for example, one came built into the webcam, and then you installed one of the best microphones for streaming, it is possible to set either of them as the system default. That way when you open a recording or communication application, you don't have to keep going through extra steps to select the microphone you want to use.
Whatever the reason it might be, Windows 10 includes at least two ways to change the default microphone with the Settings app and Control Panel.
In this Windows 10 guide, we will walk you through the steps to set a new microphone as the new default on your device.
How to change default microphone in Settings
To select a new microphone as the system default, use these steps:
- Open Settings.
- Click on System.
- Click on Sound.
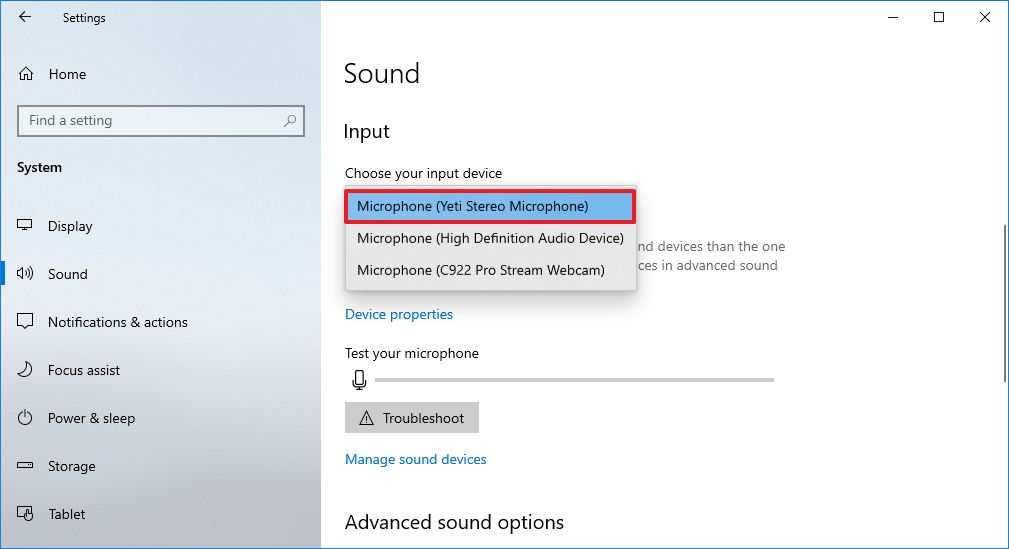
- Under the "Input" section, use the Choose input device drop-down menu and select the new default microphone.
Once you complete the steps, the microphone you selected will be available as the system's primary input device.
How to change default microphone in Control Panel
To change the default microphone settings in Control Panel, use these steps:
All the latest news, reviews, and guides for Windows and Xbox diehards.
- Open Control Panel.
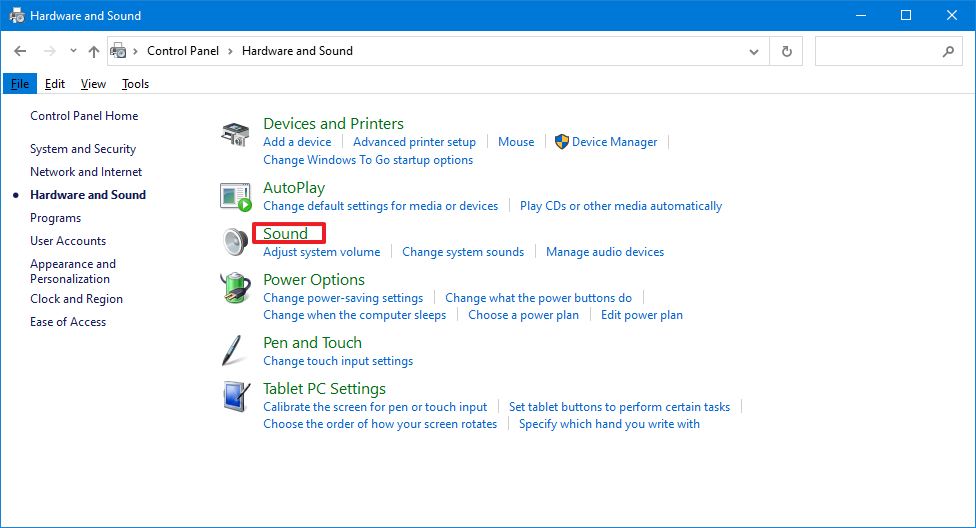
- Click on Hardware and Sound.
- Click on Sound.
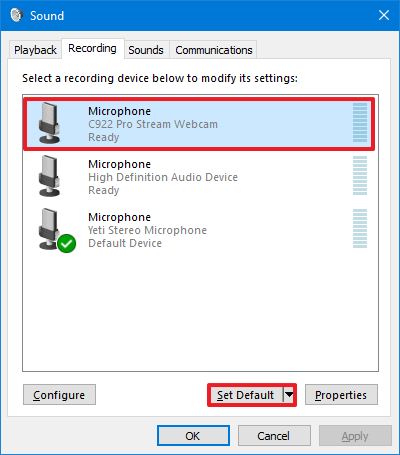
- Click the Recording tab.
- Select the microphone you want to set as the new default.
- Click the Set Default button.Quick tip: You can also click the down-arrow button next to "Set Default" to select whether the recording device should be the default for the entire system or only for communication applications. If you select the "Default Communication Device" option, then the previous device will continue to be the system default for other apps.
- Click the Apply button.
- Click the OK button.
After you complete the steps, Windows 10 will use the configured microphone as the new default.
More Windows 10 resources
For more helpful articles, coverage, and answers to common questions about Windows 10, visit the following resources:
- Windows 10 on Windows Central – All you need to know
- Windows 10 help, tips, and tricks
- Windows 10 forums on Windows Central

Mauro Huculak has been a Windows How-To Expert contributor for WindowsCentral.com for nearly a decade and has over 22 years of combined experience in IT and technical writing. He holds various professional certifications from Microsoft, Cisco, VMware, and CompTIA and has been recognized as a Microsoft MVP for many years.


