How to set up a Foscam R2 surveillance camera on the Synology DS218 NAS
Here's how to get started with the Foscam R2 camera and Synology DS218 network-attached storage (NAS).
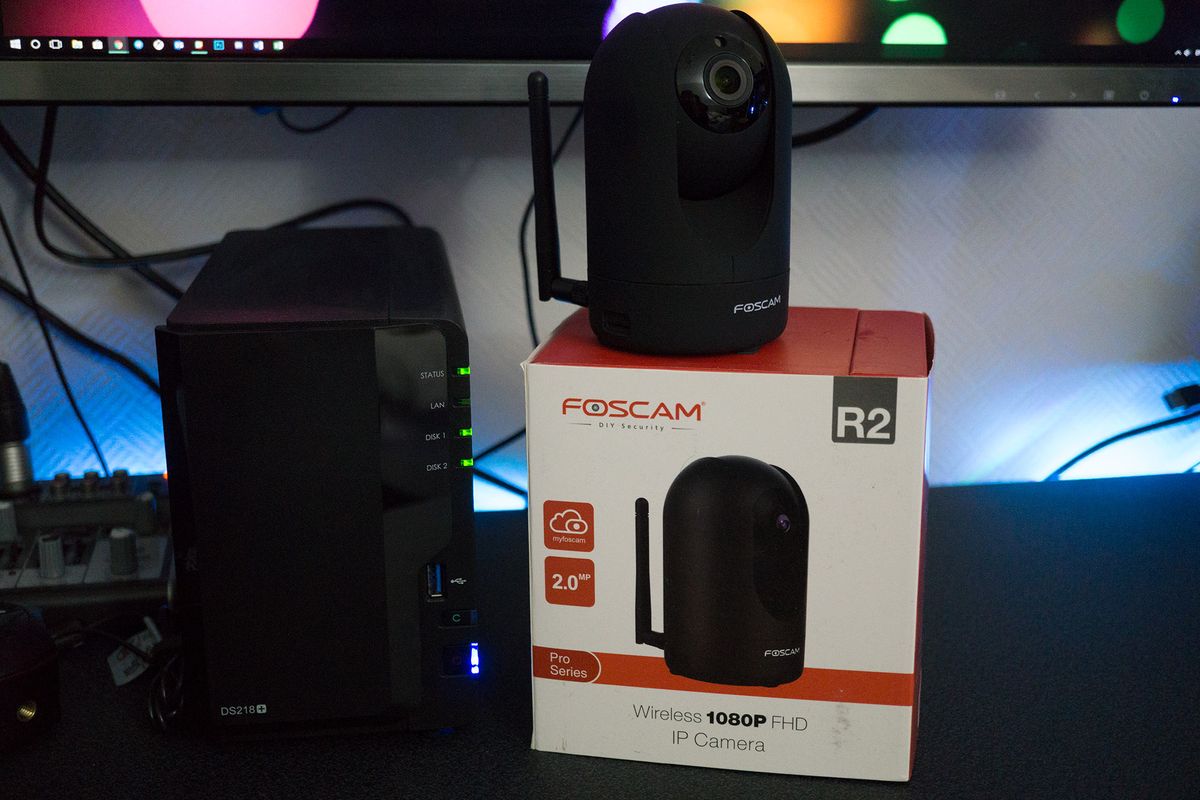
Foscam surveillance cameras can be managed using nothing more than a smartphone and the Foscam app. It's a good way of installing and viewing multiple cameras in the home or office, but what if you want to store recorded footage and configure easy access for other family members to see feeds? This is where the Surveillance Station package on the Synology DS218 takes home security to the next level.
Setting up the camera
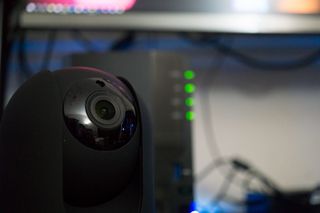
Before you can hook up the Synology DS218 to the Foscam camera, you need to get the little Foscam R2 working with your network. In the box of contents that come with it, you should have a Wi-Fi antenna and power adapter. You won't need the former if you're going to have it wired, but the power cord is — of course — required.
Here's how to get started:
- Plug the R2 into an outlet.
- Connect an ethernet cable from the rear of the unit to your router.
- Install the Foscam app on your phone (It's available for iOS and Android).
- Under My Cameras, tap on + to add a new camera.
- Scan the barcode underneath the camera.
- If you need Wi-Fi connectivity, install the antenna and choose an available network in the app.
- Detach the ethernet cable if you're using Wi-Fi.
The camera should inform you audibly that a connection has been established.
Configuring a static IP
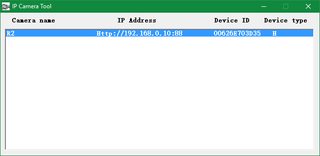
If, for some reason, the camera has connected to your network using Dynamic Host Configuration Protocol (DHCP) you may want to look at doing this manually to avoid future frustration. DHCP is handy, as it's a user-friendly way of allowing the router to handle assigning a local IP to the camera and setting it up. But this can cause problems if your router changes the IP address assigned to a camera.
To remedy this, you can manually assign an IP address to each camera (or double-check that they're not grabbing an IP address from the router). Here's how:
- Download and run the Foscam IP Camera Tool.
- Right-click on the connected camera(s).
- Choose Network Configuration.
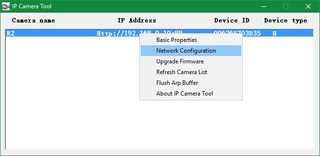
- Uncheck Obtain IP address from DHCP server.
- Hit OK.
Now the camera will be manually assigned that same IP address each time it connects or the router restarts.
Get the Windows Central Newsletter
All the latest news, reviews, and guides for Windows and Xbox diehards.
Adding Synology to the mix
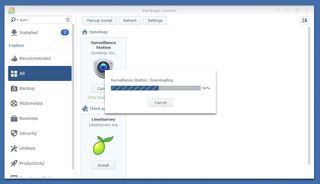
Now it's time to get Synology involved using the company's Surveillance Station package. This turns the NAS into a small home security box, offering live feeds, various settings for recordings, and integration with Foscam utilities for managing connected cameras.
Installing Surveillance Station
To get started, follow these steps:
- Firstly, connect to DS218 and log in with your admin credentials.
- Click on Package Center.
- Enter "surveillance" into the search bar.
- Click Install on the package card to install the Surveillance Station.
- Click the package icon in the top-left corner.
- Click on Surveillance Station.
You're now in the Surveillance Station, which should have opened in a new tab. From there, you can manage a whole heap of settings and features, including adding and editing networked cameras, like the Foscam R2 unit.
Adding the R2 camera
Here's how to get the camera up and running:
- Click on the IP Camera shortcut.
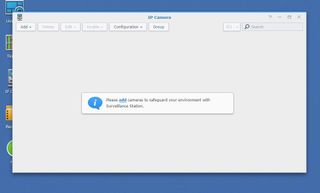
- Click on Add, and then click Add Camera.
- Choose Quick setup.
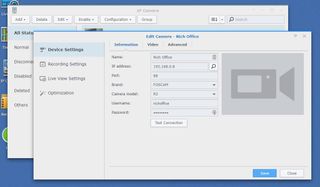
- Enter all the details of the camera, which can be found using the Foscam app on your smartphone (or IP Camera Tool on PC).
- Click on Test Connection.
- If all goes well, click Finish.
Finishing up
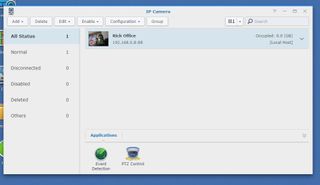
You should now have your camera(s) listed in IP Camera, all while maintaining a connection with the Foscam app on your phone. It's now possible to configure the camera to adjust detection, movement control and recordings. To edit or delete a camera, simply right-click on the listing and choose the respective option. More cameras can be added this way until you have every entry point covered.
You can now add more cameras, install them to walls and add larger drives to the NAS for added capacity for recordings. It has never been easier to gain more peace of mind at home and when you're away.

Rich Edmonds was formerly a Senior Editor of PC hardware at Windows Central, covering everything related to PC components and NAS. He's been involved in technology for more than a decade and knows a thing or two about the magic inside a PC chassis. You can follow him on Twitter at @RichEdmonds.