How to set up the Razer Ripsaw HD for streaming
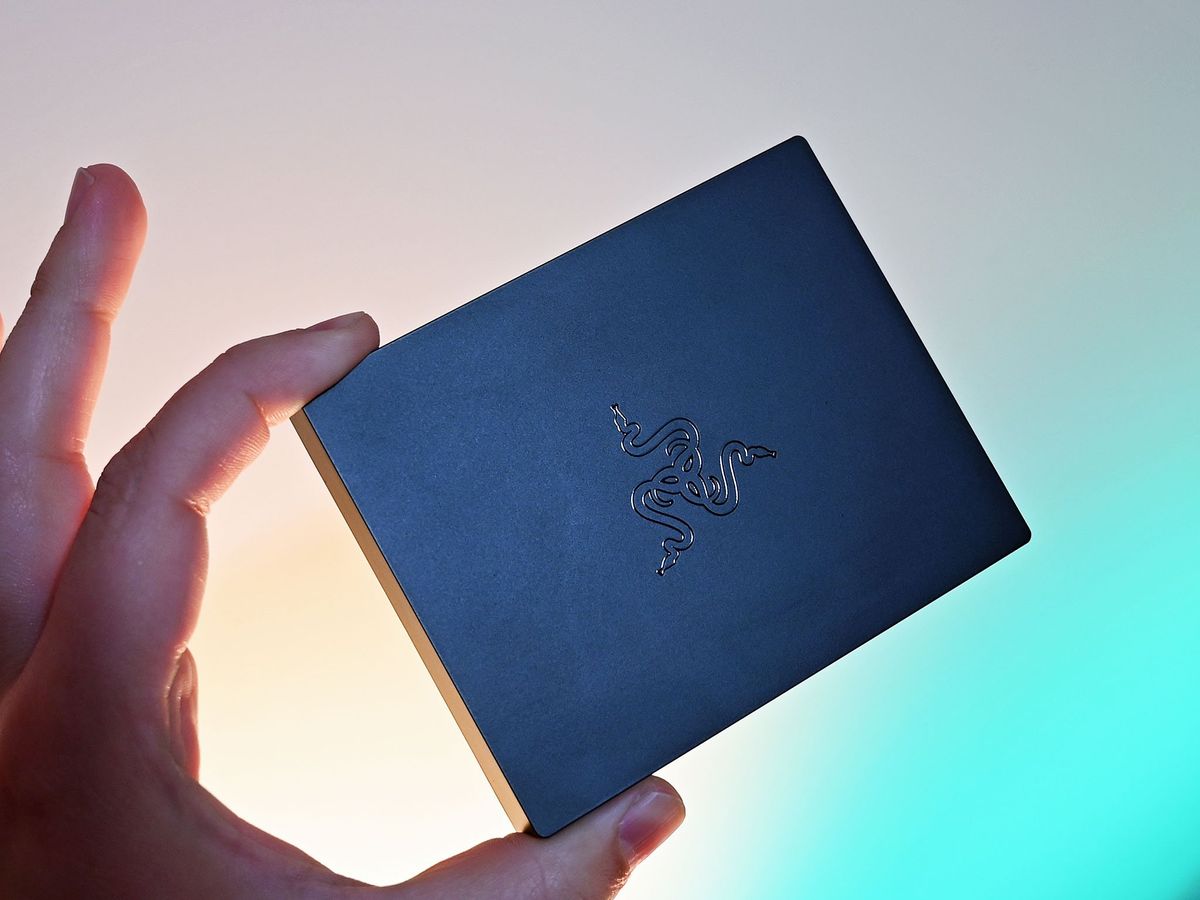
Unlike most other capture cards, the Razer Ripsaw HD doesn't have a companion app you can simply download and start capturing or streaming with. This doesn't mean it's difficult to use, you just have to look elsewhere to get the job done.
Products used in this guide
- The capture card: Razer Ripsaw HD ($160 at Amazon)
- The software: Streamlabs OBS (Free at Streamlabs)
Before you get started
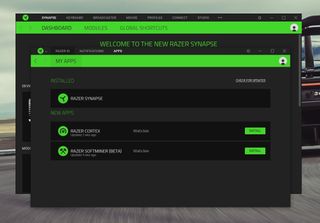
While the Ripsaw HD doesn't have a companion app for streaming, it does make use of Razer Synapse 3 to ensure the necessary drivers and firmware releases are up to date.
If you don't yet have Razer Synapse 3, go ahead and download it from Razer before you get started.
You no longer require an account to use Synapse. Razer allows you to sign in and use it as a guest, which is a neat option to have.
Once you have it installed, connect the USB-C cable included with the Ripsaw HD to both the capture card and your PC, and it will automatically make sure any updates are installed.
How to hook up the Razer Ripsaw HD to your console and PC
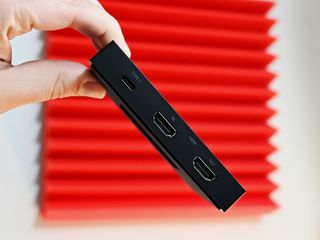
To get going streaming, first make sure you've got everything set up.
- Connect the USB-C cable between your Ripsaw HD and a USB 3.0 port on your PC.
- Take the HDMI output for your console or PC and connect it to the input connection on the capture card.
- Connect the included HDMI cable to the output connection on the capture card.
- Connect the other end of this cable to your TV or monitor.
The Ripsaw HD is also capable of handling some audio mixing duties, with a microphone input and a headphone output on the capture card. It's an easy way of monitoring your audio, particularly if you're using it to stream with two PCs, all with zero latency.
Get the Windows Central Newsletter
All the latest news, reviews, and guides for Windows and Xbox diehards.
Razer has included a 3.5mm cable with the Ripsaw HD to help you get started if you need it.
Beginners guide to streaming with OBS Studio
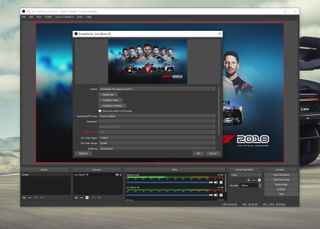
We're using Streamlabs OBS in this guide, but many of its features are shared with OBS Studio, as are the steps to use them all. If you're new to streaming and looking for a comprehensive guide, we've got you covered.
Getting started streaming with OBS Studio
How to set up the Razer Ripsaw HD in Streamlabs OBS
For this guide, we're using Streamlabs OBS, but the basic setup process is very similar in OBS Studio. XSplit also works just fine with the Ripsaw HD, but as the former two are both free to use, we're focusing on those.
The first thing to do is to hit the Streamlabs website and download and install Streamlabs OBS.
- Click the + button in the sources box in the main window.
- Select video capture device.
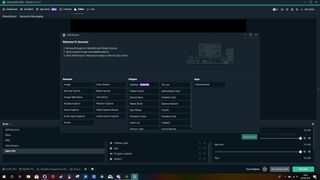
- Name it (if you wish) so it's easier to identify in your sources list.
- Click OK.
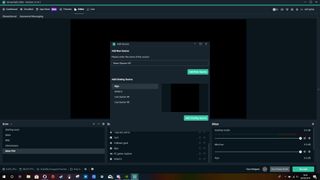
- Choose your Razer Ripsaw HD from the device drop-down box.
You'll now see the Razer Ripsaw HD feed in your Streamlabs OBS window. All you need to do is resize it to fit your own personal template. It captures at 1080p resolution at up to 60 frames per second (FPS). In the Streamlabs OBS settings, you can adjust your output and bitrate to suit your streaming service and internet connection.
You then need to follow the same steps and add the Ripsaw HD as an audio device. Unlike some other capture cards, the audio is on a different track to the video, so if you don't do this you wont have any game sound.
Great capture card for console streamers
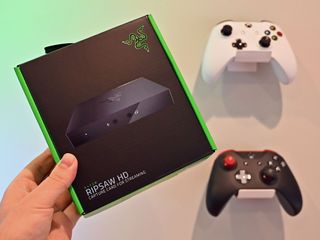
It's not necessarily the most beginner friendly product, but the new Razer Ripsaw HD is a good choice for console streamers, particularly those on the Xbox One X. Thanks to its 4K passthrough, you can enjoy your games as intended while still delivering a crispy looking 1080p60 stream.
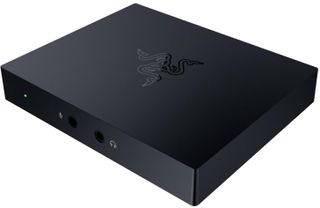
Full HD streaming, 4K passthrough
Razer's entry-level Ripsaw capture card packs all the features we want in streaming hardware in 2019 at a price that will make its opponents envious. With a sleek design and easy setup no matter your hardware Ripsaw should tear through the competition.

Richard Devine is a Managing Editor at Windows Central with over a decade of experience. A former Project Manager and long-term tech addict, he joined Mobile Nations in 2011 and has been found on Android Central and iMore as well as Windows Central. Currently, you'll find him steering the site's coverage of all manner of PC hardware and reviews. Find him on Mastodon at mstdn.social/@richdevine