How to scan documents on Windows 10
If you need to scan physical documents, in this guide, we'll show you two easy ways to get that done on Windows 10.
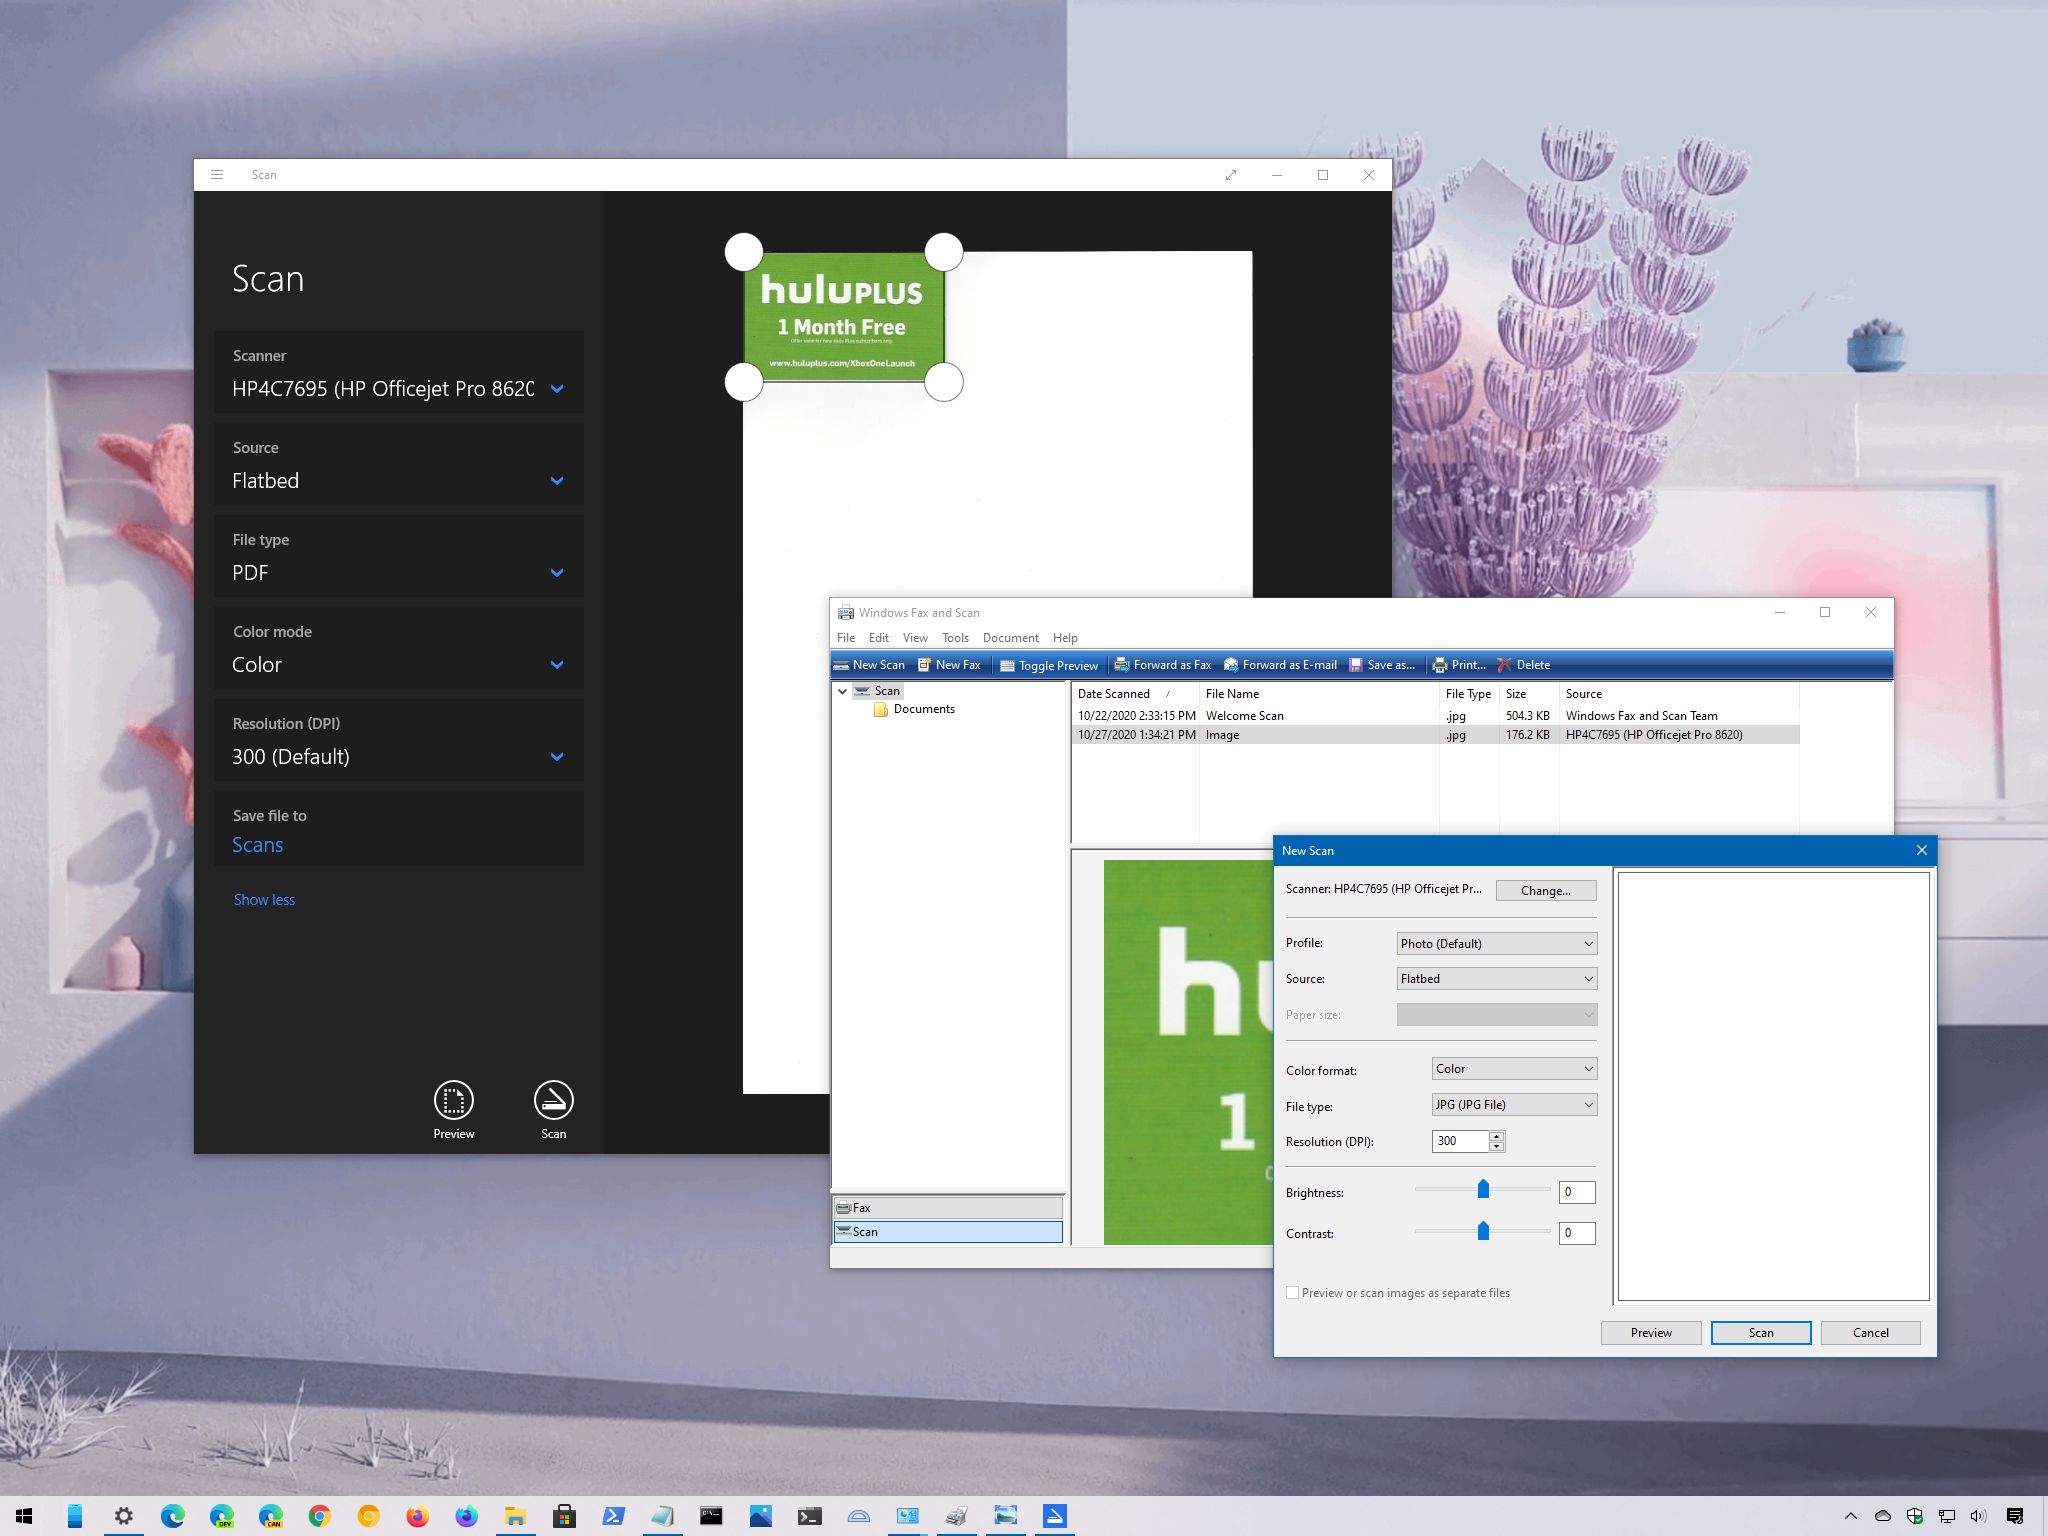
Although we're now living in a digital world, from time to time, you may still need to scan important documents, such as handwritten letters, contracts, forms, and more, for many reasons. For instance, when you need to sign and send an agreement digitally via email, you want to convert important papers into digital files for inventory or preservation purposes, etc.
If you have a multi-function printer or standalone scanner, you can probably walk up to the device and directly scan the document (or picture) onto a USB flash drive. However, Windows 10 has two apps you can use to save you the trip to scan any documents and pictures directly onto your device without having to use the manufacturer software, whether you have a flatbed or feeder scanner.
In this Windows 10 guide, we'll walk you through two methods to scan documents and photos on your device.
How to scan documents using Windows Scan app
Windows 10 has a modern app to scan documents using a scanner, but you must first download and install it from the Microsoft Store.
Install Windows Scan app
To install the Windows Scan app, use these steps:
- Open web browser.
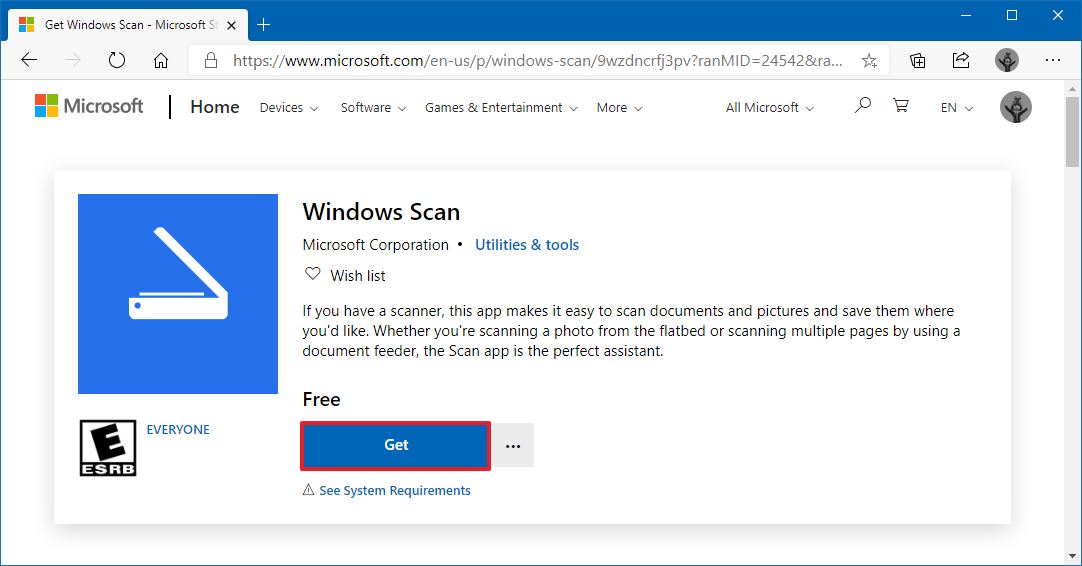
- Use this Microsoft Store link to get the Windows Scan app.
- Click the Get button.
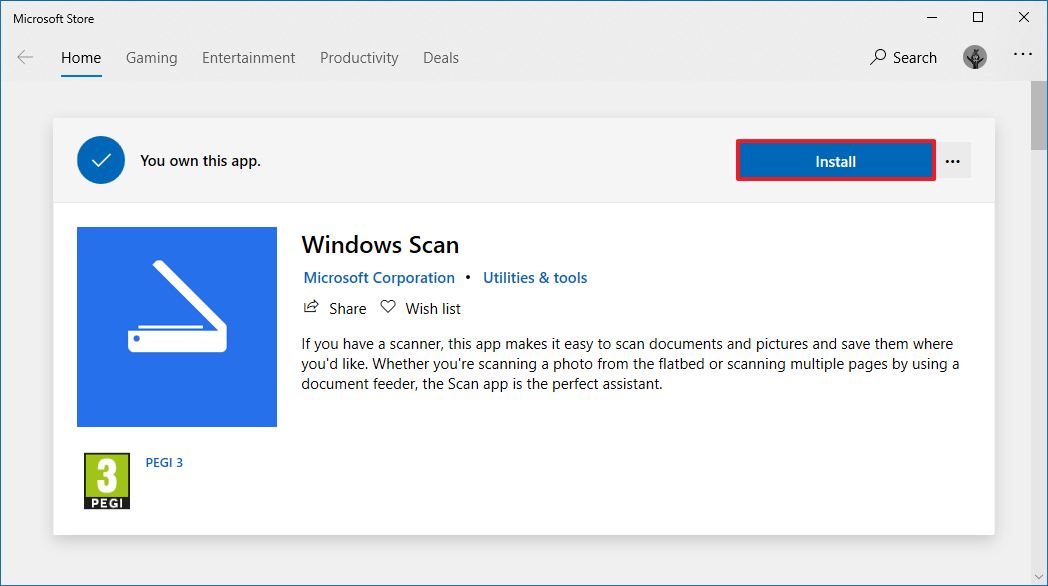
- Click the Open button.
- Click the Install button.
Once you complete the steps, the app will install, and you can proceed to convert documents from physical to digital.
Scan documents
To scan physical documents to PDF, JPEG, or another file format, use these steps:
All the latest news, reviews, and guides for Windows and Xbox diehards.
- Open Start.
- Search for Windows Scan and click the top result to open the app.
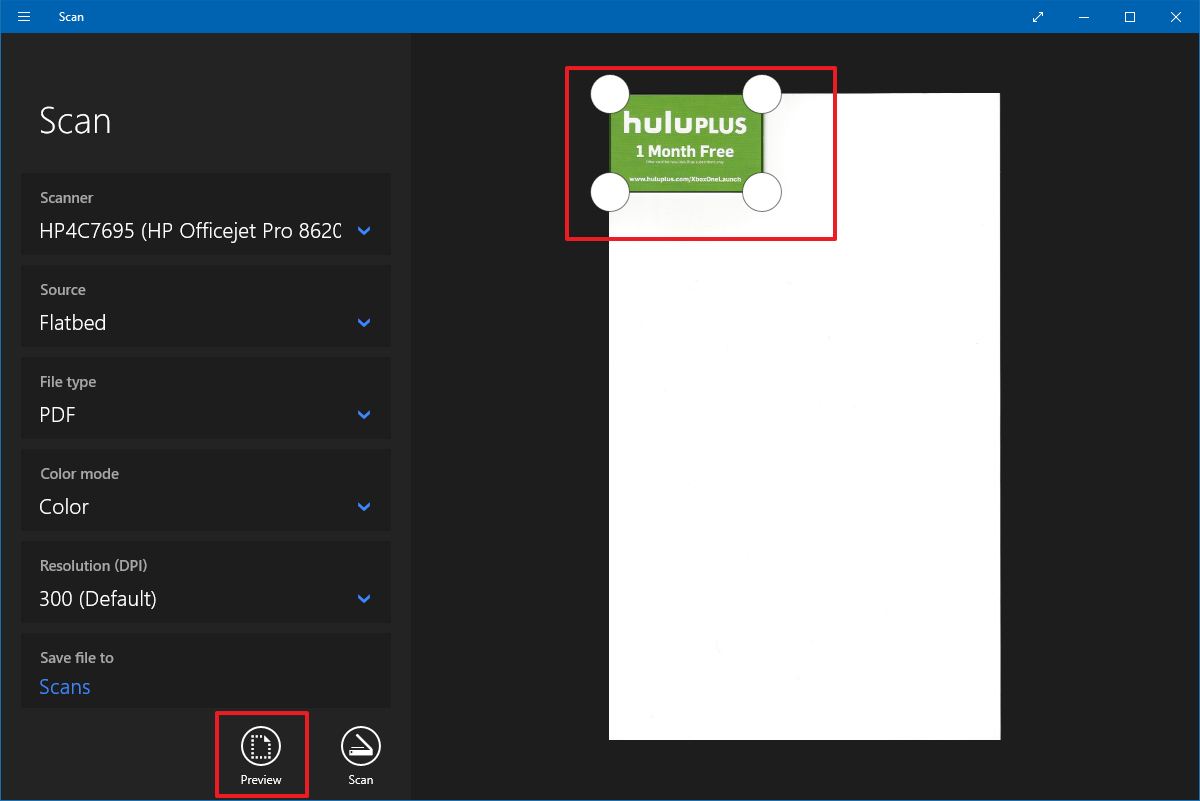
- Use the "Scanner" drop-down menu to select the scanning device.Quick tip: Before proceeding with the scan, make sure the scanner is powered on and connected to the computer via USB or network, depending on how you configured the device.
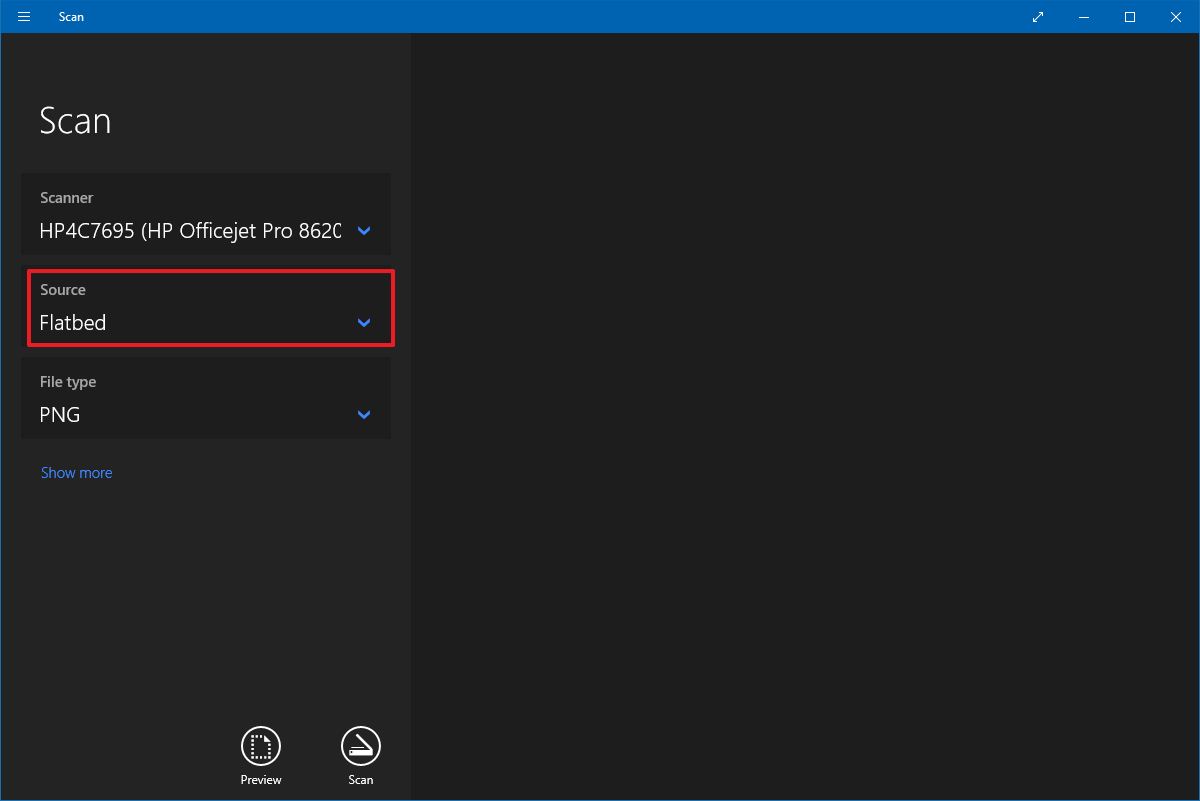
- Use the "Source" drop-down menu to select the location of the document you are trying to scan:
- Flatbed: This option will apply for most users who have a standalone scanner or multi-function printer with scanning functionality.
- Feeder: This option is for scanners that support scanning by feeding the document using the roller paper feeder. If you select this option, you'll also be able to select two additional settings, including the ability to scan both sides and select the paper size.
- Auto-configured: This option doesn't include additional settings, and it'll scan the document as-is and save the output into a file.
- Use the "File type" drop-down to select the file format to save the document scan. Options available include:
- JPEG.
- PNG.
- TIFF.
- Bitmap.
- OpenXPS.
- XPS.
- PDF.
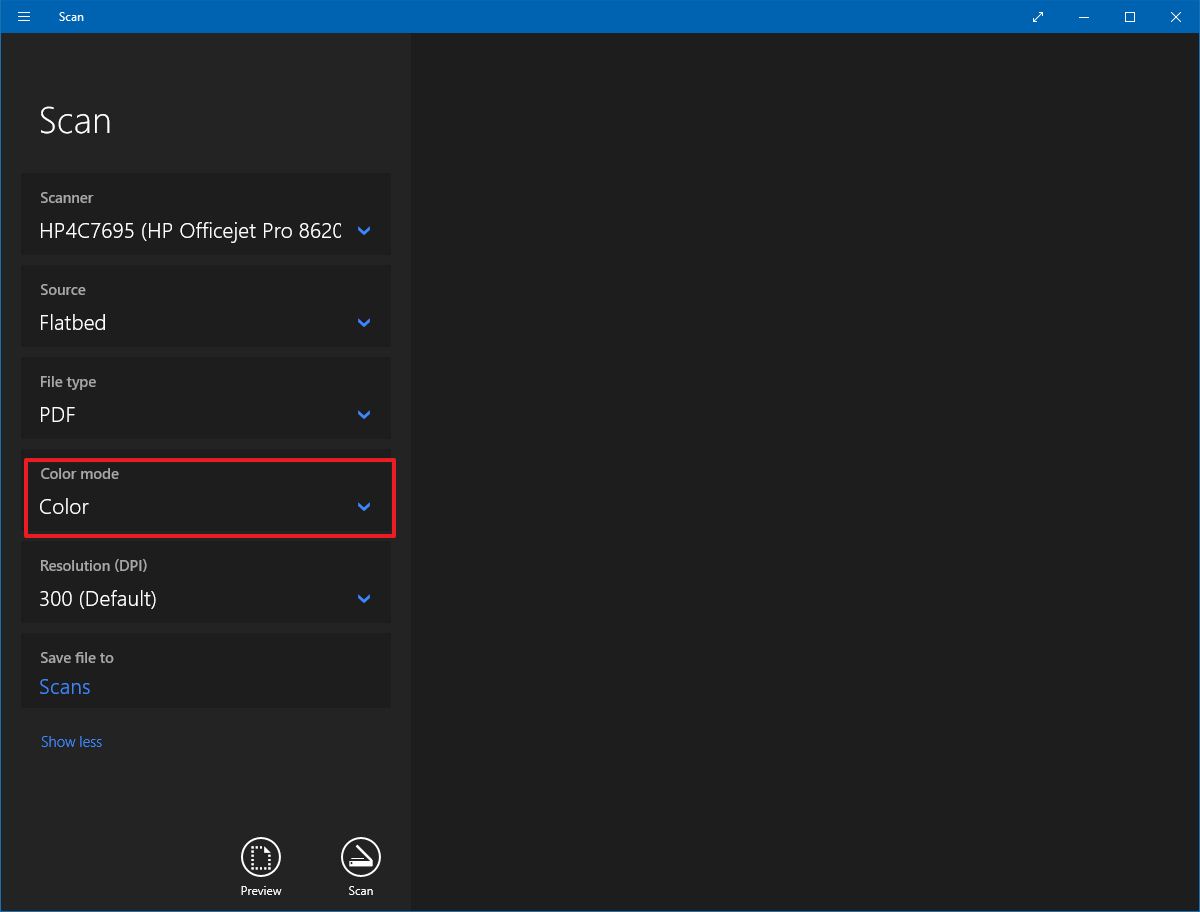
- (Optional) Click the Show more option.
- Use the "Color mode" drop-down menu to select whether you want the scan. Options available include:
- Color.
- Grayscale.
- Black and white.
- Use the "Resolution (DPI)" drop-down menu to select the Dots Per Inch setting. The higher the DPI, the higher the resolution. (Usually, 300 DPI is suitable for most scenarios.)
- Click the Scans file to option.
- Select the destination folder.
- Click the Select Folder button.
- Click the Preview button.
- Use the pins to crop the document (as needed).
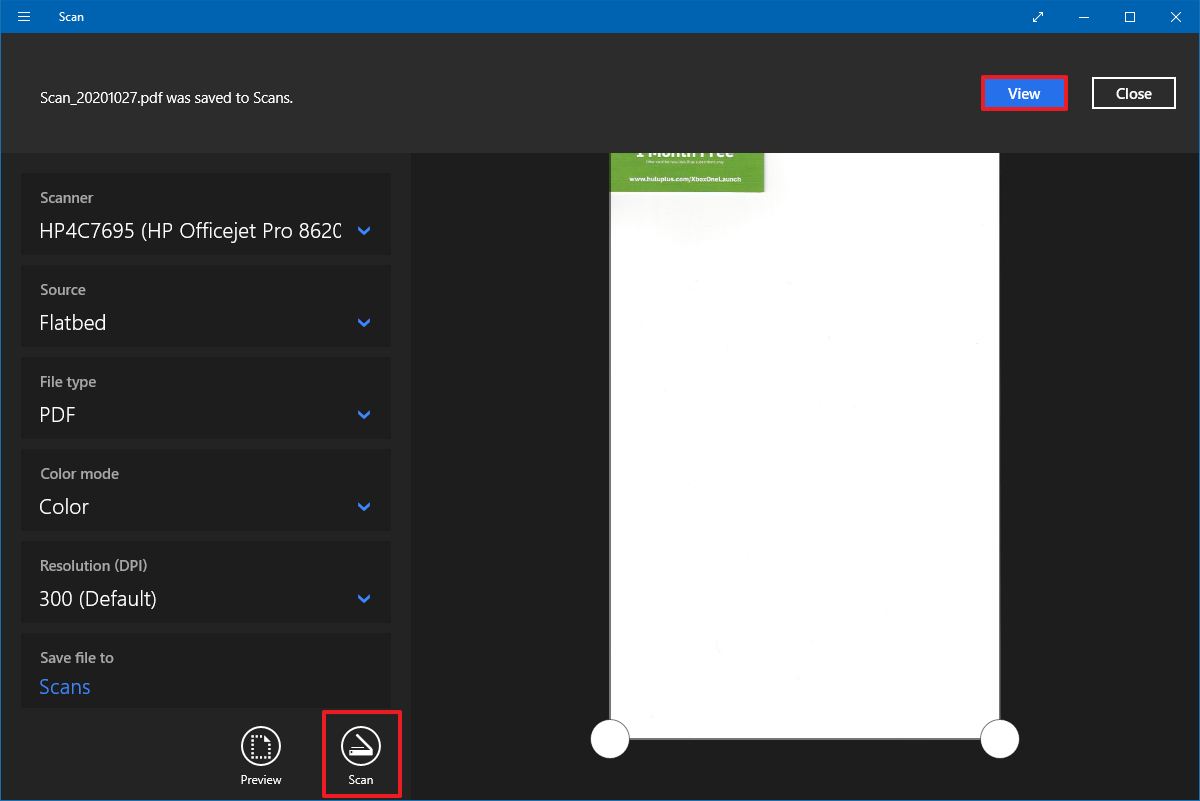
- Click the Scan button.
- Click the View button.
Once you complete the steps, the scanner will scan the document, and the app will save a digital copy in the Scans folder inside the Pictures profile folder unless you selected a different location.
If you scanned an image, the view option would open the file with the Photos app, and if you scanned a document as PDF, then the file will open with the default PDF viewer.
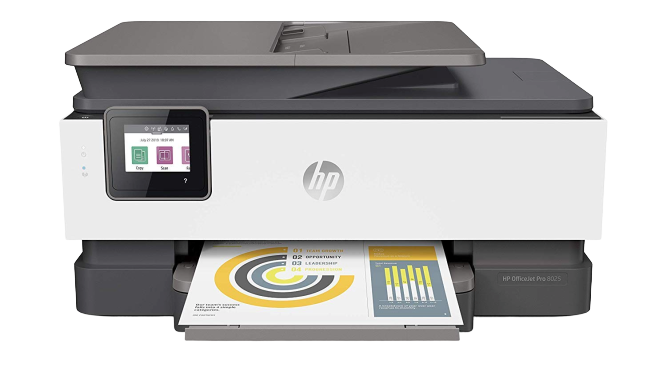
In the case that you're in the market for a new all-in-one printer with scanning capability, then look no further than the HP OfficeJet Pro 8025 since it's a reliable wireless printer that offers decent speed and good quality printing. Of course, it also includes a flatbed scanner with feeder functionality to scan both sides of the page. This is our best overall, but we have other picks you may want to consider.
How to scan documents using Windows Fax and Scan app
Alternatively, you can also use the legacy Windows Fax and Scan app. The app has been available for many years, and it includes all the essential features to scan documents and images. (If you have a modem and landline, you can also use it to send and receive faxes.)
To scan a document with the Windows Fax and scan app, use these steps:
- Open Start.
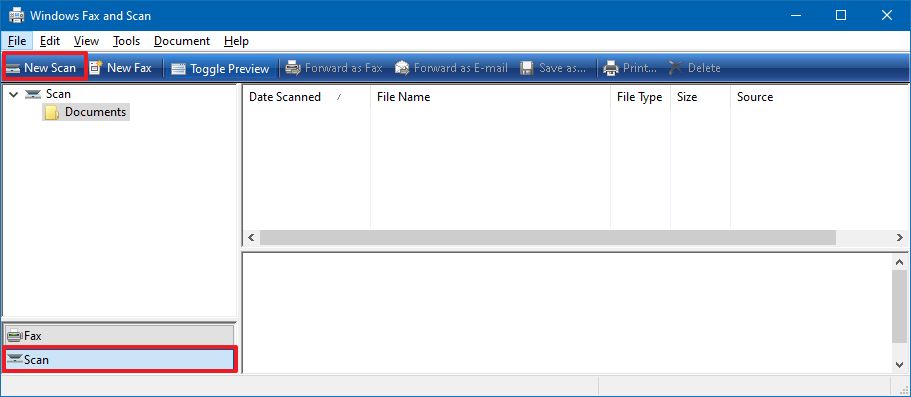
- Search for Windows Fax and Scan and click the top result to open the app.
- Click the Scan option from the bottom of the page (if applicable).
- Click the New Scan button from the top-left corner.
- Click the Change button to select the scanning device (if applicable).
- Click the OK button.
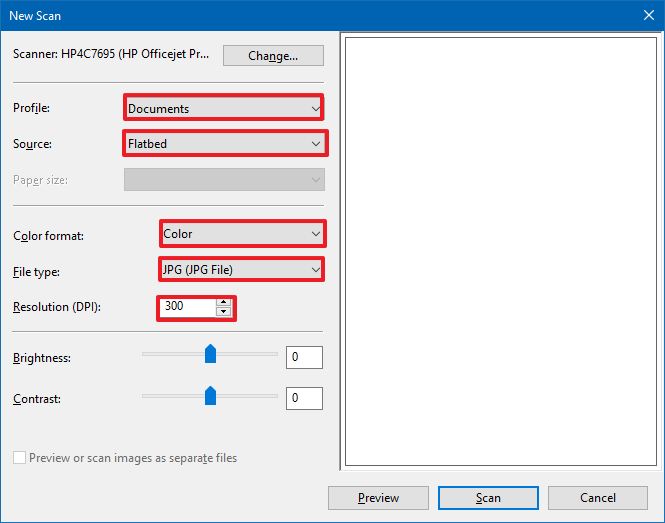
- Use the Profile drop-down menu to select the profile that applies to your scan. Options available include:
- Photos.
- Documents.
- Use the "Source" drop-down menu to select the location of the document you are trying to scan:
- Flatbed: This option will apply for most users who have a dedicated scanner or a multi-function printer with scanning functionality.
- Feeder: This option is for scanners that support scanning by feeding the document using the roller paper feeder. If you select this option, you'll also be able to select two additional options, including the ability to scan both sides and select the paper size.
- Use the "Color format" drop-down menu to select whether you want the scan. Options available include:
- Color.
- Grayscale.
- Black and white.
- Use the "File types" drop-down menu to select the format to save the scan. Options available include:
- JPG.
- BMP.
- PNG.
- TIF.
- Use the "Resolution (DPI)" drop-down menu to specify the scan's resolution.Quick note: When specifying the resolution, the higher the number means higher resolution, but using 300 is good enough for most scans.
- (Optional) Use the slider to control the scan brightness.
- (Optional) Use the slider to control the scan contrast.
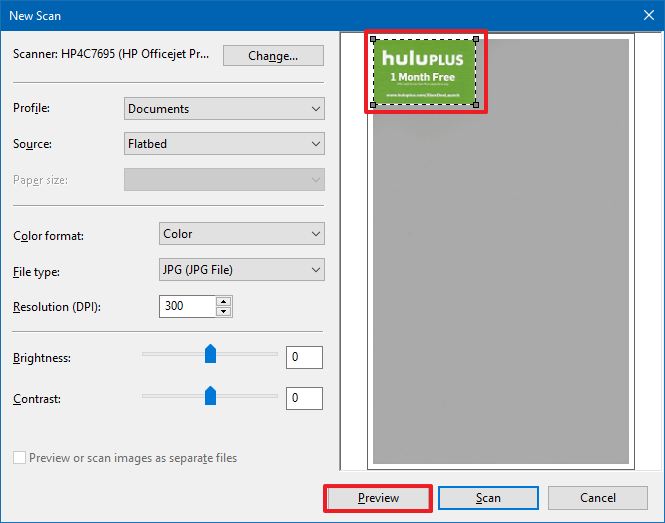
- Click the Preview button.
- Use the pins to crop the document (as needed).
- Click the Scan button.
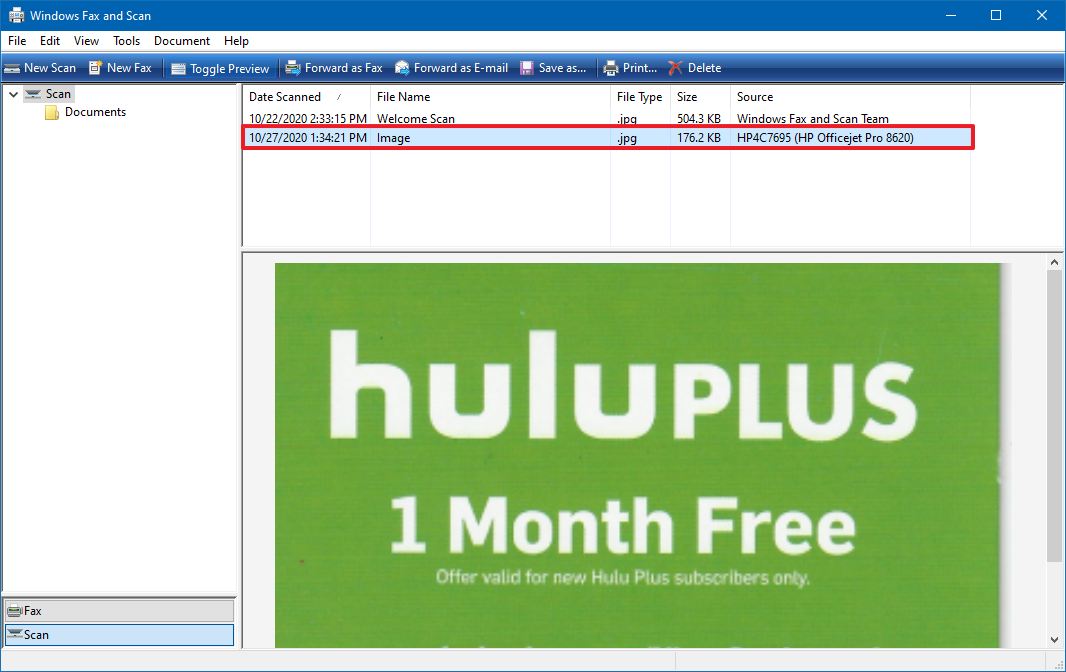
- Select the image from the Windows Fax and Scan inbox to view a preview of the scan.
After you complete the steps, you can find the output file in the "Scanned Documents" inside the Documents folder.
We're focusing this guide on scanning documents, but the instructions will also work to convert printed pictures into digital copies.

Mauro Huculak has been a Windows How-To Expert contributor for WindowsCentral.com for nearly a decade and has over 22 years of combined experience in IT and technical writing. He holds various professional certifications from Microsoft, Cisco, VMware, and CompTIA and has been recognized as a Microsoft MVP for many years.
