How to replace the main Windows boot drive in your PC
Whether you had a failure or just want to upgrade to something better, replacing the drive Windows 10 is installed on isn't as daunting as you might think.
Things break and slow down over time in PCs. Likewise, every year newer, faster, stronger parts come to market. That doesn't just apply to desktop PCs, either, and even in today's world of slim, light Ultrabooks, there are still parts that can be replaced.
Consider the case of your main Windows boot drive. It's integral to using your PC, and if it fails you're in a predicament. Whether this is why you need to replace it or you just want something better, the process is the same. And it's fairly straightforward.
A replacement drive
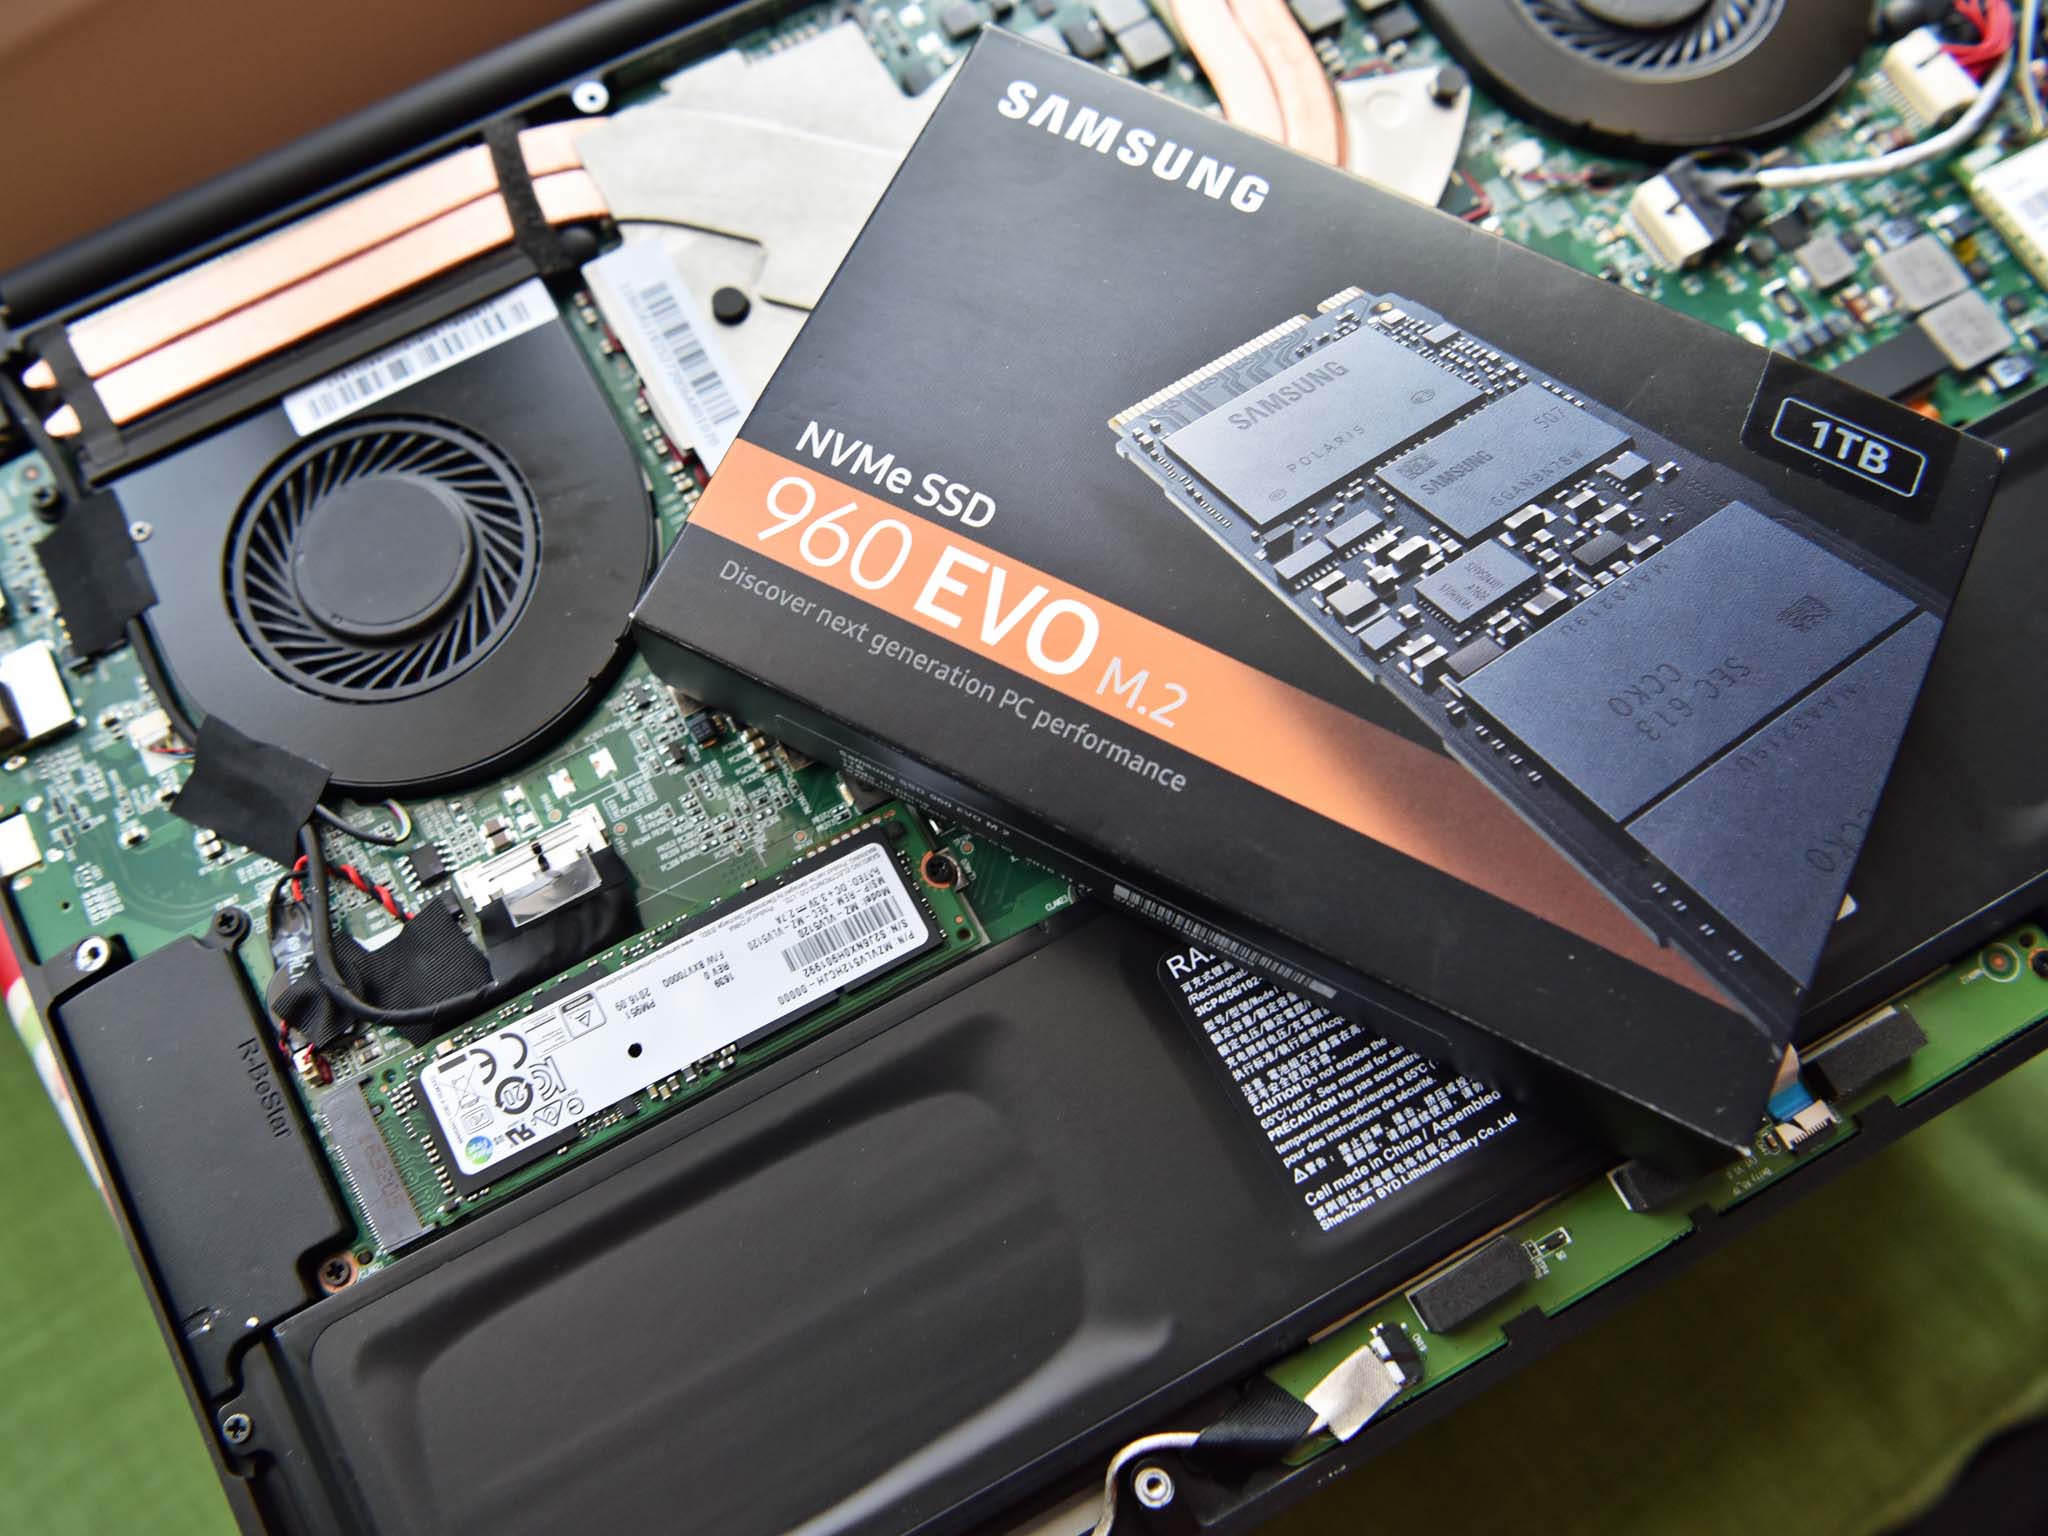
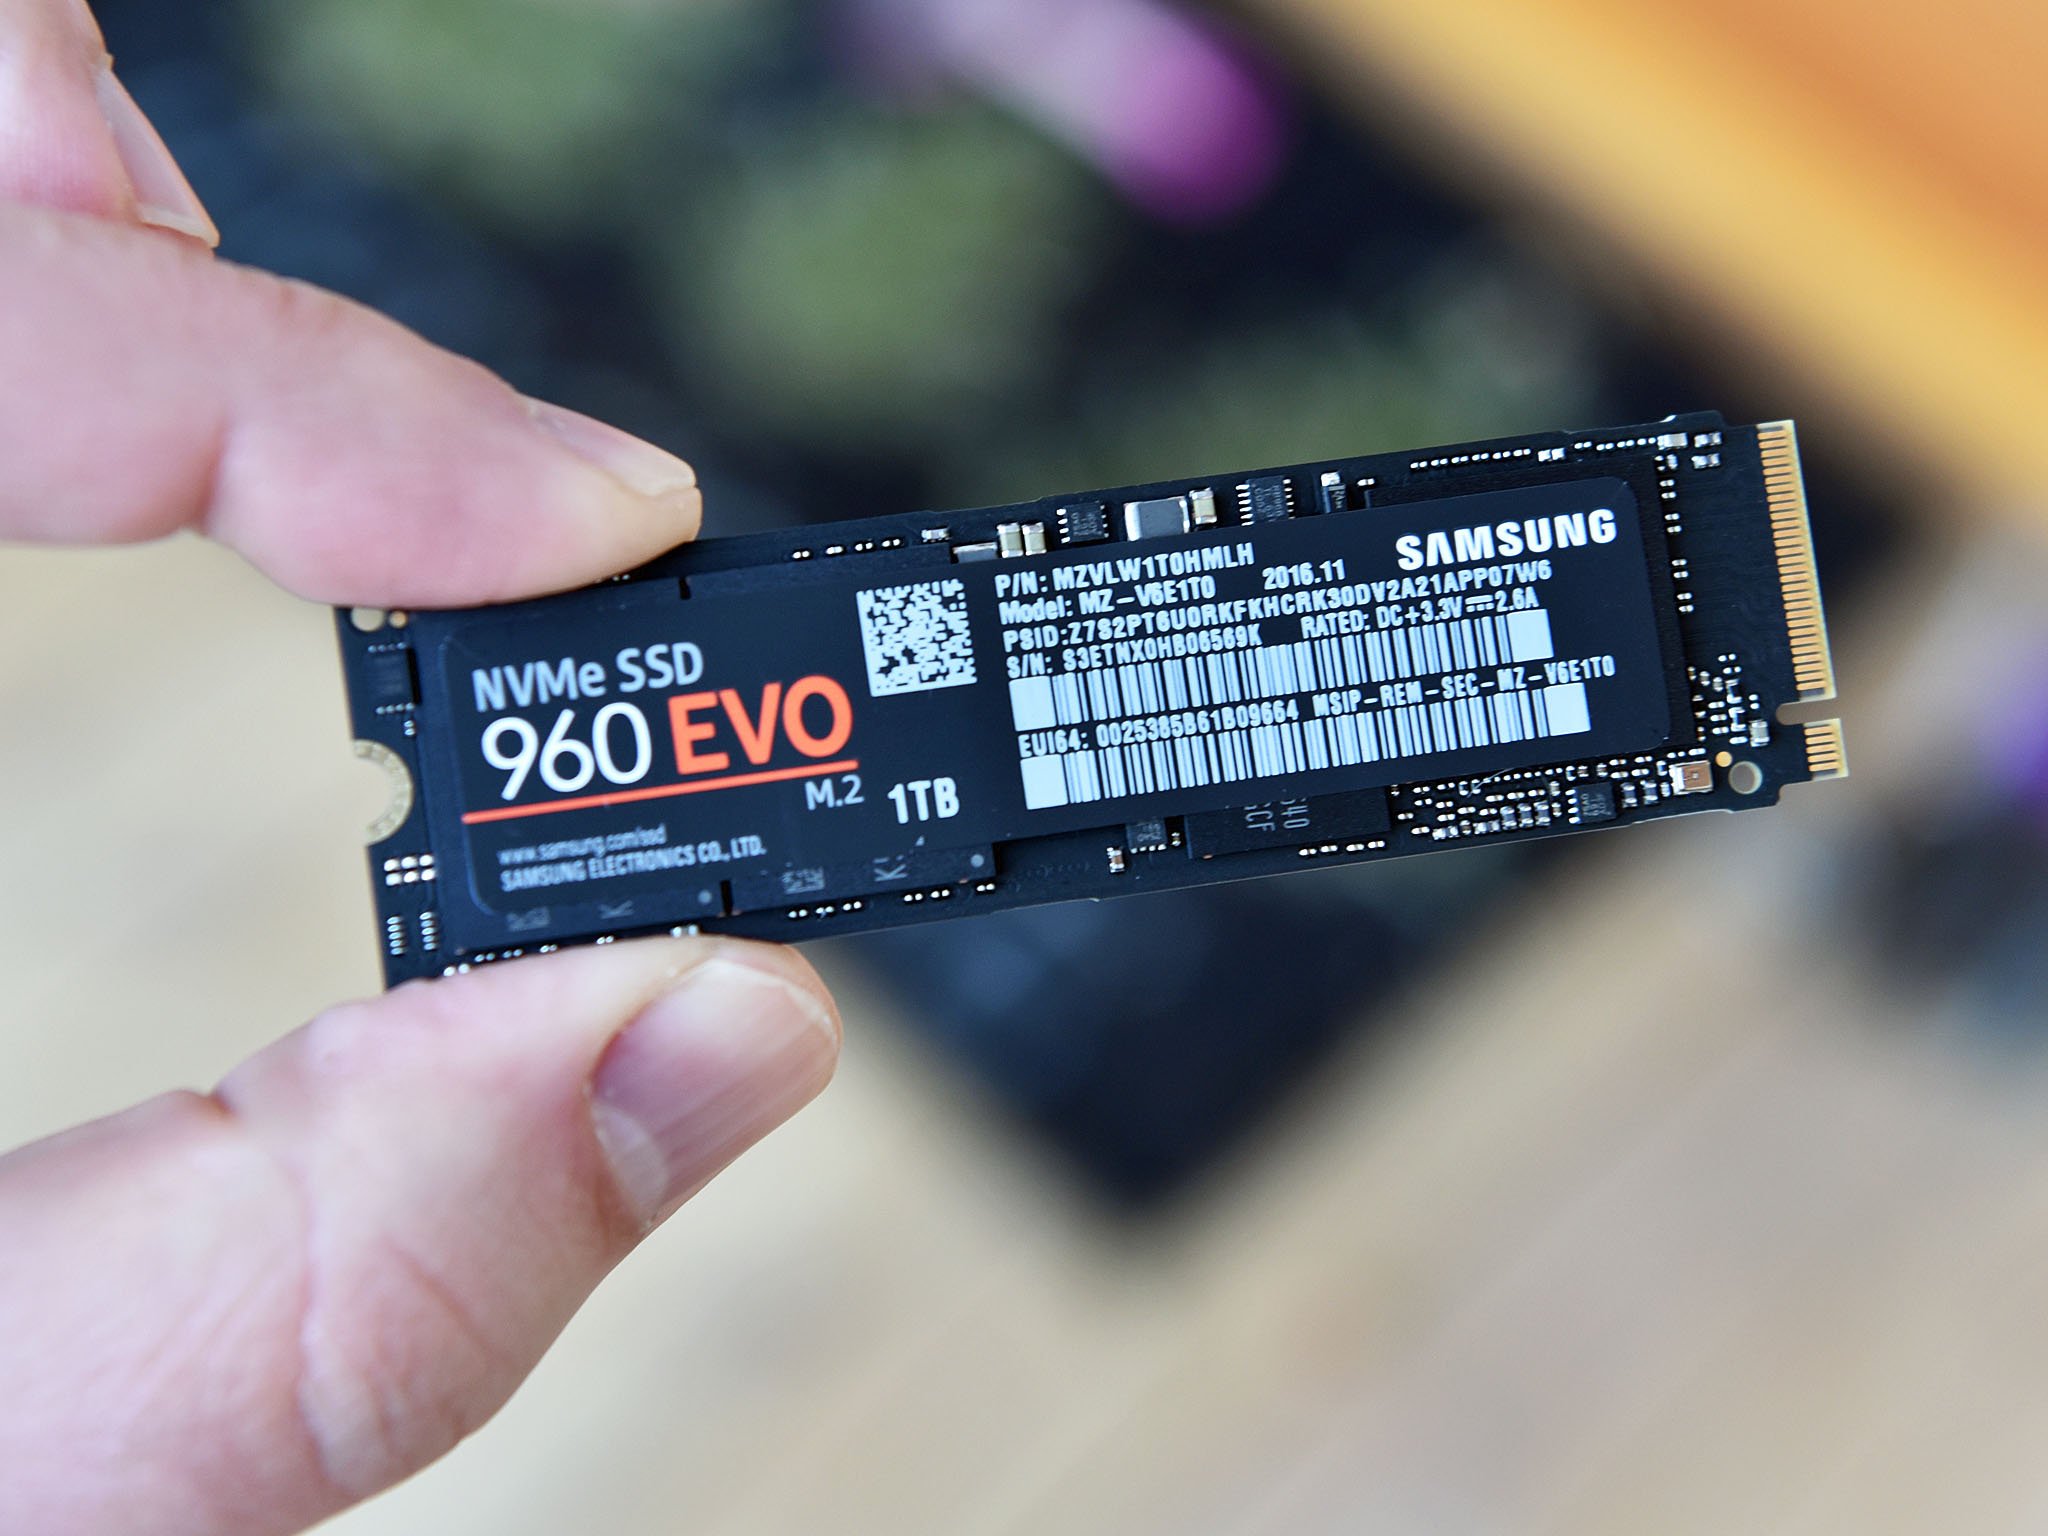
If you have a PC that supports Non-Volatile Memory Express (NVMe) drives, our recommendation goes to the Samsung 960 Evo. It's not Samsung's absolute fastest consumer drive, but the price difference (around $60 on the 500GB models) to the 960 Pro, coupled with a not-massive performance gap, gets it the nod.
It's available in 250GB, 500GB and 1TB sizes, starting at a very reasonable $125 for the 250GB version.
Of course, not all PCs will be able to accept these super-fast drives. If your current PC is only using a mechanical hard-disk drive (HDD) and it's here that your Windows install lives, it's a great time to make the upgrade to a solid-state drive (SSD). A 2.5-inch drive will fit in place of any 3.5-inch HDD (though you may need an adapter) and it's much faster. The Samsung 860 Evo is a great choice at $150 for 500GB.
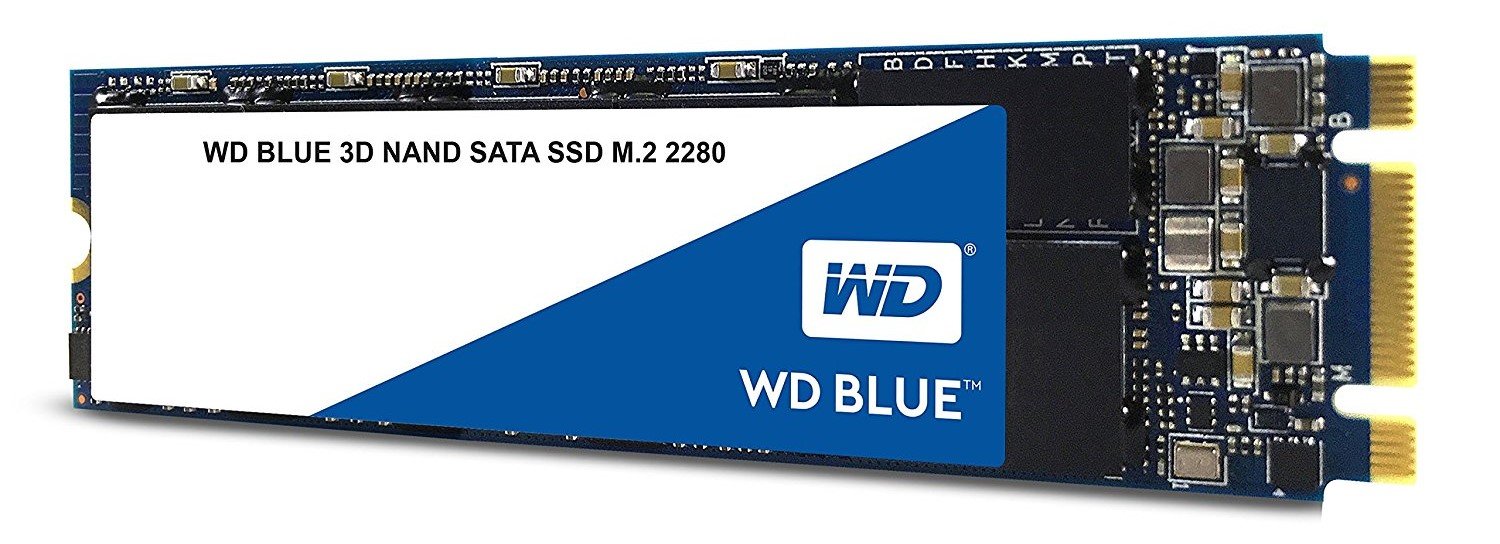
If you're looking for a great m.2 SSD that isn't NVMe, a 500GB Western Digital Blue is a great option at $130.
Get the Windows Central Newsletter
All the latest news, reviews, and guides for Windows and Xbox diehards.
If you have multiple drives in your PC, you can get away with a smaller boot drive, but I wouldn't recommend anything smaller than 250GB. If it's your only drive, get the biggest you can afford. But always go SSD if you can for your Windows boot drive. You won't regret it.
More: How to use the BIOS or UEFI to check if your boot drive has failed
Removing the old drive and installing the new one
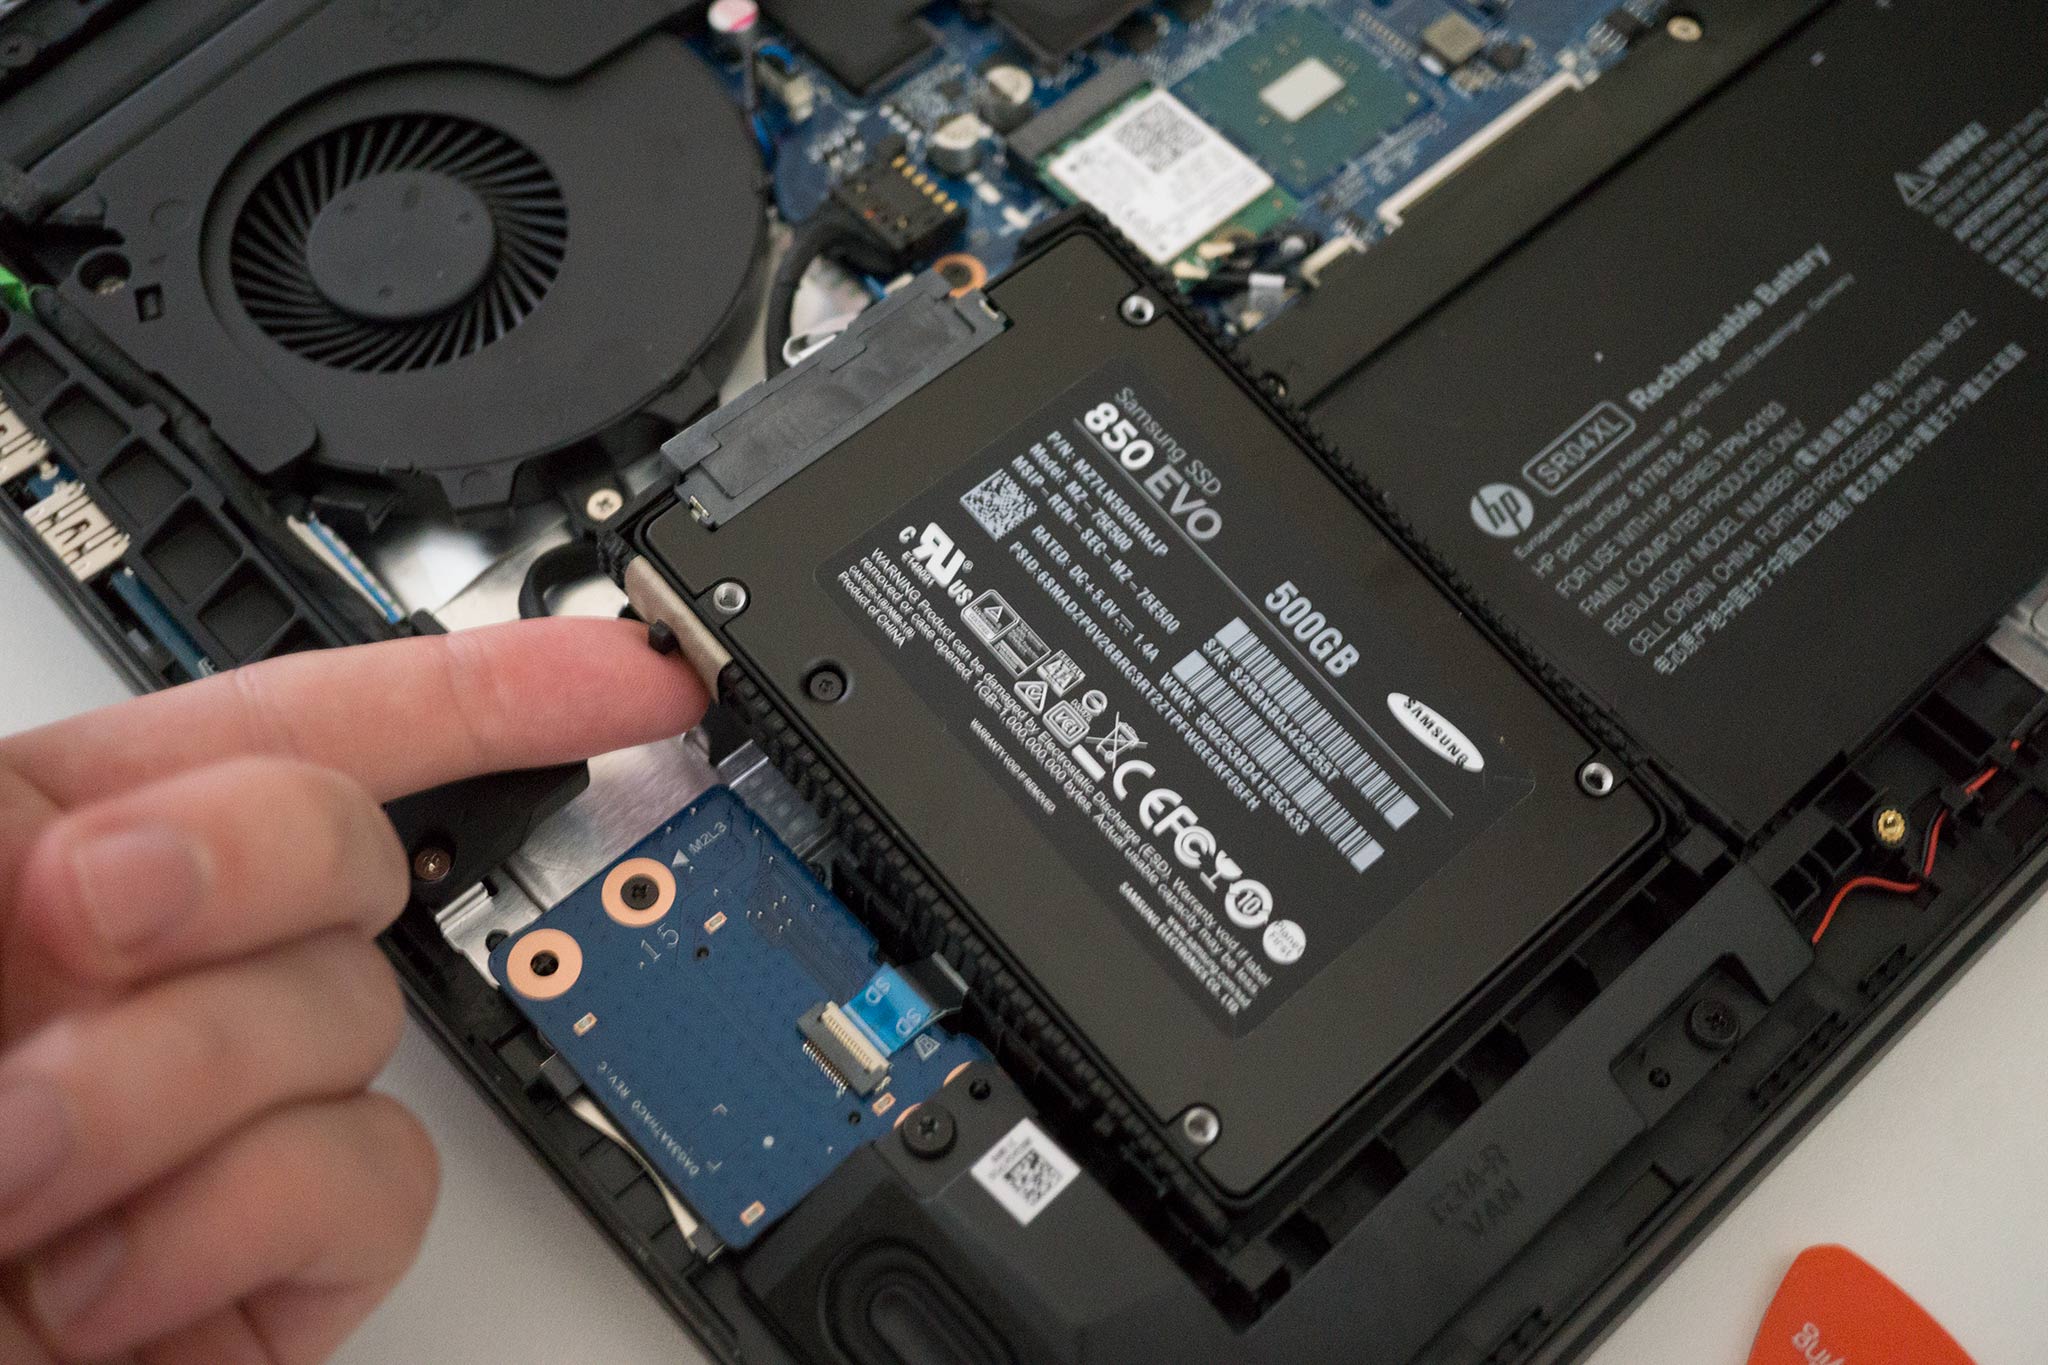
The exact process here will vary depending on what sort of PC you're using. A desktop tower will be very different than a laptop, for example, which will be different than a small-form-factor PC. The basic steps are mostly the same, but the location of the drives will be different, and what you have to remove from your PC to get to the drive will also vary.
It's a good idea to have a basic toolkit handy and a magnetic tray if you have one because the screws in a PC really are tiny.
The guide linked below is specific to an HP Omen laptop, but it shows you step by step how you'll be removing and installing the different types of drive you're likely to be dealing with.
Reinstalling Windows 10
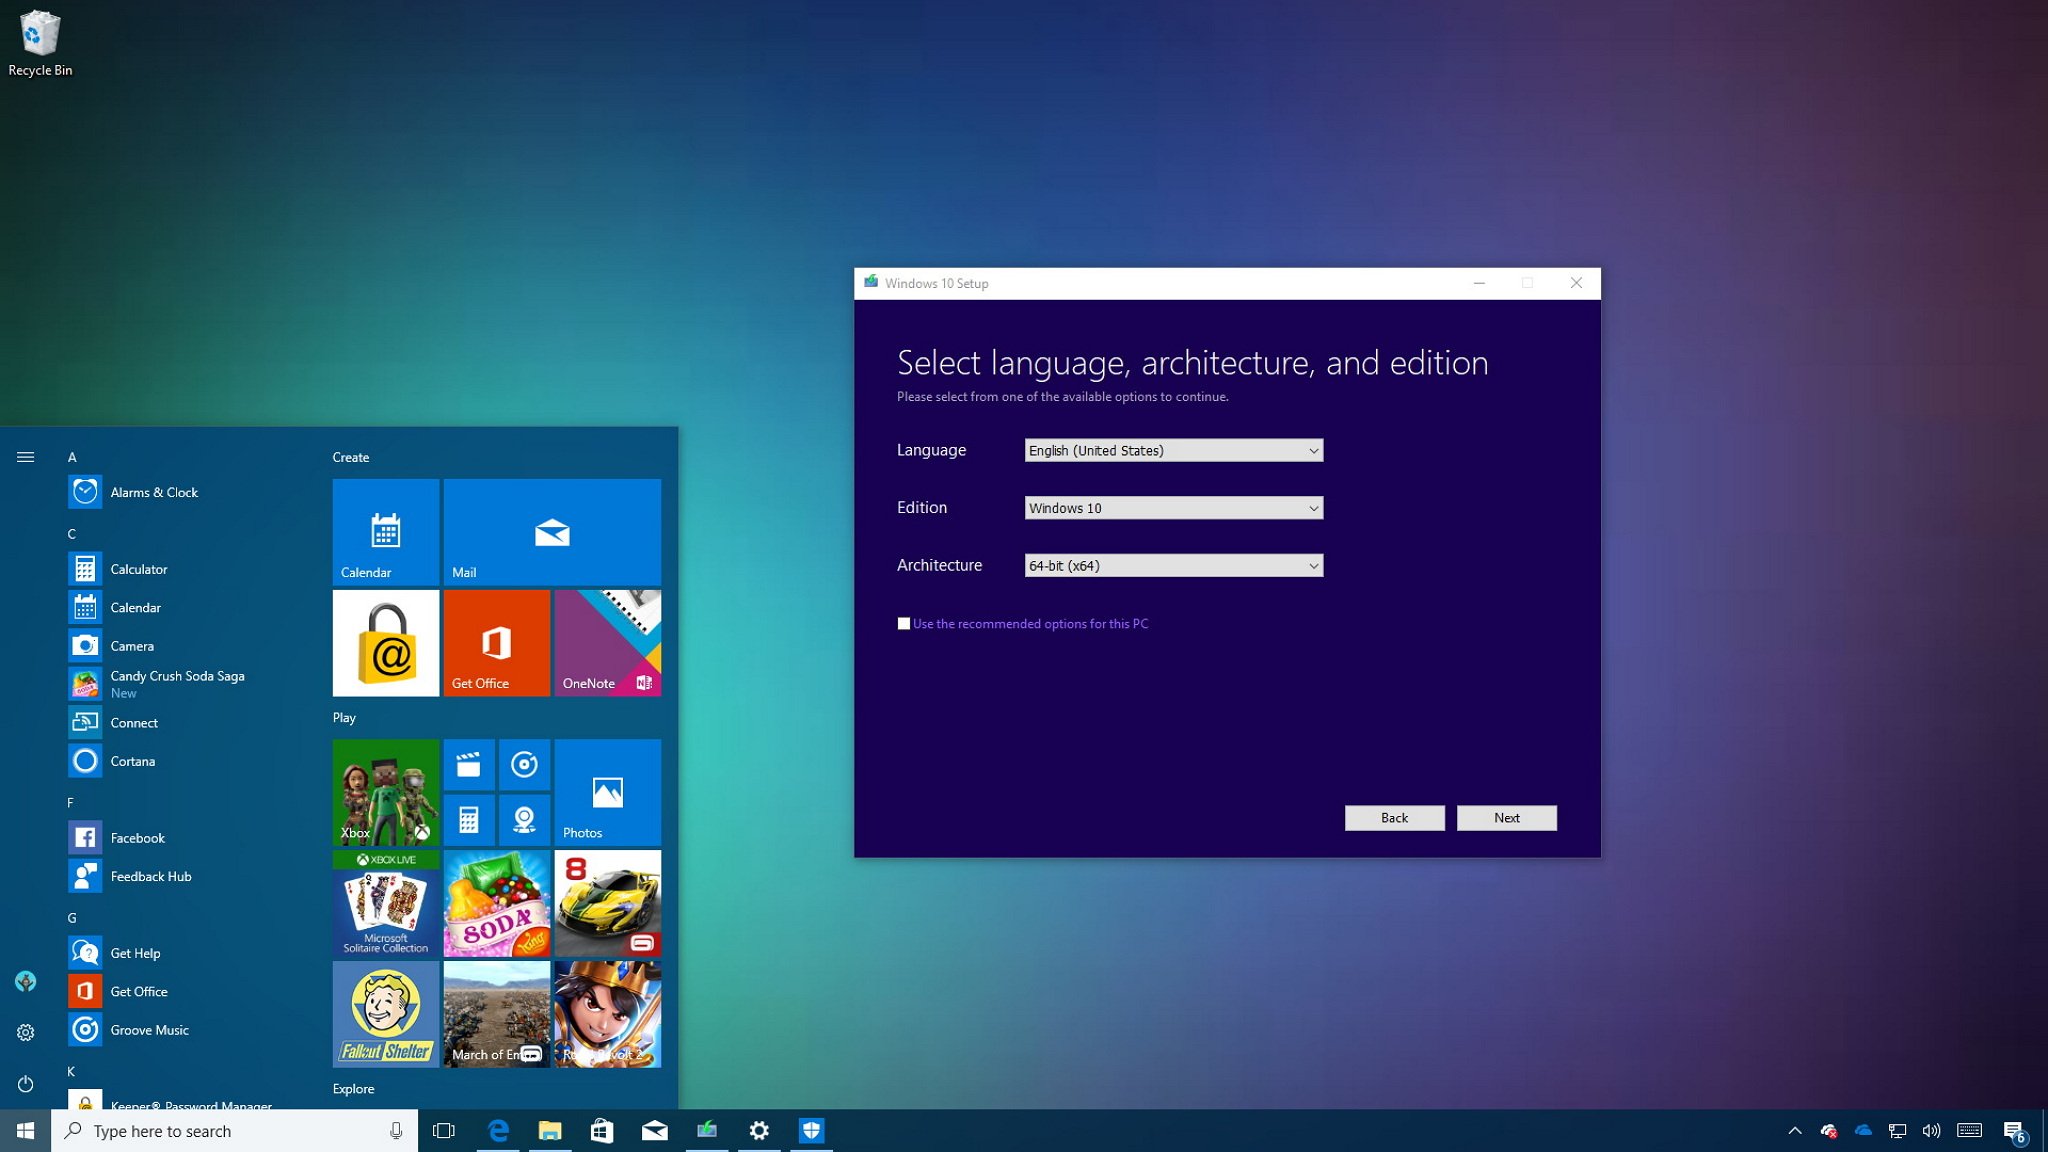
Perhaps the most daunting part of this process is reinstalling Windows 10, but it's still not that bad. The important thing is that you can get hold of an image for the OS, and the easiest way to do this is to download it using a PC. If your main drive failed and you don't have another PC, however silly it sounds, ask someone for help. All you need is a PC and an internet connection.
The process involves downloading the image file from Microsoft and creating a USB drive that you can use to boot your PC and install the OS. The easiest way to do this is to use the Microsoft Media Creation Tool, linked in the guide below.
How to install Windows 10 from USB
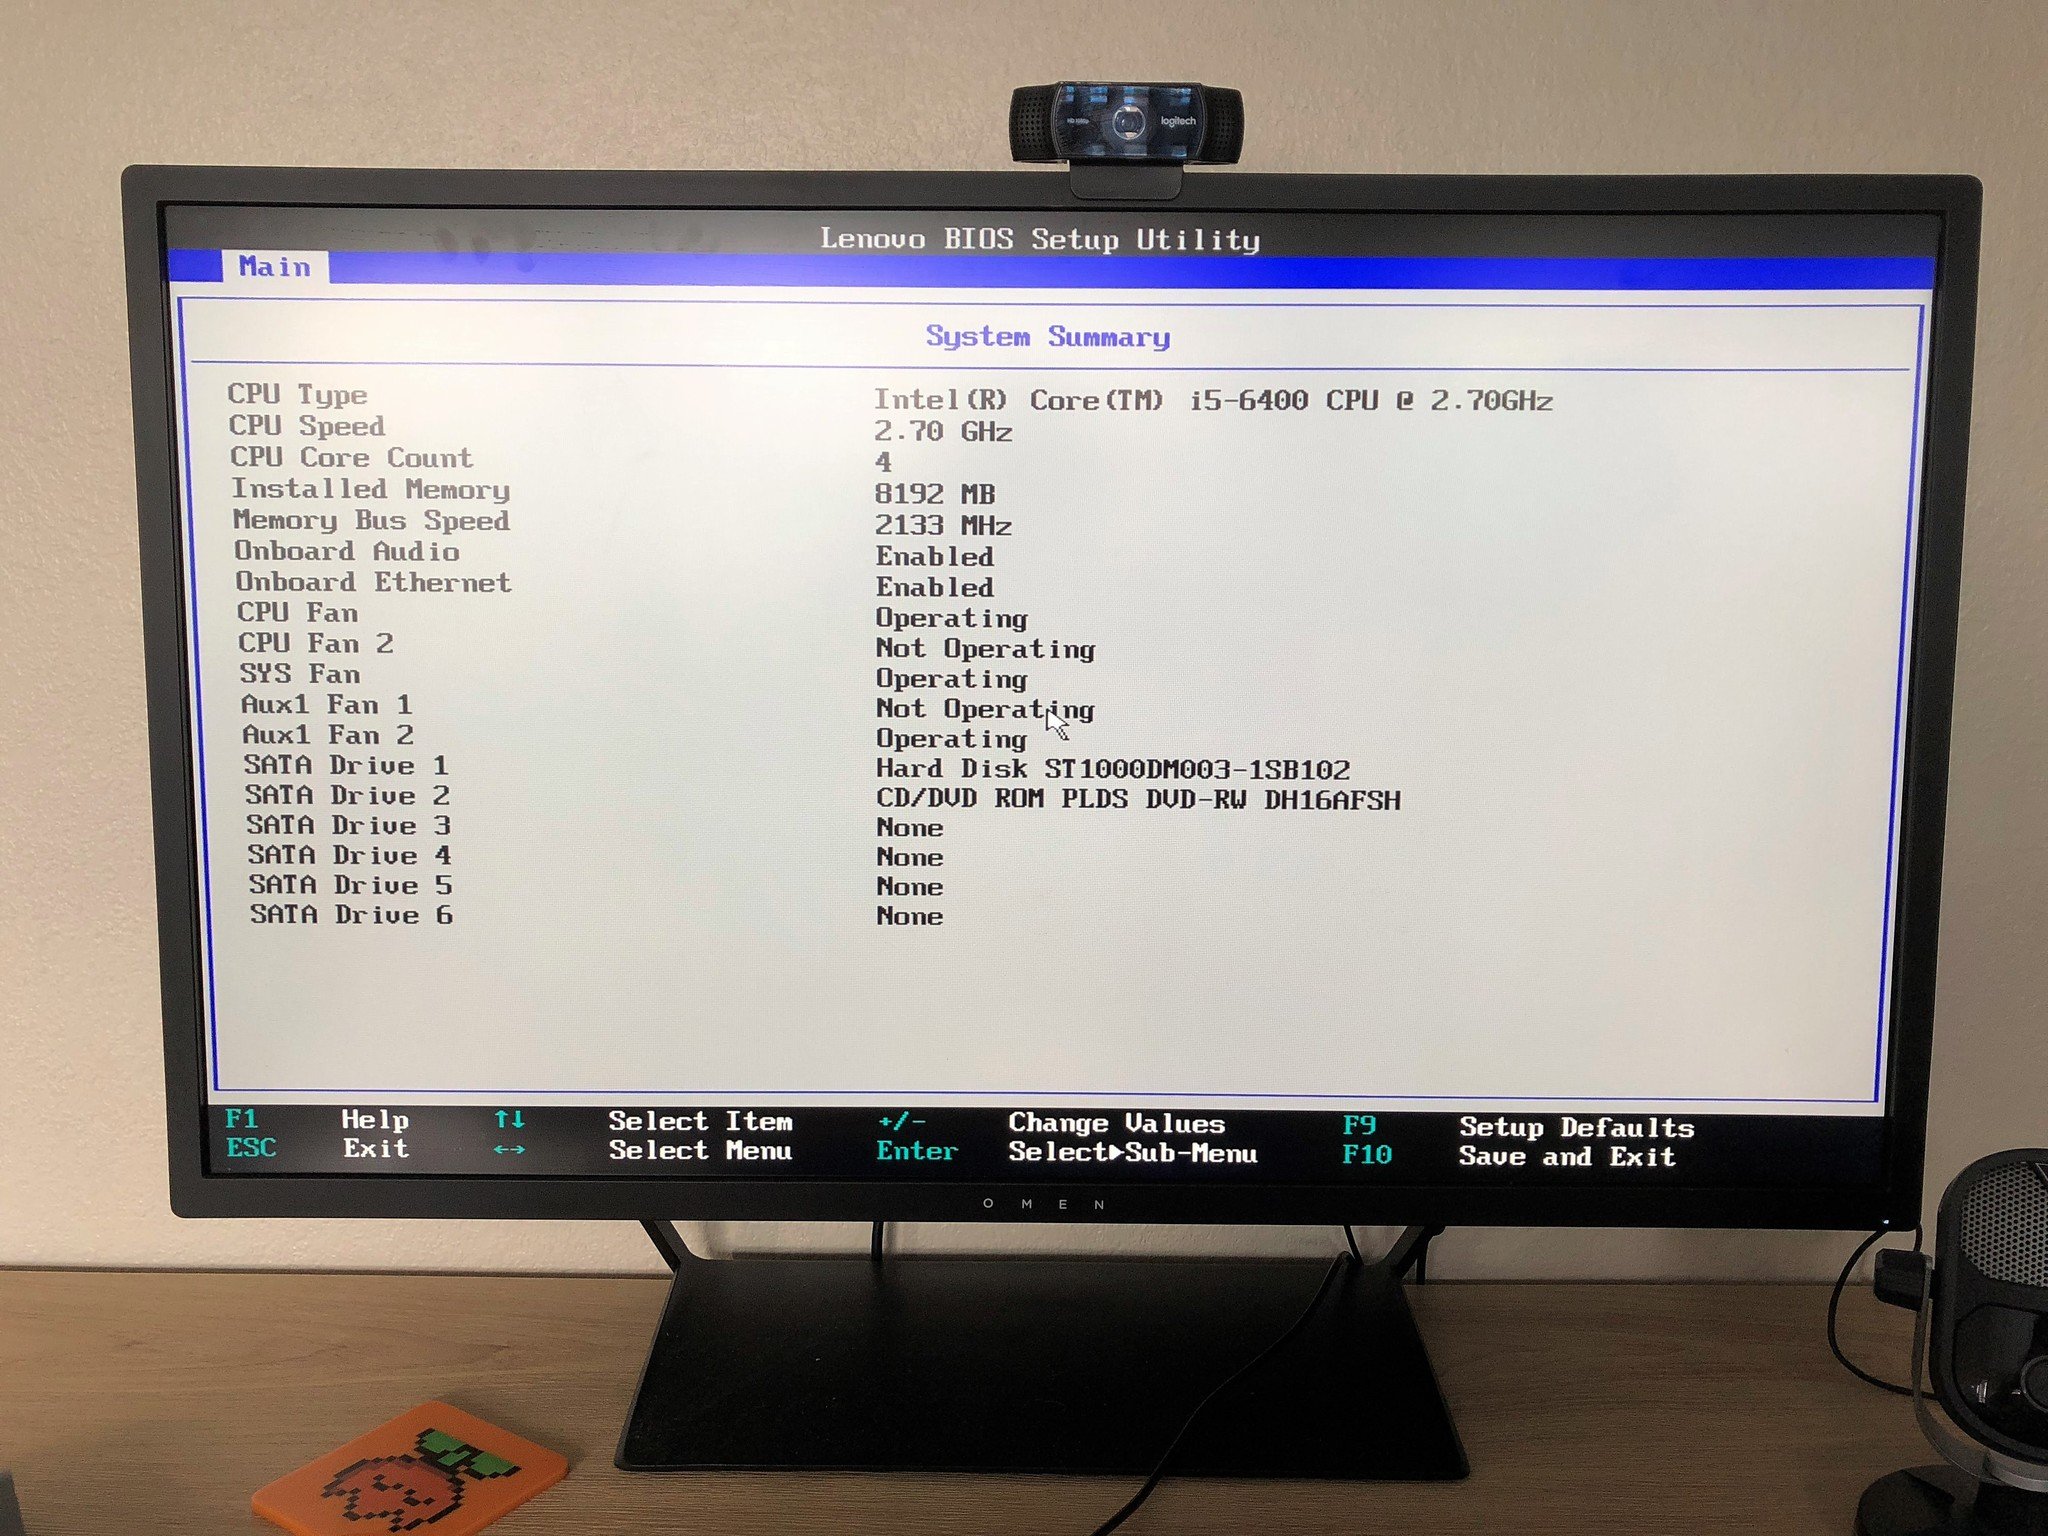
To boot your PC from the USB stick, open up your BIOS or UEFI when you first turn it on (a press of something like F2 or F12 may be how to access it) and set your boot priority to USB drive as number one, then your new main drive as number two. It's a good idea to remember to change it back, though, once you've installed Windows, otherwise if you leave a USB drive connected to your PC and it'll try to boot from this. As soon as your Windows install is complete, remove the USB stick, too, or it might just reboot into the installer.
Installing Windows from the USB drive is very straightforward and the on-screen prompts will walk you through every stage. You don't have to worry about license codes anymore if you already had Windows installed, they will be automatically attached.
For more on doing a clean install of Windows 10 check out the guide below.
Ultimate Guide: How to do a clean installation of Windows 10
That's all there is to it. If you have any other tips or tricks be sure to share them in the comments.

Richard Devine is a Managing Editor at Windows Central with over a decade of experience. A former Project Manager and long-term tech addict, he joined Mobile Nations in 2011 and has been found on Android Central and iMore as well as Windows Central. Currently, you'll find him steering the site's coverage of all manner of PC hardware and reviews. Find him on Mastodon at mstdn.social/@richdevine
