How to replace Xbox One controller thumbsticks
Need to put some fresh thumbsticks on your controller? It's easier than you might think.
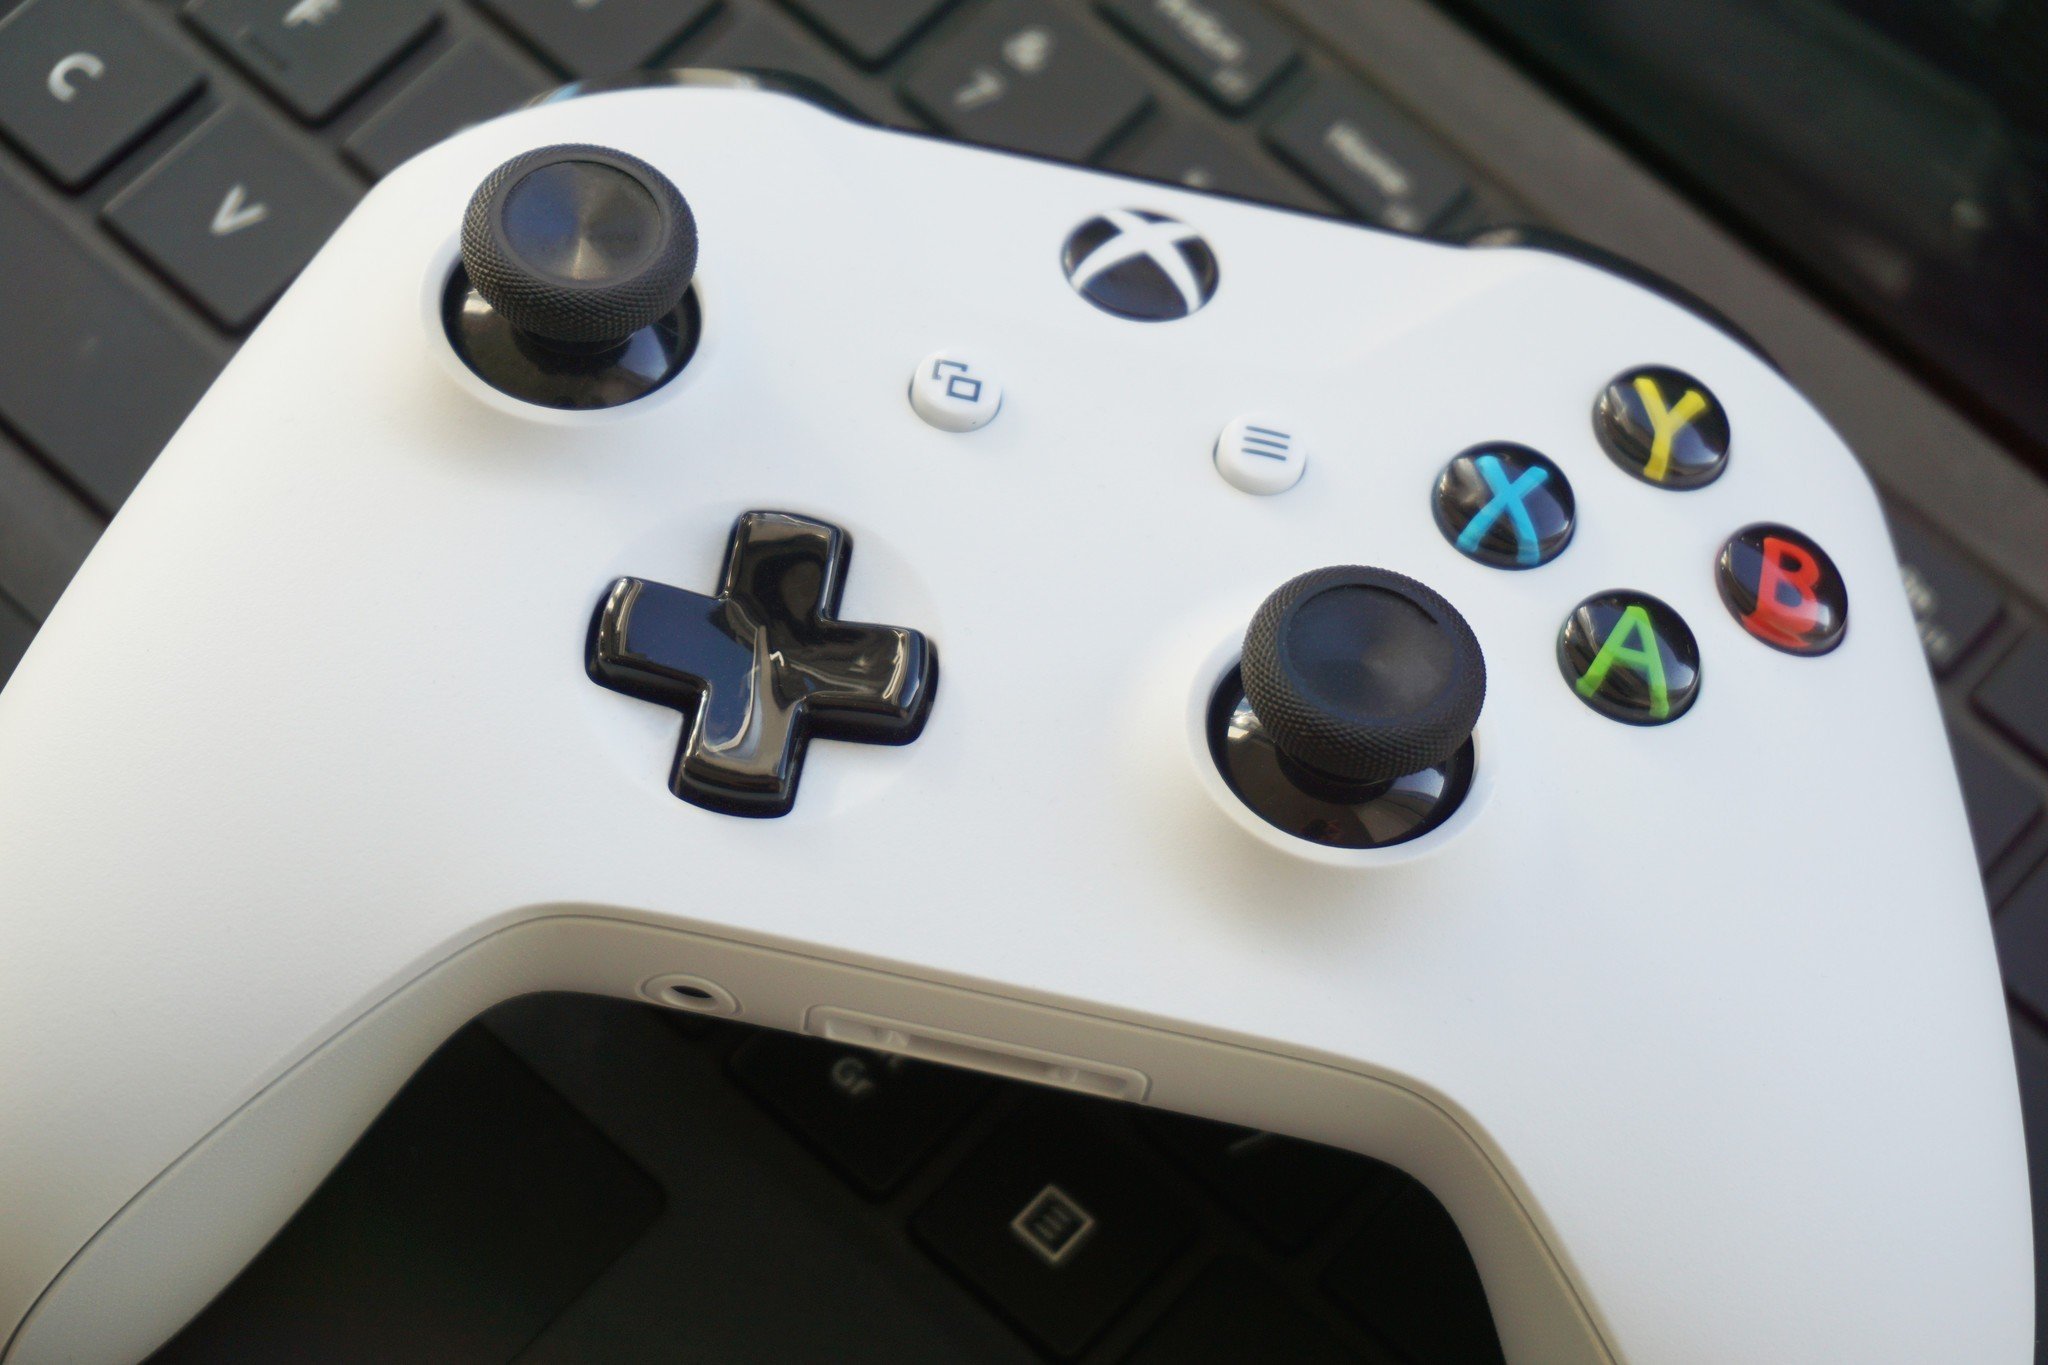
Xbox One controllers wear out a lot quicker than you'd like, especially if you're a heavy gamer. But, before you go running to buy a new one, think about repairing the one you have. If it still fundamentally works as it should but something is broken or worn, you can save a bundle by doing a home repair job.
In the case of the thumbsticks, they're prone to wearing out, or worse, since they're only plastic. If you need to replace them, it's not actually that difficult.
Here's everything you need to know.
What you need
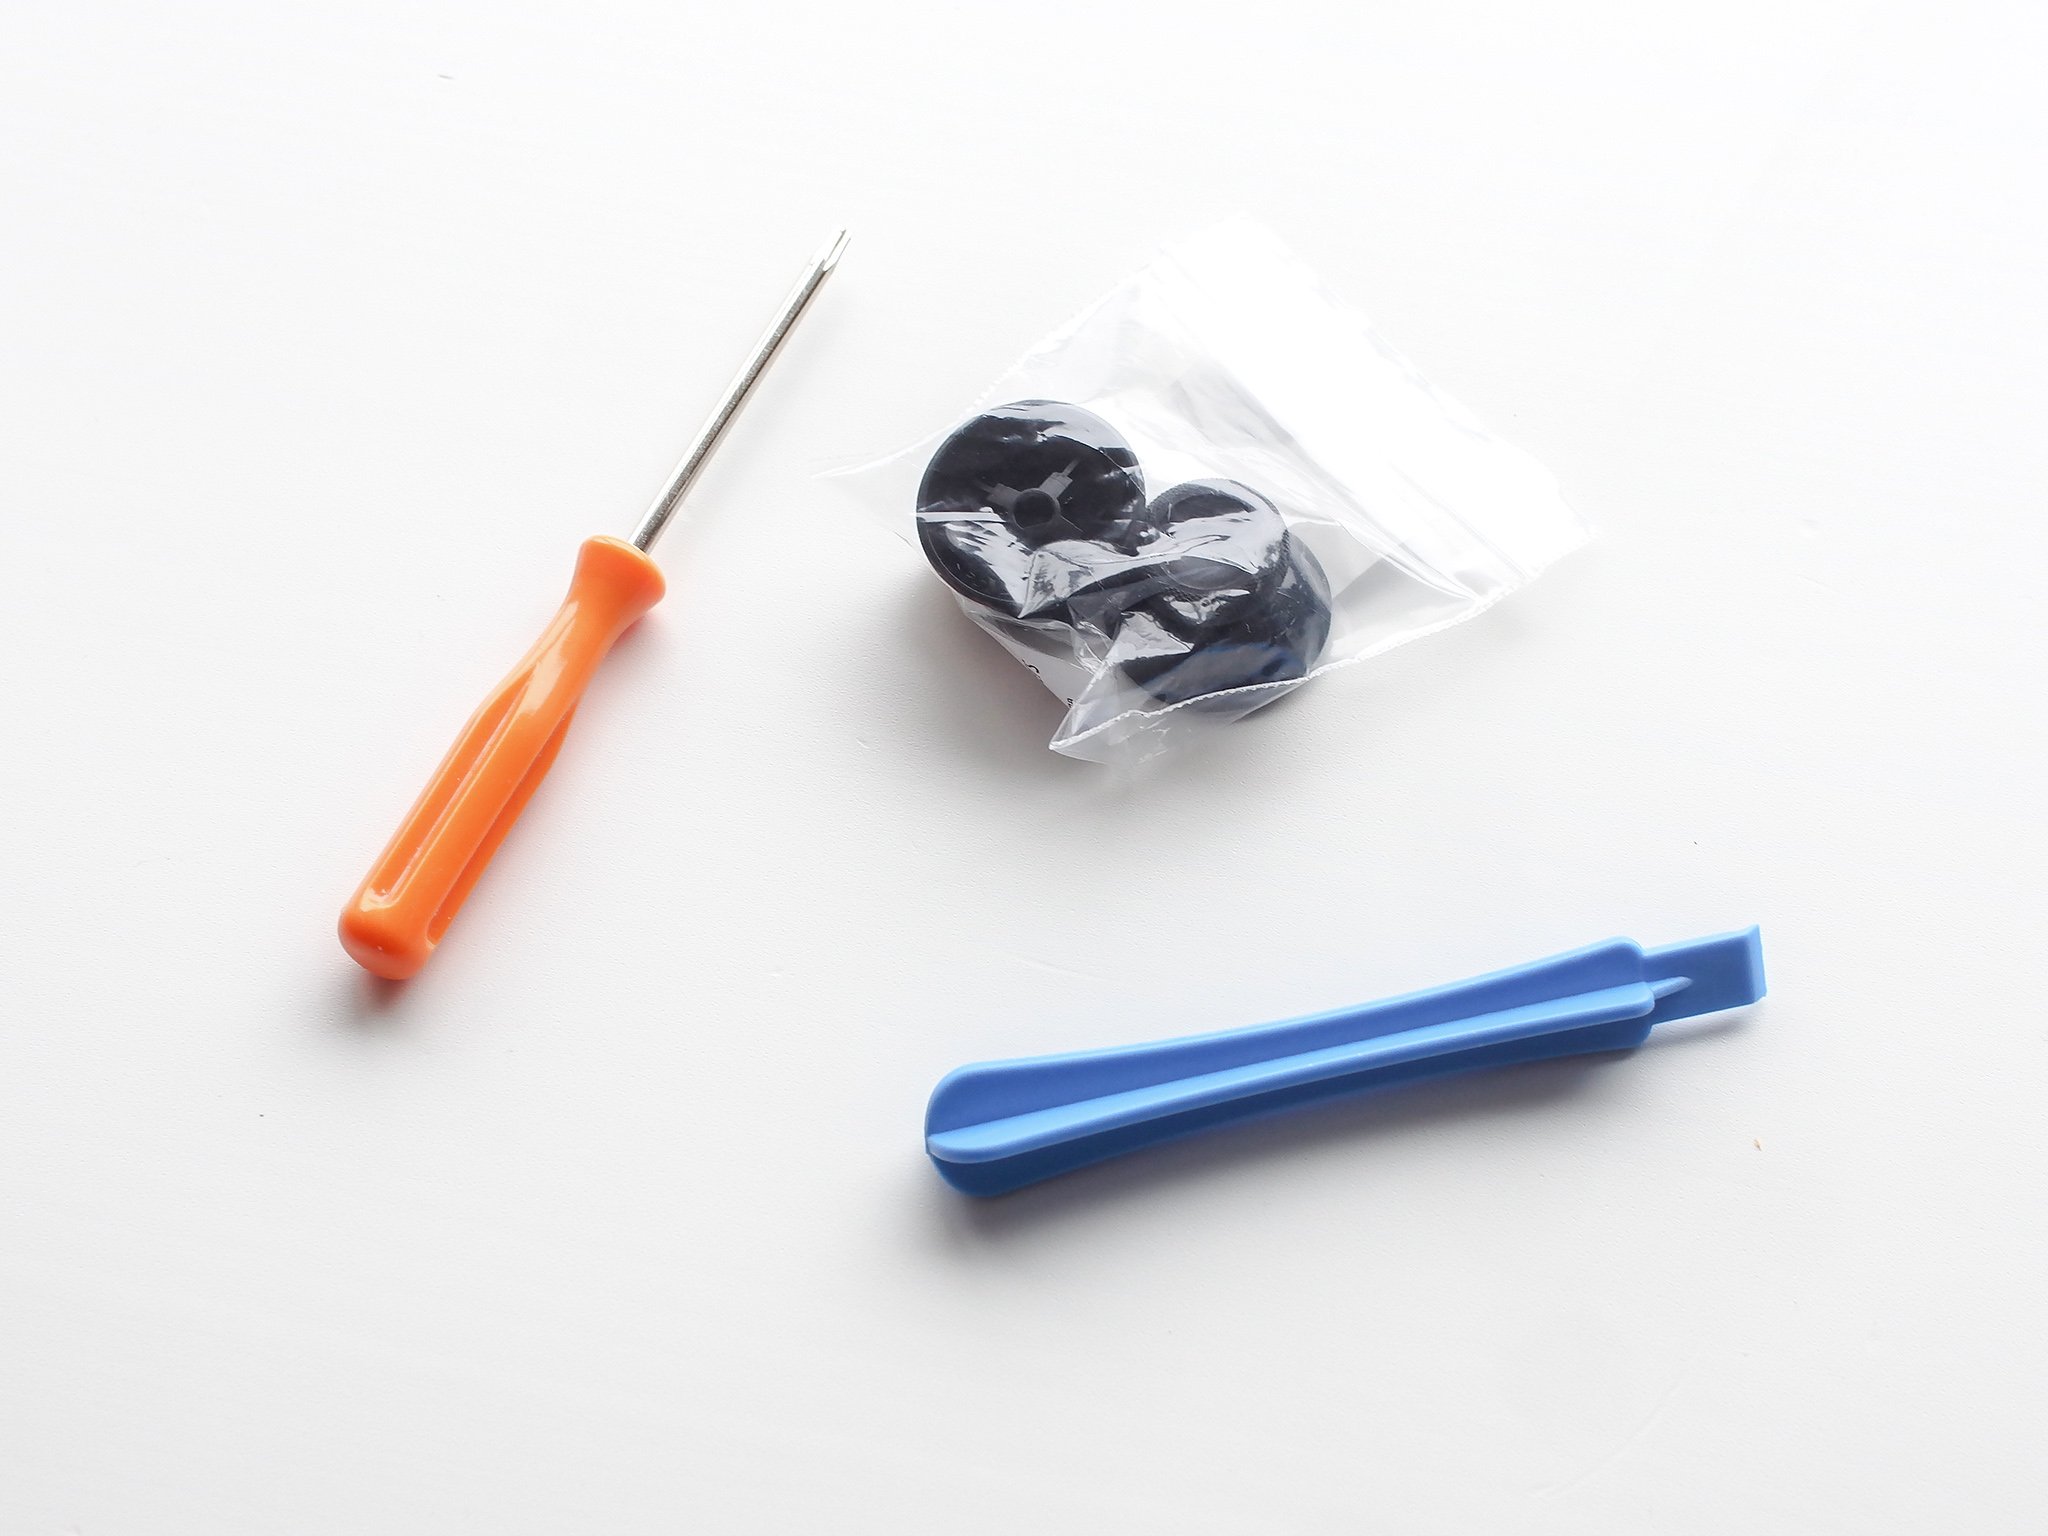
- Replacement Xbox One Thumbsticks (about $10)
- Plastic pry tool (about $5)
- Torx T8 screwdriver (about $5)
The latter two items are useful for other things, too, and they'll be universal for any repair or customization work you do on your Xbox One Controller. You can get a toolkit with both in for about $10.
A pair of regular black thumbsticks is about $10, but in swapping them out you could also go for some different colors or styles. As long as they're compatible with the Xbox One controller, the method remains the same.
How to replace Xbox One controller thumbsticks
Because the thumbsticks are on the front and all the screws to hold the controller together are on the back, you'll need to do a complete teardown by following these steps.
- Remove the battery door.
- Remove the batteries from the controller.
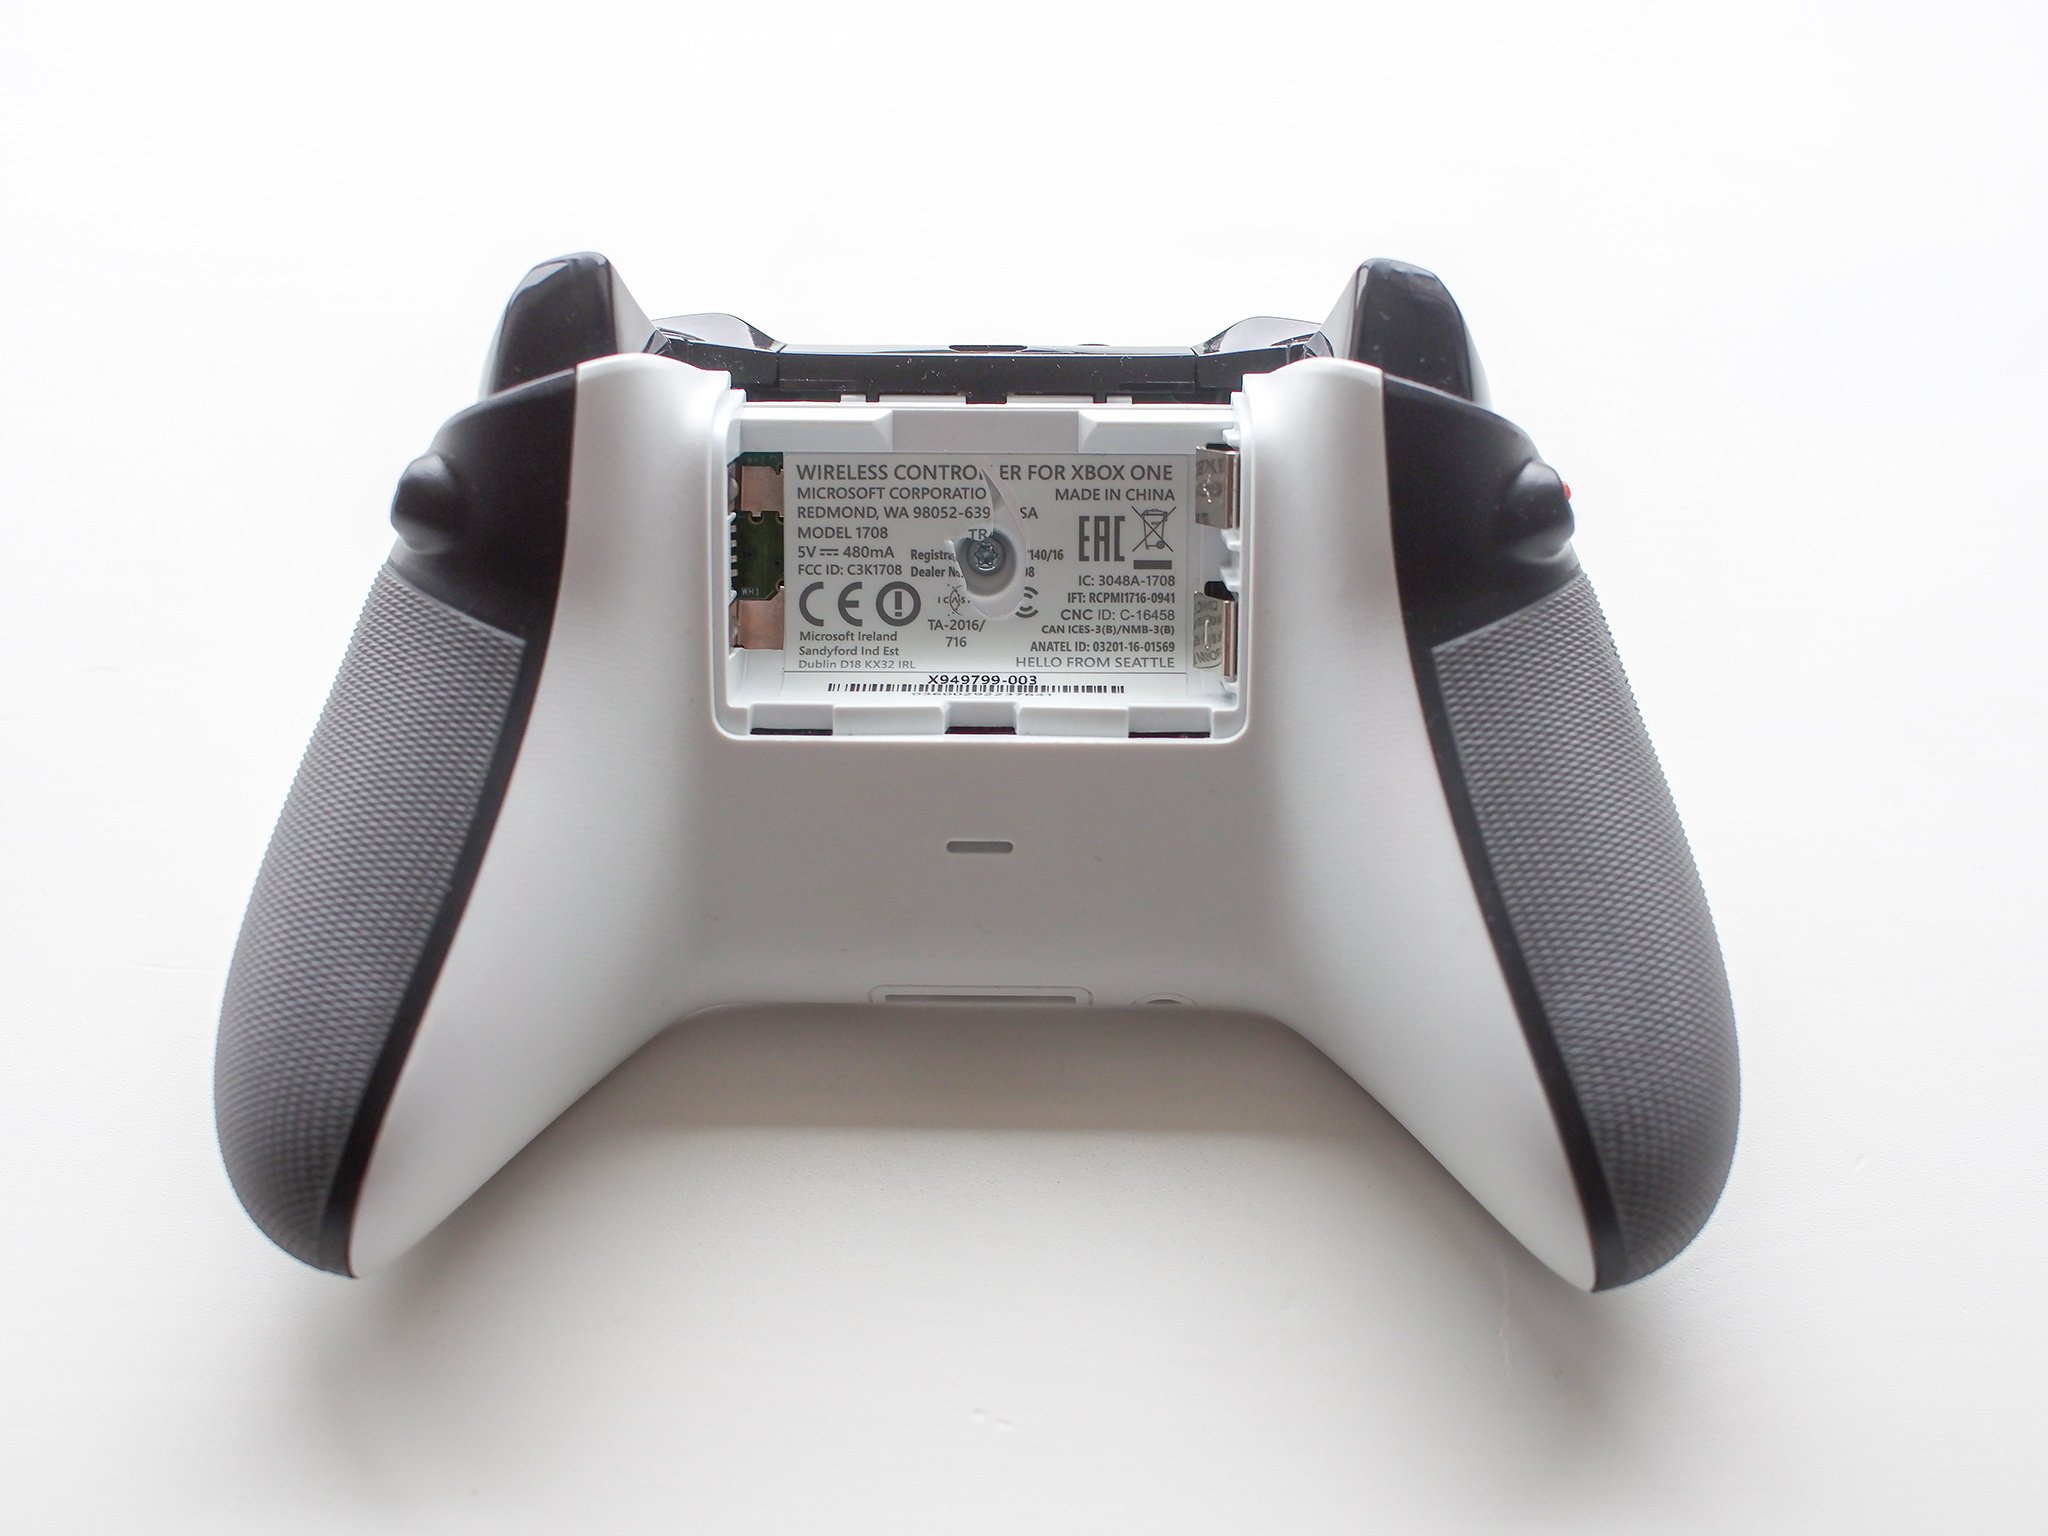
- Use the plastic pry tool to detach the rear grips from the controller body. (Once you've separated them, pull firmly to remove them from the body.)
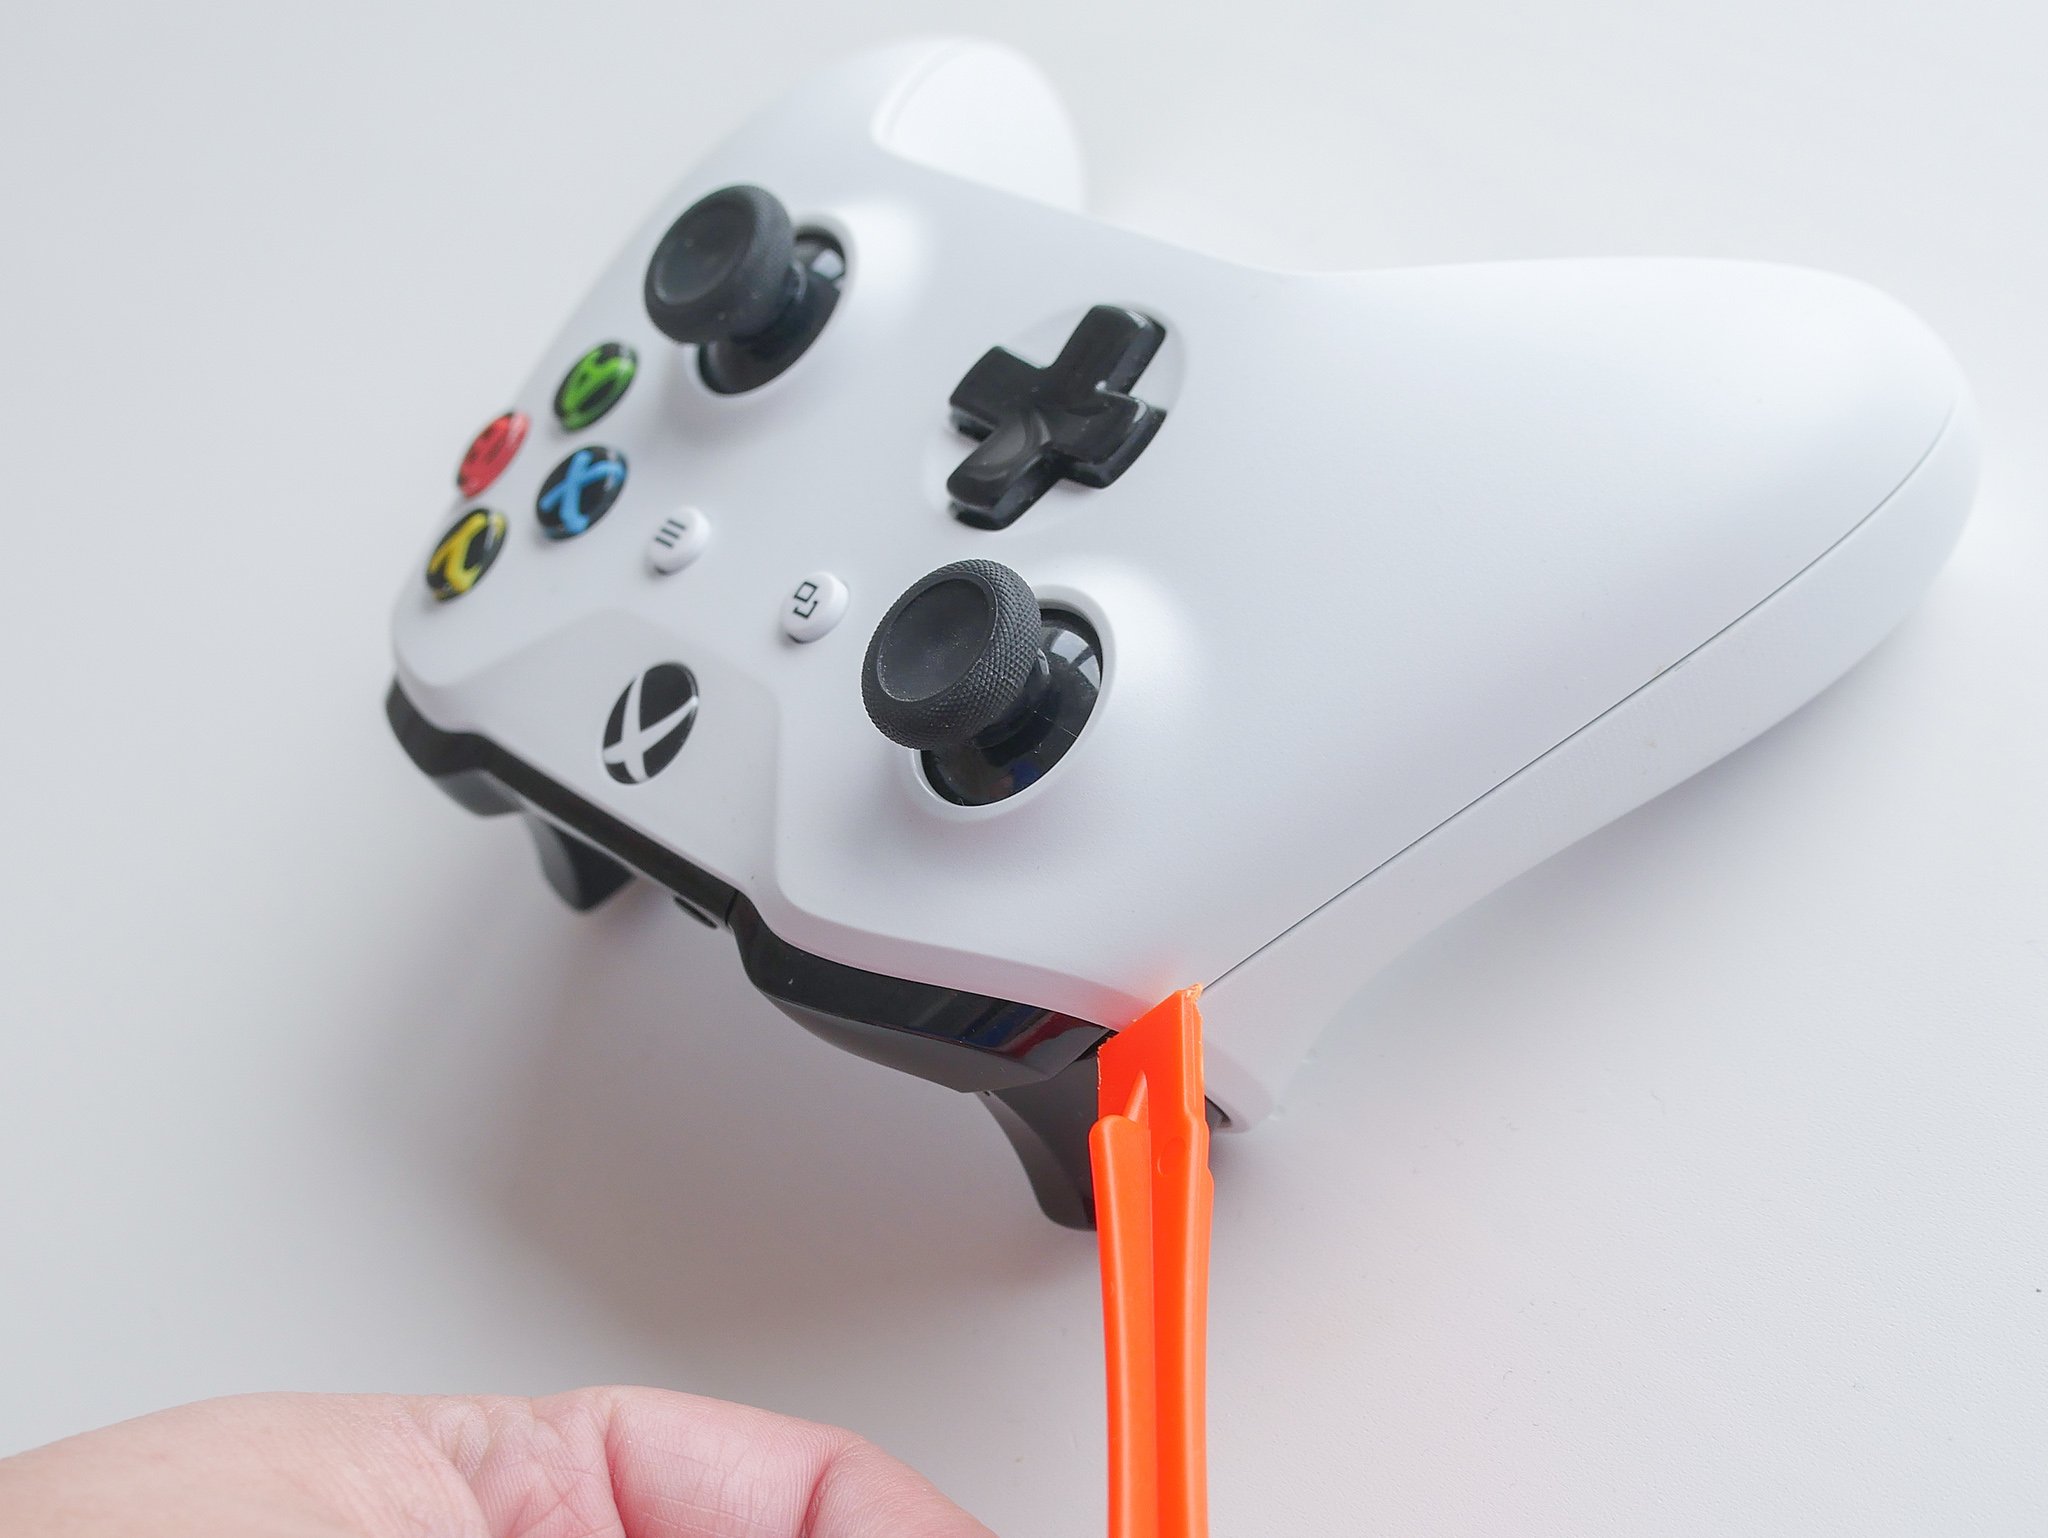
- You now have five screws to remove as shown in the image with the T8 screwdriver. (The fifth is located beneath the battery label so you'll have to pierce it or remove it entirely.)
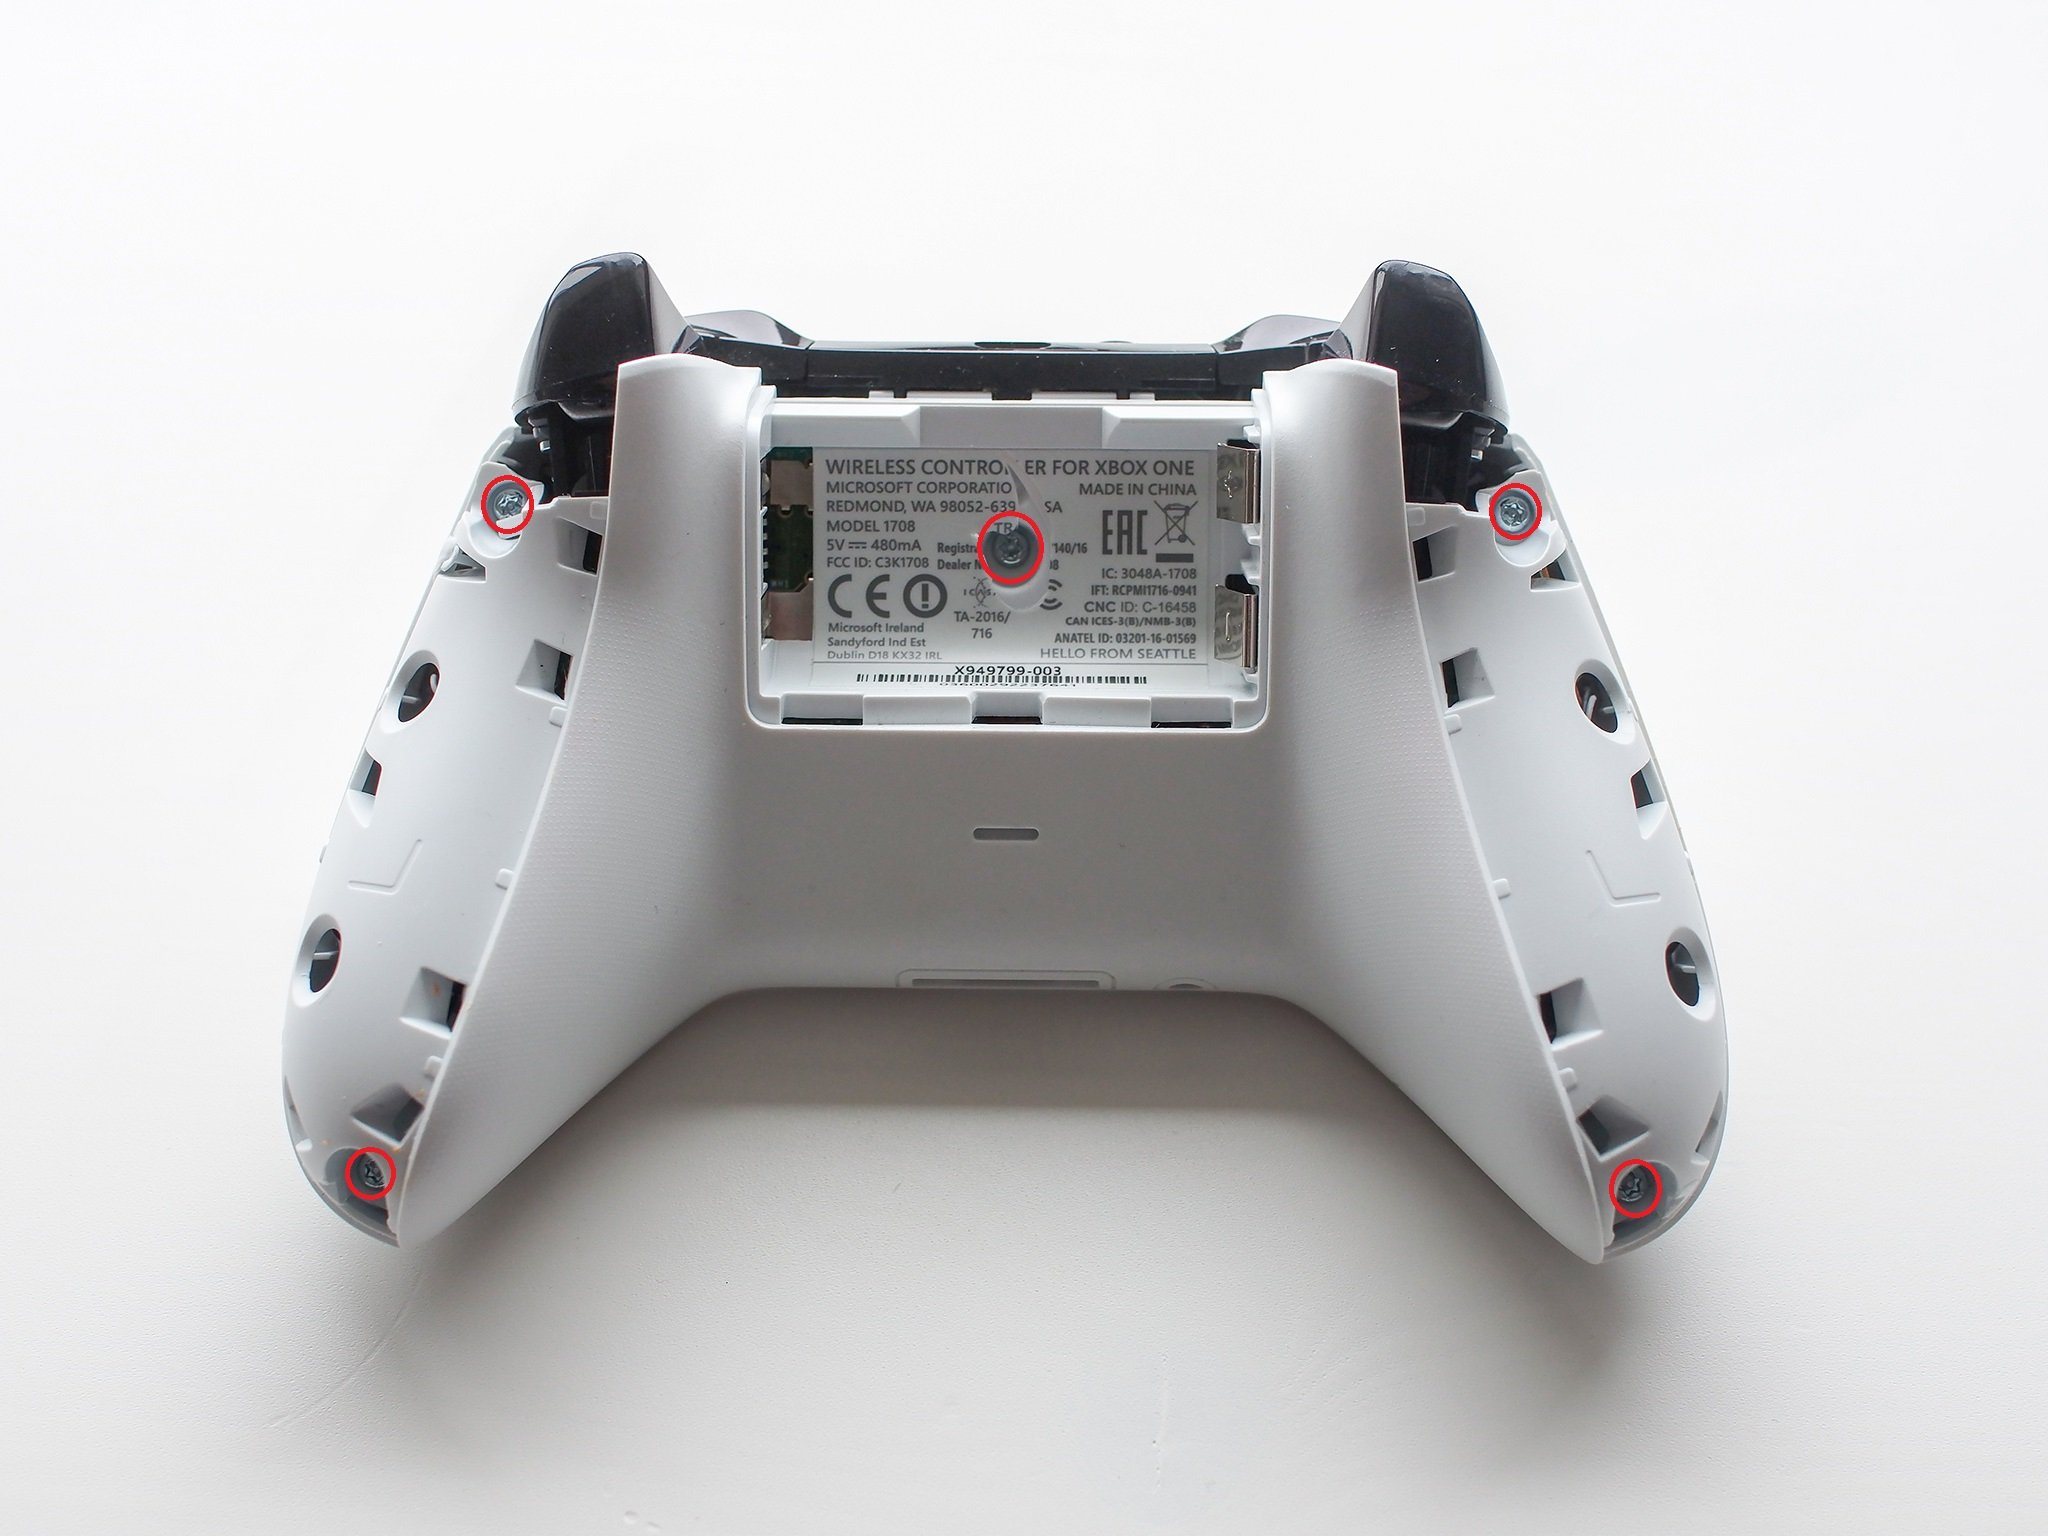
- Pull the backplate away from the controller body.
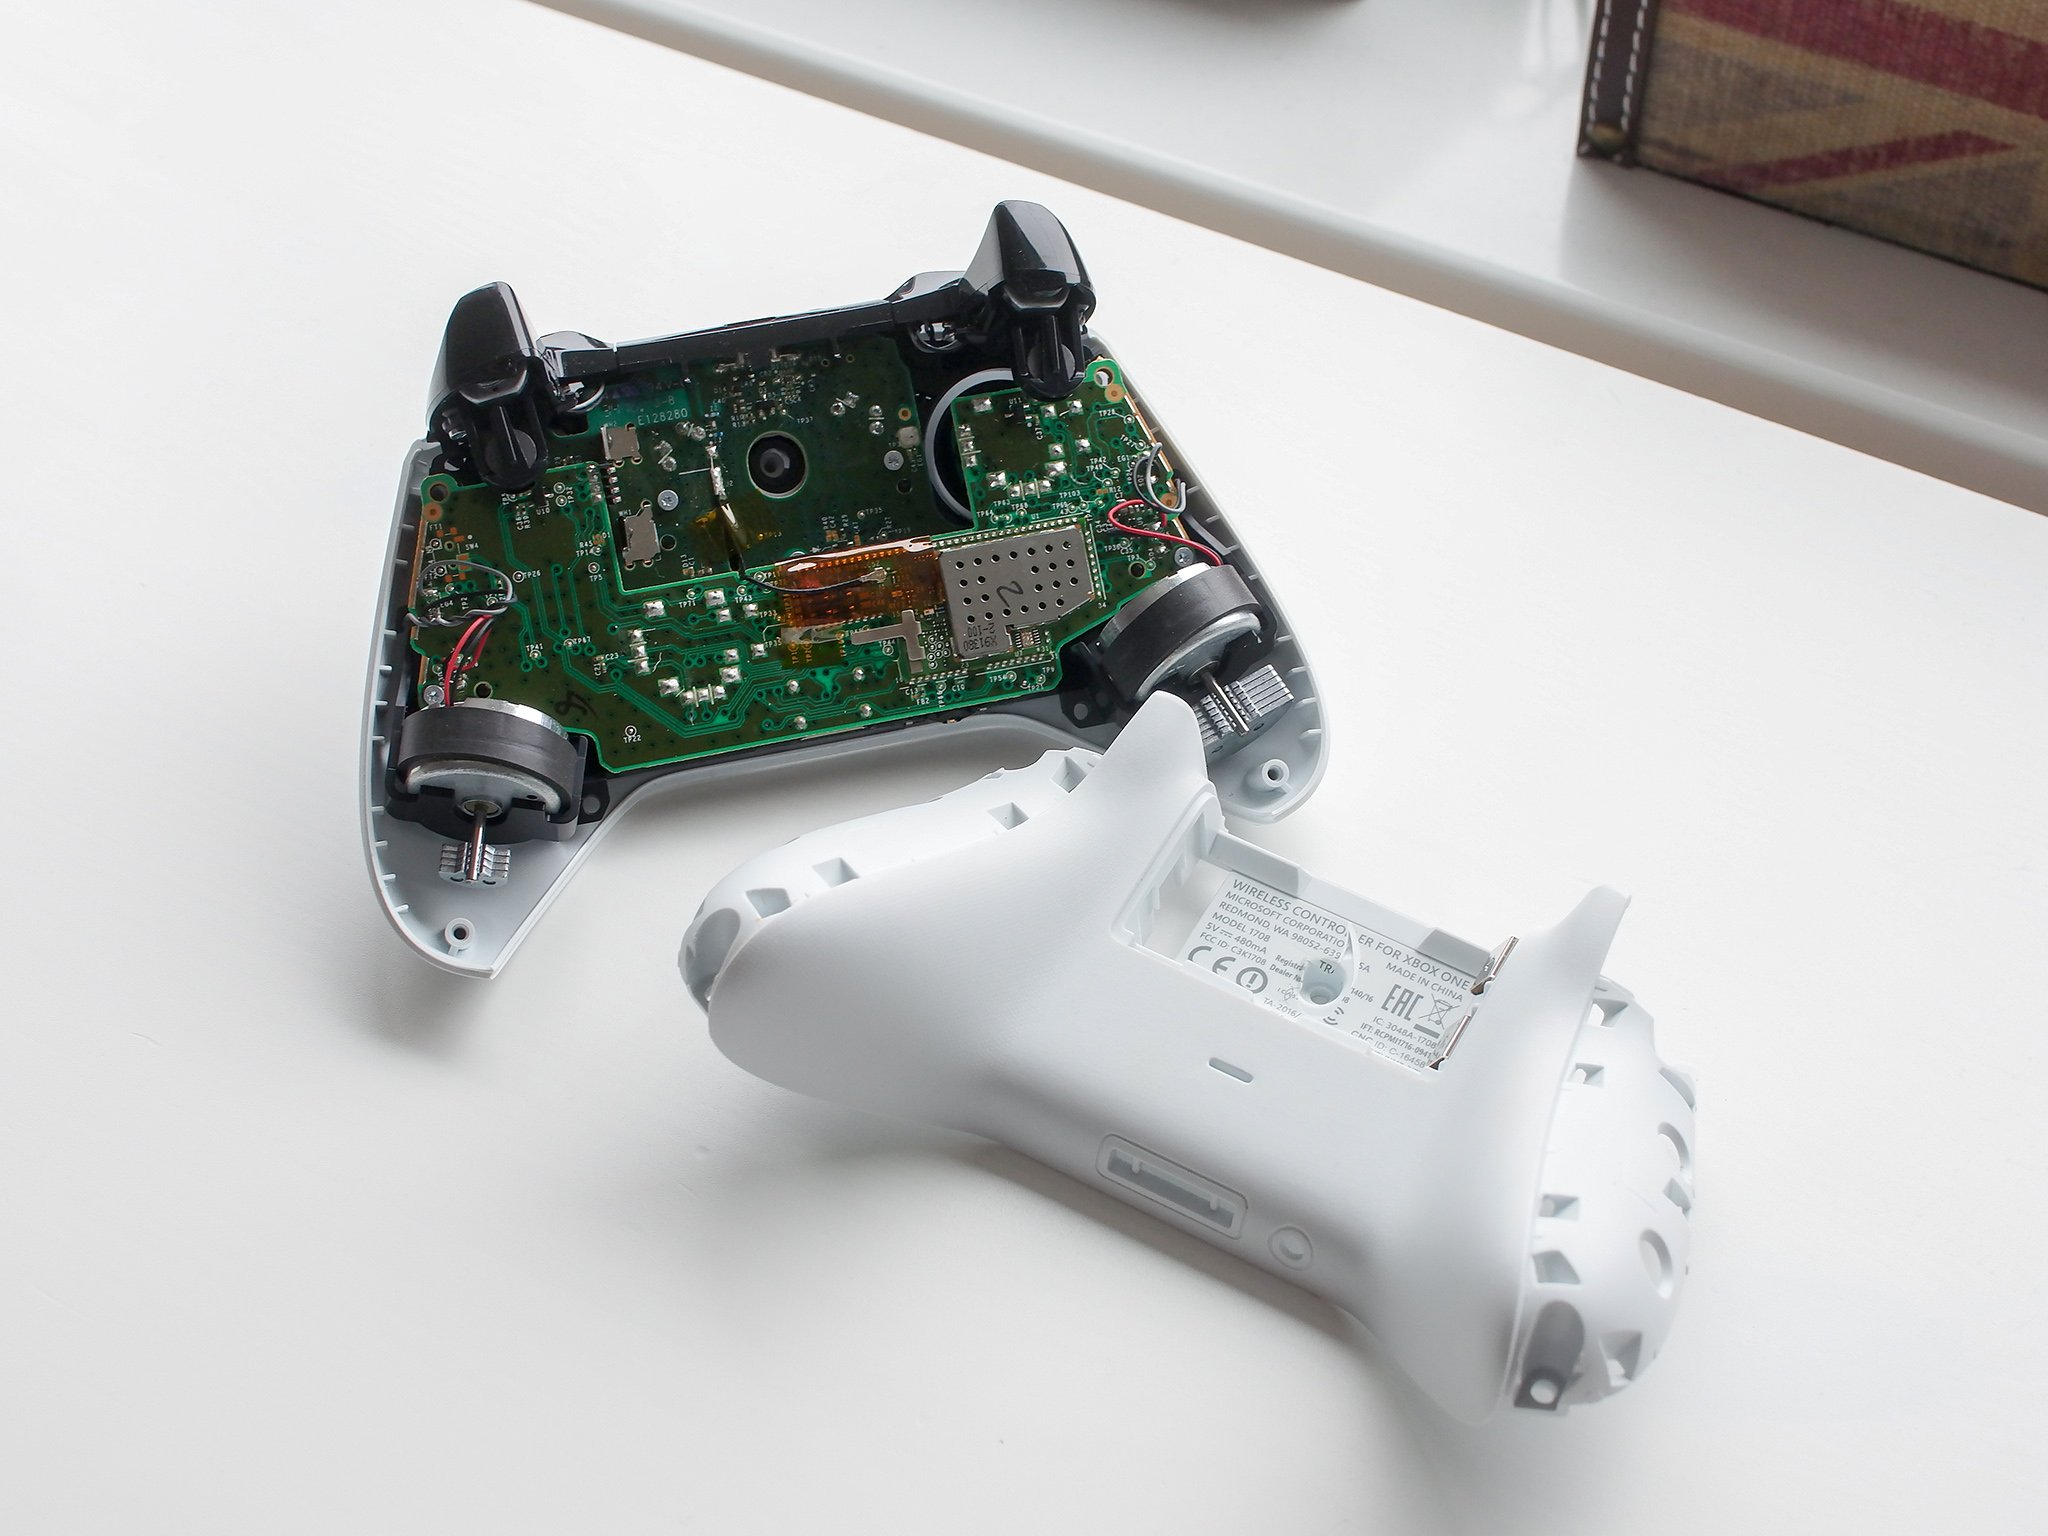
- Flip the controller around and pull the faceplate away from the controller body.
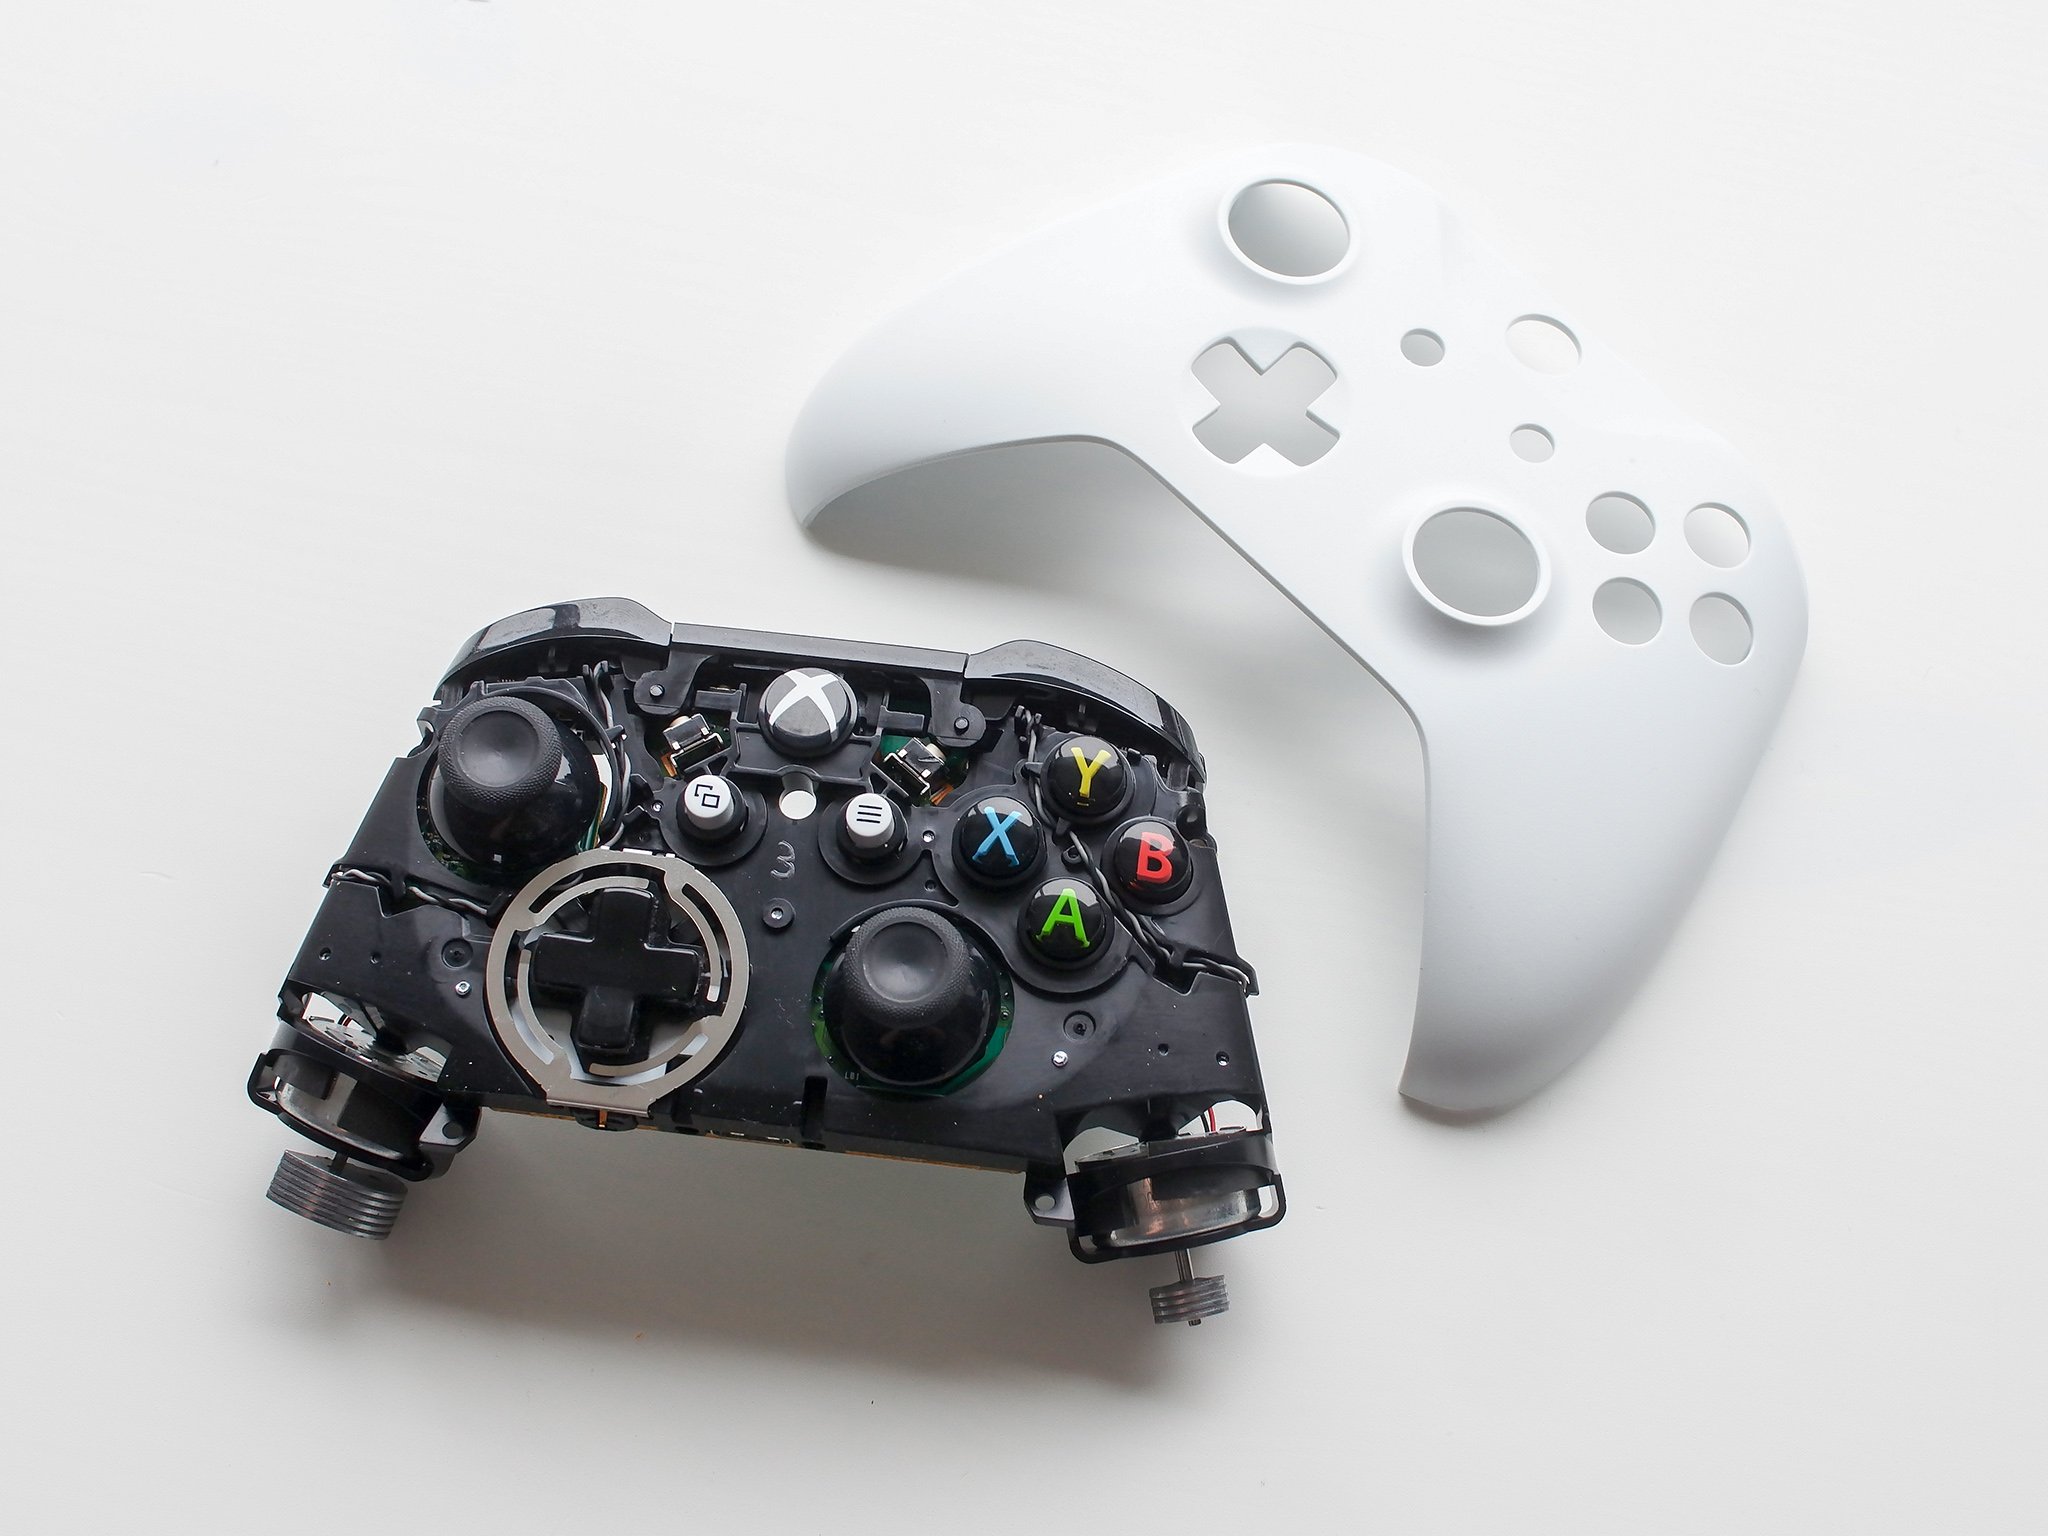
- Pull the thumbsticks straight up to detach from their poles.
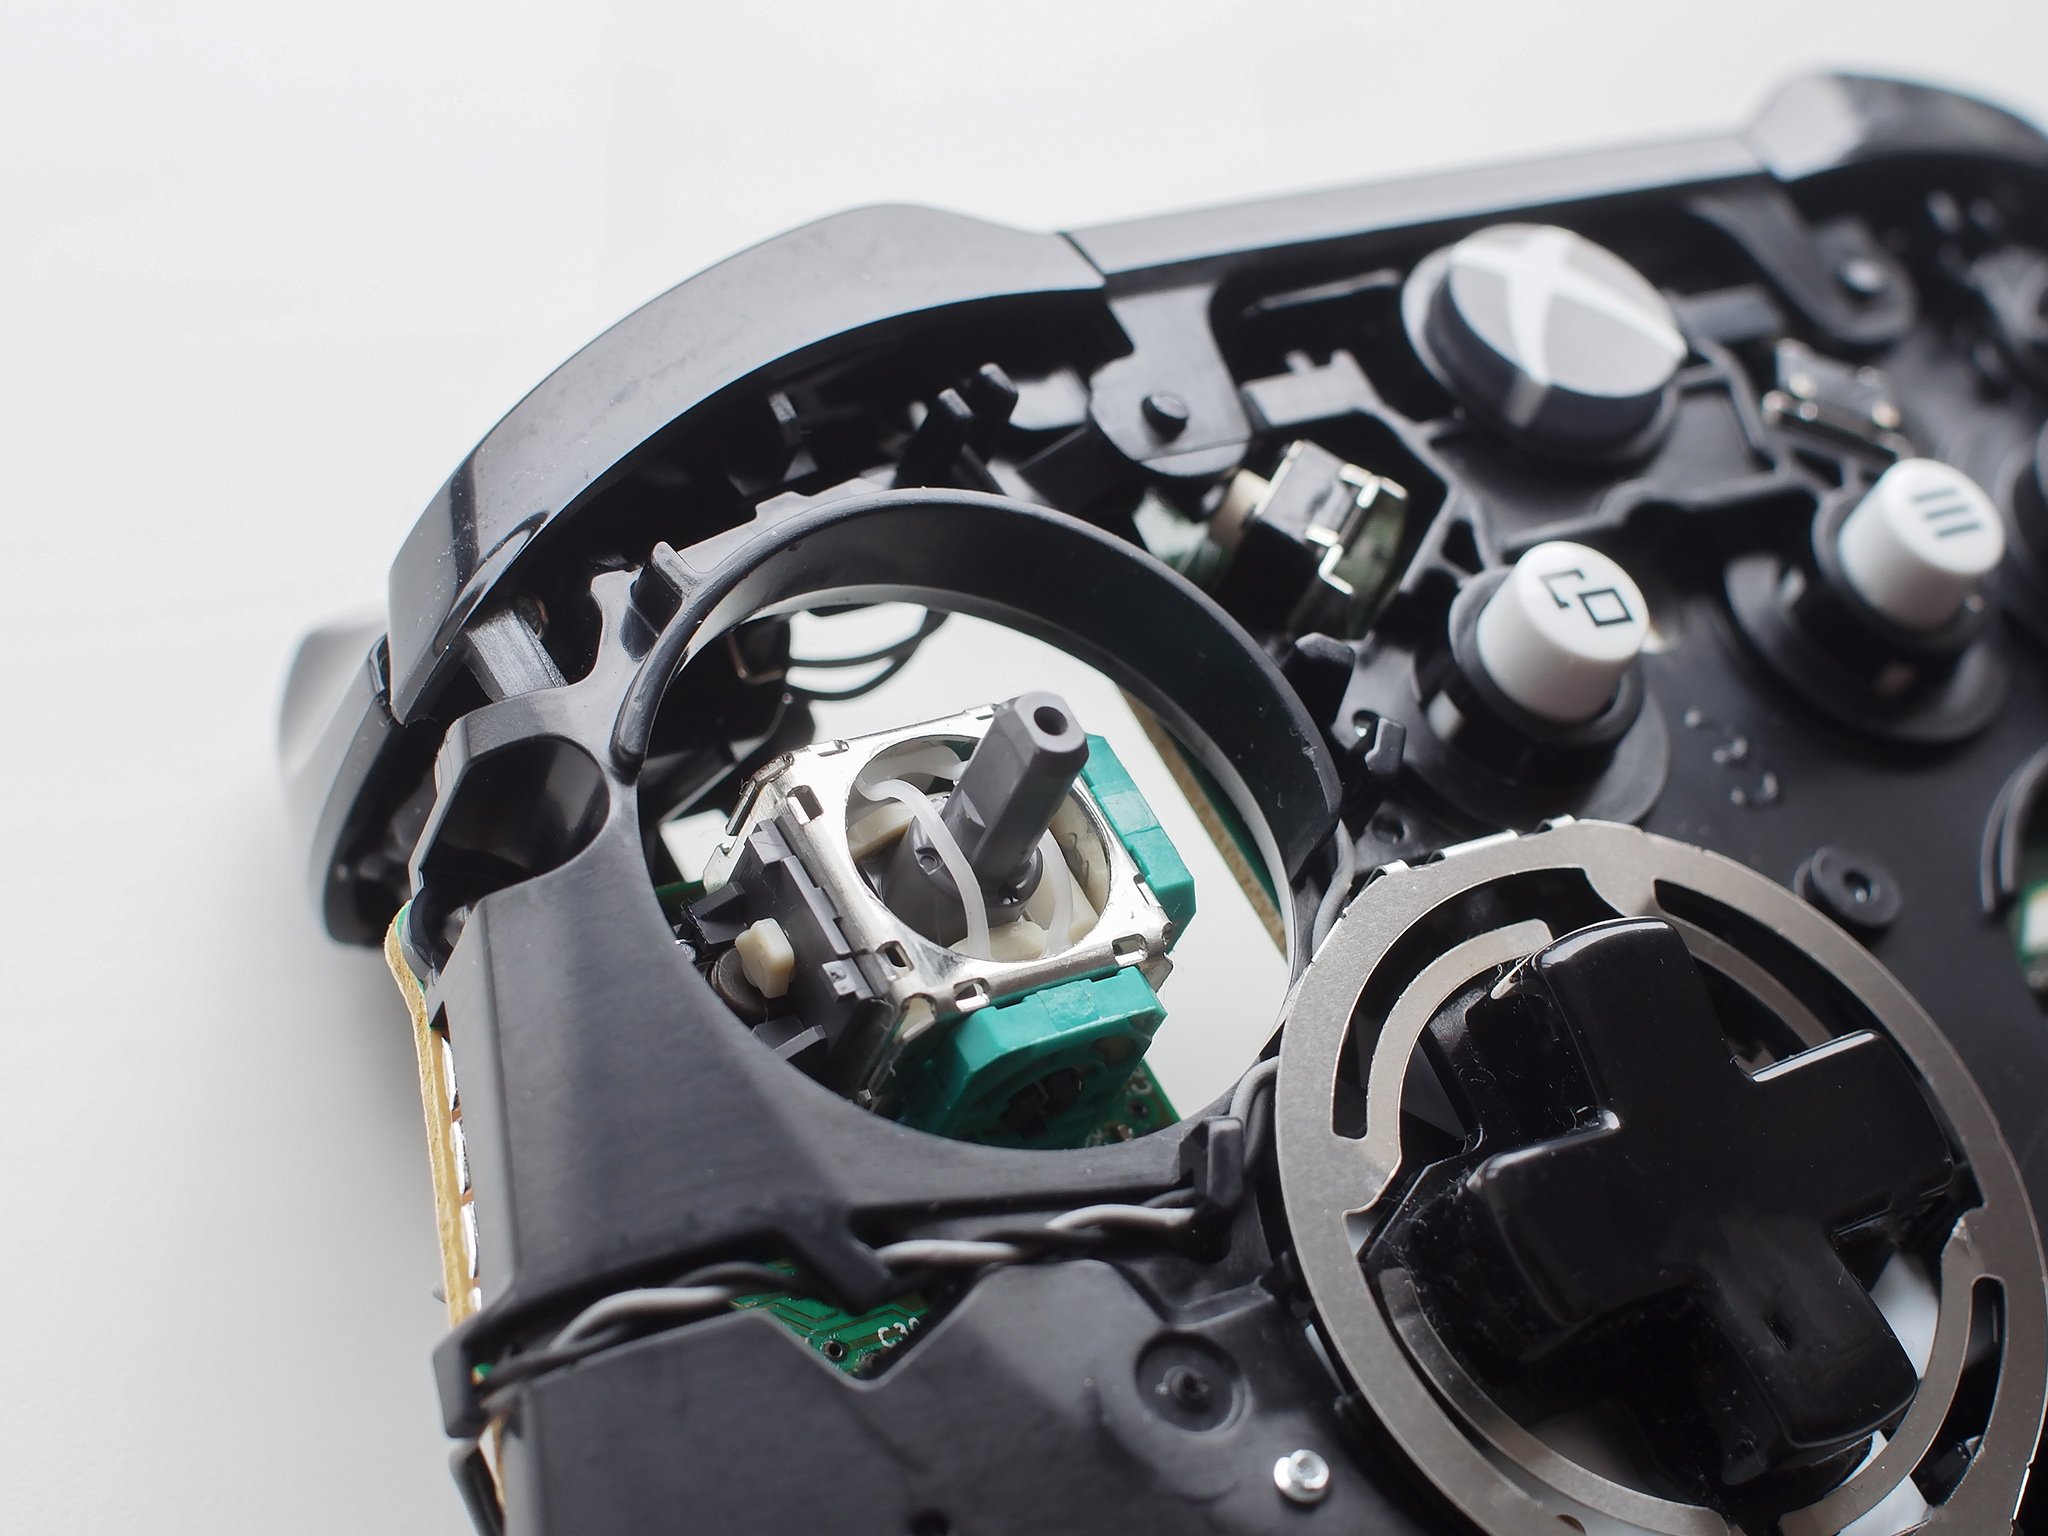
- Push your new thumbsticks down on the poles.
- Repeat the steps above in reverse to reassemble your controller.
Note, if you have an actual issue with the thumbstick mechanism, such as drift or misalignment, replacing the thumbsticks won't fix this. But if you've got some nasty looking worn sticks, for a few dollars and 15 minutes of your time, you'll be fixed up quickly.
Get the Windows Central Newsletter
All the latest news, reviews, and guides for Windows and Xbox diehards.
How to add trigger stops to a regular Xbox One controller for just $20

Richard Devine is a Managing Editor at Windows Central with over a decade of experience. A former Project Manager and long-term tech addict, he joined Mobile Nations in 2011 and has been found on Android Central and iMore as well as Windows Central. Currently, you'll find him steering the site's coverage of all manner of PC hardware and reviews. Find him on Mastodon at mstdn.social/@richdevine
