How to remove Internet Explorer on Windows 10
The days of Internet Explorer (IE) are over, and you should remove it already — here's how.
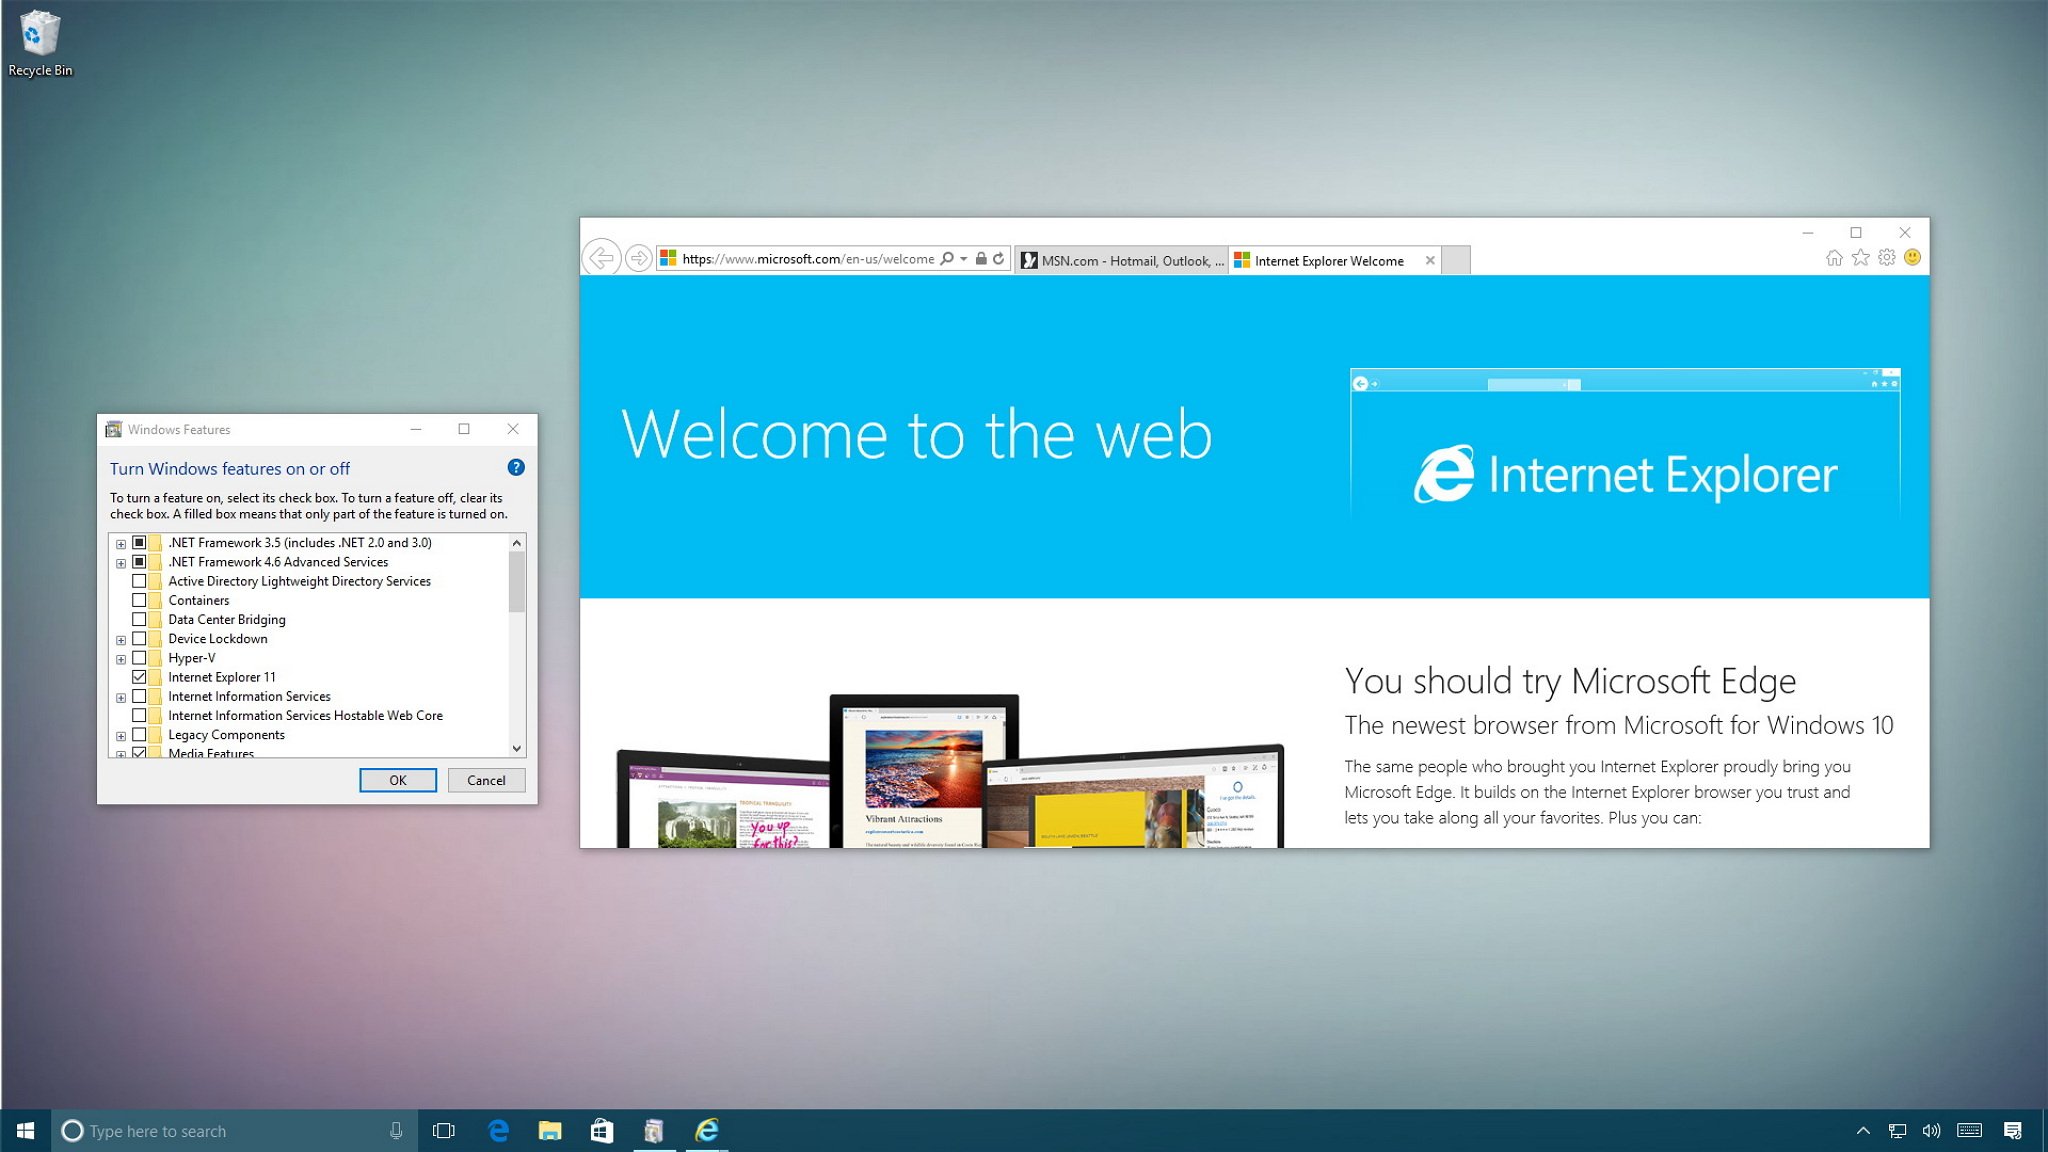

Although Microsoft Edge is your new default web browser (soon to be replaced with a version based on Chromium), Windows 10 still ships with Internet Explorer 11 as a legacy feature to support sites using old web technologies.
However, since the web has been evolving rapidly, developers are no longer maintaining sites for Internet Explorer, and you have plenty of other choices (including Google Chrome, Mozilla Firefox, Opera, and Microsoft Edge), there's no reason to keep using the old browser as it can now only lead to security and stability problems.
If you no longer have a need for Internet Explorer 11, you can remove the browser in at least two different ways on Windows 10 using Control Panel and PowerShell.
In this Windows 10 guide, we'll walk you through the steps to remove Internet Explorer 11 from your device.
- How to uninstall Internet Explorer using Control Panel
- How to uninstall Internet Explorer using PowerShell
How to uninstall Internet Explorer using Control Panel
To remove Internet Explorer 11 from Windows 10, use these steps:
- Open Settings.
- Click on Apps.
- Click on Apps & features.
- On the right pane, under "Related settings," click the Program and Features option.
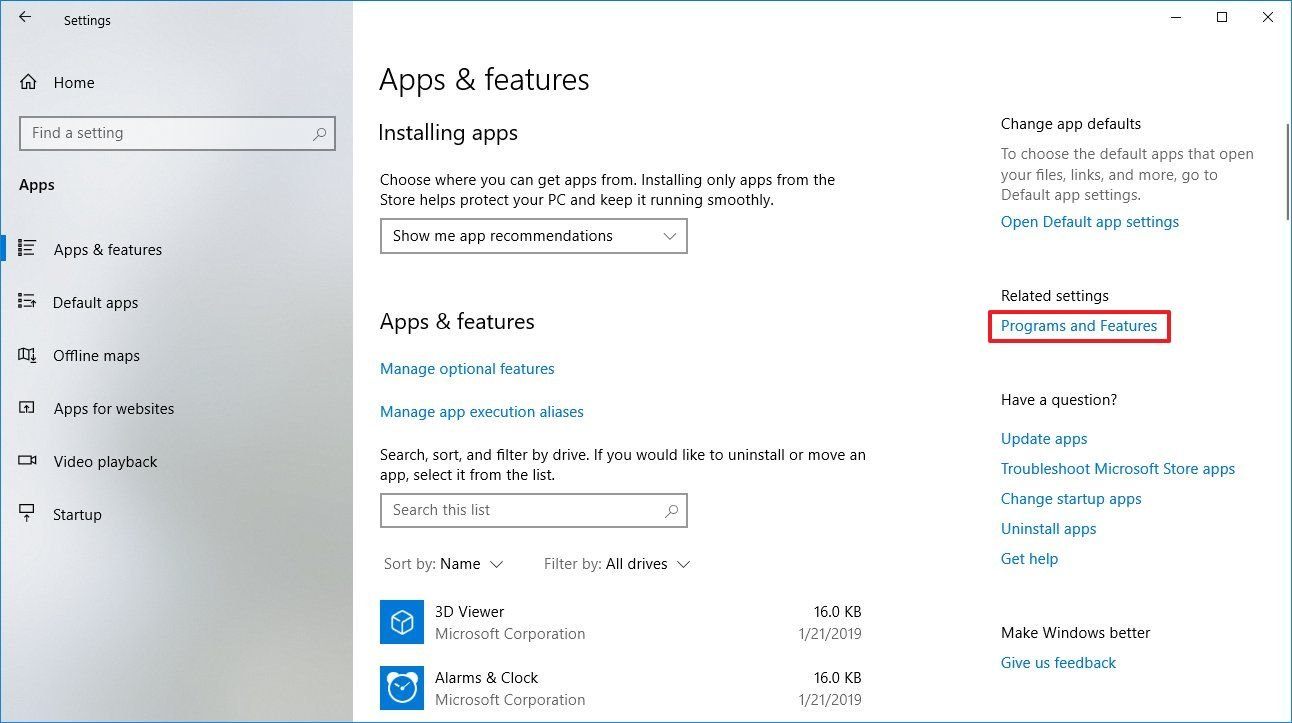
- On the left pane, click the Turn Windows features on or off option.
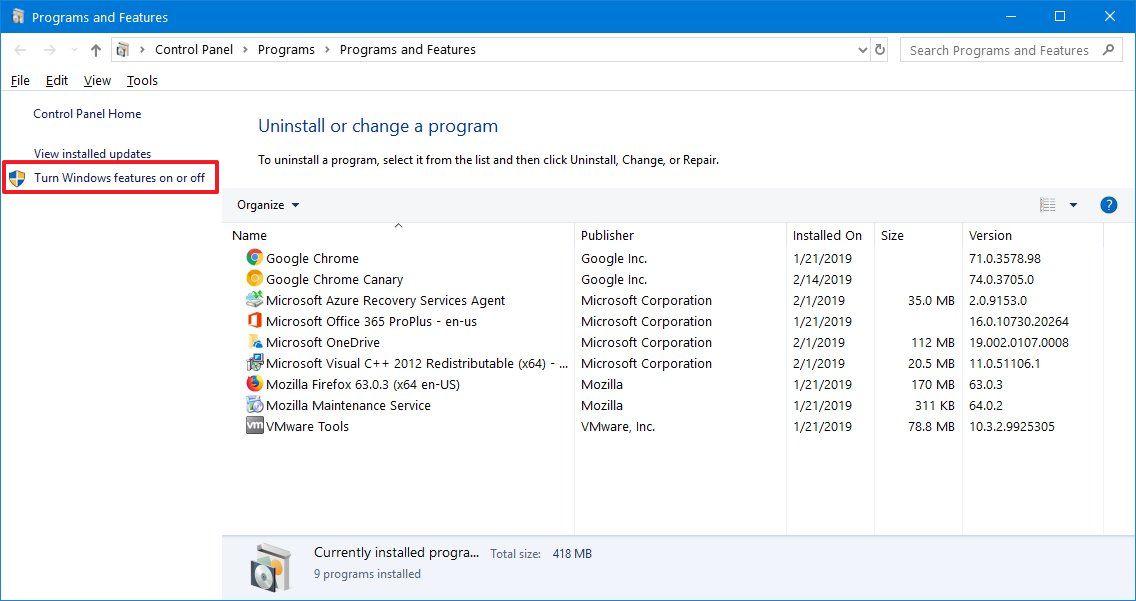
- Clear the Internet Explorer 11 option.
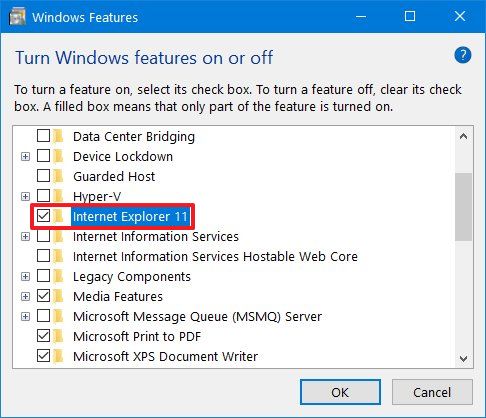
- Click the OK button.
- Click the Yes button to confirm.
- Click the Restart now button.
Once you complete the steps, Internet Explorer 11 will be removed from your computer. Searching the "Internet Explorer" will highlight Microsoft Edge in the Start menu, and the "Open with Internet Explorer" option will be available in the main menu, but it won't work.
Using this method will remove the browser from your device, but not the files. If you need the old browser back, you can use the same instructions, but on step No. 6, make sure to check the Internet Explorer 11 option.
Get the Windows Central Newsletter
All the latest news, reviews, and guides for Windows and Xbox diehards.
How to uninstall Internet Explorer using PowerShell
Alternatively, you can use PowerShell to remove Internet Explorer 11 from Windows 10. This is a particularly useful option when managing multiple computers and you want to create a script to save time uninstalling the app.
To remove IE11 using PowerShell commands, use these steps:
- Open Start.
- Search for PowerShell, right-click the top result, and select the Run as administrator option.
- Type the following command to disable Internet Explorer 11 and press Enter:
Disable-WindowsOptionalFeature -FeatureName Internet-Explorer-Optional-amd64 –Online
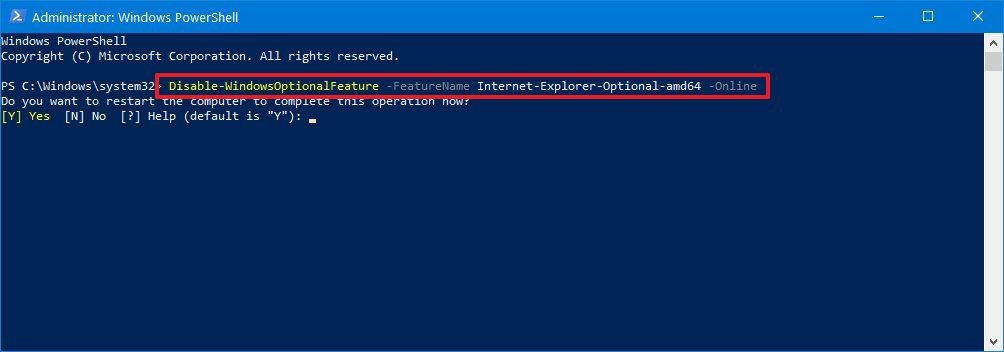
- Type Y and press Enter to confirm
After completing the steps, your device will restart to complete the process, and then IE will be gone from your installation.
If for some reason, you need the browser back, you can use the instructions, but on step No. 3, use this command instead:
Enable-WindowsOptionalFeature -FeatureName Internet-Explorer-Optional-amd64 –Online.
Updated February 14, 2019: This guide has been revised to make sure it's current with the latest version of Windows 10.
More Windows 10 resources
For more helpful articles, coverage, and answers to common questions about Windows 10, visit the following resources:
- Windows 10 on Windows Central – All you need to know
- Windows 10 help, tips, and tricks
- Windows 10 forums on Windows Central
Mauro Huculak has been a Windows How-To Expert contributor for WindowsCentral.com for nearly a decade and has over 15 years of experience writing comprehensive guides. He also has an IT background and has achieved different professional certifications from Microsoft, Cisco, VMware, and CompTIA. He has been recognized as a Microsoft MVP for many years.

