How to remove the Evaluation Copy watermark from Windows 10 for Insiders
When you sign up to be a Windows Insider not only do you get the latest version of the Windows 10 OS before the general public you are also a part of a larger experiment. As such, more data is collected to improve the OS and the version you are running is merely one of many builds.
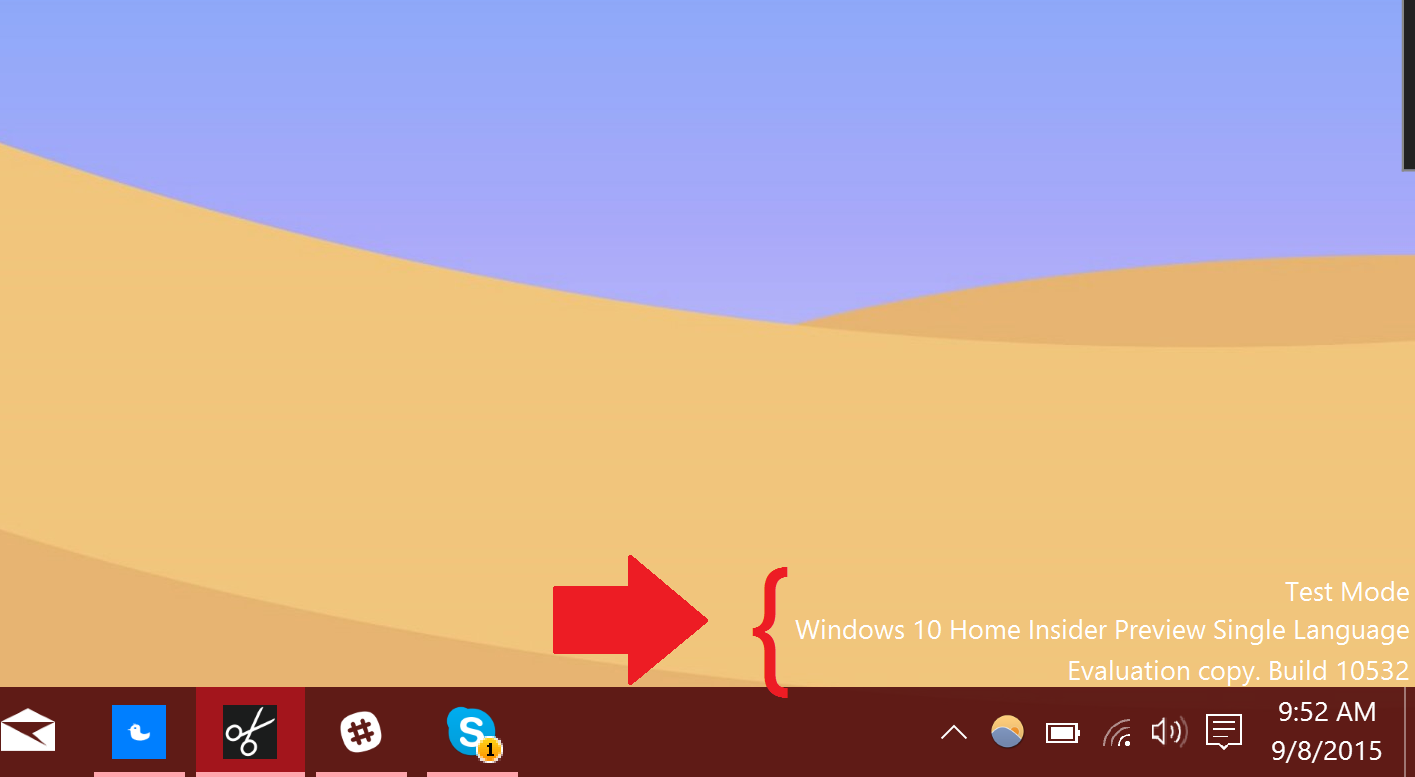
Perhaps one issue that bothers people is the Evaluation Copy watermark that sits in the lower right-hand corner of the desktop. This watermark looks like this:
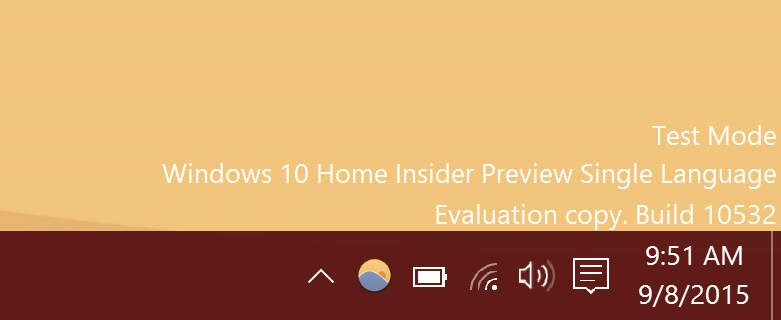
In the scheme of things this is a rather small "sacrifice" we make to get the new features. Still, a watermark is a watermark, and it effectively blemishes your desktop appearance. Today, we will talk about how to remove it.
Word of caution
Unlike some easy registry tweaks, for simplicity today we are relying on an external application called Universal Watermark Disabler. This app does all the work for you, but it does not come without risk. What this app does is more than just change a 1 to a 0 in the registry. Instead, it is altering system files, specifically basebrd.dll.mui and shell32.dll.mui.
Such changes to the OS should raise a flag of caution, and I advise being thoughtful when installing and using some 'hack' apps. Having said that, there is nothing devious about Universal Watermark Disabler, but I do not recommend making it habit to modify constantly aspects of your system files. Sooner or later you are likely to break something, and the result could range from disastrous to simple instability.
Because of this I always recommend you do a full system backup and take the time to learn what the trick in question is doing. The good news about today's trick is that there is an "uninstall" button that lets you reverse the action. Just remember, these kinds of apps are not future-proofed, may not work in all situations, and could break something later on.
So long as you are aware of all of that, we can now move forward.
Get the Windows Central Newsletter
All the latest news, reviews, and guides for Windows and Xbox diehards.
Universal Watermark Disabler
To remove the watermark from Windows Insider we are just going to run a simple app and agree to the file changes. The process here actually takes less than 30 seconds, but we'll walk you through the procedure.
Note to complete the process you do need to log off and back on the system, so make sure you save any work before you begin.
1. Download
Grab Universal Watermark Disabler from the author's site found here. We are using version 1.0.0.6 of the app, which was last updated in January of this year. We tested it on Windows 10 build 10532 with no ill consequences. The app is freeware although you can make a donation to the author PainteR if you enjoy it. Here are some of its functions:
- Supports all builds from Windows 8 7850 to Windows 10 10240 (and newer).
- Supports any UI language.
- Does not delete branding strings (i.e. does not modify system files!).
- Removes any watermarks including BootSecure, Test Mode, Build string in evaluation and pre-release builds, "Confidential" warning text and even the build hash.
2. Run (and or extract)
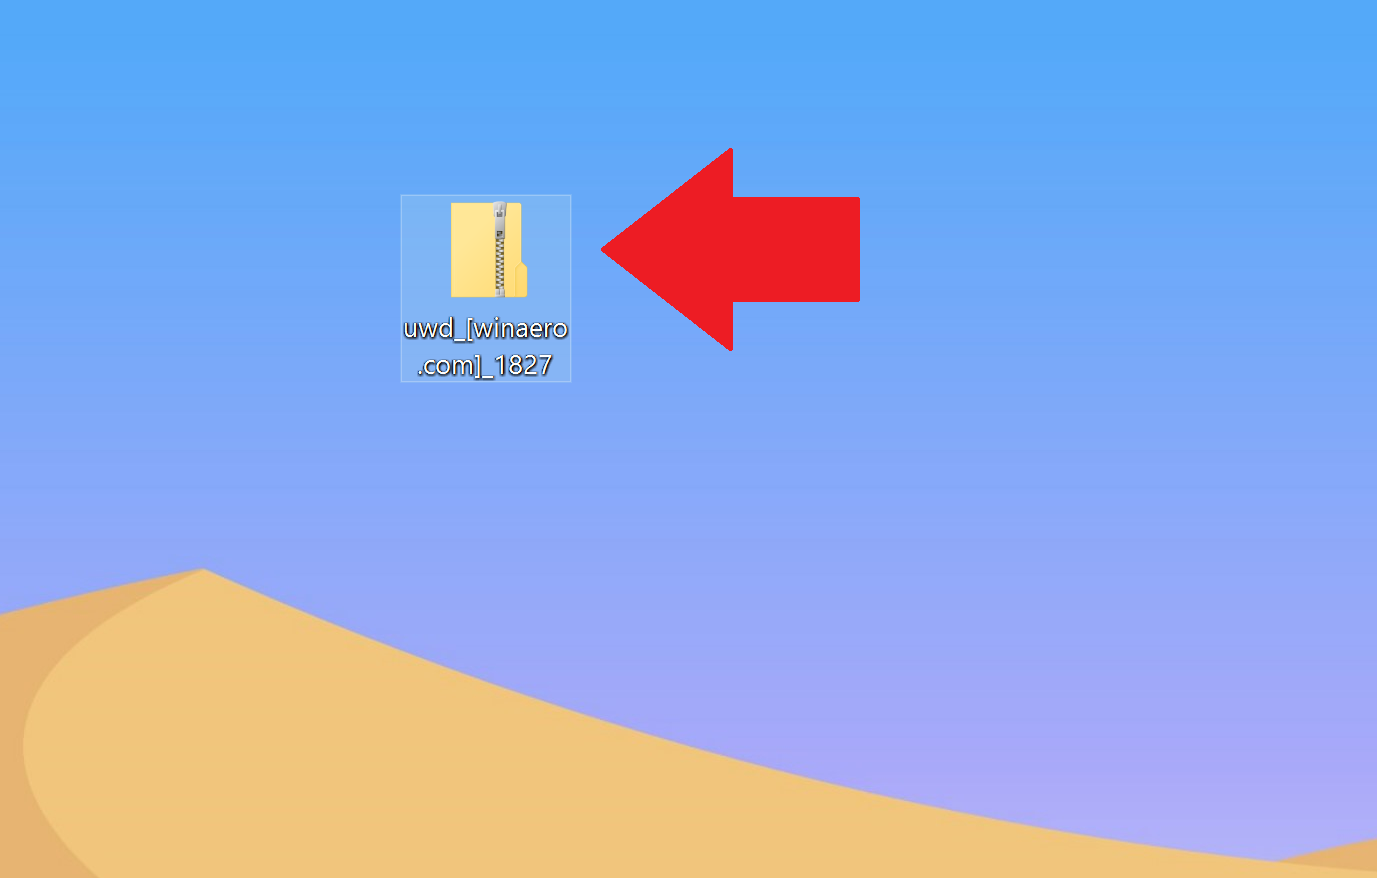
Download uwd_[winaero.com]_617.zip to your computer. You can open it natively in Windows and (a) run the .exe file directly or (b) extract and run the app.
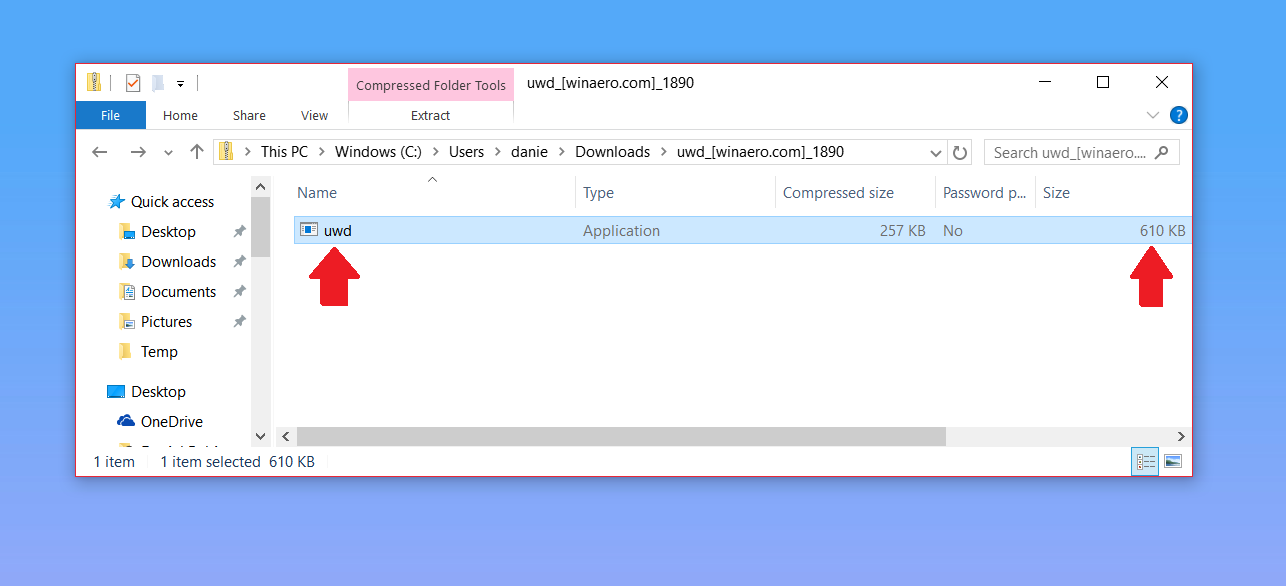
Inside the .zip is a 610 KB file called uwd.exe. You can double-click to run the file and you are presented with a warning screen to a User Access Control warning screen. If you agree, hit Yes.
3. Install
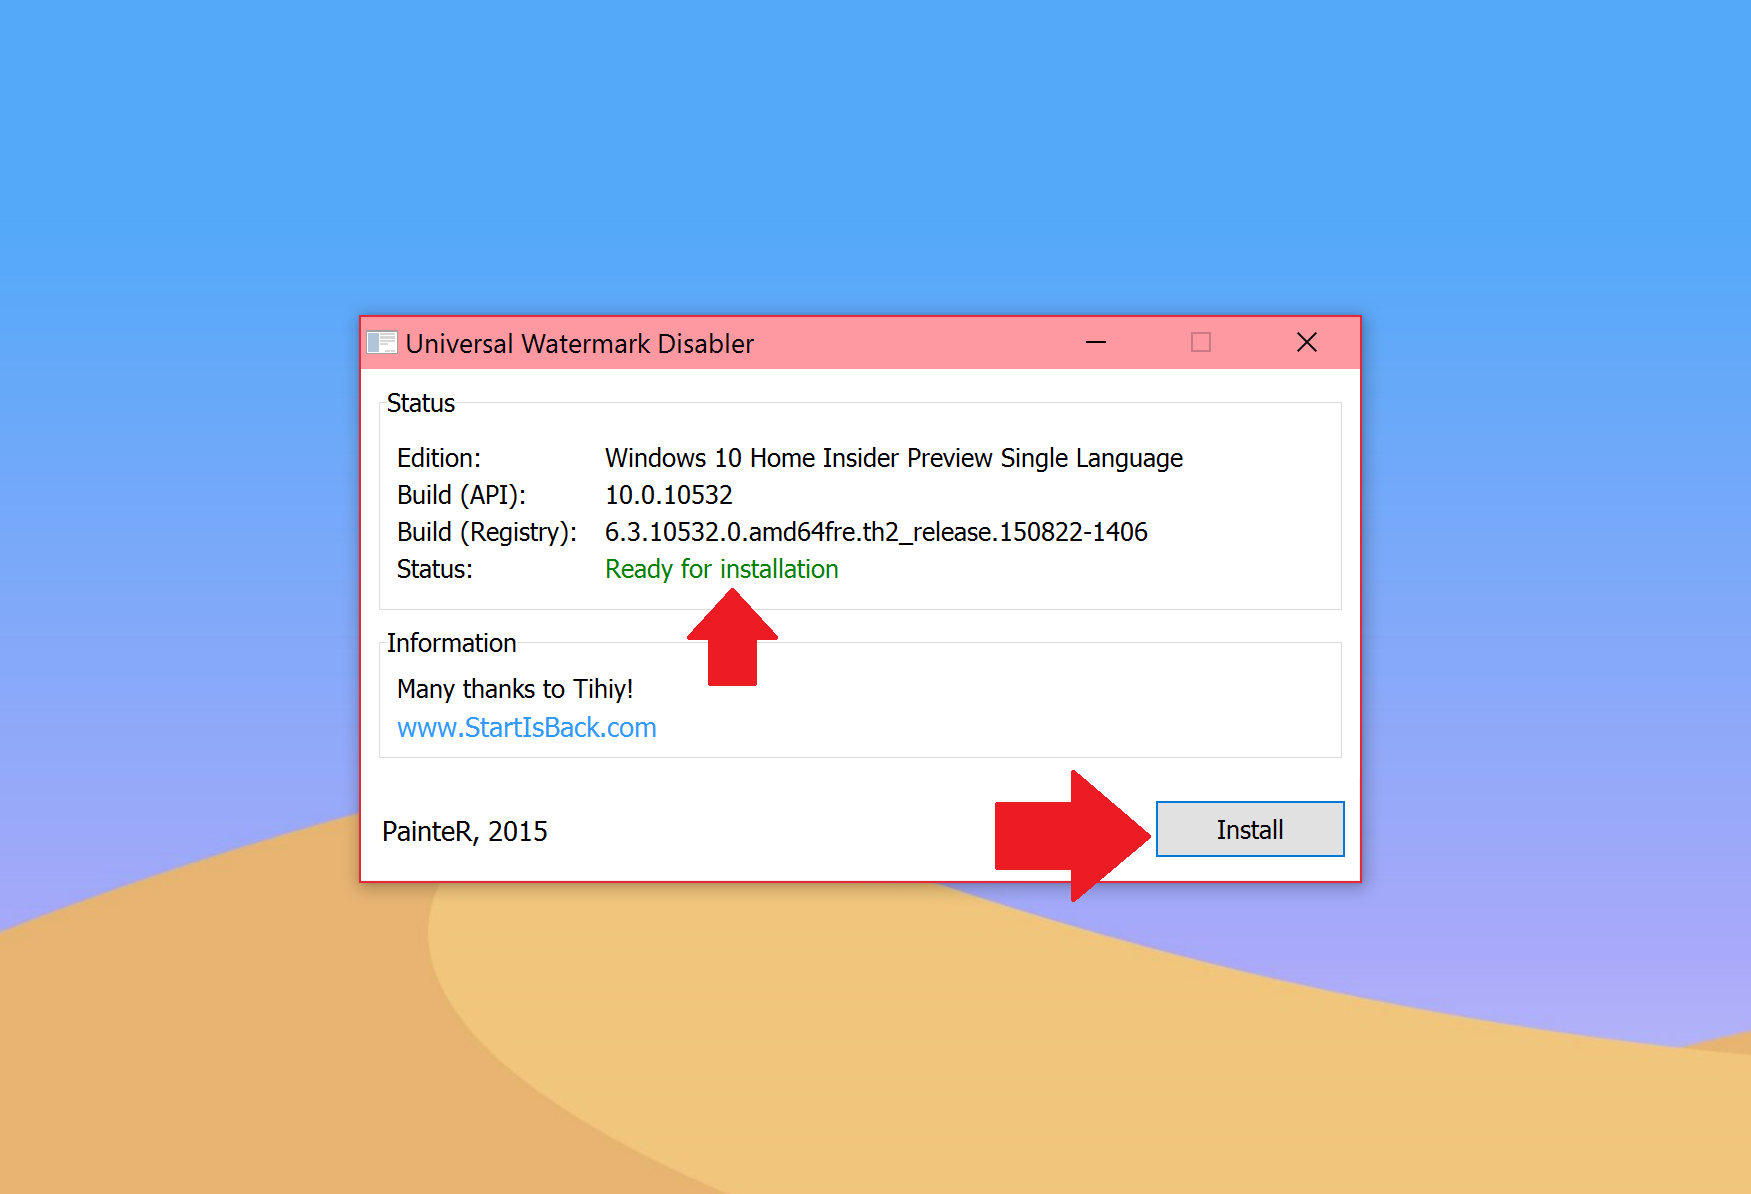
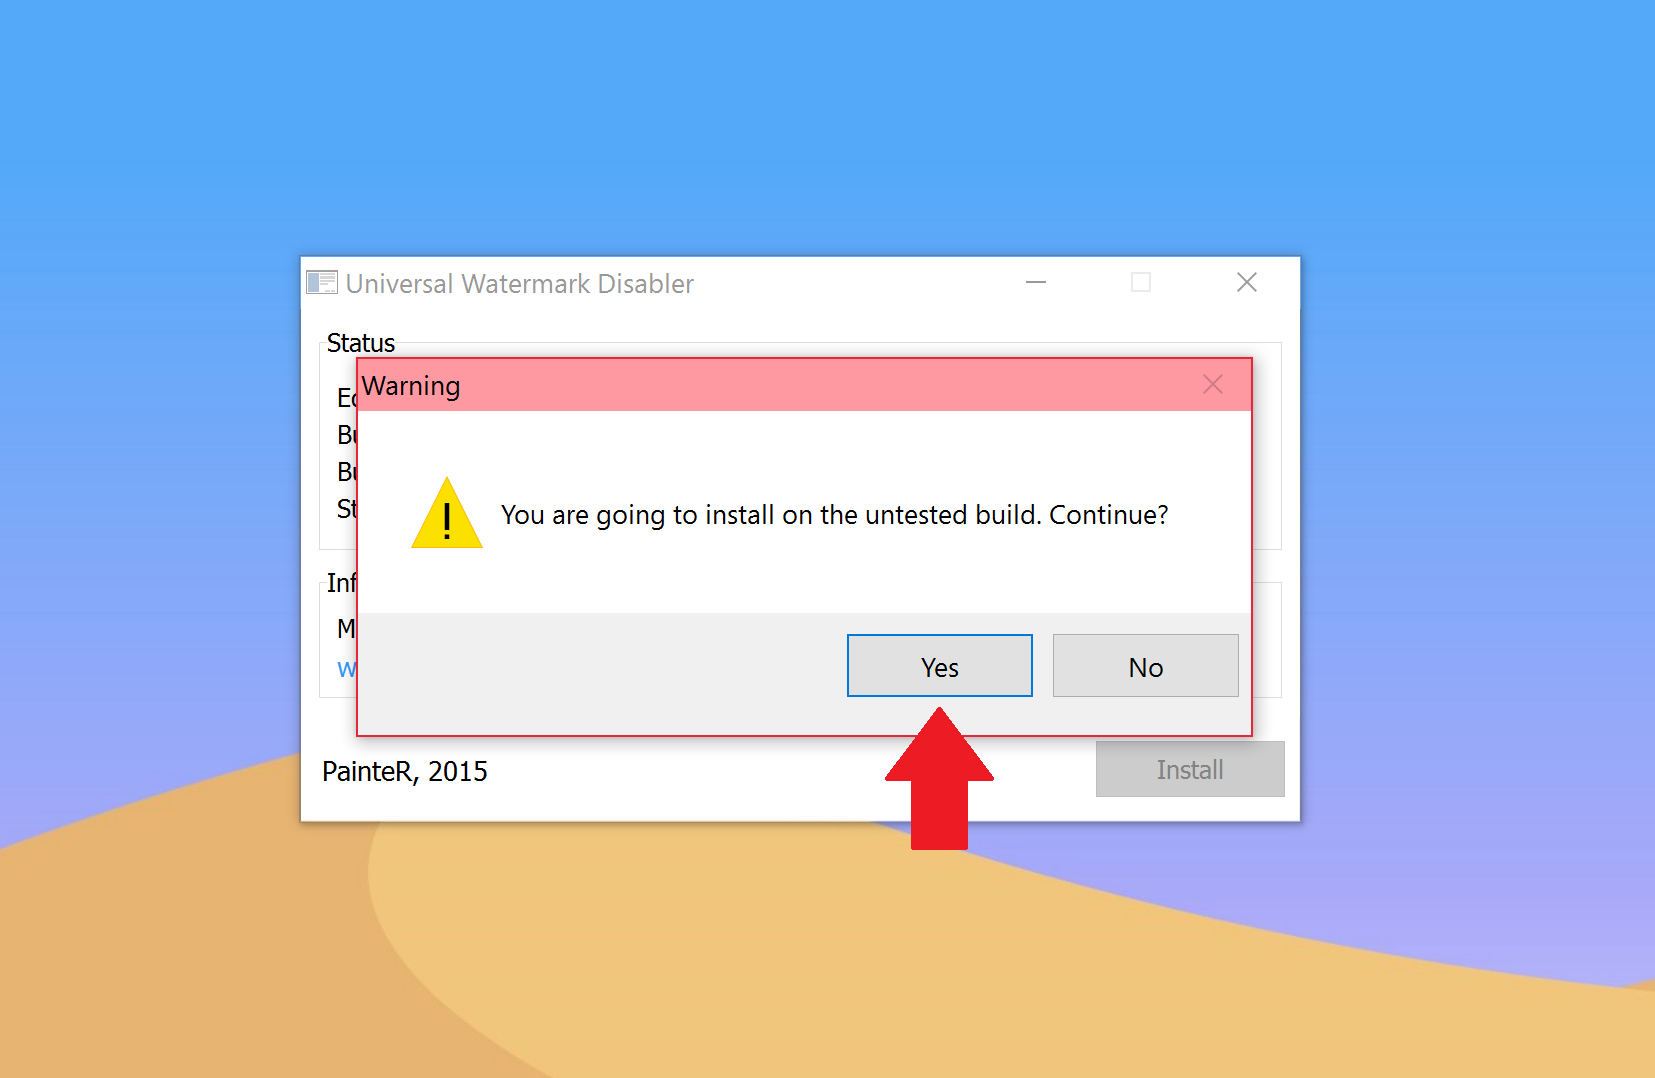
Assuming your status is green and stating Ready for Installation just hit the Install button. You should see a warning affirming You are going to install on the untested build. Continue? Hit Yes.
4. Sign out
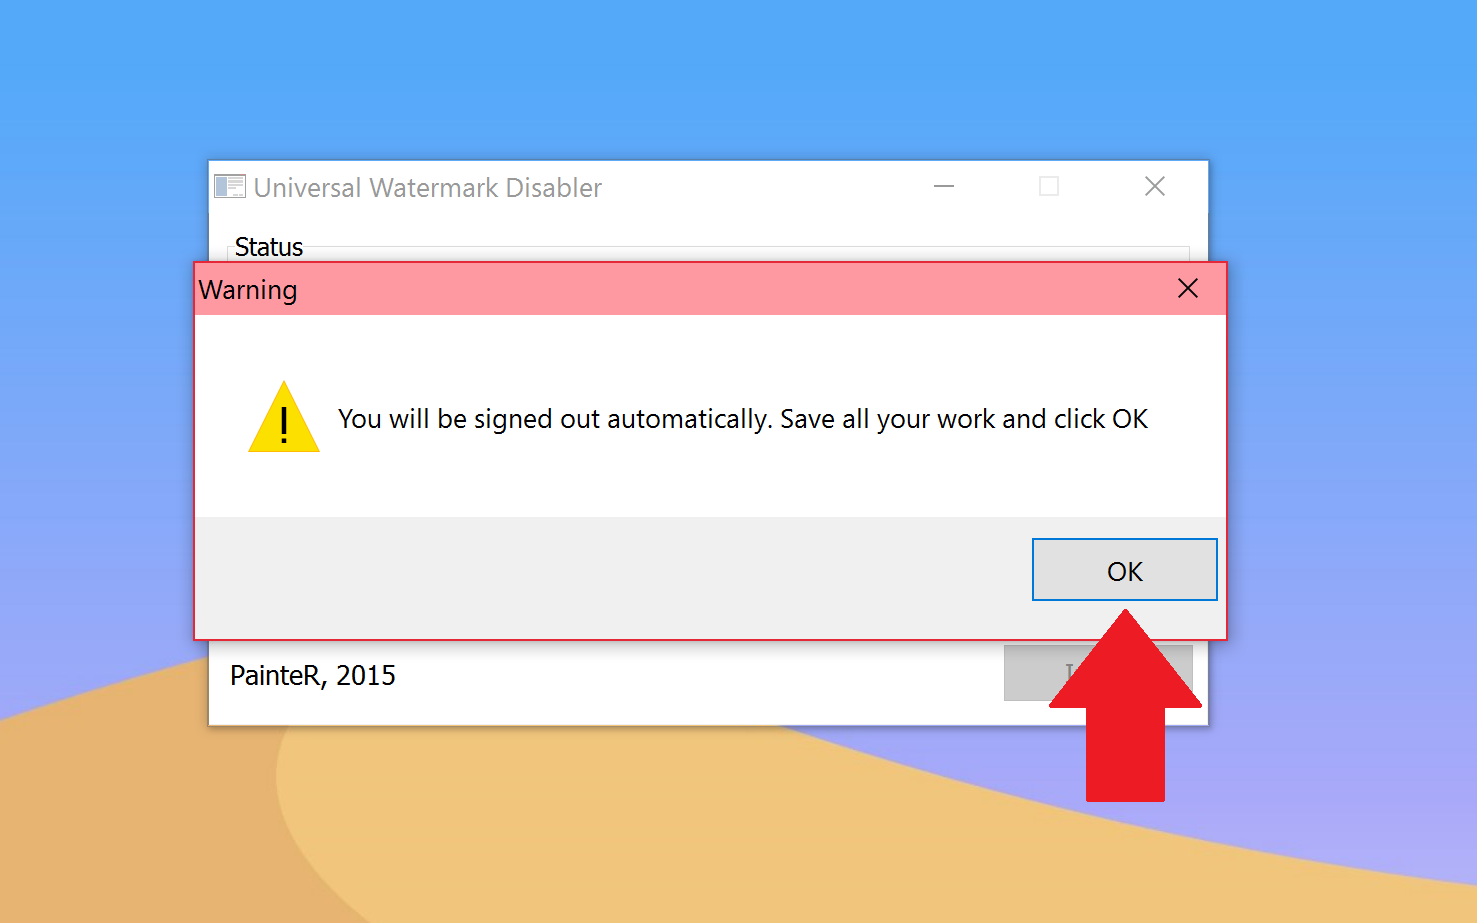
The application kills explorer.exe process during the procedure. You will experience this as a "crashing" of part of the OS including the Start and Taskbar disappearing. Do not worry as this is normal. The application notes You will be signed out automatically. Save all your work and click OK at which point it is advised to hit OK.
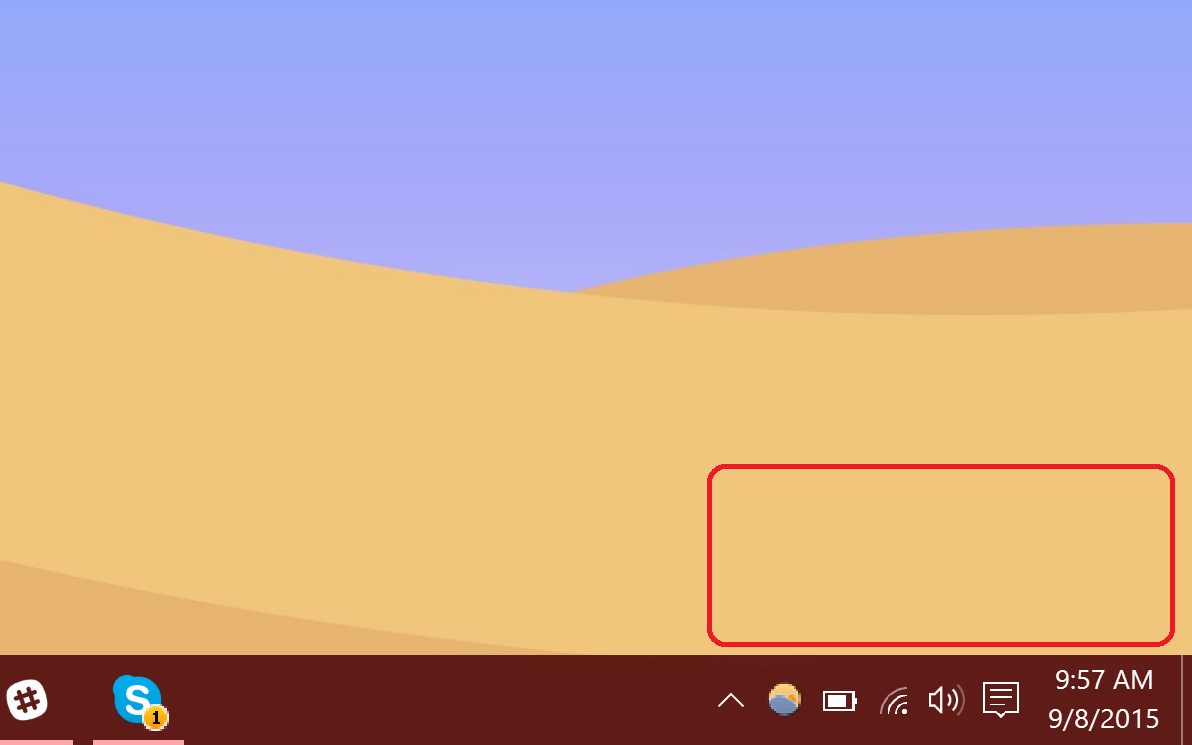
That is all there is to do. Once you log back on you should notice that the watermark is now removed, leaving you a pristine desktop.
However, if you wish to put things back just re-run uwd.exe and now, instead of Install in the lower right corner you should see Uninstall. The process works in reverse and returns basebrd.dll.mui and shell32.dll.mui to their normal state .
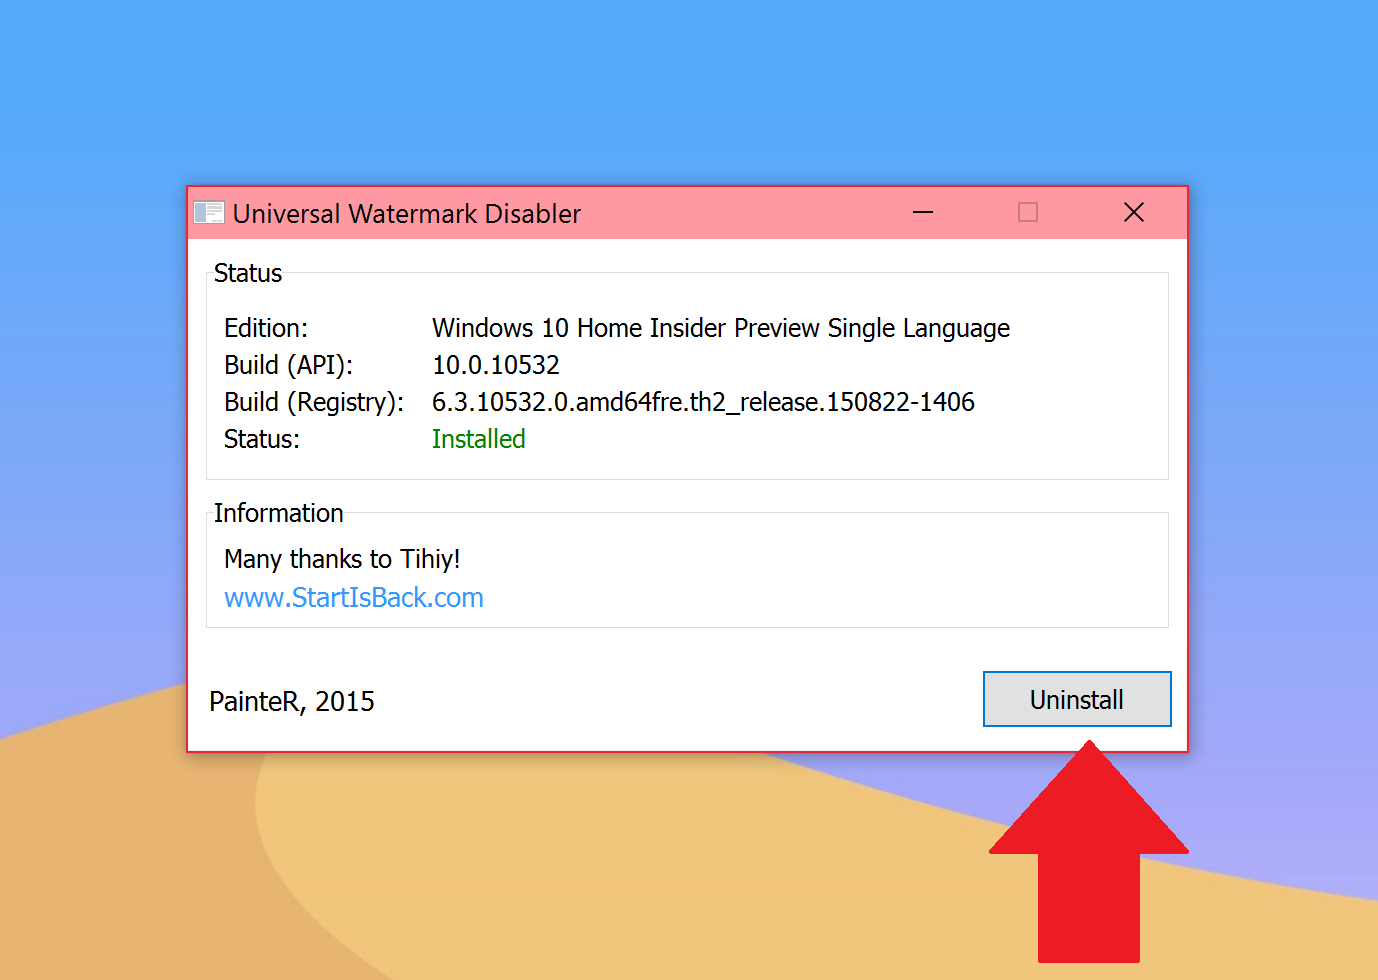
Overall, the process is rather simple, but due to the higher risk level we have taken the time to show you what to expect.
Remember, you should do a proper backup just in case, and personally, I would advise returning to the watermark status before taking the next Insider Build. Regardless, if the watermark irks you, there is at least one solution to the problem. It is also worth noting you do need to repeat this after installing a newer build of Windows 10, so make sure to bookmark this page for future reference.
Let us know if you're going to take the plunge or just live with the badge of being an Insider in comments!
Source: Winaero
More Resources
Remember that we have many other articles on Windows 10, if you need help you always check these other resources:
- How to customize your Windows 10 experience
- Our definitive review of Windows 10
- Windows 10 on Windows Central – All you need to know
- Windows 10 help, tips, and tricks
- Windows 10: Help and discussion forum at Windows Central

Daniel Rubino is the Editor-in-chief of Windows Central. He is also the head reviewer, podcast co-host, and analyst. He has been covering Microsoft since 2007 when this site was called WMExperts (and later Windows Phone Central). His interests include Windows, laptops, next-gen computing, and wearable tech. He has reviewed laptops for over 10 years and is particularly fond of 2-in-1 convertibles, Arm64 processors, new form factors, and thin-and-light PCs. Before all this tech stuff, he worked on a Ph.D. in linguistics, performed polysomnographs in NYC, and was a motion-picture operator for 17 years.
