How to reclaim hard drive space after upgrading to the Windows 10 October 2018 Update
Running low on space after upgrading to the October 2018 Update? Here are the steps to clean up the drive to reclaim the storage.
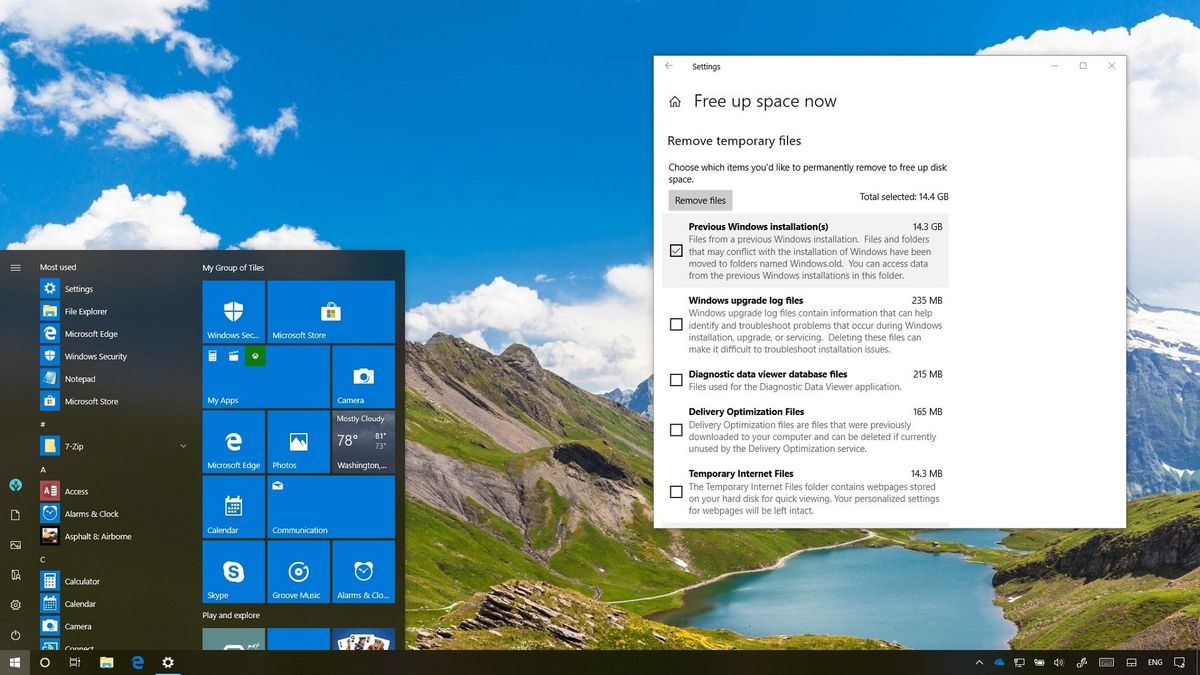
On Windows 10, the October 2018 Update (version 1809) installation process makes a copy of the current setup in the event that your device needs to undo the changes as a result of problems during the upgrade.
Although it's a useful mechanism to protect your data from unexpected problems, the backup files (residing inside the Windows.old folder) can use a relatively large amount of space. If you delete these files, you can reclaim around 20GB of space, which can be a substantial amount if you have a device with limited storage.
If you're confident that Windows 10 version 1809 is running smoothly, or you're running out of available space, you can use the Settings app or the Disk Cleanup tool (for now) to get the space back.
In this Windows 10 guide, we walk you through three methods to get rid of the previous installation files to free space on your computer's hard drive.
- How to free up space post-upgrade using Storage sense
- How to free up space post-upgrade using Temporary files
- How to free up space post-upgrade using Disk Cleanup
Important: The previous installation files are required to rollback to an earlier version. If you remove the backup files, and later, you need to go back to a previous version, the only way to rollback is performing a clean installation of the older version of Windows 10.
How to free up space post-upgrade using Storage sense
Once you upgrade to the Windows 10 October 2018 Update, you can use Storage sense to delete the previous installation files using these steps:
- Open Settings.
- Click on System.
- Click on Storage.
- Under "Storage sense," click the Change how we free up space automatically link.
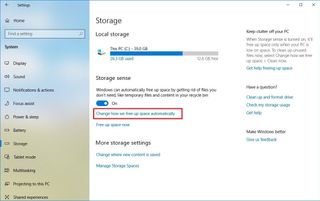
- Under "Free up space now," check the Delete previous versions of Windows option.

- Click the Clean now button.
After completing these steps, the previous installation of Windows will be deleted from your device, along with other temporary files you may have selected, freeing up space for more important files.
Get the Windows Central Newsletter
All the latest news, reviews, and guides for Windows and Xbox diehards.
How to free space post-upgrade using Temporary files
Storage sense also includes additional disk cleanup options that allow you to remove the backup files to rollback to the previous version, as well as other temporary files.
To reclaim hard drive space on Windows 10, use these steps:
- Open Settings.
- Click on System.
- Click on Storage.
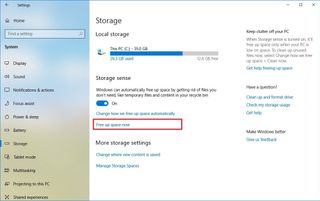
- Under "Storage sense," click the Free up space now link.
- Under "Remove temporary files," check the Previous Windows installation(s) option.Quick Tip: While on this page, you can also select other temporary files you want to remove to reclaim even more storage.
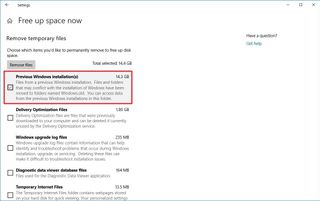
- Click the Remove files button.
Once you complete these steps, the Windows.old folder, along with other temporary files you may have selected, will be permanently deleted from your device.
How to free up space post-upgrade using Disk Cleanup
Although Microsoft is retiring the legacy Disk Cleanup feature, it's still possible to use this tool to delete the previous installation files after an upgrade using these steps:
- Open Start.
- Search for Disk Cleanup, click the top result to open the experience.
- Click the Clean up system files button.
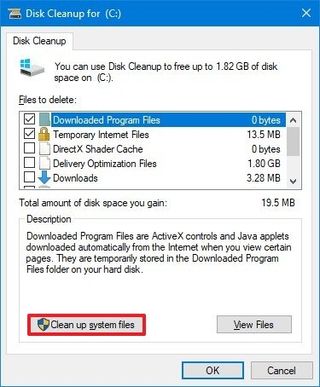
- Check the Previous Windows installation(s) option.Quick Tip: While in Disk Cleanup, you can also select other junk files (such as Windows upgrade log files, Diagnostic data viewer database files, Delivery Optimization Files, Recycle Bin, etc.) that you want to delete to free up even more space.
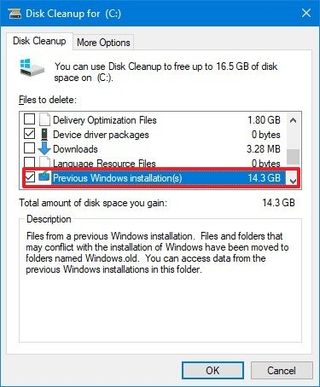
- Click the OK button.
After completing the steps, similar to using the Storage sense settings, the previous installation files will be deleted from your computer giving you several extra gigabytes of storage.
More Windows 10 resources
For more helpful articles, coverage, and answers to common questions about Windows 10, visit the following resources:
- Windows 10 on Windows Central – All you need to know
- Windows 10 help, tips, and tricks
- Windows 10 forums on Windows Central
Mauro Huculak has been a Windows How-To Expert contributor for WindowsCentral.com for nearly a decade and has over 15 years of experience writing comprehensive guides. He also has an IT background and has achieved different professional certifications from Microsoft, Cisco, VMware, and CompTIA. He has been recognized as a Microsoft MVP for many years.
