How to rearrange multiple monitors on Windows 11 and 10
Are you having issues moving the mouse pointer between monitors? If so, it's because they're probably not arranged correctly.

On Windows 11 (and 10), the system does a pretty good job detecting and configuring displays. However, when connecting multiple monitors, the system may not accurately understand their physical arrangement. This misalignment can cause issues, especially if the monitor setup doesn't match the order of connections to the video card, if monitors are positioned differently, or if an external monitor was recently disconnected.
Regardless of the issue, Windows 10 provides settings to correctly arrange a multi-monitor setup. By configuring the system to recognize the physical layout, you can seamlessly move the mouse pointer across displays, enhancing the overall experience. (For additional tips on setting up multiple displays in Windows 10, refer to my other comprehensive guide.)
In this how-to guide, I'll explain the easy steps for rearranging monitors to match the physical setup layout.
Recent updates
These instructions has been updated to ensure accuracy and reflect changes to the process in the operating system.
How to rearrange displays on Windows 11
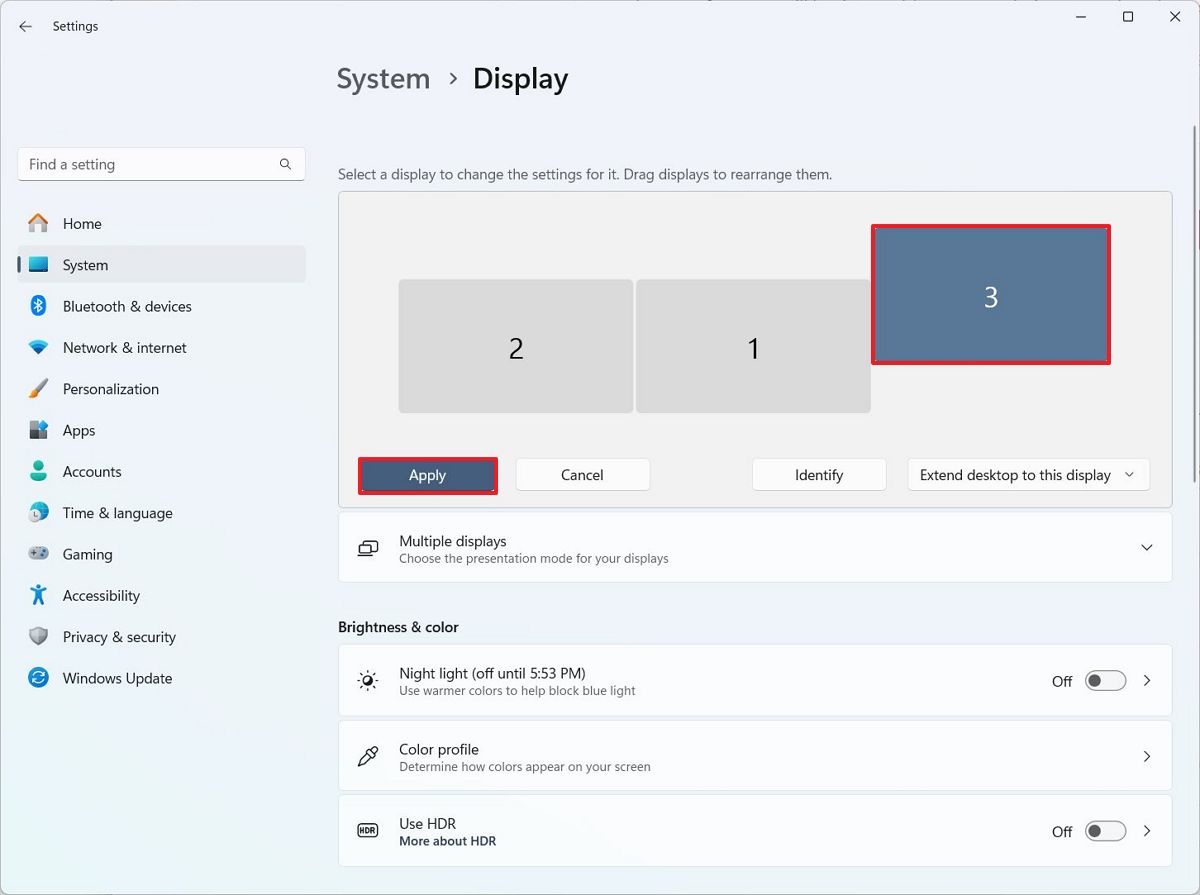
To rearrange displays on Windows 11, use these steps:
- Open Settings.
- Click on System.
- Click the Display page.
- Click the Identify button to determine which displays you'll be arranging.
- Quick tip: If one of the monitors is not showing up on the settings page, make sure it's receiving power and connected correctly, and click the "Detect" button. If you are still having problems, reset their connections (or restart the device), and then try the "Detect" button one more time.
- Click, drag, and drop each display to arrange them according to their physical layout on the desk.

After you complete the steps, the monitors will be logically arranged like in your physical layout for a better navigation experience.
How to rearrange displays on Windows 10
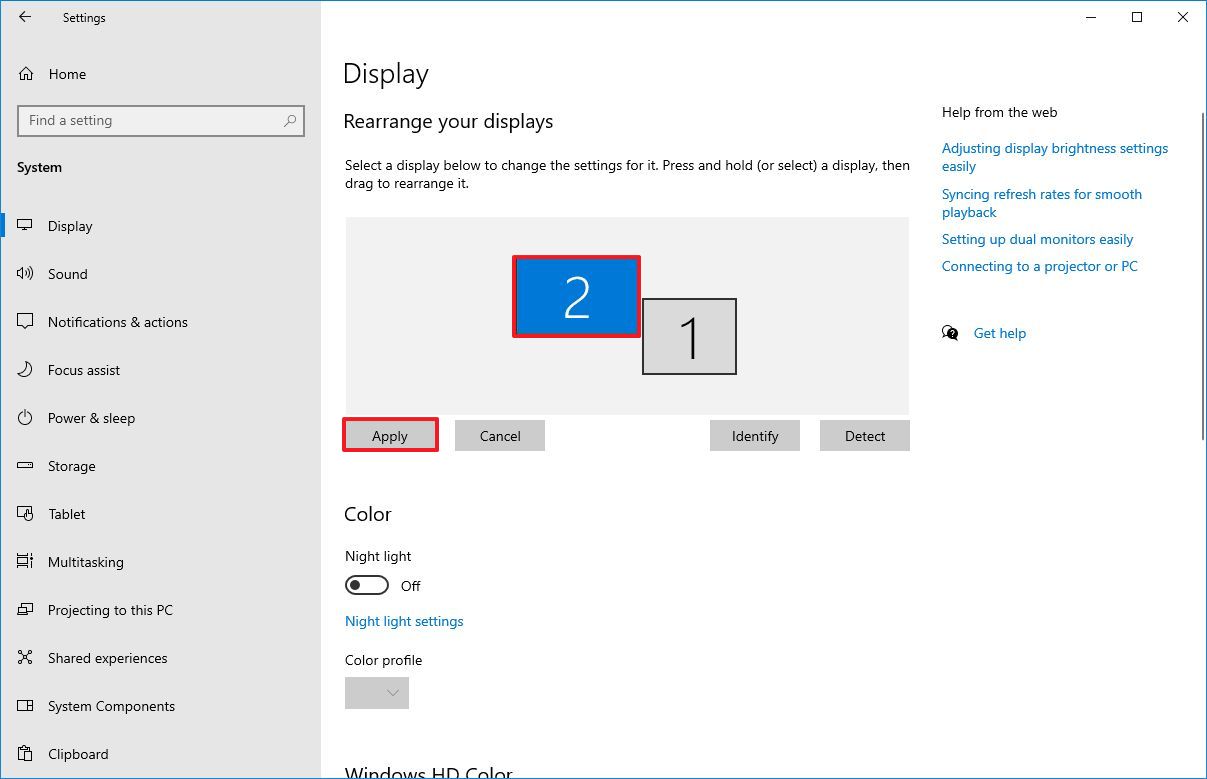
To rearrange displays on Windows 10, use these steps:
- Open Settings.
- Click on System.
- Click on Display.
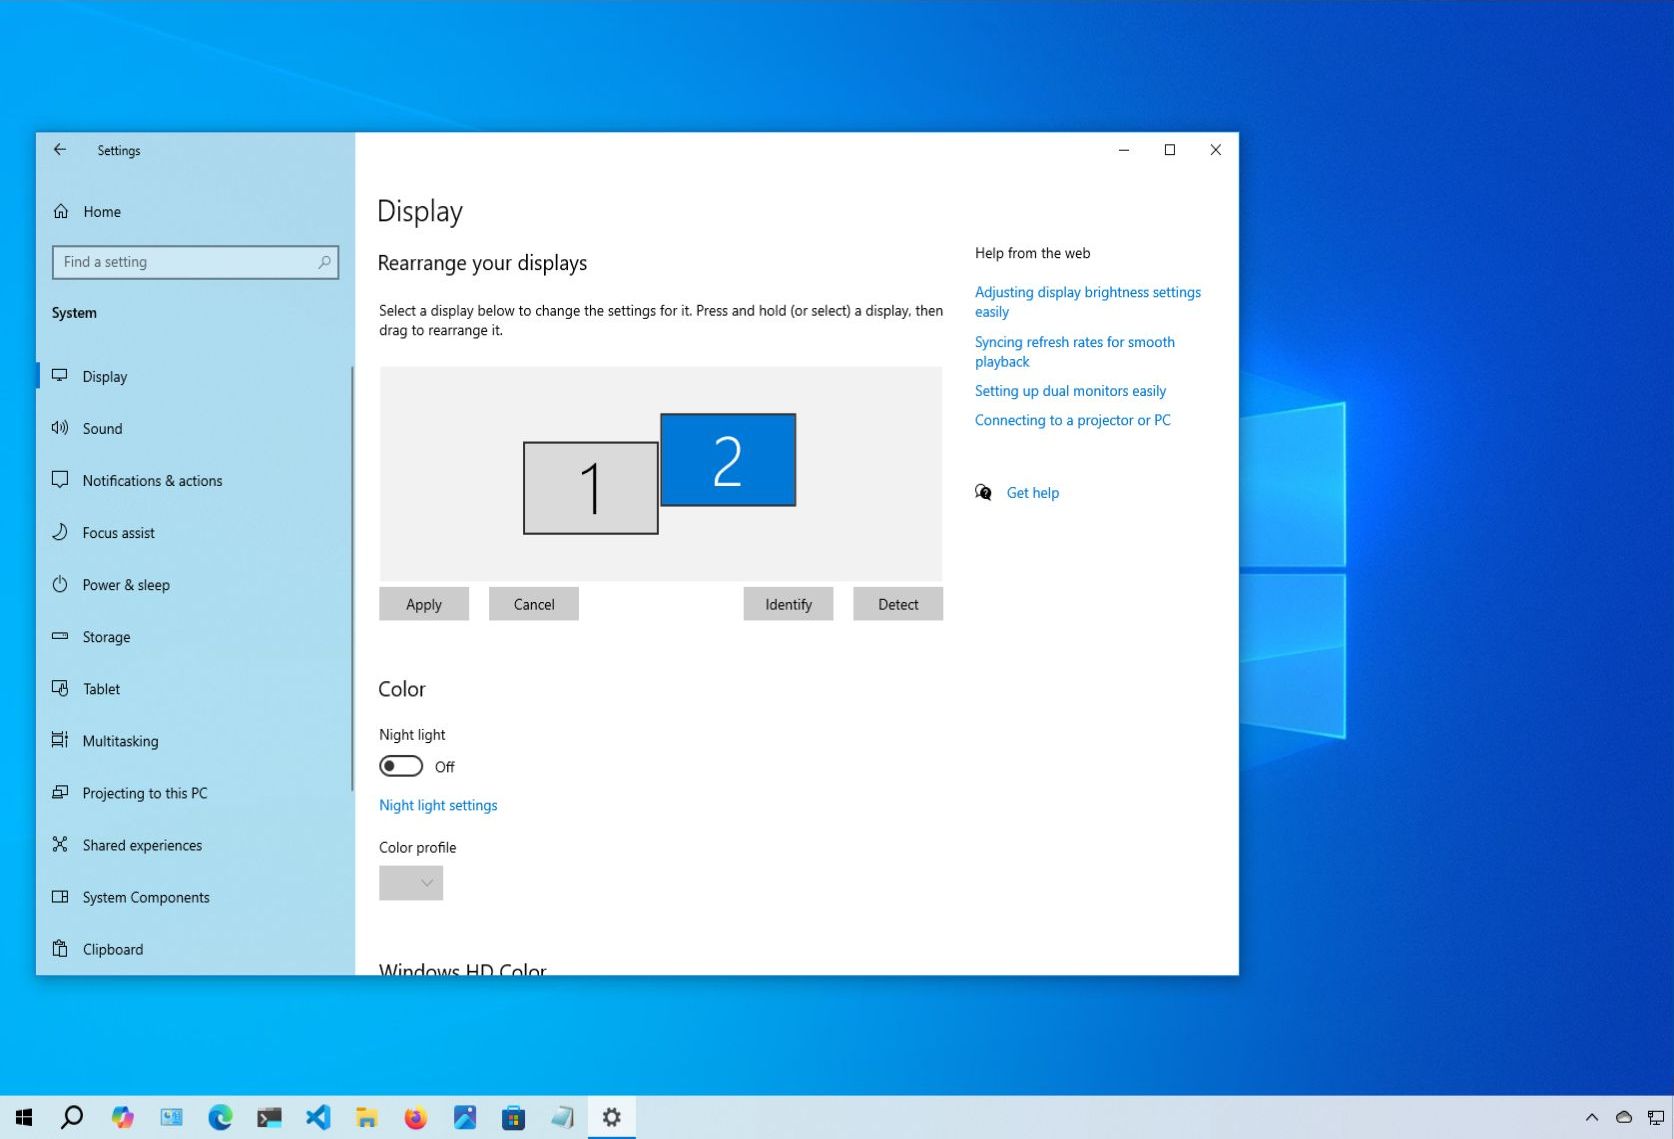
- Click the Identify button to determine which displays to arrange under the "Select and rearrange displays" section.
- Click, drag, and drop each display to arrange them according to their physical layout on the desk.

- Click the Apply button.
Once you complete the steps, you can start using the multi-monitor setup with a logical layout that matches the displays' physical position.
Get the Windows Central Newsletter
All the latest news, reviews, and guides for Windows and Xbox diehards.
If you have two or more displays in line, make sure that all the devices align perfectly at the top. Otherwise, you'll have problems moving the mouse cursor between monitors from the corners.
The setting is only available when connecting two or more displays, which means that if you only have one monitor, the rearrange option won't be available.
More resources
If you're having trouble with a second monitor not being detected in Windows 10 or Windows 11, you can follow our guide to fix that first. Find more in-depth guides, troubleshooting tips, and the latest updates on Windows 11 and 10 here:
Mauro Huculak has been a Windows How-To Expert contributor for WindowsCentral.com for nearly a decade and has over 15 years of experience writing comprehensive guides. He also has an IT background and has achieved different professional certifications from Microsoft, Cisco, VMware, and CompTIA. He has been recognized as a Microsoft MVP for many years.
You must confirm your public display name before commenting
Please logout and then login again, you will then be prompted to enter your display name.

