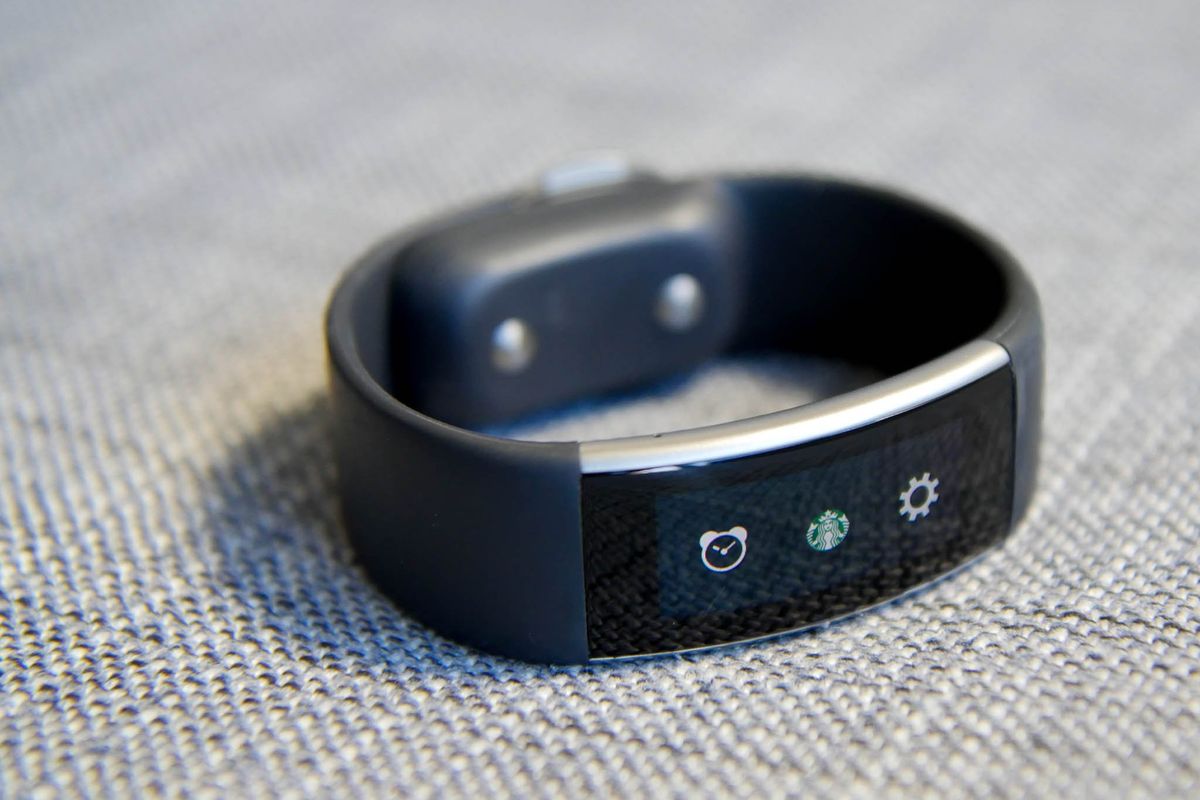
One of the cool features of the Microsoft Band 2 is the ability to use it for payments at Starbucks. You don't need to take out your wallet or phone to pay at the cashier. You'll just need to bring the Microsoft Band up to the barcode scanner when it's time to pay. We'll show you how to set it up.
How to add your Starbucks account to the Microsoft Band 2
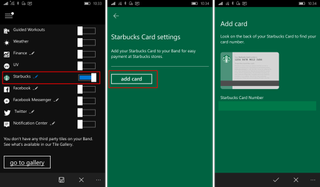
Before you can start using the Microsoft Band 2 to pay at Starbucks, you'll need to add the Starbucks tile to the Band.
- On your phone, open the Microsoft Health app.
- Scroll all the way down and tap Add and manage tiles
- Swipe the Starbucks slider to On position and tap the pencil next to it.
- Select Add Card
- Enter the 16-digit code on the back of your Starbucks Card when prompted.
- Tap Save to sync these changes to your band.

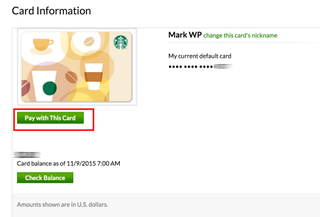
If you do not have the actual physical card with you but have a Starbucks account, here's how to get your card number:
- Log in to Starbucks using a web browser and go to the Cards page (starbucks.com/account/card)
- Tap Pay with this card
- Take note of the 16-digit number and add that to the Starbucks tile using the steps above.

How to pay at Starbucks with the Microsoft Band 2
When it's time to pay at the cashier, press the power button on the Microsoft Band 2 and tap the Starbucks tile. A barcode will appear. Place your Band 2 in front of the cashier's scanner to make the purchase.
That's it! Are you planning to pay for for coffee with your Microsoft Band 2? Have you done it already? Let us know in the comments!
Download the Microsoft Health app
Get the Windows Central Newsletter
All the latest news, reviews, and guides for Windows and Xbox diehards.
