How to open an Xbox One S console for repair
These are the steps to open the Xbox One S console and gain access to its internal components.
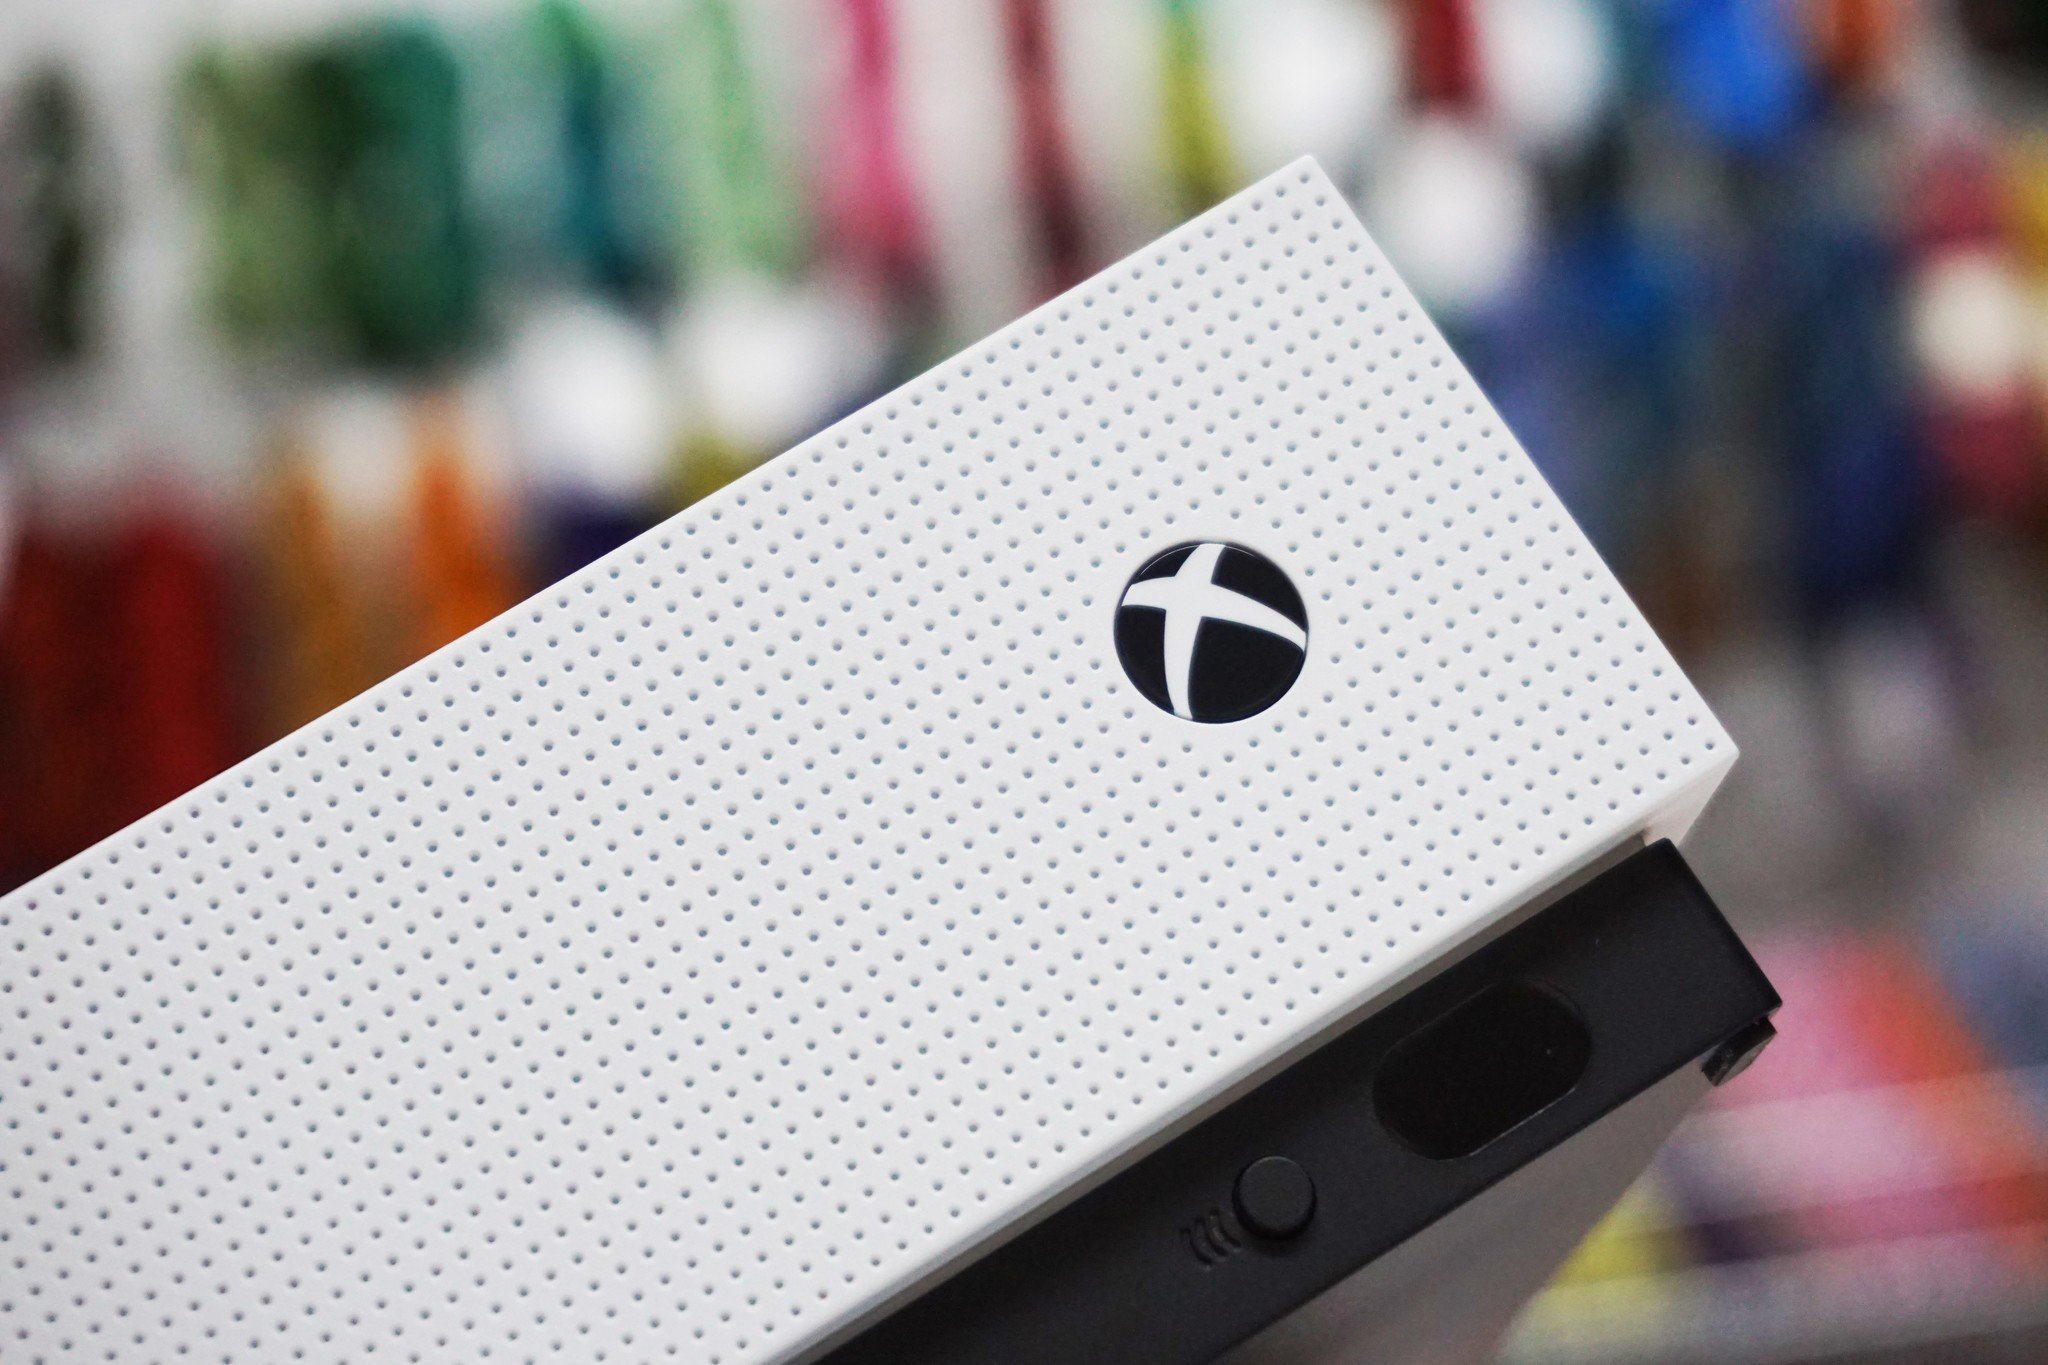
One of the biggest benefits of consoles is their simplicity. In contrast to PC, a platform built with the goal of accomplishing any task, consoles are designed specifically for gaming. What you lose in flexibility you gain in hardware tailored for the experience — and only one company making the parts.
Despite this closed ecosystem, sometimes there's a reason to take a look inside your devices. While Microsoft strongly discourages users from opening Xbox One consoles, there are some valid reasons to – whether performing minor tweaks or repairing a hardware issue outside of warranty. For those using Microsoft's latest entry-level console, the Xbox One S, these are the steps to do so.
Warning: By opening an Xbox One, you will void your console's warranty. This can be a risky activity for those new to opening/modifying electronics and is recommended only to those confident in doing so. Perform the following steps at your own risk, with the chance of damaging your Xbox One.
How to open an Xbox One S
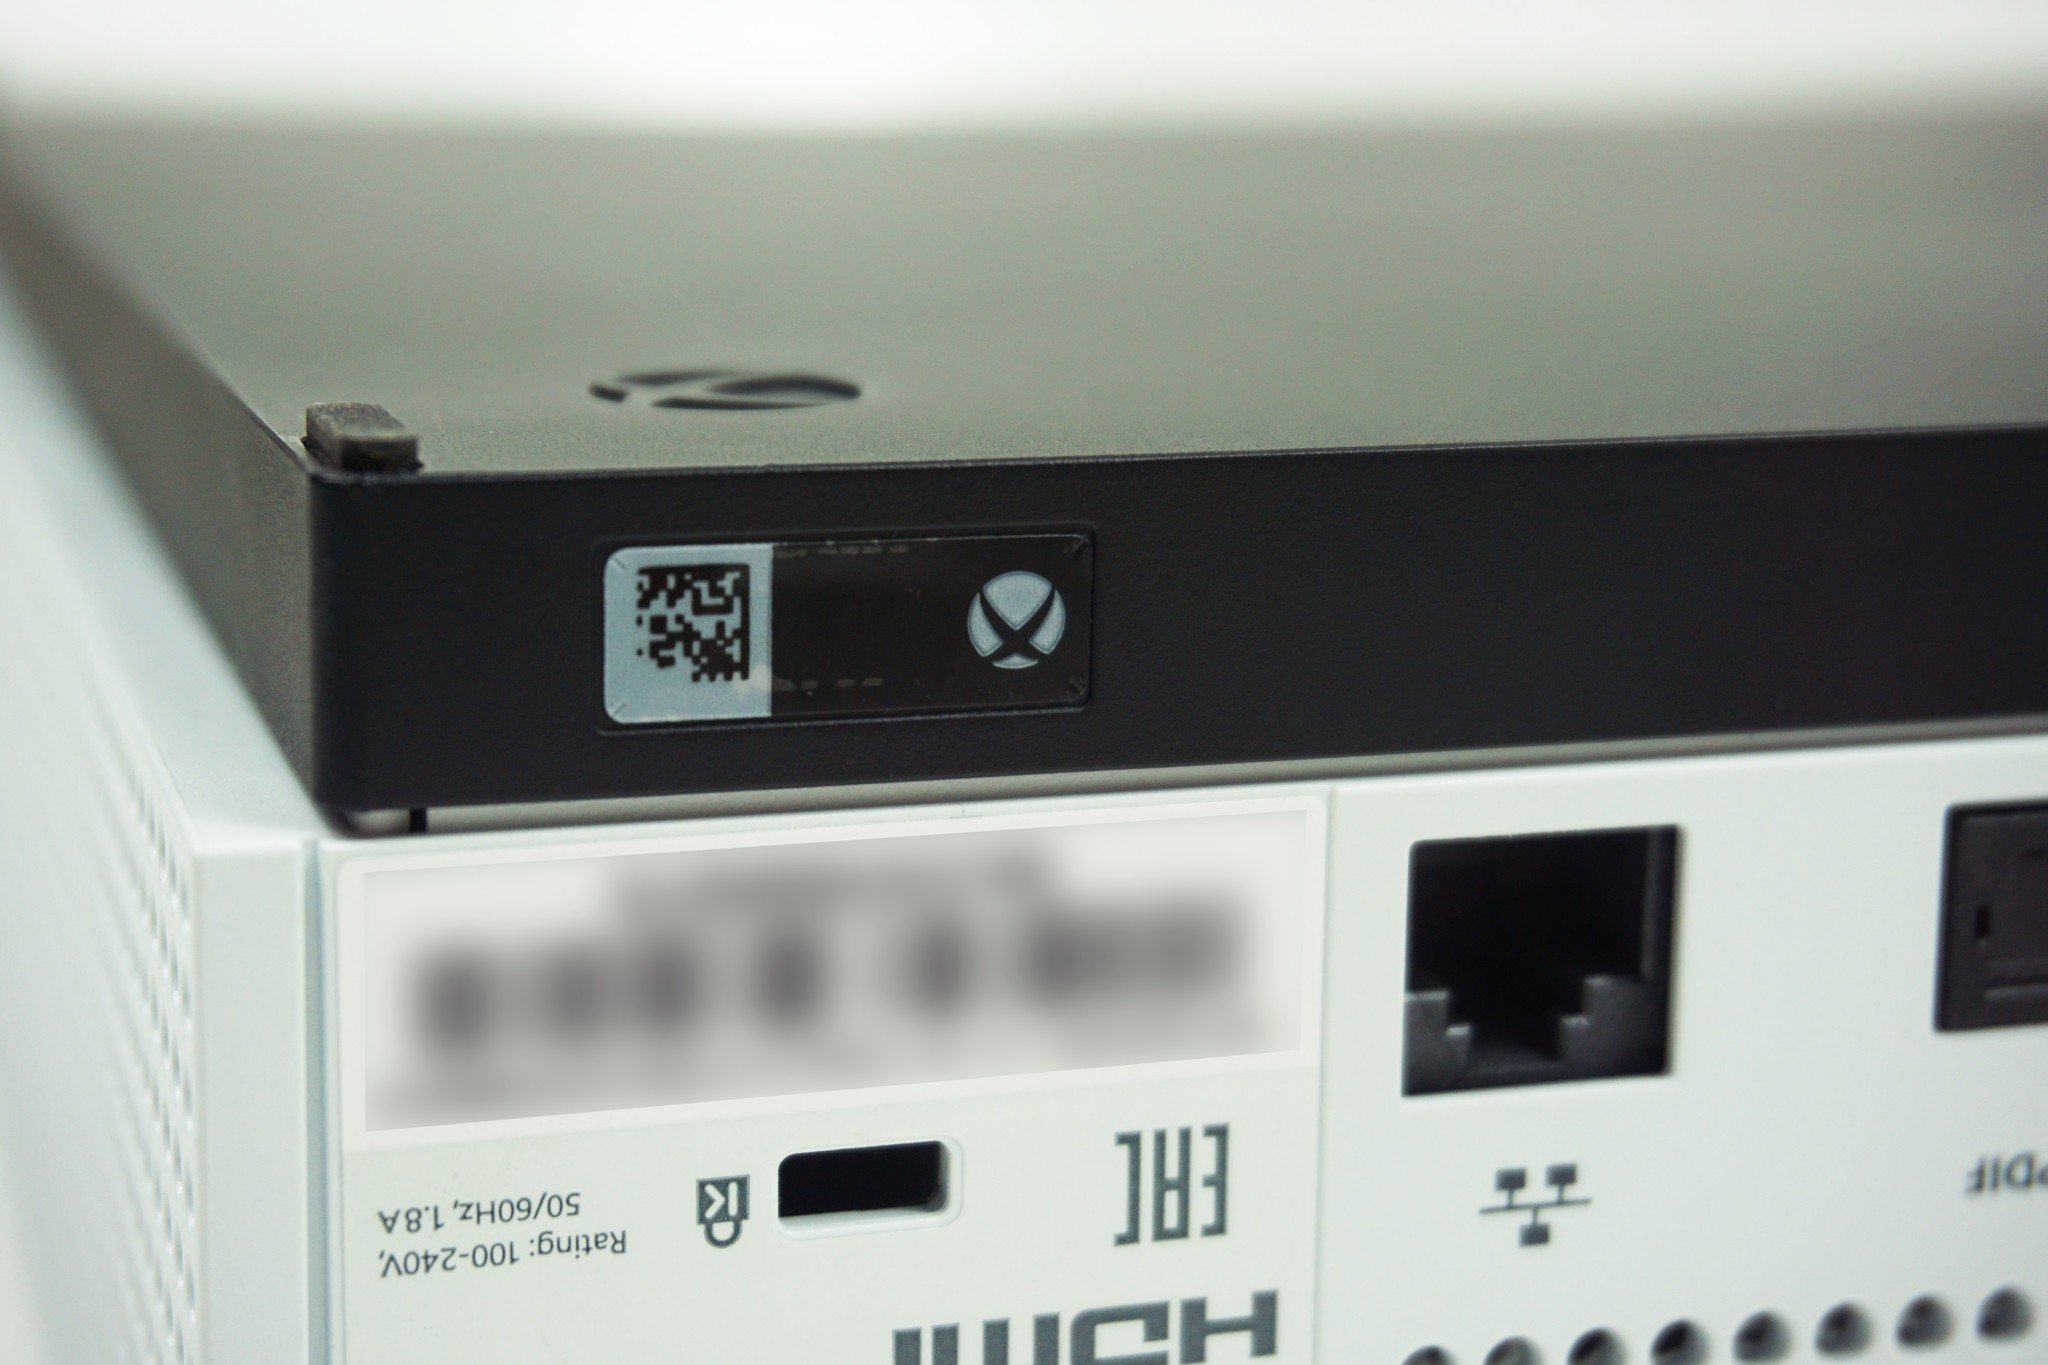
- Turn the Xbox One S upside down, with the black side facing upwards.
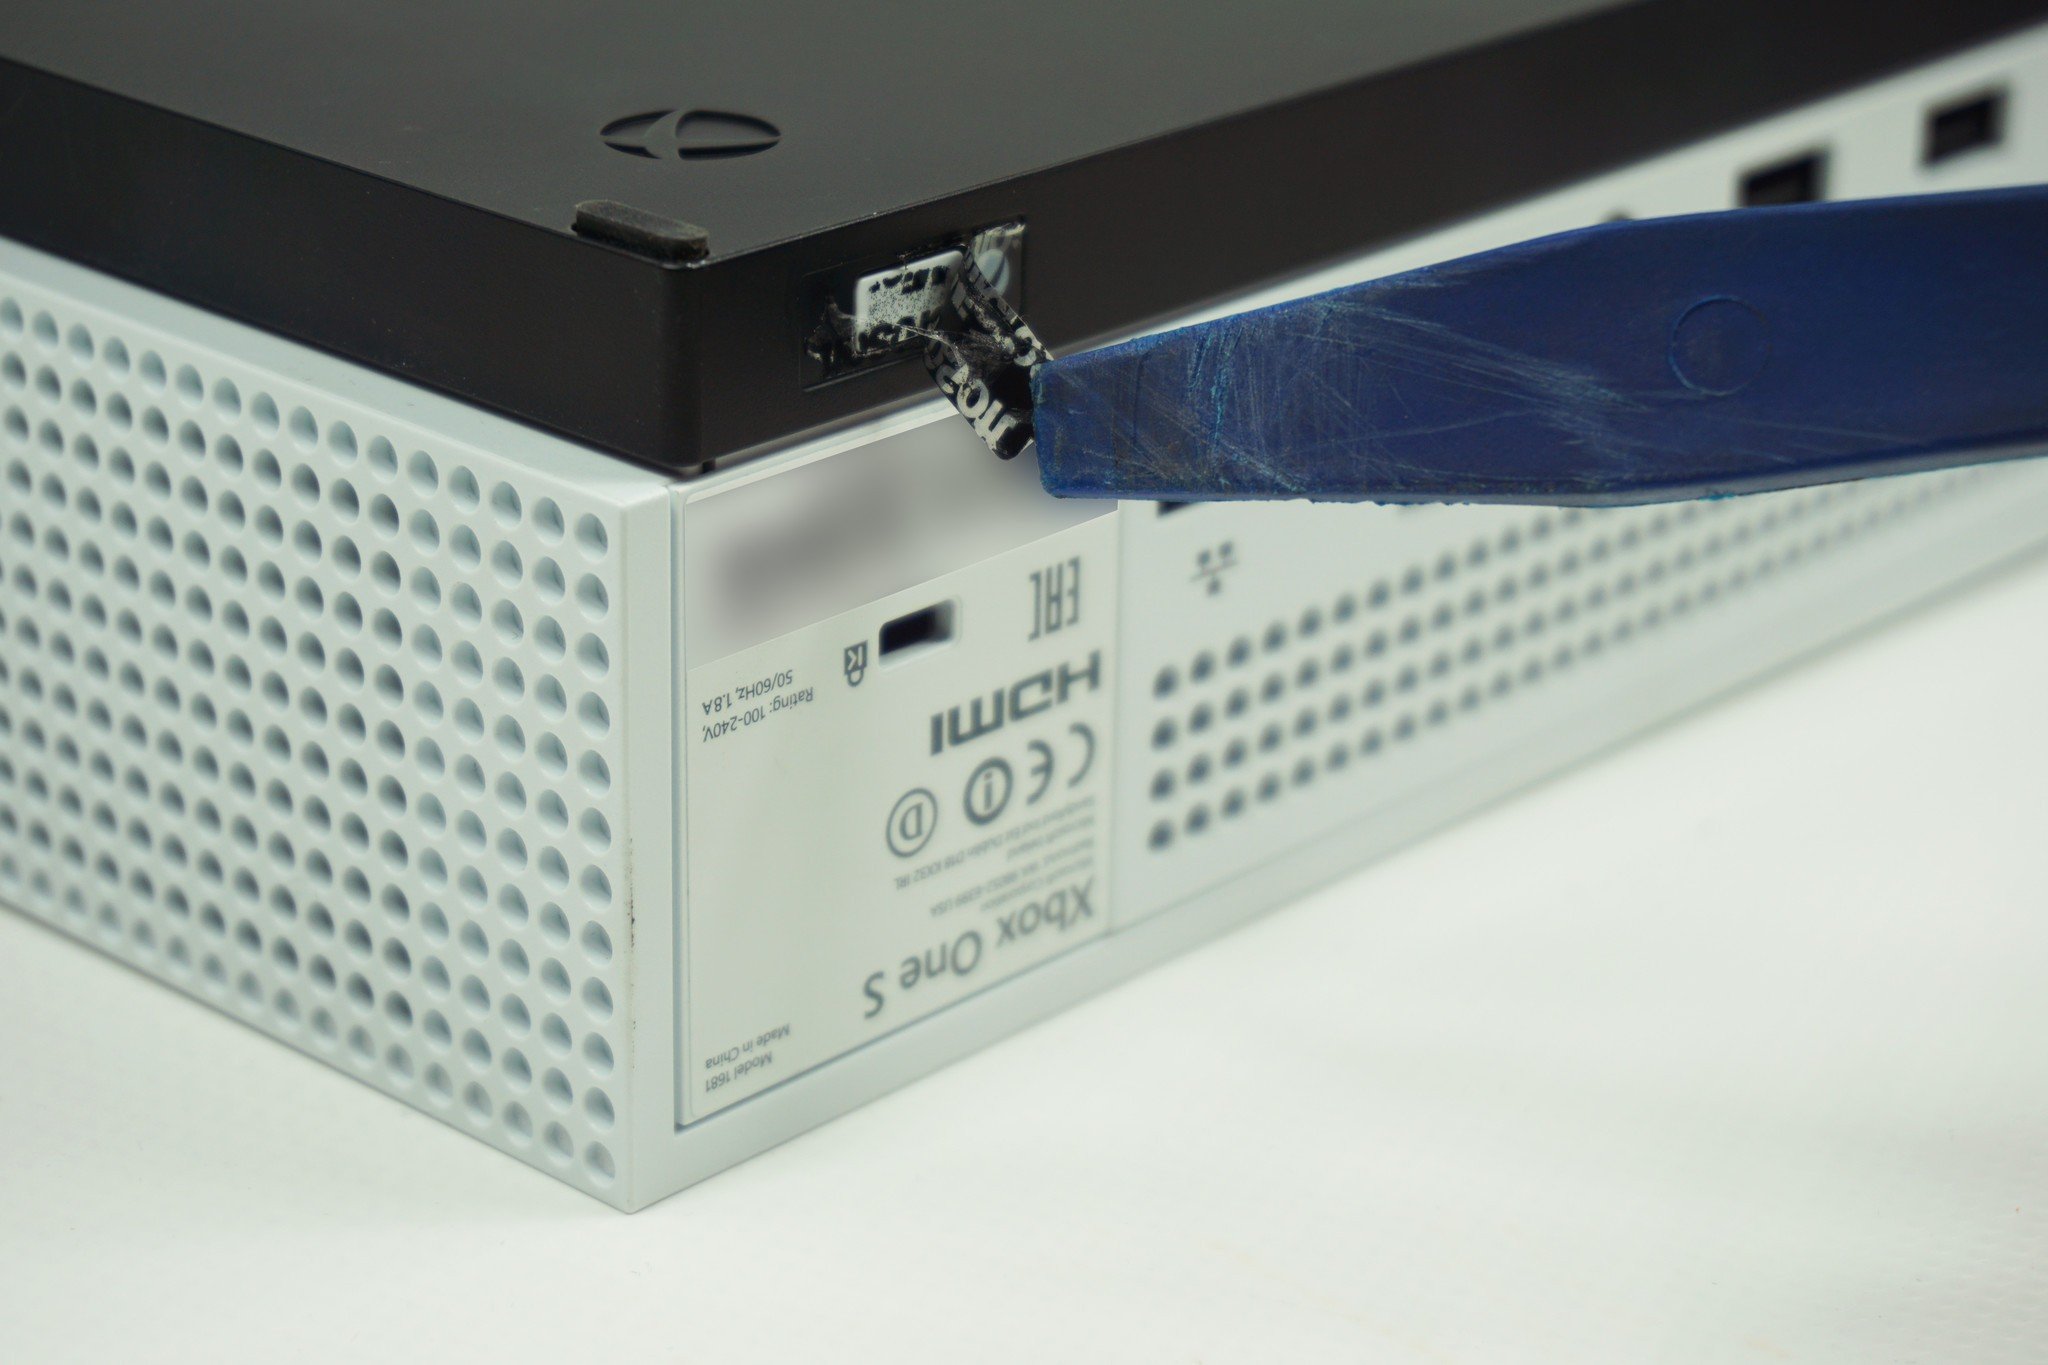
- Locate the tamper-resistant warranty sticker located on the rear corner of the device.
- Remove the sticker from the console, using either a pair of tweezers or your finger.
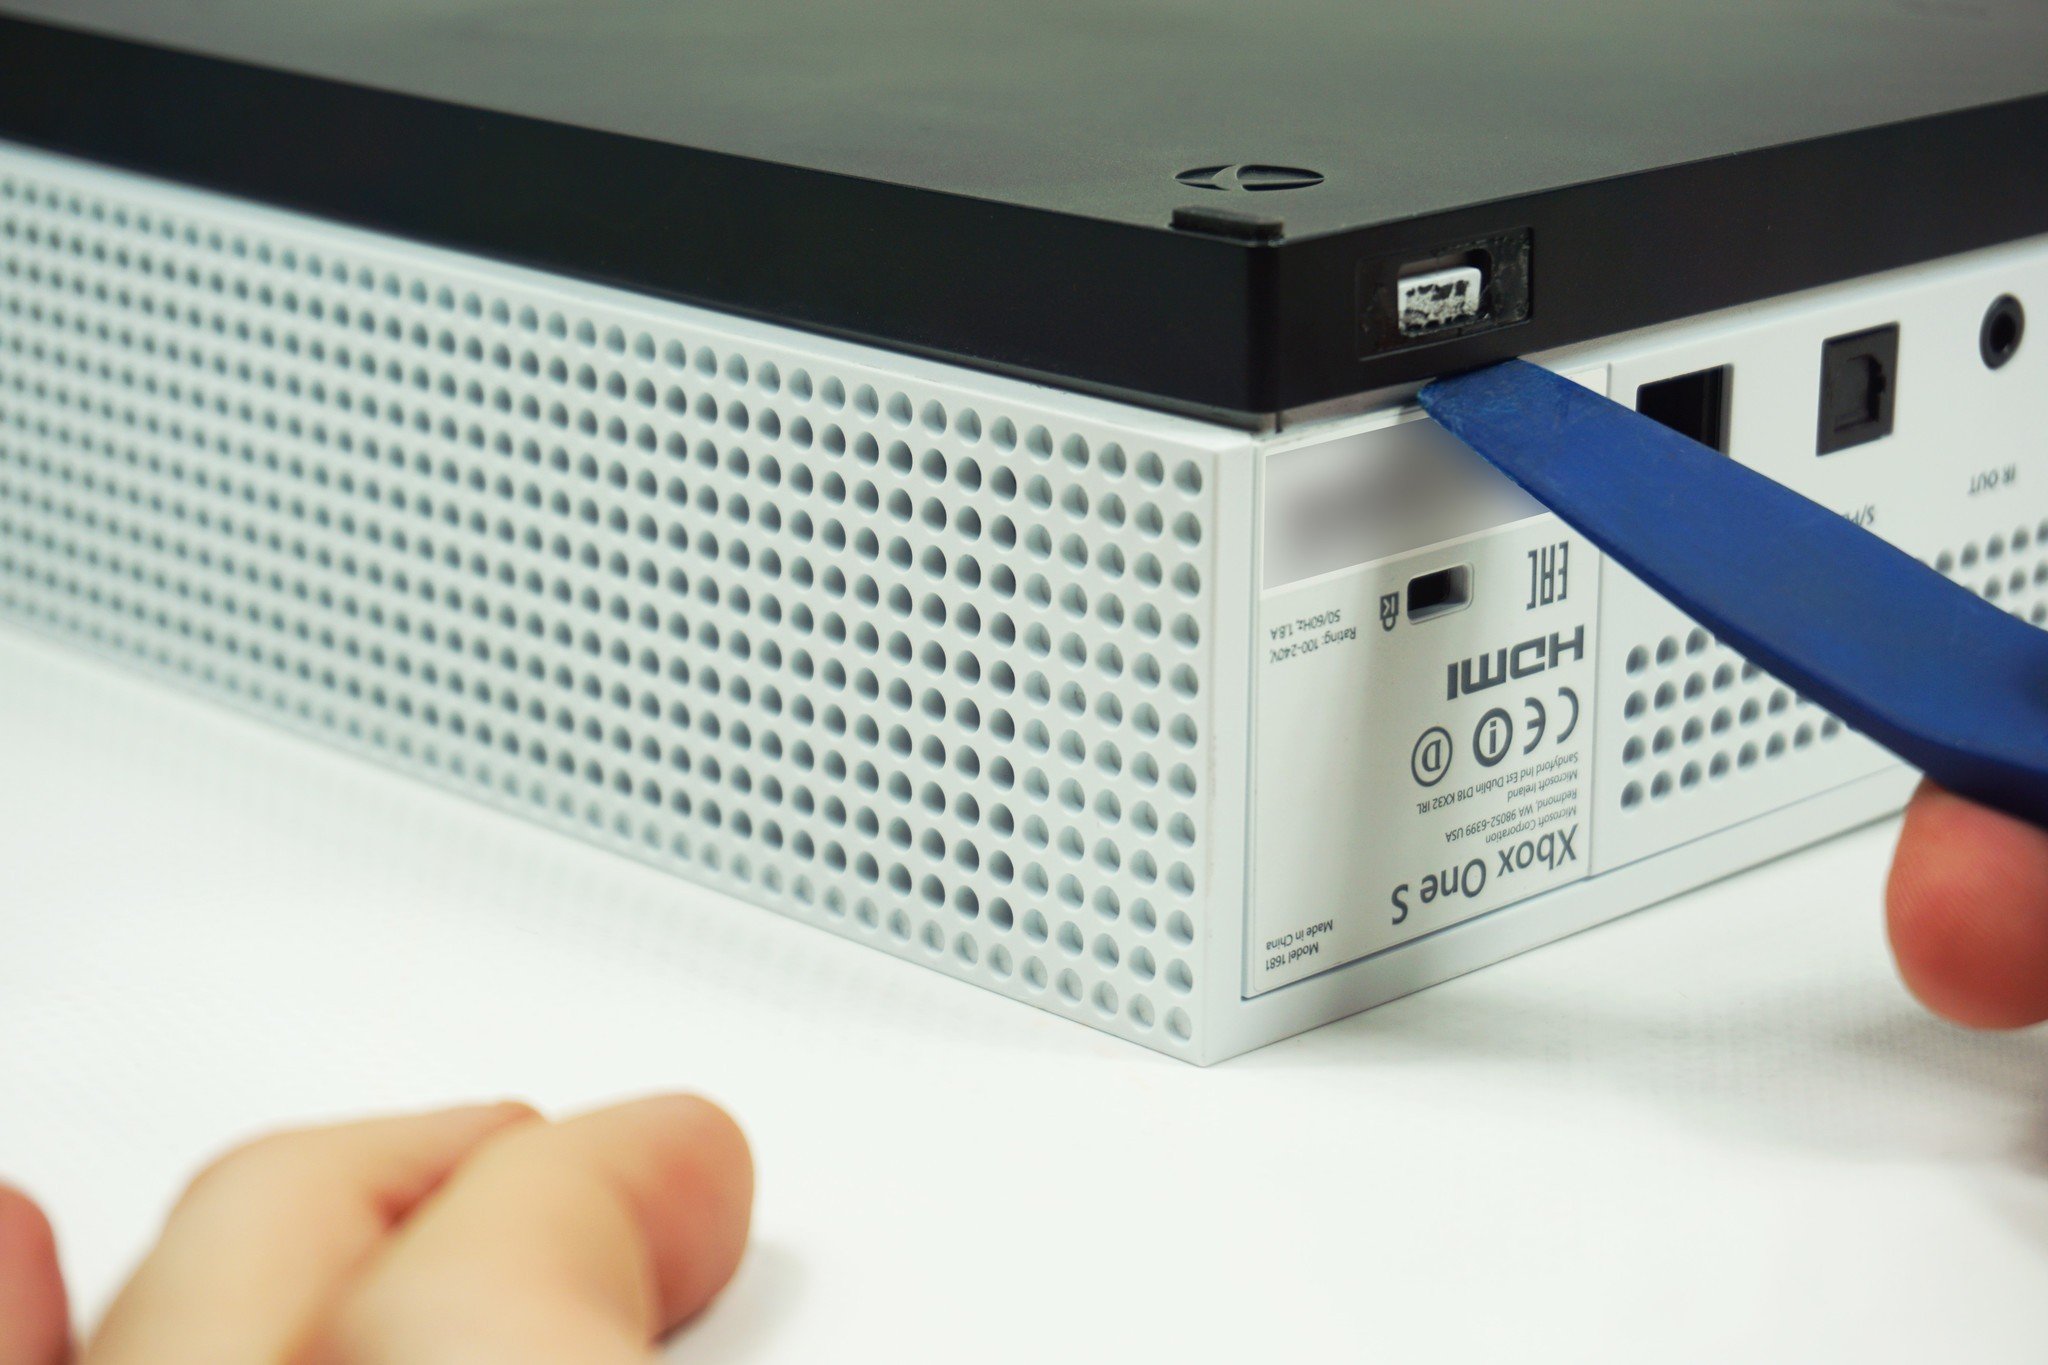
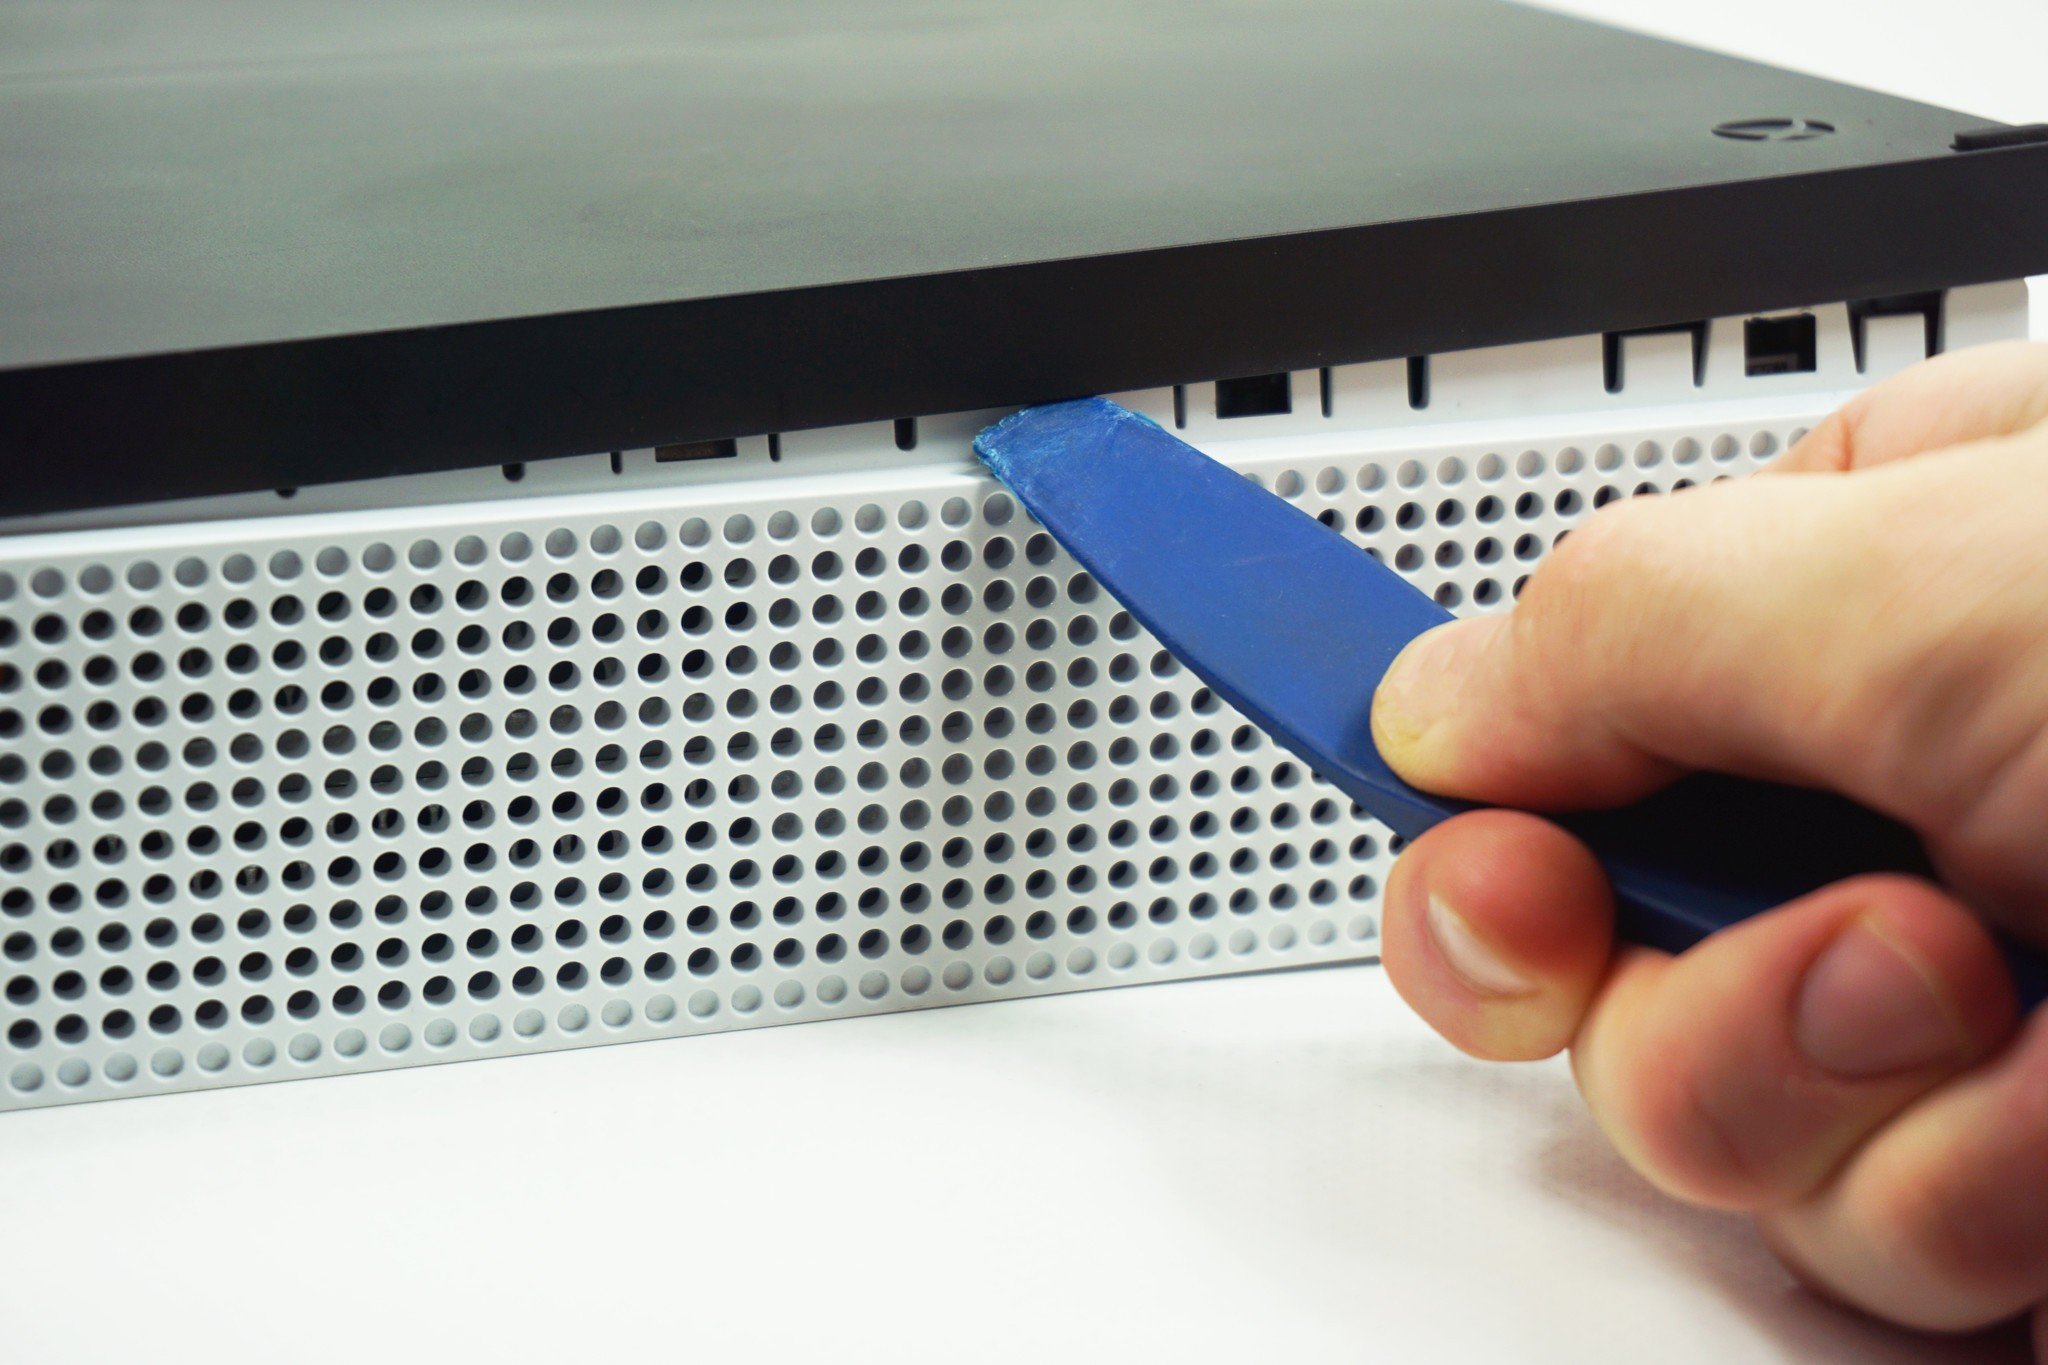
- Use an opening tool to pry the black base away from the remainder of the Xbox One S, starting in the corner where the warranty sticker was removed. We recommend using a plastic tool, to prevent heavy scratching.
- Continue to work around the sides of the console using the prying tool, detaching the clips built into the base. A fair amount pressure must be applied to detach them, though be careful not to damage nearby ports. Firm clicking sounds will be made when each of these clips is detached. A metal interior casing will be exposed once the base has been removed.
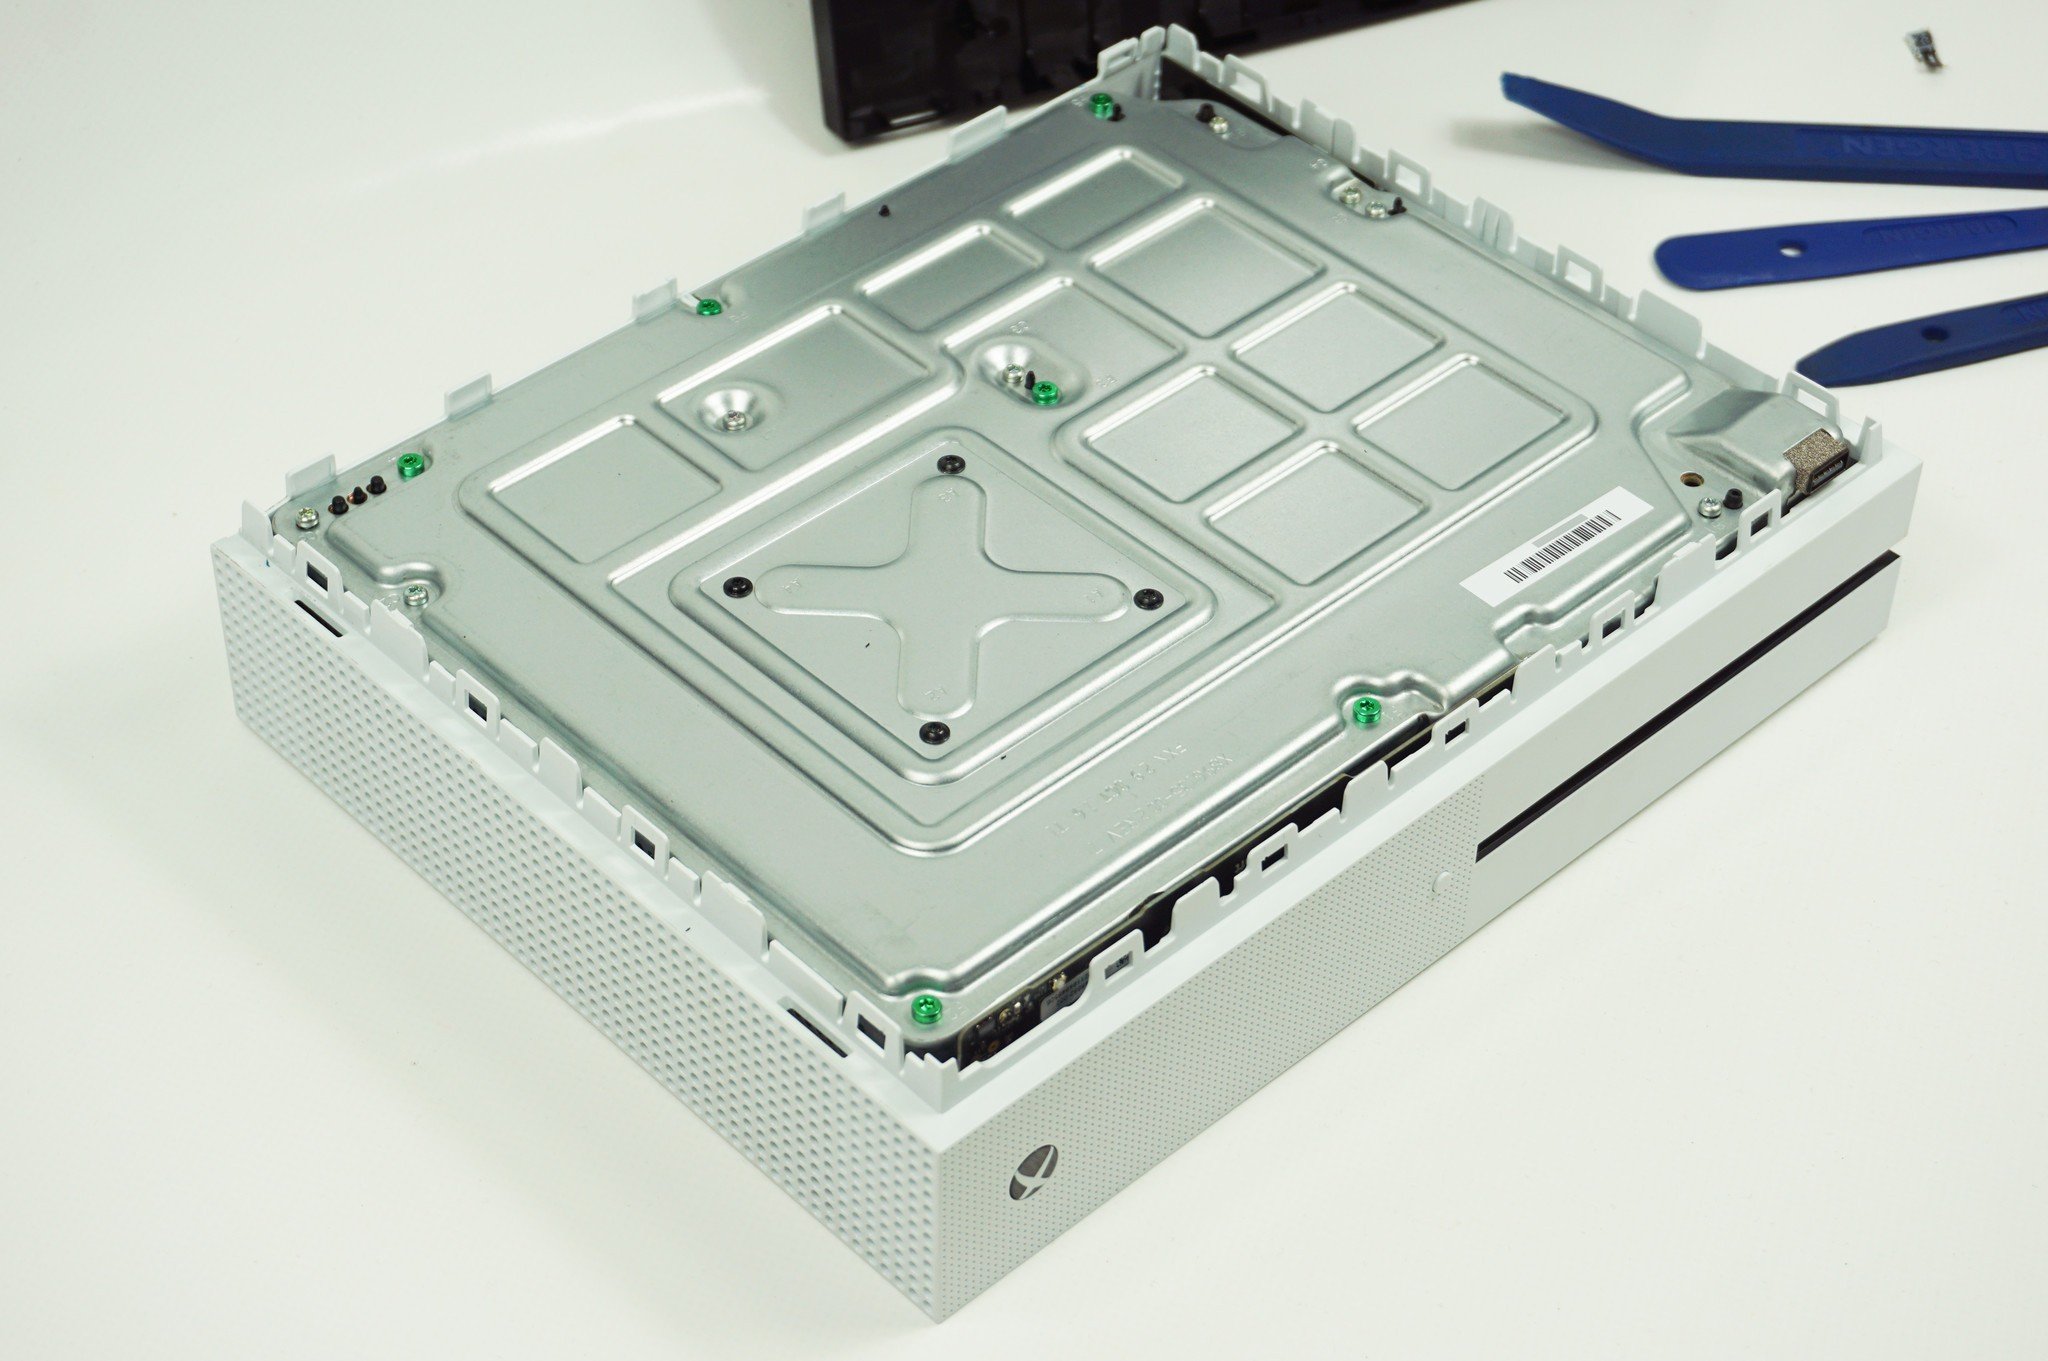

- Remove the six green screws located across the console's inner casing, using a TR10 Torx security screwdriver. This will detach all internals from the white plastic casing that surrounds the console. Ensure these screws are kept in a safe location, as they are required to reassemble the device later on.
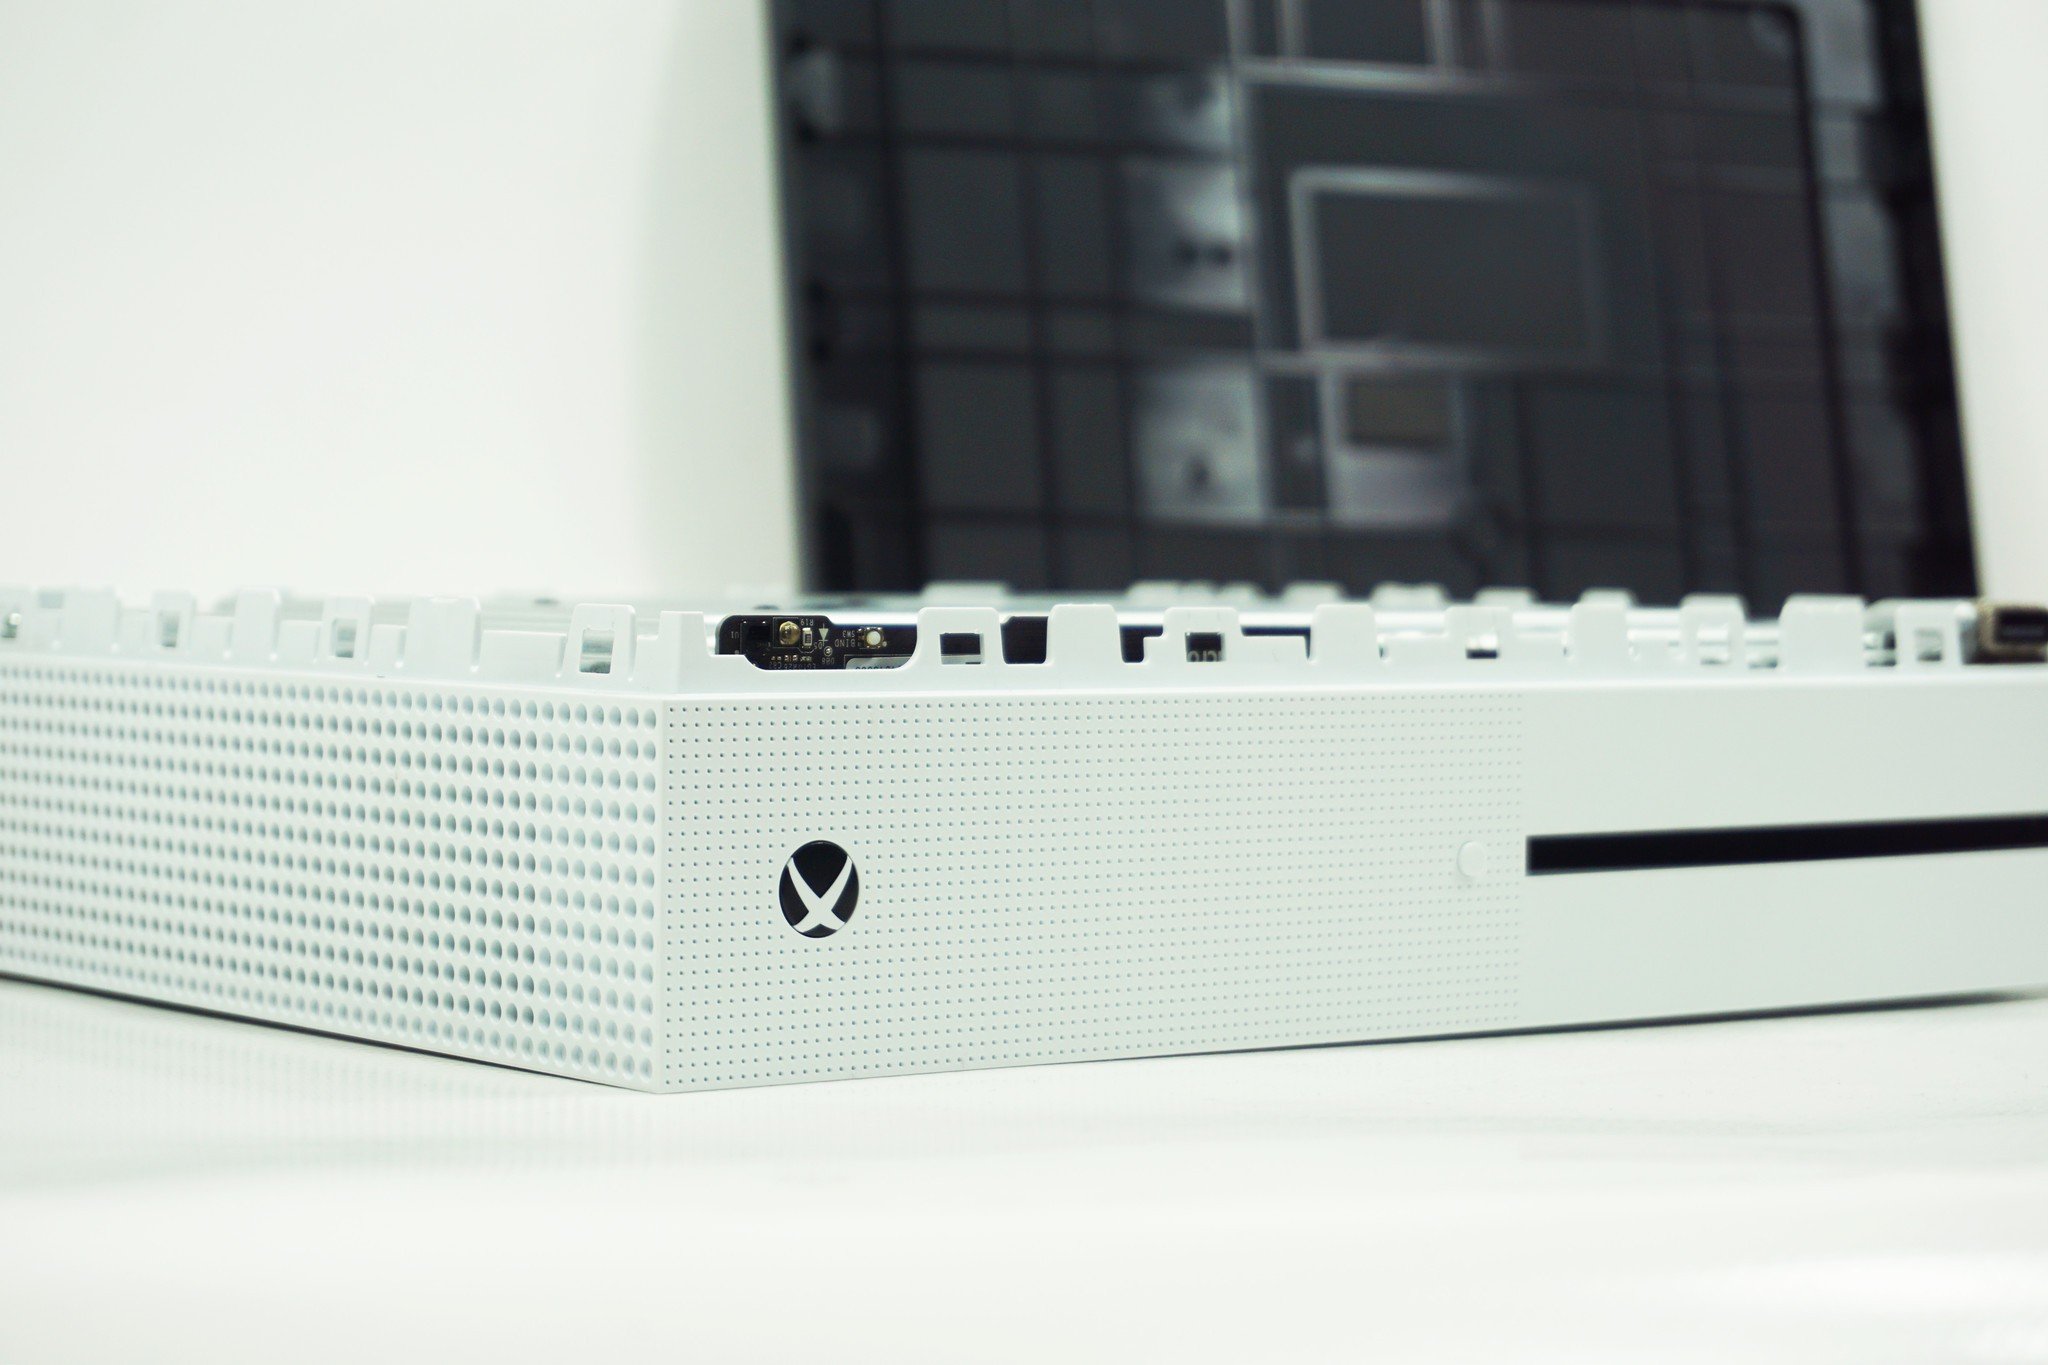
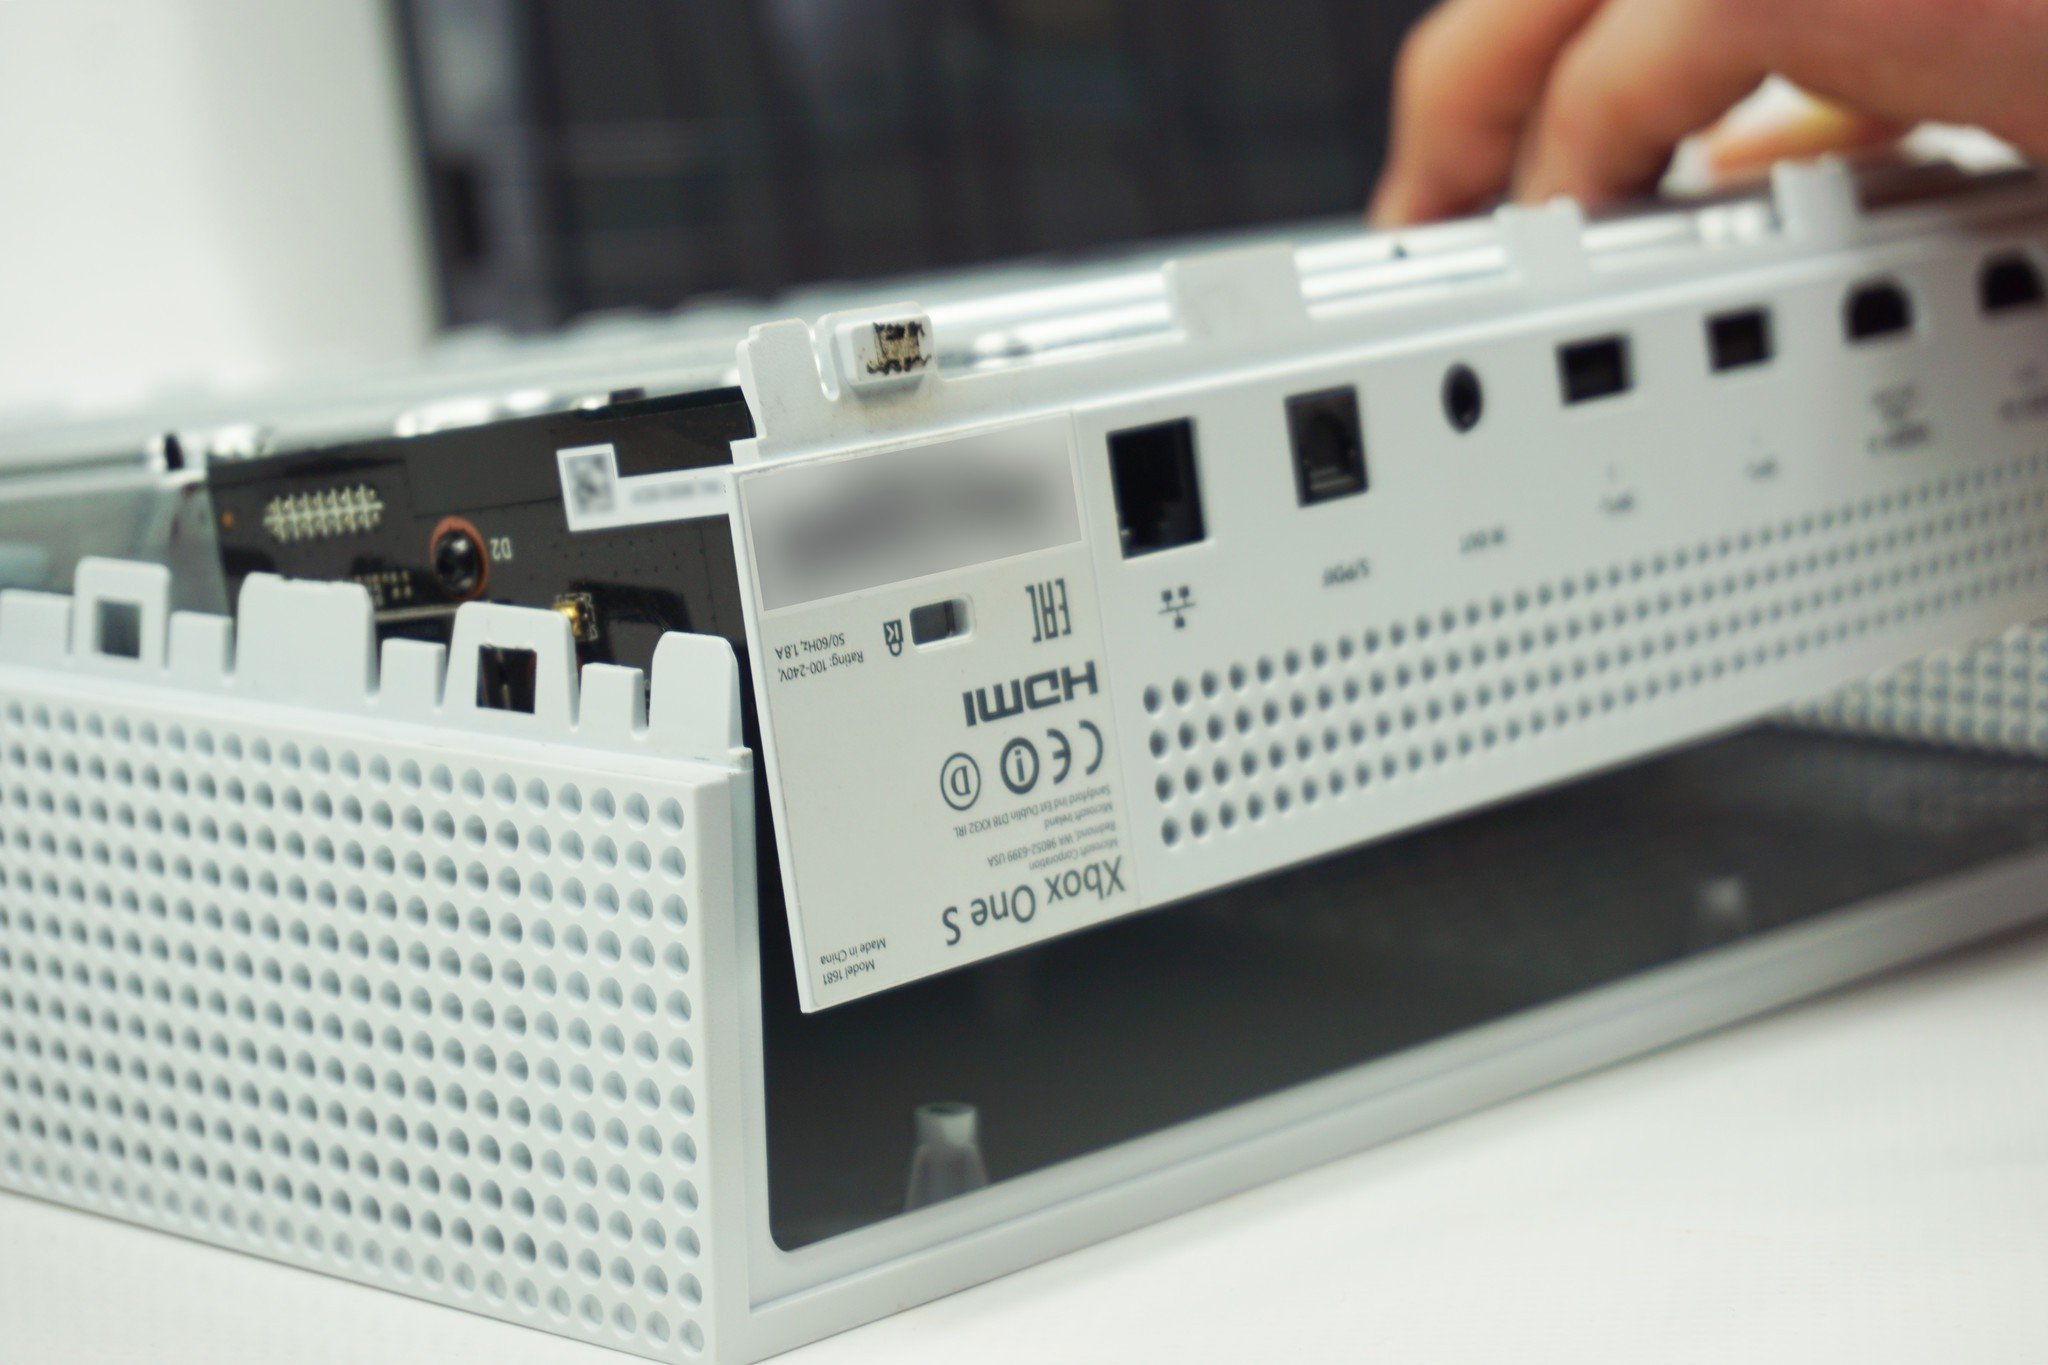
- Push the sides of the white shell outwards, detaching the rear panel.
- Lift the main body of the Xbox One S from the upper casing.
- Flip the console over, with the fan pointing upwards.
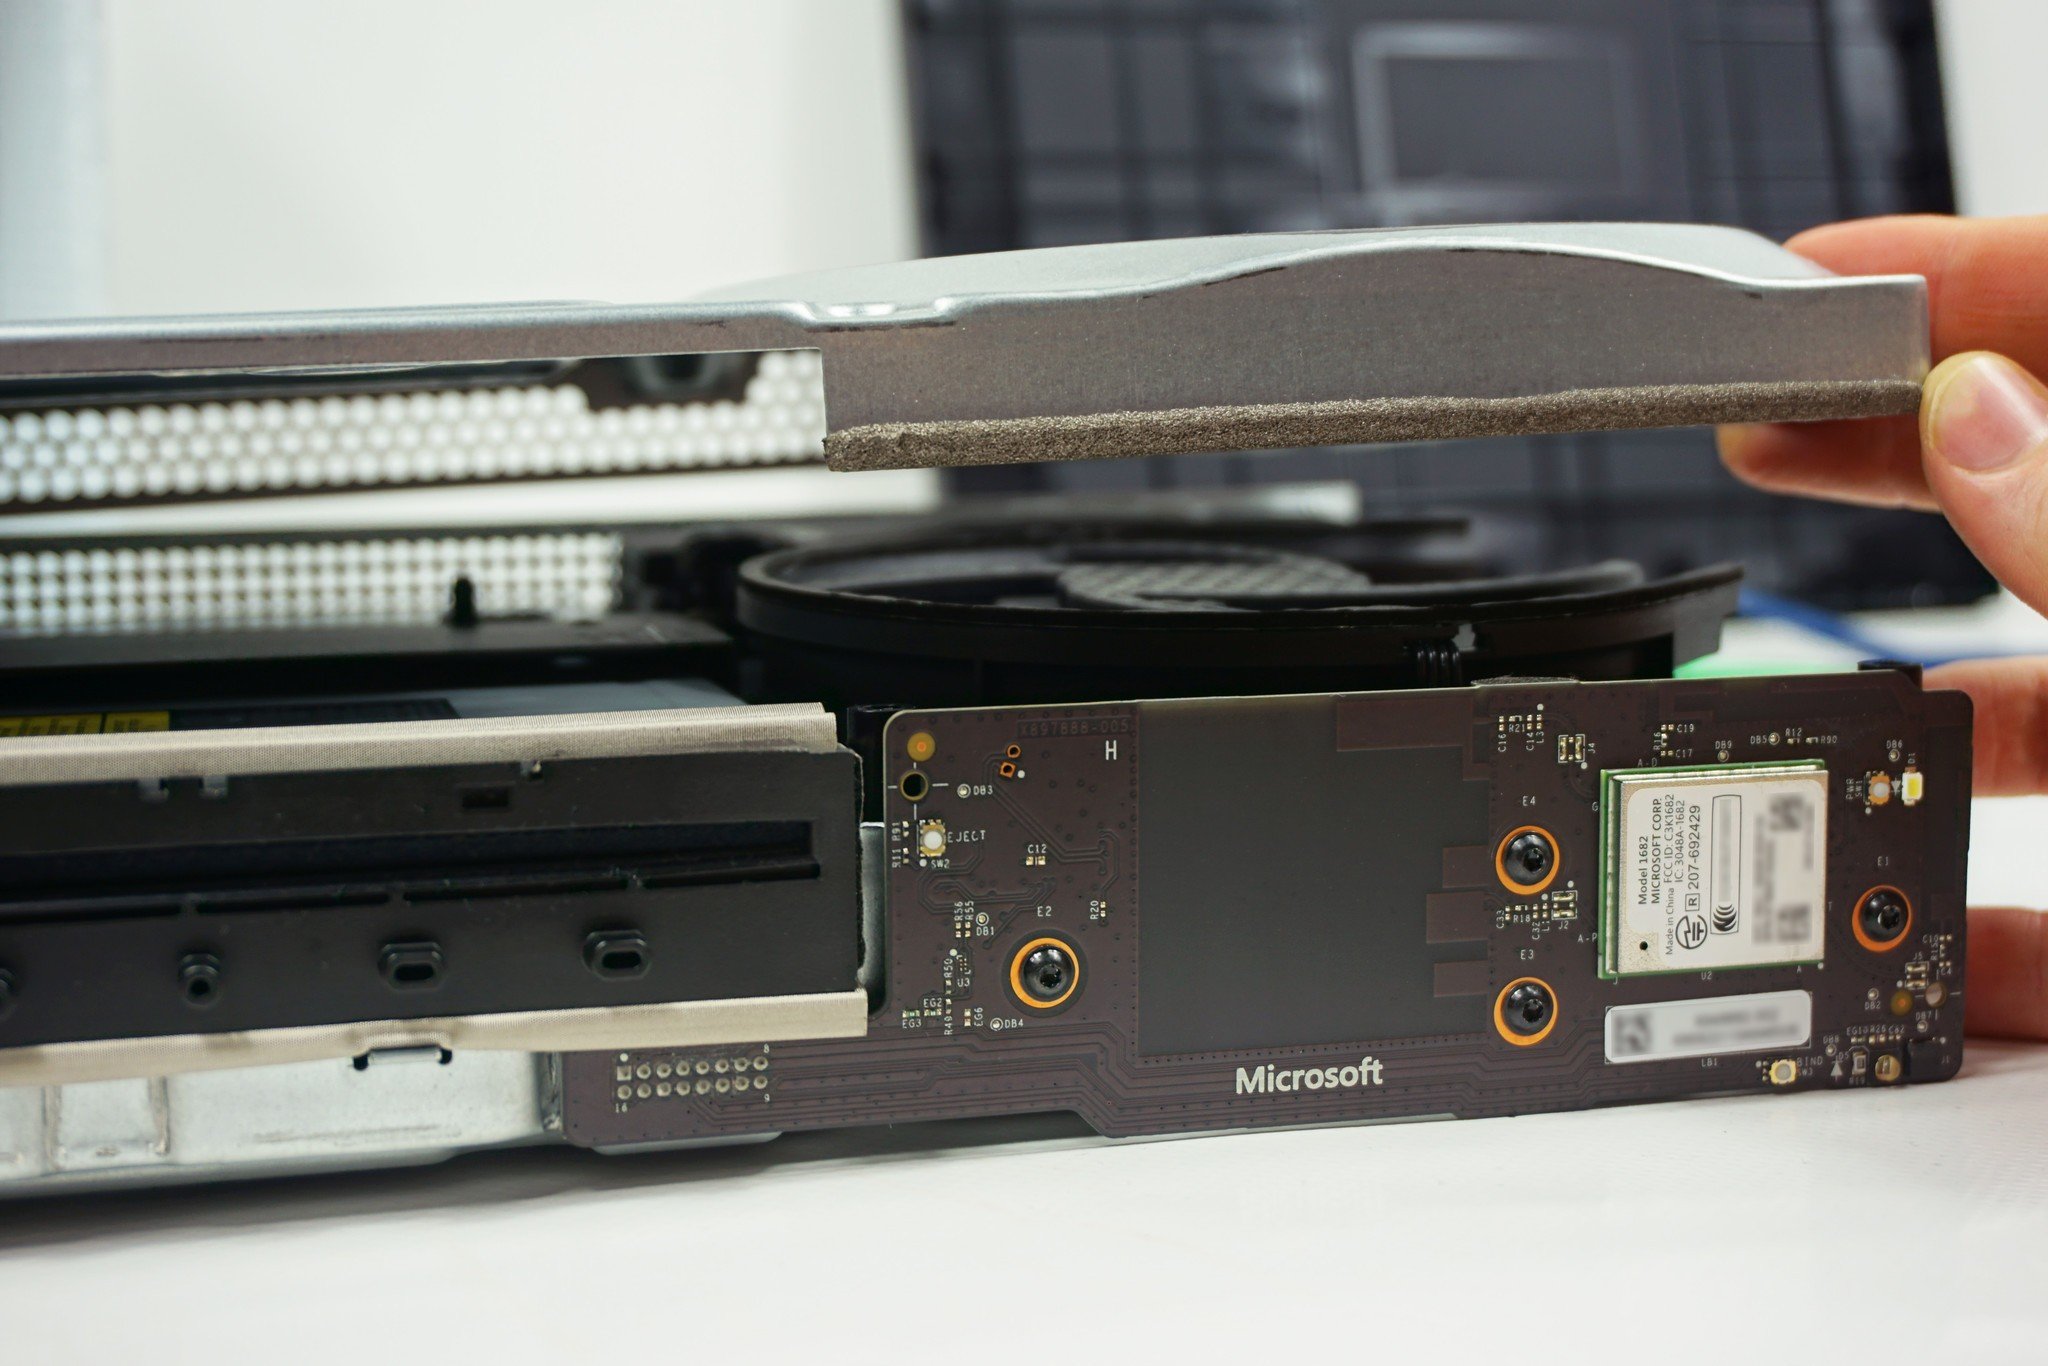
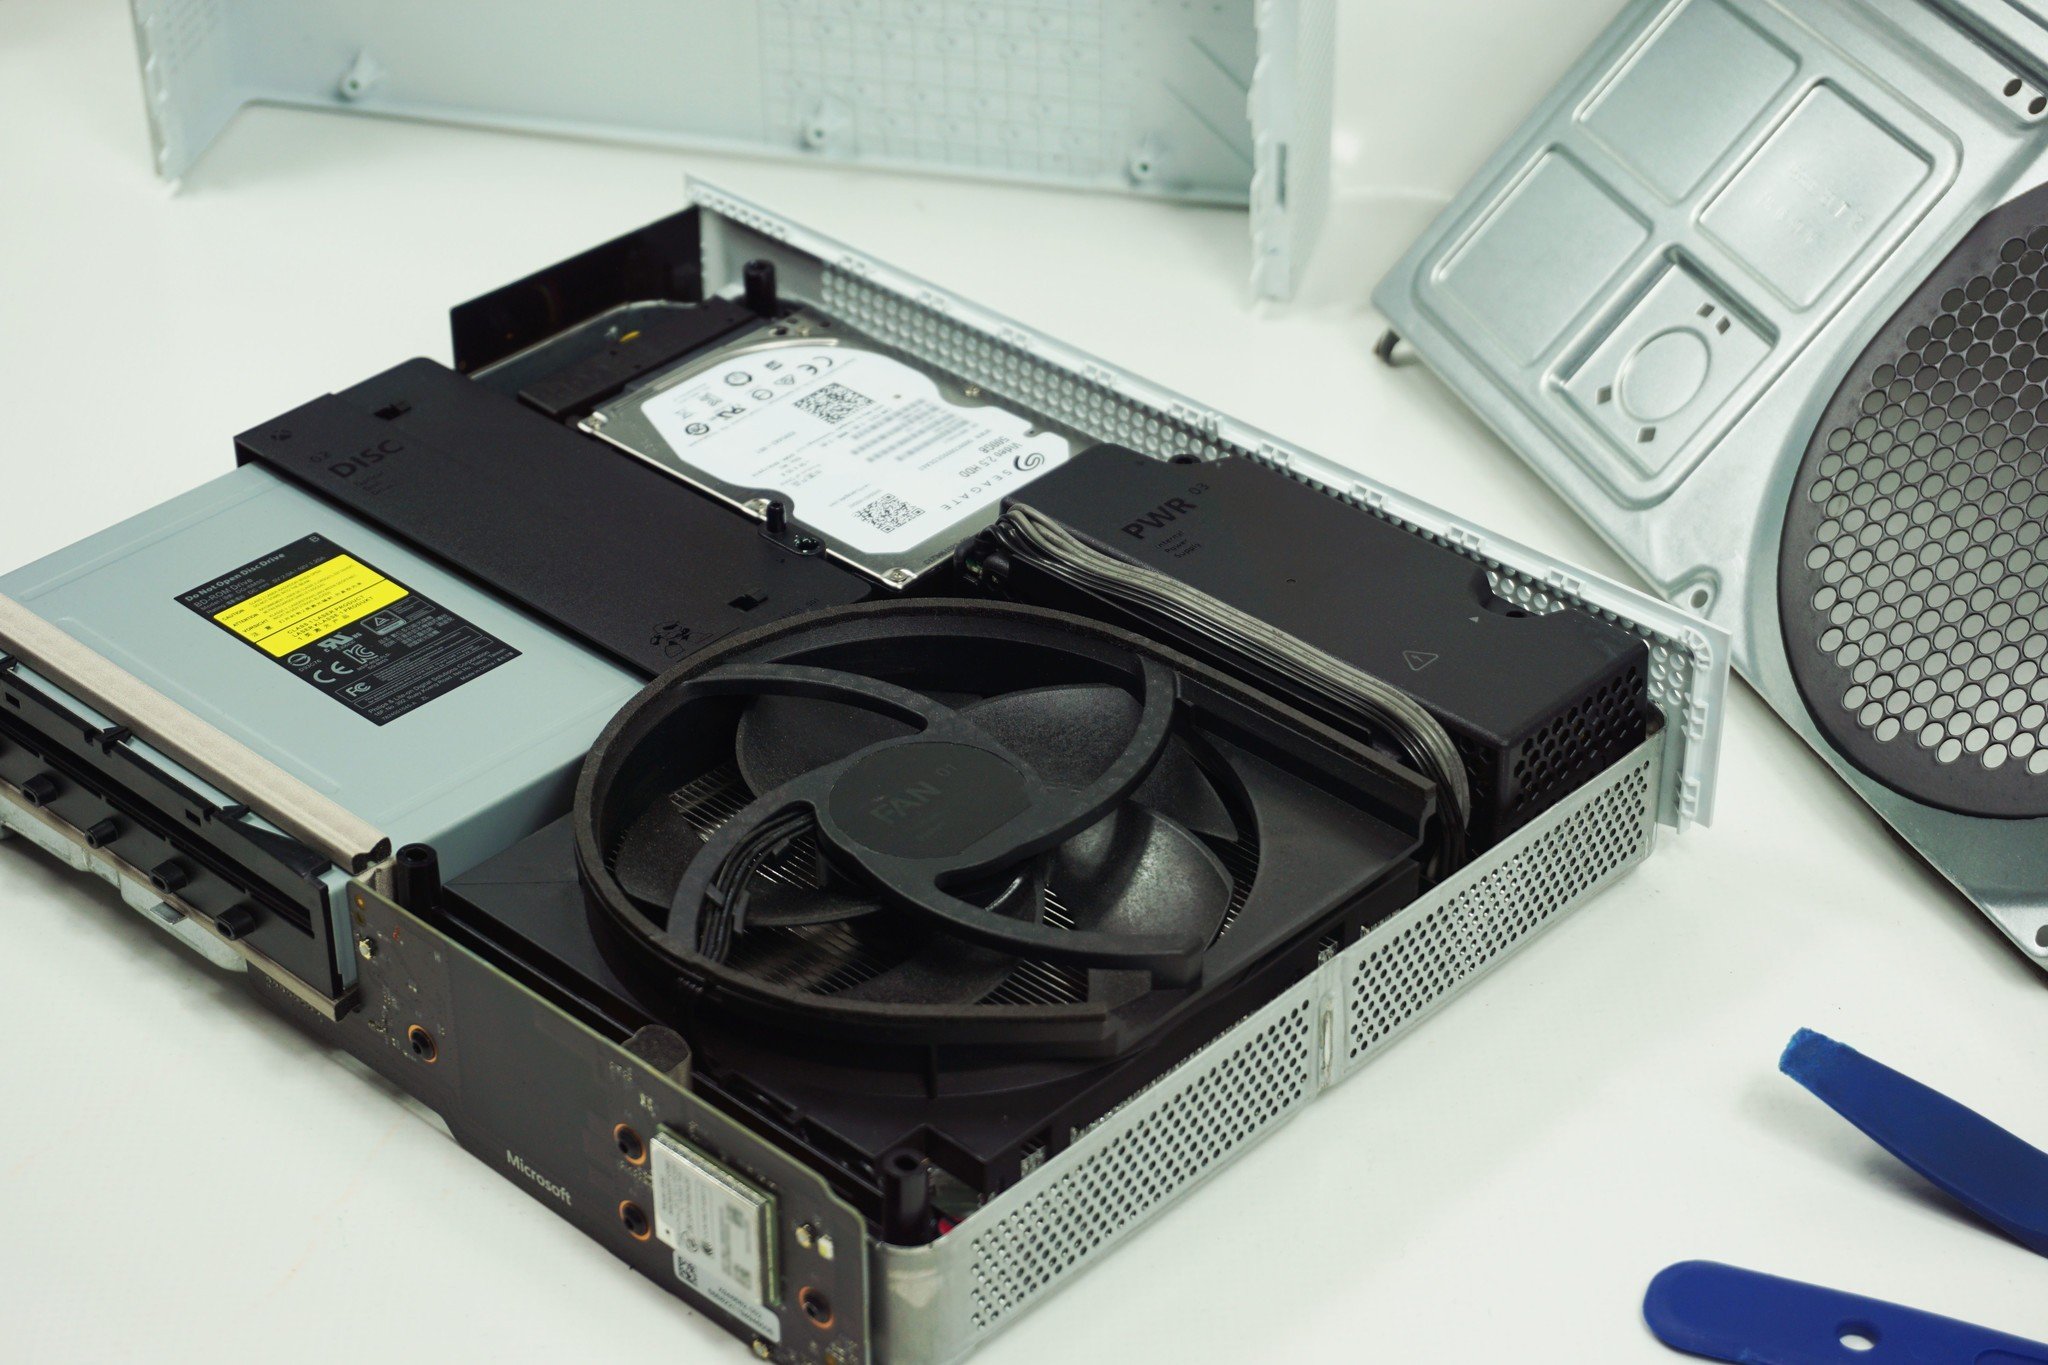
- Lift the metal panel, to reveal the components underneath. This is held in place by soft padding and requires little force.
- Each of the main components of the Xbox One S should now be visible. Microsoft has labeled the fan, optical disc drive, hard disk drive (HDD) and power supply, alongside a convenient numbering system.
After following these steps, you should be able to access the Xbox One S's key components. To reassemble the device, simply follow these steps in reverse, making sure to install the casing using provided screws.
Get the Windows Central Newsletter
All the latest news, reviews, and guides for Windows and Xbox diehards.
Matt Brown was formerly a Windows Central's Senior Editor, Xbox & PC, at Future. Following over seven years of professional consumer technology and gaming coverage, he’s focused on the world of Microsoft's gaming efforts. You can follow him on Twitter @mattjbrown.

