How to manage local users in Windows 10
Add, remove, or change users from your Windows 10 laptop or computer.

Windows 10 will let you make multiple accounts on your computer, so your friends or family can all share the same PC. You won't have to worry about not being able to control the user accounts because as the system administrator of your Windows 10 computer or laptop, you add, change, and remove accounts as you please.
Just so you're aware, a local user is the terminology Microsoft uses to describe someone who doesn't already have a Microsoft account.
- How to create a new local user in Windows 10
- How to make a local user an administrator in Windows 10
- How to remove a local user in Windows 10
How to create a new local user in Windows 10
Creating an account for a person this way will also create them a Microsoft account, which means in the future they could transfer this account to another computer.
- Click on the Start menu. It's the Windows logo in the bottom left of your screen.
- Click on Settings.

- Click on Accounts.
- Click on Family & other users.

- Click on add someone else to the PC.
- Click on I don't have this person's sign-in information.

- Click on Add a user without a Microsoft account.
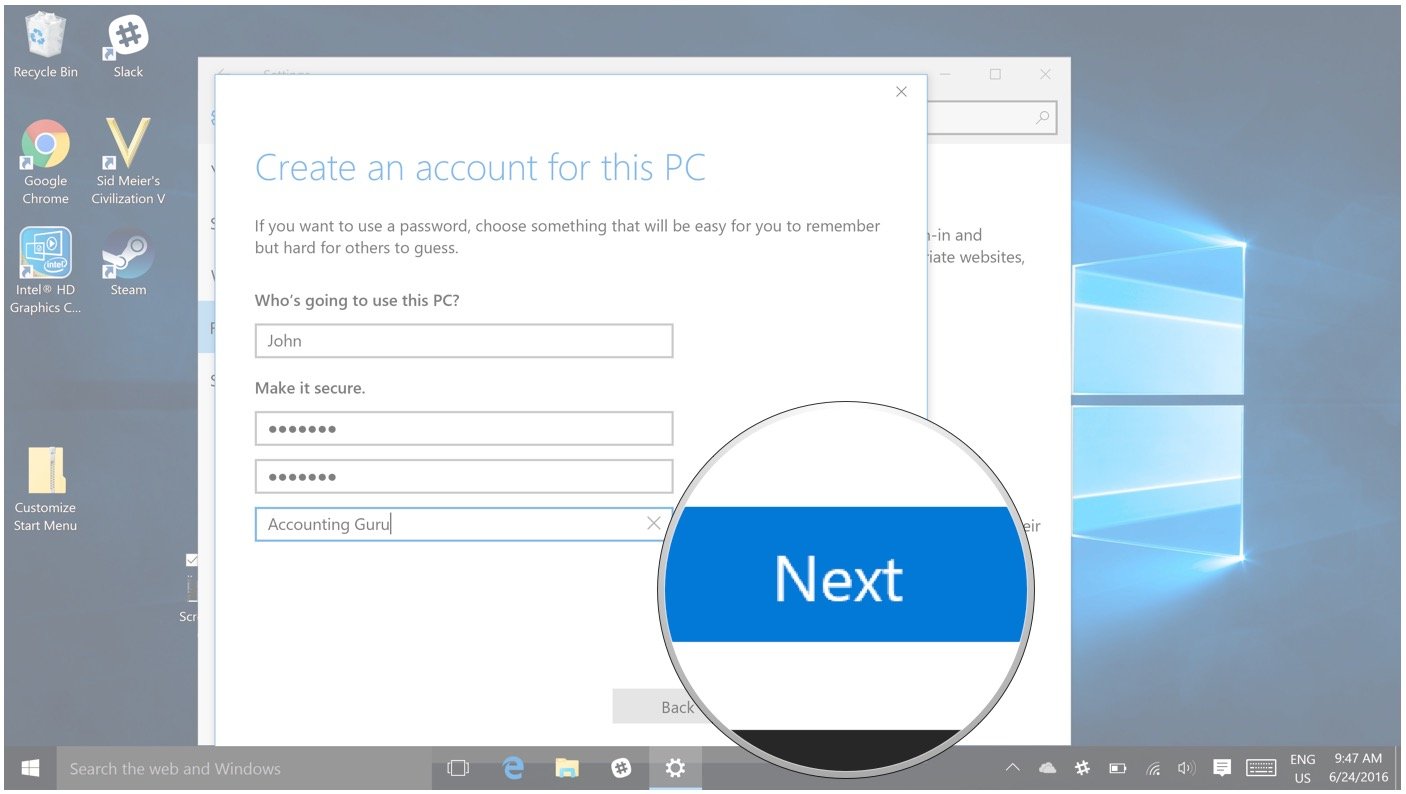
- Enter their username, password, and password hint.

- Click on Next.

How to make a local user an administrator in Windows 10
By default, any new local user you add to your PC will automatically be added as a standard user, meaning they won't have certain permissions and will need the system administrator's password to complete certain tasks. If you want the other user to have full access, you will need to make them an administrator.
- Click on the Start menu. It's the Windows logo in the bottom left of your screen.
- Click on Settings.

- Click on accounts.
- Click on Family & other users.

- Click on the account you wish to change.
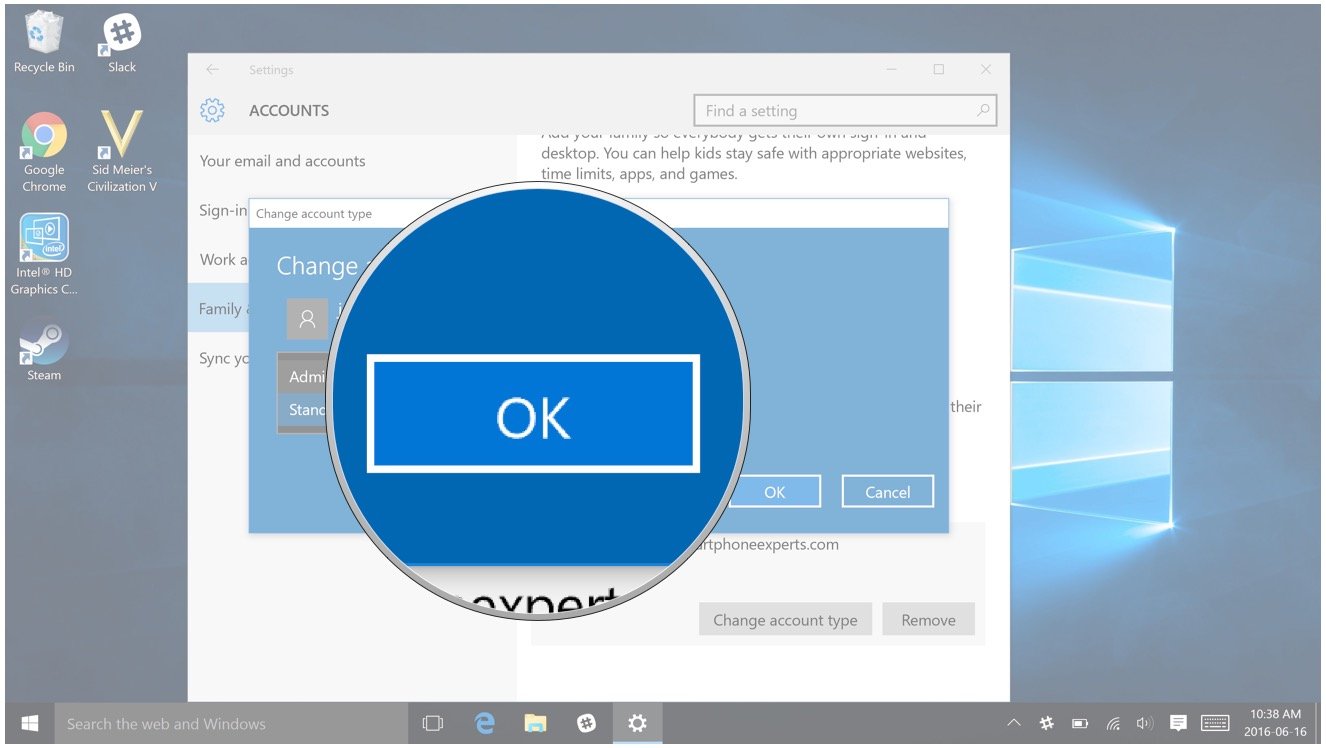
- Click on the Change account type button.

- Click on the drop down menu.
- Click on Administrator.

- Click on the OK button.

How to remove a local user in Windows 10
- Click on the *Start menu**. It's the Windows logo in the bottom left of your screen.
- Click on Settings.

- Click on Accounts.
- Click on Family & other users.

- Click on the account you wish to remove.
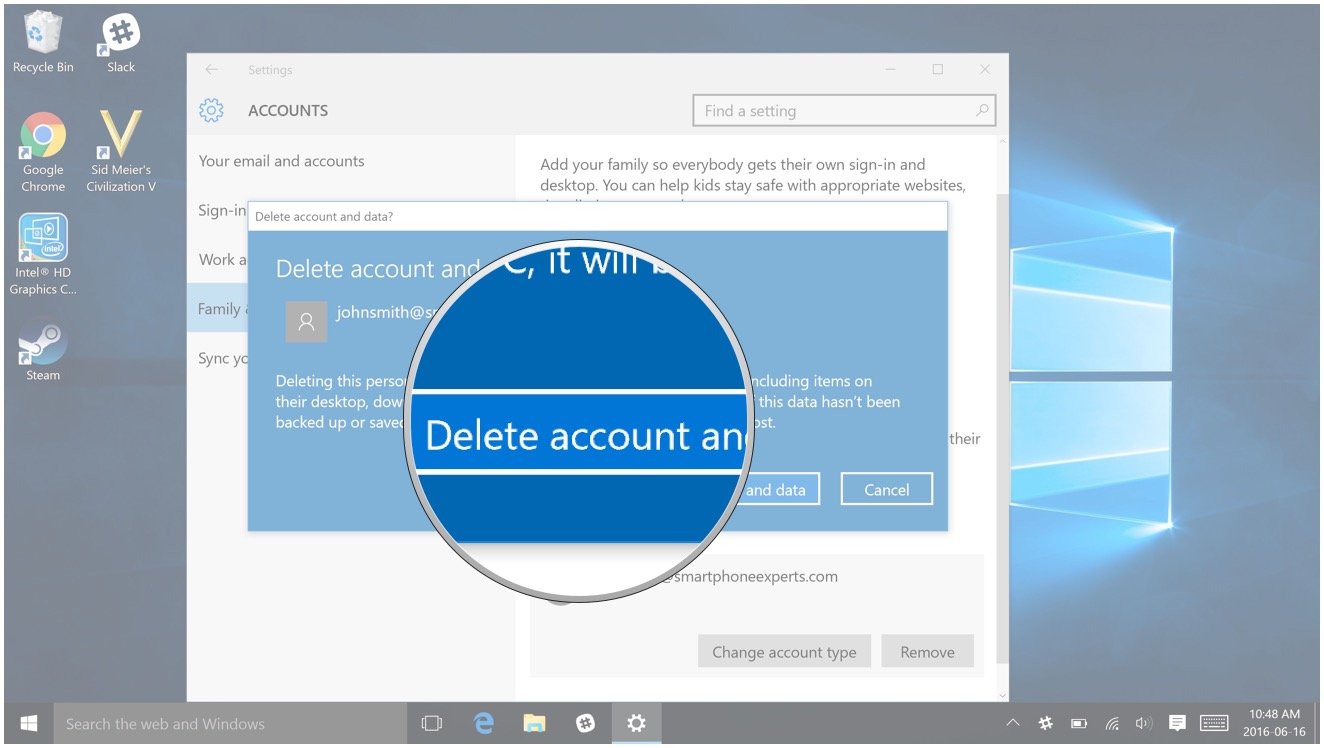
- Click on the remove button.

- Click on the Delete account and data button.

Get the Windows Central Newsletter
All the latest news, reviews, and guides for Windows and Xbox diehards.

