How to limit update bandwidth during specific hours on Windows 10 April 2018 Update
You can now schedule Deliver Optimization to limit download bandwidth for system and app updates during specific times of the day — Here we show you how to do it.
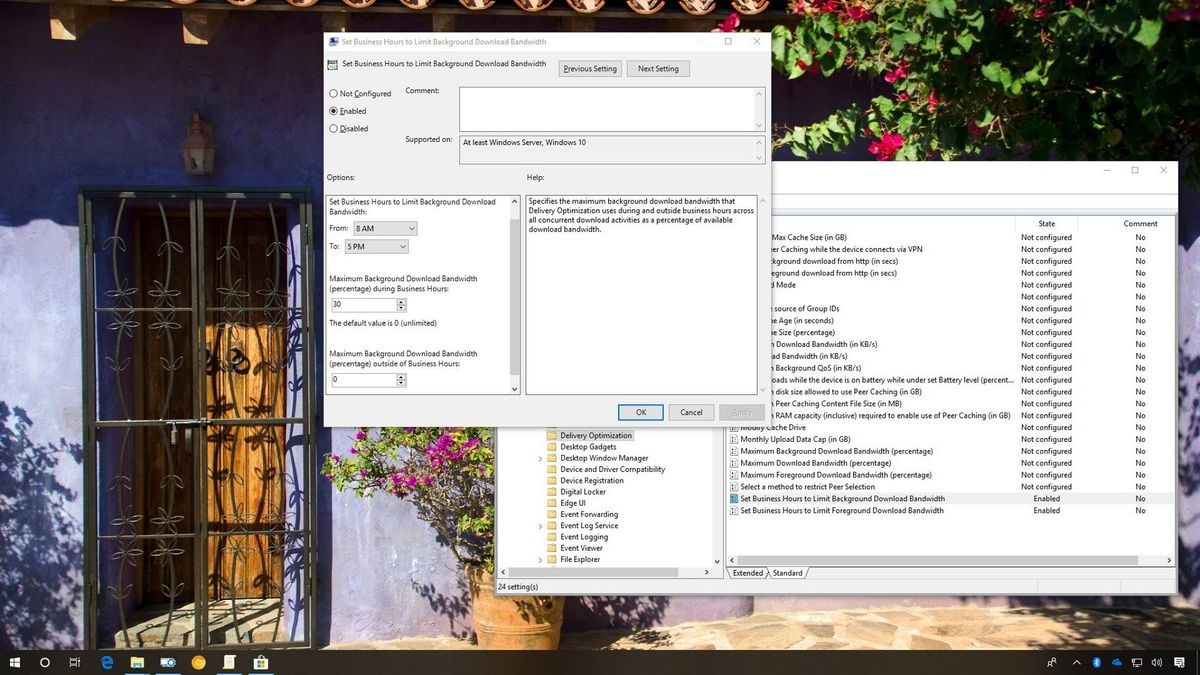
On Windows 10, Delivery Optimization is a feature that allows you to manually set bandwidth limits for background and foreground downloads to help minimize the network consumption during system and app updates.
The only caveat is that it's been a feature that either stays enabled or disabled all the time, but starring with the April 2018 Update, Windows 10 includes new options to throttle bandwidth using Delivery Optimization only at certain times of the day.
Microsoft is aiming these new options to help organizations to limit bandwidth during business hours while allowing acceleration of updates when the network isn't being fully utilized. However, these are options that anyone can configure on Windows 10 Pro using the Group Policy Editor.
In this Windows 10 guide, we'll walk you through the steps to set download limits for system updates, whether they download automatically (background) or they've been triggered manually by you (foreground).
- How to limit background download bandwidth during specific hours
- How to limit foreground download bandwidth during specific hours
How to limit background download bandwidth during specific hours
If you're running Windows 10 Pro, starting with the April 2018 Update, you can use the Local Group Policy Editor to throttle the bandwidth for automatic system and app updates during certain hours of the day using these steps:
- Use the Windows key + R keyboard shortcut to open the Run command.
- Type gpedit.msc and click OK to open the Local Group Policy Editor.
- Browse the following path:
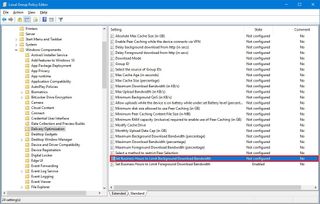
Computer Configuration > Administrative Templates > Windows Components > Delivery Optimization - On the right side, double-click the Set Business Hours to Limit Background Download Bandwidth policy.
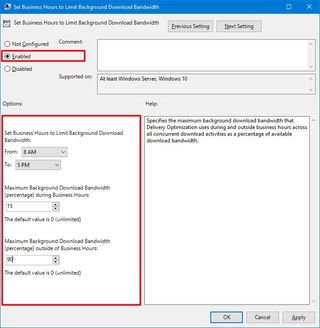
- Select the Enabled option.
- Use the available drop-down menus and select the range of hours where background downloads will be limited.
- Specify the maximum bandwidth (percentage) allowed during the time range you set on step No. 6.
- (Optional) Specify the maximum bandwidth (percentage) allowed outside the time range you set on step No. 6.
- Click Apply.
- Click OK.
Once you've completed the steps, the bandwidth for background downloads will only be limited during the range of hours you specified using the above instructions. Outside of the schedule, background downloads will make full use of the bandwidth available, or the maximum allowed if you set a limit on step No. 8.
At any time, you can revert the changes using the same instructions, but on step No. 5, make sure to select the Not configured option.
Get the Windows Central Newsletter
All the latest news, reviews, and guides for Windows and Xbox diehards.
How to limit foreground download bandwidth during specific hours
Alongside the ability to limit background downloads, you can also limit updates that you trigger manually during a specific time of day using the Local Group Policy editor using these steps:
- Use the Windows key + R keyboard shortcut to open the Run command.
- Type gpedit.msc and click OK to open the Local Group Policy Editor.
- Browse the following path:
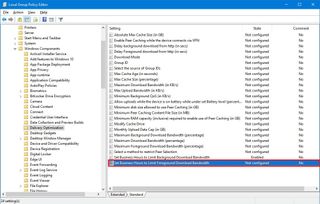
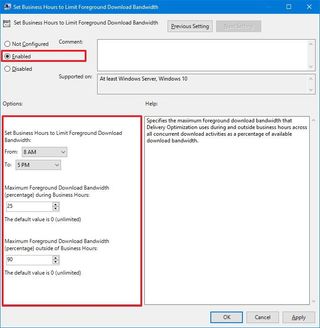
Computer Configuration > Administrative Templates > Windows Components > Delivery Optimization - On the right side, double-click the Set Business Hours to Limit Foreground Download Bandwidth policy.
- Select the Enabled option.
- Use the available drop-down menus and select the range of hours where background downloads will be limited.
- Specify the maximum bandwidth (percentage) allowed during the time range you set on step No. 6.
- (Optional) Specify the maximum bandwidth (percentage) allowed outside the time range you set on step No. 6.
- Click Apply.
- Click OK.
After completing the steps, the foreground download bandwidth will only be limited during the hours you specified. Outside of the schedule, foreground downloads will make full use of the bandwidth available, or the maximum allowed if you set a limit on step No. 8.
You can always undo the changes using the same instructions, but on step No. 5, make sure to select the Not configured option.
More Windows 10 resources
For more helpful articles, coverage, and answers to common questions about Windows 10, visit the following resources:
- Windows 10 on Windows Central – All you need to know
- Windows 10 help, tips, and tricks
- Windows 10 forums on Windows Central
Mauro Huculak has been a Windows How-To Expert contributor for WindowsCentral.com for nearly a decade and has over 15 years of experience writing comprehensive guides. He also has an IT background and has achieved different professional certifications from Microsoft, Cisco, VMware, and CompTIA. He has been recognized as a Microsoft MVP for many years.
