How to install Surface Duo emulator on Windows 10
Are you a developer or an enthusiast who wants to test the Surface Duo OS? In this guide, we'll show you the steps to get started.
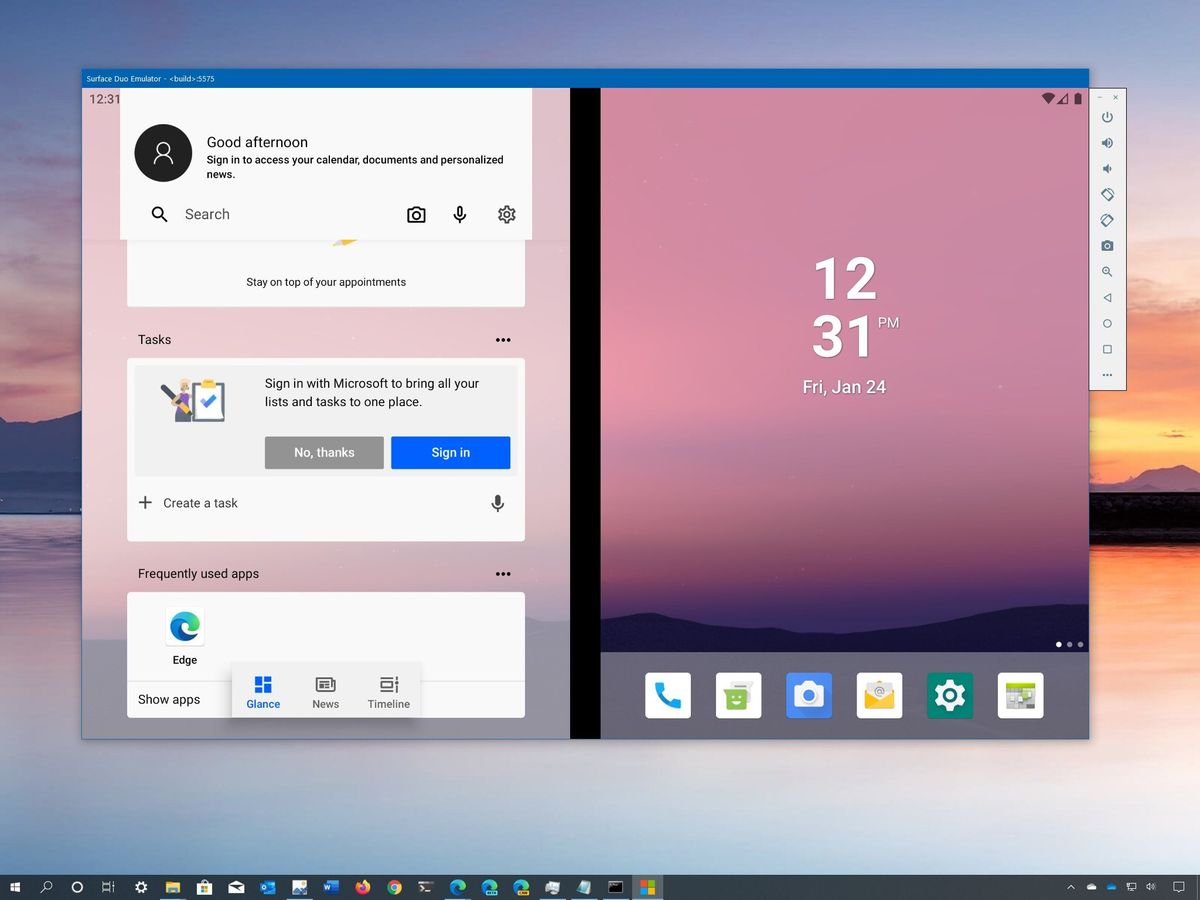
Microsoft has recently made available its emulator for the upcoming Surface Duo, the foldable (dual-screen) device with two 5.6-inch displays, for developers to start adding support to their apps. However, the release of the emulator also reveals some of the work the company has been making for the new mobile OS, which gives us a glimpse of what to expect when the Surface Duo becomes available.
Our senior Windows reporter, Zac Bowden, published a walkthrough video showing off navigation gestures, apps in a dual-screen mode, and Microsoft Launcher. However, if you want to play around with the new OS, or you're a developer trying to get started adapting your apps for the new form factor, you can install the Surface Duo emulator on your Windows 10 device.
The Surface Duo OS is based on the Google Android OS, and the emulator is based on the Google emulator platform using the support for dual displays.
In this Windows 10 guide, we'll walk you through the steps to install the emulator to start testing and get a feeling of Surface Duo.
How to install Surface Duo emulator on Windows 10
The Surface Duo emulator has a two-part installation. You must install Visual Studio 2019 first, and then you need to install the emulator files.
Install Visual Studio 2019
To install Visual Studio 2019 to test the Surface Duo emulator, use these steps:
Quick tip: If you already have Visual Studio 2019 installed on your computer, you can skip these steps and continue with the emulator installation. However, you may want to review the steps below to make sure that you have the Android Emulator installed.
Get the Windows Central Newsletter
All the latest news, reviews, and guides for Windows and Xbox diehards.
- Open Visual Studio 2019 download page.
- Under the "Community" section, click the Free download button.
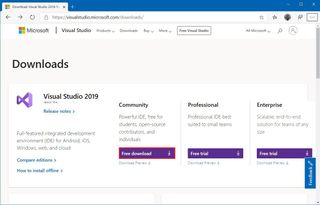
- Save the file on your computer.
- Double-click the installer to launch the Visual Studio 2019 setup.
- Click the Continue button.
- Under the "Workloads" section, check the Mobile development with .NET package.
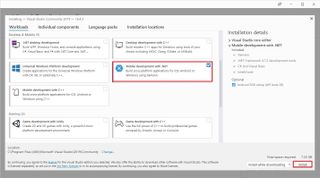
- Click the Install button from the bottom-right corner.
- Click the Launch button.
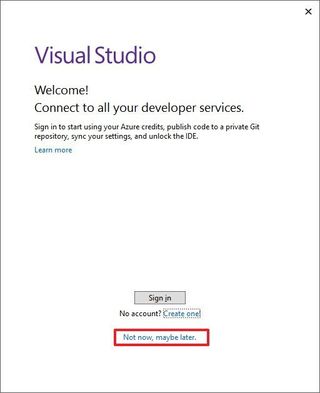
- Click the Not now, maybe later option unless you have an account to sign in.
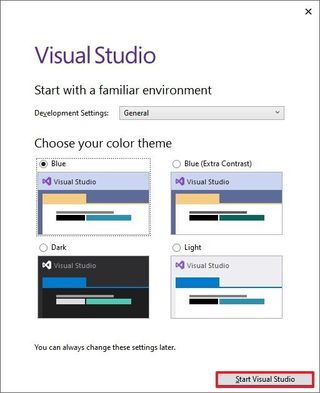
- Use the default selections for "Start with a familiar environment" and "Choose your color theme."
- Click the Start Visual Studio button.
- Click the Continue without code option.

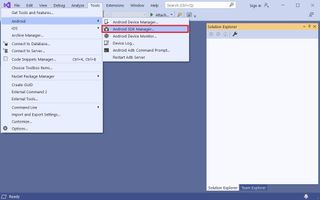
- Click the Tools menu, select the Android item, and choose the Android SDK Manager option.
- Click the Tools tab.
- Click and expand the Android Emulator branch.
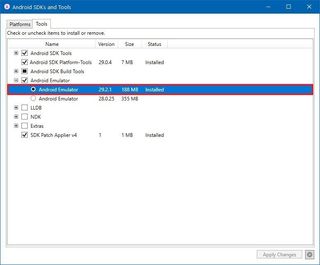
- Confirm the Android Emulator is installed.
Once you complete the steps, you can close all the Visual Studio related windows, and you can proceed with the setup of the Surface Duo emulator.
Install Surface Duo emulator
To install the Surface Duo emulator on Windows 10, use these steps:
- Open Surface Duo SDK Preview download page.
- Click the Download button.
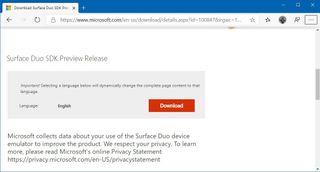
- Check the SurfaceDuoPreview_EmulatorOSImage_and_APIs_2020 item from the list.
- Click the Next button.
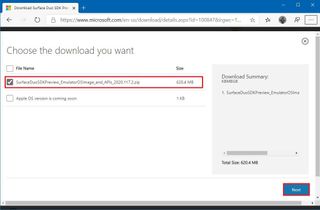
- Save the zip file on your computer.
- Double-click to open the container.
- Click the Extract all button from the "Compressed Folder Tools" tab.
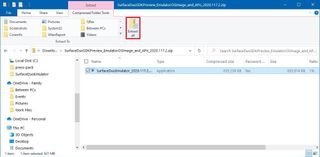
- Click the Browse button.
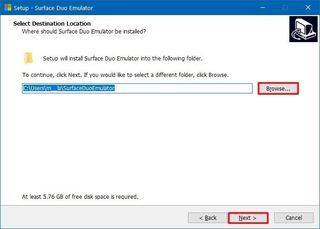
- Select the extraction folder location.
- Click the Select Folder button.
- Click the Extract button.
- Double-click the SurfaceDuoEmulator_xxxx.xxx.x.exe file.
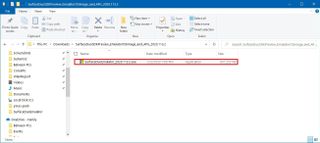
- Click the Next button.
- Select the I accept the agreement option.
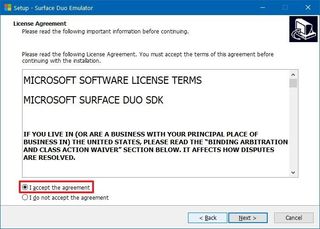
- Click the Next button.
- Click the Next button again.
- (Optional) Click the Browse button to select an alternate installation folder.
- Click the Next button.
- Click the Install button.
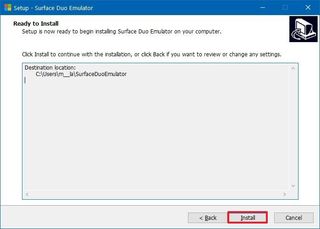
- Click the Finish button.
After you complete the steps, the emulator will install, and you should be able to start it with the link in the Start menu or desktop.
Start Surface Duo emulator
To launch the Surface Duo emulator, use these steps:
- Open Start.
- Search for Surface Duo Emulator and click the top result to launch the experience.
- Use the controllers in the right side to rotate, navigate, take screenshots, control volume, and turn of the emulator.
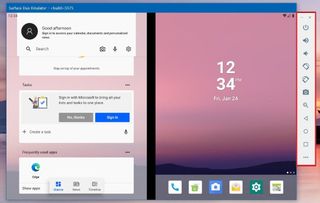
- Continue testing the Surface Duo experience.
Once you complete the steps, the Surface Duo emulator will launch (but it could take a while), and then you can now play around or start developing for the platform. (You can also use the mouse or touch to navigate the OS.)
If you want to learn more, you can check the Microsoft documentation, and for SDK samples, you should visit this Surface Duo GitHub page.
Mauro Huculak has been a Windows How-To Expert contributor for WindowsCentral.com for nearly a decade and has over 15 years of experience writing comprehensive guides. He also has an IT background and has achieved different professional certifications from Microsoft, Cisco, VMware, and CompTIA. He has been recognized as a Microsoft MVP for many years.
