How to install ReShade on any Windows PC game
Here's how to install ReShade on your PC games, giving you the power to alter the visuals of the titles at will.

One of the most powerful pieces of software available to PC gamers is ReShade, a special post-processing injector that allows you to adjust colors, add visual filters, and even edit features like depth-of-field into your games. ReShade is awesome, allowed to be used, and free to download — and the best part is, installing it is simple and quick. Here's our guide on how to get ReShade working on PC games like Halo: Reach on PC.
Downloading and installing ReShade

To get ReShade working, you're going to need to download the installer from the ReShade website and then use it to install the software on your game. Before starting, find out which version of DirectX the game you want to install ReShade on uses, as this is important to know. For this guide, I'm going to show how to install it for Halo: Reach on PC (technically, the Master Chief Collection) but the process is identical for all other PC games.
- Go to this page and download the ReShade installation software. Then, open it up.
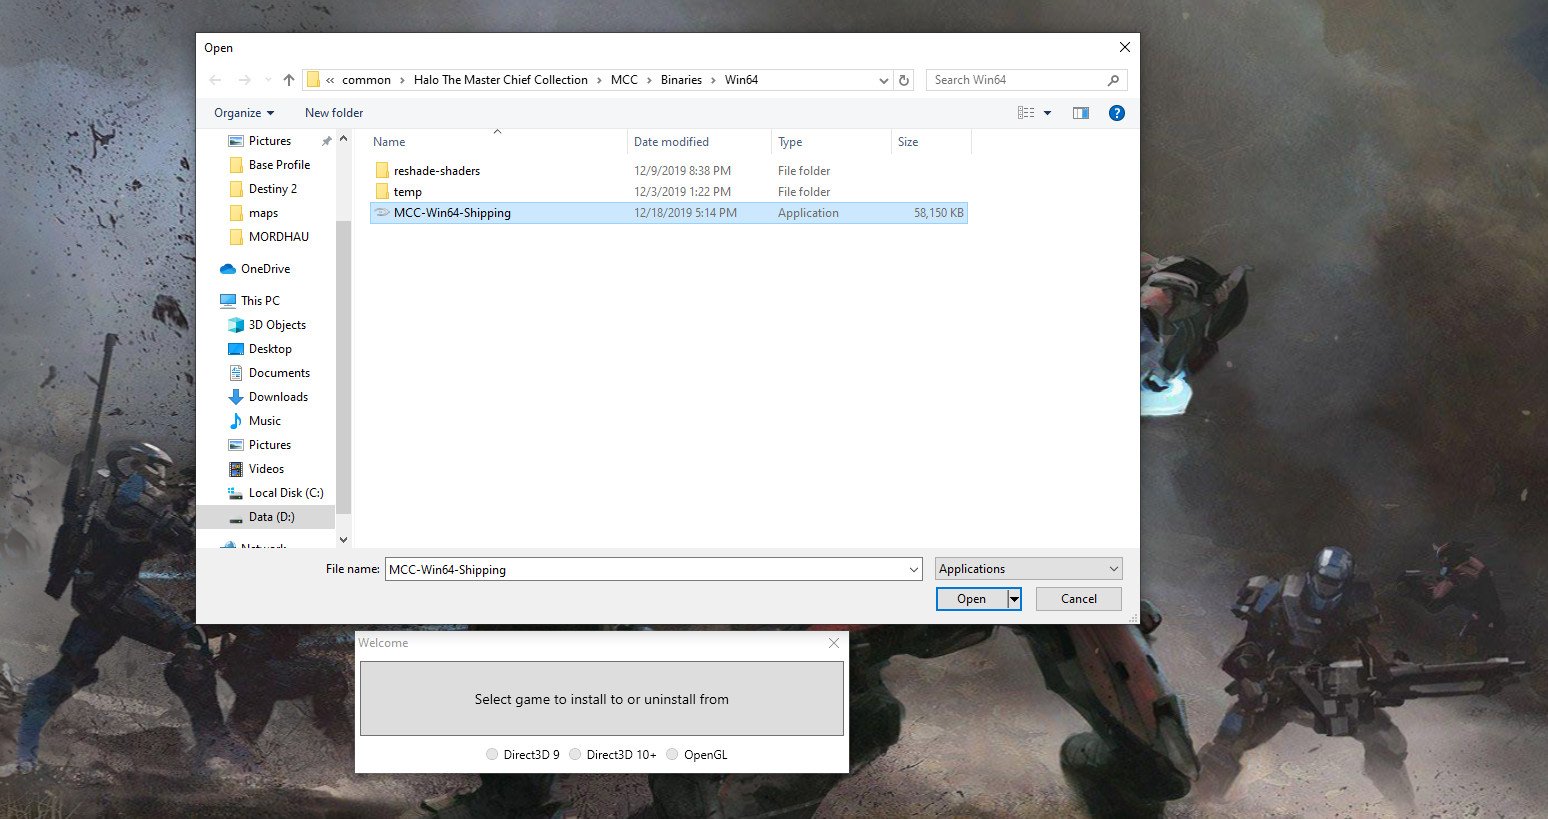
- Click the Select the game to install or uninstall from window.
- In the File Explorer tab that opens, navigate to the game directory of the title you want to install ReShade on.
- Find and open the executable file that launches the game. For the Master Chief Collection, this is MCC-Win64-Shipping in the Binaries folder.
- In the ReShade installer, select the version of DirectX that your game uses. For the Master Chief Collection, this is DirectX 10+.
- When prompted, select Yes to download a set of standard ReShade shaders.
- Wait until you see "Succeeded!" in the top-left corner of the installer.
With that, ReShade is officially installed, and when you boot your game up next the ReShade software will give you a quick rundown on how to change or inject various visual aspects of the game.
Optional: Installing presets

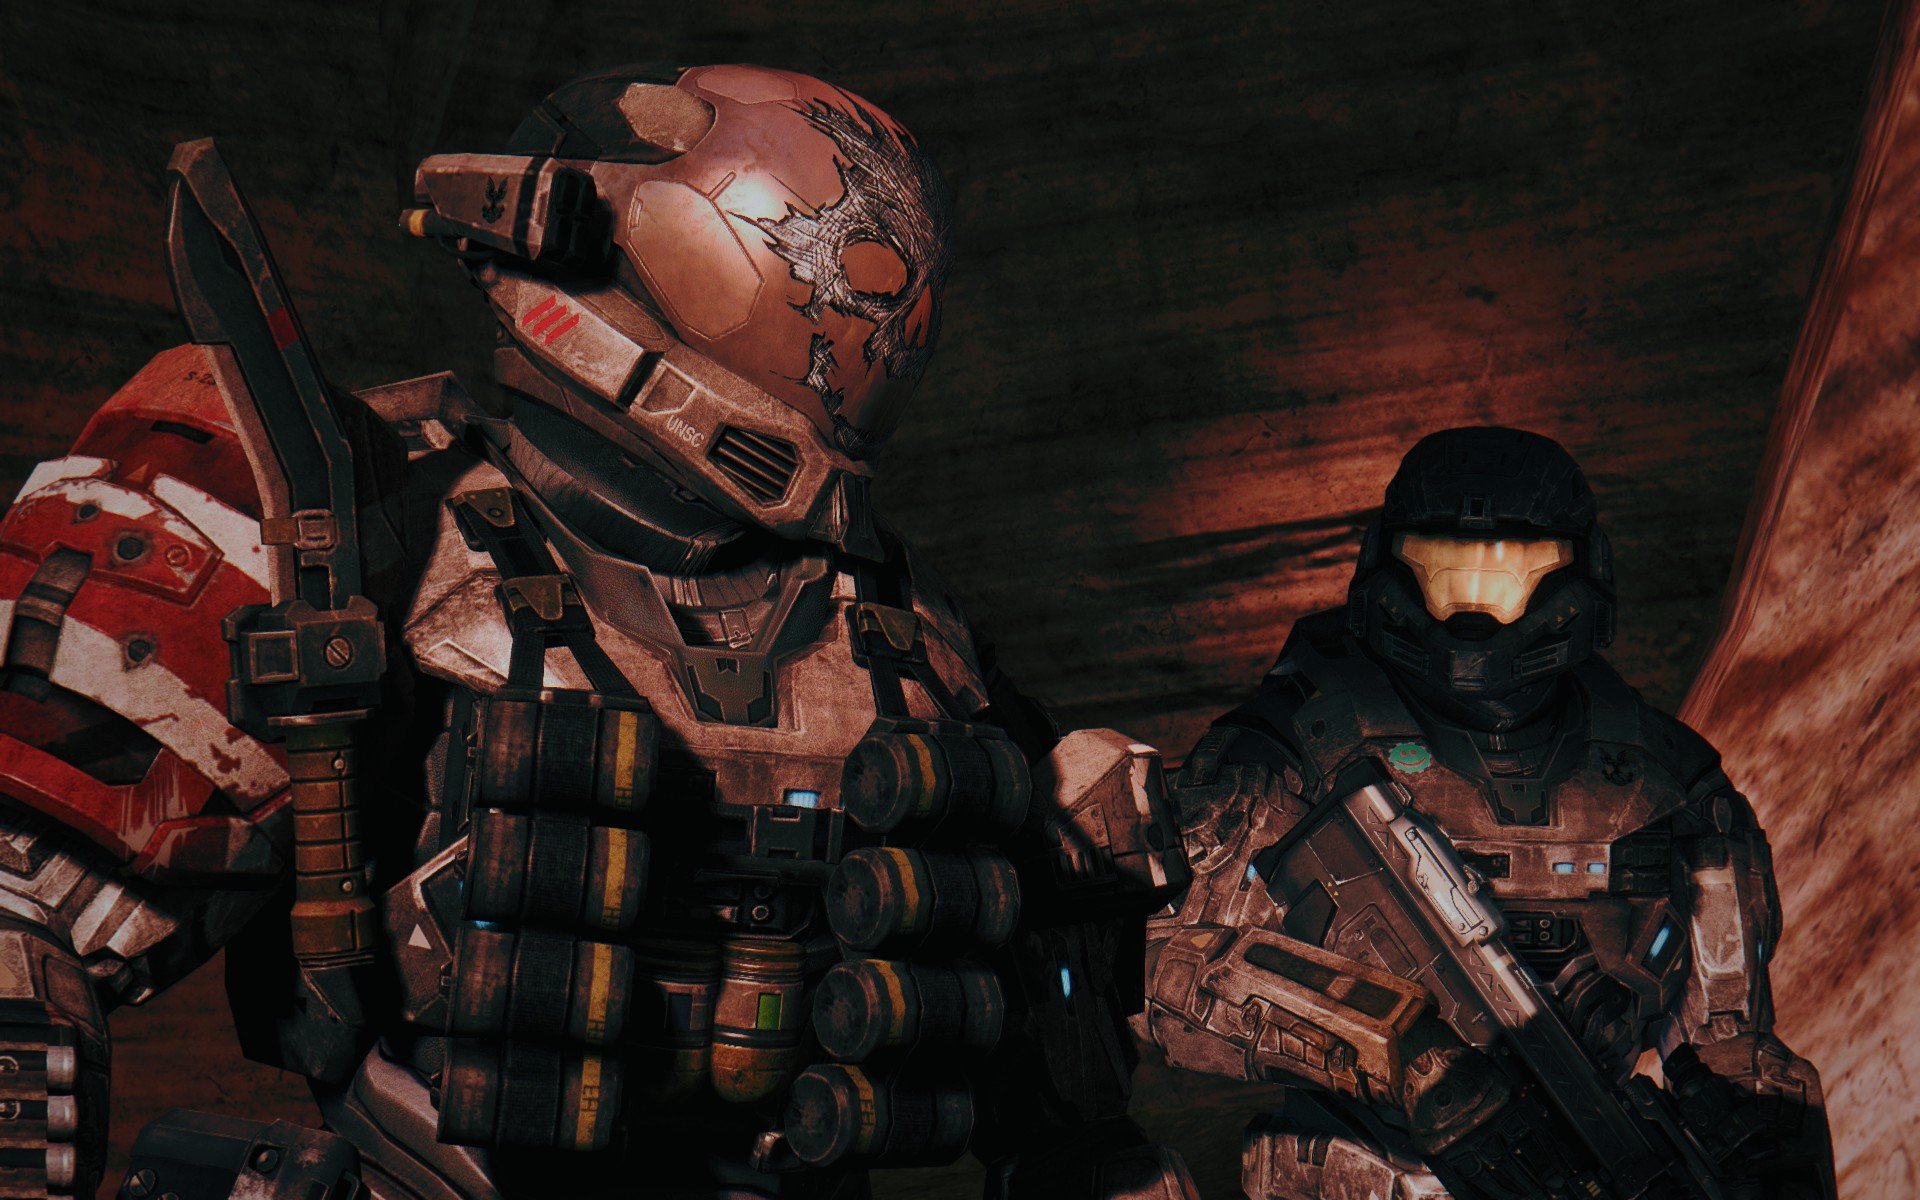
If you'd like to save yourself the trouble of tweaking ReShade settings and instead would prefer to use the settings someone else comes up with, you can install presets that community members make public. For example, all the in-game Halo: Reach images in this article utilize the Royale Reach ReShade preset by swampticks on Nexus Mods. Like the process of installing ReShade itself, getting presets working is easy. Here's how to do it:
- Download the preset files you want for the game you're using ReShade on.
- Extract the files to your Desktop.
- Copy the preset files.
- Paste them into the same folder that the game's executable is in.
Now when in the ReShade menu in-game, you can select the preset and all of the ReShade settings will change to what the community member who made it had them as.
Your thoughts
What do you think of ReShade? Do you have a favorite preset for a certain game? Let me know down below. Also, if you're colorblind, make sure to check out these presets that emulate colorblind mode for Halo: Reach on PC, which you can get right now for $10 on both Steam and the Windows 10 Store.

From the beginning, you know the end
The Halo: Reach PC port is excellent, and it's one of the many great games that ReShade works with.
Get the Windows Central Newsletter
All the latest news, reviews, and guides for Windows and Xbox diehards.
Brendan Lowry is a Windows Central writer and Oakland University graduate with a burning passion for video games, of which he's been an avid fan since childhood. He's been writing for Team WC since the summer of 2017, and you'll find him doing news, editorials, reviews, and general coverage on everything gaming, Xbox, and Windows PC. His favorite game of all time is probably NieR: Automata, though Elden Ring, Fallout: New Vegas, and Team Fortress 2 are in the running, too. When he's not writing or gaming, there's a good chance he's either watching an interesting new movie or TV show or actually going outside for once. Follow him on X (Twitter).

