How to install Manjaro on WSL for Windows 10 and 11
Manjaro is a popular Linux distro not offered through the Microsoft Store, so here's how to install it on WSL.
The Windows Subsystem for Linux (WSL) is an incredibly powerful tool for both Windows 10 and Windows 11 with a raft of easily installable distros at hand in the Microsoft Store. But you're not limited to only those available through the Store. It's perfectly possible to install other distributions using the built-in WSL tools so long as you have the right files on hand.
In some cases, such as Ubuntu, you can install the latest rolling release with an official image. In others, we turn to the WSL community for assistance, and that's exactly the case for anyone looking to install Manjaro.
Thanks to a project hosted on GitHub, installing Manjaro on WSL is a breeze. Let's get to it.
How to install Manjaro on WSL
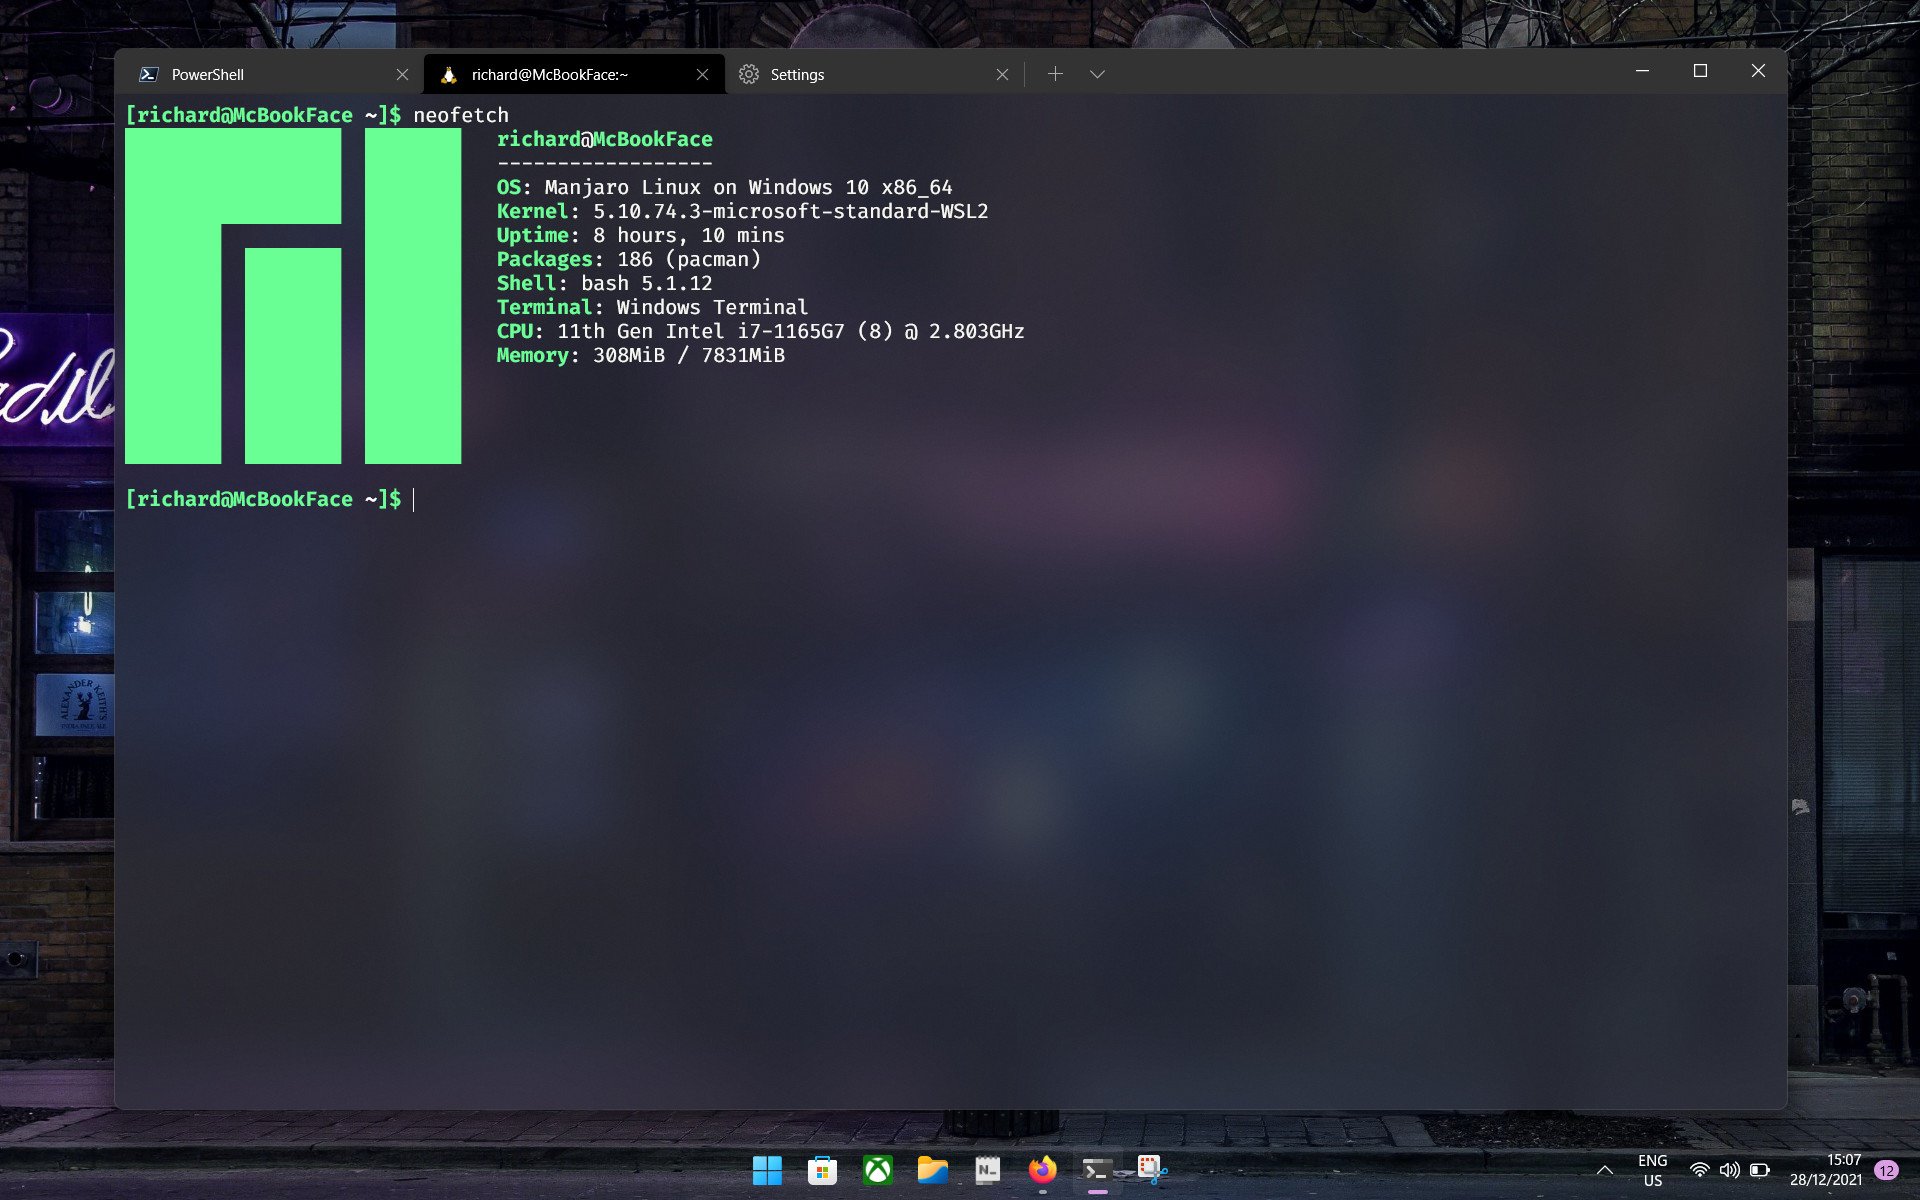
Manjaro is an Arch-based Linux distribution and is certainly one of the more mainstream options out there. Of course, using Linux in WSL is a little different from just loading it up on a PC, but if you need it, you need it. Indeed, Valve has already told developers interested in the Steam Deck and Steam OS 3.0 to use Manjaro to get ready.
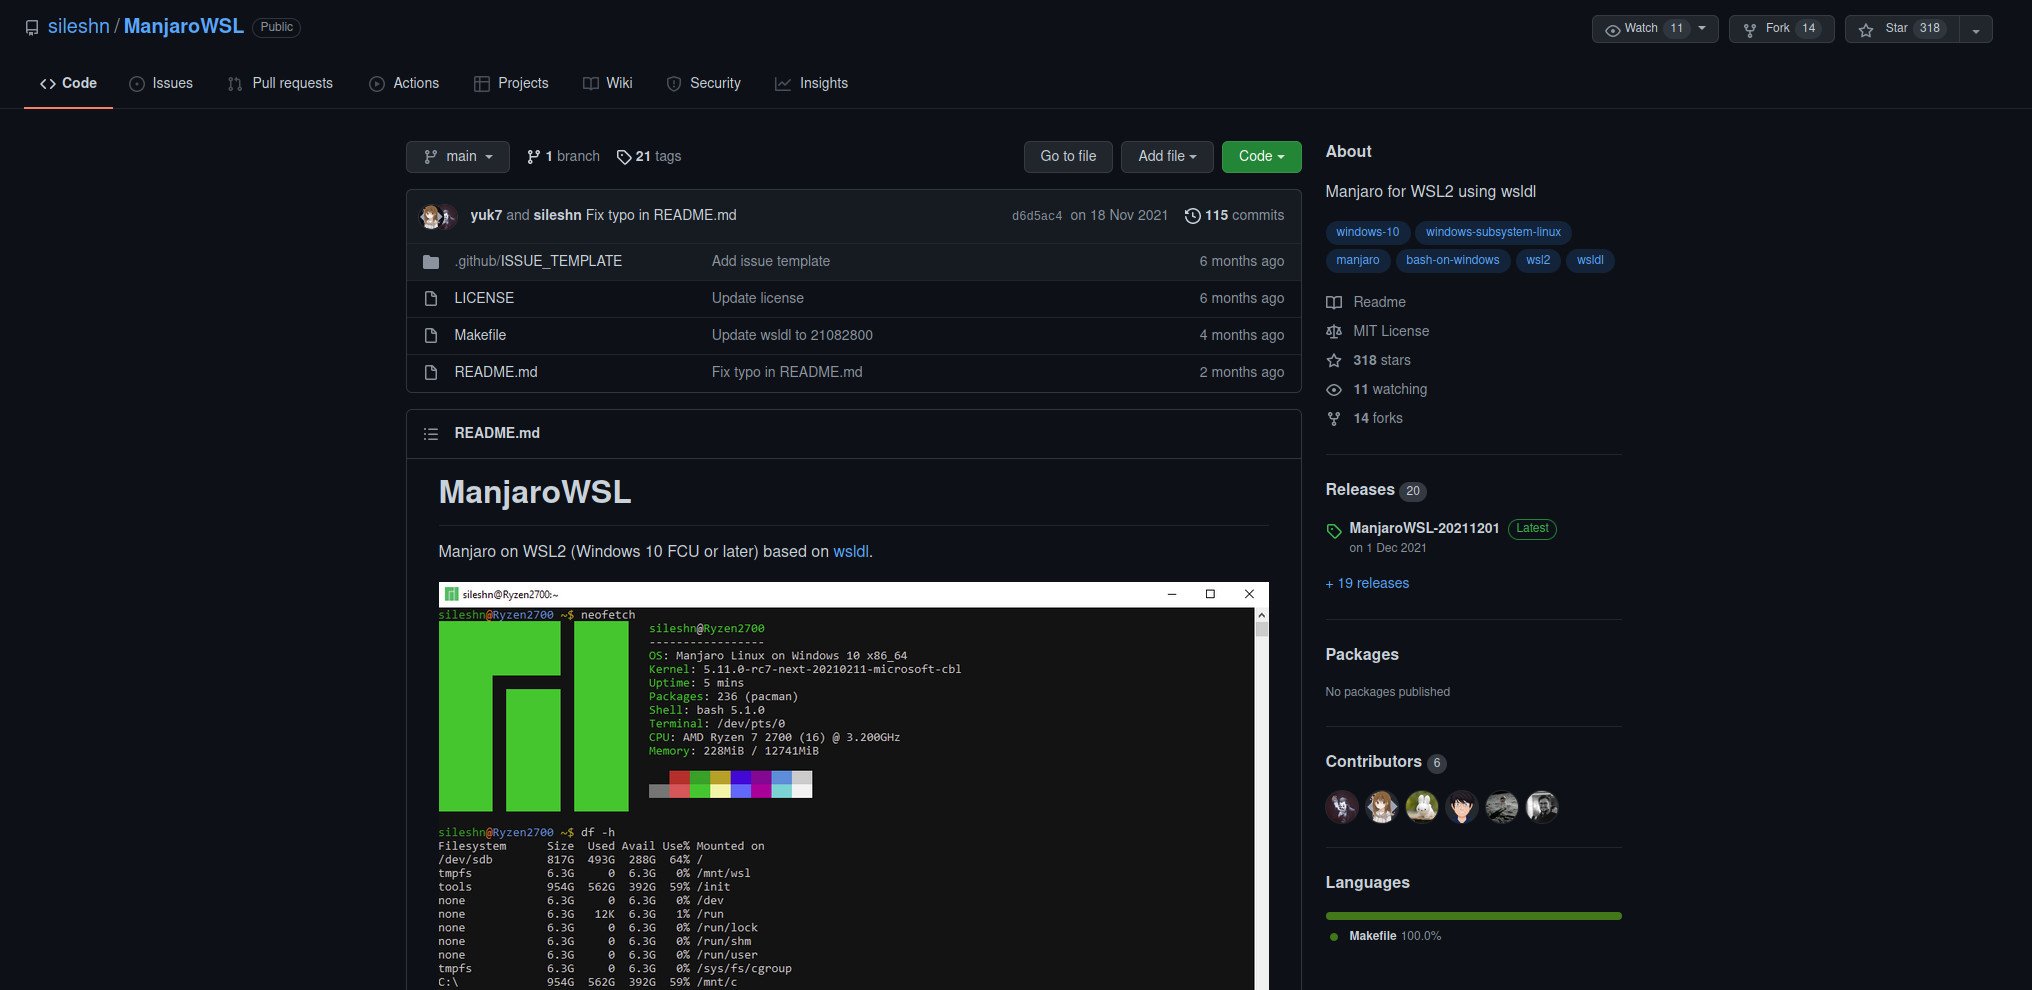
So, if you want to use it on WSL, you'll be needing to use an excellent community project simply called ManjaroWSL. It's hosted at GitHub, so the first port of call is to load up its repository. It's also only built for WSL 2, so if you aren't using that yet, check out our full guide to get ready. It does, however, support both Intel/AMD and ARM machines, so Windows on ARM users aren't left out.
On the GitHub repository, hit the releases page and download the latest package. Once downloaded, extract the zip file to the directory you want to run it from, then simply run Manjaro.exe. Unlike installing Ubuntu's latest releases from one of the official images, this has been bundled up to more closely resemble the distros you would download from the Microsoft Store.
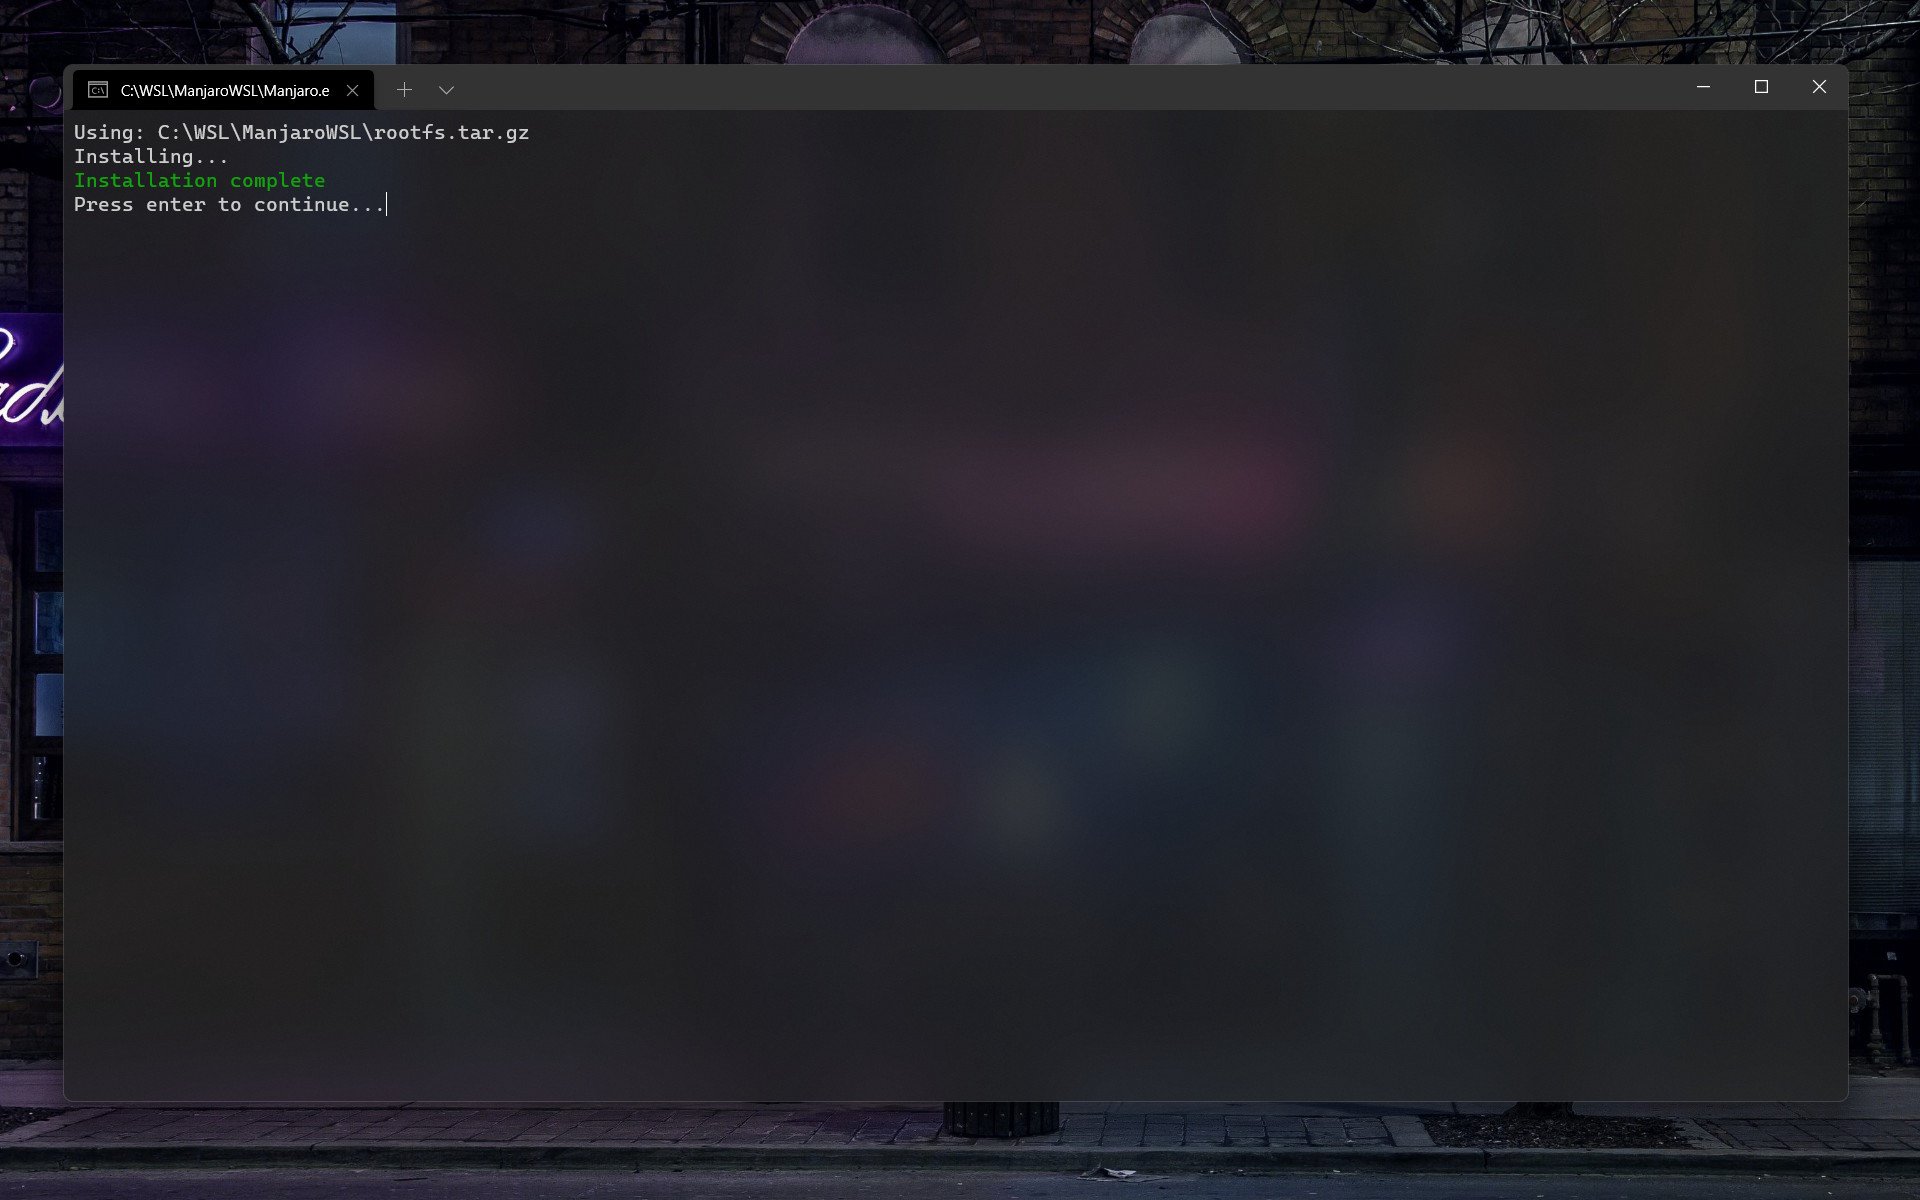
It'll take a few seconds (or longer depending on your hardware) to run its installation, but the installer doesn't require any interaction from you. It'll open a terminal window and when it's complete you'll be asked to press Enter. The terminal window will then close.
All the latest news, reviews, and guides for Windows and Xbox diehards.
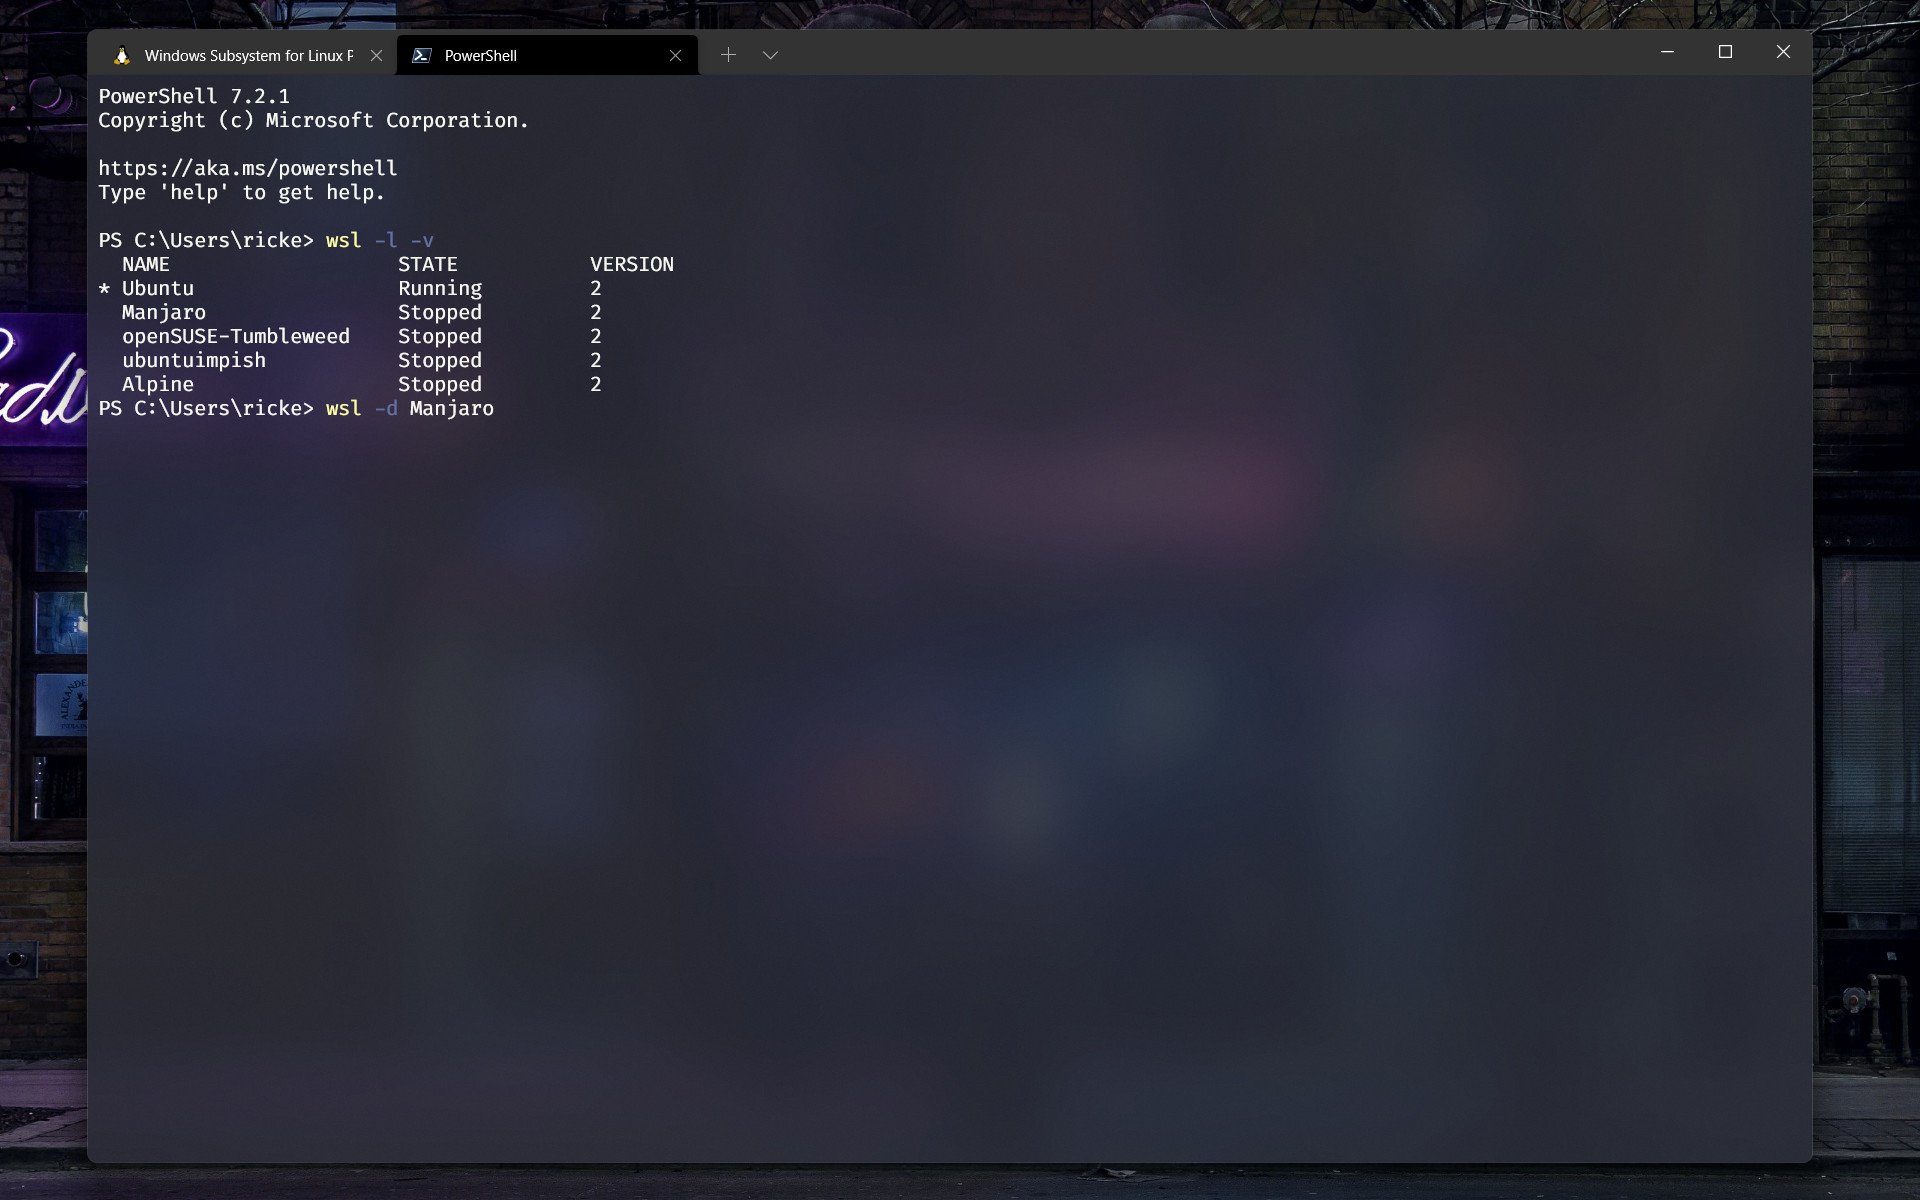
If you use Windows Terminal, Manjaro will now be in the dropdown menu to launch the next time you load it up. If you don't, you can launch it through PowerShell the same as any other Linux distro with this command:
wsl -d ManjaroBy default you'll only have root access, so you'll need to do some basic setup before you get rolling.
How to set up Manjaro on WSL
Enter Manjaro in one of the methods described above. You'll be presented with a basic prompt that begins with
root@. As with any other Linux distro on WSL, you'll want to add a user to Manjaro with the right permissions before doing anything. You don't have a password, either, so you'll need to add one of those before beginning.
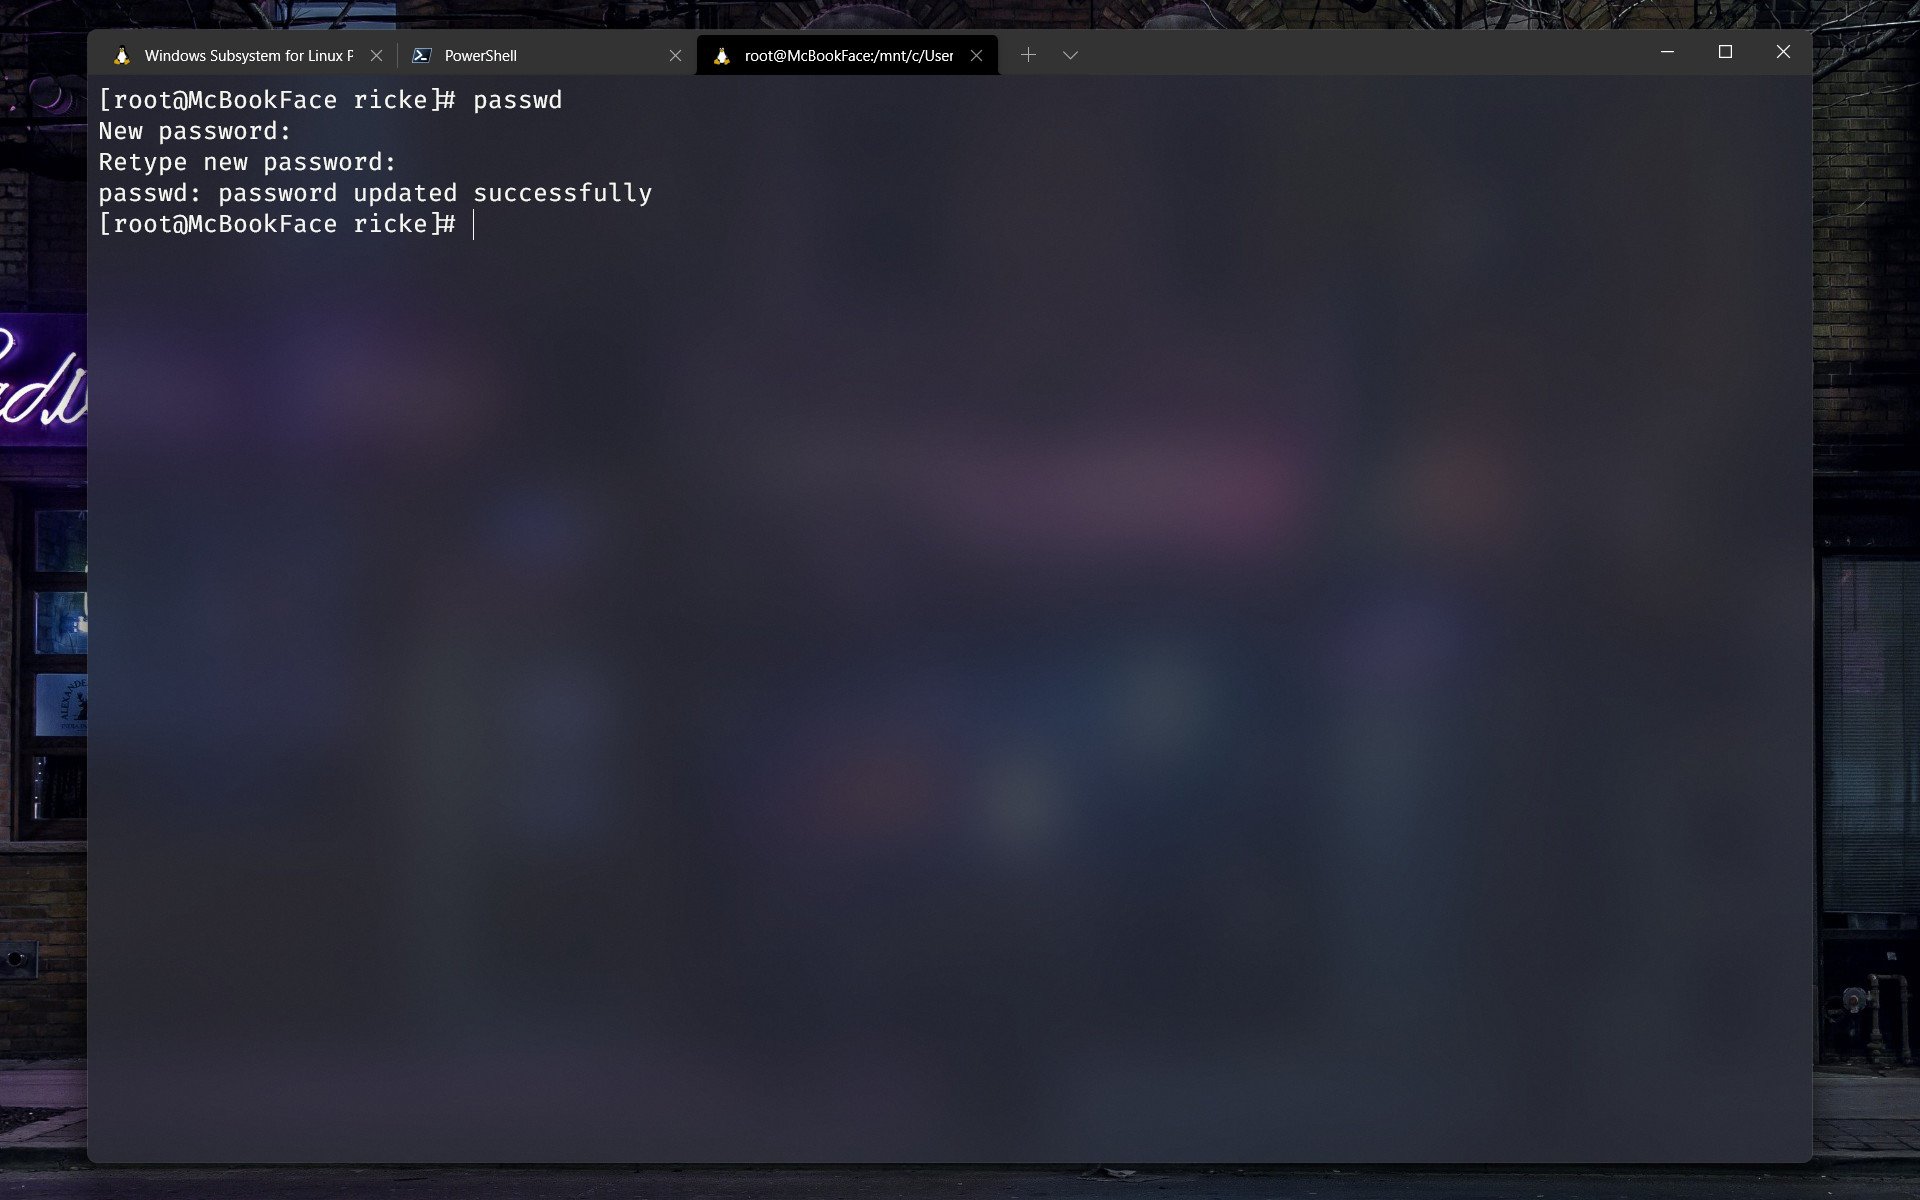
In the terminal enter:
passwdFollow the prompts to set up a root password. Next, we'll add a user with:
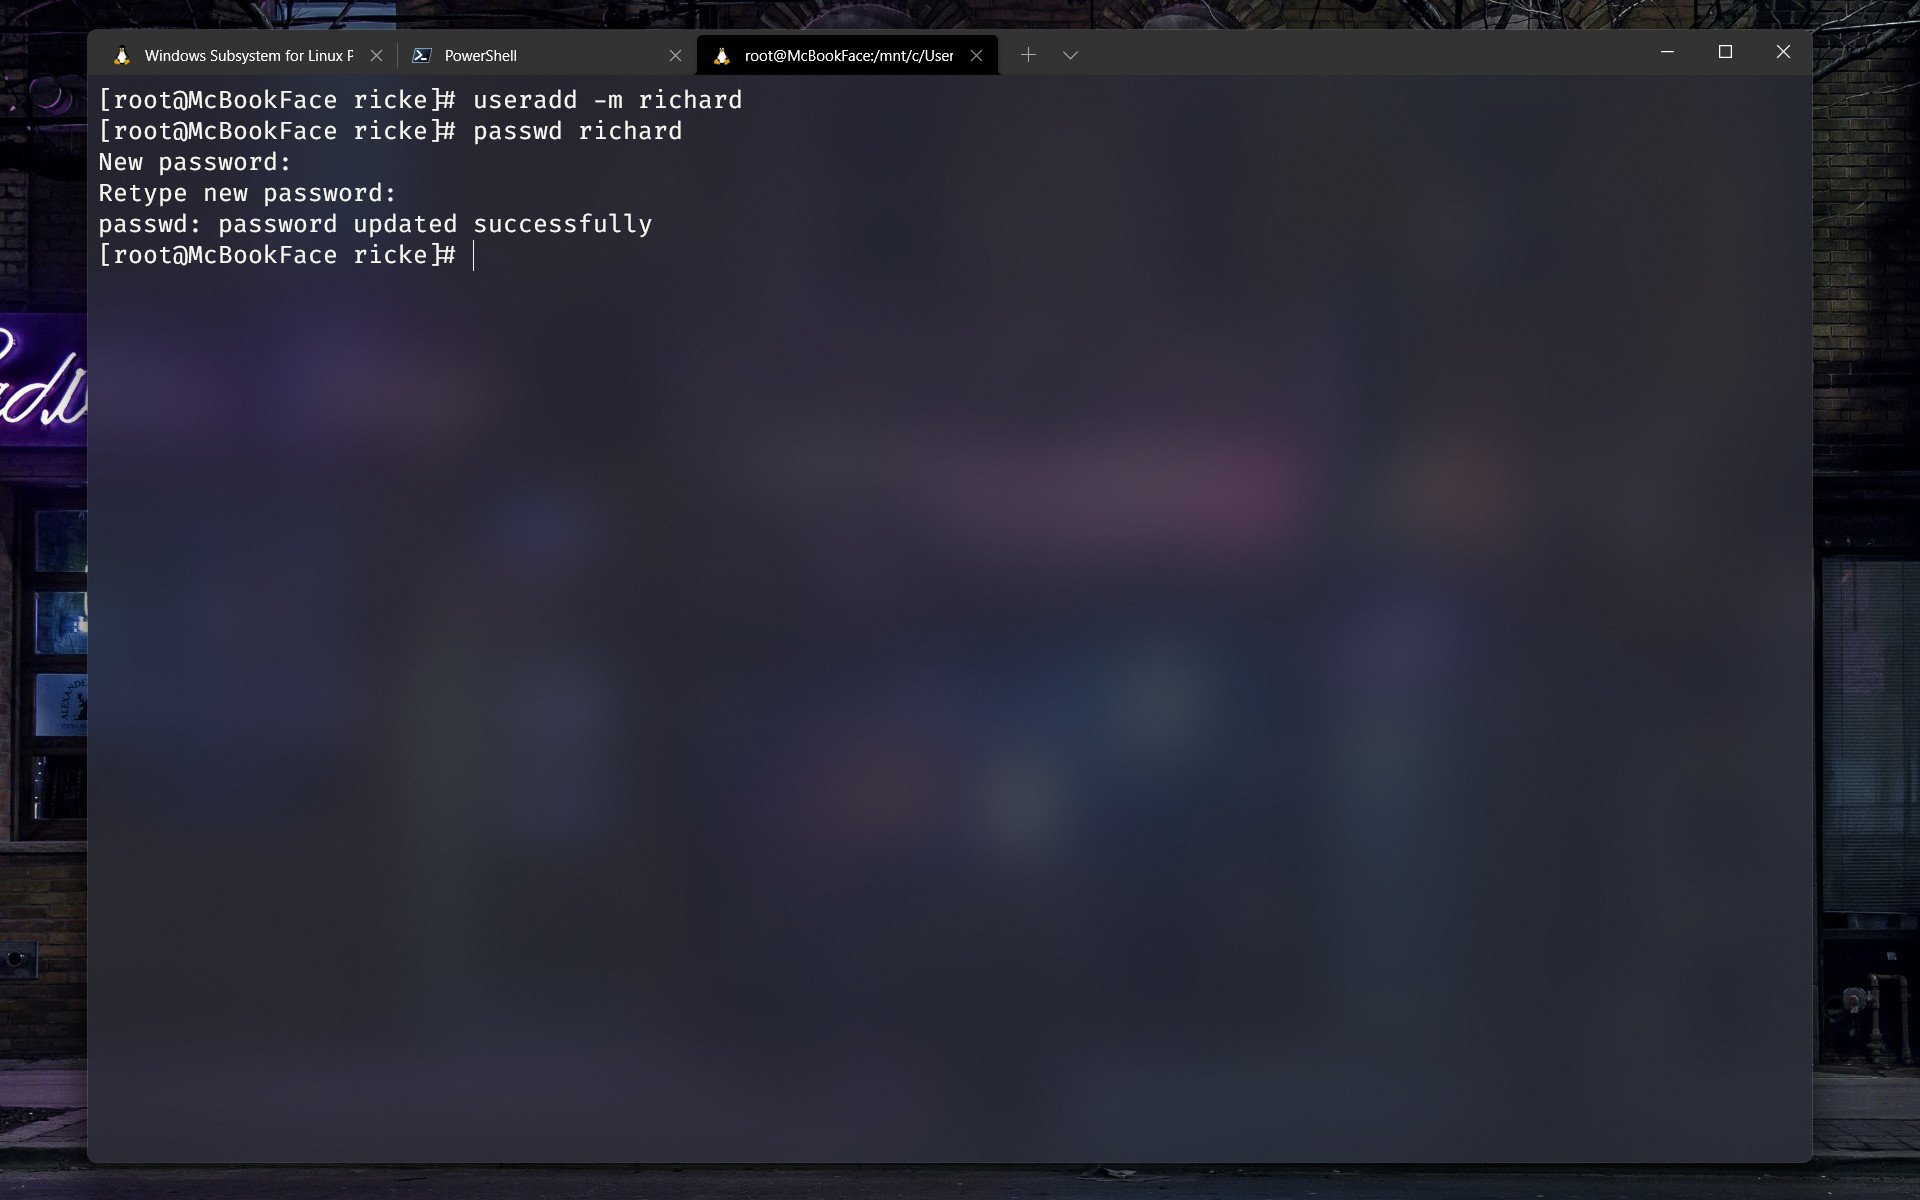
useradd -m <username></username>And then we'll follow that up with a password for the user with:
passwd <username></username>Again, follow the prompts to set a password for the user. These commands have added a user, created a home directory for that user with the
-mflag, and added a user password.
The next step is to add your user account to the right group to be able to use the sudo command, otherwise you'll be met with an error:
usermod --append --groups wheel <username></username>You can then switch to your user with:
su <username></username>This should work without issue and allow you to execute the sudo command, but if you're met with an error relating to the sudoers file, you'll need to make a couple of changes. As root, enter
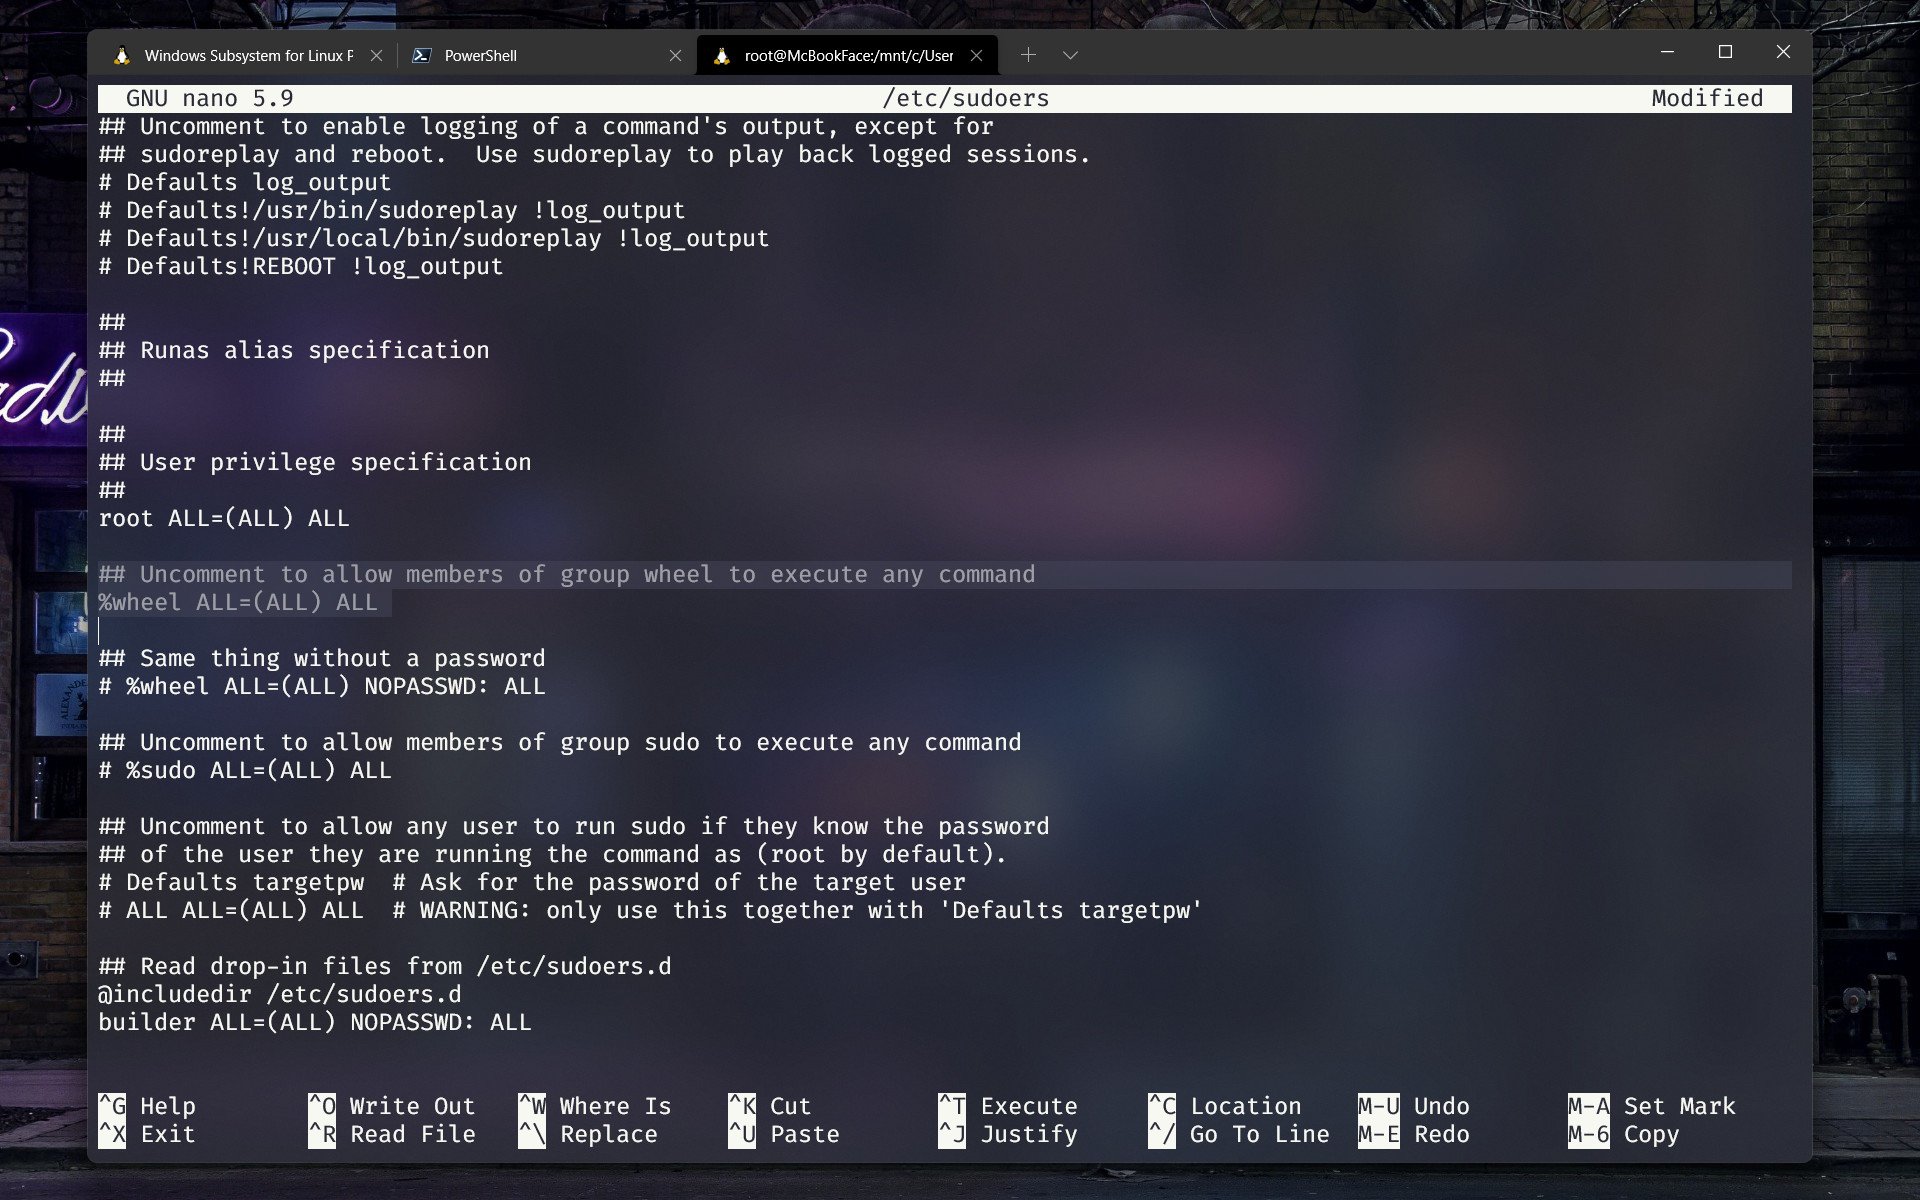
nano /etc/sudoersand you'll see a warning that it's supposed to be read only. Ignore it, but you will need to be a little careful. You're also really supposed to edit this with
visudo, but for what we're doing here nano will be ok.
Scroll down and find this block:
## Uncomment to allow members of group wheel to execute any command# %wheel ALL=(ALL) ALLUncomment (delete the #) on the second line only. Hit Ctrl + X followed by Y and then Enter to save and exit. Now you shouldn't see any more errors when you switch back to your user.
The next thing to do is to ensure that when you launch Manjaro, if you want to be user and not root (which is advisable), you configure it so you don't have to manually do it every time. There are two ways to do this: the first is with the wsl.conf file, and the second is by configuring Windows Terminal if you use that.
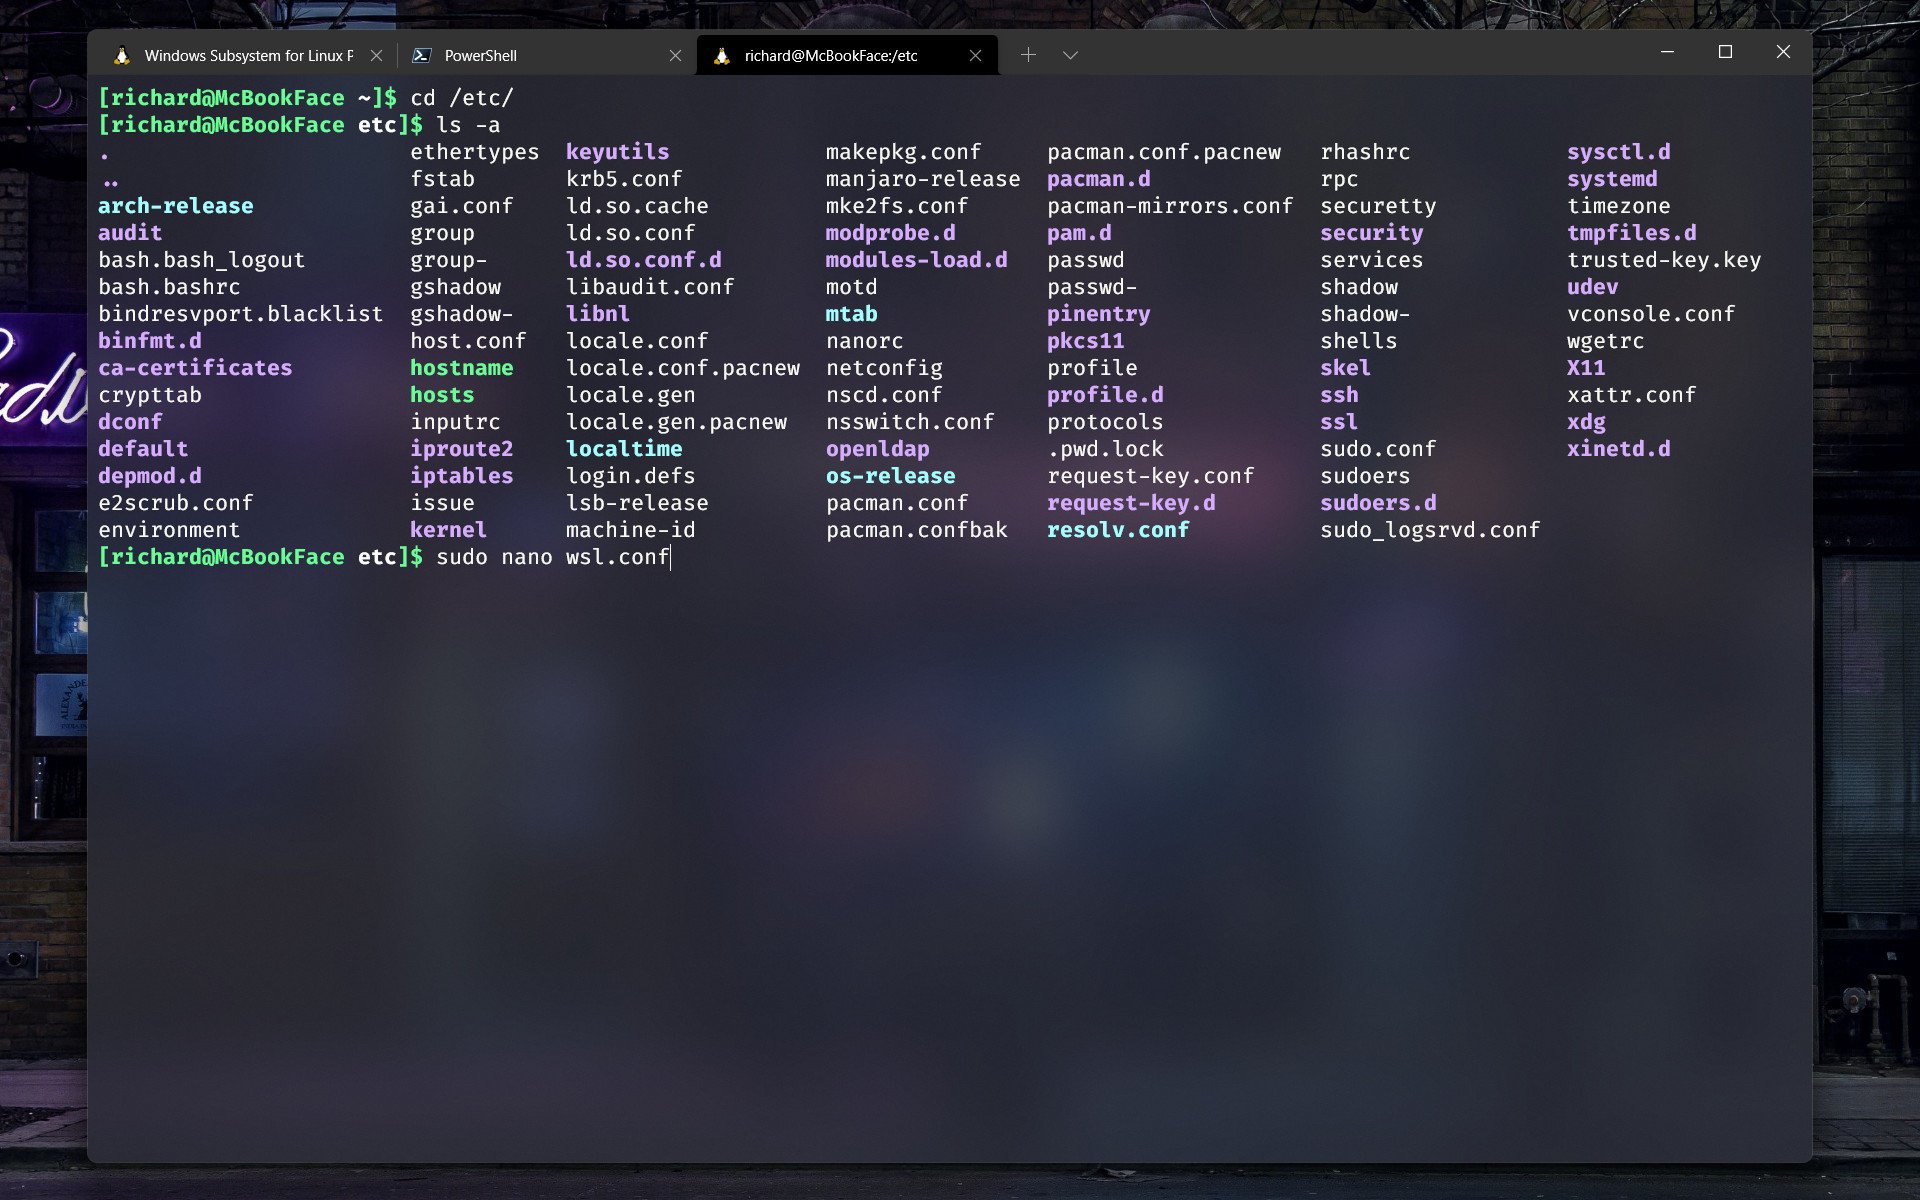
You won't have a wsl.conf file when you first set up Manjaro, so we'll need to create that and enter the right settings. As we're going to be inside the /etc/ directory it's easiest to stay as root for this one. In the terminal enter:
nano /etc/wsl.confThe nano text editor will now open with a new blank file. Enter this block into the file:
# Set the user when launching a distribution with WSL.[user]default=YourUserNameHit Ctrl + X followed by Y and then Enter to save and exit. Close down your Manjaro instance, wait a few seconds, and when you relaunch you should be ready to roll as user.
Alternatively, if you're using Windows Terminal, open the Settings, find your Manjaro install in the sidebar, and in the command line box ensure this command is stored:
wsl.exe -d <distroname> -u <yourusername></yourusername></distroname>This will have the same effect once closed down and restarted.
How to configure your Manjaro package manager on WSL
Before you can get really rolling there's one final thing to do: set up the package manager. If you try to install something right now you'll be met with an error relating to the mirror. So we need to tell Manjaro where to look.
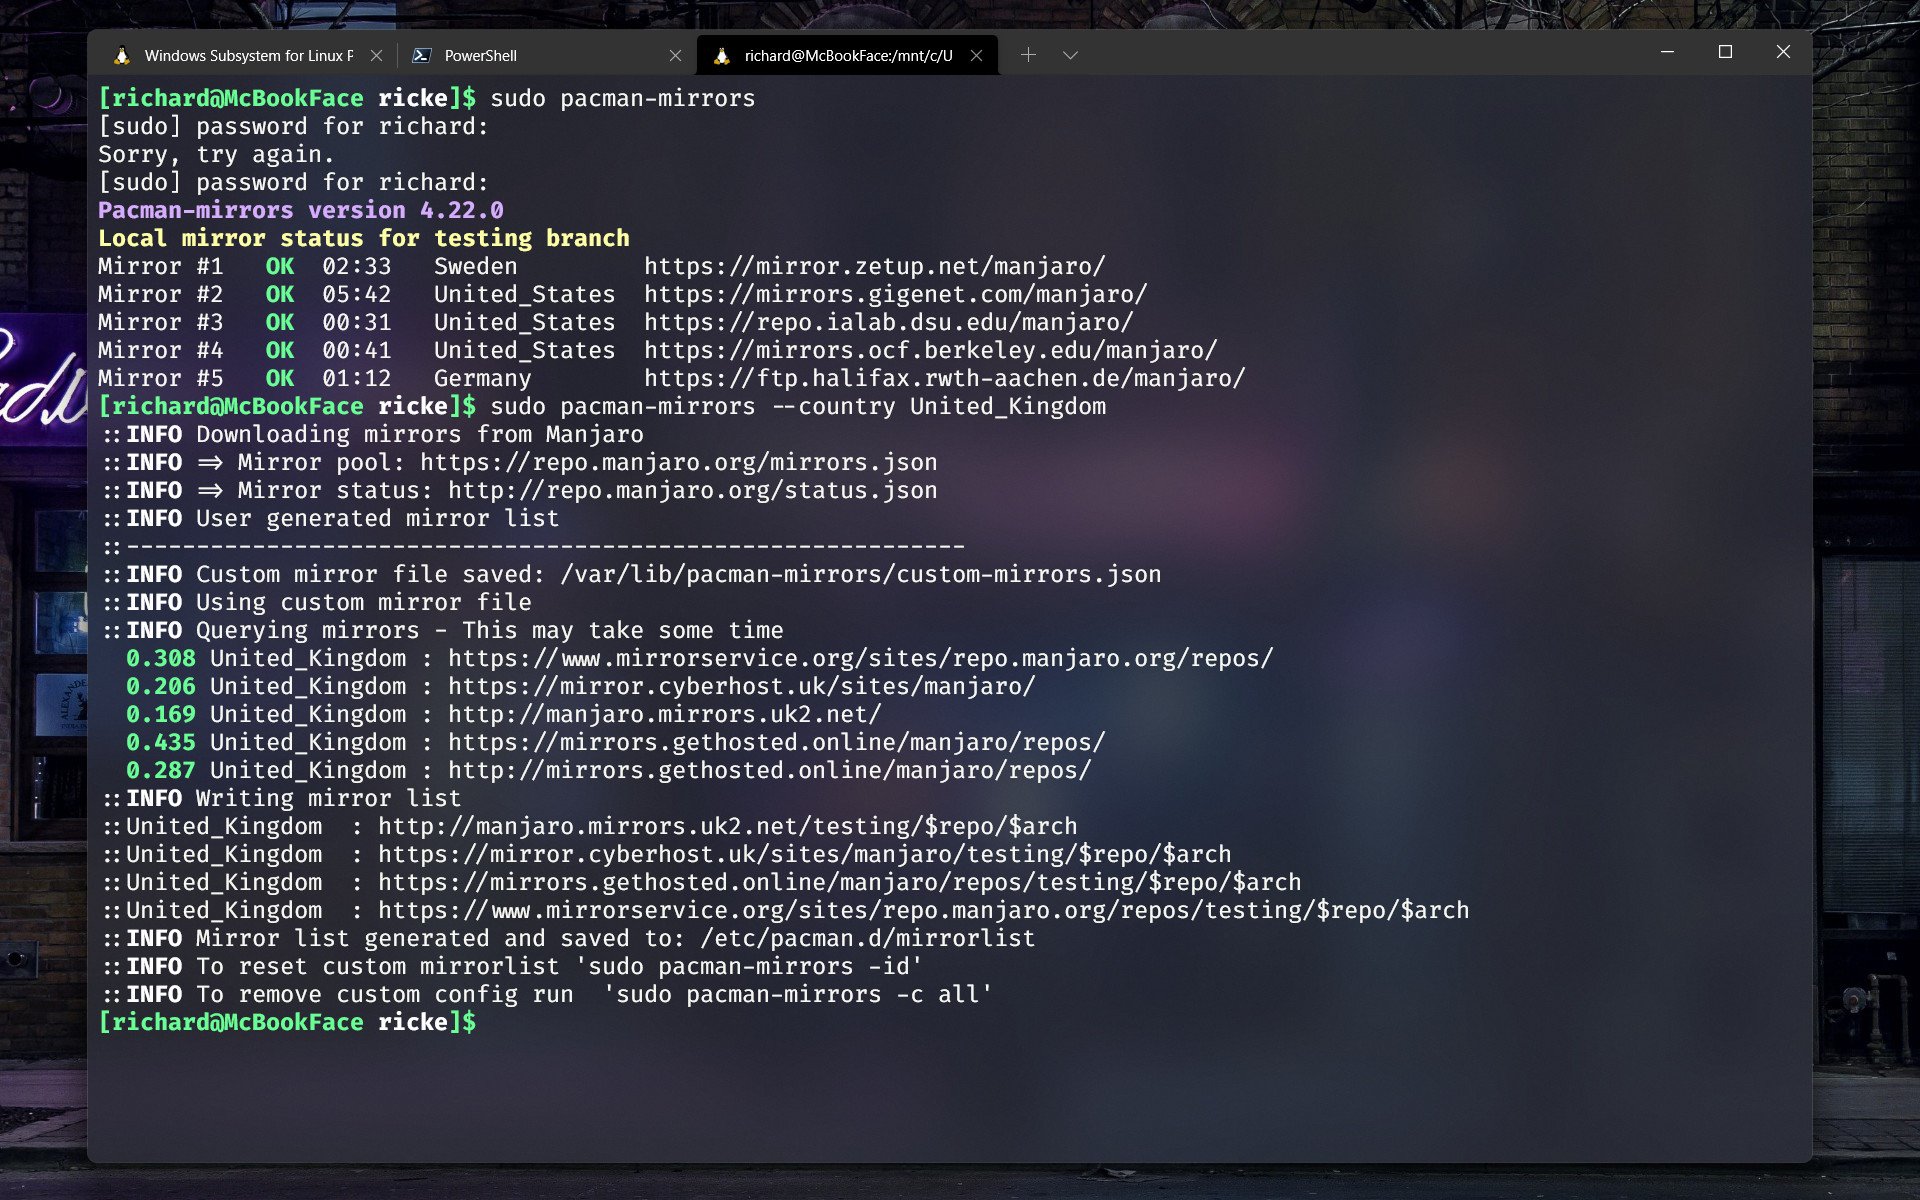
Enter this command into your terminal:
sudo pacman-mirrors --country <name></name>So, for example, I enter:
sudo pacman-mirrors --country United_KingdomFor countries with more than one word, separate with an underscore. Once this completes, enter this command to update:
sudo pacman -SyuYou'll most likely have a bunch of updates that need to install so it'll take a minute, but Manjaro is extremely fast in WSL.
You should now be able to install packages without error. If this is your first time, the basic command to remember is:
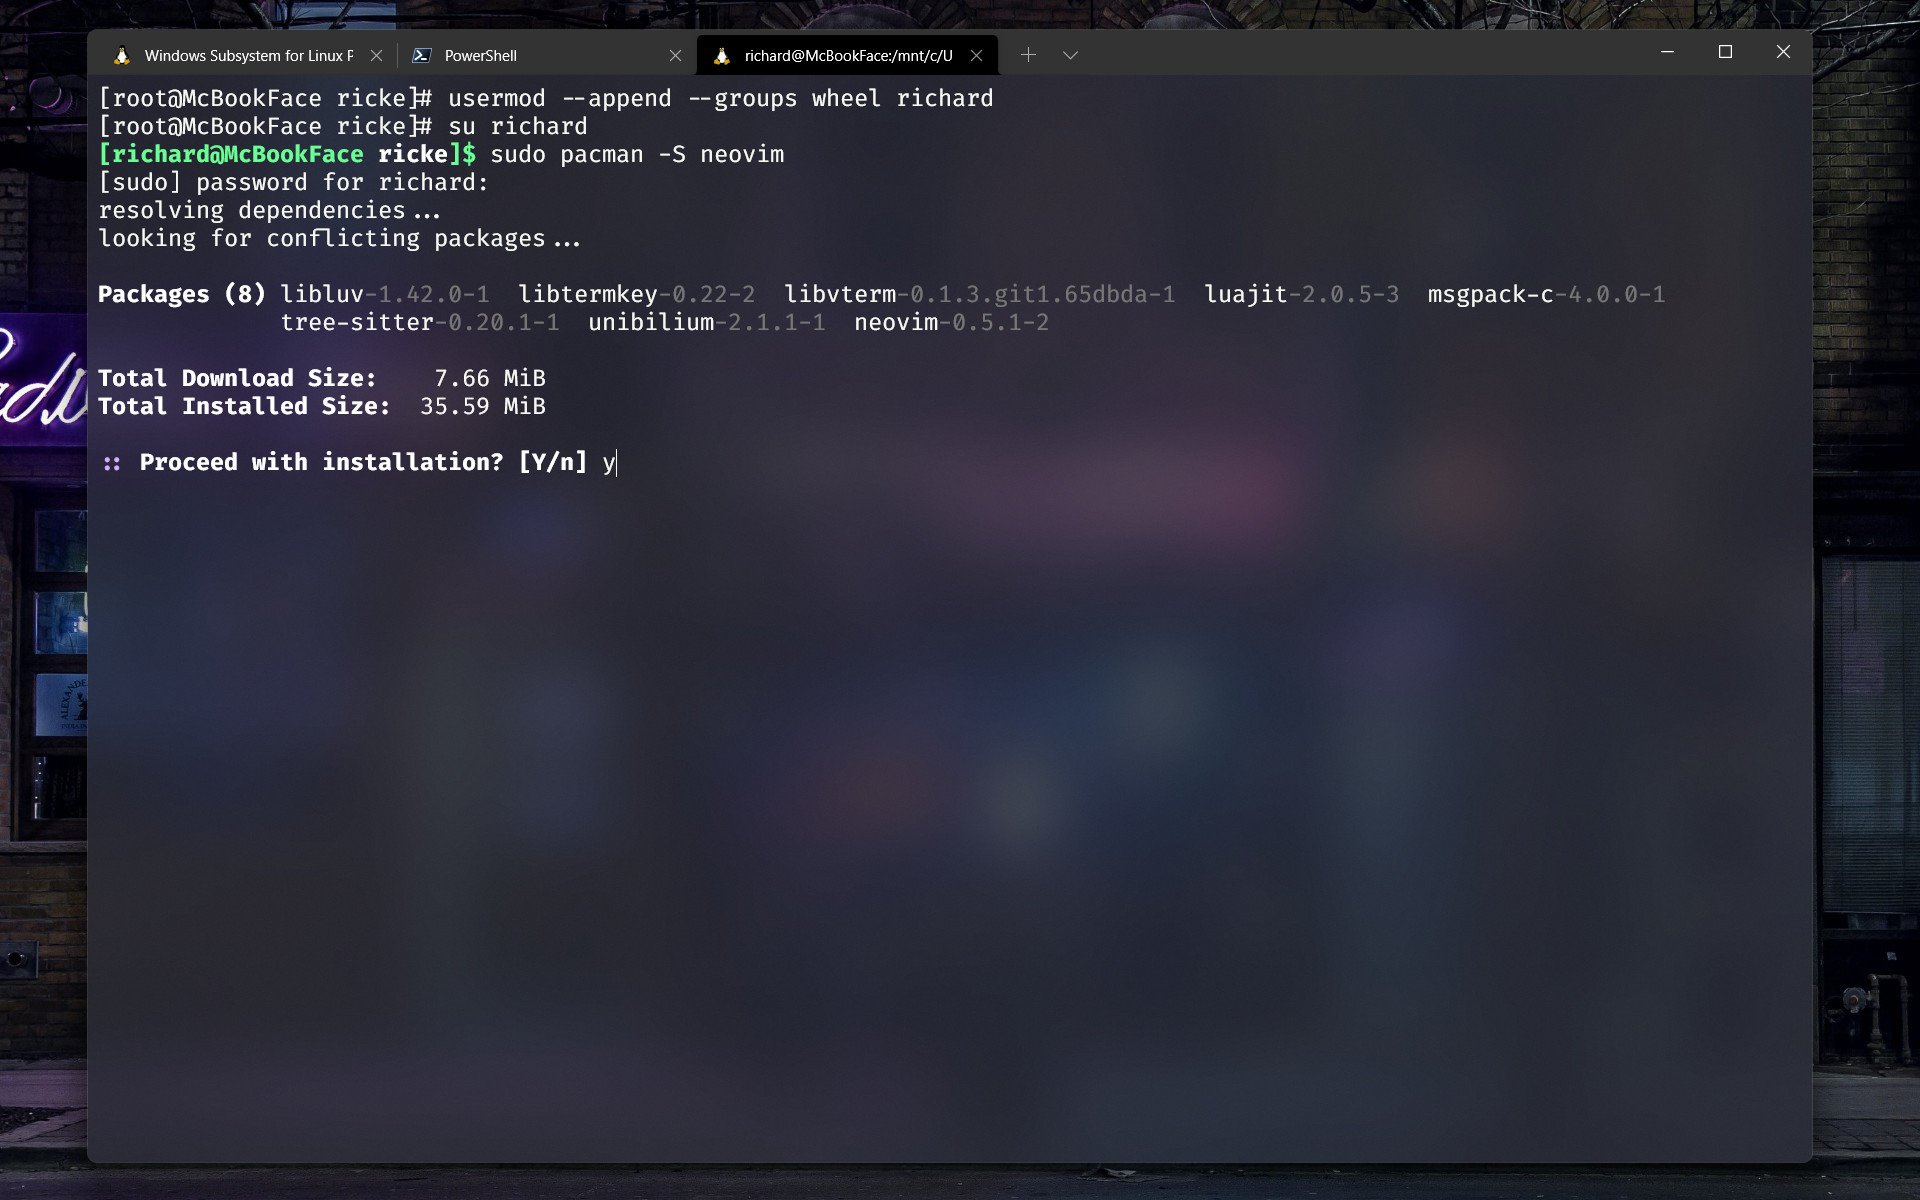
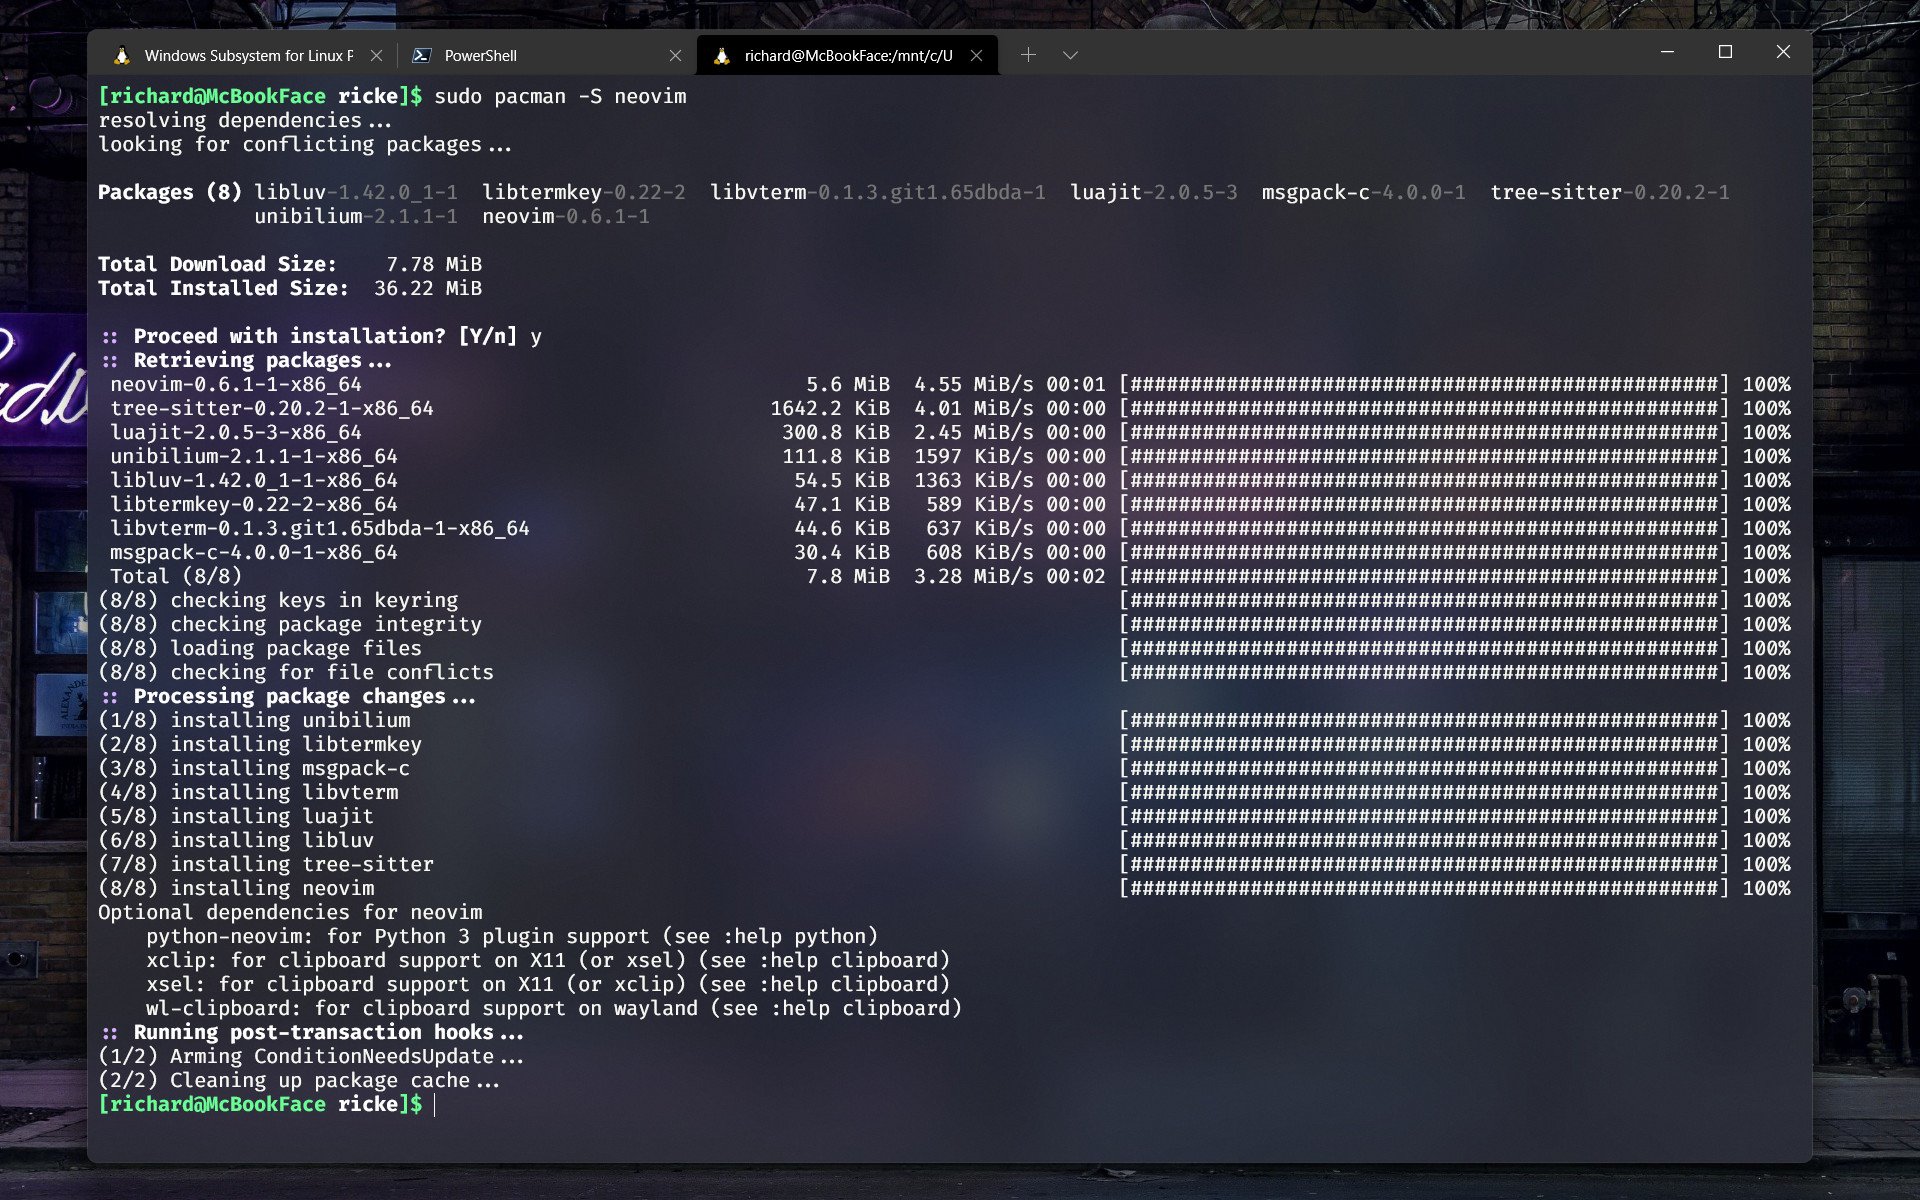
sudo pacman -S <packagename></packagename>So, for example, to install Neovim you would enter:
sudo pacman -S neovimAdditionally, and perhaps preferably, you can use Manjaro's own package manager as well. You'll need to install it, but it might be worth doing as it's a little more straightforward to interact with than pacman.
To install it enter:
sudo pacman -Syu pamac-gtkYou're now all set up to get using Manjaro on WSL. As with other distros, you can run multiple separate Manjaro instances, and if you want to install another, simply go back to the beginning of this guide and run it all again. Simply change the filename of the installer before you start, and it will install another instance completely separate to your existing one.

Richard Devine is a Managing Editor at Windows Central with over a decade of experience. A former Project Manager and long-term tech addict, he joined Mobile Nations in 2011 and has been found on Android Central and iMore as well as Windows Central. Currently, you'll find him steering the site's coverage of all manner of PC hardware and reviews. Find him on Mastodon at mstdn.social/@richdevine
