How to block ads on your home network with AdGuard Home on a Raspberry Pi
You might have heard of Pi-hole before, but this might be a better alternative for you.

Pi-hole is a popular piece of software that's generally associated with Raspberry Pi (hence the name) that helps you to block ads and trackers and whatnot across all of the devices on your home network at the same time. It's great, really, and its popularity is well deserved. I love Pi-hole. But it isn't the only software out there that can do this.
An alternative is called AdGuard Home. You might be familiar with AdGuard already, there are mobile apps and browser extensions, even a Windows app, but this is a little more than that. AdGuard Home operates very much like Pi-hole, covering your whole network from one device, usually a Raspberry Pi.
It's easy to install and configure and why, personally, I like it more than Pi-hole is that it feels a little more beginner-friendly. It's also free and open-source, just like Pi-hole, so you can have a look through the code and see what's going on if you wish. You can install it directly onto Windows 10 or 11, but it does also run natively on Linux, including the Raspberry Pi, macOS, and in a Docker container, so you certainly have options.
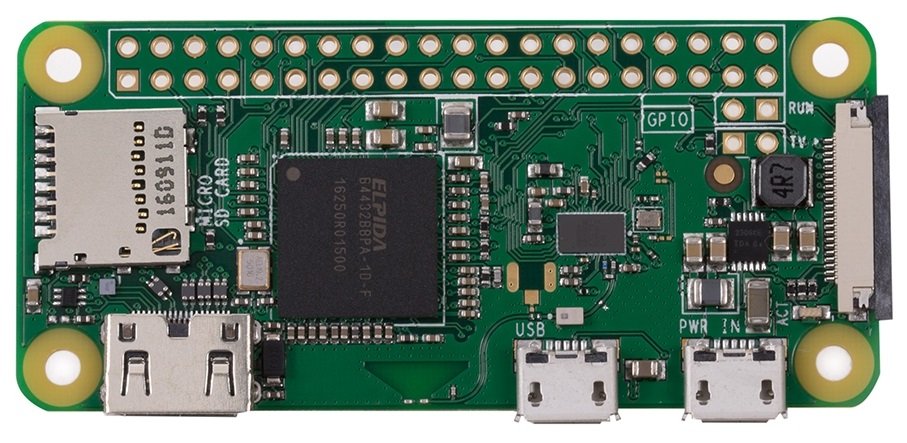
For this guide, I'll be focusing on using a Raspberry Pi, as it's the one that makes the most likely application. It's small and low-powered and in the spirit of Pi-hole. And having a Raspberry Pi-powered on 24/7 is a lot more efficient than leaving a full Windows machine powered up.
What you need
Before you begin you'll need to assemble some bits. For this guide we'll be needing:
- A Raspberry Pi or Raspberry Pi Zero
- A microSD card (8GB or larger)
- A micro-USB or USB-C power supply (depending on your Raspberry Pi)
- Access to another computer
Now, to work.
How to set up a Raspberry Pi and set a static IP address
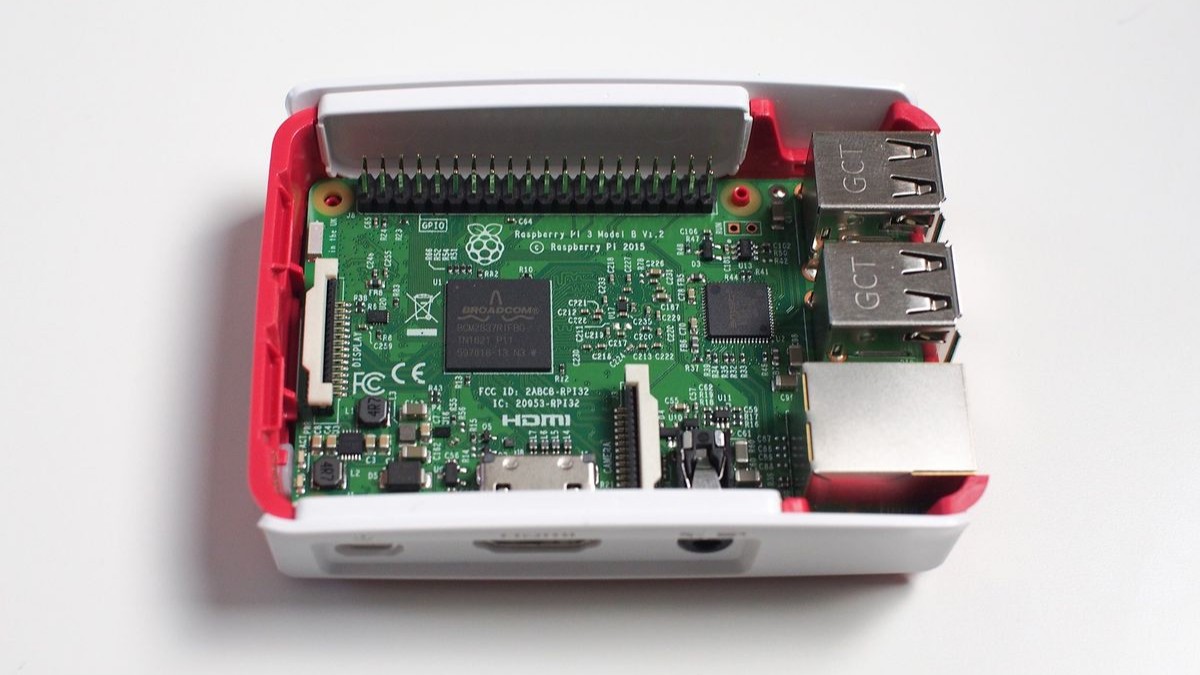
Before getting AdGuard Home installed, you have to set up the Raspberry Pi with an operating system, access to your home network, SSH, and a static IP address. None of this is too complex nor takes too long. To help you out, we've got dedicated guides linked below that will take you through each step.
Get the Windows Central Newsletter
All the latest news, reviews, and guides for Windows and Xbox diehards.
There are different operating systems available, but it doesn't really matter beyond being a base to run AdGuard Home from. So the easiest thing to do is head over to the Raspberry Pi website and download the Raspberry Pi OS lite version. This is perfect for a setup like this as it's much lighter weight thanks to having no GUI. This is why you'll need to follow these guides, get SSH and local network enabled, and set a static IP address on your Raspberry Pi. Without a static IP, you'll have a much harder time using AdGuard Home.
- How to set up a headless Raspberry Pi, Wi-Fi, and SSH
- How to set a static IP address on a Raspberry Pi
How to install AdGuard Home on a Raspberry Pi
Once your Raspberry Pi is set up, you've got SSH enabled, and it's connected to your home network, it's time to get going. Open up your favorite terminal or SSH application and connect to your Raspberry Pi.
If this is the first time you're connecting, you'll want to connect using
ssh pi@yourIPaddressand the stock password is raspberry. You'll want to change that but we'll skip past that for this guide. The next good idea is to run
sudo apt update && sudo apt upgradeto ensure you have all the latest packages on your Raspberry Pi.
With that out of the way, we're ready to install AdGuard Home. As it's open-source, the whole project is hosted on GitHub, and that's where we can go to have a look at the code and find all the documentation we'll need. To install Adguard Home, all you need is this one command.
curl -s -S -L https://raw.githubusercontent.com/AdGuardTeam/AdGuardHome/master/scripts/install.sh | sh -s -- -vA word of warning: You shouldn't ever just run any old script on your system. In this case, we're running it from a trusted source and the script, install.sh is hosted on the GitHub repository for you to take a look at. But a general rule of good practice is to ensure you either know exactly what you're installing or that the source is trusted.
The command above will basically download the install script from the AdGuard Home GitHub repo and run it. The script contains all the necessary information to download and install the entire AdGuard Home package, so all you need to do is sit back and let it finish.
If for any reason you want to uninstall or reinstall AdGuard Home, use the same command above but attach the
-uor
-rflag to the command.
How to set up AdGuard Home
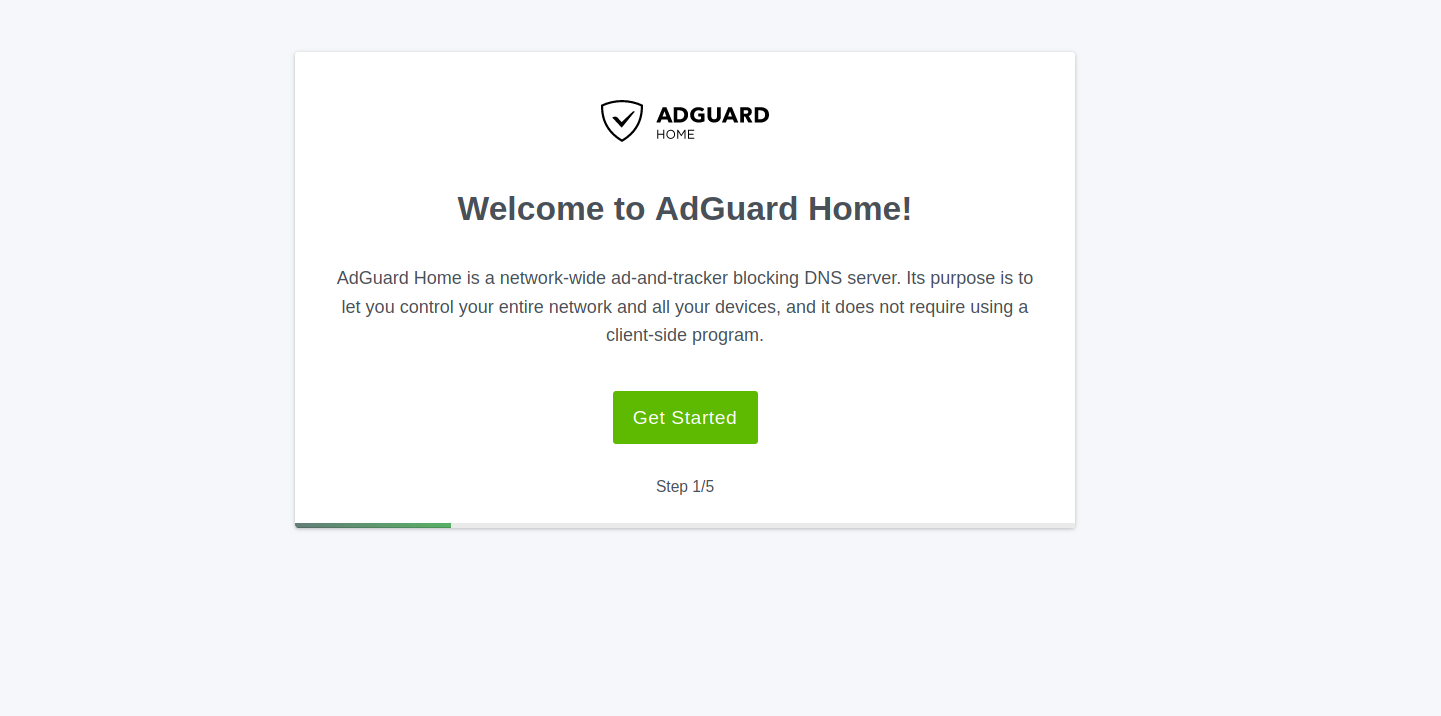
Once it's installed you're done in the command line and it's time to fire up a web browser. You'll need to navigate to the IP address you set for your Raspberry Pi on port 3000 to access the AdGuard Home GUI. So, something like http://192.168.86.200:3000.
- Hit the big green Get started button to begin.
- By default you'll be shown the IP address and ports AdGuard Home will use. If you're happy with these, simply click Next, else change them to something you'd prefer first.
- Choose a username and password before proceeding.
- Note down the IP addresses given to you, these are what you'll use to tell your home network to point at AdGuard Home.
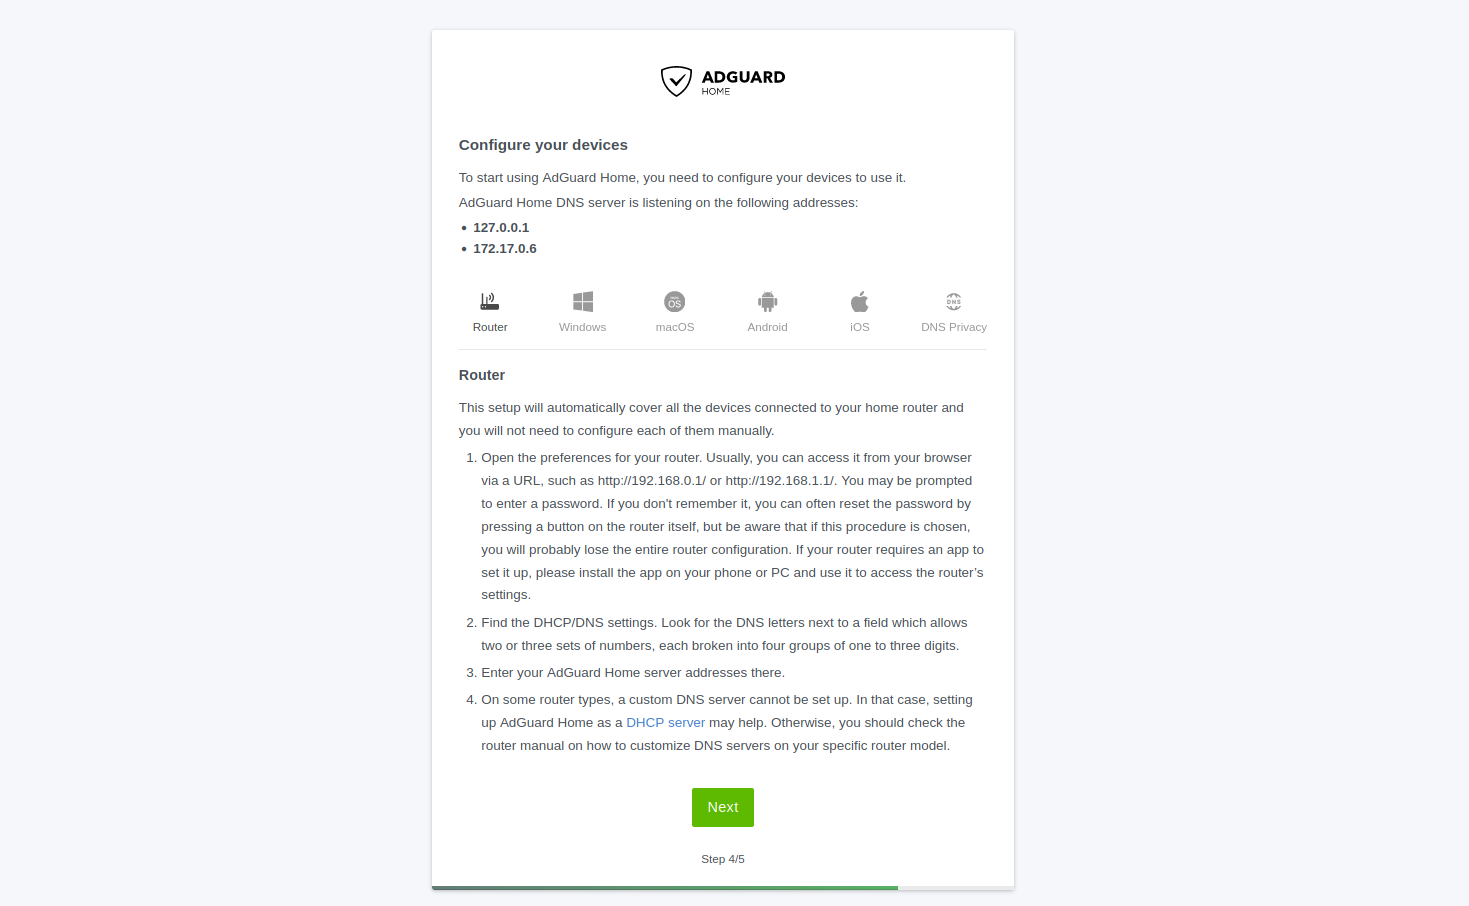
- Click Open dashboard to get started configuring.
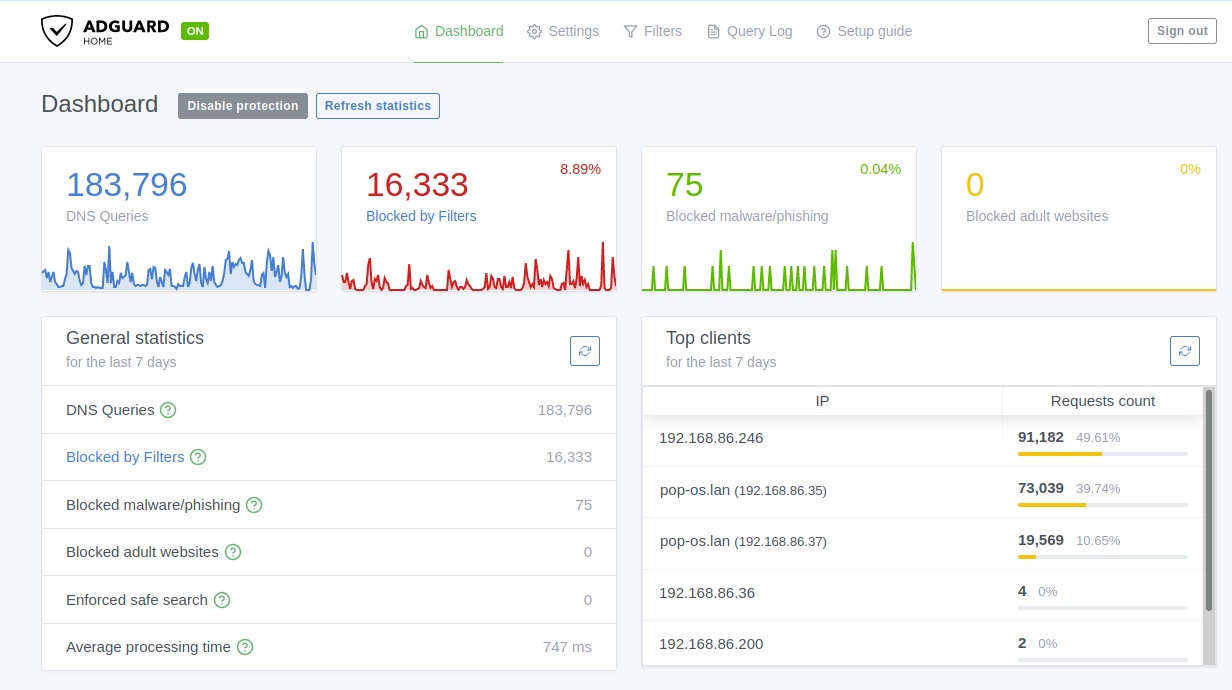
The stock settings are pretty good to get going with, and there's a lot of customization you can do to tailor your protection to meet your own needs. AdGuard Home currently has three DNS blocklists to choose from, which gives you options if perhaps one of them is getting a little too aggressive and you wanted to try an alternative before creating custom rules.
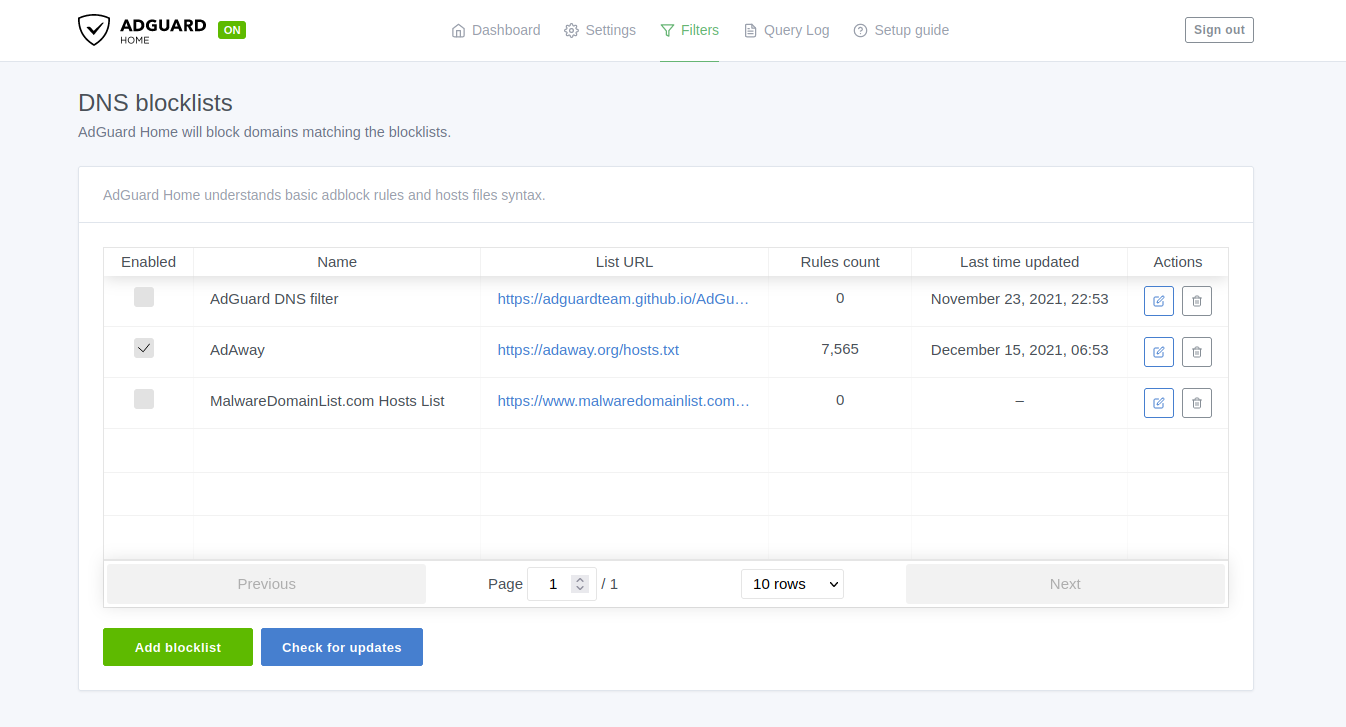
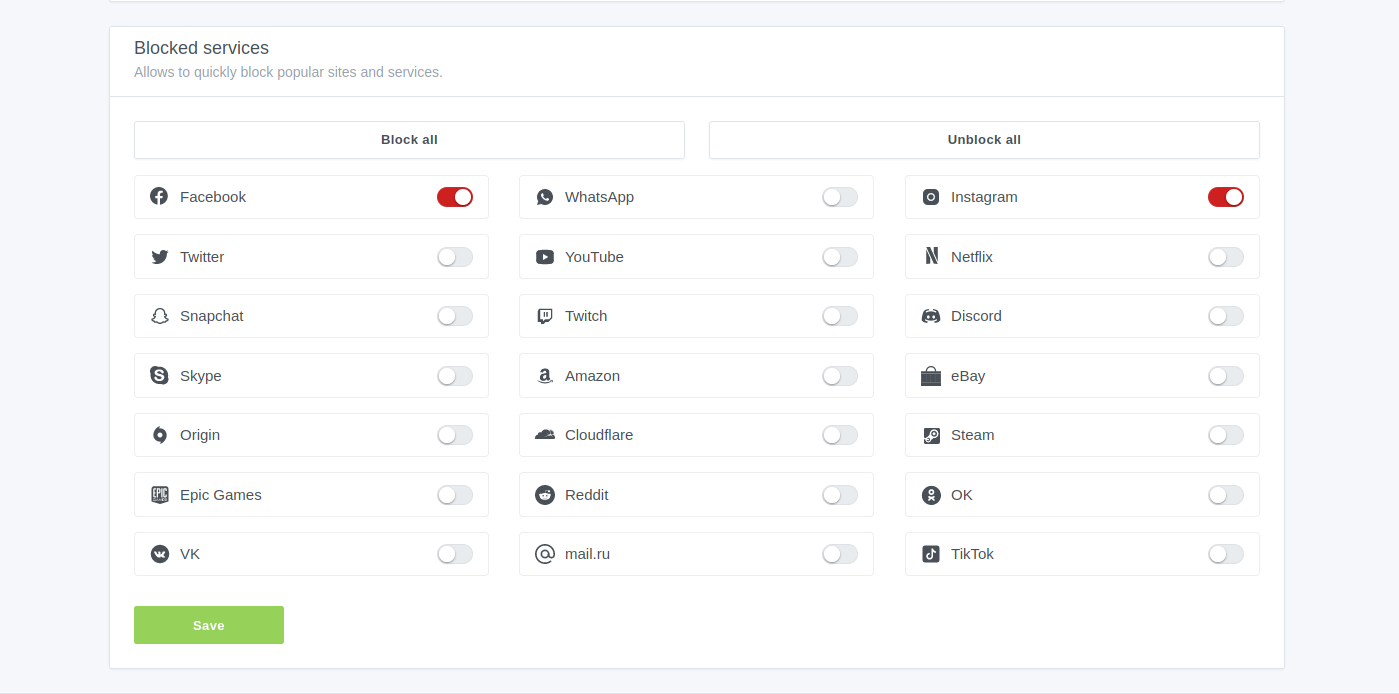
You can, of course, create custom rules, and the logs can be kept for up to 90 days or much less if you'd prefer. The stock settings are good enough, but honestly, it's down to you to go poking around and set things up how you want them.
There's not really a one-size-fits-all solution. Everything is really clear and easy to understand and one of my own favorite features is being able to flat out just block an entire service, like Facebook, with a single click.
How to point your devices at AdGuard Home

Remember those IP addresses you were given during the setup? This is where both of those come into play. Exactly how you do this will vary wildly, because different routers do things in different ways, but essentially you'll take those IP addresses and you'll enter those into the DNS settings on your router. That is, if you want complete network coverage.
You can do the same on a device-by-device basis, too, and again, it'll differ across Windows, Mac, Linux, and mobile. Wherever you have a DNS setting for your network connection, though, that's where you enter these.
It's a good idea to reboot your device, too, to ensure it's properly taken effect. But now, you should be seeing fewer ads, you'll be getting fewer trackers, and you shouldn't be noticing any real dip in your connection speeds. Even though the Raspberry Pi is small and low-powered, it's plenty capable of handling everything you throw at it in a home environment.
Alternatives to Raspberry Pi

The Raspberry Pi is the most obvious device to use, but it's not the only one. As mentioned previously, AdGuard Home can be natively installed on macOS as well as Linux, and there's an official Docker image for it, too. You can use Docker on Windows and the Windows Subsystem for Linux, so if you only have a Windows machine, there's still a way to use Adguard Home.
The GitHub repository is a great place to start as it has all the documentation and links you need if you're considering alternative hardware. But a cheap Raspberry Pi Zero and about half an hour of your time is definitely one of the better ones.

Richard Devine is a Managing Editor at Windows Central with over a decade of experience. A former Project Manager and long-term tech addict, he joined Mobile Nations in 2011 and has been found on Android Central and iMore as well as Windows Central. Currently, you'll find him steering the site's coverage of all manner of PC hardware and reviews. Find him on Mastodon at mstdn.social/@richdevine
